How to Make Vinegar and Steel Wool Stain
Please note that this post contains affiliate links. As an Amazon Associate, Rewards Style influencer and Jane Influencer, we earn from qualifying purchases and any sales made through such links will reward us a small commission – at no extra cost for you.
Creating a weathered aged wood finish is easier than you think. This is how to make vinegar and steel wool stain to achieve that look.
If you love a weathered-look finish on wood, this post is for you. Here is how to easily make vinegar and steel wool stain for the perfect aged wood.
Not meant for antiques or priceless heirlooms
Personally, I would never use this staining method on any antique furniture or priceless heirlooms. I use this stain for raw pieces of wood, thrifted items or on furniture in desperate need of a makeover.
Let’s talk steel wool
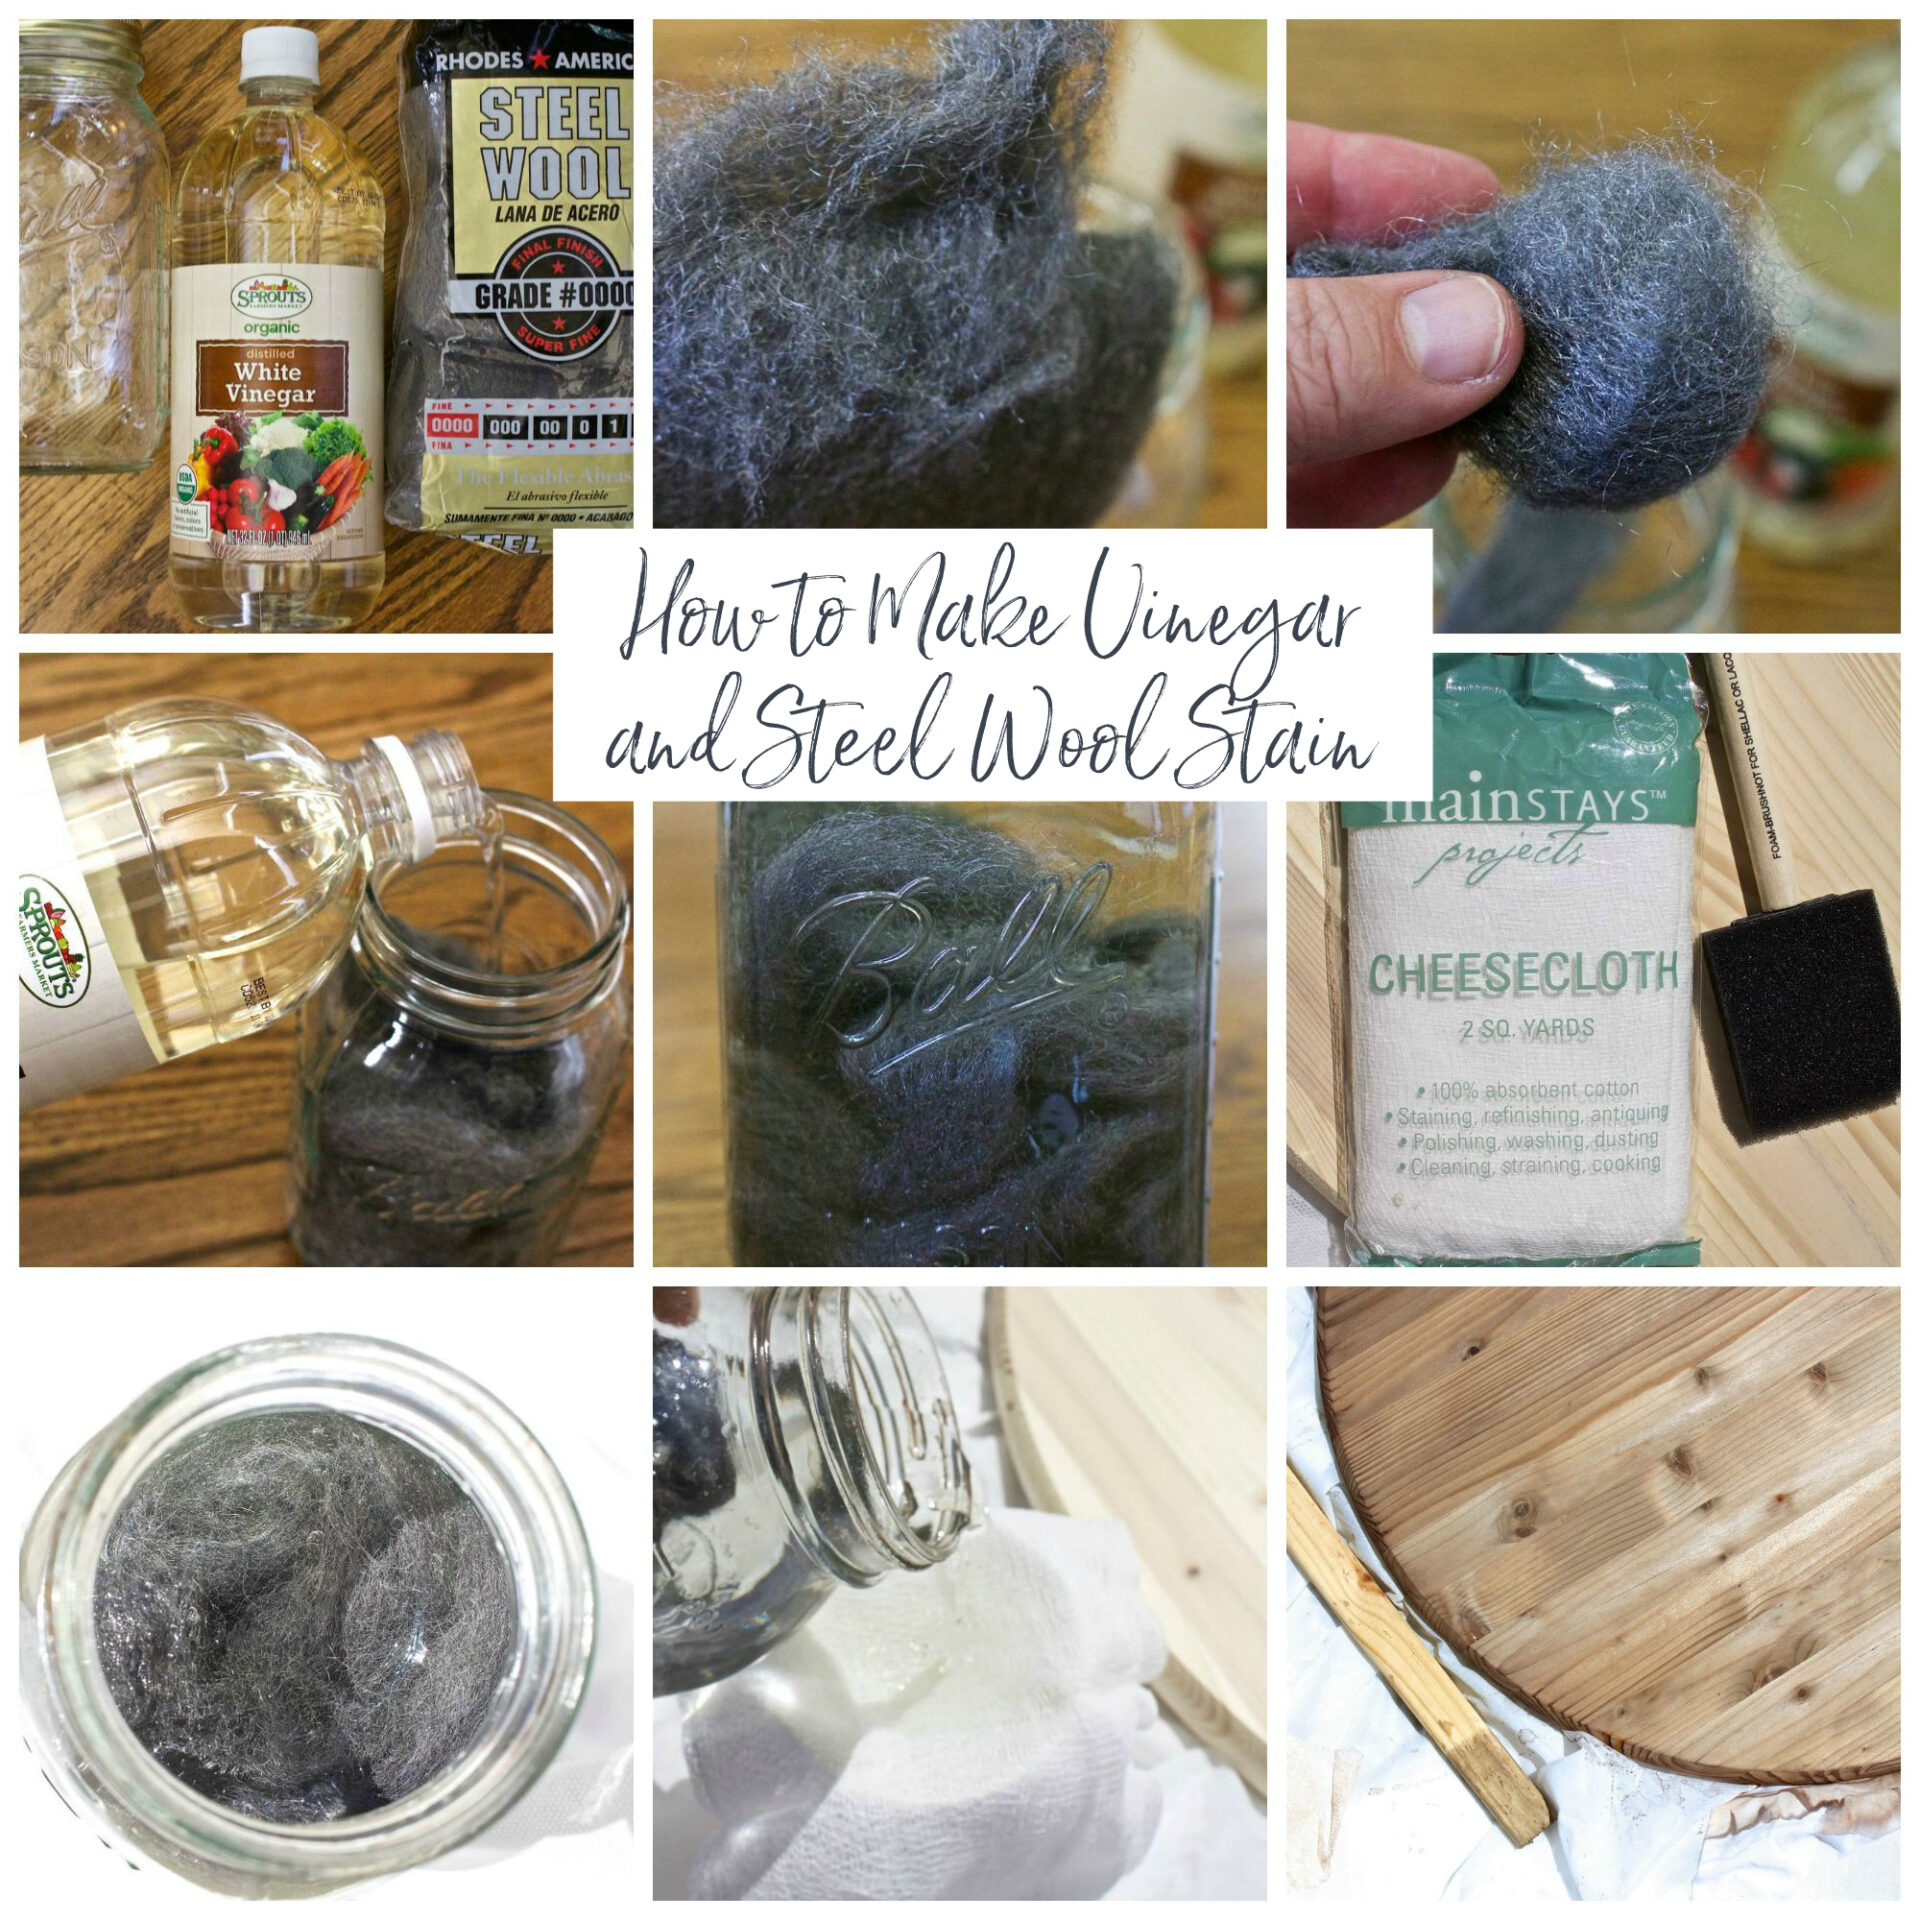
You must use real steel wool. Please do not skimp on this part – or your weathered stain will not turn out. There are some steel wool products that have a coating. This coating will prevent the vinegar from working its magic. Grade 00 steel wire wool is the best to use. It is the finest grade and provides the best results
Vinegar is not just for salads
Making this weathered wood stain is like a fun science project. The acidity of the vinegar breaks down the steel wool and creates a perfect stain.
- Apple cider vinegar. Has extra acidity and provides quicker results offering a slate gray color.
- White vinegar breaks down the steel wool well for a medium gray stain.
- Balsamic vinegar takes longer to breakdown and has a green/brown color on raw wood.
I use apple cider vinegar or white vinegar, because that is what I typically have on hand. Personally, I have never used balsamic vinegar. Plus the balsamic vinegar would be a pricey choice.
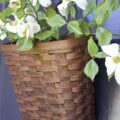
Seeing is believing
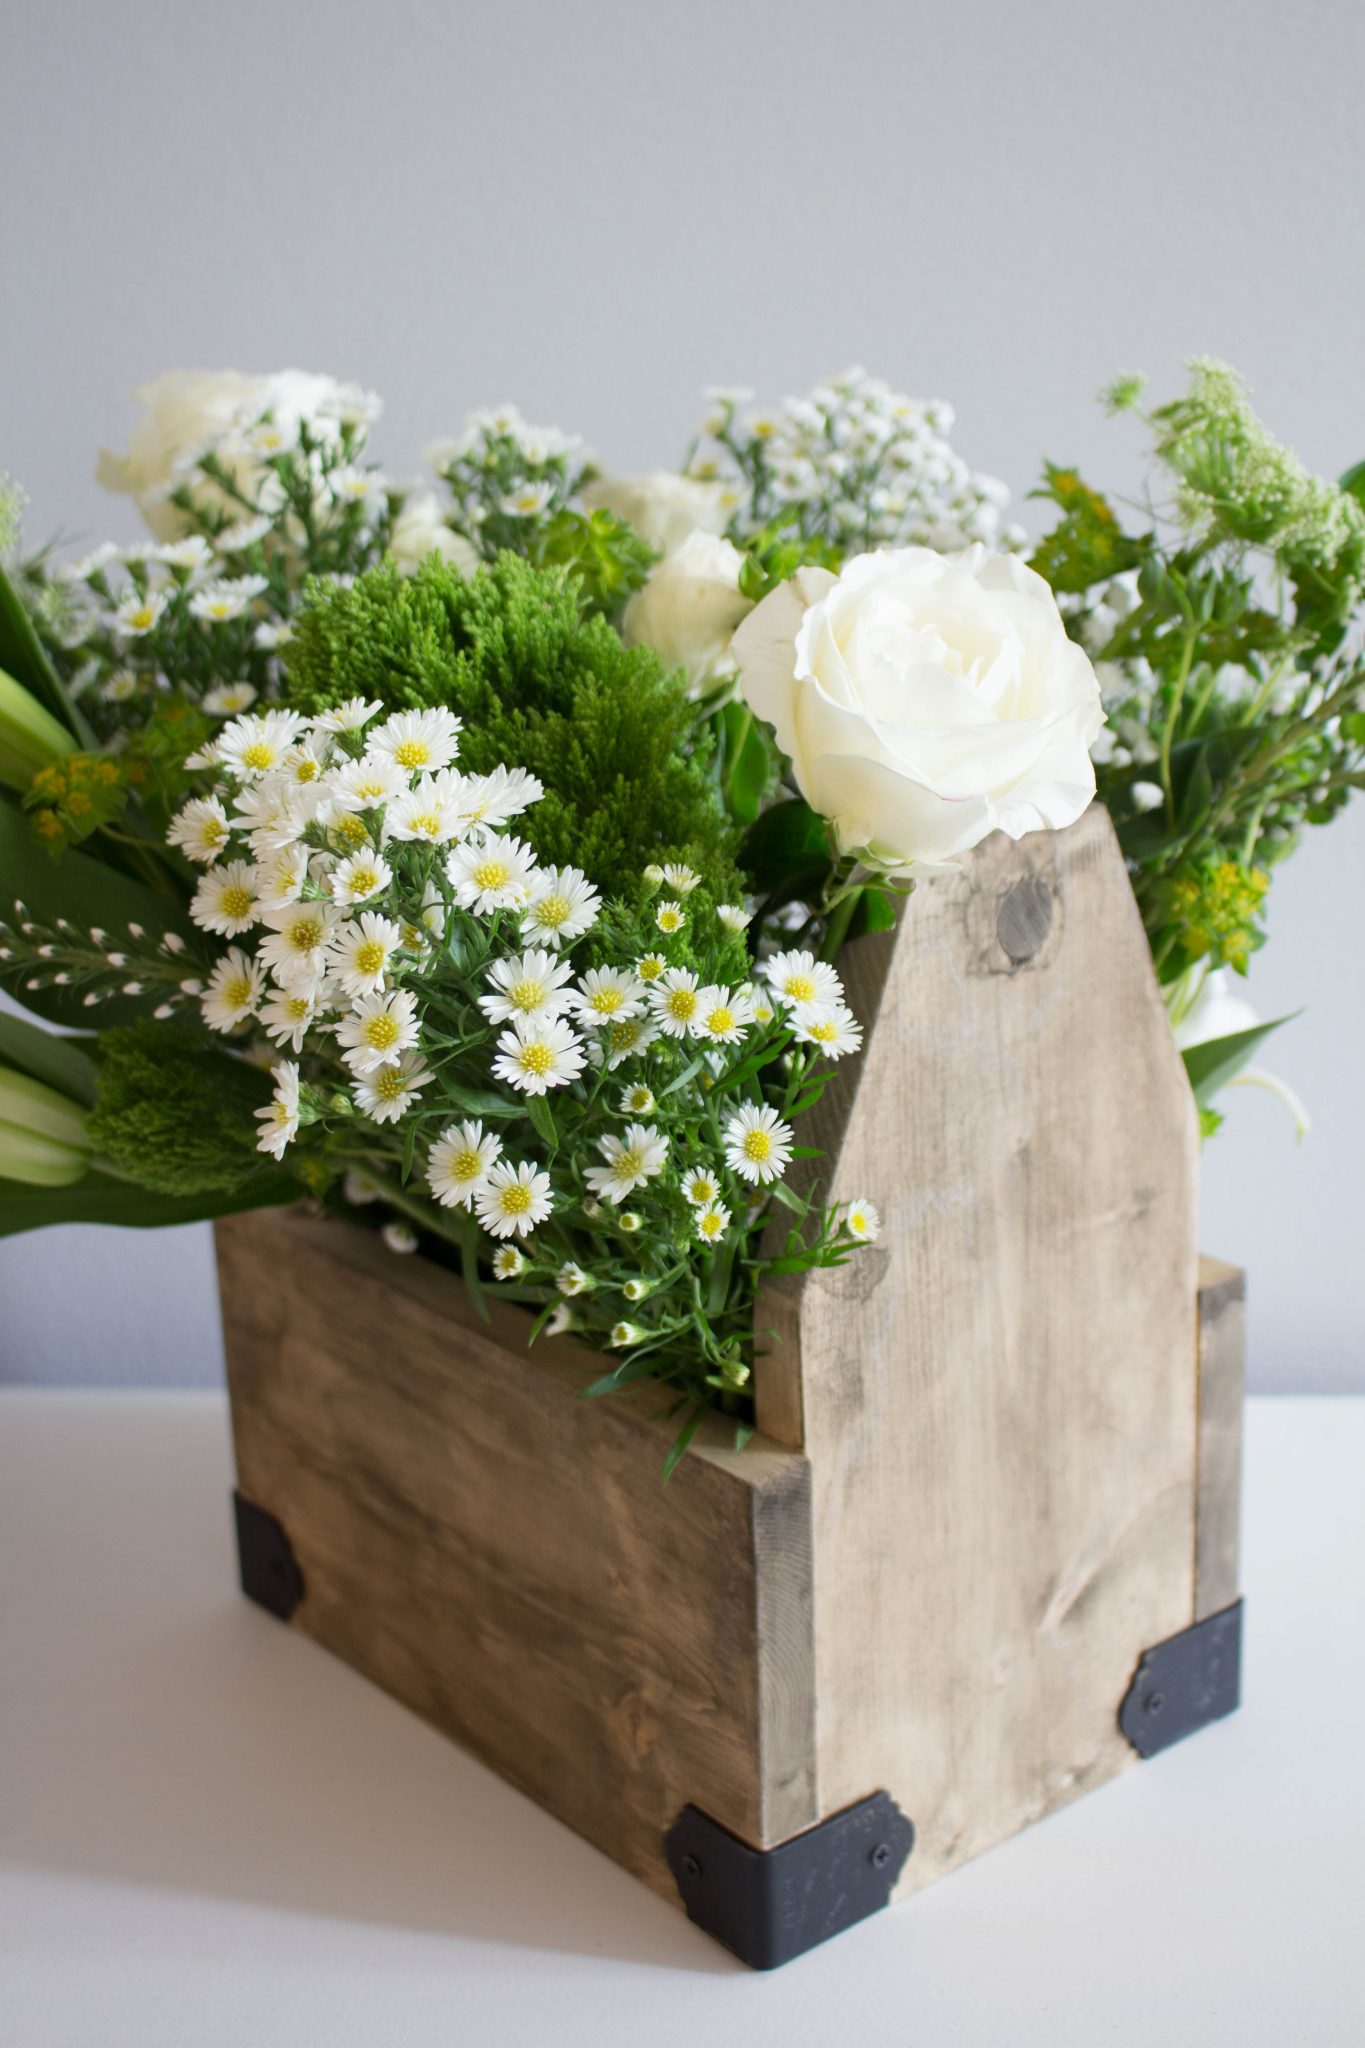
A simple wooden caddy was given a makeover by using a foam brush and vinegar and steel wool stain.
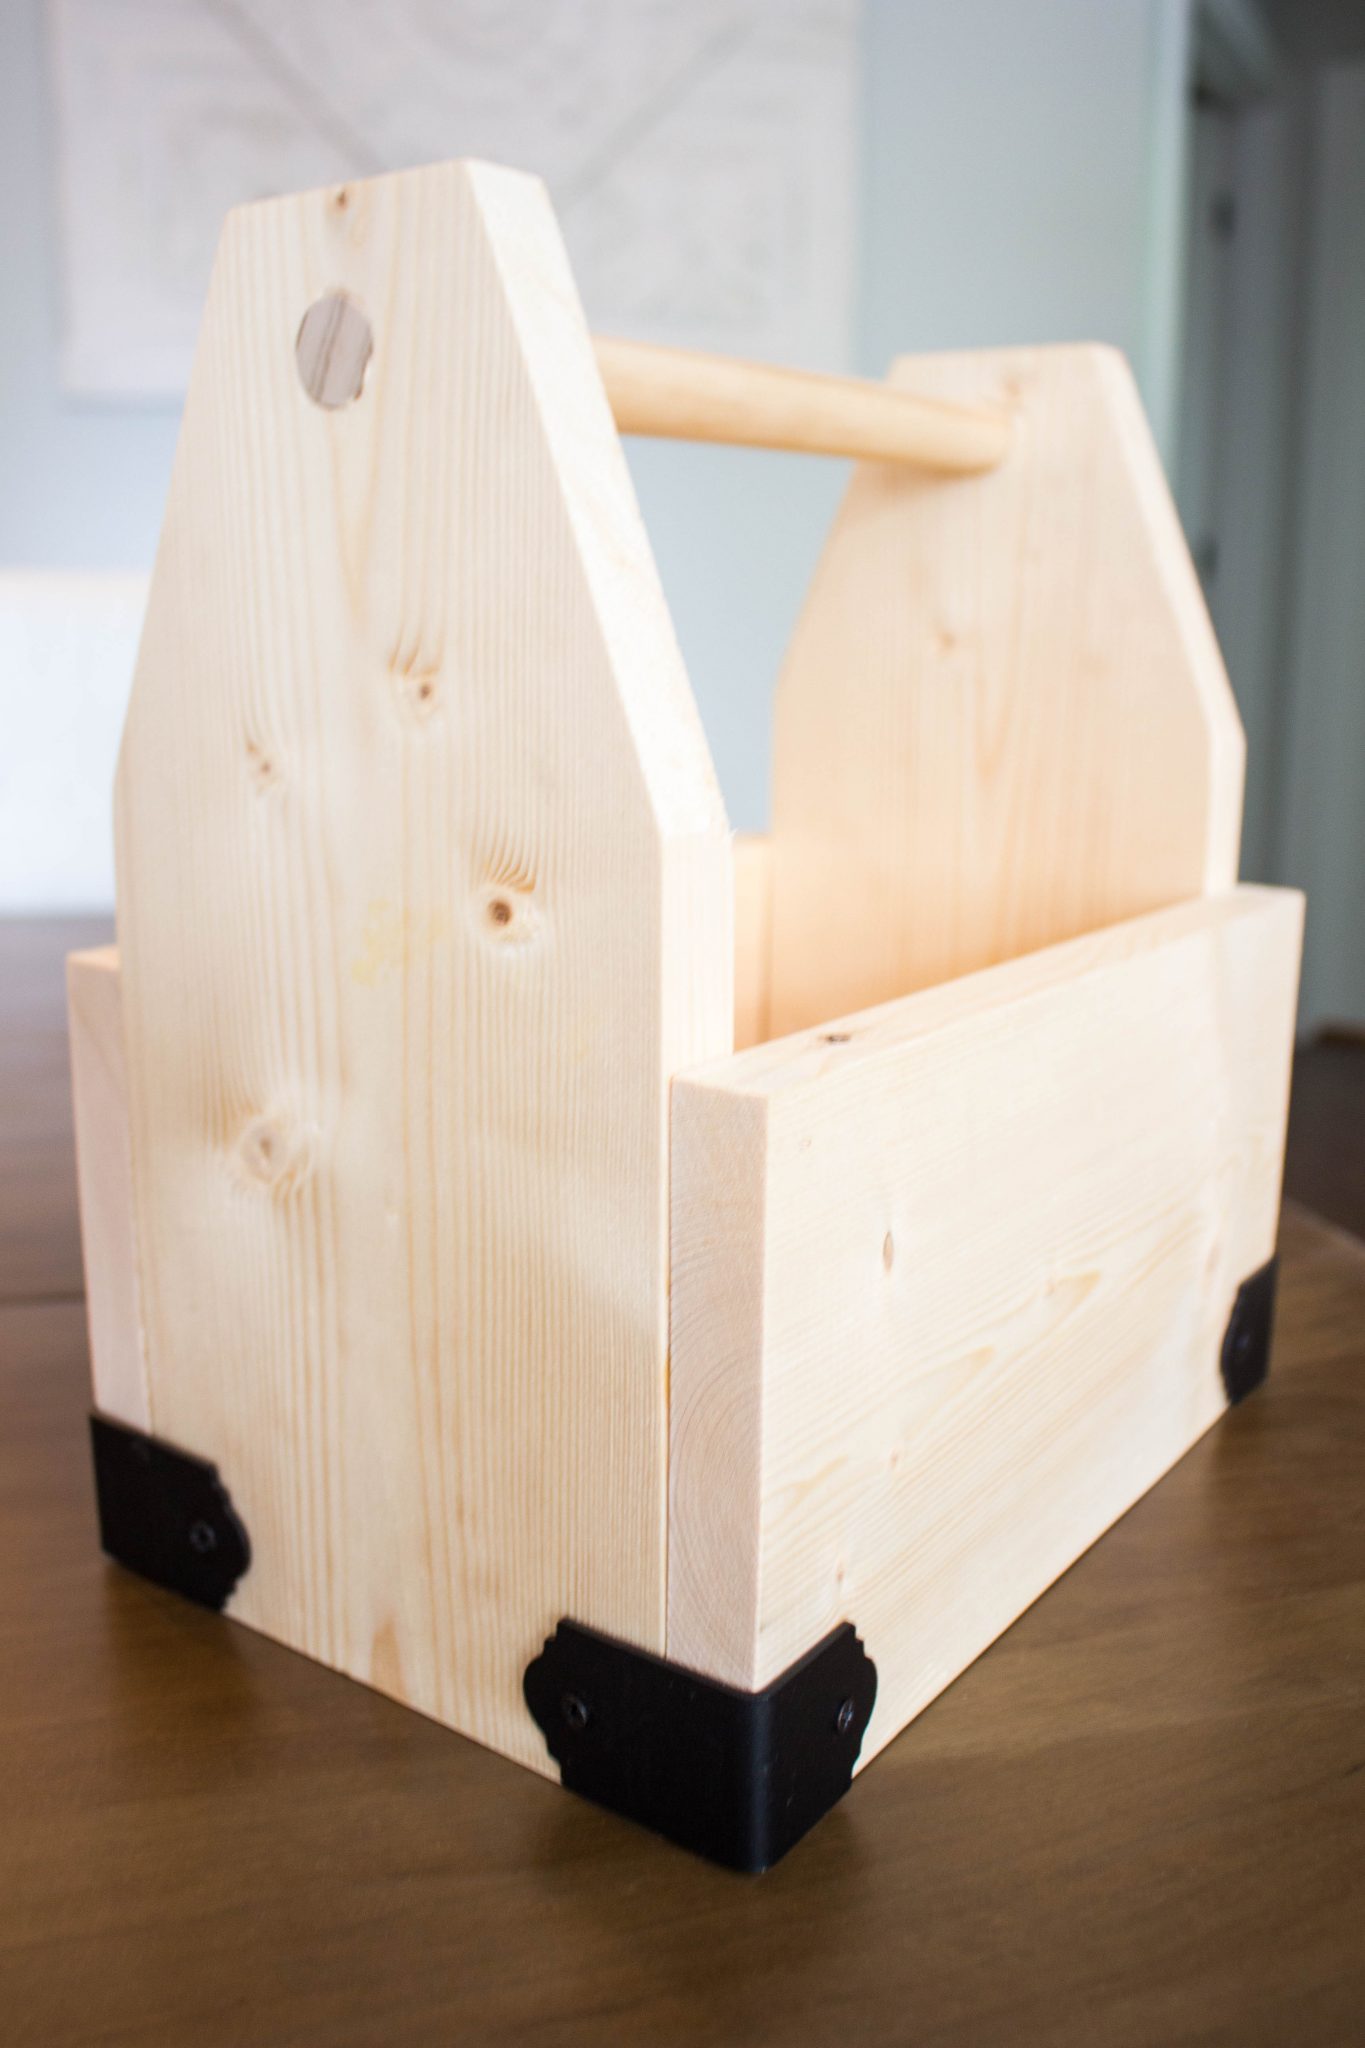
I love the new look.
This is How You Do It
- You need a Mason jar, vinegar and steel wool. I prefer the #0000 grade of steel wool as it makes a cleaner stain with hardly any debris.
- Take one piece of steel wool and pull it apart into smaller pieces and place in jar.
- Pour vinegar on top of the steel wool until it just covers the wool. Tighten the lid.
- Let this mixture sit for at least 24 hours. My mixture sat for 4 days.
- When you are ready to use the stain, strain some of the mixture in a cup – pouring over a piece of cheesecloth. The cloth will pick up any bits of debris so that the bits don’t ruin your project.
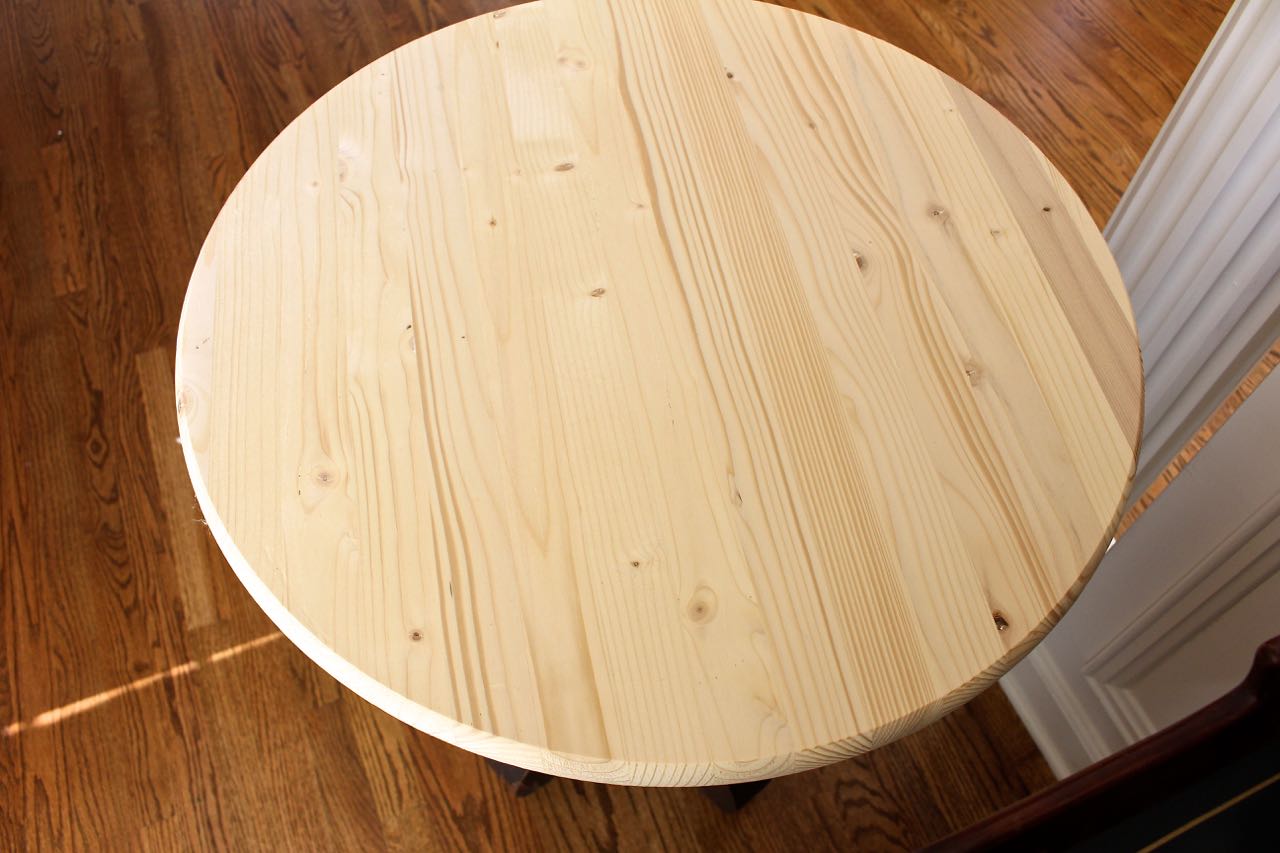
- Using a brush, apply stain to your sanded wood piece. Raw wood works best, but we have had success adding it to bare, sanded wood as well.
- Experiment on a piece of natural wood to test your recipe. If you want a lighter color of stain, you may add water to your recipe…again testing for desired color.
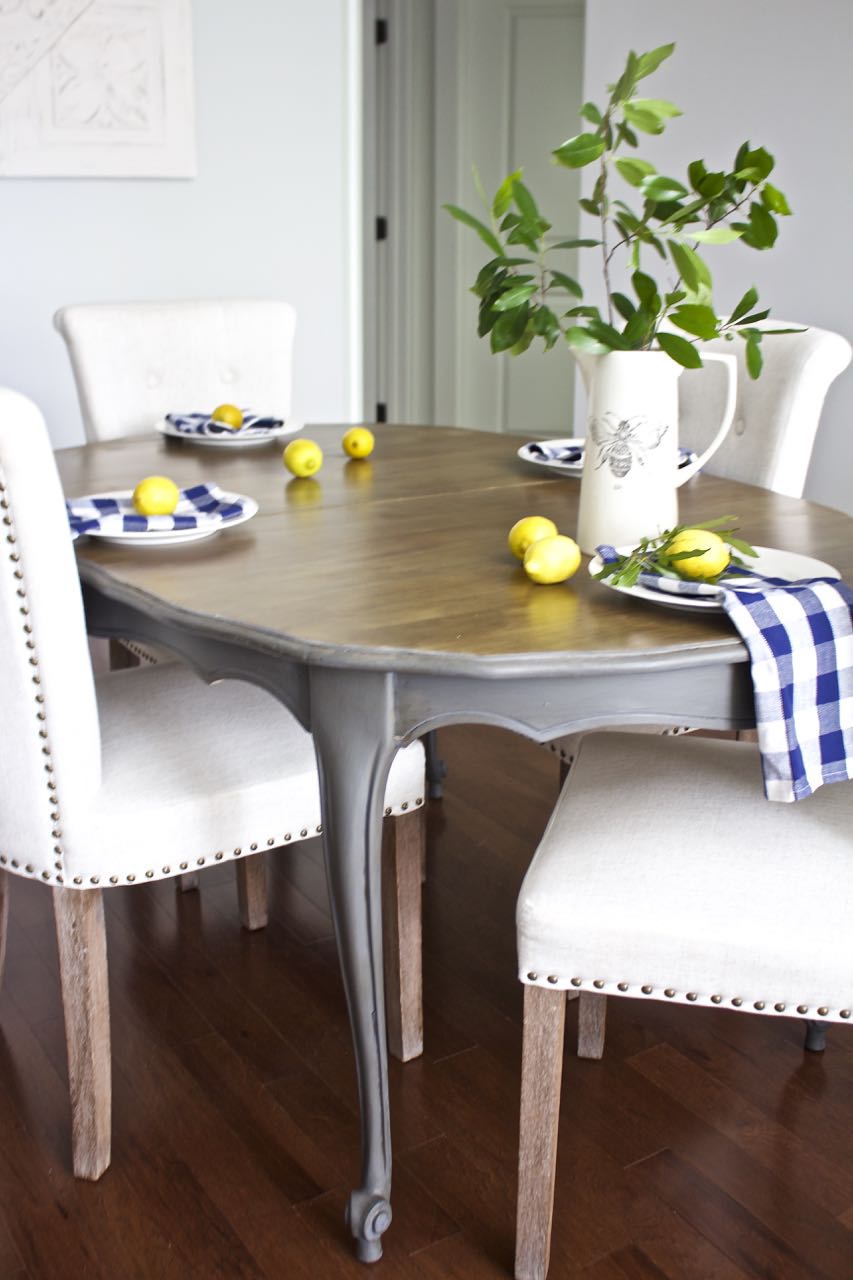
Green with Envy
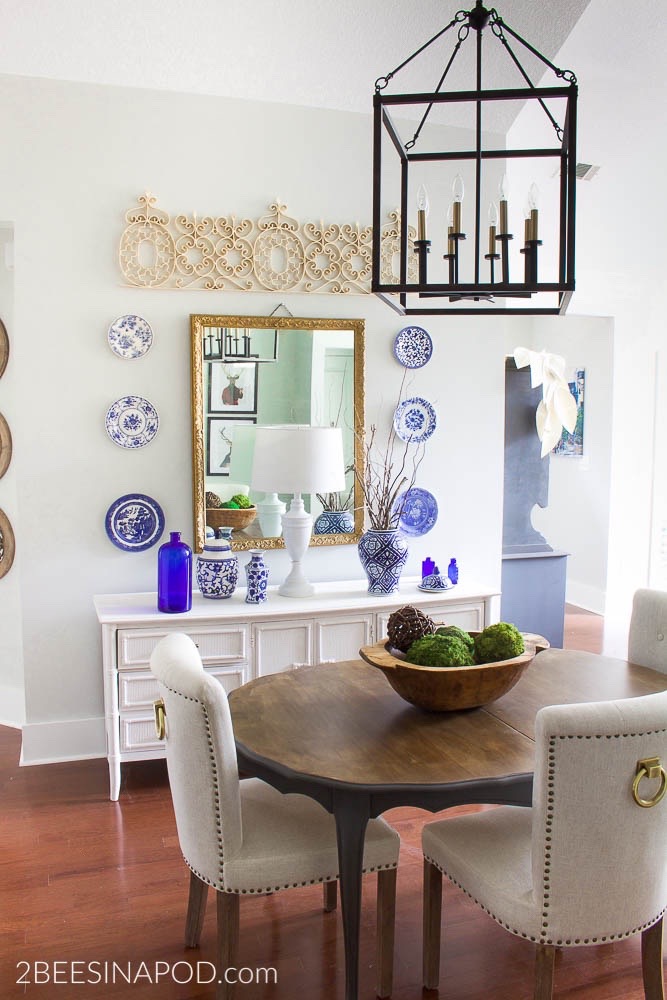
Believe it or not, this table was avocado green – and I still bought it. LOL The green was covering up layers and layers of paint and primer. I only paid $25 for the table, so it was worth the risk. You can read the entire post Dining Room Table Makeover for the full story. It’s a doozy!
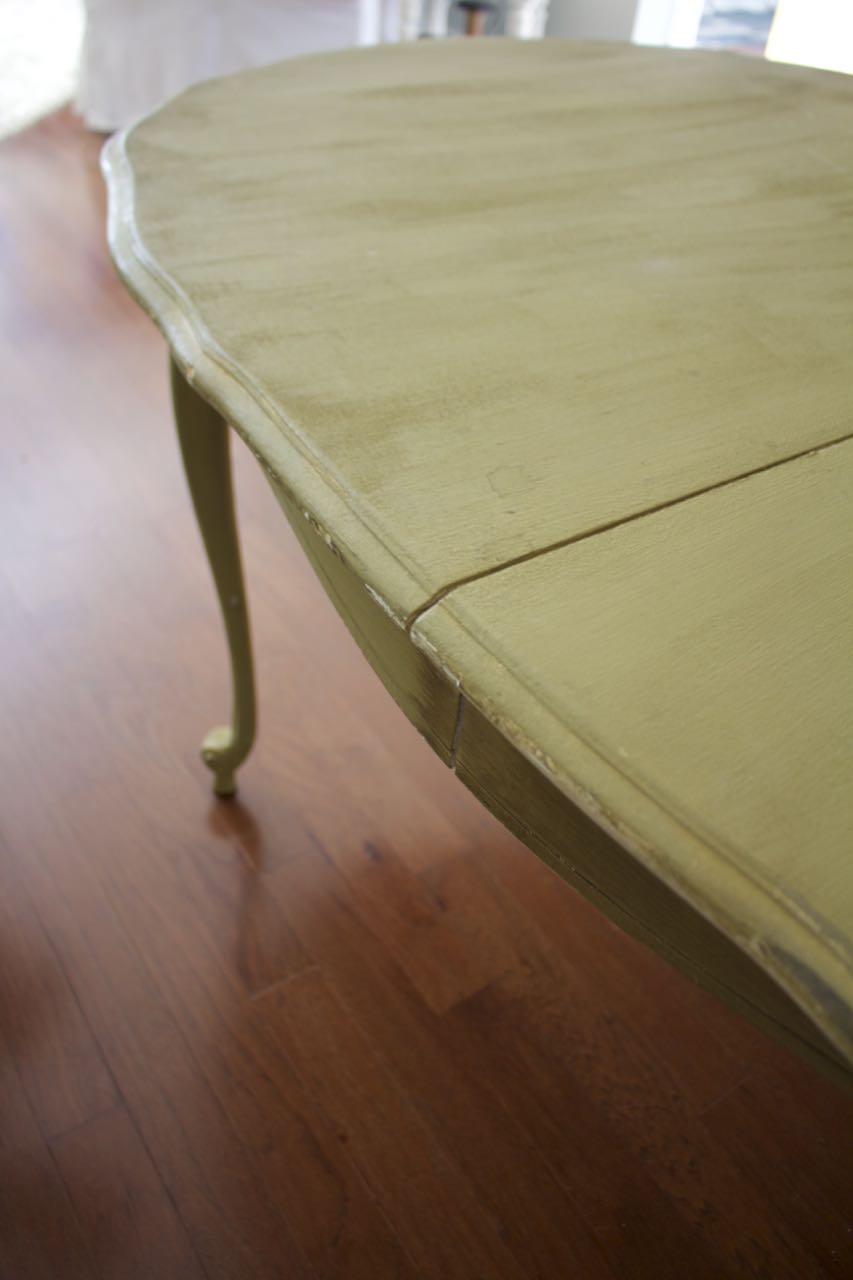
This stain only works on raw wood, which necessitated sanding down the tabletop. If there is any paint or stain, the new stain will not soak into those areas.
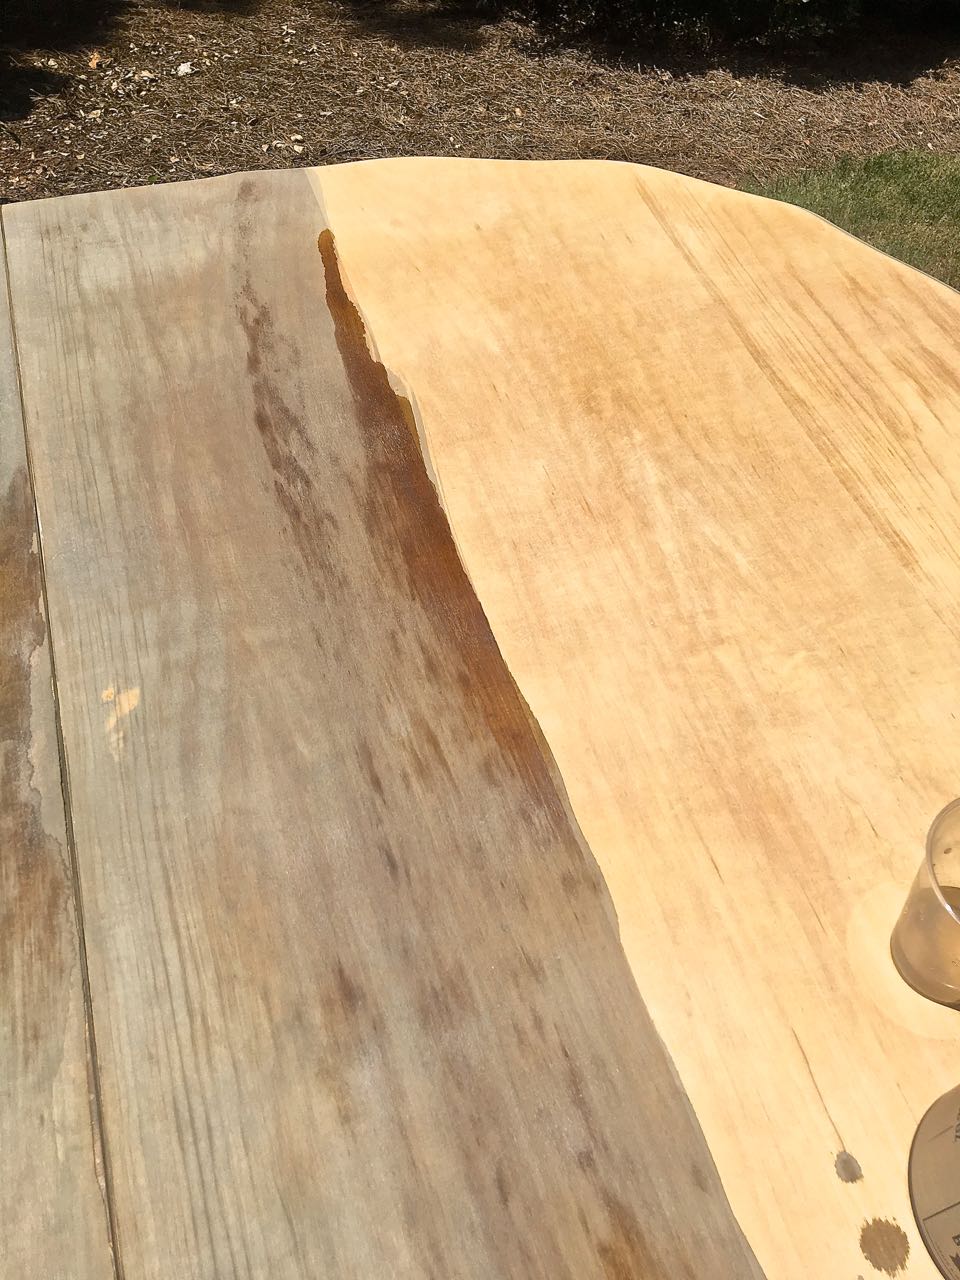
All of my hard work paid off. It was definitely worth the effort. We have been enjoying this table makeover for five years now! It still looks perfect.
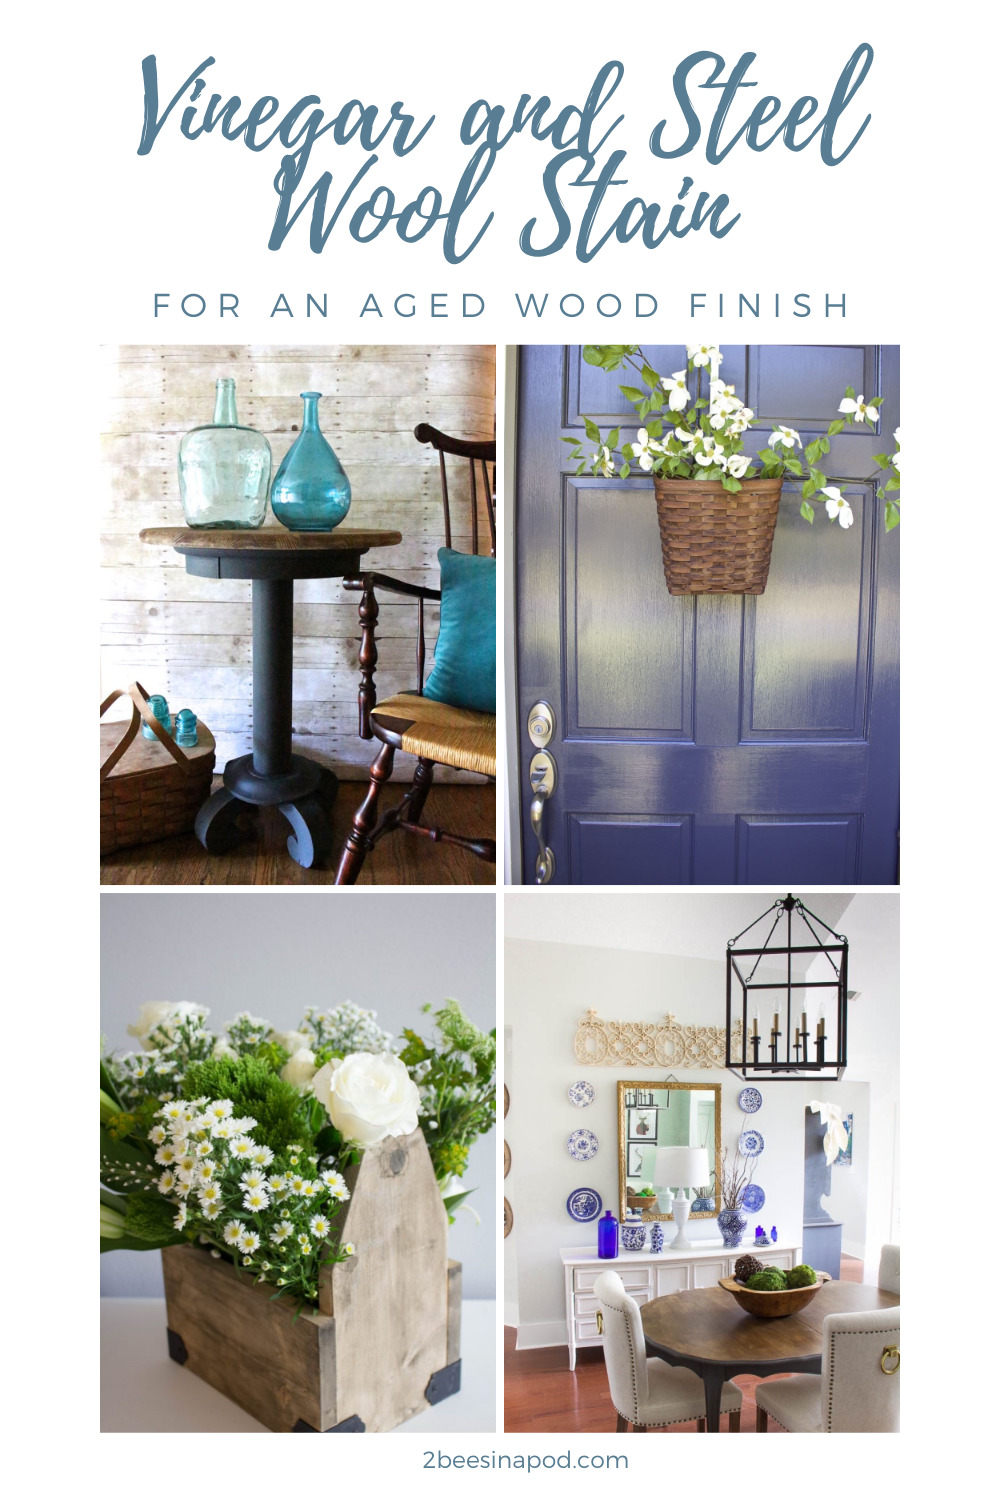
Desperate need of some TLC
This next diamond-in-the-rough was an estate sale purchase of just $5. Obviously it was very damaged and needed a lot of work. The side table got an unexpected makeover and you can read all about it HERE.

Isn’t she beautiful? I was very sad when we moved and I didn’t have a spot for her in our new home. Luckily, I was able to sell it for a new family to enjoy.

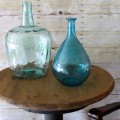
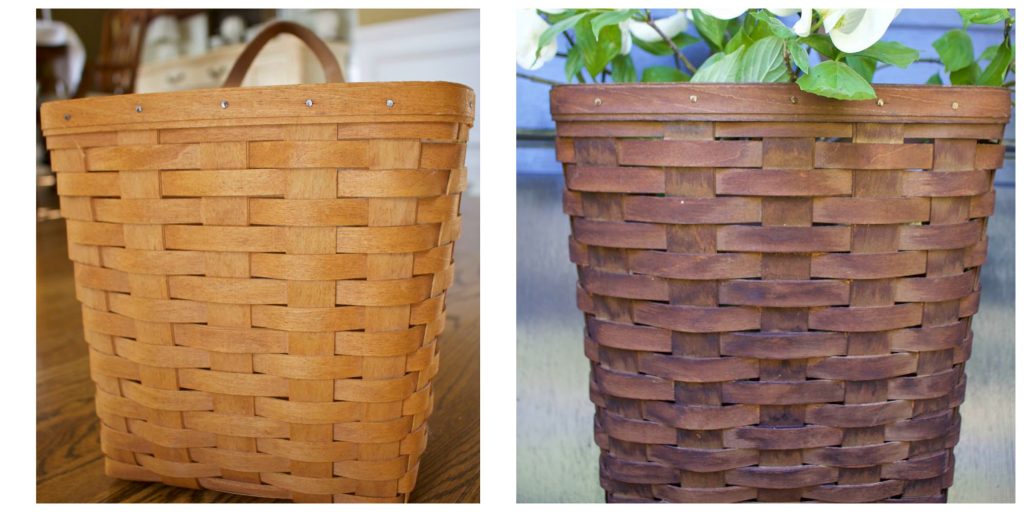
The great debate
Admittedly, I struggled with this makeover – How to Create an Aged Finish on Baskets. Jenn and I each give a lot of thought and care before we do a makeover. Longaberger baskets are loved by a lot of people, especially collectors. After much debate, I decided that I had to go for it. Read this post for the full debate.

Both looks are beautiful, but the original finish is too yellow/orange to be used in my decor.
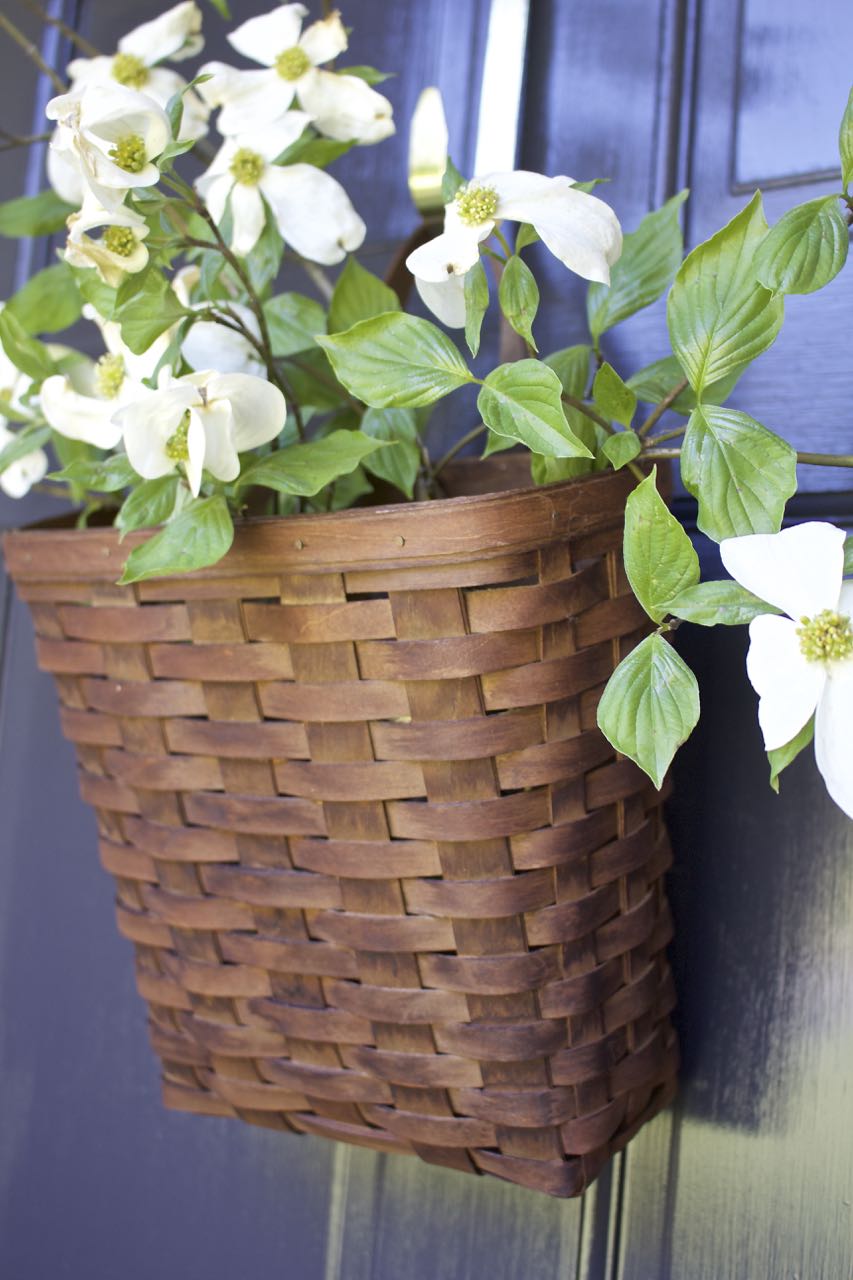
Now I use it all of the time. My favorite way to display it is on the front door with seasonal flowers.
I sincerely hope that you have been inspired in some small way today! Have you ever made your own stain? We’d love to hear about it.