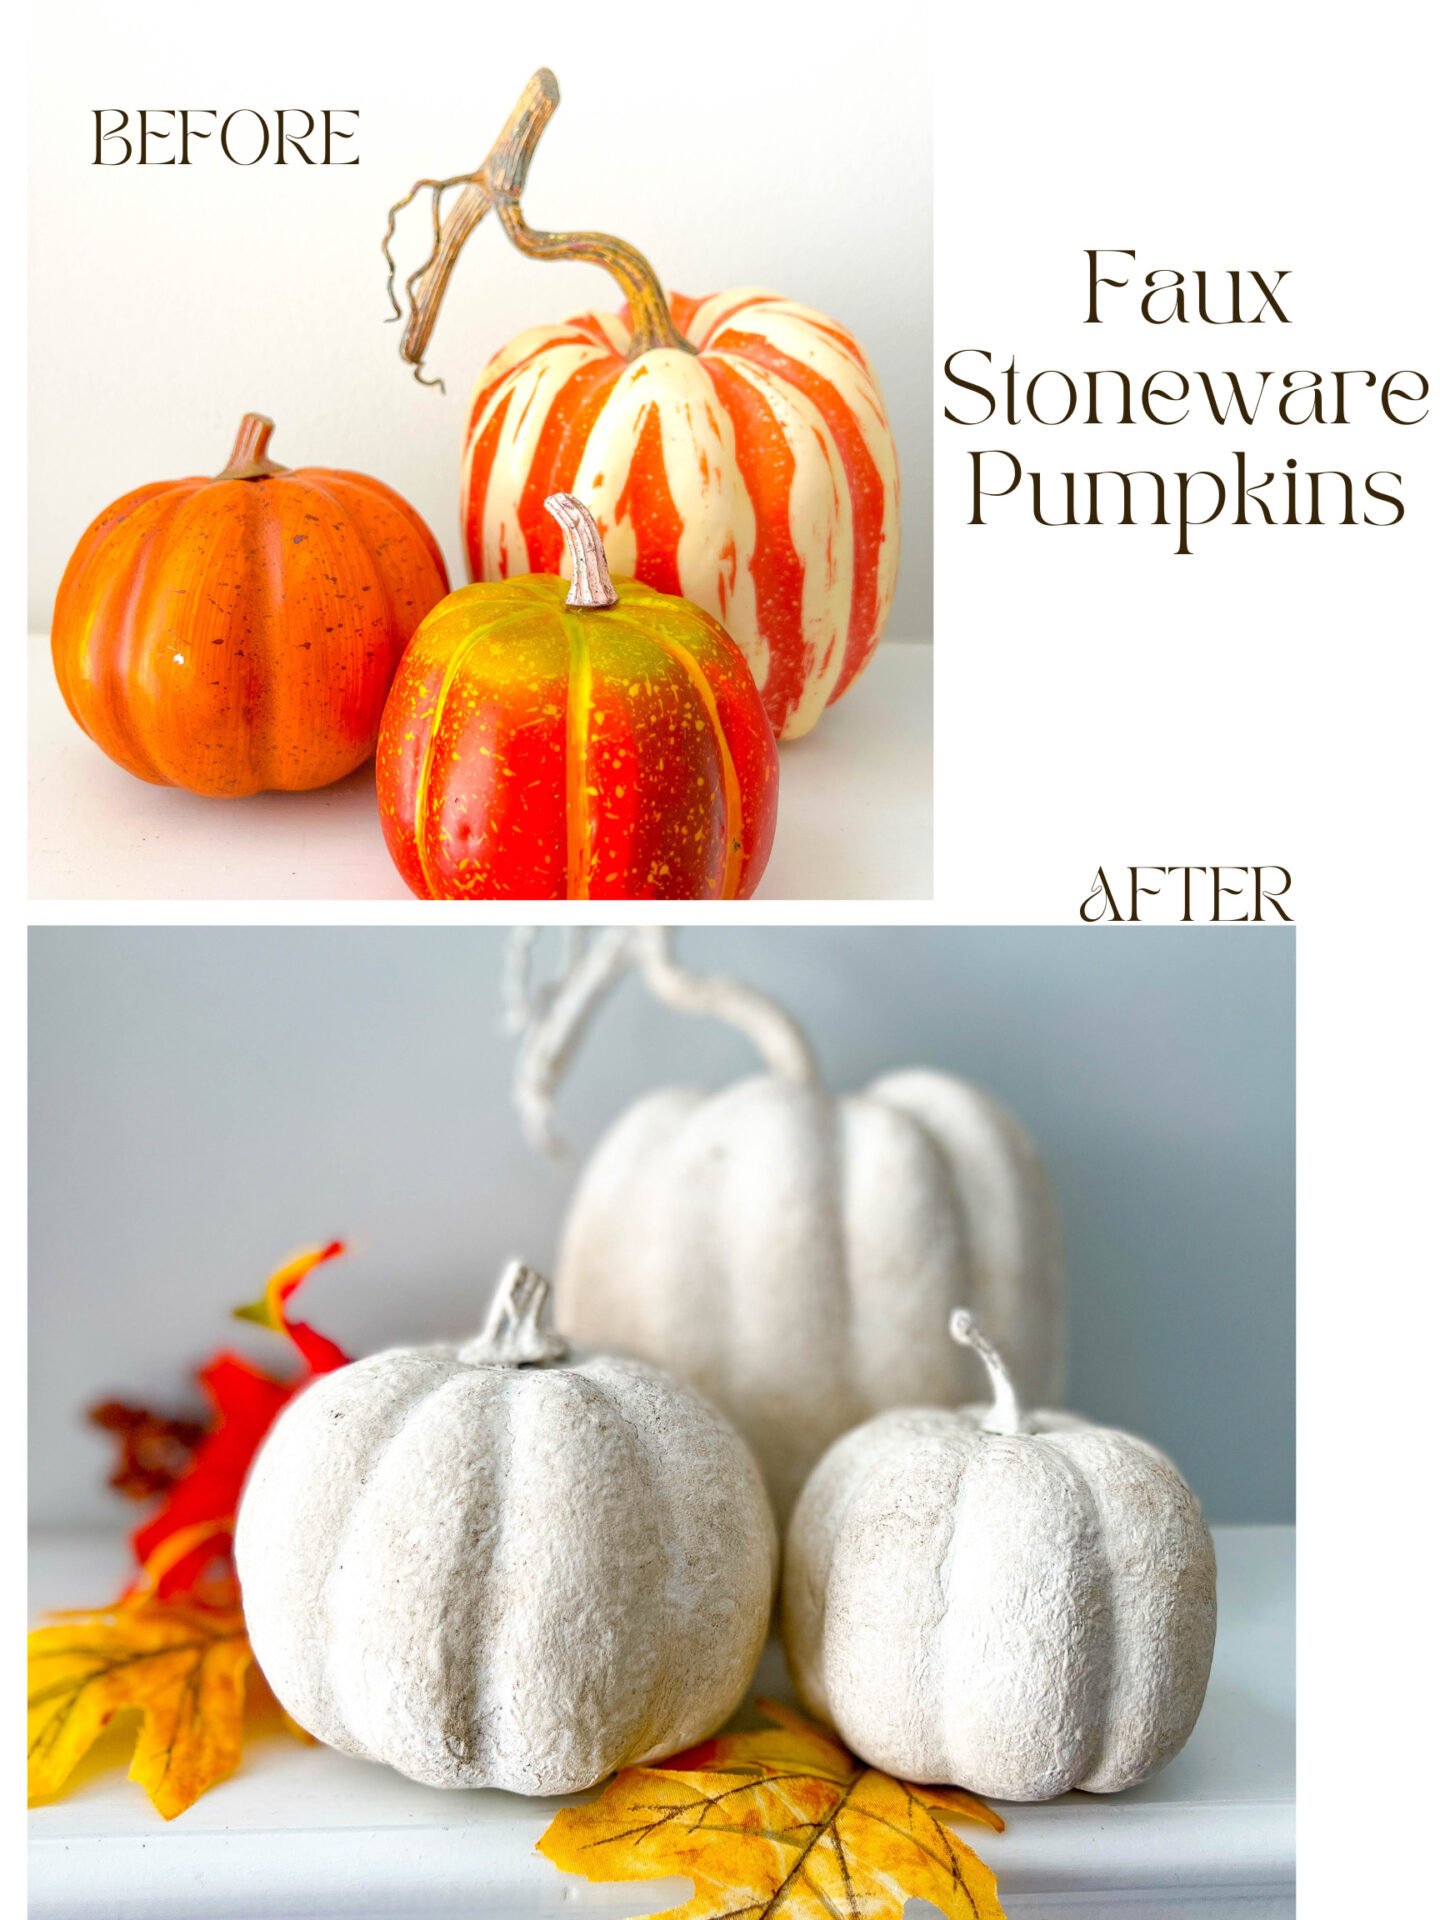
Faux Stoneware Pumpkins
Please note that this post contains affiliate links. As an Amazon Associate, Rewards Style influencer and Jane Influencer, we earn from qualifying purchases and any sales made through such links will reward us a small commission – at no extra cost for you.
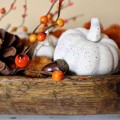
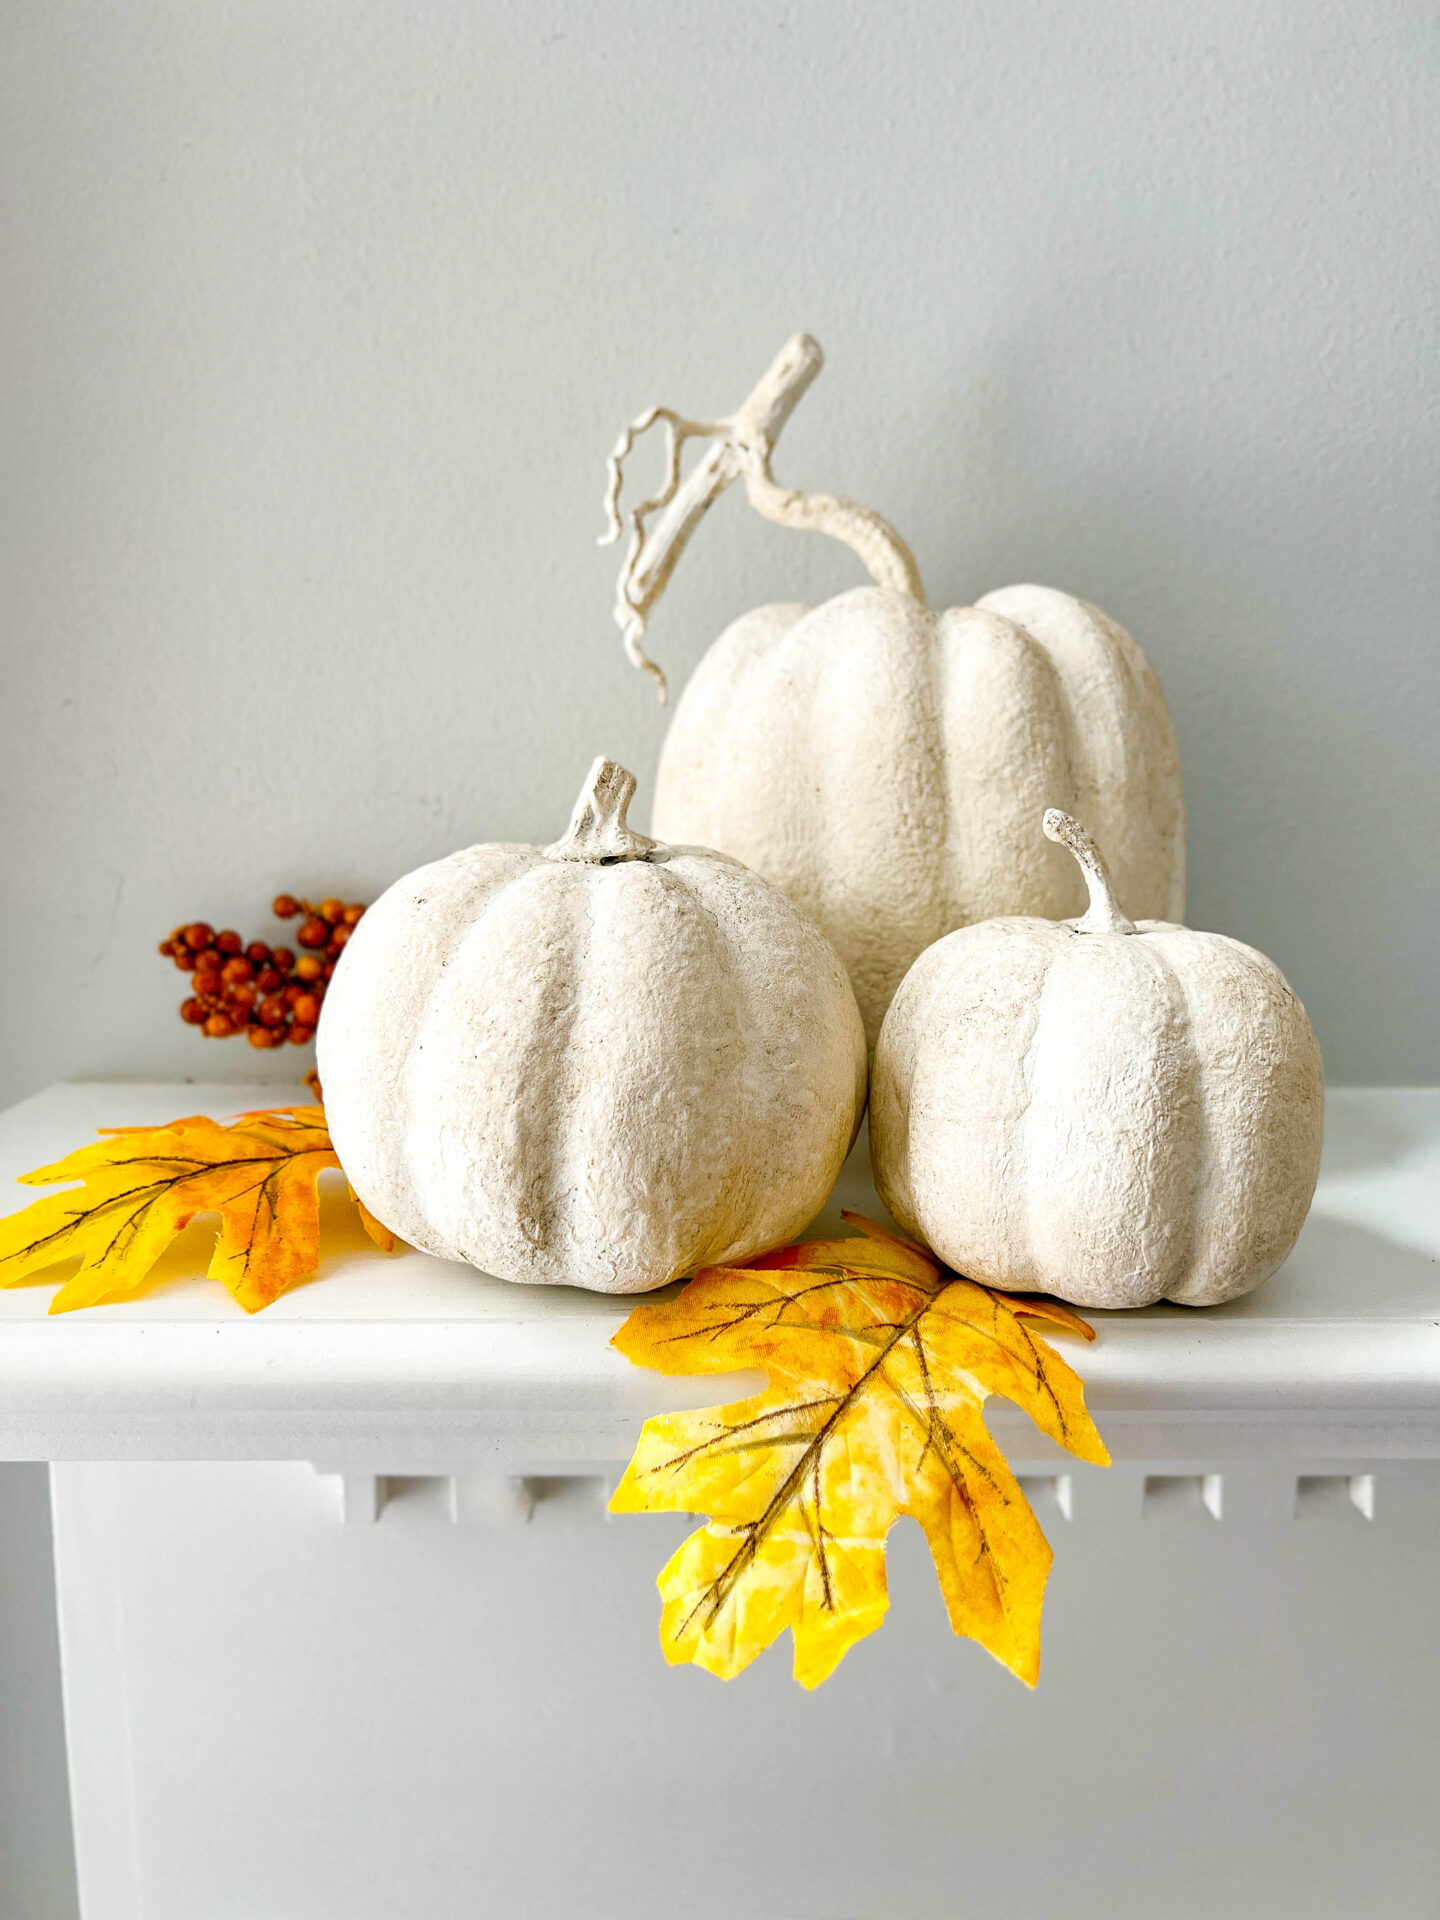
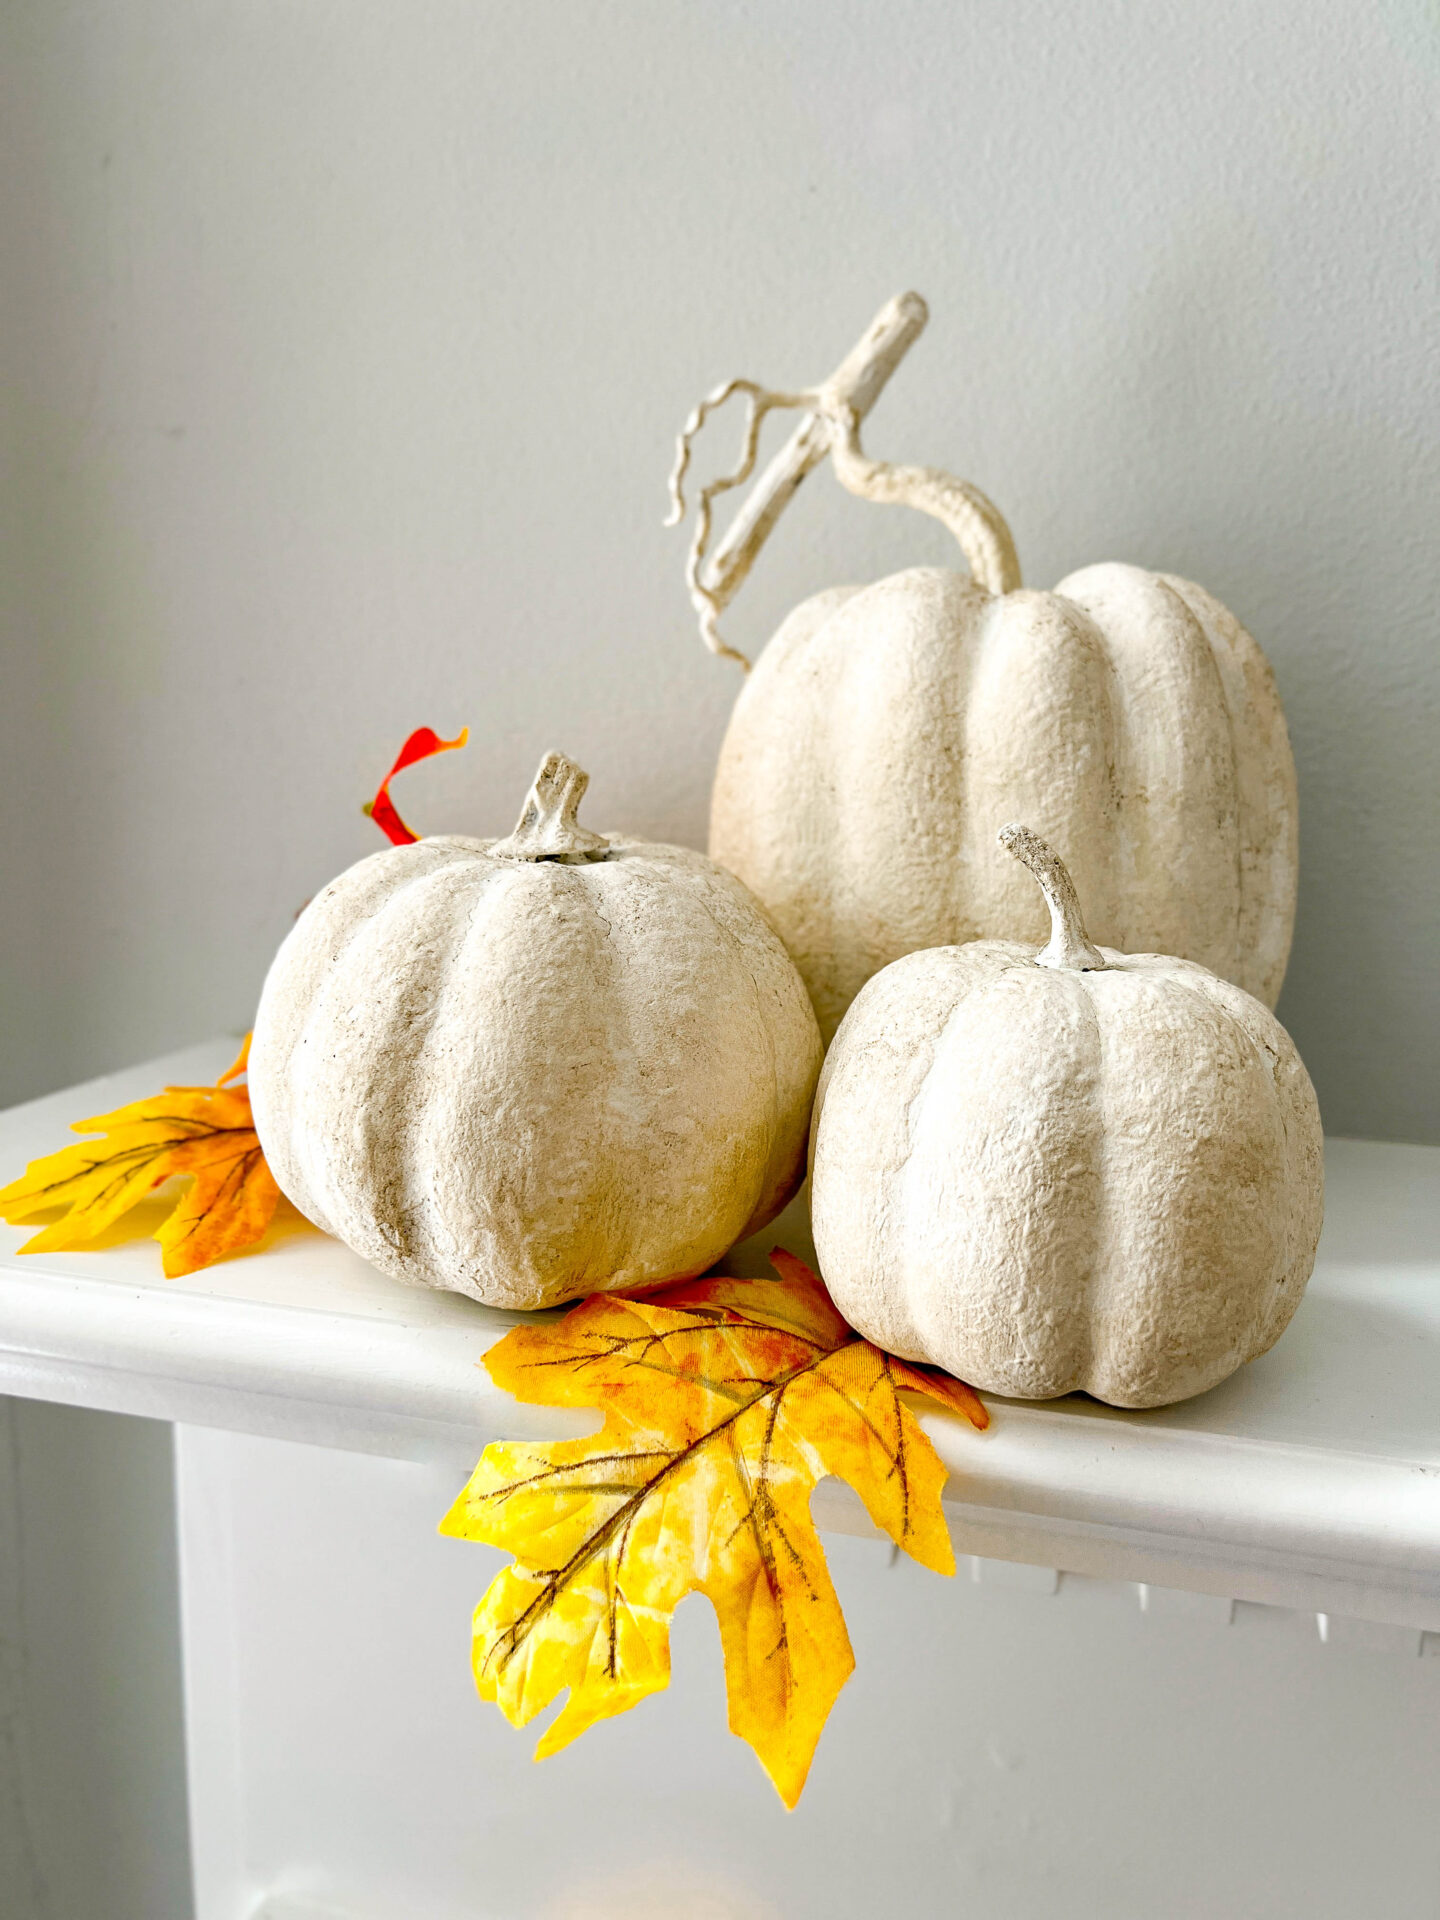
Here is a simple and easy way to transform cheap plastic pumpkins and gourds. Create a faux stoneware pumpkin finish with just a few items.
My sweet friend Angie, of Postcards from the Ridge, is super talented. in our last Thrifty Style Team post, she created the most beautiful vase. She transformed a simple glass vase into a stoneware beauty! I definitely will be doing a vase for my own home. In the meantime, I was inspired to make faux stoneware pumpkins. It was easier than I thought it would be.
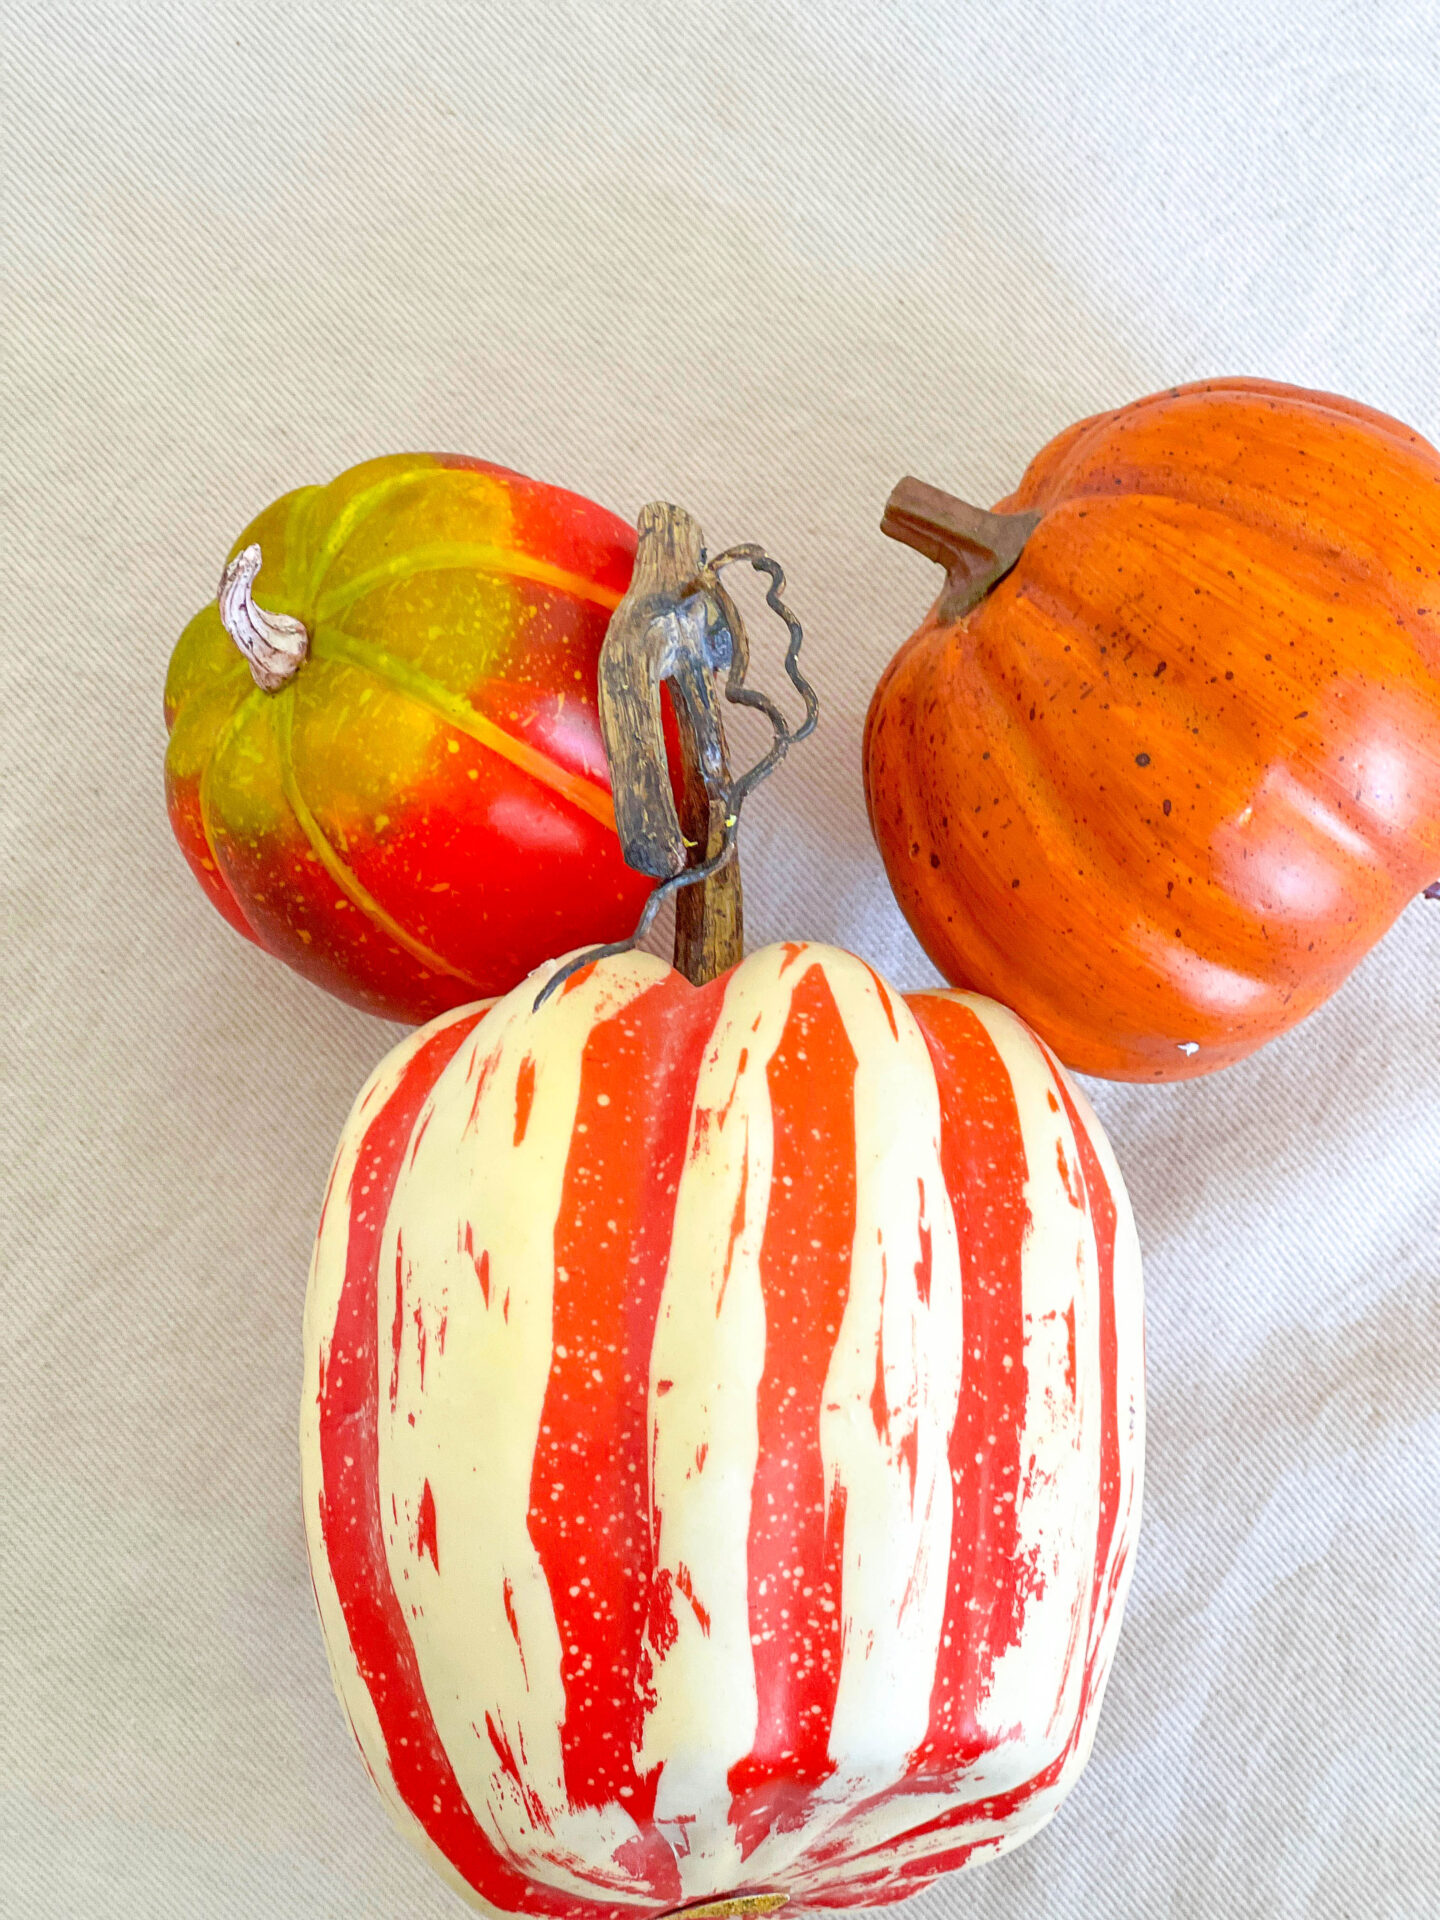
I think it is safe to say that most of us have plastic pumpkins or gourds. The ones that I used for this project came from a bag that I bought for $1 at a thrift store awhile ago.

Materials needed to make faux stoneware pumpkins
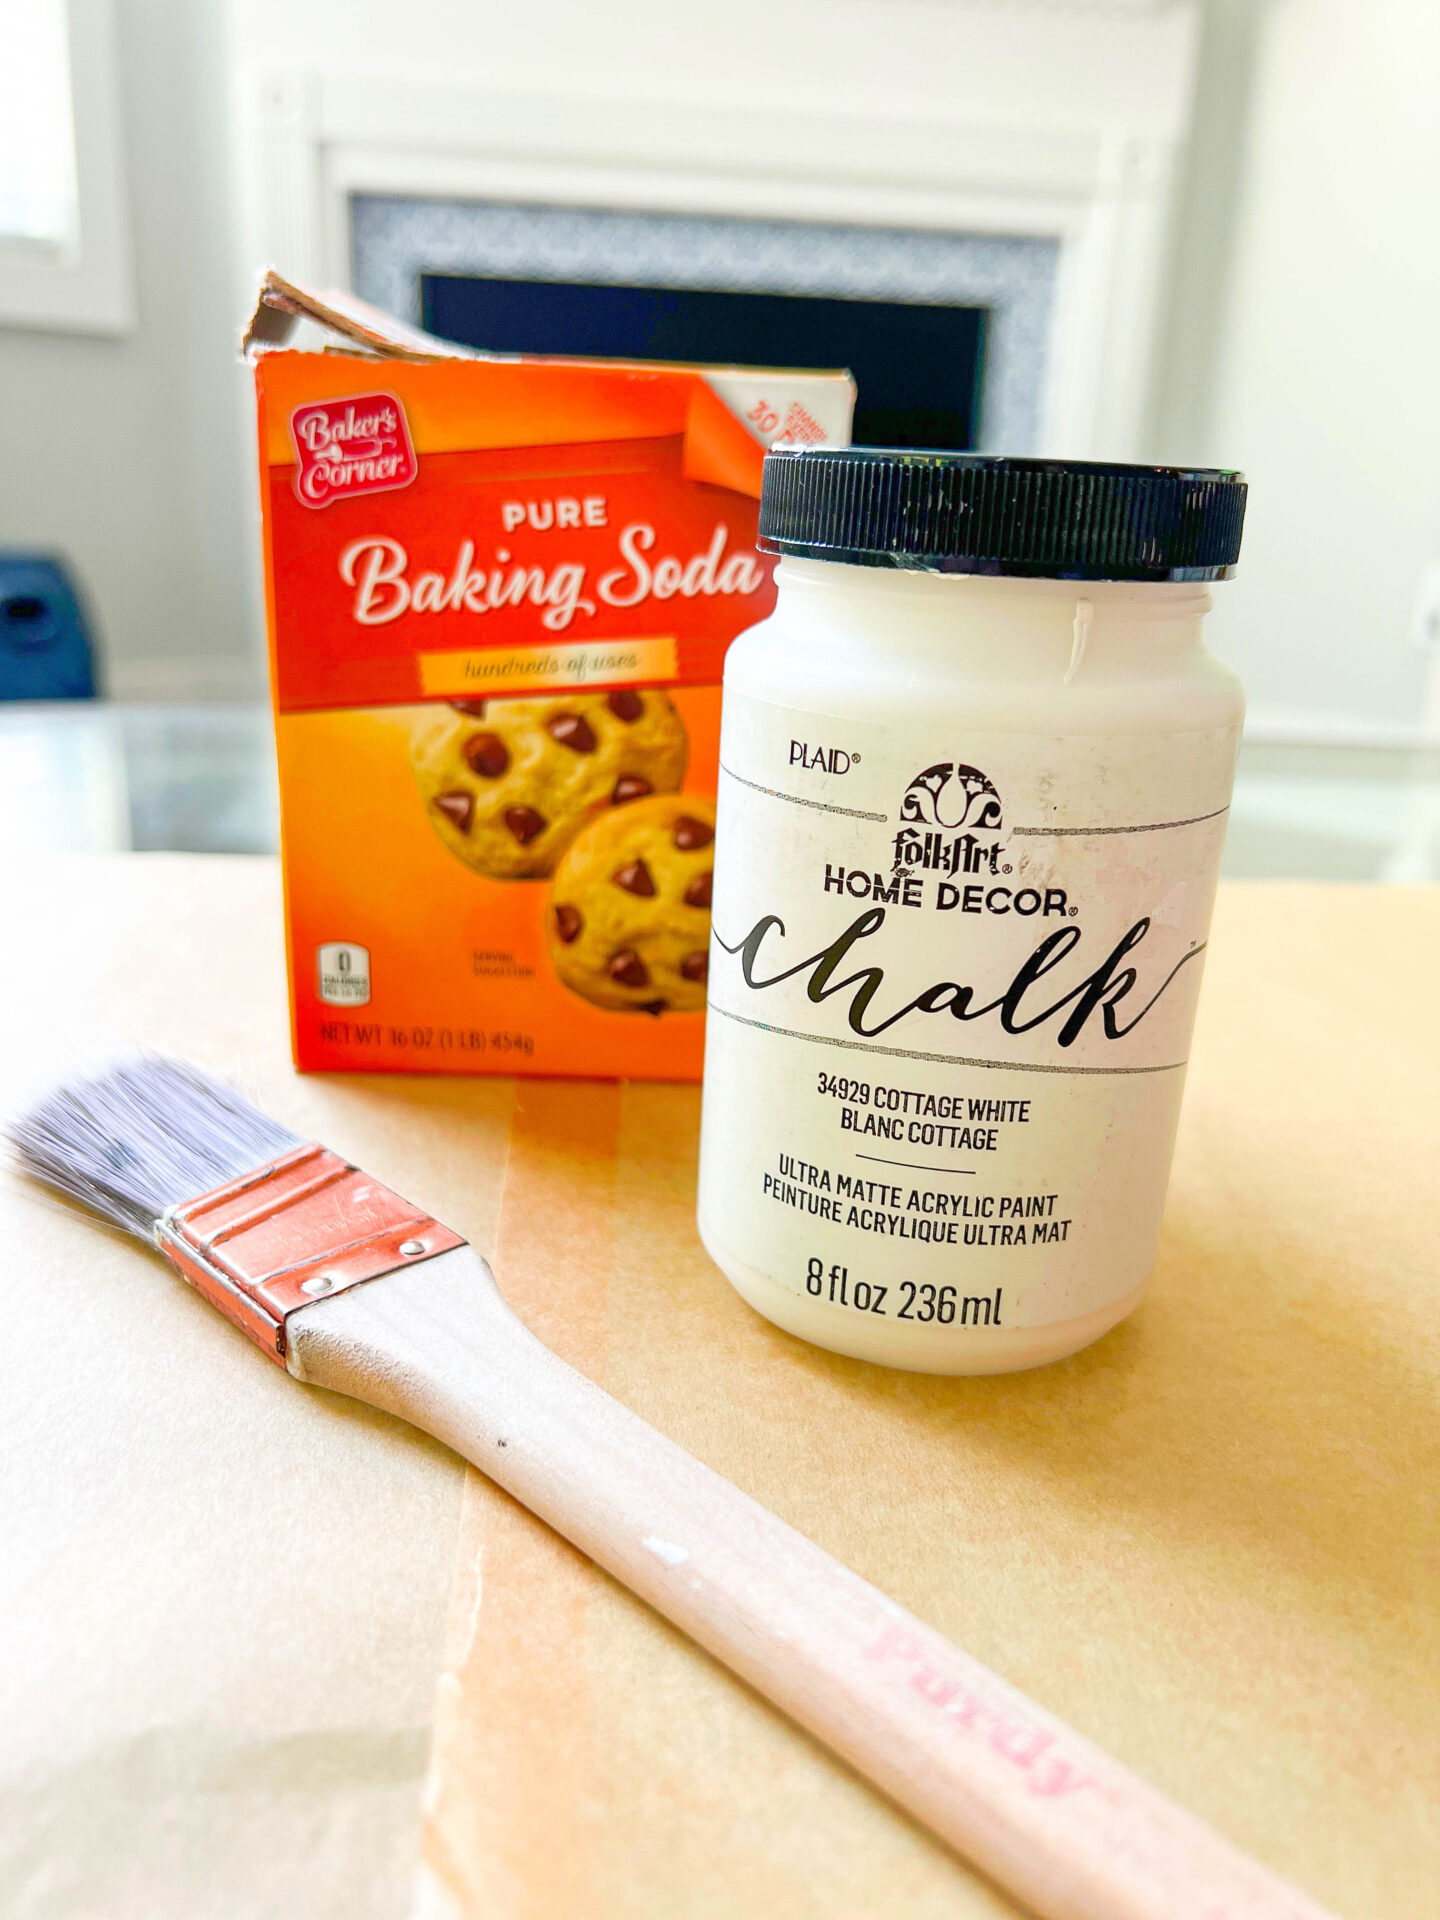
- Paint – I used the same paint that I used for the French Country Lamp Makeover. Folk Art Chalk in Blanc Cottage.
- Baking soda
- Brush – a cheap sponge brush is great for this project.
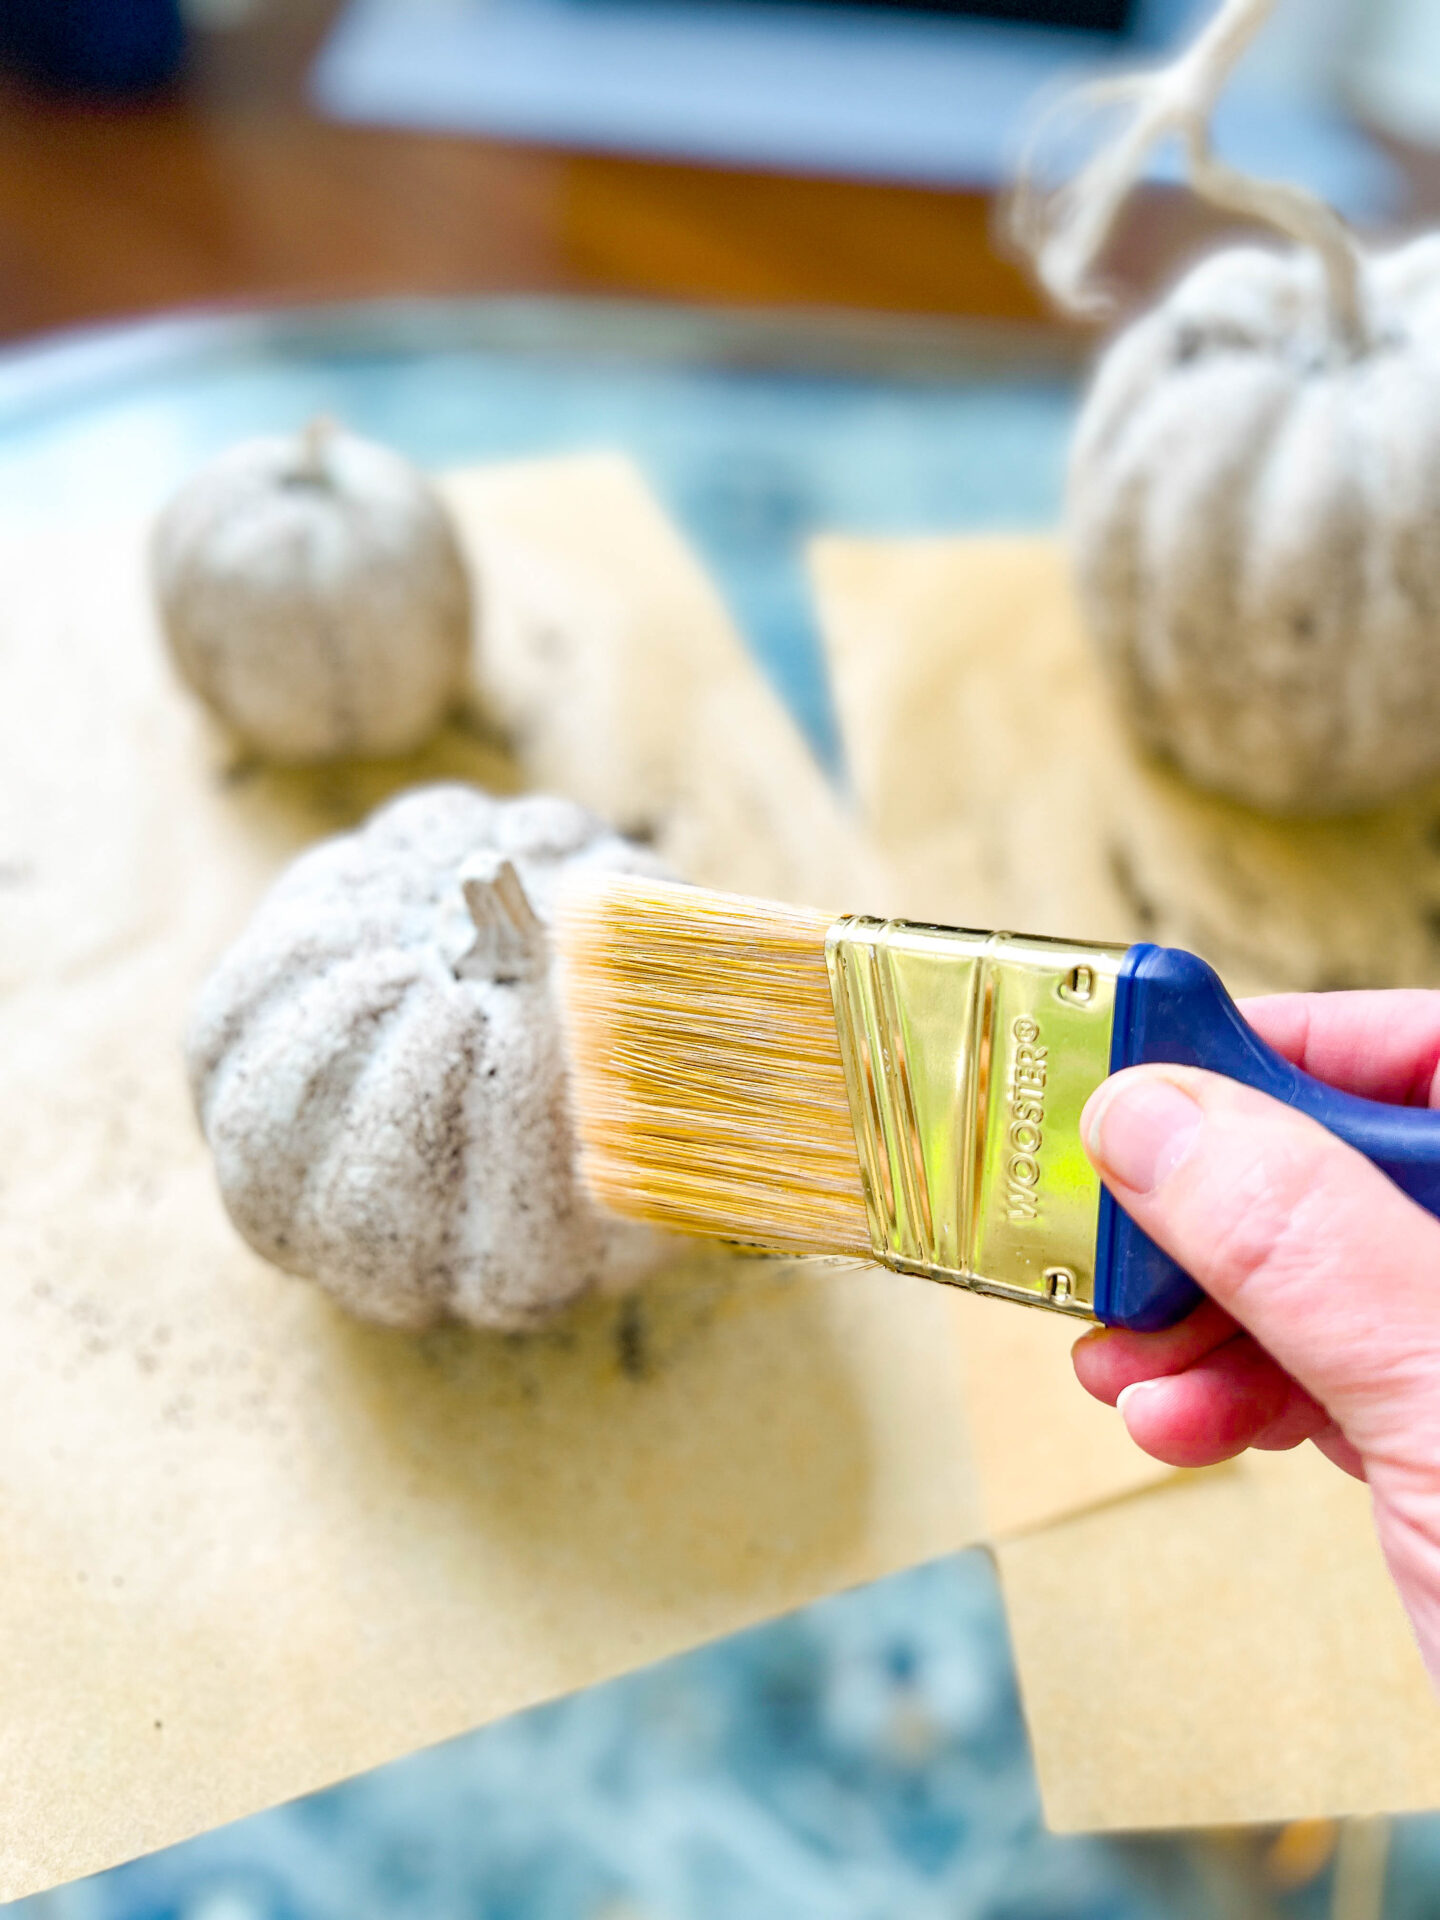
- Coffee grounds – damp. I used the grounds from my morning coffee when they were still warm.
- Plastic pumpkins – something from the thrift store or dollar store is perfect. Do NOT use expensive or really good pumpkins.
- Bubblewrap – if you don’t have bubblewrap you can use a sea sponge.


How to make faux stoneware pumpkins
- Gather all materials
- Protect your painting surface
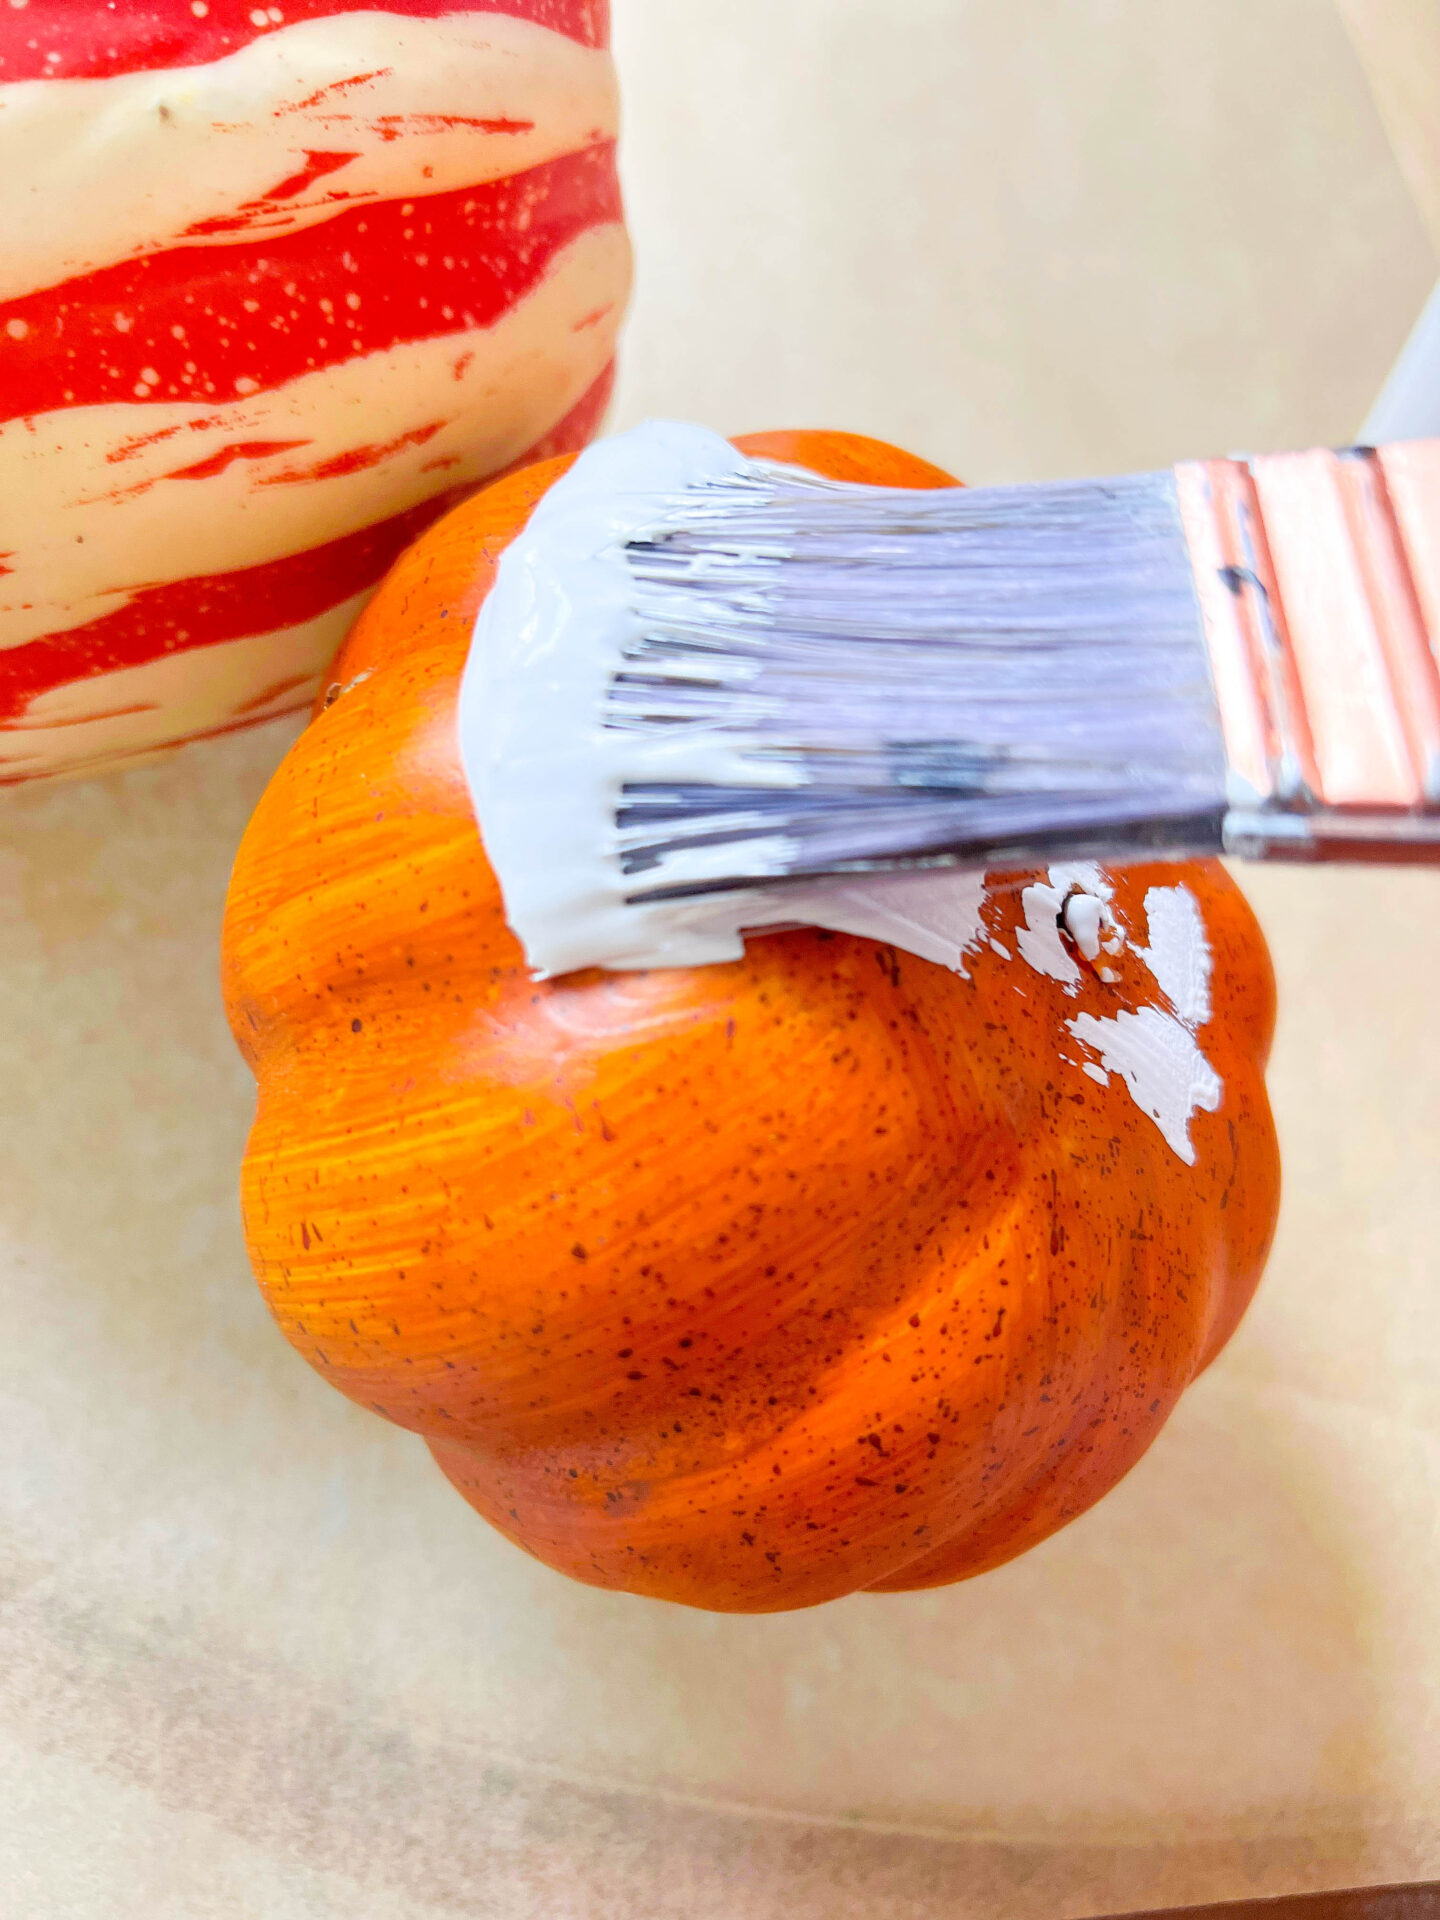
- Mix paint and baking soda – 3 to 1 ratio = 3 parts paint to 1 part baking soda
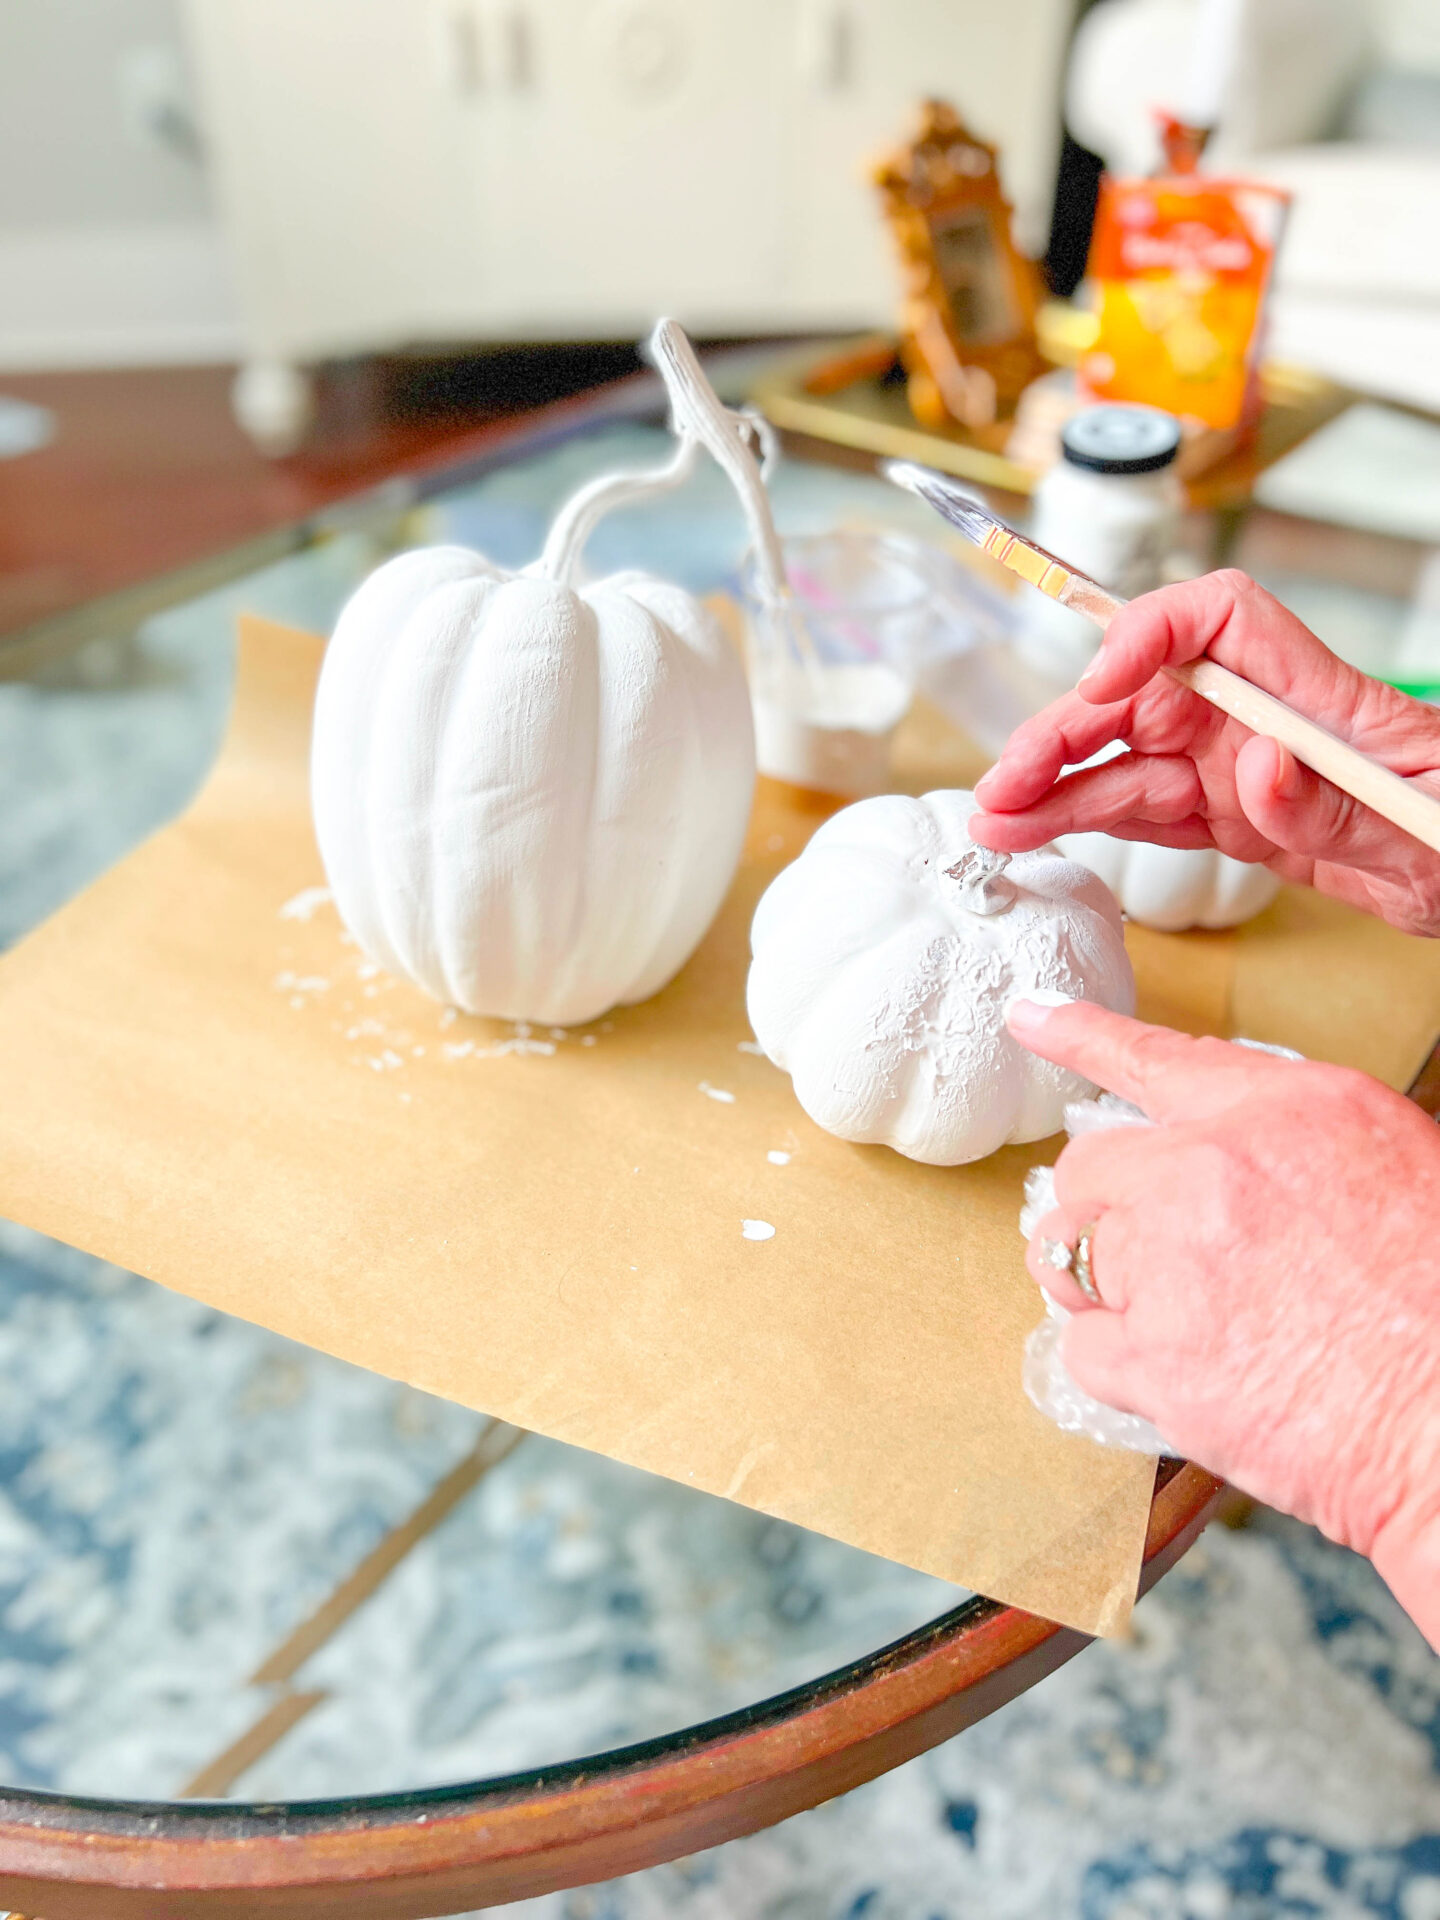
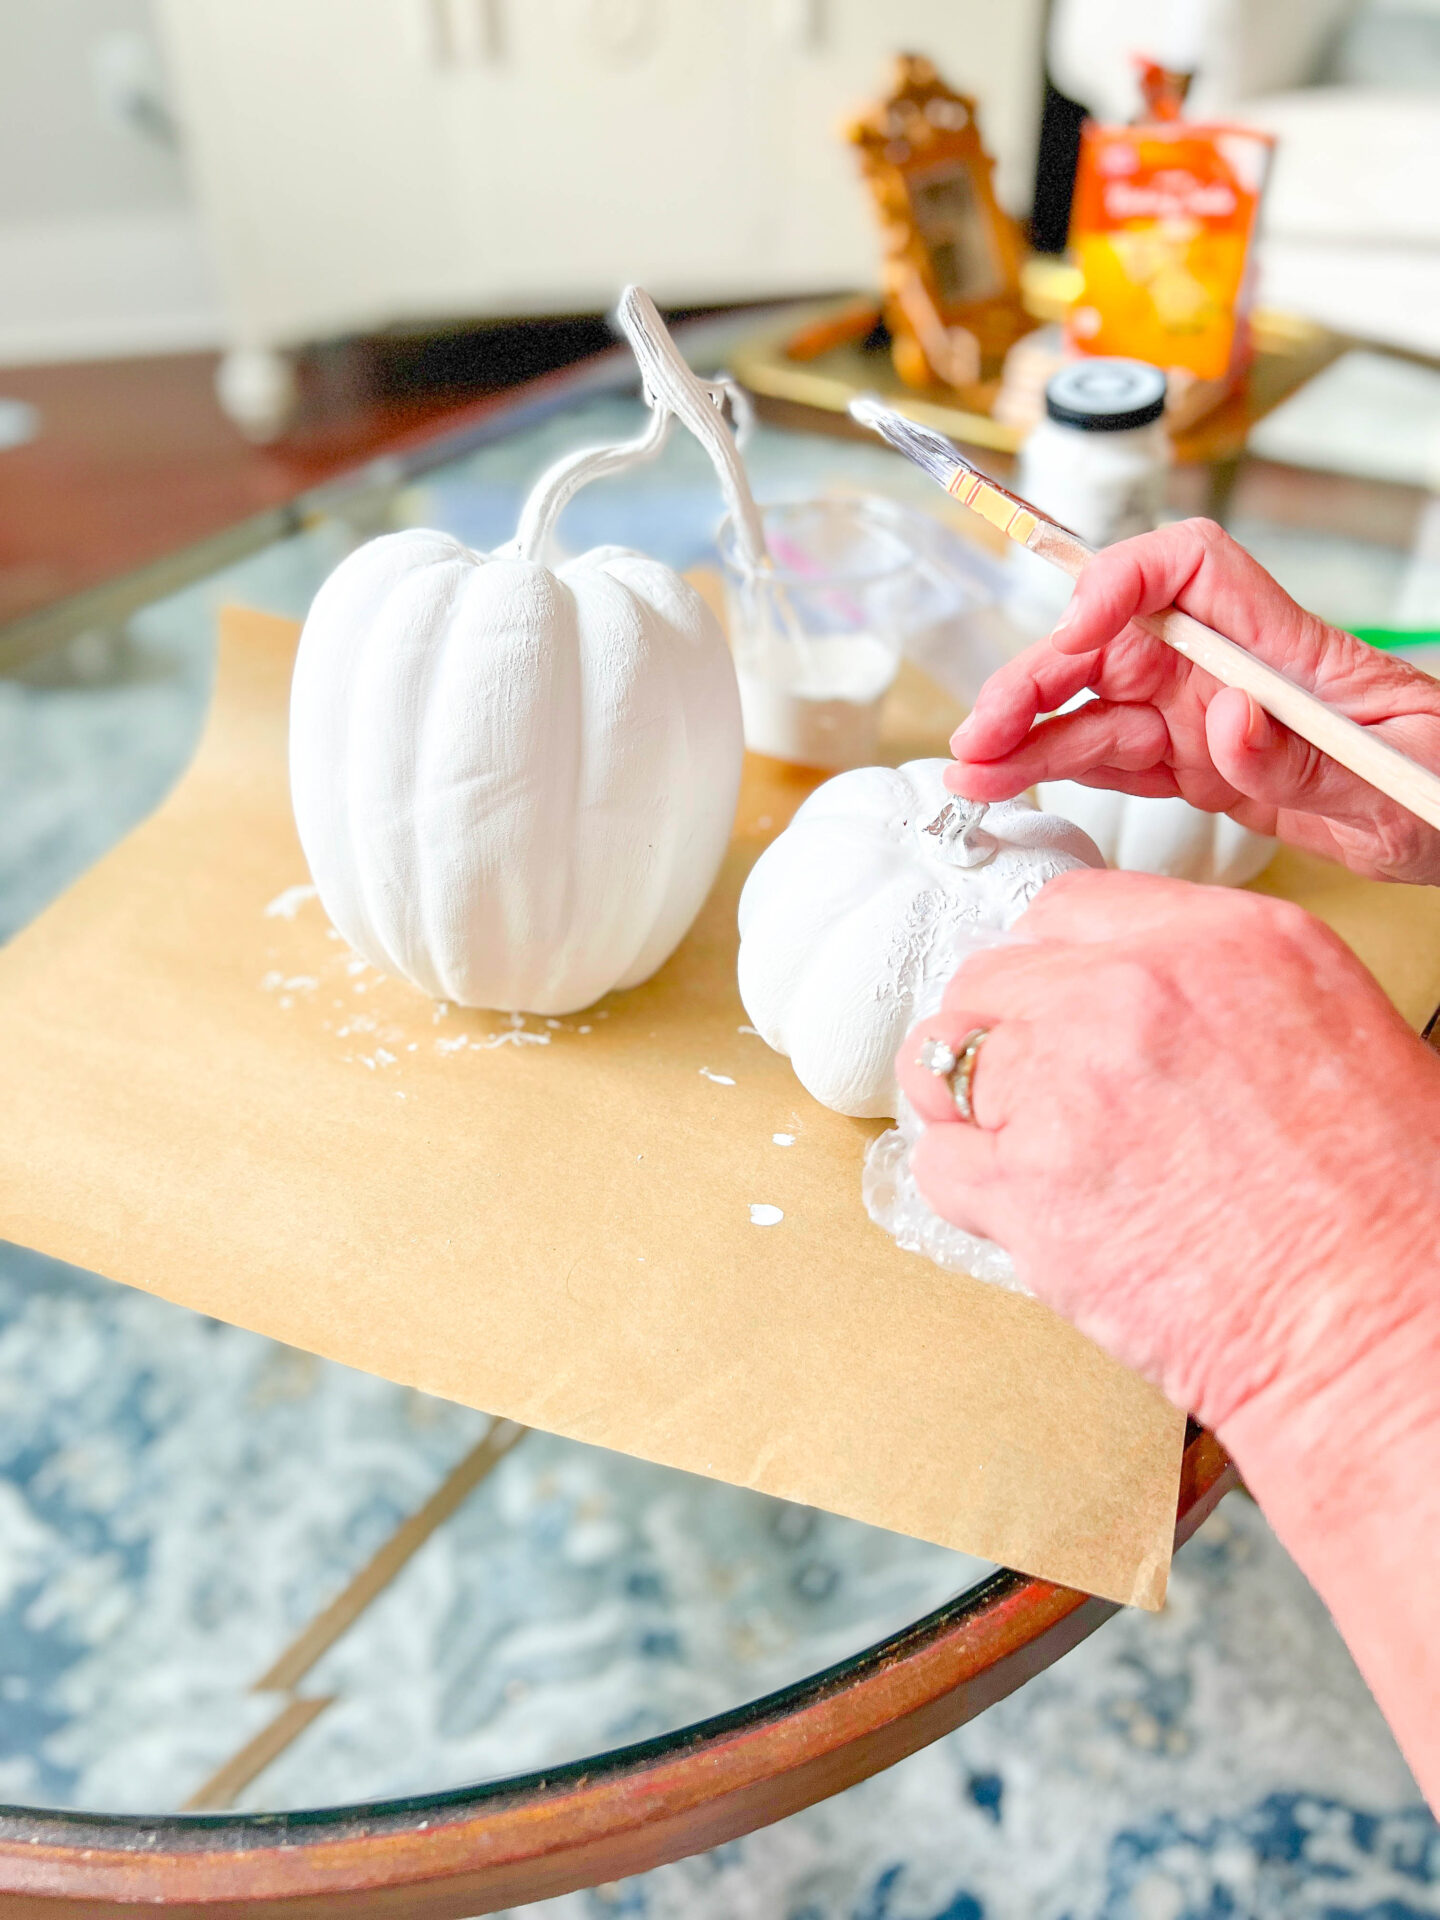
- Begin painting the plastic pumpkins.
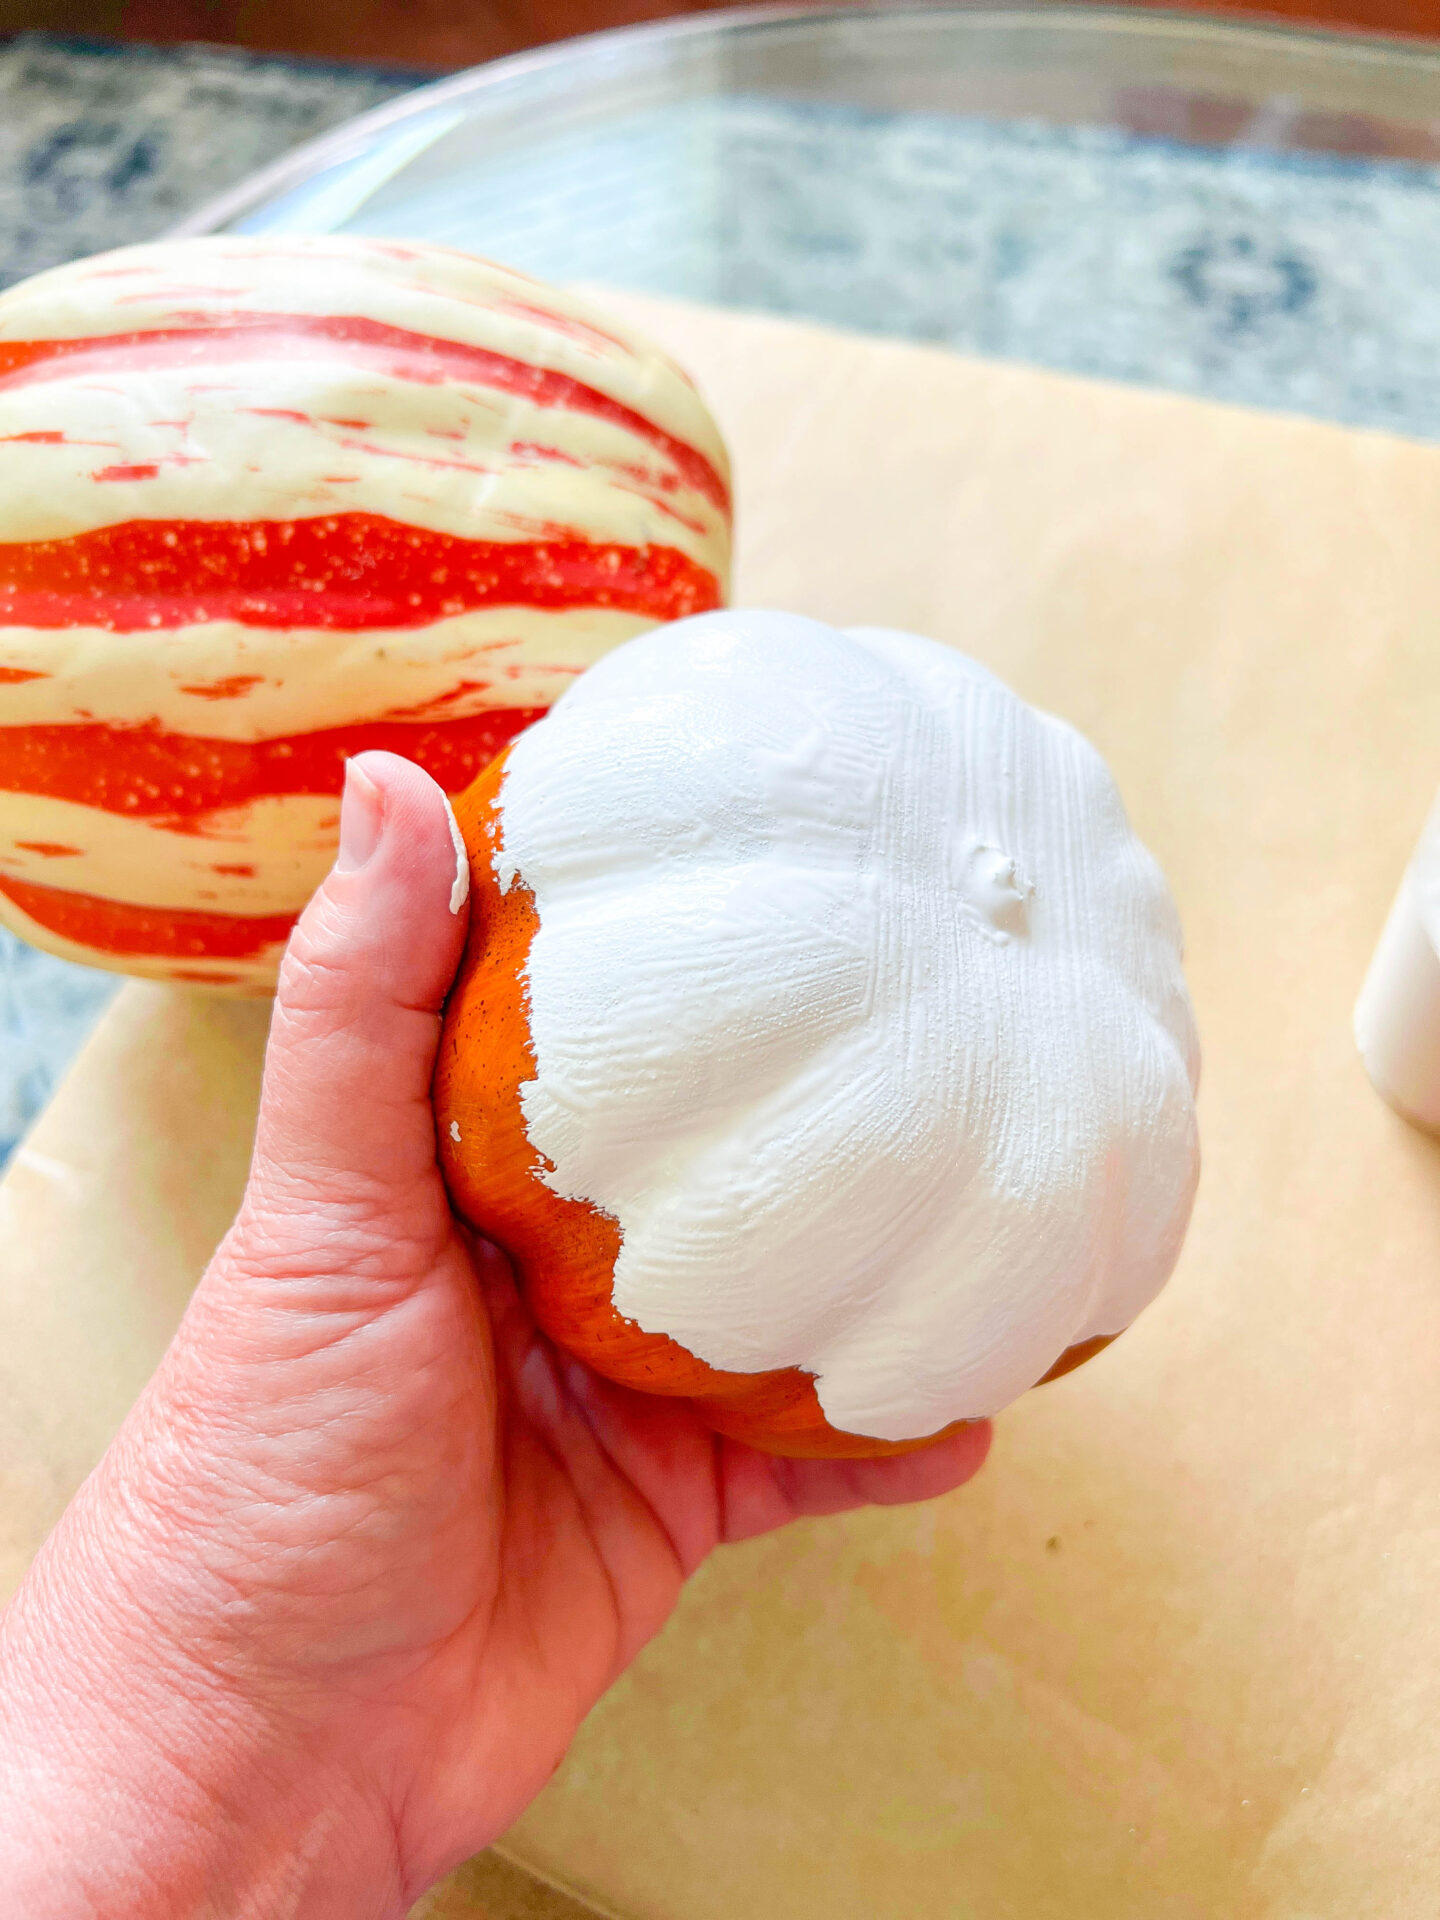
- Start by painting the bottom half first.
- When paint mixture is dry, paint the top half of the pumpkins.Let dry completely.
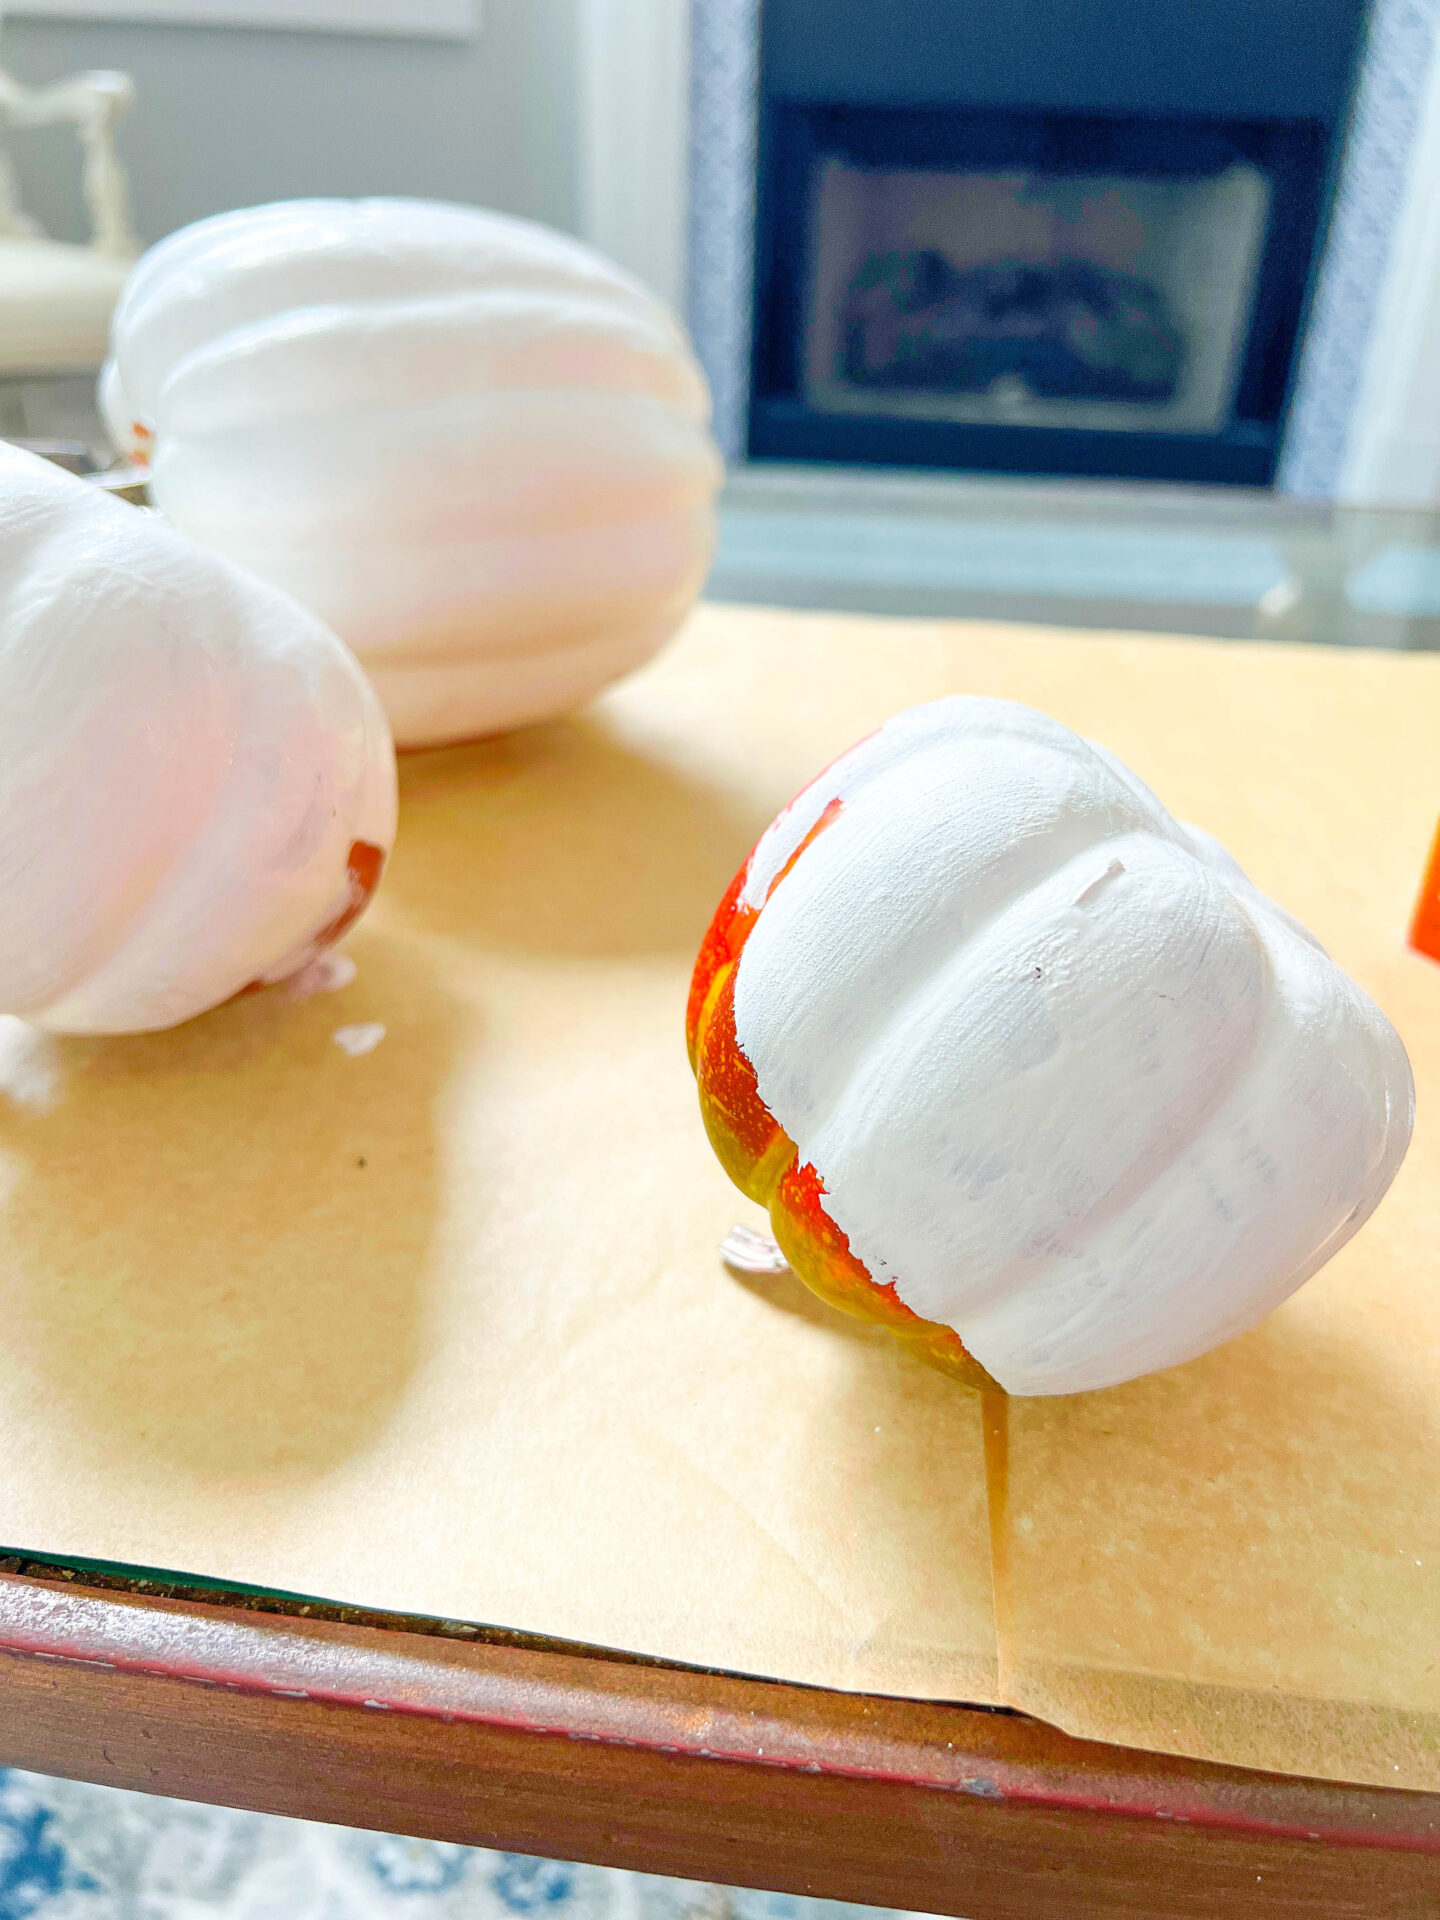
- Add a thick second layer of paint mixture.
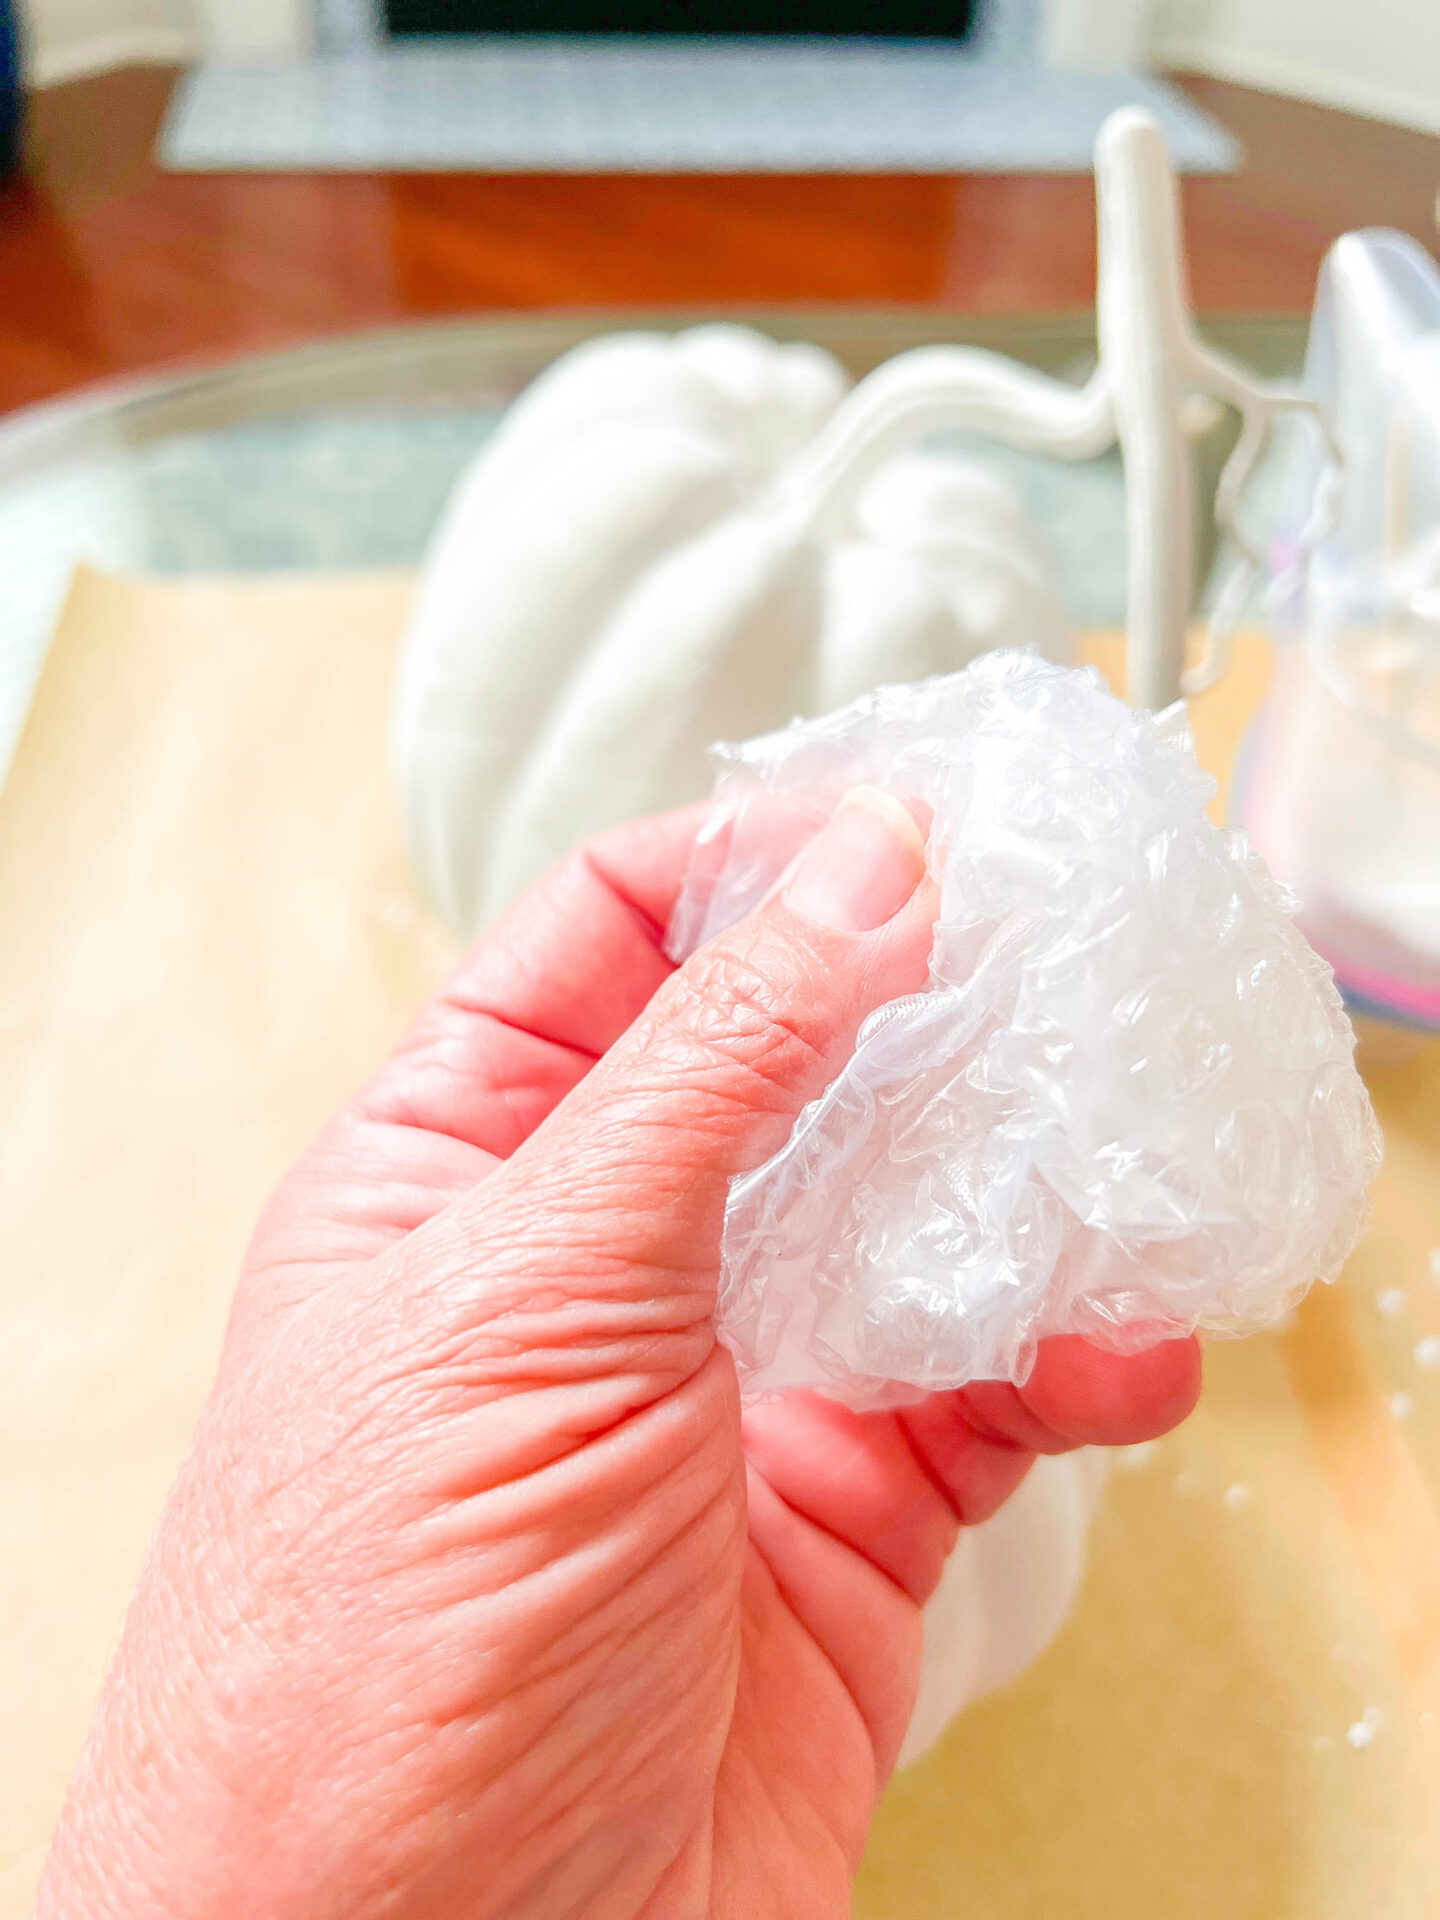
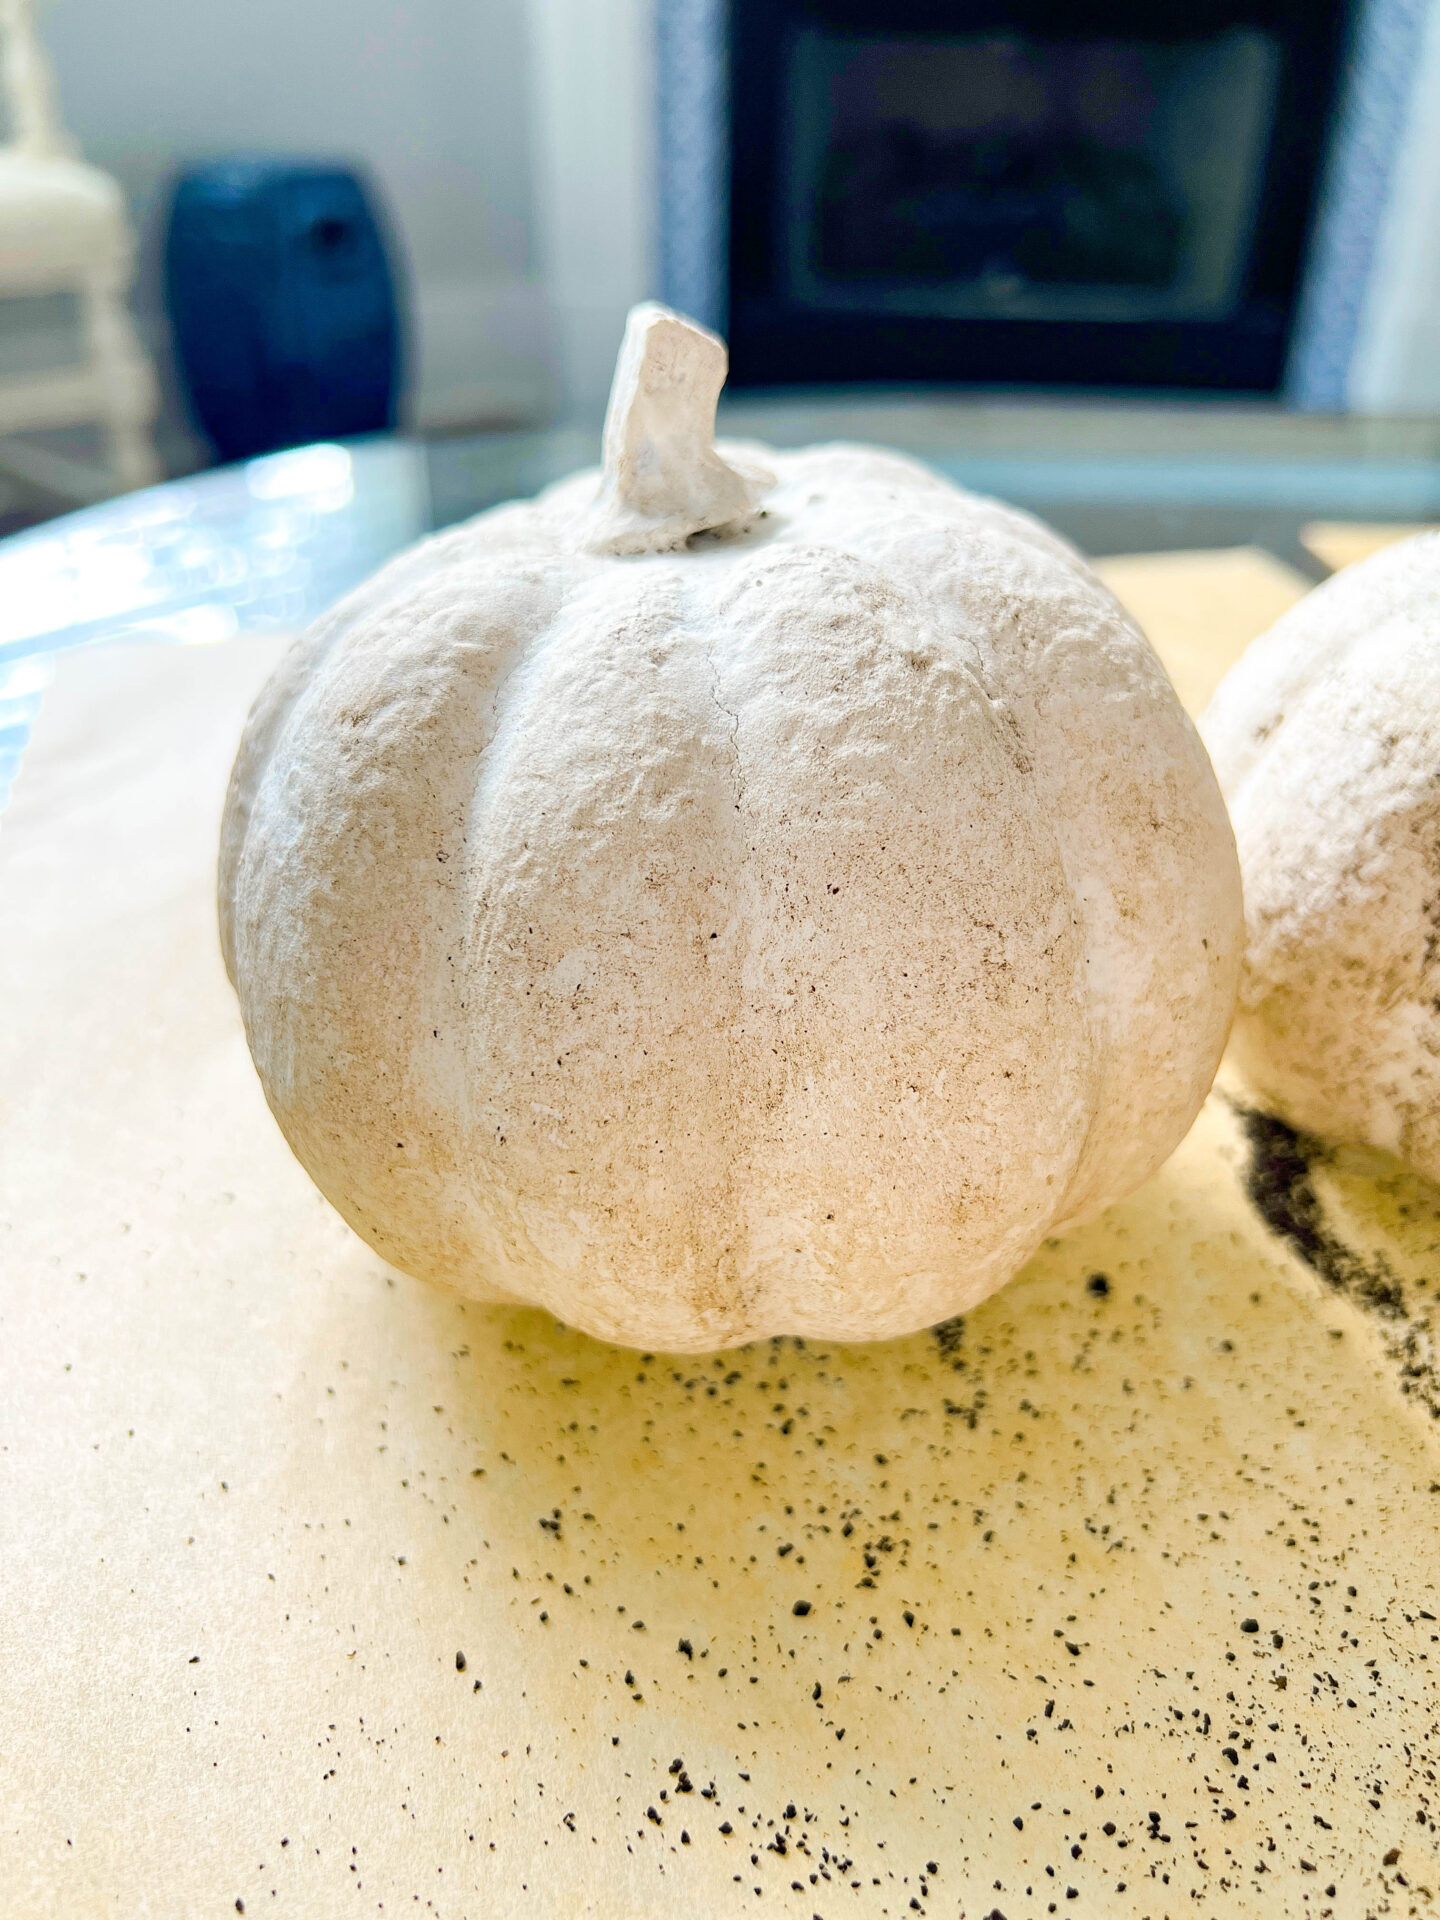
- Before the paint dries, use scrunched up bubblewrap and pounce or stipple the painted pumpkins. This creates the textured finish.
- Dry pumpkins overnight.
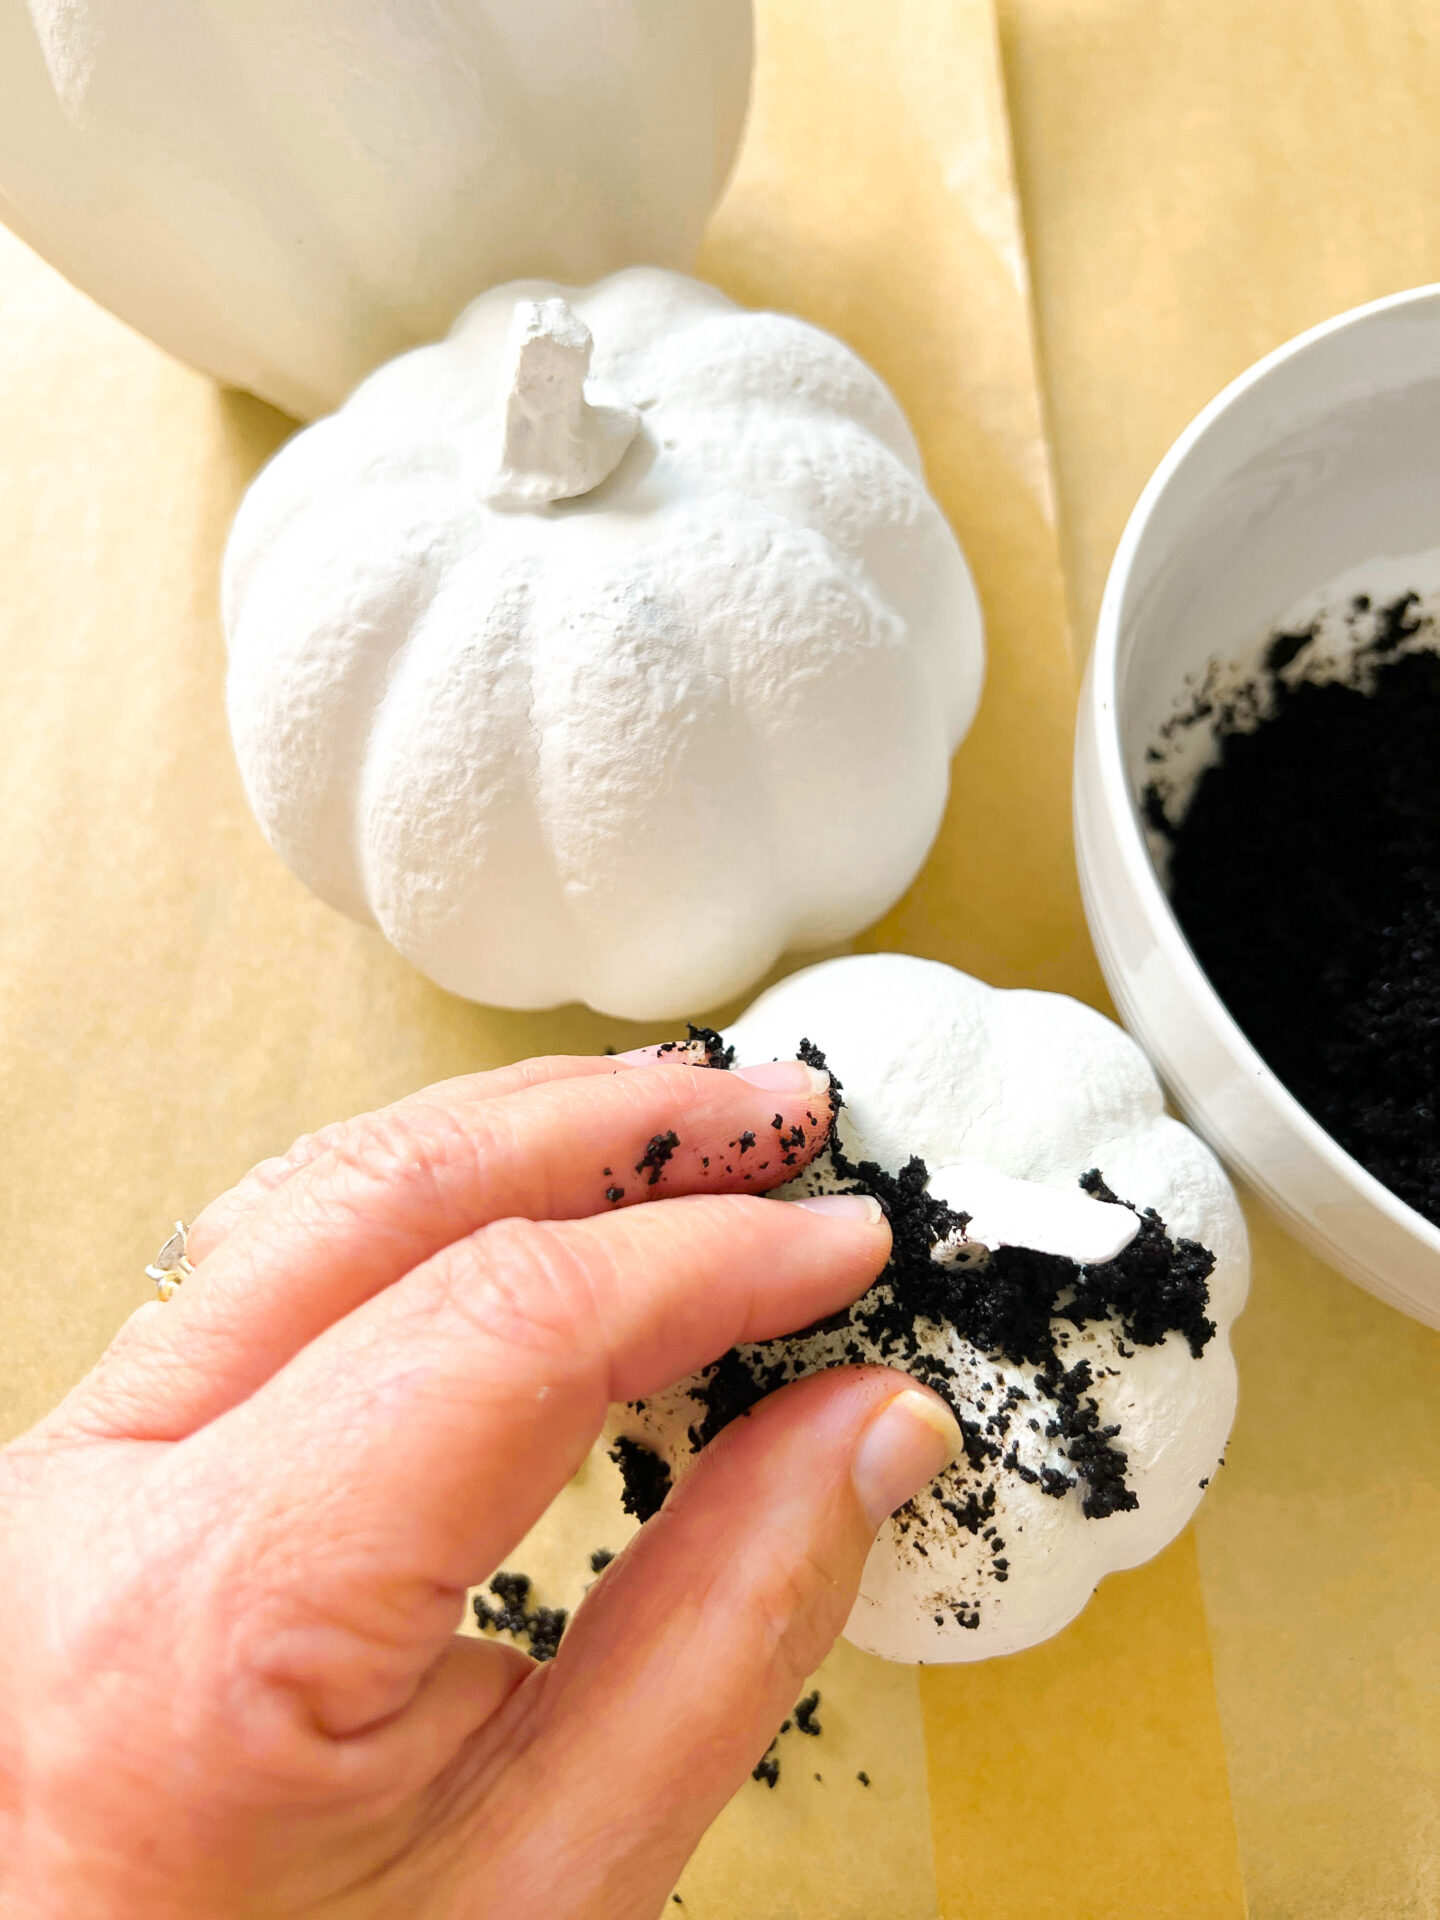
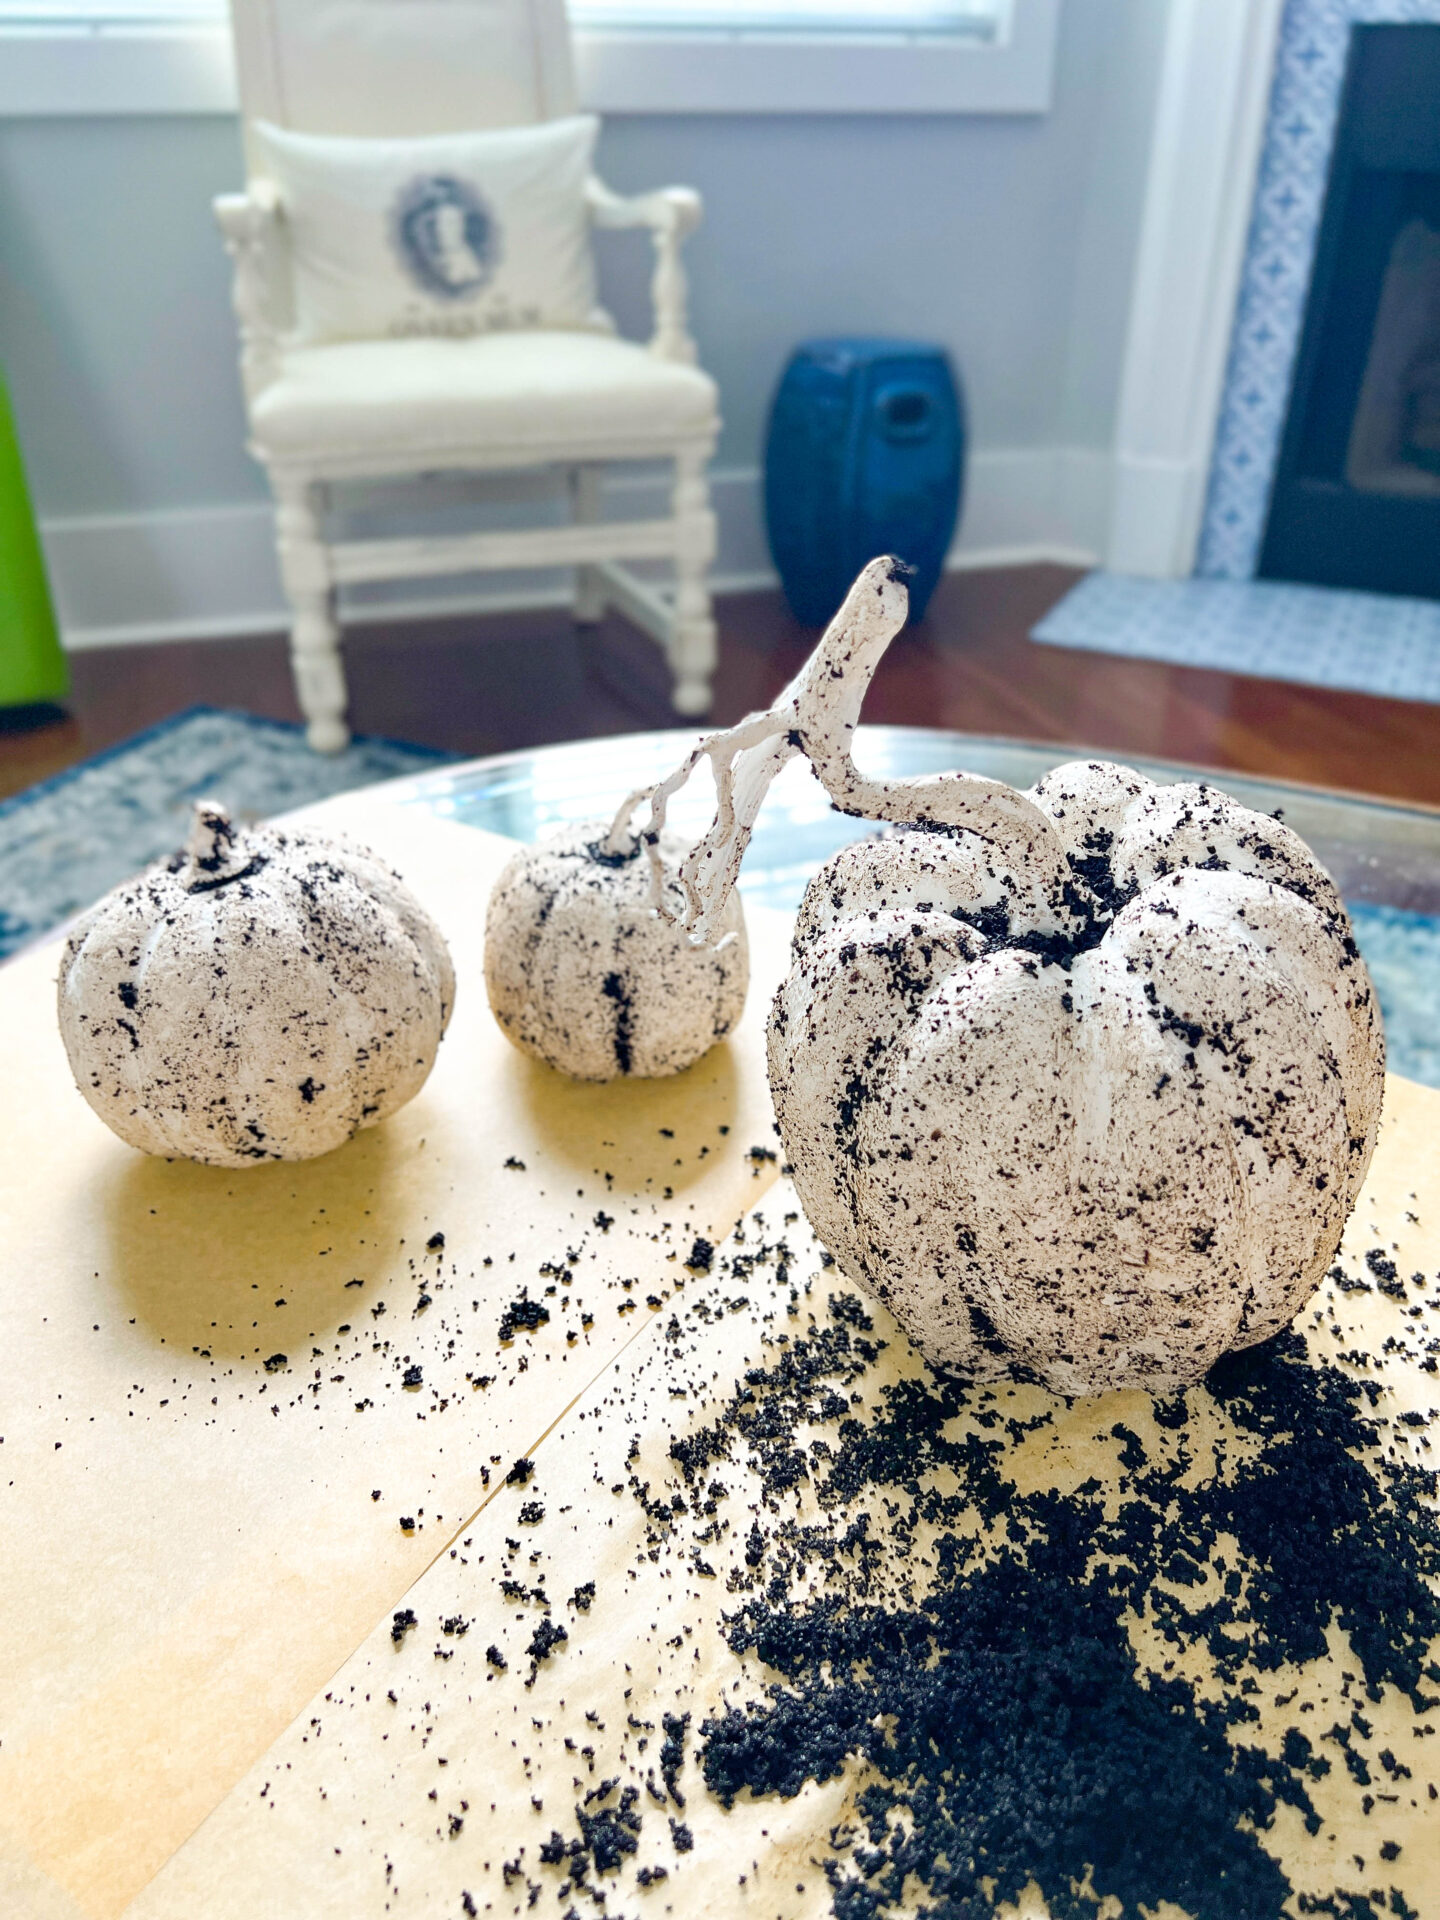
- Gently rub damp coffee grounds all over the painted pumpkins. This gives them a vintage aged look.
- Let coffee grounds dry completely. Wipe off.
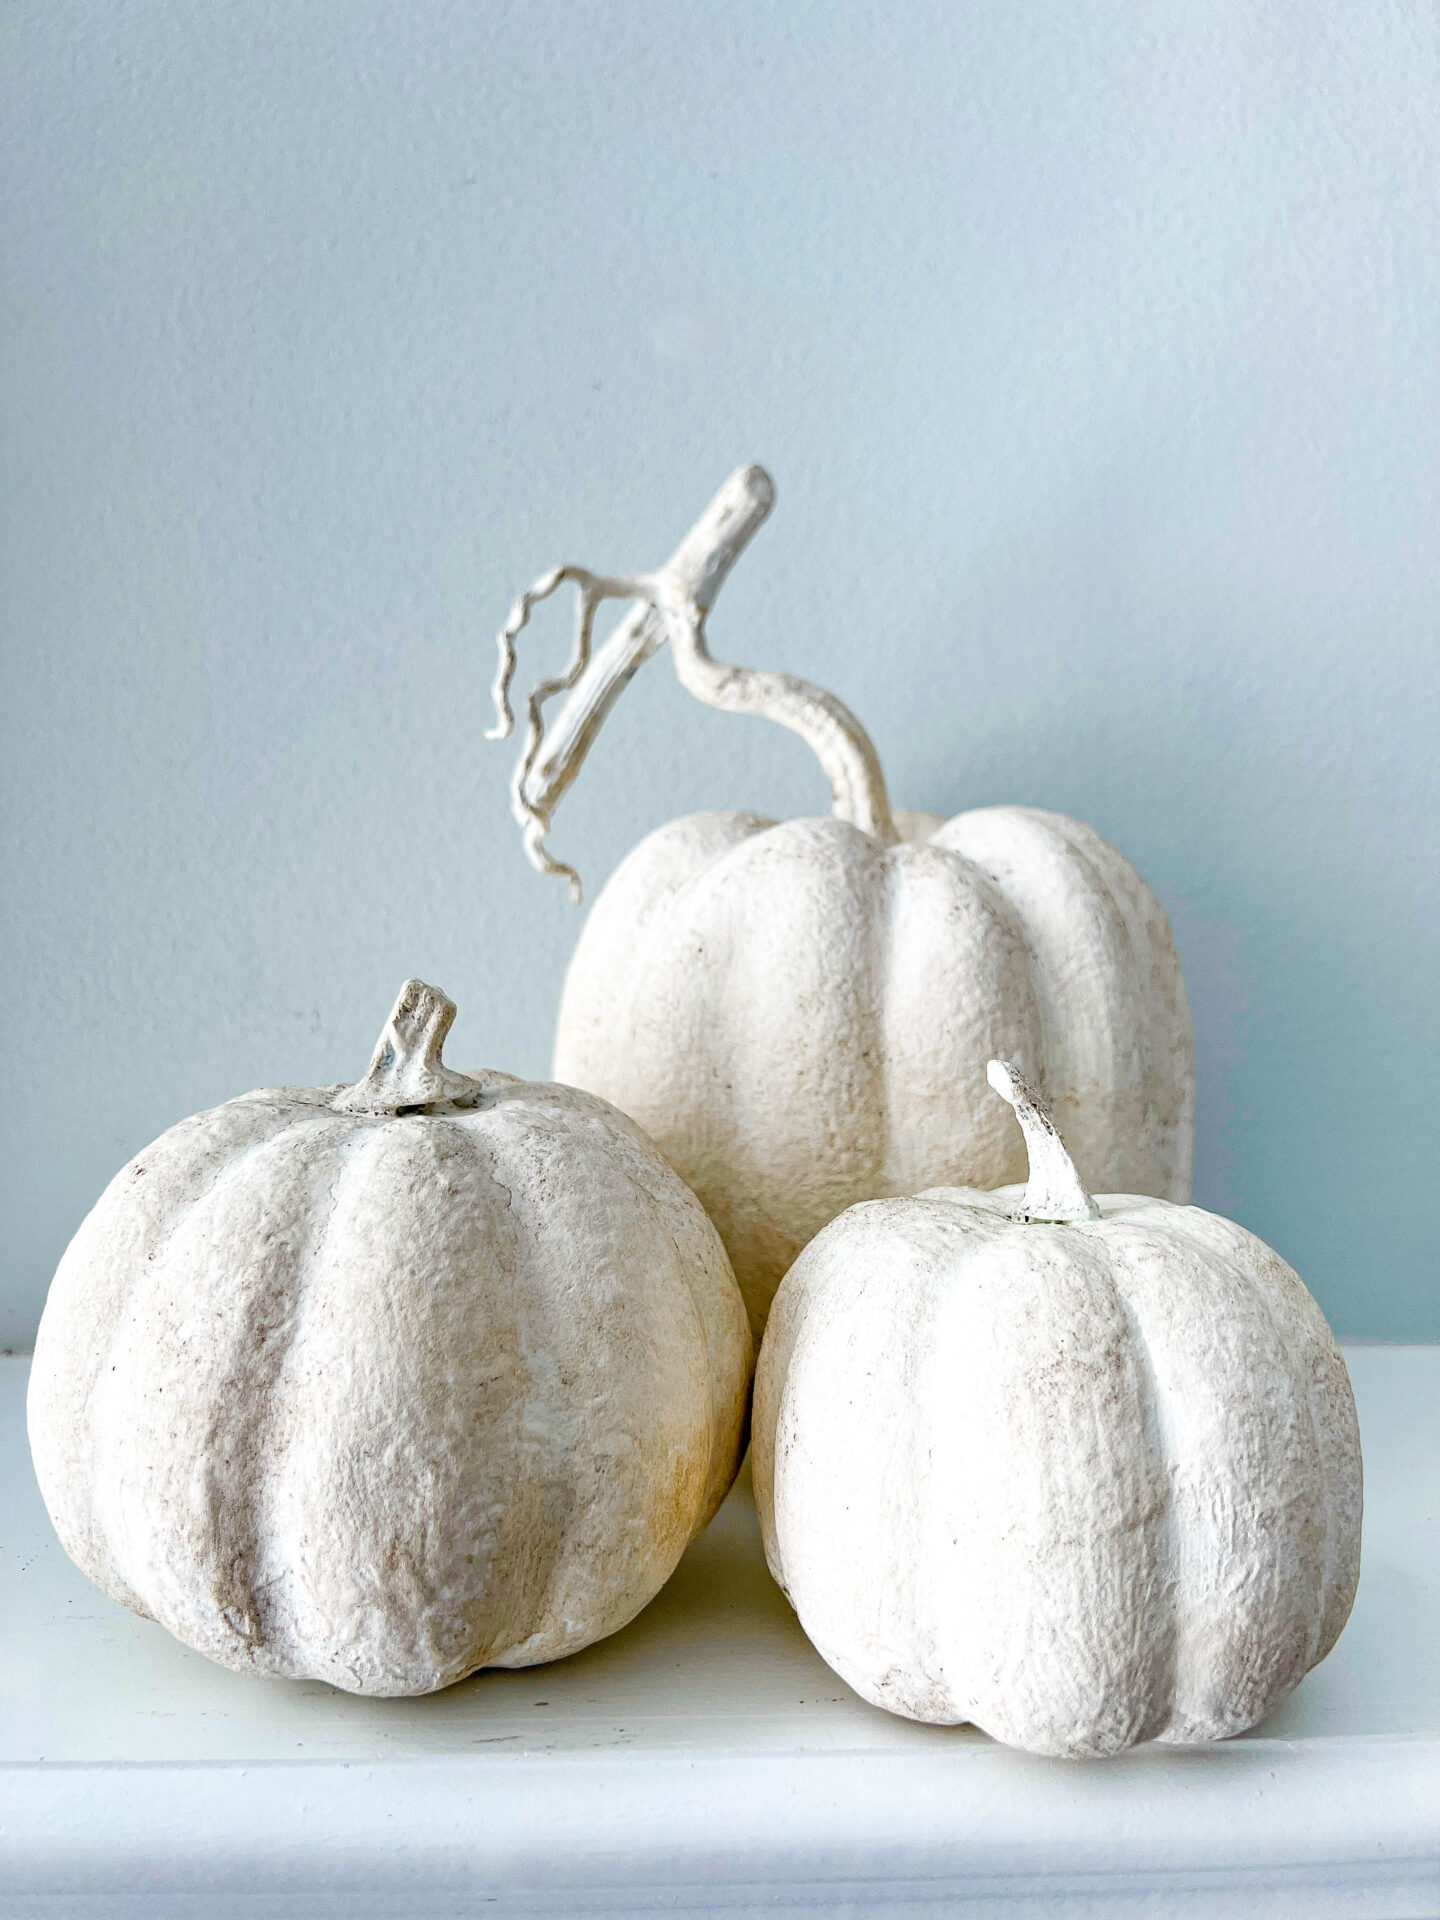
This faux stoneware finish is super easy to create. Simply add baking soda to paint and finish with a coffee ground stain!
Pro Tips
- When pouncing/stippling with the bubblewrap – be mindful that you are not pulling all of the paint off of the pumpkins.
- Be sure that the paint is completely dry before adding the coffee grounds.
- Gently apply the damp coffee grounds. If you rub too much, it might look like beige paint. The object is to add dimension to the stippled areas.
- Be patient and let the grounds dry well for the same reason as above.
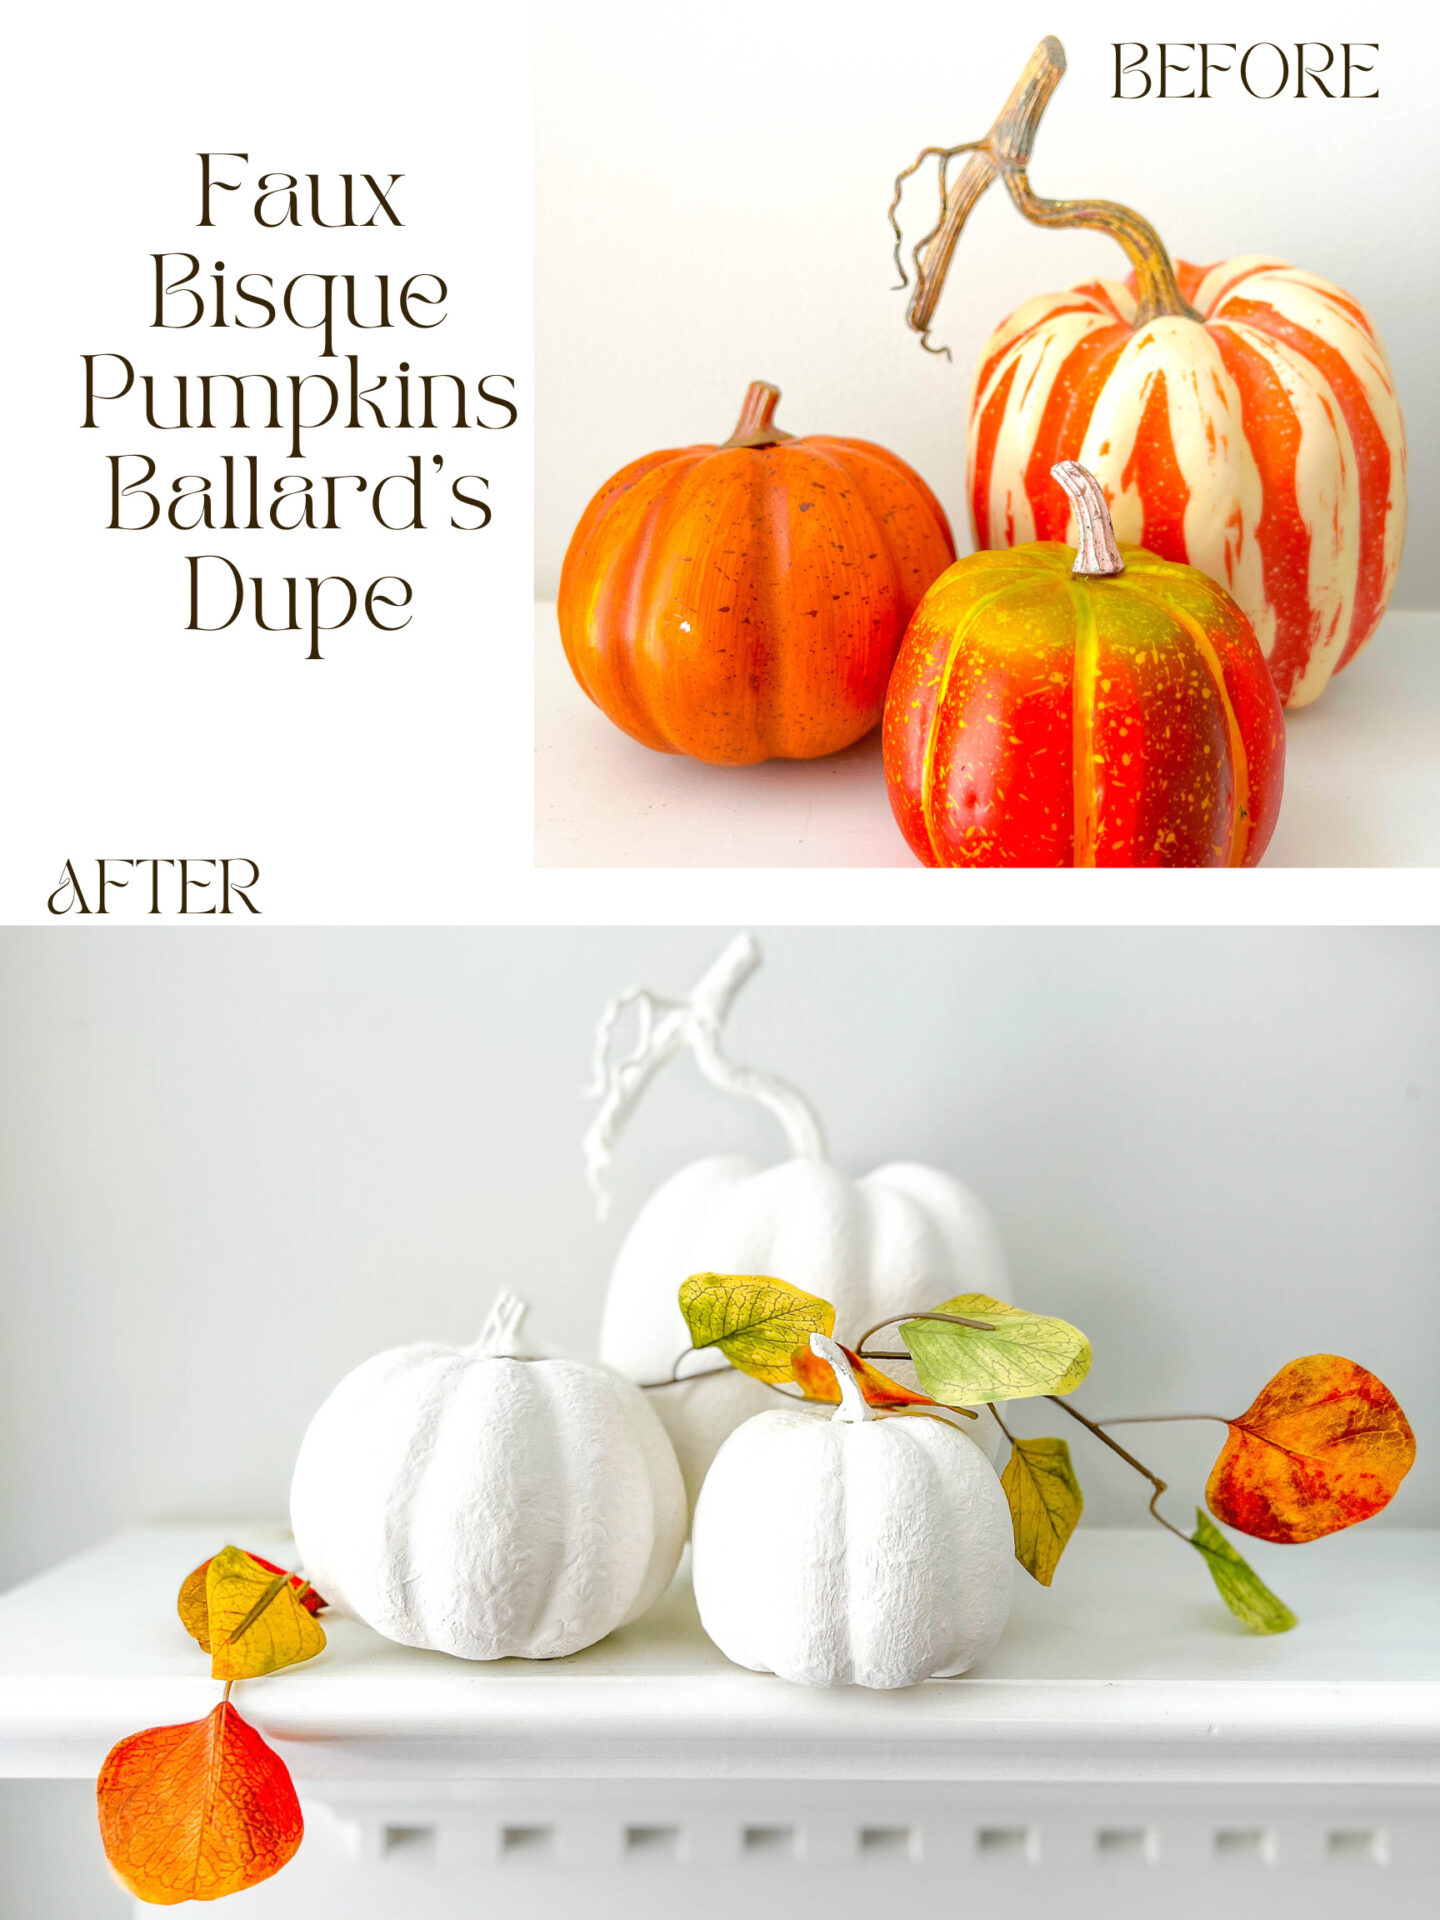
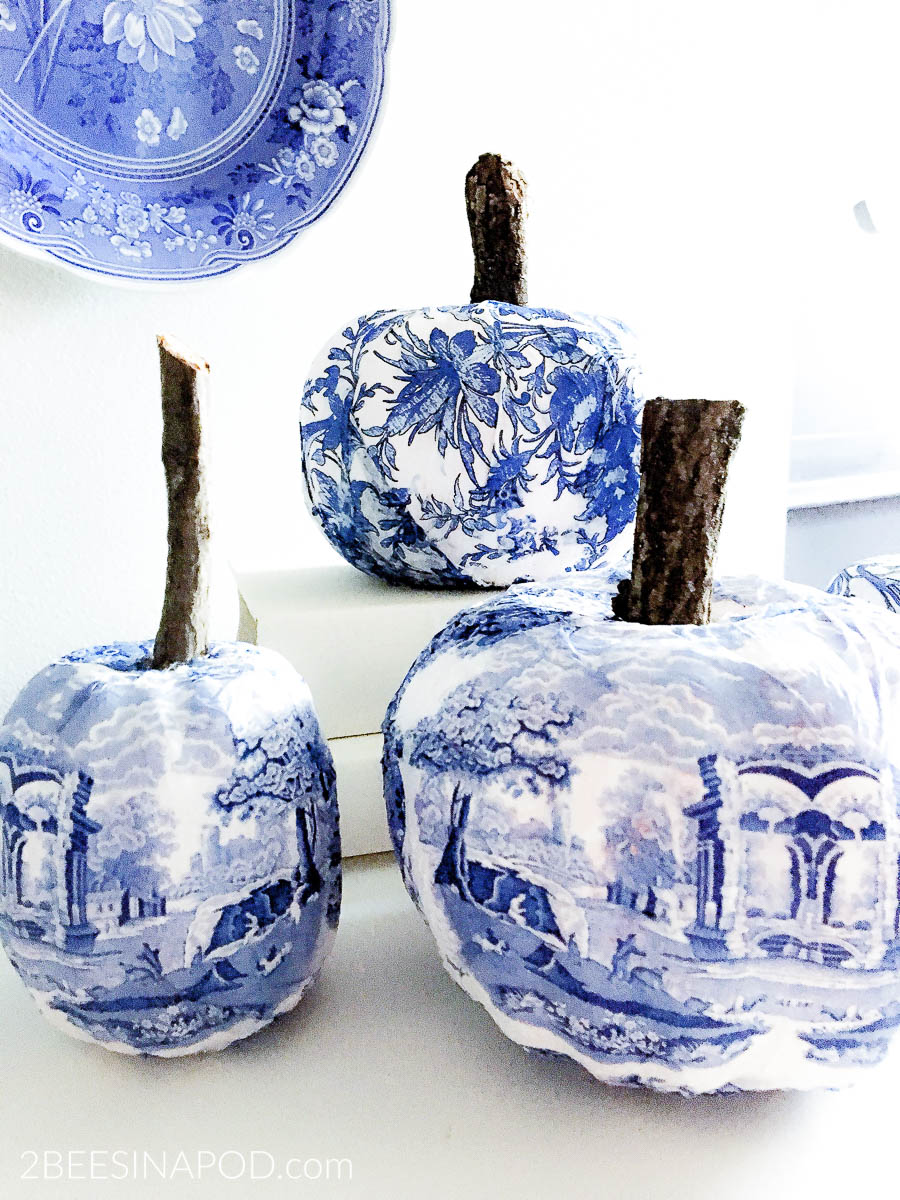
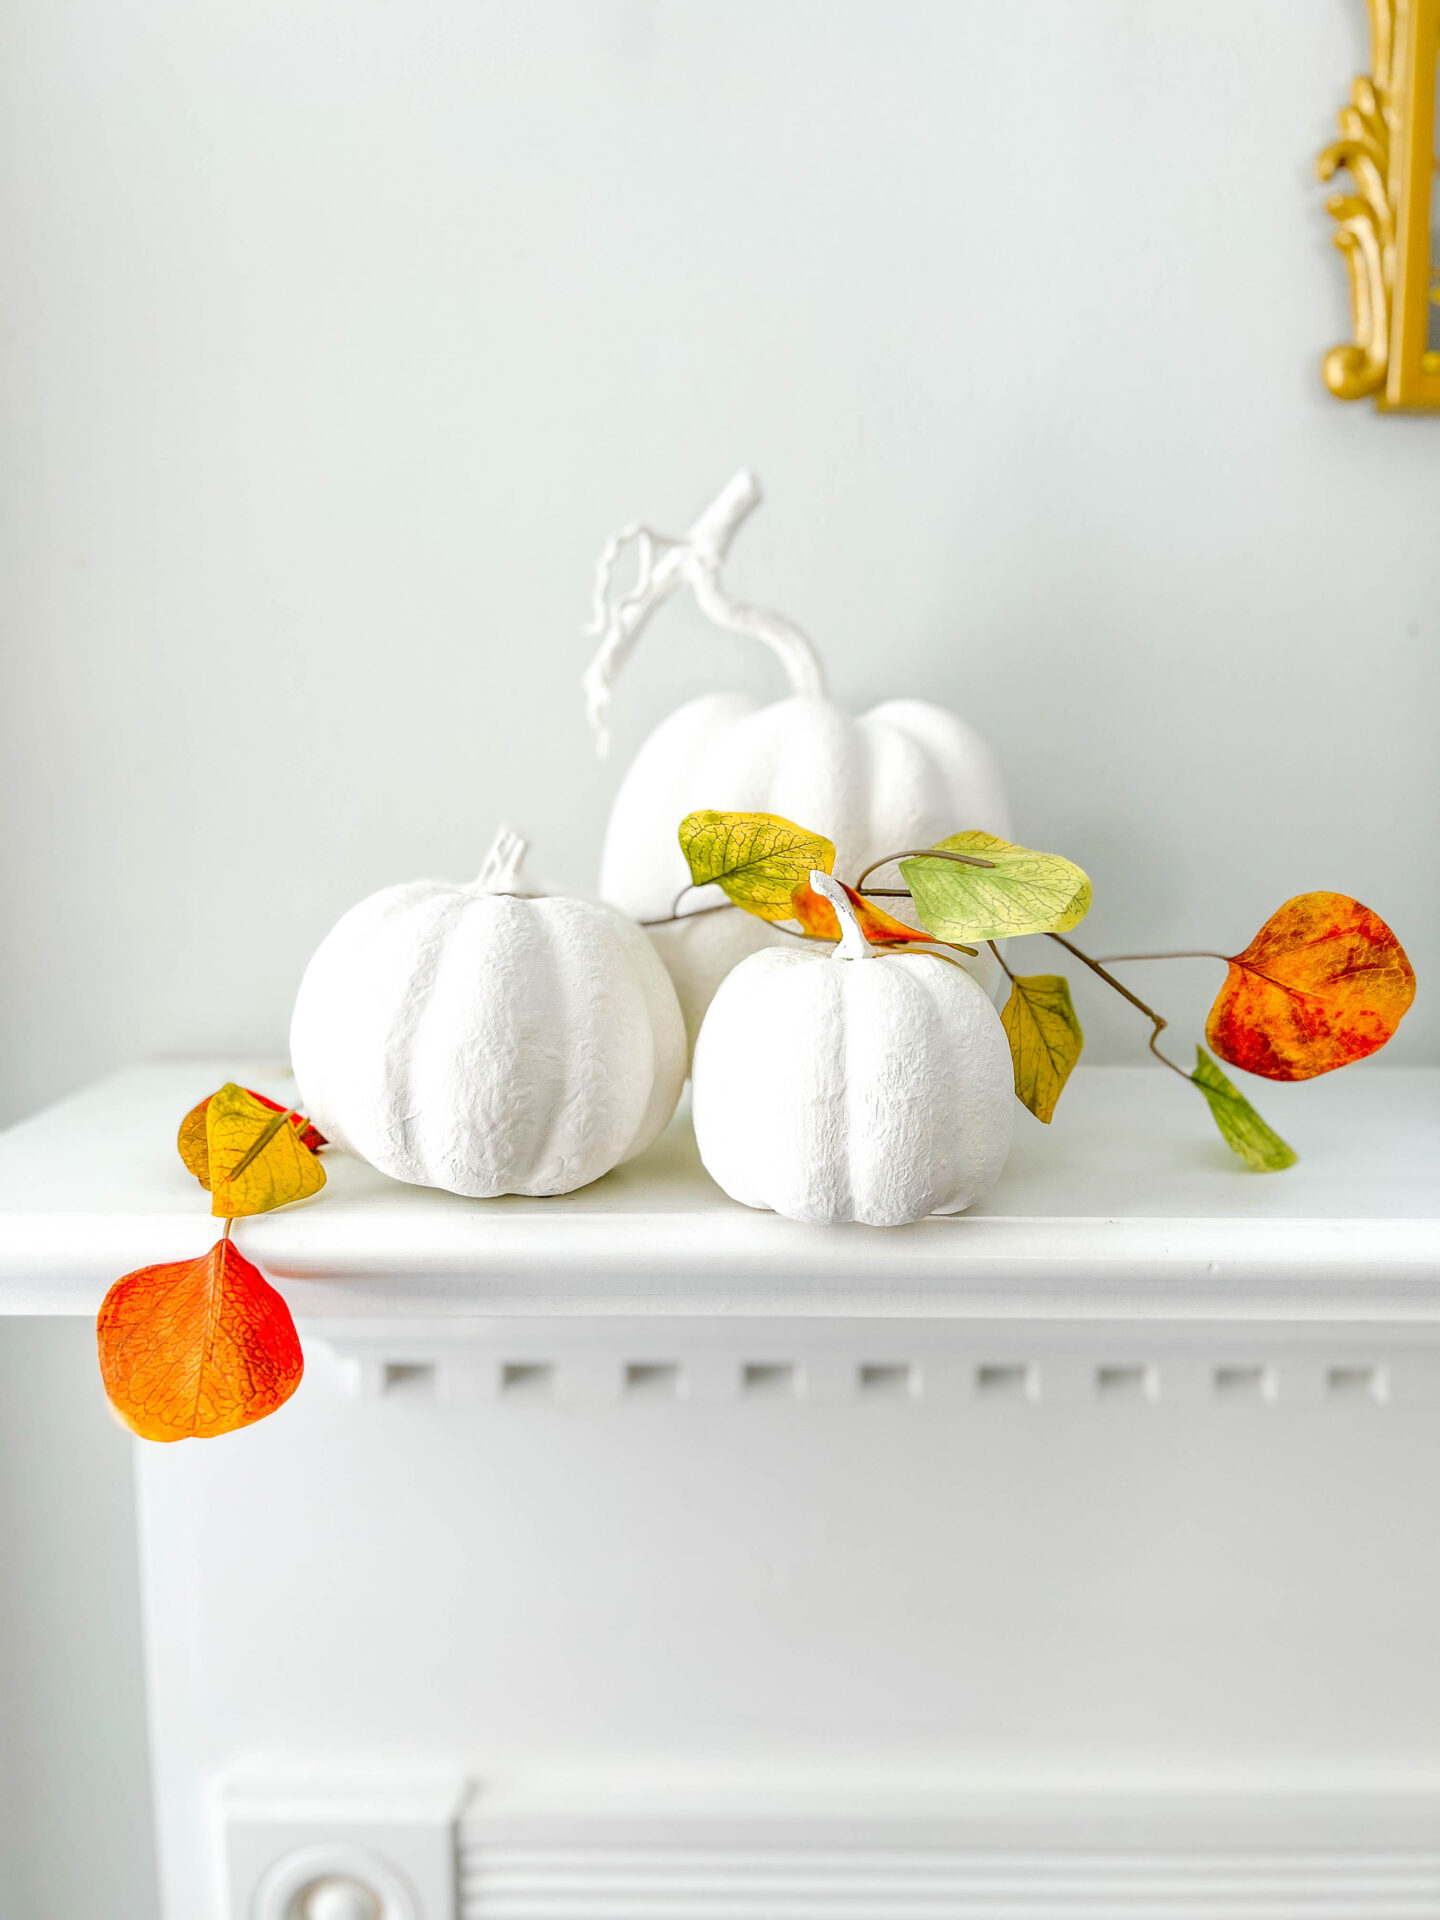
Faux Bisque Pumpkins
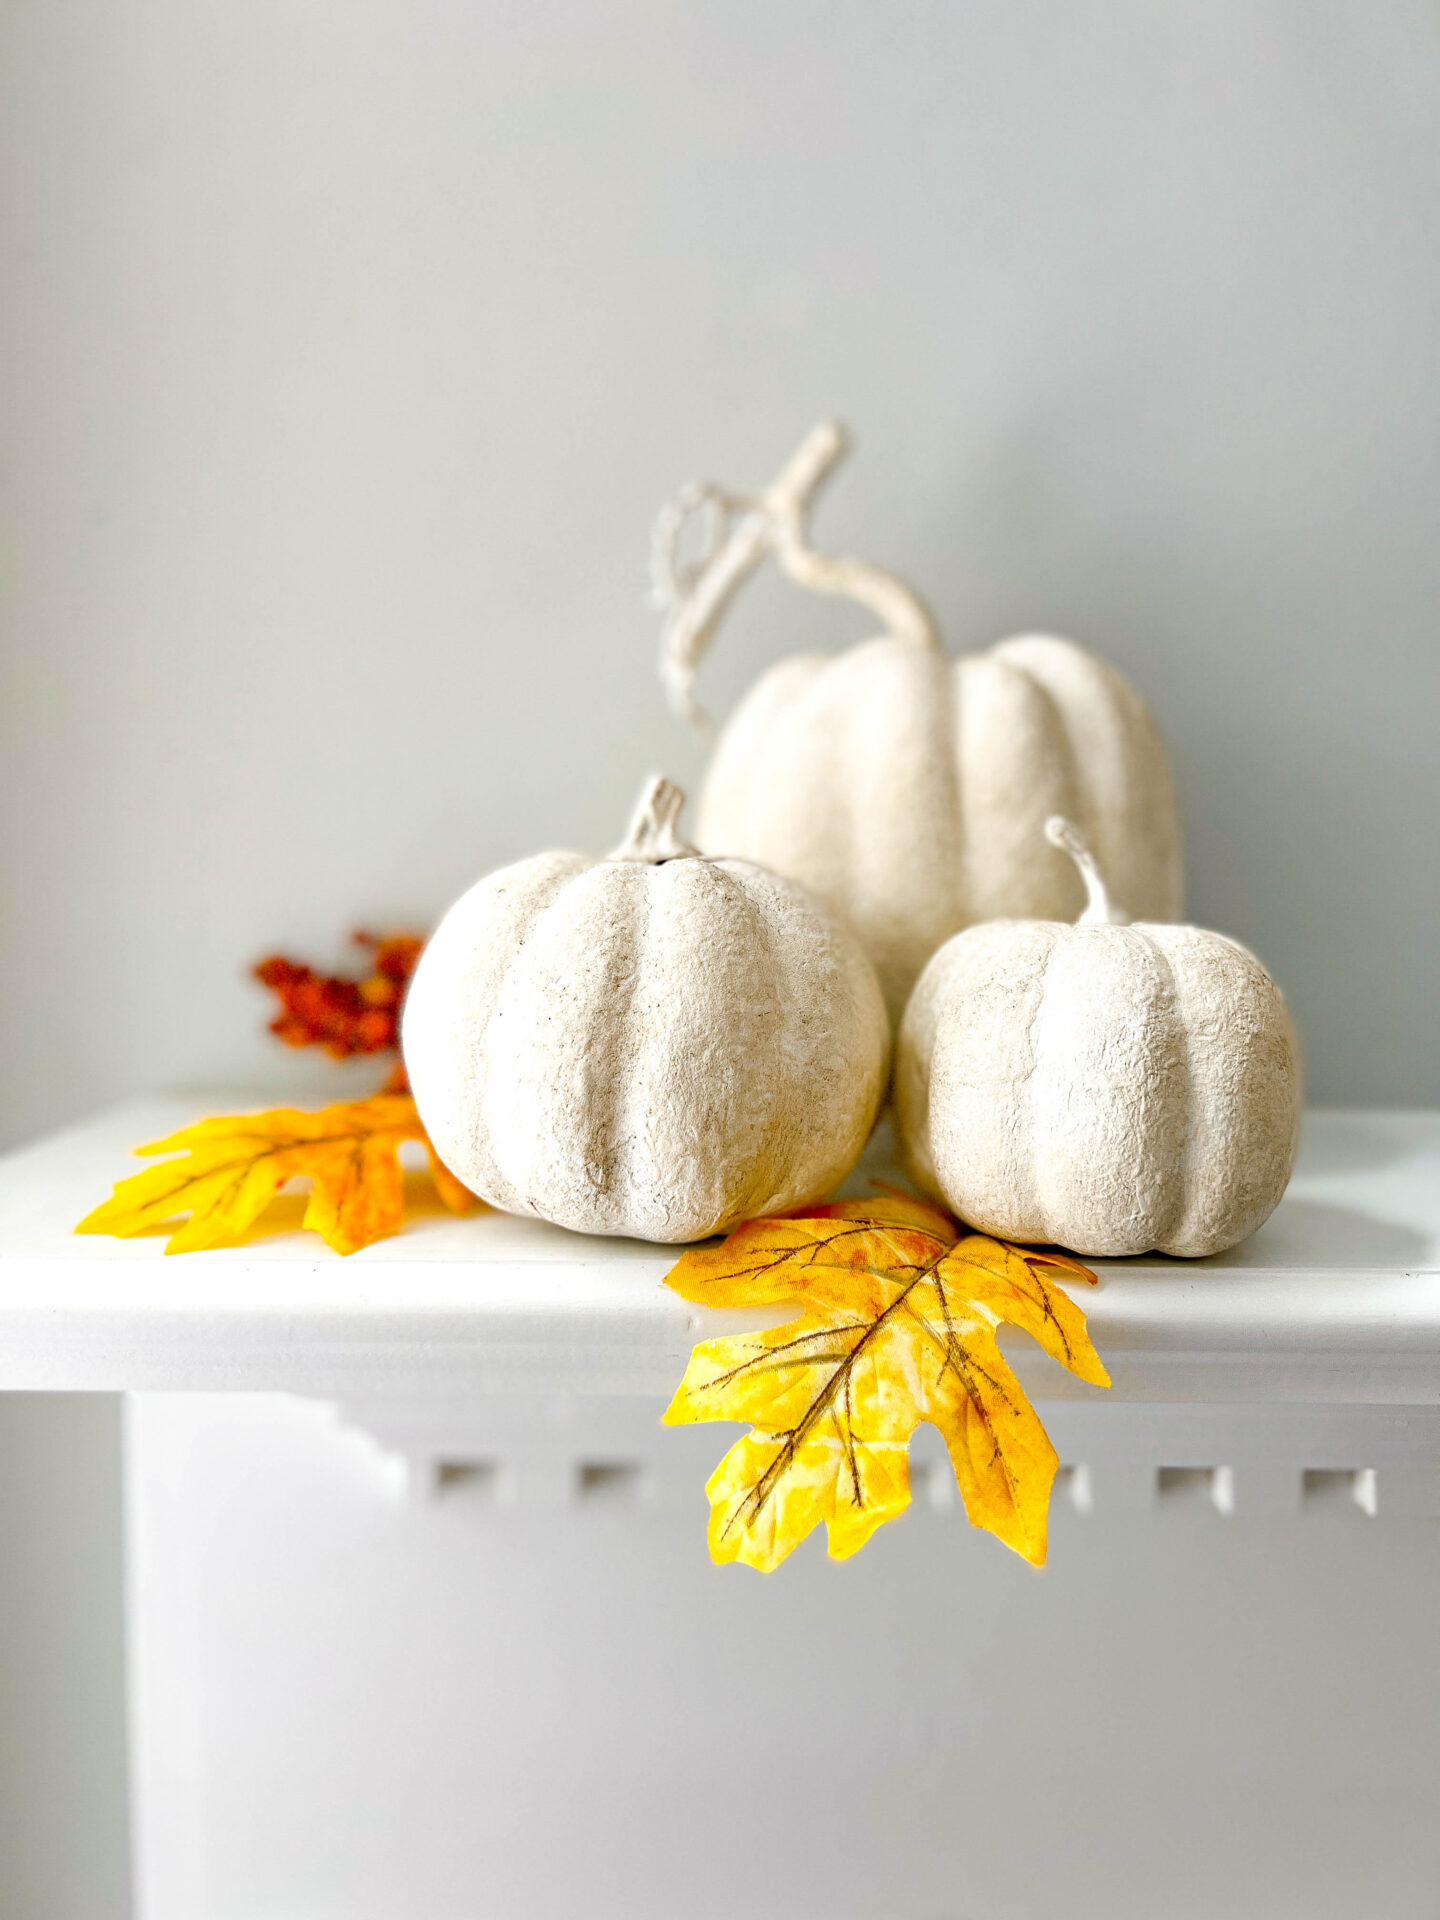
By the way, if you prefer white faux bisque pumpkins – you can simply skip the coffee ground stain.
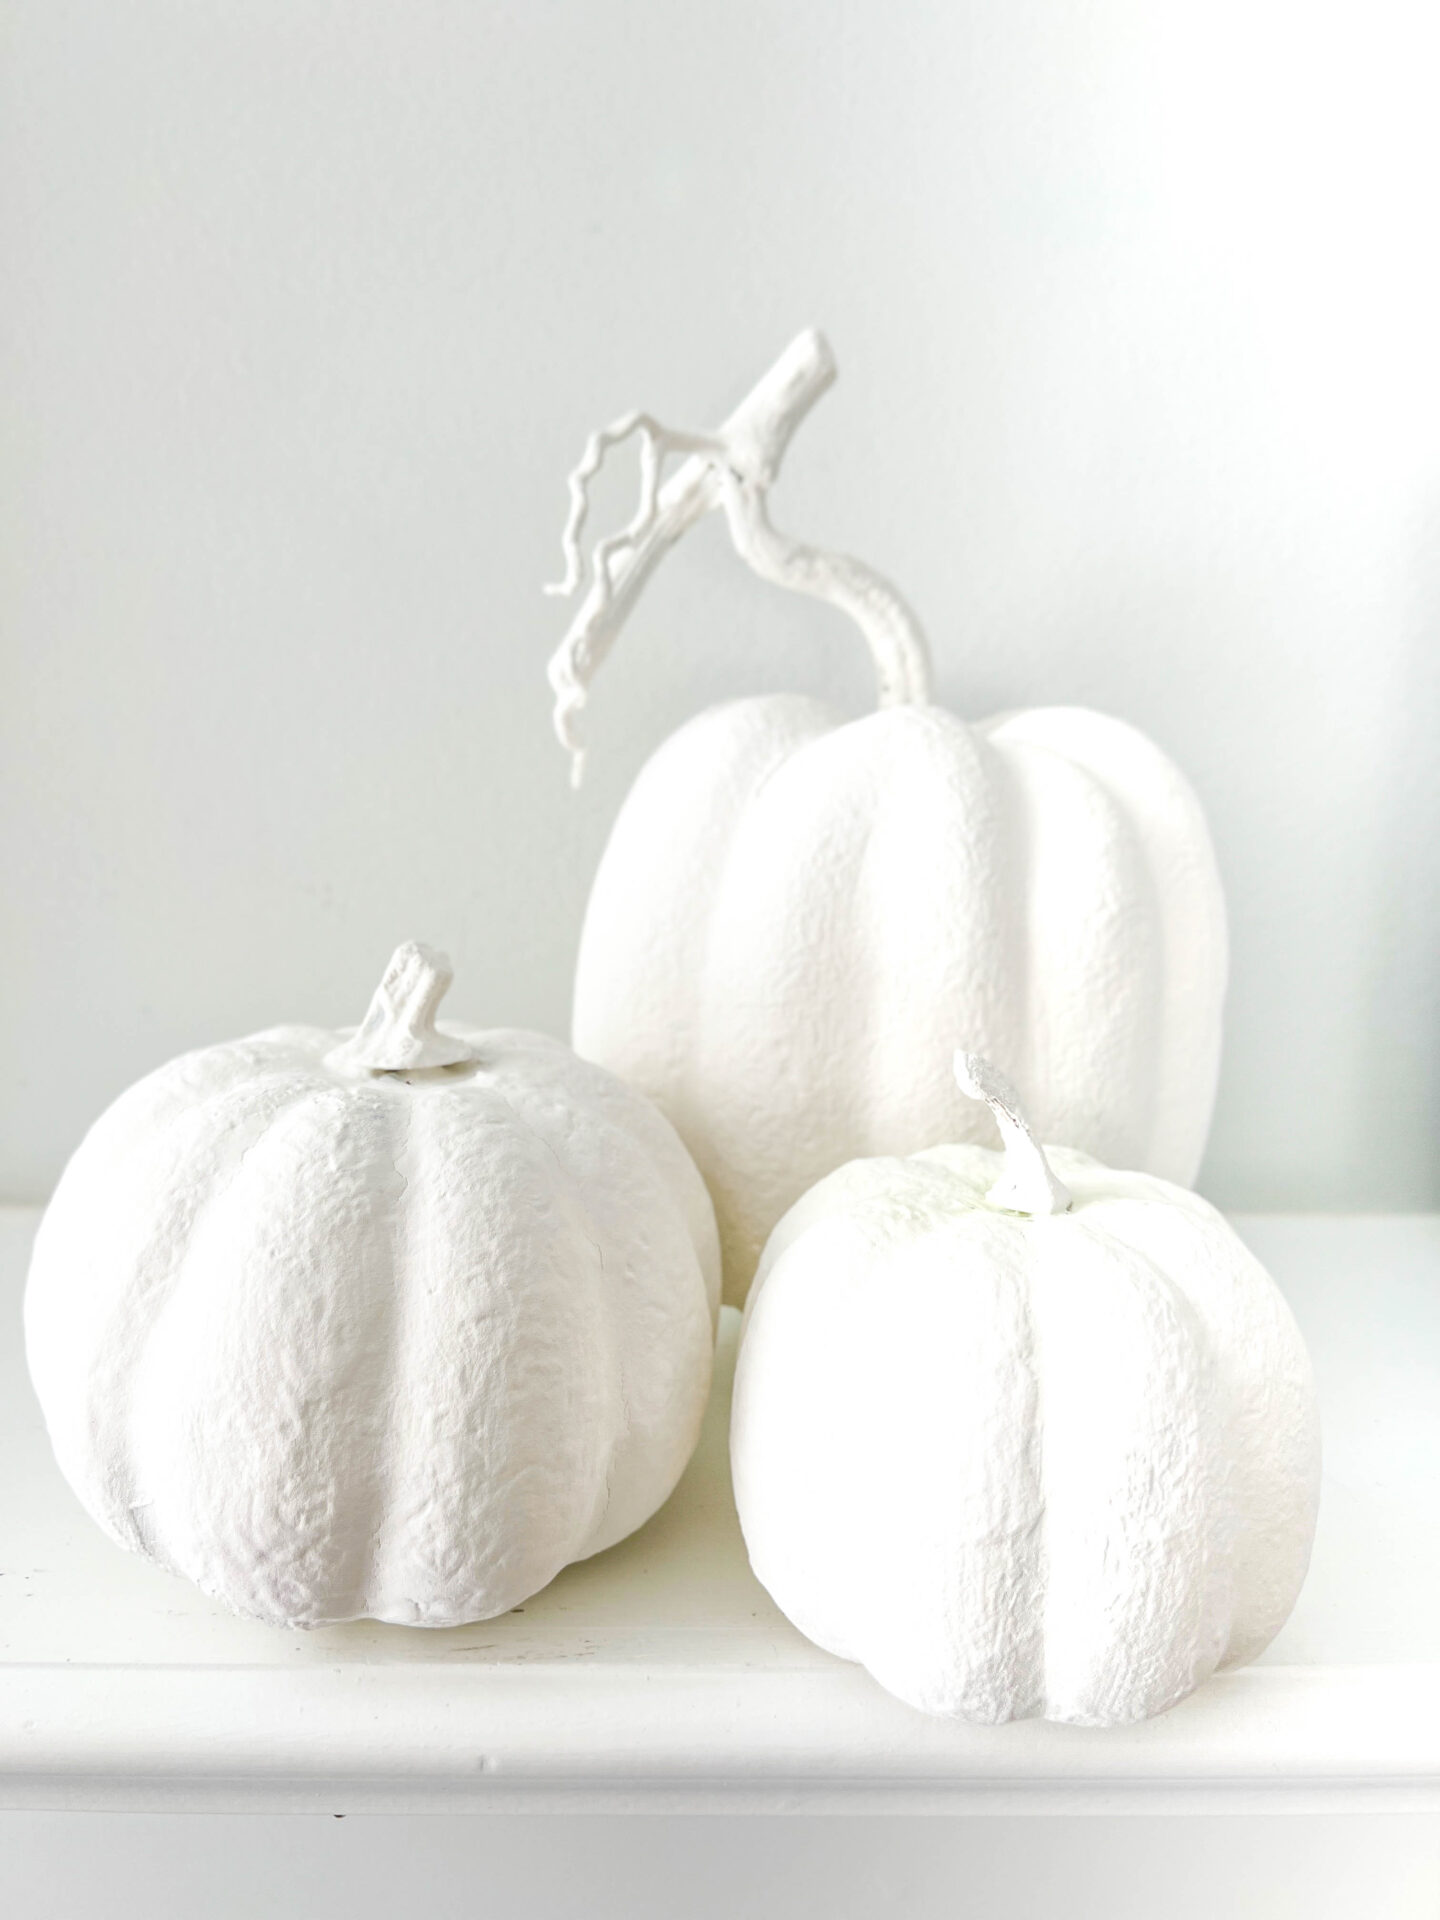
Ballard Designs has similar bisque pumpkins and they are very pricey! Their mini pumpkin is $29 and they go all of the way up to $59!
I think my version is very similar and they were free-to-me because I had everything I needed in my stash. I’m sure that you do too!
Personally, I like the stoneware look – it gives the pumpkins a rustic and vintage feel. Which is your favorite?
For convenience I created a printable craft card below with all of the directions.
Faux Stoneware Pumpkin

This faux stoneware finish is super easy to create. Simply add baking soda to paint and finish with a coffee ground stain!
Materials
- Paint – I used the same paint that I used for the French Country Lamp Makeover. Folk Art Chalk in Blanc Cottage.
- Baking soda
- Brush – a cheap sponge brush is great for this project. I always use my trusty 1-inch Purdy brush.
- Coffee grounds
- Plastic pumpkins – something from the thrift store or dollar store is perfect. Do NOT use expensive or really good pumpkins.
- Bubble wrap
Instructions
- Protect your surface with parchment paper.
- Gather all materials
- Mix paint and baking soda - 3 to 1 ratio = 3 parts paint to 1 part baking soda
- Begin painting the plastic pumpkins. Start by painting the bottom half first. When paint mixture is dry, paint the top half of the pumpkins.
- Let dry completely.
- Add a thick second layer of paint mixture.
- Before the paint dries, use scrunched up bubblewrap and pounce the painted finish. This creates the textured finish.
- Dry pumpkins overnight.
- Gently rub damp coffee grounds all over the painted pumpkins. This gives a vintage aged look.
Don’t forget to Pin these to your favorite Pinterest boards!