DIY Mini Book Page Wreath
Please note that this post contains affiliate links. As an Amazon Associate, Rewards Style influencer and Jane Influencer, we earn from qualifying purchases and any sales made through such links will reward us a small commission – at no extra cost for you.
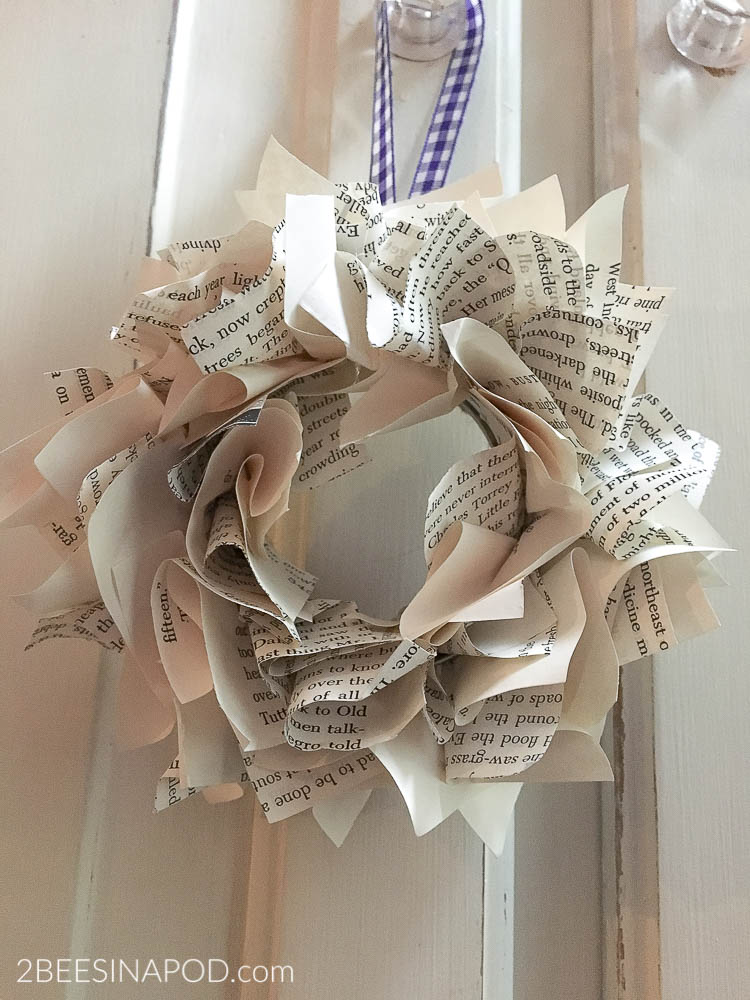
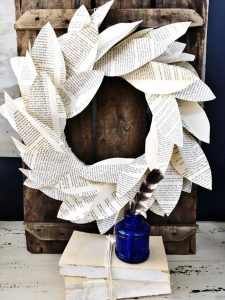
We love vintage book page projects and couldn’t wait to create our DIY mini book page wreath.
In the world of blogging it gets so hard sometimes to come up with original and creative content. I dare say that yesterday’s galvanized feathers were authentically original. Several weeks ago it was my friend Linda’s birthday, and I wanted to make her something that I knew that she would like and appreciate as her gift. She had commented that she liked my book page magnolia wreath, so I knew I was going to make one for her. I thought it would be fun to create a mini book page wreath to go with it. After thinking about it for a bit I came up with what I thought was a brilliant idea and tutorial.
Organize your materials
Getting organized, I set up my materials and decided that since I was making one mini book page wreath I might as well go ahead and make several. This way I would be ahead for the holidays. Imagine my surprise to discover that one of my blogging besties has already done this project! Isn’t it funny how more than one person can have the same idea? We laughed about it when I spoke with her. Anyway, I wanted to include her blog link so that you could see her post too! Roxanne has great farmhouse style at The Honeycomb Home. And the wreaths look a bit different. Make sure you tell her we said “hello”!
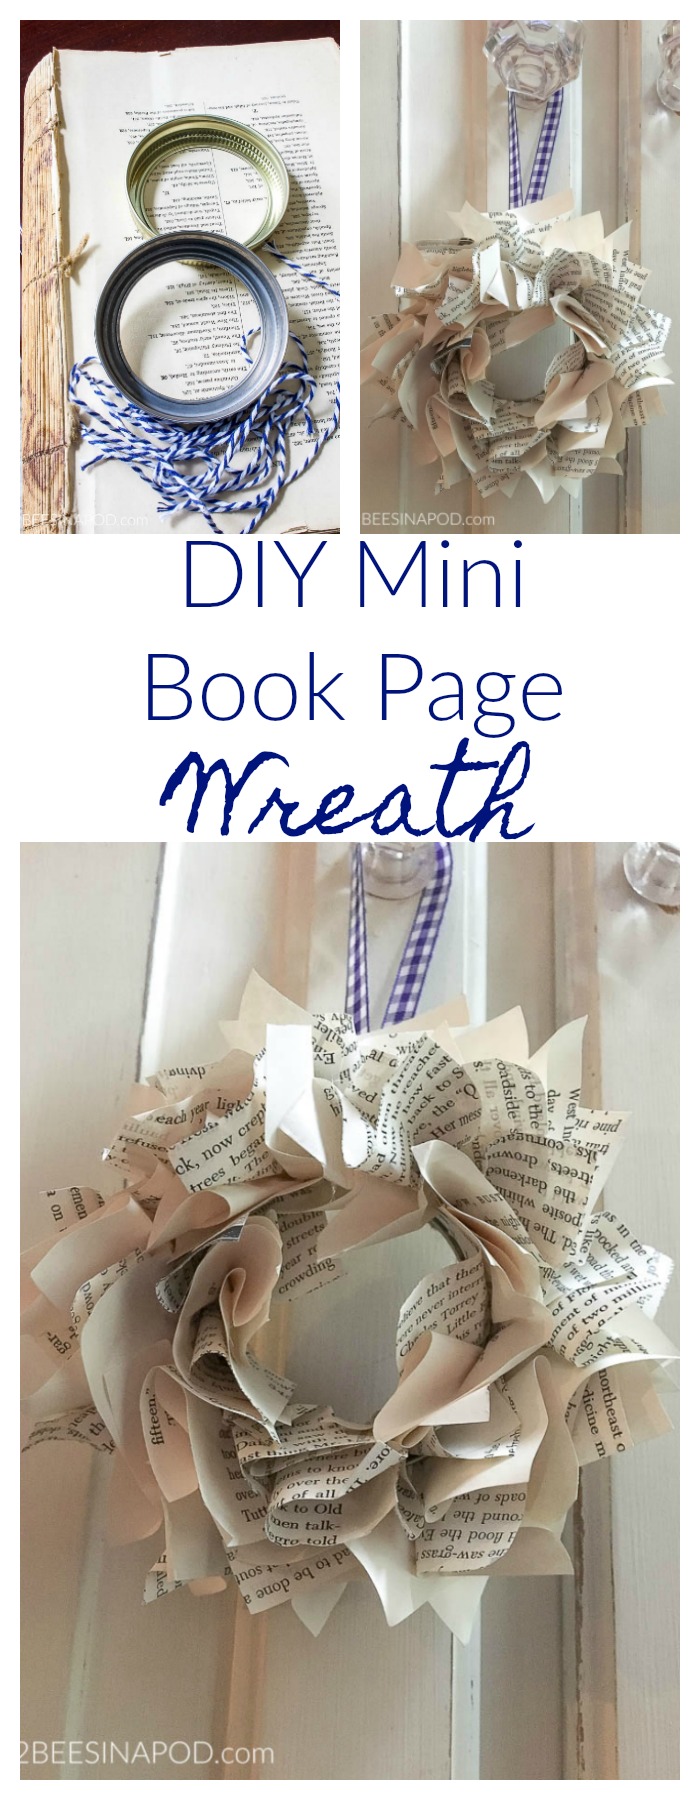
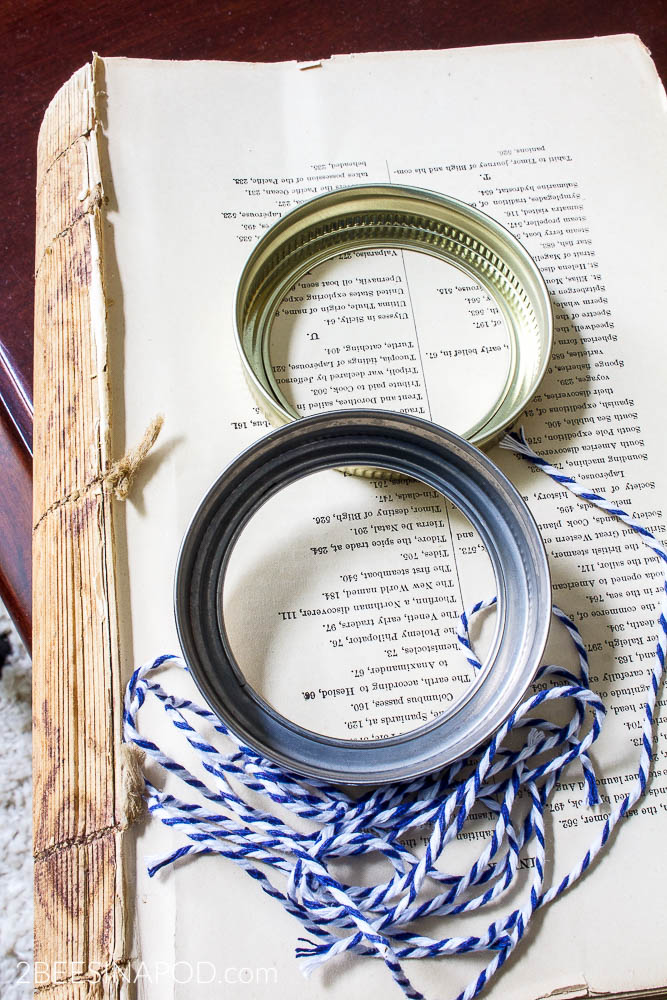
This vintage yard sale book has served me well. Even though it was falling apart when I bought it, I have used it for many projects. I will link those at the end of this post.
Materials Needed:
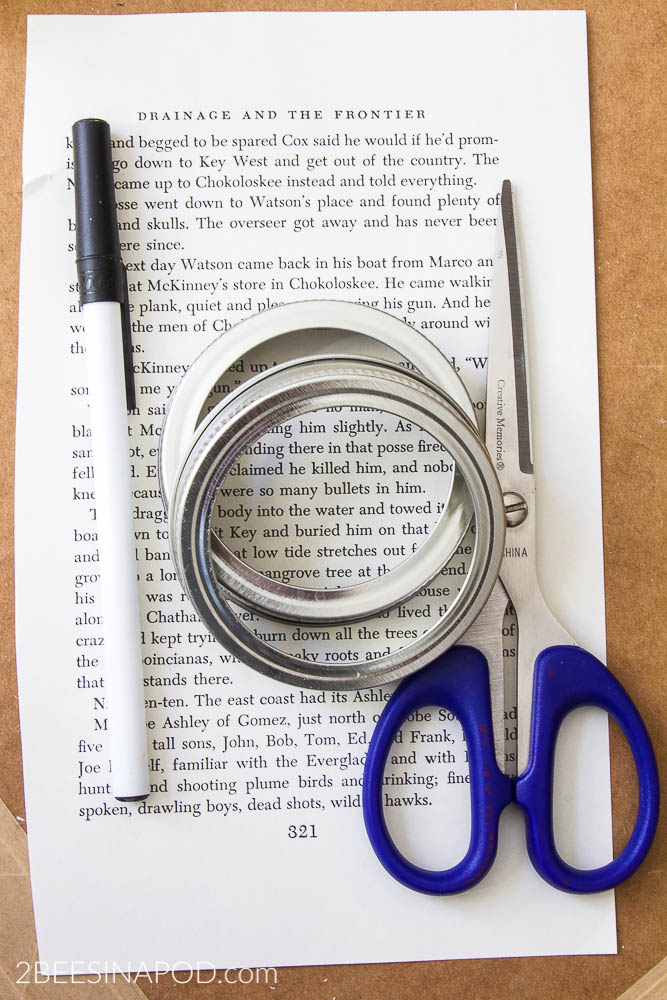
- Outer ring of a Mason jar lid
- Book pages – cut into 3″x 3″ squares. Each ring takes approximately 40 squares depending on the paper thickness. The vintage paper was thin, therefore required more squares. At the end of this post I created a DIY mini buffalo check wreath from wrapping paper. This particular paper was thick and required less squares.
- Scissors.
- Pen or pencil.
- Ribbon or baker’s twine
- Jute or thick twine.
- Hot glue gun and glue.
Ready to put it all together
- Outer ring of a mason jar lid. Vintage book page paper cut into 3″ x 3″ squares.
- Pick up each square individually. Place a pen or pencil directly in the center of the paper square and wrap it around the pen.
- Pinch the center of the paper square tightly. Collect all of the squares together.
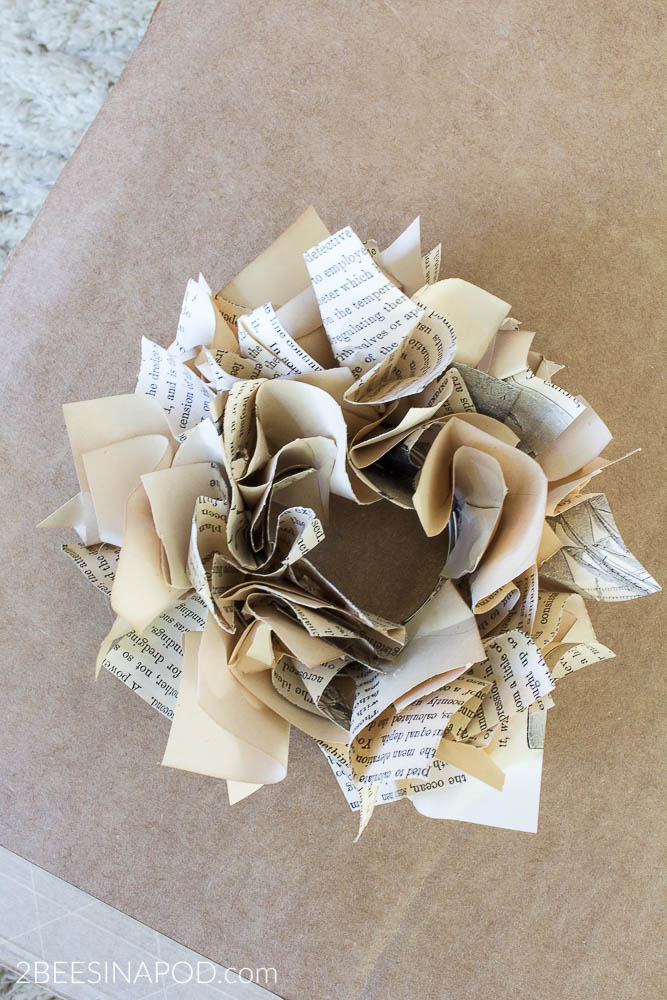
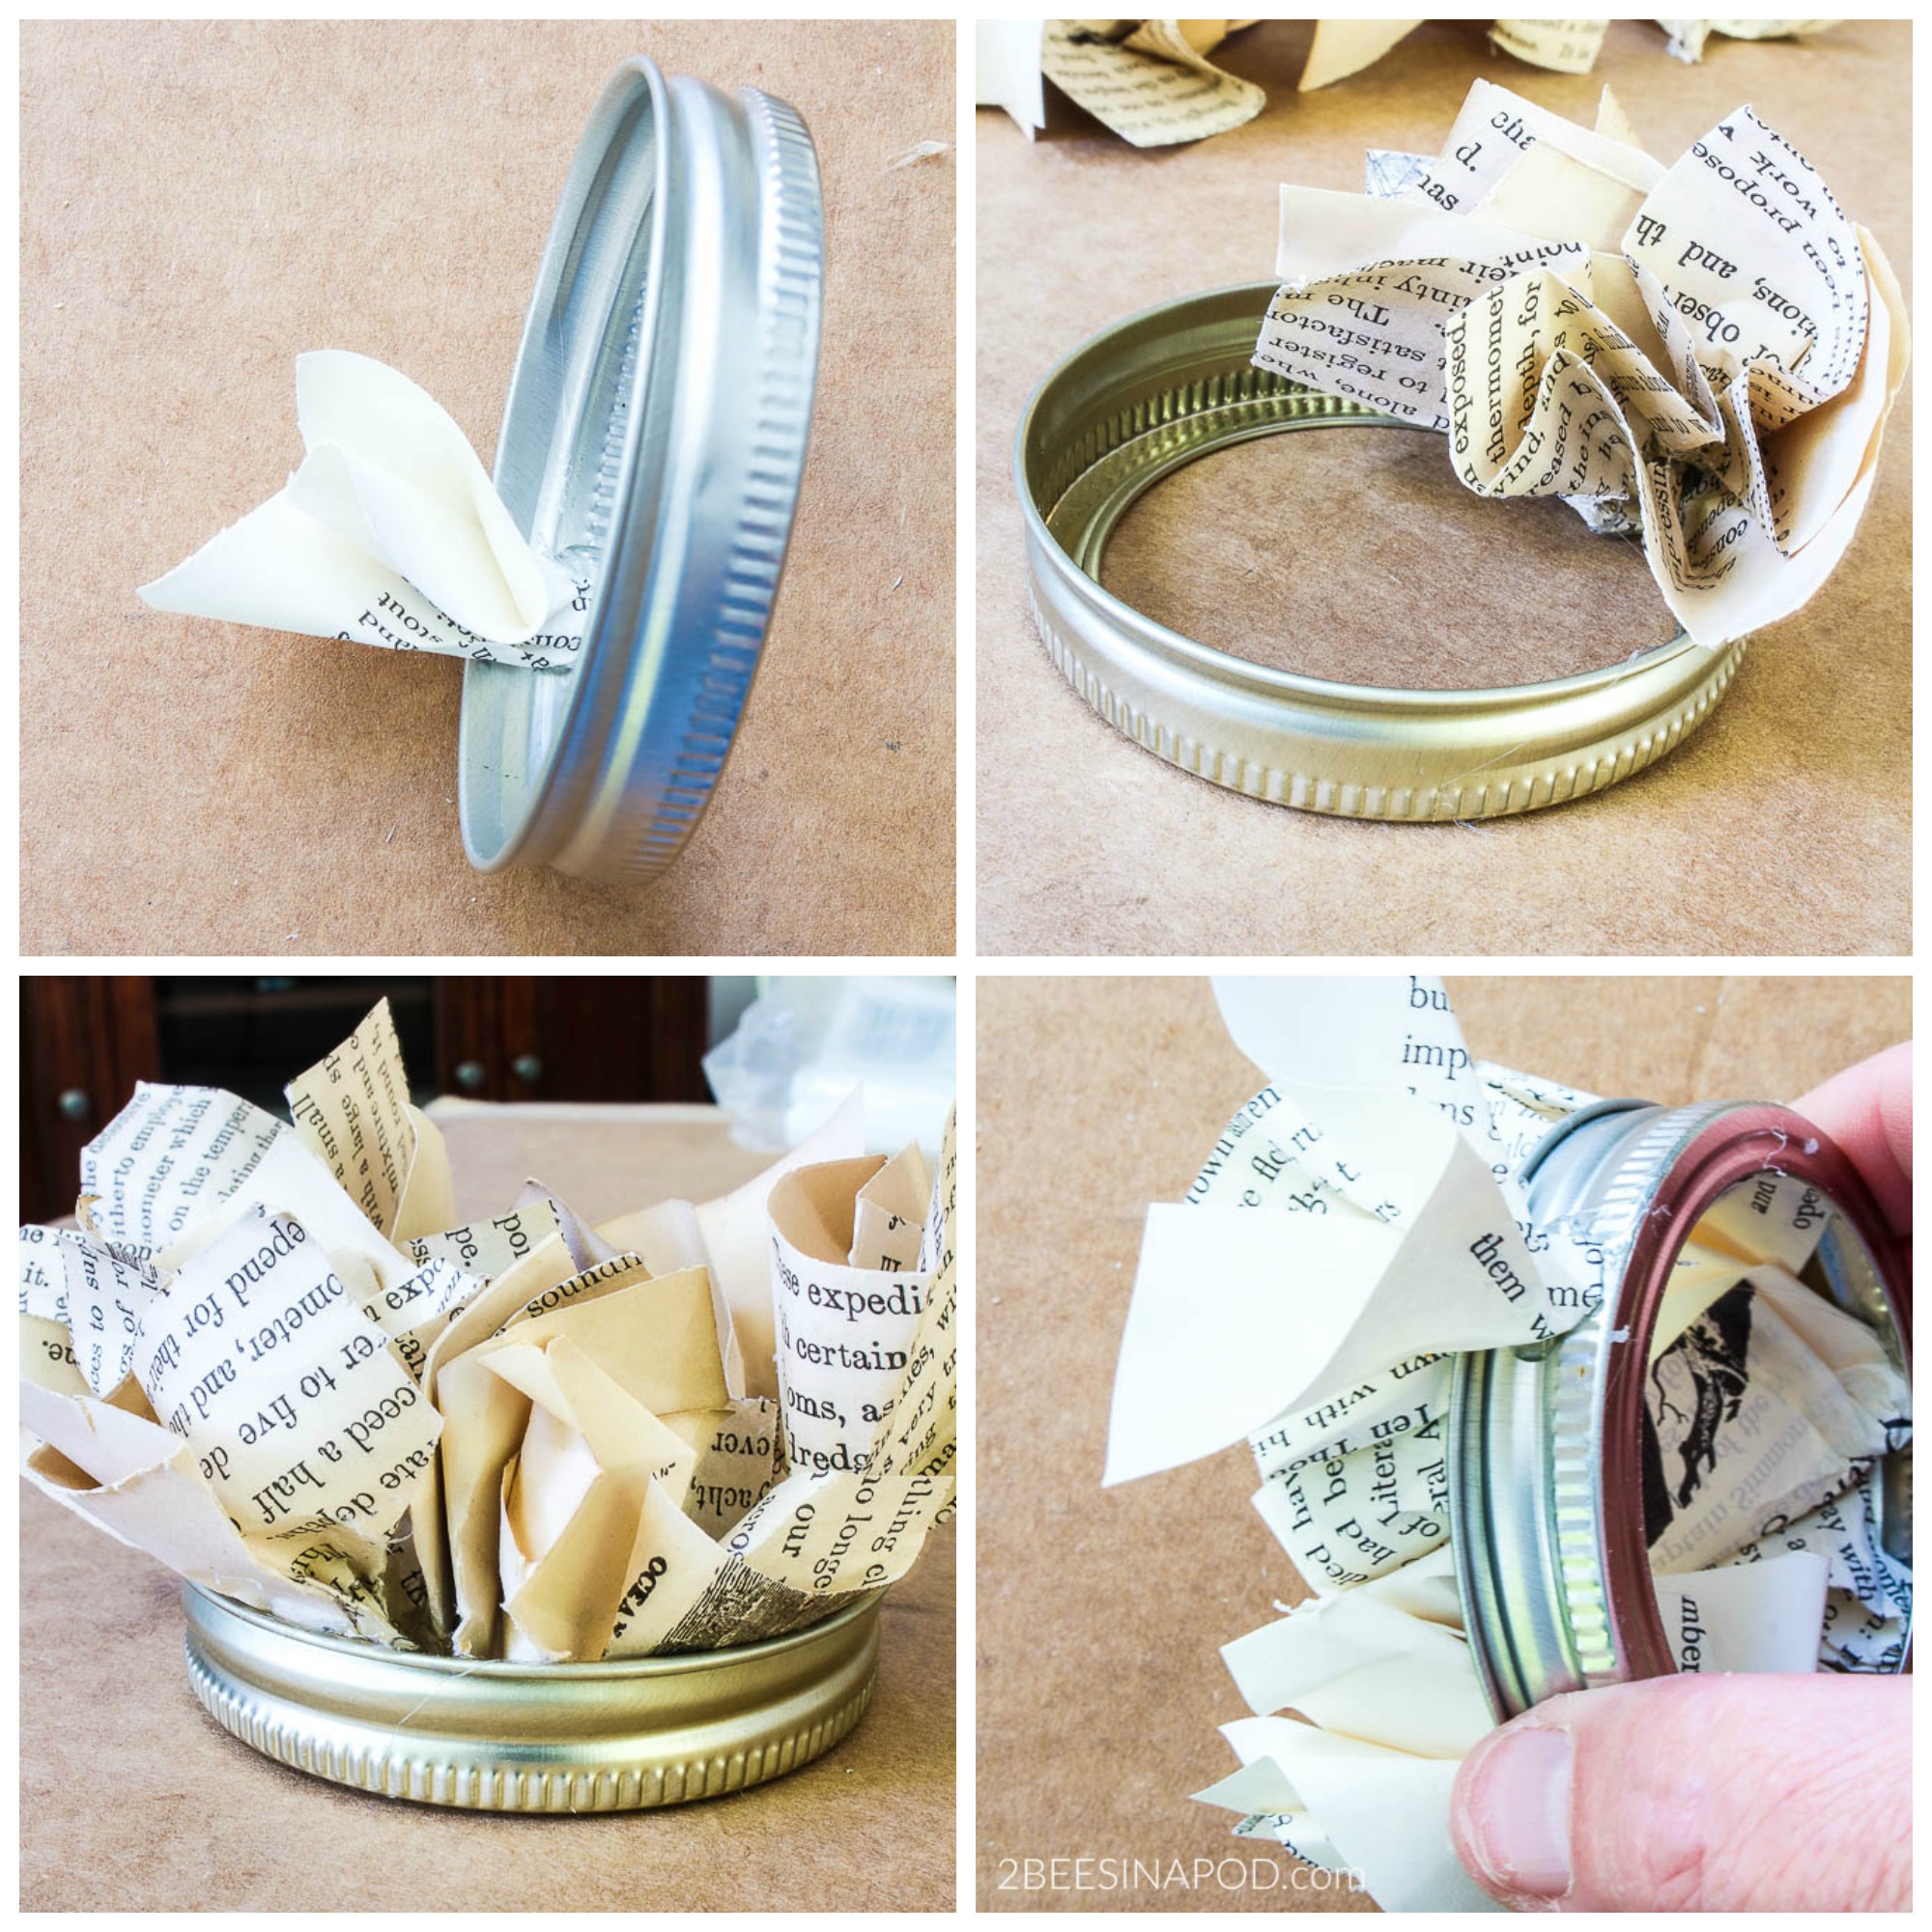 Begin hot-gluing the pinched papers into the center of the ring as pictured above.
- Keep adding the pinched papers closely together.
- Until the center of the ring is completely full.
- Then start adding the pinched papers to the outside of the ring. Always make sure that your paper is going in the same direction – open ends facing up.
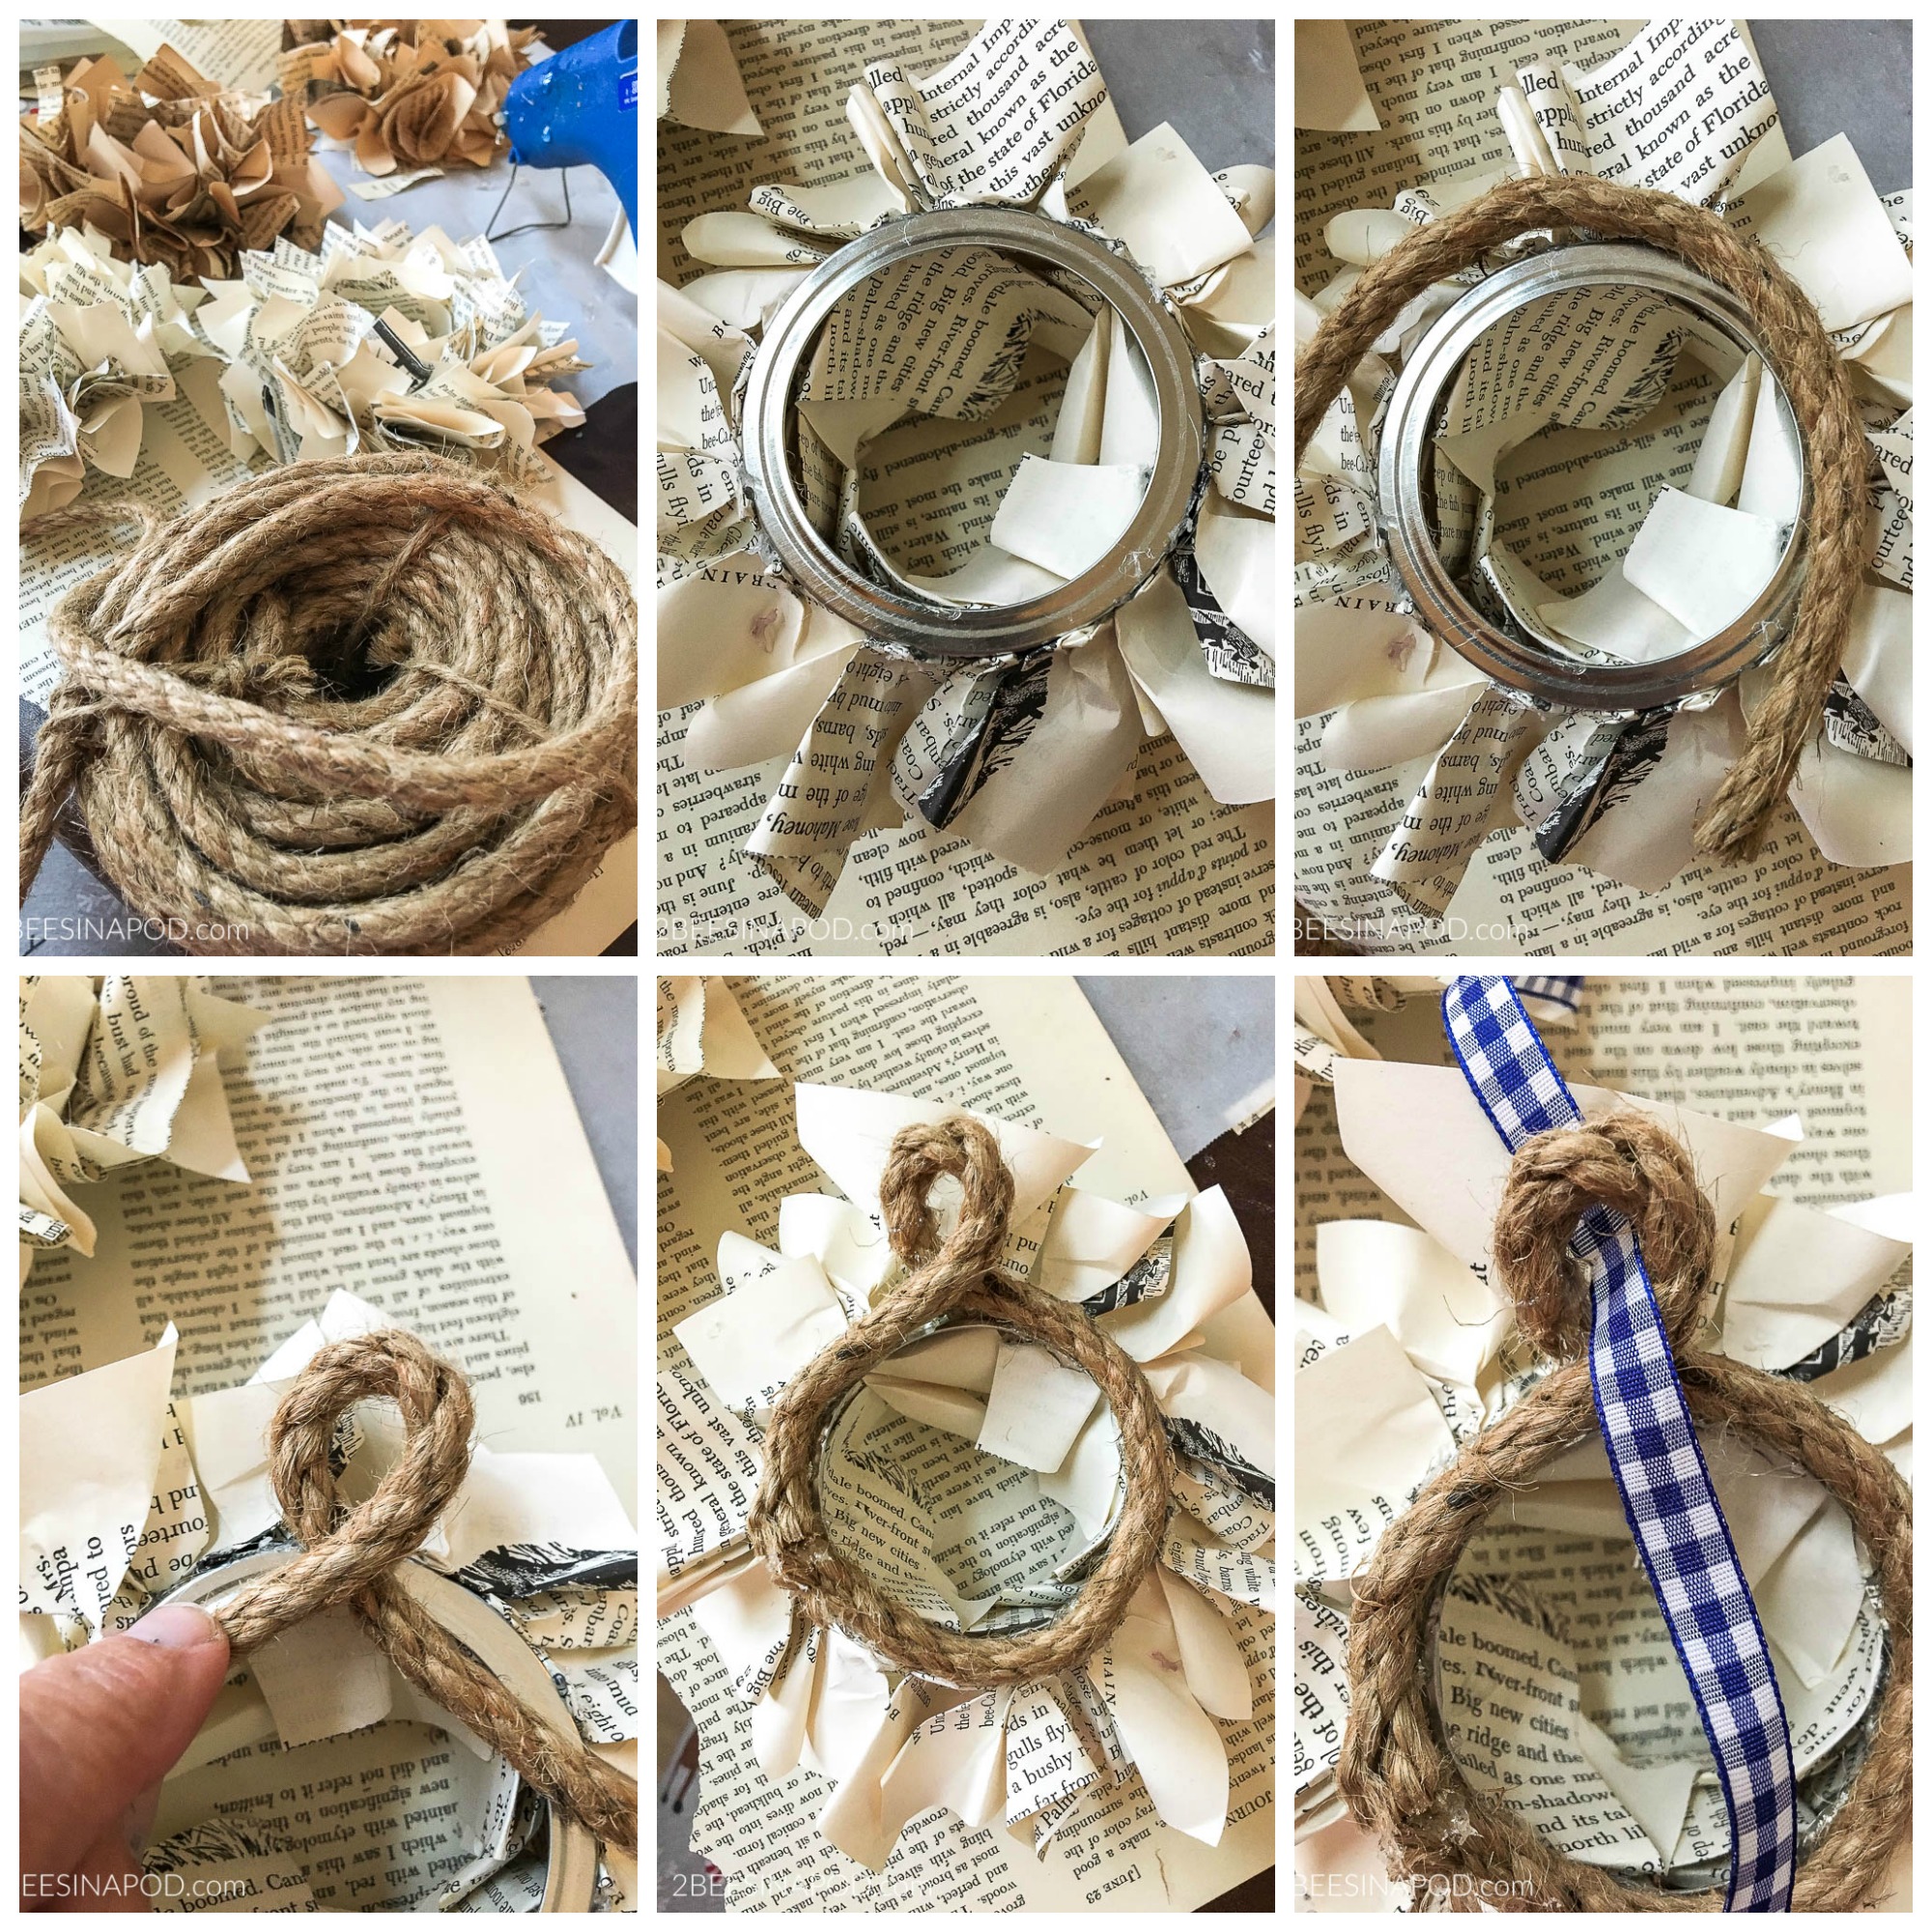
- Check the wreath for fullness. Fill in any areas that seem loose or empty. You will need jute or twine for the back of the wreath.
- The flat silver ring is where the twine will be added.
- Measure out approximately how much twine you will need.
- Create a loop by adding a dot of hot glue.
- Glue completely all the way around the ring.
- Add desired ribbon, baker’s twine or yarn through the loop.
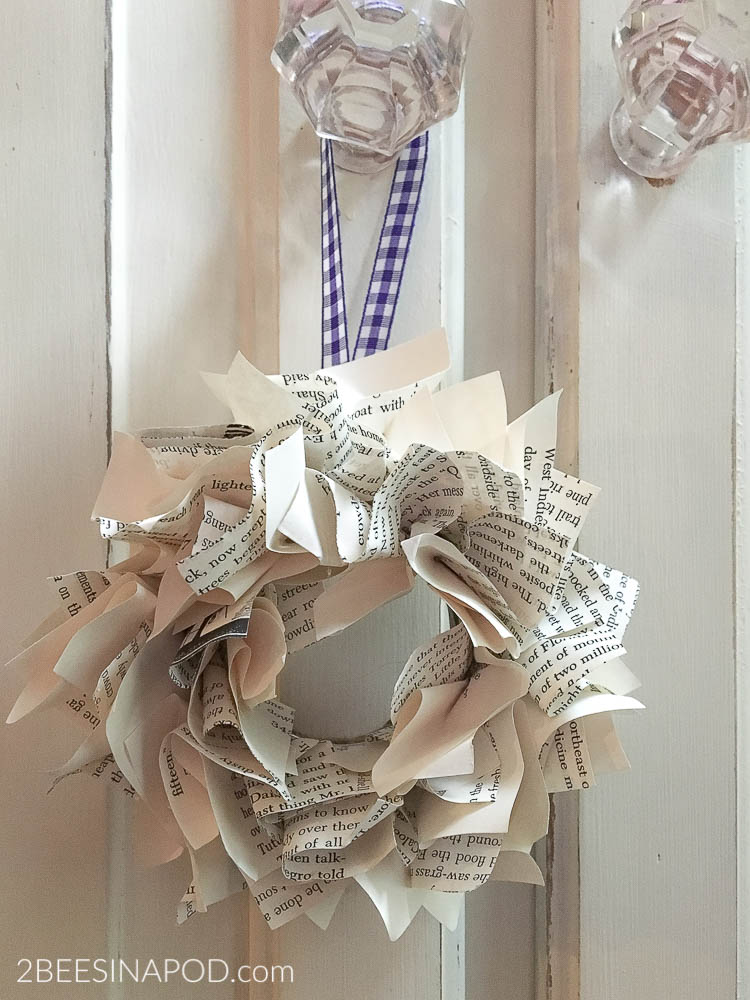
Ready for hanging
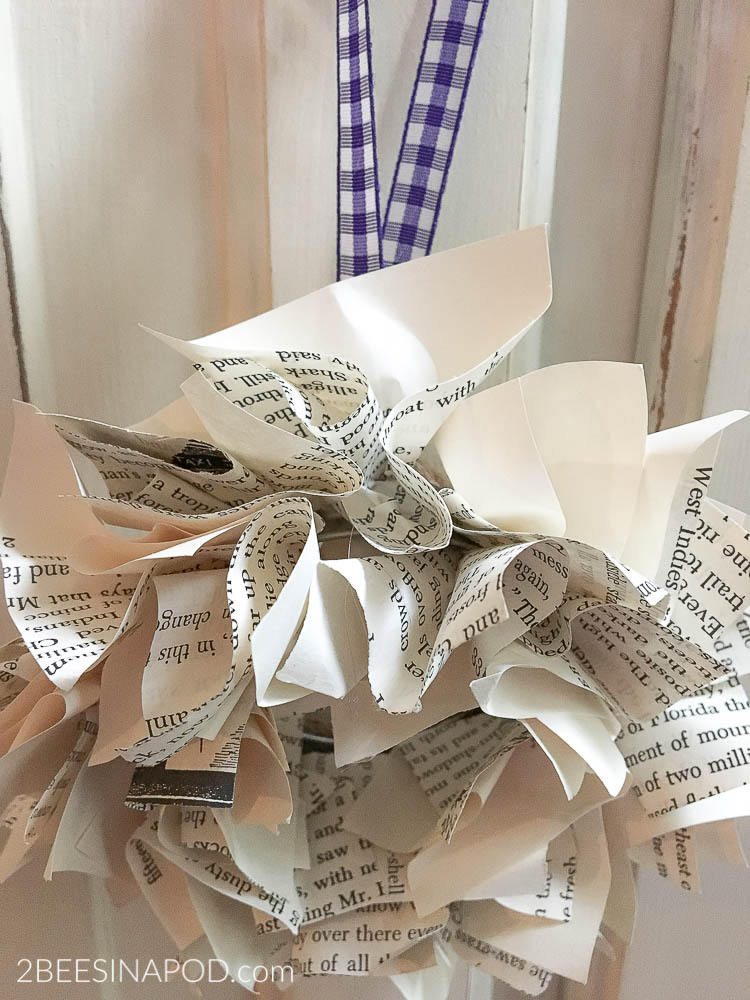
Isn’t this cute?
Temporarily, it looks great hanging on the glass knob of the armoire in the guest bedroom.
You know how much I love my blue and white decor.
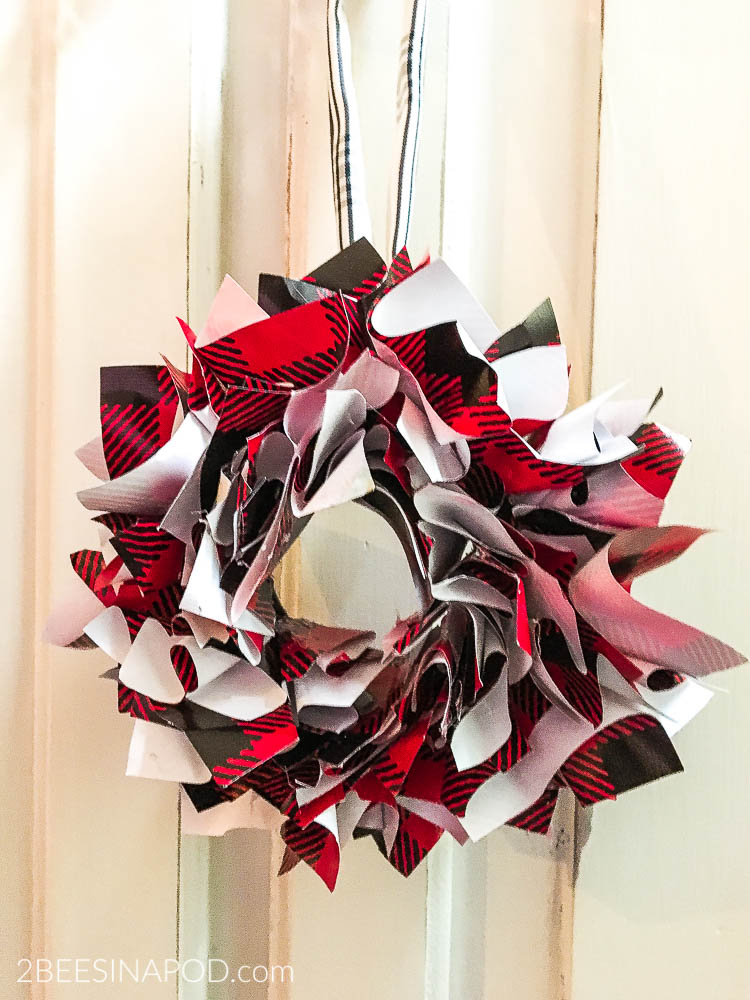
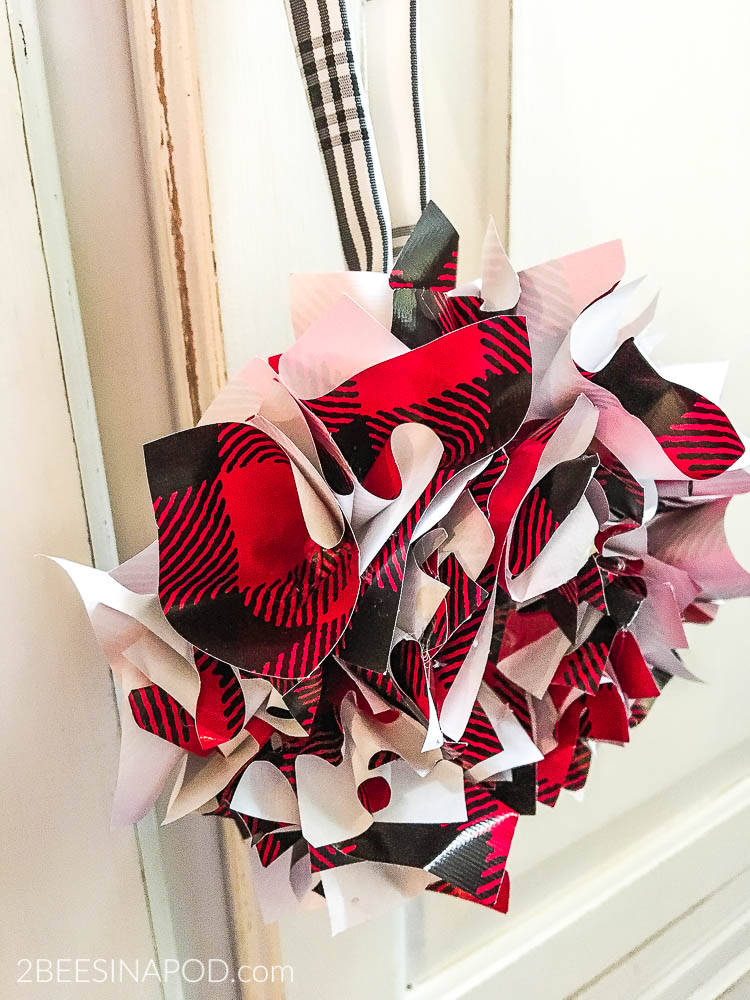
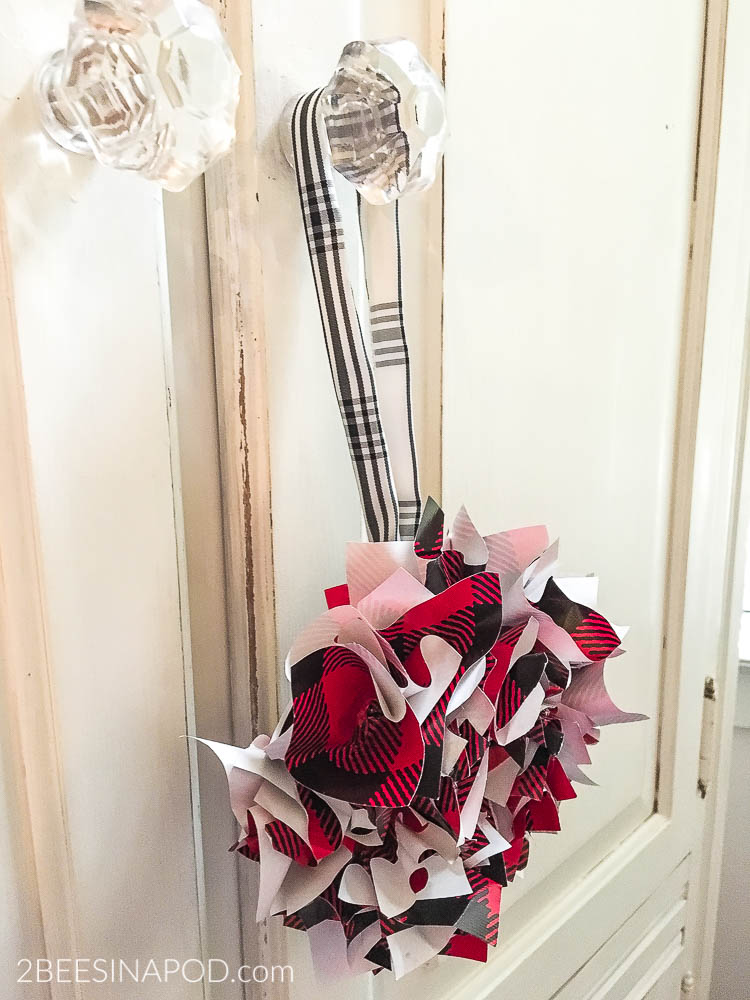
For Christmas I thought it would be fun to try something a little different. I created a DIY mini buffalo check wreath using gift wrapping paper.
It turned out pretty cute too.
I used a little bit of my Hearth and Hand ribbon by Magnolia as a wreath hanger.
This is the kind of project that I do while I’m watching television at night. I cut up all of the book page squares at one time to make it easier and more convenient. By the way, the squares don’t need to be perfect or exact. Just have fun with it.
Don’t forget to Pin this to your favorite Pinterest board!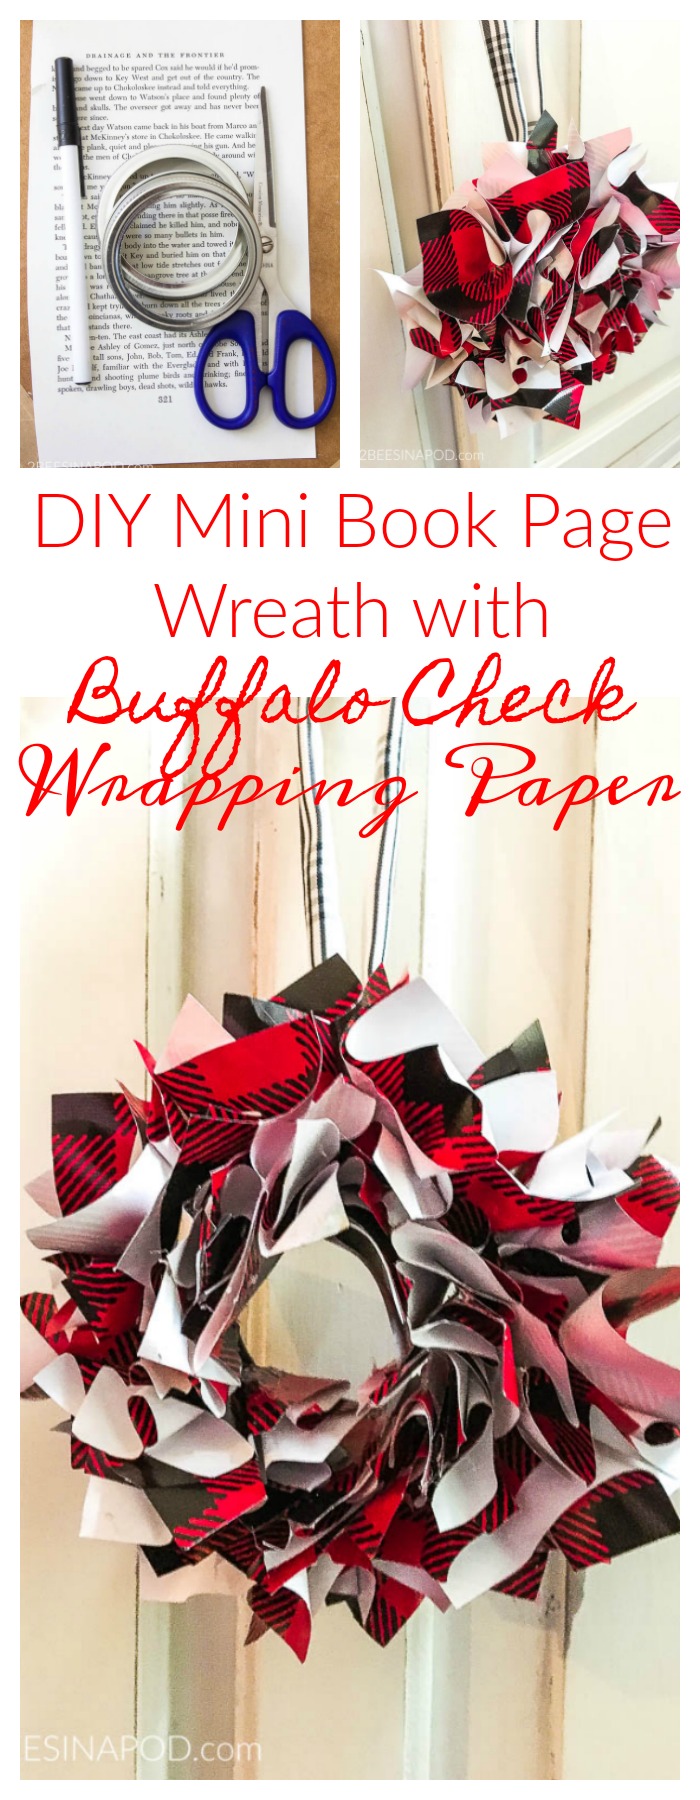
Have a wonderful weekend friends!
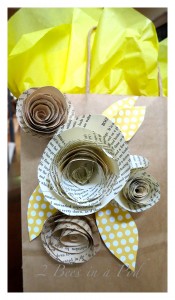
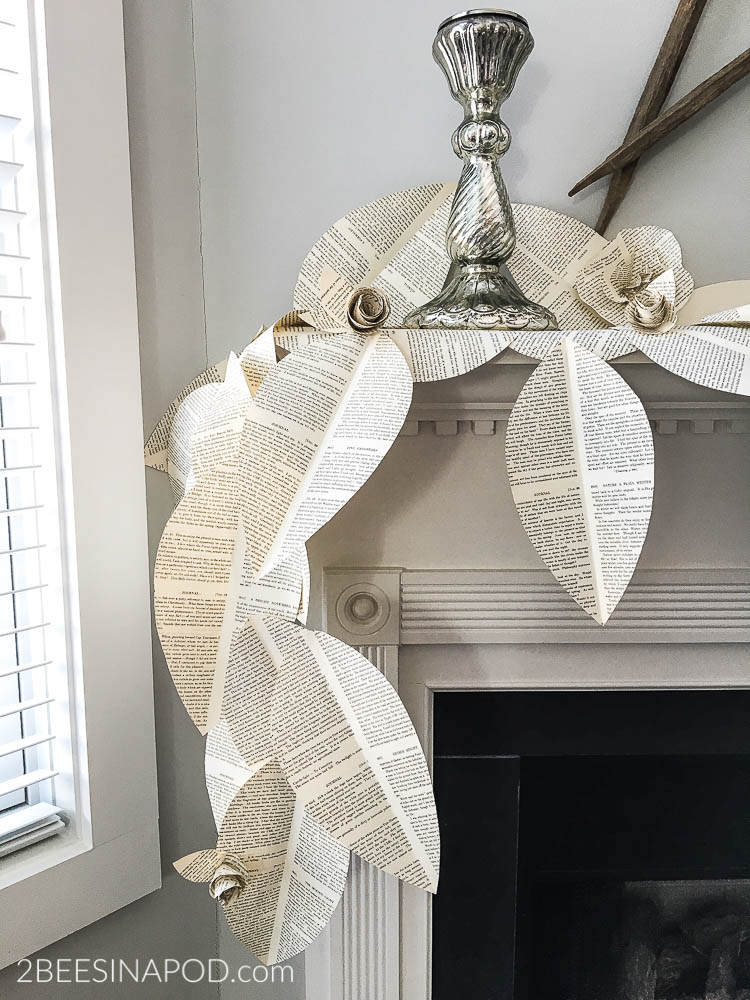
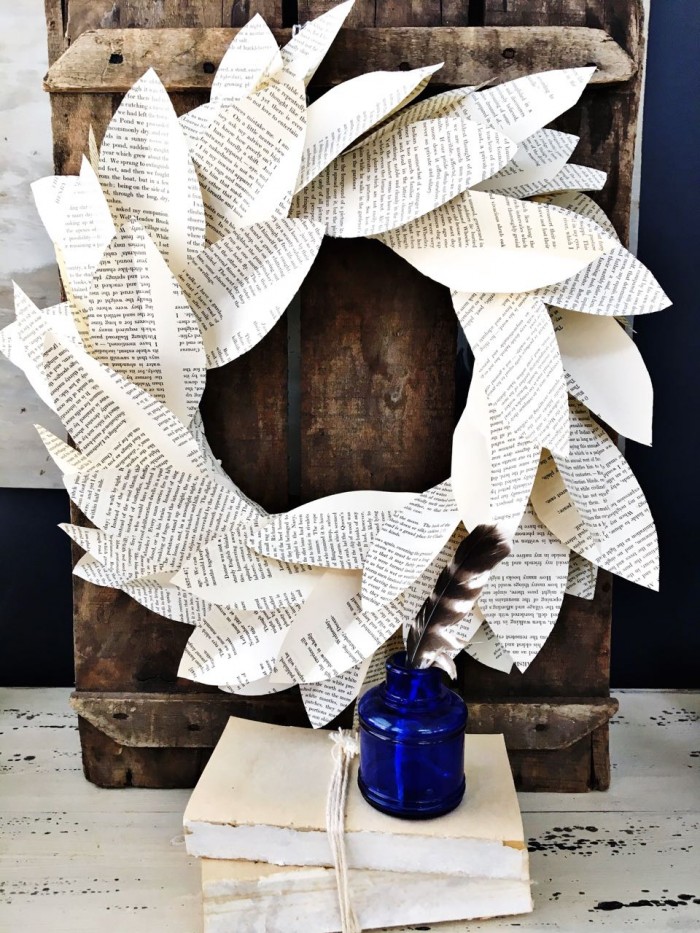
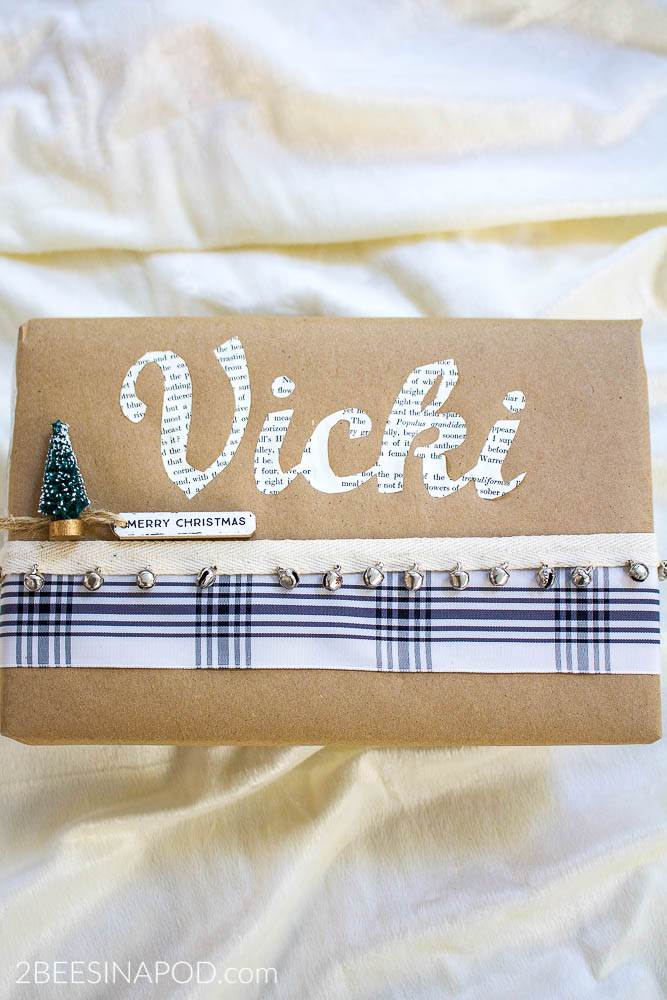
Here are some other book page projects:
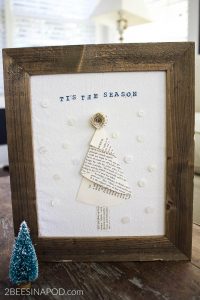
Framed Book Page Christmas Tree Art


You guys seriously make THE best book page projects! love, love, love this one and the fact it has such cute options too. I can’t wait to make some of my own. SO sharing this! Hugs, Coco
Lovely! What a great idea!
And I am loving both of my wreaths! You know how well the blue ribbons go in my house! Thanks Vicki! Can’t wait to make some myself.
I love using jar lids to make this mini wreath. Would be such an affordable way to decorate an entire tree.
These are so pretty! I love the soft colors of them, perfect for this time of year!
Amazing work. It looks beautiful and is adorable. Waiting for your next DIY. I love your work. Seriously thank you for all this awesomeness!