Book Page Christmas Ornament and Exchange
Please note that this post contains affiliate links. As an Amazon Associate, Rewards Style influencer and Jane Influencer, we earn from qualifying purchases and any sales made through such links will reward us a small commission – at no extra cost for you.
Vintage book page Christmas ornaments are so pretty.
Welcome to the 2017 Ornament Exchange & Blog Hop! This year, there are 47 amazing bloggers participating in the exchange. The rules of the challenge were simple: be partnered with a fellow blogger, create a handmade ornament for $15 or under, create a tutorial, and ship the ornament off to a new home!
Fortunately I was partnered with Samantha of Little Bits of Home. I say fortunately because A.) You should see what she created for me. I am still speechless – you need to check it out! Absolutely gorgeous! B.) Samantha is just adorable. Jenn and I have done some blog hops with her before and she is just super creative.
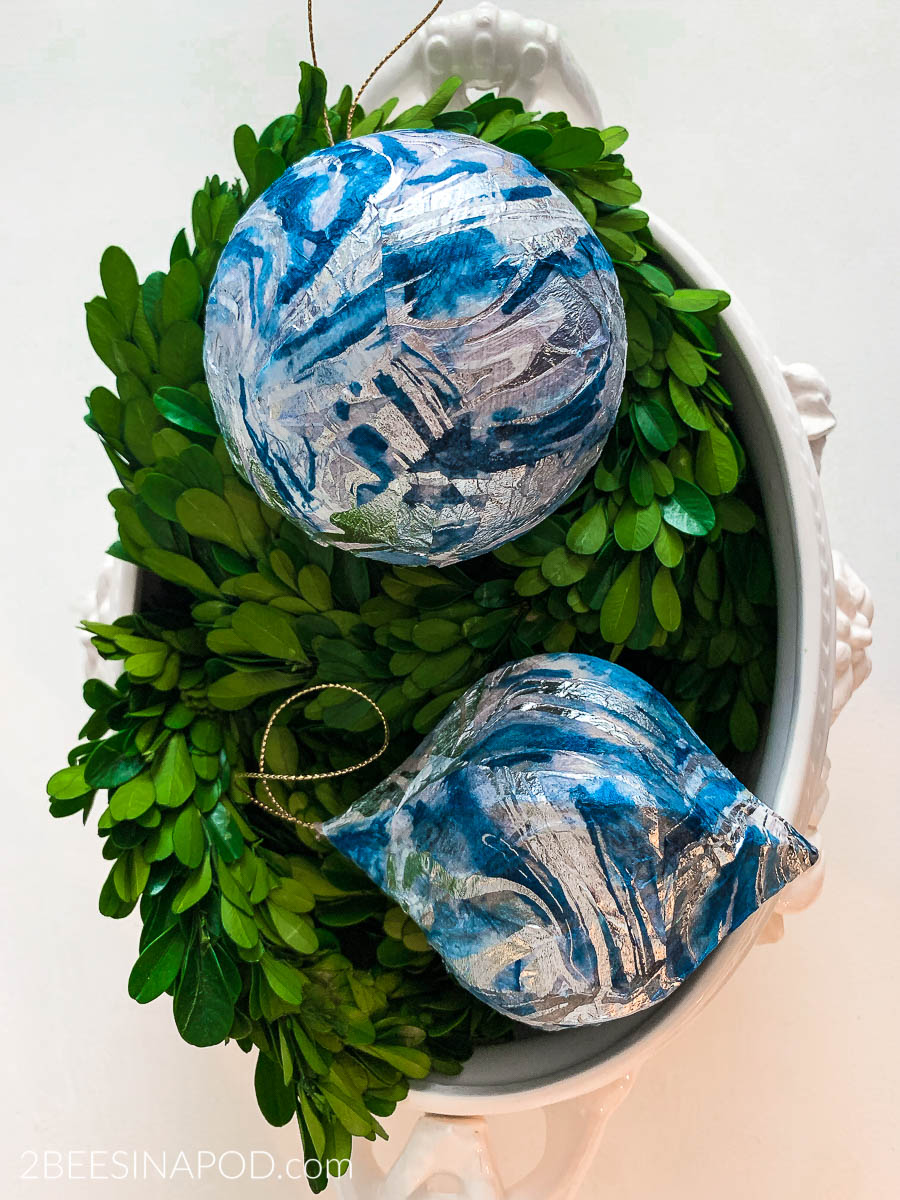
Samantha’s Christmas decor is beautiful silvers, mercury glass and reds. She tends to lean towards sentimental ornaments which tug at my heartstrings too. Here’s her beautiful Christmas tour from last year.Let me tell you, I felt a bit stressed out making an ornament for someone else LOL. Hopefully, Samantha liked it!

Meet the 2017 Ornament Exchange Hosts
Erlene ⋅ My Pinterventures Kim · Made In A Day Amanda · Domestically Creative
Shirley · Intelligent Domesticatons Michelle · Our Crafty Mom
Beverly · Across the Blvd. Christene · Key to Inspiration Pili ⋅ My Sweet Things
Nicki · Sweet Parrish Place Megan · C’mon Get Crafty
Hilary · Raising Fairies and Knights Emily · Two Purple Couches
Tina · One Crafty Mess Marie · The Inspiration Vault Debra · Shoppe No. 5
Trisha · Rosewood and Grace Jeanie · Create and Babble Katrin ⋅ Kreativ K
Terri · Christmas Tree Lane Maureen · Red Cottage Chronicles
Toni ⋅ Small Home Soul Ula ⋅ Lulu & Celeste Sue ⋅ A Purdy Little House
Pamela · Home On The Corner Lorelai ⋅ Life with Lorelai Cindy ⋅ DIY Beautify
Debbie ⋅ Tweak and Style Stephanie ⋅ Swoodson Says Chelc ⋅ Inside the Fox Den
Susan ⋅ Super Mom – No Cape! Molly ⋅ Just a Little Creativity
Roseann ⋅ This Autoimmune Life Angela ⋅ Simply Beautiful by Angela
Vicki and Jenn ⋅ 2 Bees in a Pod Joanne ⋅ Our Unschooling Journey
Tylynn ⋅ Bitterroot DIY Sam ⋅ Raggedy Bits Mary ⋅ The Boondocks Blog
Cyn ⋅ Creative Cynchronicity Dione ⋅ Clever Chameleon Quilting
Erica ⋅ Erica Ever After Chelsea ⋅ Love Paper Crafts Evija ⋅ From Evija with Love
Samantha ⋅ Little Bits of Home Hope ⋅ Hopes Crafty Niche Anne ⋅ Orange Bettie
Pam · P.S. I Love You Crafts
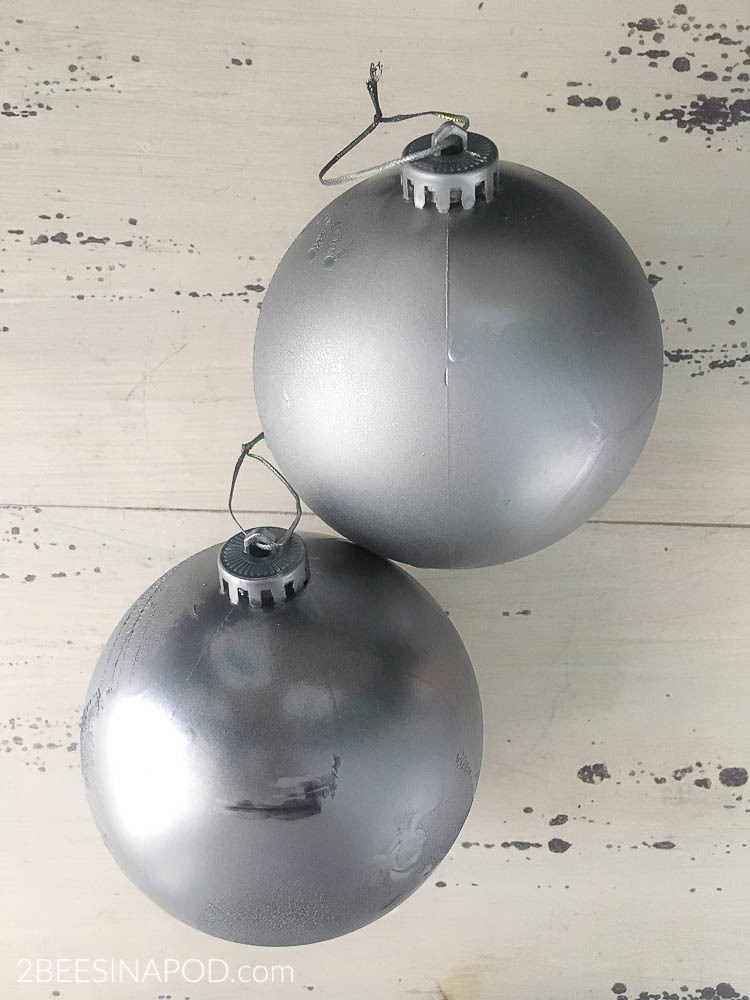
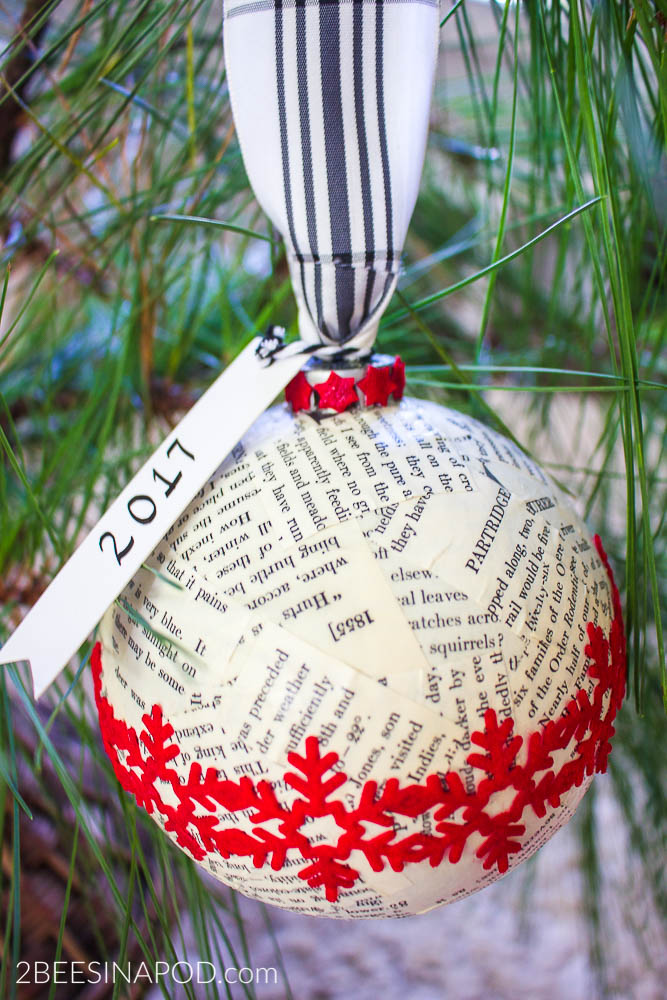
Is it bad to say I started with a project fail from last year? These oversized ornaments never saw the light of day. They were perfect for this book page Christmas ornament because they were completely covered up. I recreated the tutorial below using a smaller ornament .
Materials
- Ornament
- Vintage book pages cut into various sizes
- Mod Podge
- Sponge brush
- Water
- Plate or receptacle to hold Mod Podge
- Wooden skewer – for drying purposes
- Egg carton or styrofoam – for drying purposes
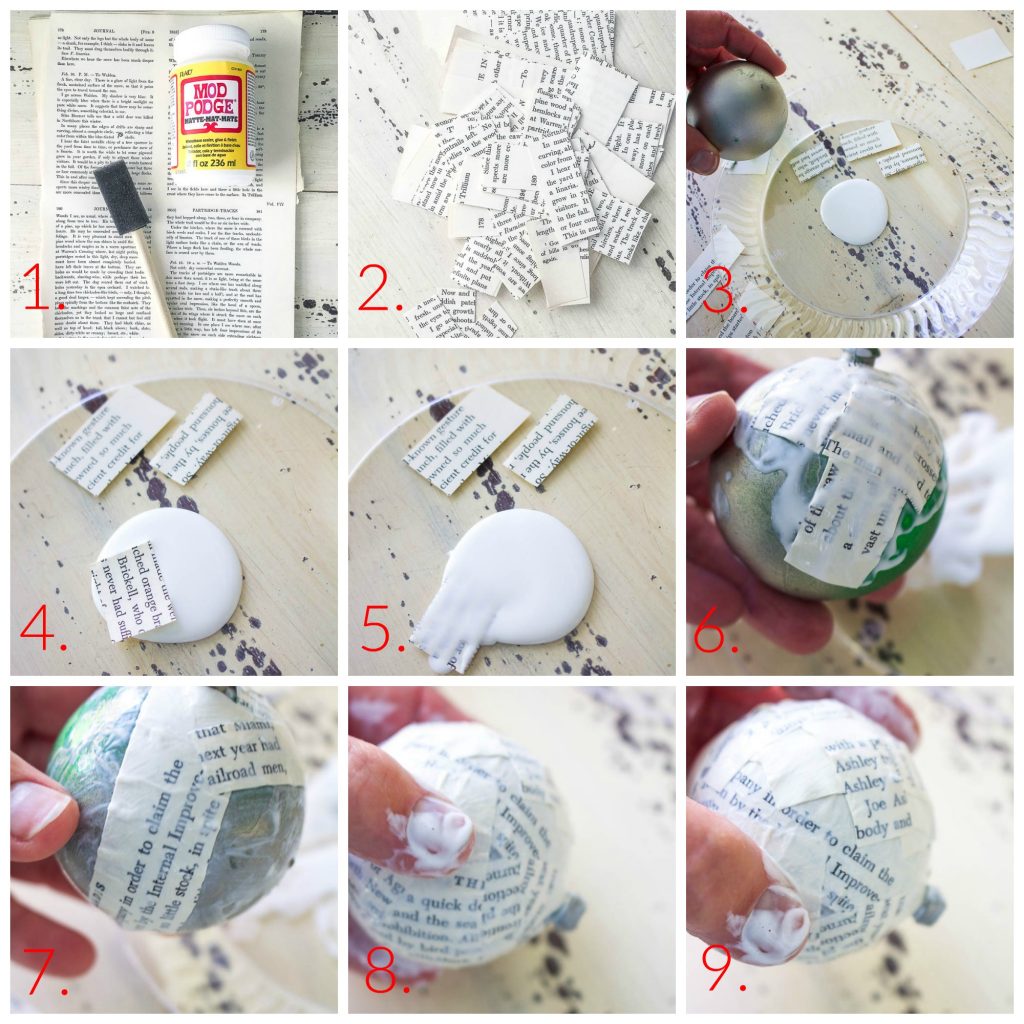 Tutorial
- Gather your materials together.
- Cut vintage book pages into various sizes. I found that squares and rectangles worked best. Carefully remove the top hanger end of the ornament, but save it for later.
- I discovered it was easier to use my hands instead of the sponge brush.
- Dip the book page into the Mod Podge…
- …front and back.
- Apply it the ornament. Begin at the very rim of the ornament and work your way down.
- Keep applying strips of paper.
- All of the way around the ornament. The Mod Podge starts to become tacky as it dries. Dip your fingers into water to keep the glue wet and easy to work with.
- Keep working the air bubbles out of the paper so that the edges are flat. Stick the skewer in the open end of the ornament – turn it upside down and stick it into an egg carton or piece of styrofoam for drying. It should be completely dry in two hours.
After this you can add any ribbon, glitter, etc. of your choosing. Remember to reattach and glue your ornament hanger.
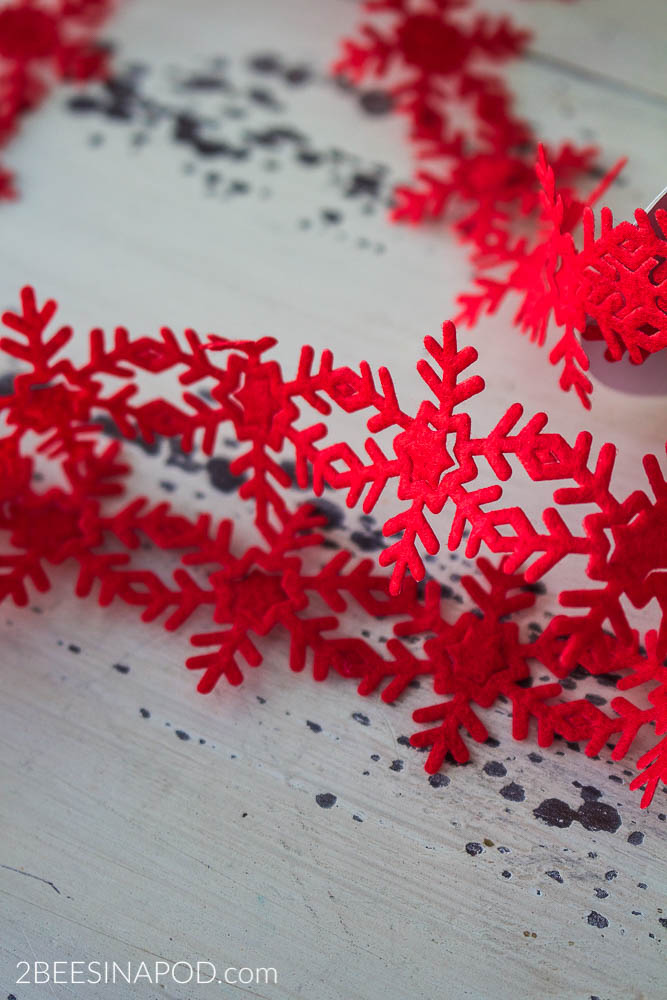
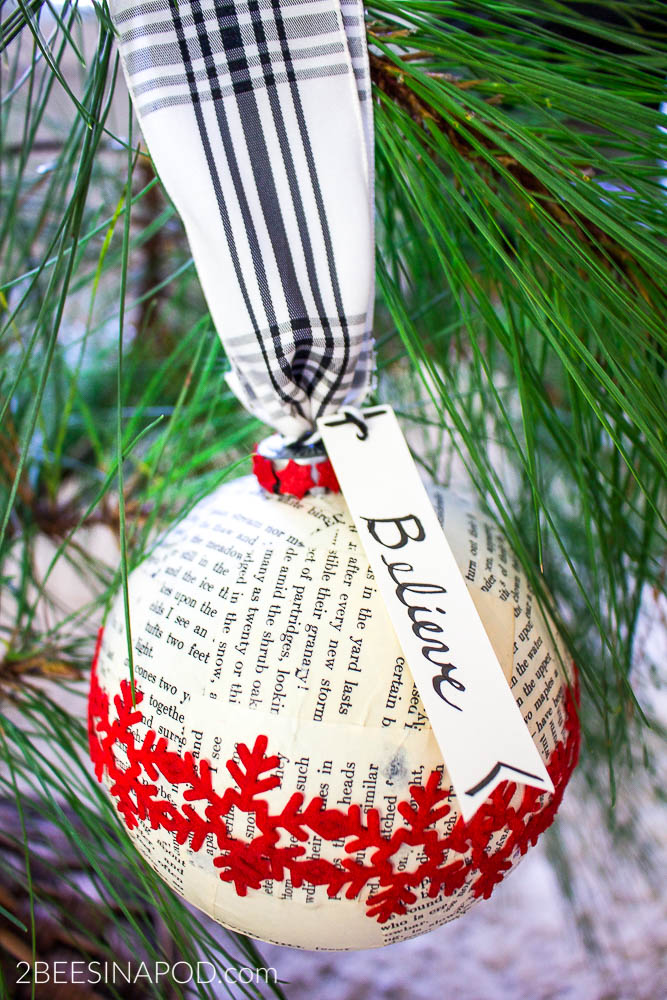
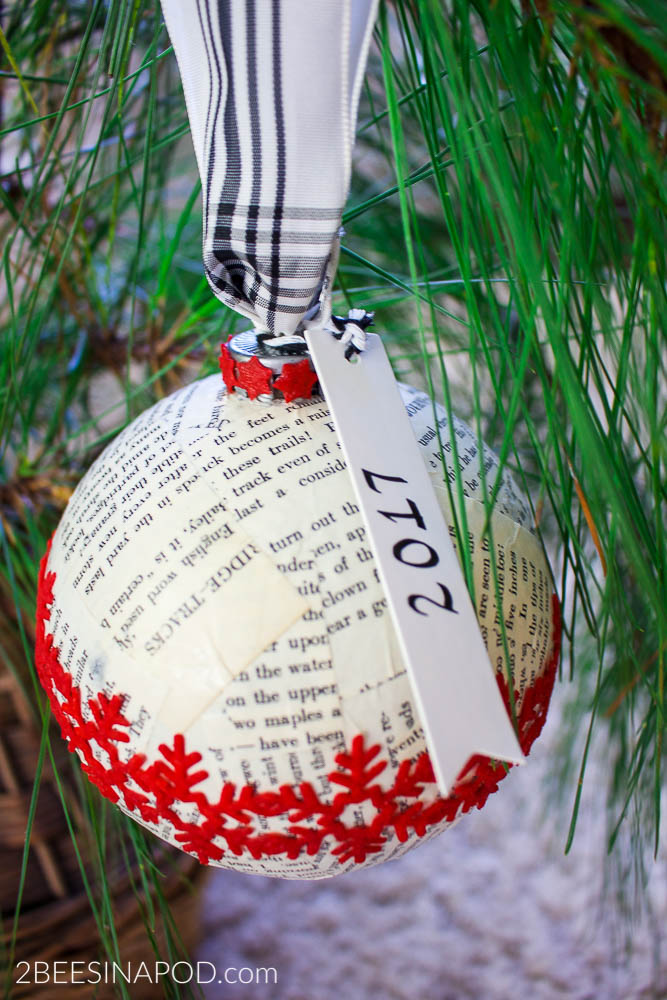
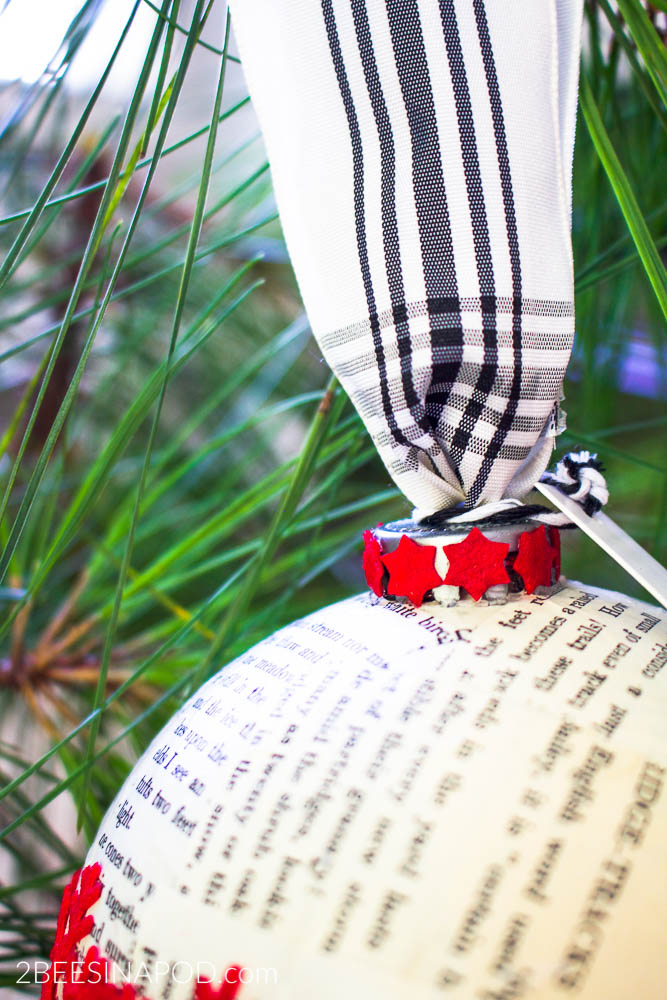
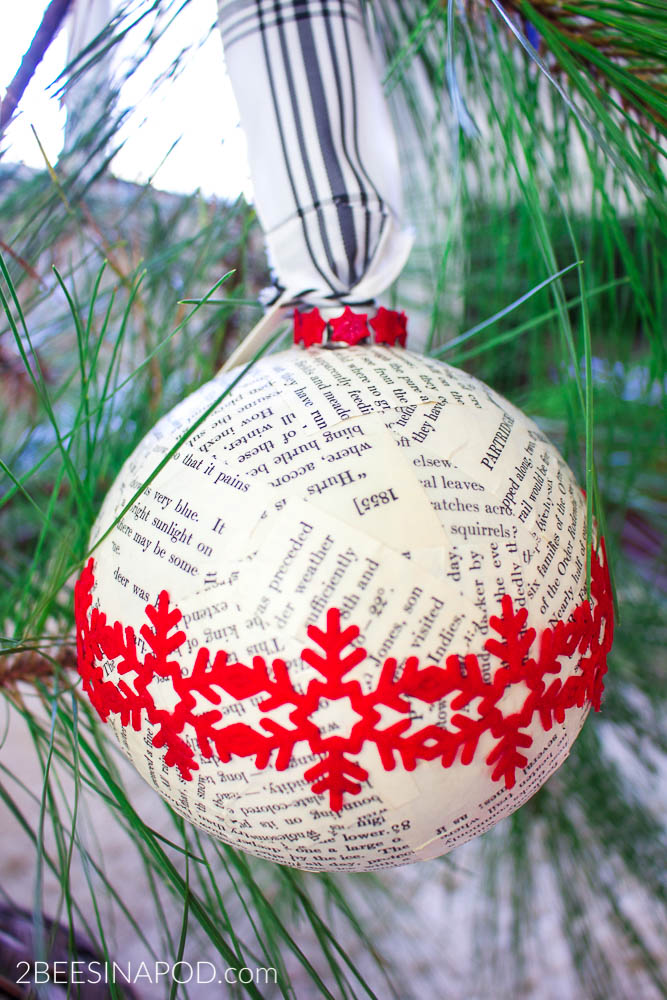
Samantha’s beautiful Christmas decor is filled with lovely shades of red. I found this pretty ribbon at HomeGoods and thought that it would be perfect for the ornament. The snowflakes are so intricate and delicate. The center stars pop out which allowed me to embellish the top of the ornament holder.
At about this point, I was wanting to keep this one LOL.
Ribbon from the Hearth and Hand collection was added for the hanger.
Thank you so much for stopping by.
Don’t forget to Pin this to your favor Pinterest board!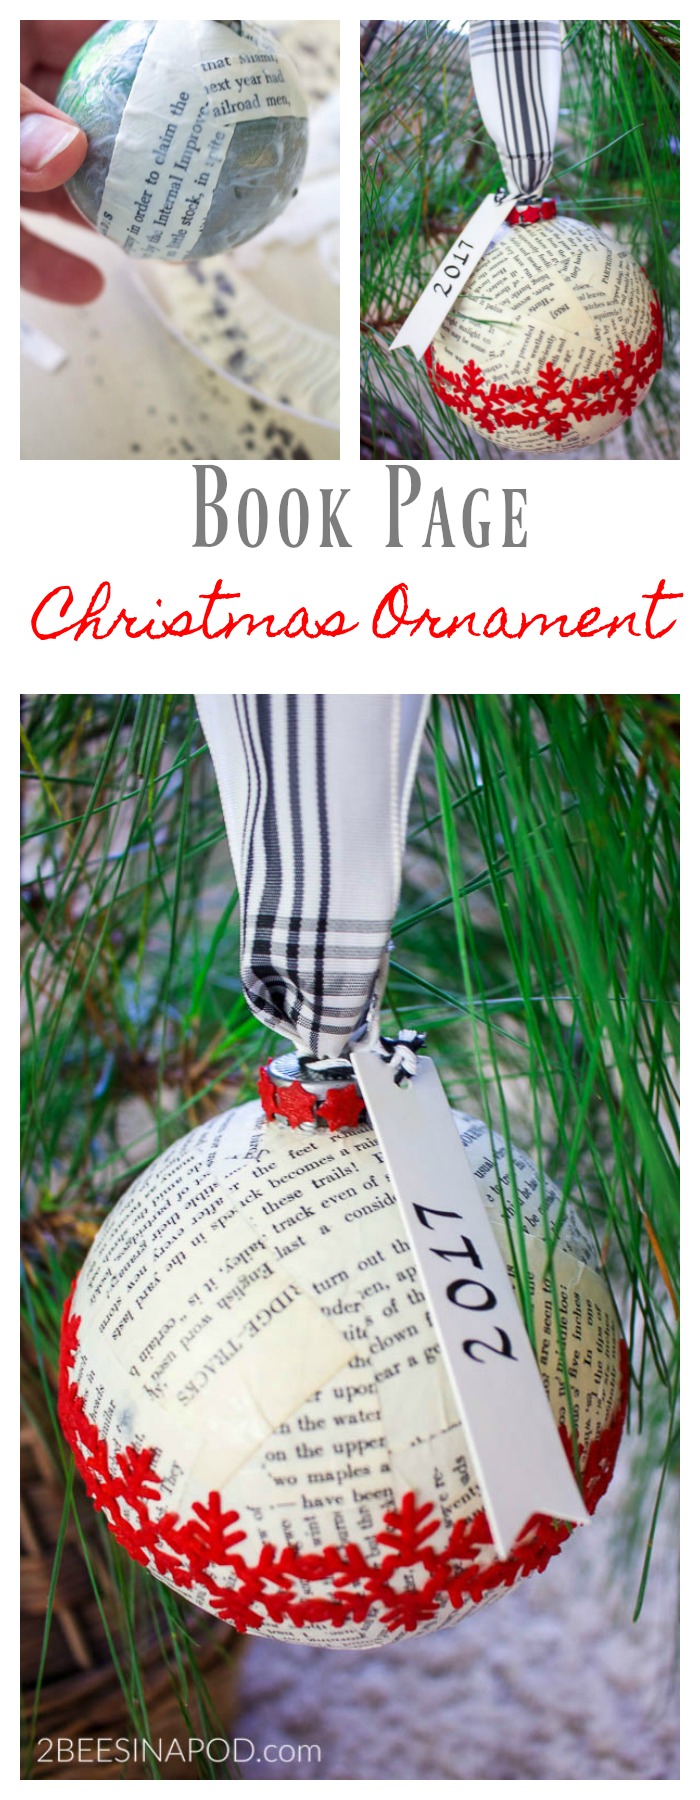
Now be prepared for tons of Christmas ornament inspiration.
Thank you so much Samantha for my gorgeous ornaments! I will treasure them always!
FIND ALL 47 HANDMADE ORNAMENT TUTORIALS BELOW AND SHARE YOURS TOO! Use Hashtag #2017OrnamentExchange so we can see your creations on social media.


Ooh so cute. I made something similar last year and I think it turned out well. I love books, so anything bookish makes me happy. I like how you added the red snowflake border.
-lauren
Oh my goodness, I love it so much! It fits our decor perfectly! It’s such a creative idea and I love the addition of the red ribbon across the middle! Jeremy and I keep trying to guess what book you used. Lol! Thank you again SO much! We love it! Now I’m dying to get a tree to hang it on!
I love that! The ribbon snowflakes are just perfect and add that pop of color. Pinned.
Such a wonderful idea, I absolutely love your ornaments and would be so happy to have them on my tree too!! #2017OrnamentExchange
I love the touches of red and the ribbon really pulls the whole ornament together!
Book page projects are so wonderful. I love this ornament; It is so pretty. The pop of red ribbon is a nice touch.
I love this idea! The touch of red is perfect!
Another fabulous book page craft from you guys and I’m LOVING them all! Super creative and beautiful as always ladies. I can’t wait to make some of my own using your easy to follow techniques. Love, Love, Love! Hugs, CoCo
There is nothing that I love more than a good book page craft and you ladies have done an awesome job here. The addition of the red really makes it stand out.
Love, love, love this idea! It’s perfect for all the book lovers on my list.
This is a great ornament! And I actually love that you repurposed something that didn’t work out last time, without compromising on the finish at all. I can see me trying something like this.
These are so pretty, I love the bookpage look with the red ribbon! Really really sweet!
Very pretty! I love how you used the book pages. Great idea! It’s been great seeing everyone’s creative ideas!
Your last year ornament fail turned out to be a winner! I love book page crafts, but you took it over the top with the felt snowflakes that make this ornament pop. Thanks so much for joining the #2017OrnamentExchange and sharing this tutorial.
As soon as I saw that you used book pages, I knew I would love your ornament! It’s beautiful!
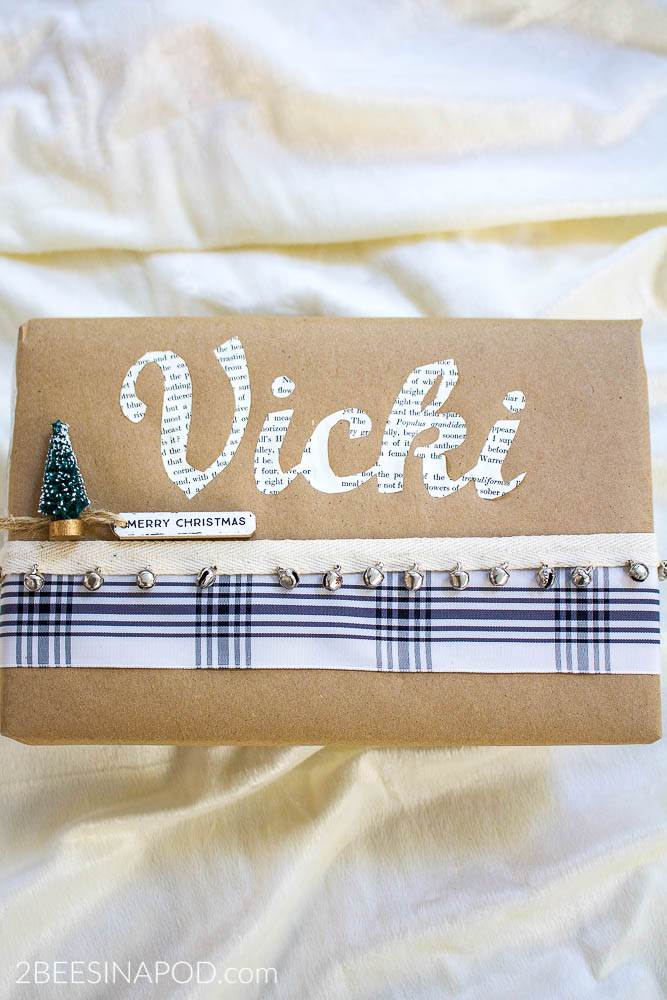
I love any craft using old book pages! This is so cute and I love that you can personalize!