Chalk Painted Trays with French Graphics – My Dollar Store DIY
Please note that this post contains affiliate links. As an Amazon Associate, Rewards Style influencer and Jane Influencer, we earn from qualifying purchases and any sales made through such links will reward us a small commission – at no extra cost for you.
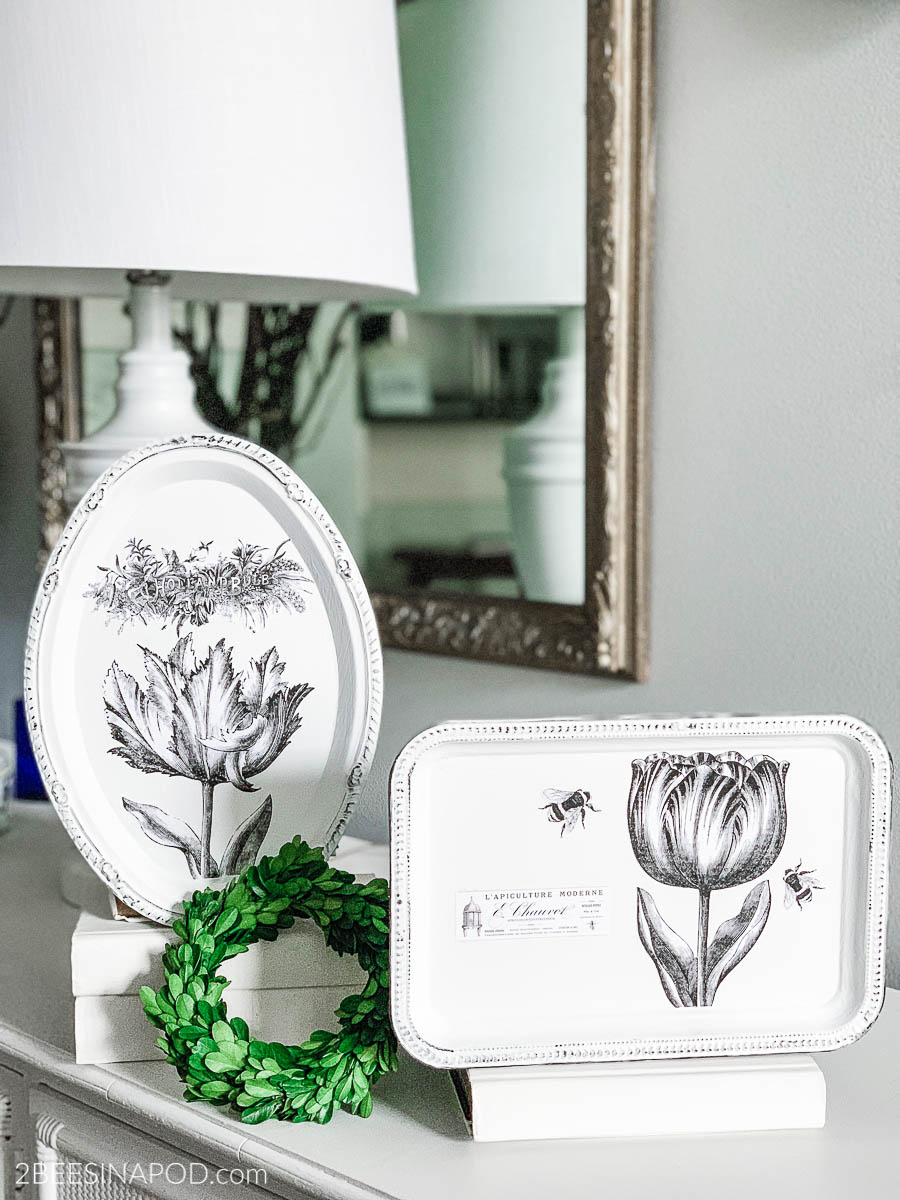
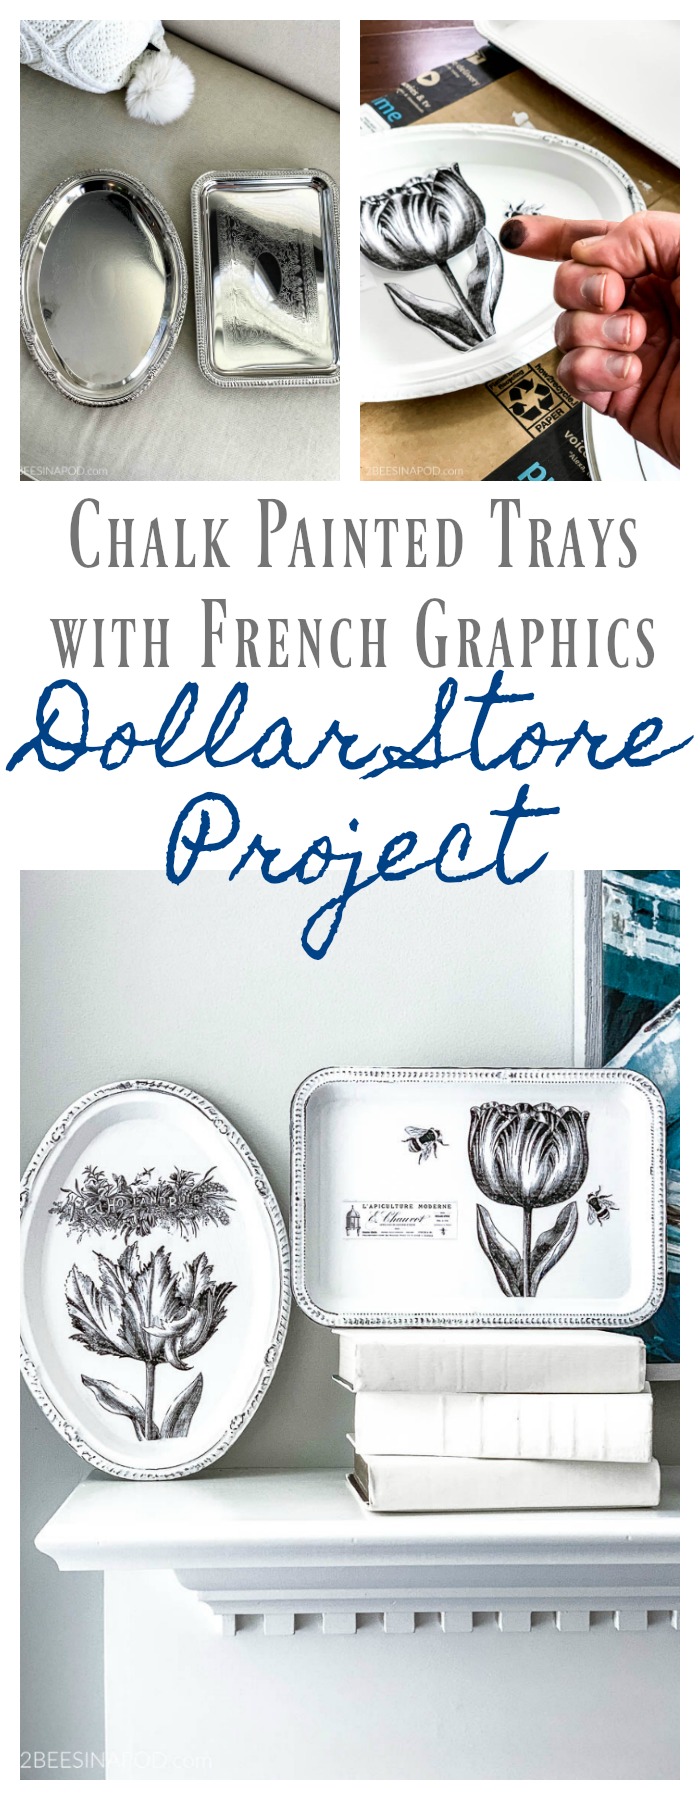
Chalk Painted Trays with French Graphics – a Dollar Store project!
There is nothing that I like more than when a creative spark fires. It is exhilarating, energizing and exciting! This month we have teamed up with a fabulous group of creatives, My Dollar Store DIY group. We will bring you seasonal DIY ideas that start from the aisles of the Dollar Store. Our project started as metal trays from the Dollar Tree. This is now a new favorite. Here’s how we created Chalk Painted Trays with French Graphics!
In the Beginning
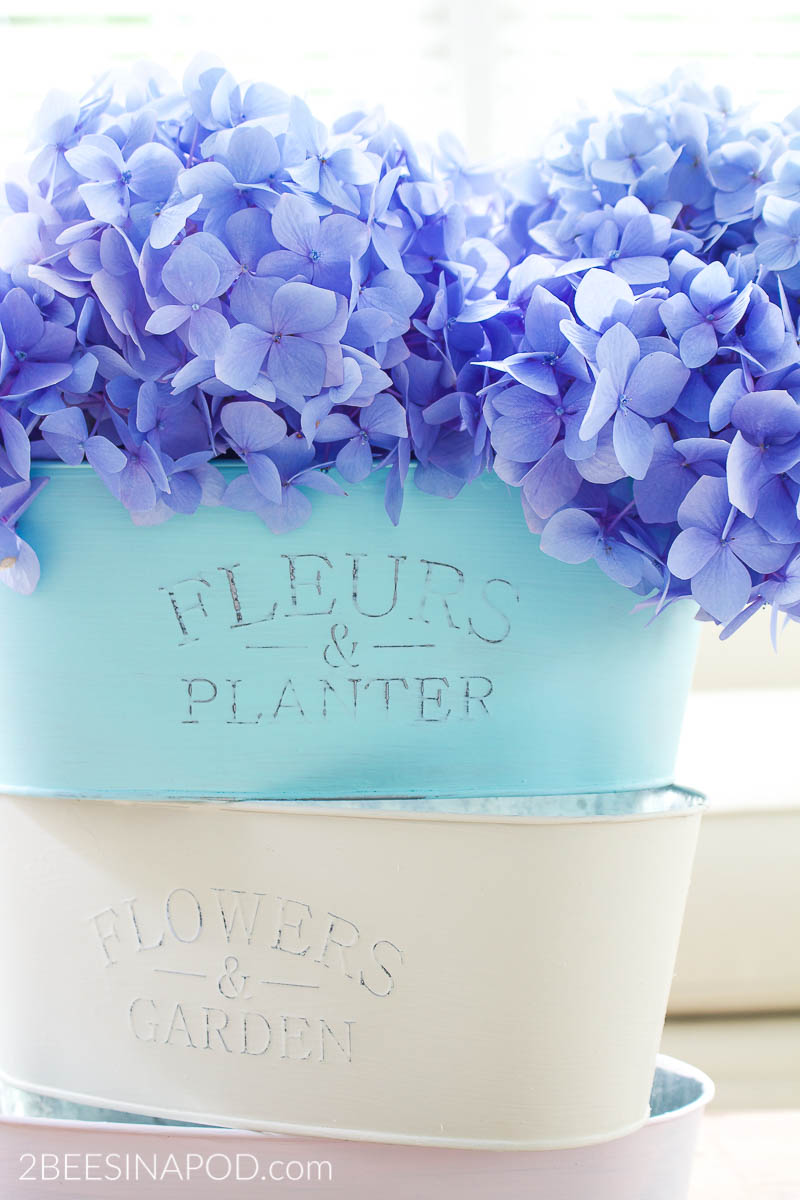
Dollar Tree has tons of items that you can recreate into something else. Remember the DIY Extra Large Moss Balls and the Painted French Metal Planters. These ideas all generated from the Dollar Tree. When I spotted these metal trays, I wasn’t exactly sure in that moment what I was going to do with them – but I purchased two.
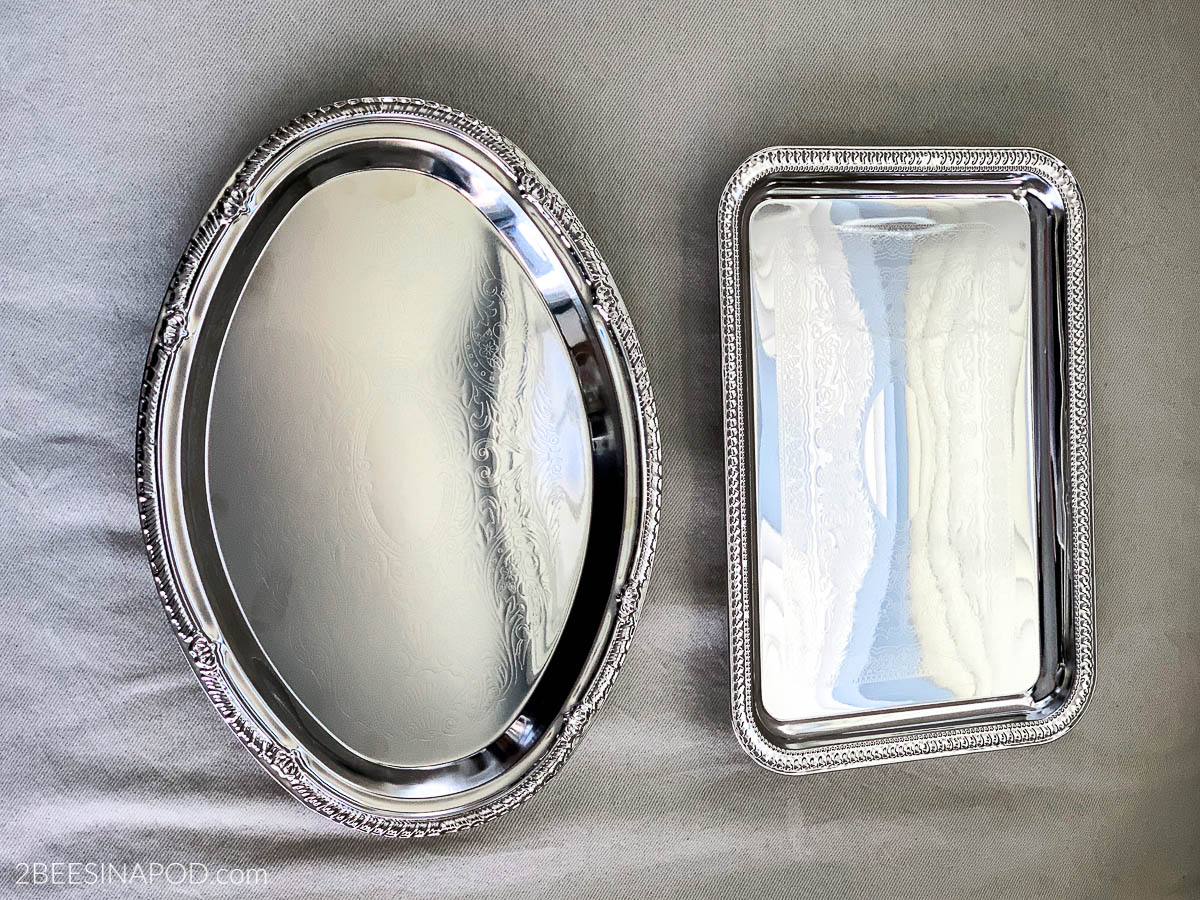
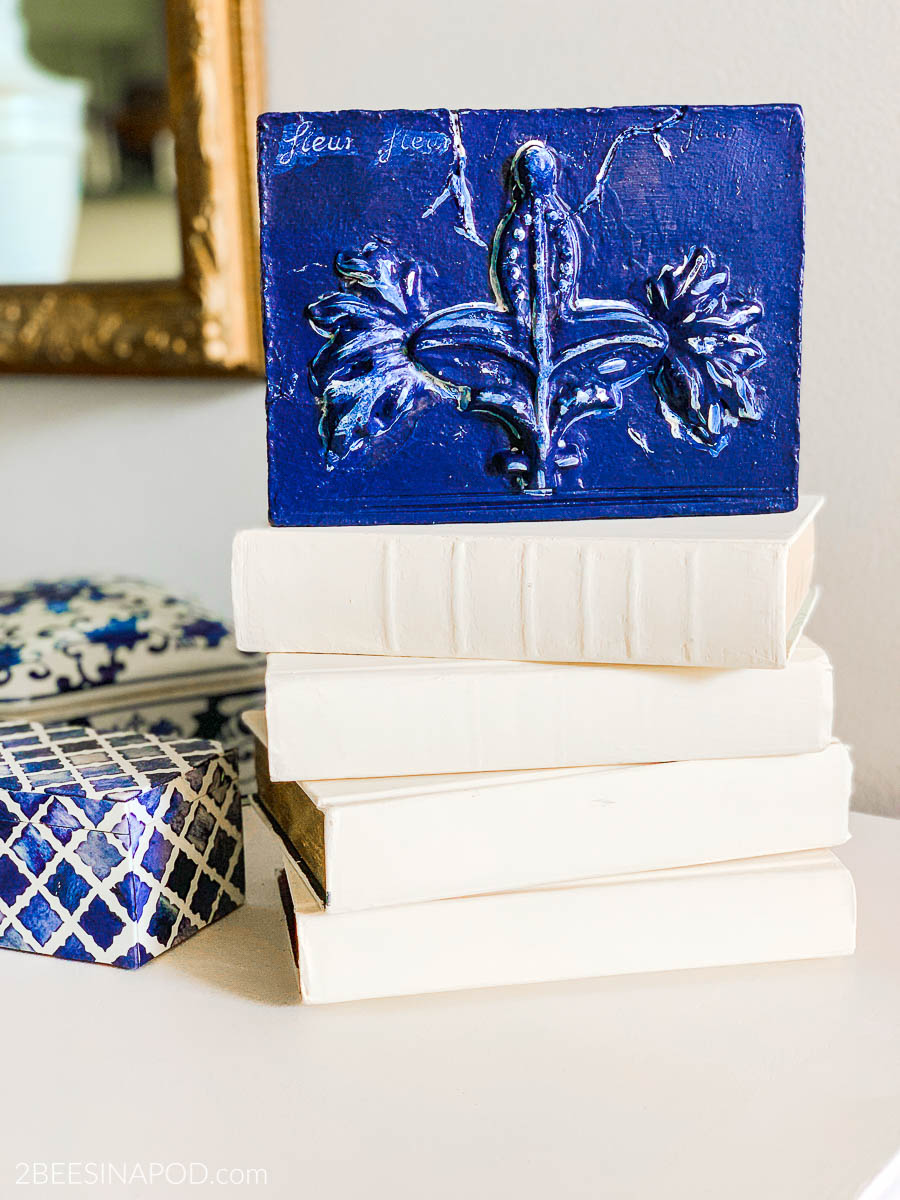
I love that they look like the vintage silver trays that I collect. Sitting at home, minding my own beeswax an idea suddenly popped into my head. Transform these trays into vintage artwork for Spring, Summer or Gardening! Following are all of the details so that you can them for your home.
Supplies Needed:
- Metal trays form Dollar Tree
- Chalk Paint in desired color. I used Annie Sloan Pure White
- Black acrylic craft paint
- ModPodge
- Paintbrush. I used two different types. Feel free to use sponge brushes.
- Printout with desired graphics.
- Paper plate of paint vessel
- Water
- Scissors
- Protective covering for craft space. I used waxed paper and a box

Let’s Get Started!
Tutorial:
- Purchase metal trays from Dollar Tree
- Paint each tray with two coats of chalk paint.
- Let chalk paint dry completely.
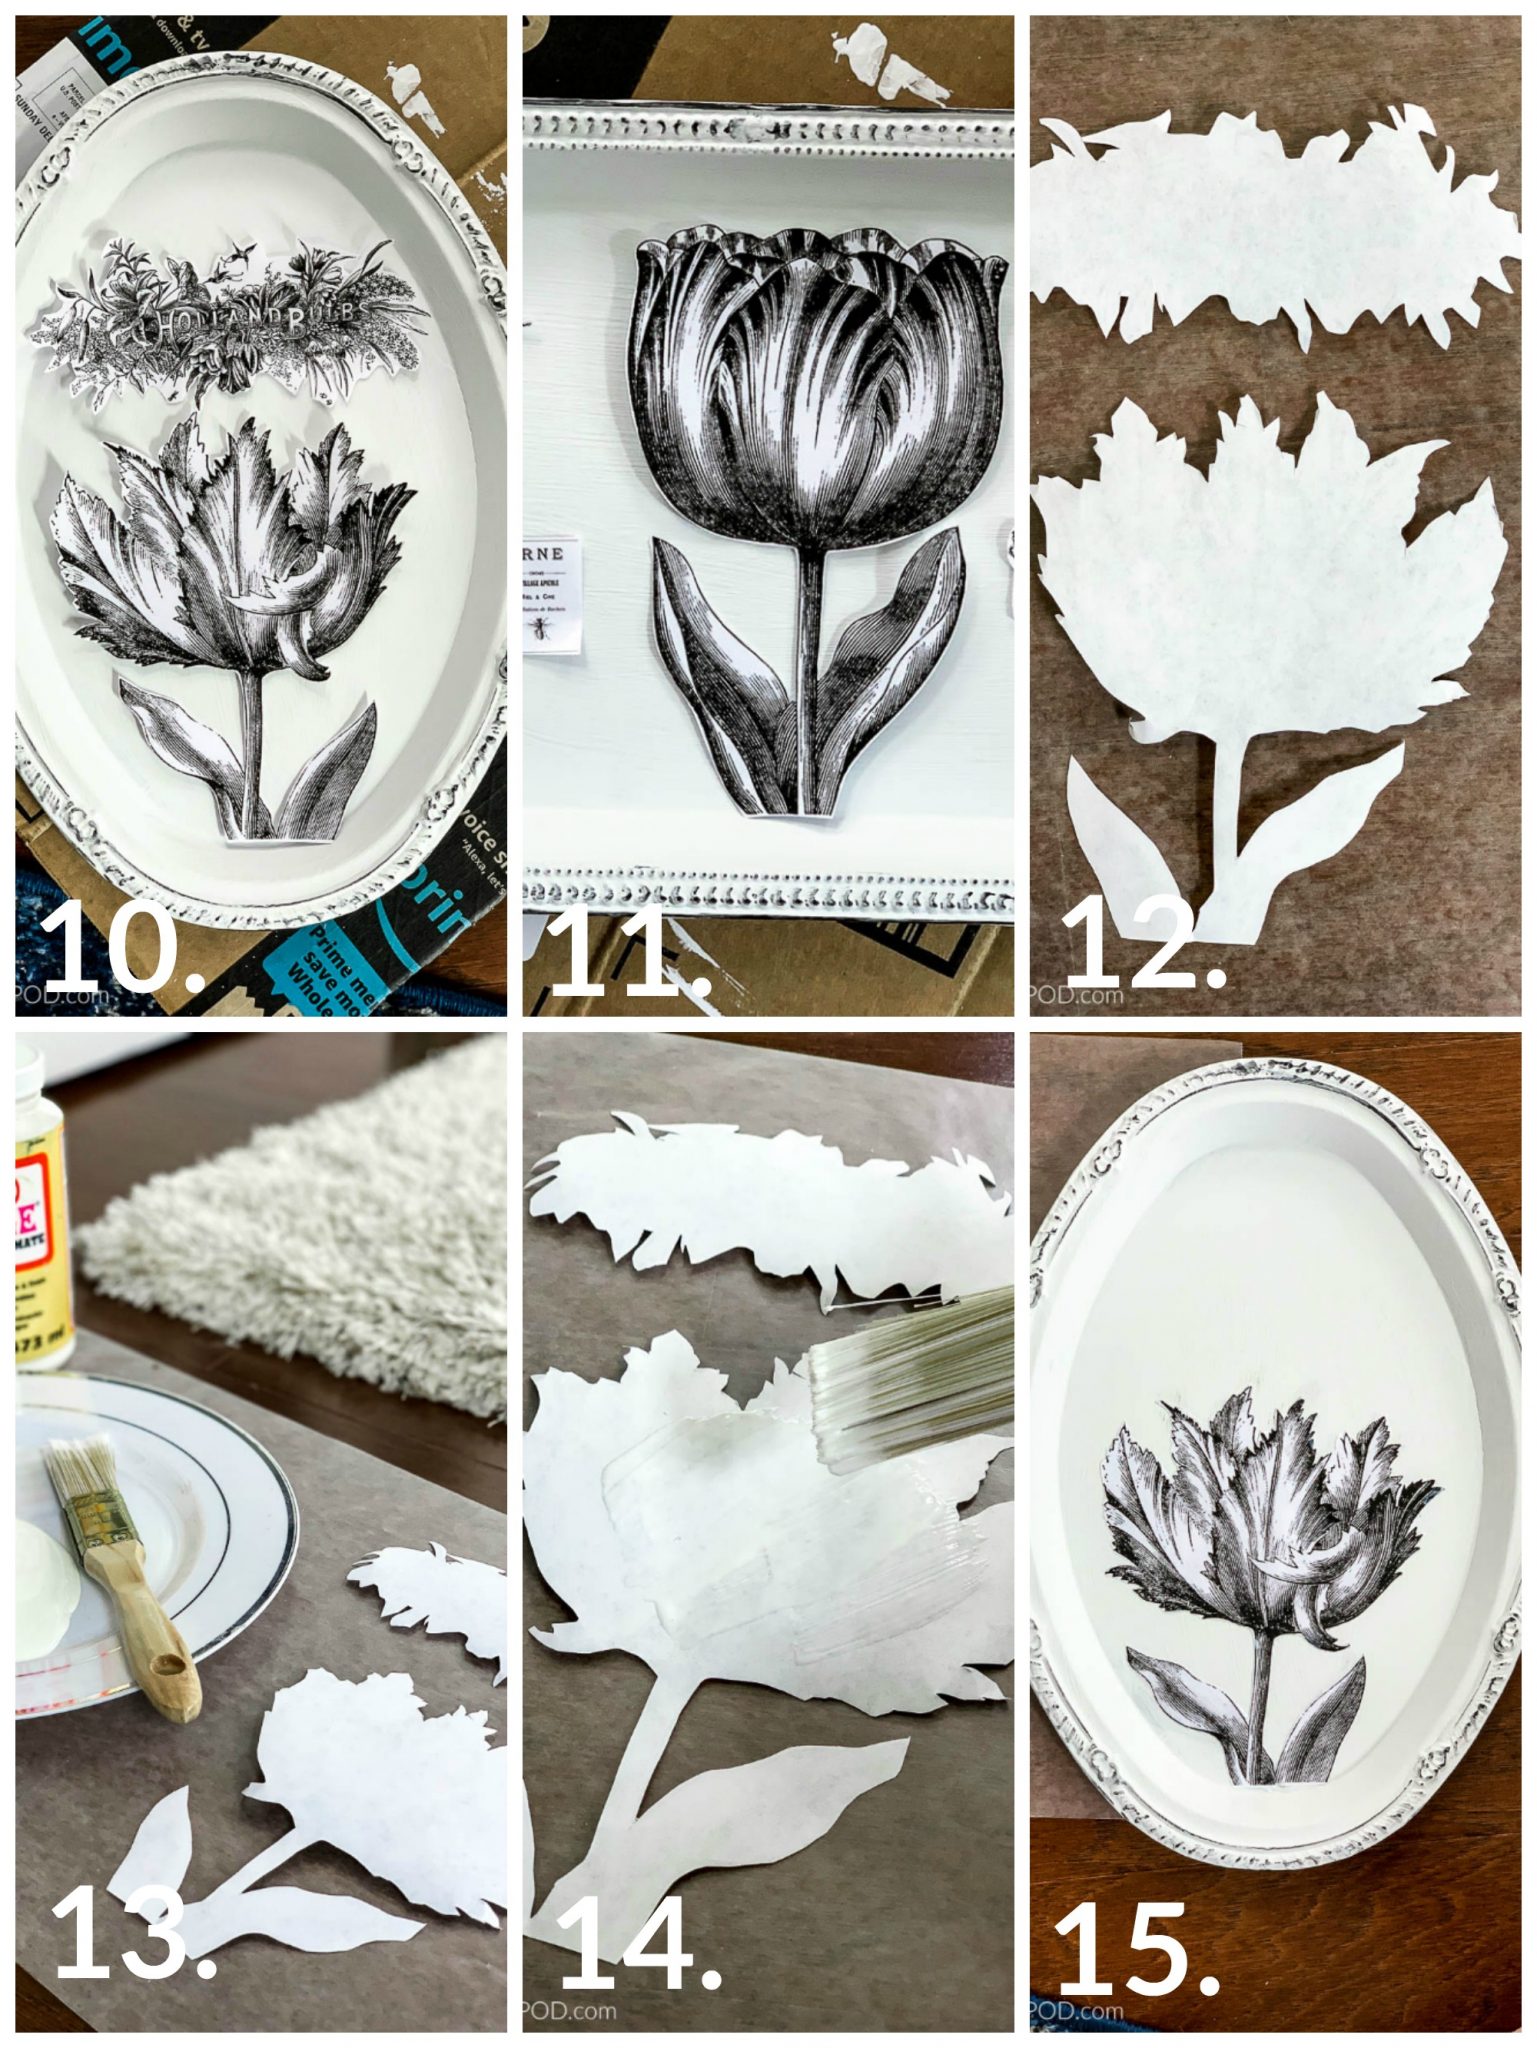
- Printout your chosen graphics. I will share my graphics at the end of this post.
- Cutout graphics as close to the design line as possible.
- Lay graphics out on the tray to see how they look.
- Mix 1 tsp of black acrylic paint with 2 tsp of water.
- Dip your finger into the watered-down black paint. Lightly rub your finger onto the rim of the tray to bring out the details.
- Let the black paint dry completely.
- Again, place all of your cutouts onto the tray to ensure proper placement.
- This step is important as you may change your mind. I did – and put the designs on the opposite tray.
- Layout waxed paper to protect your work area. Lay your cutout designs upside down on top of the waxed paper.
- Pour ModPodge onto a plate.
- Add ModPodge to the backside of your design. Be sure to add ModPodge to all of the edges.
- Add your design pieces to the tray front. Be careful to not spread ModPodge to the front of your design. Dry completely.
So Pretty
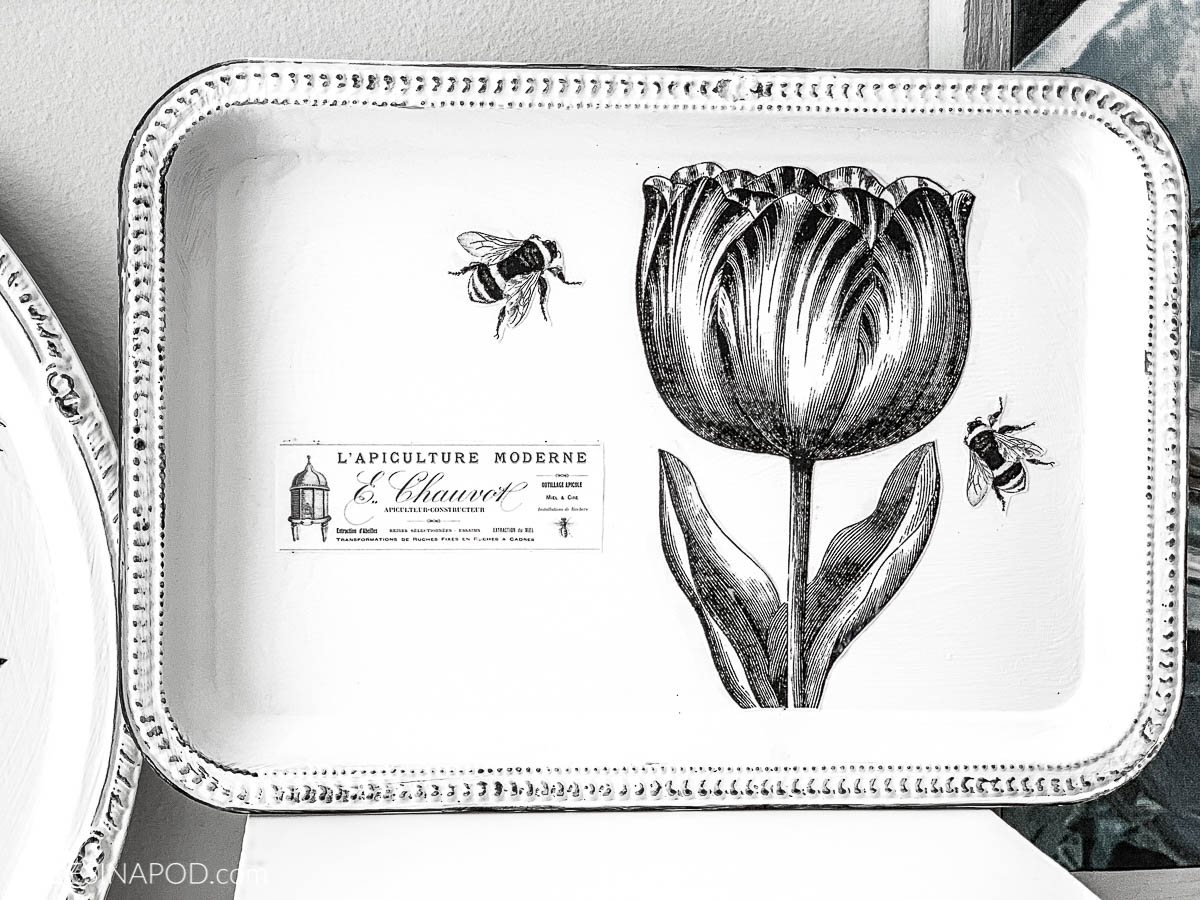
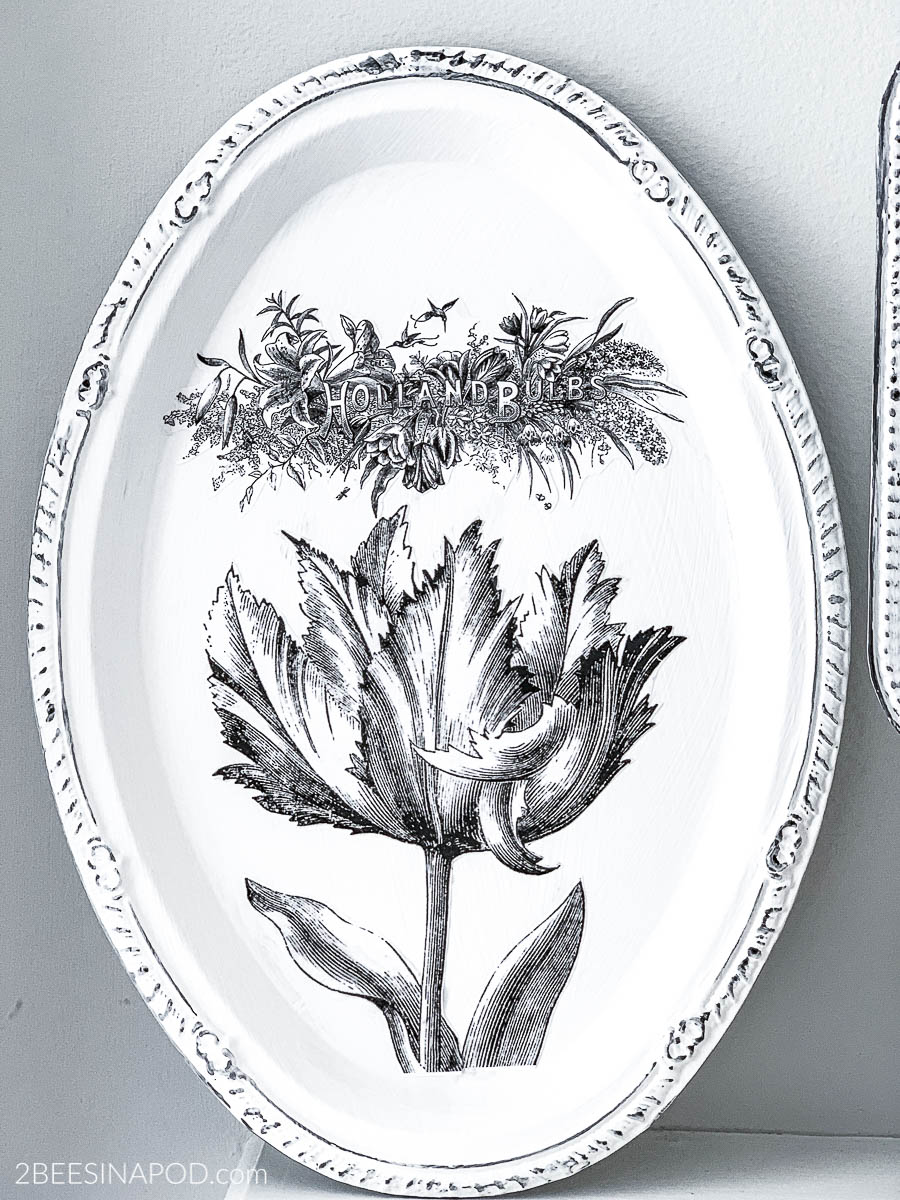
Didn’t these turn out great? I honestly cannot tell that these are paper graphics. The key is using a good, thin layer of ModPodge especially at the edges.
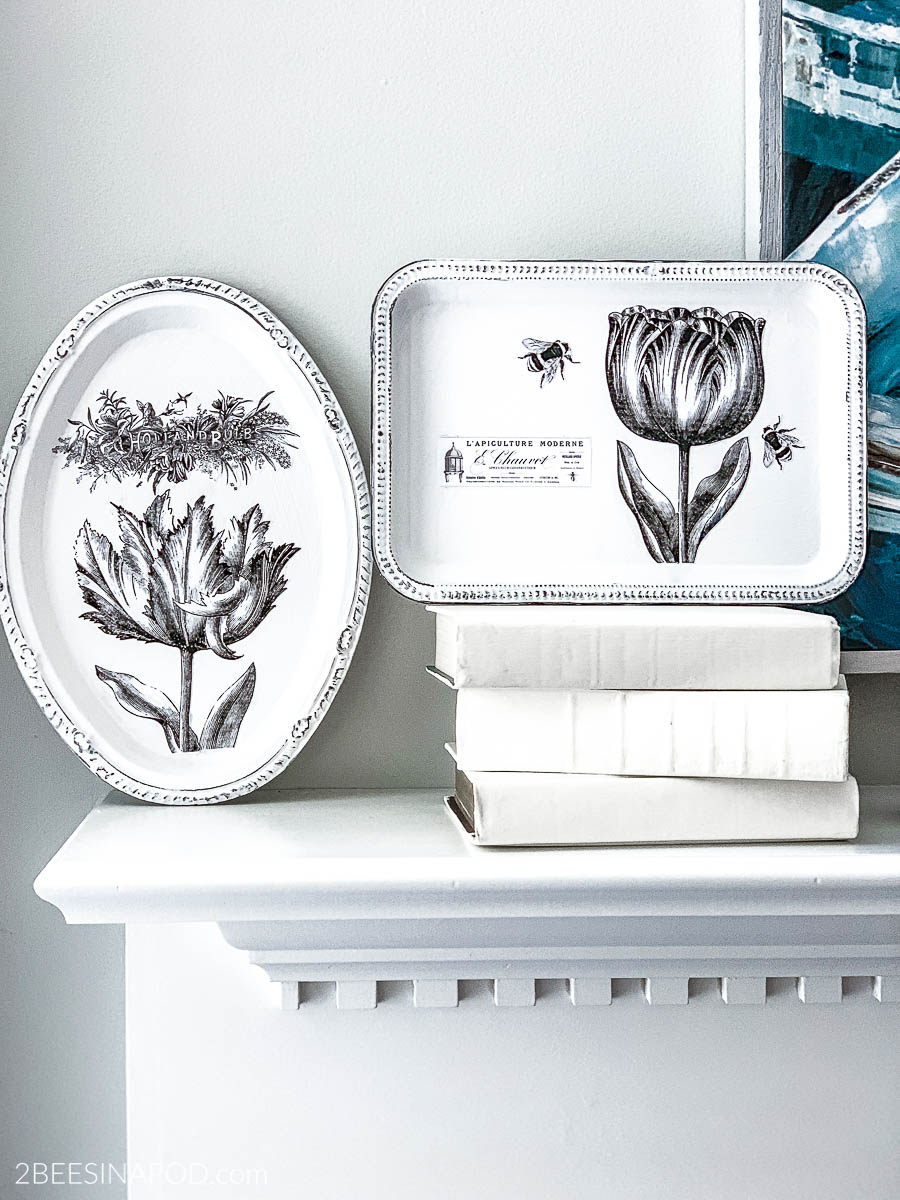
This is a perfect Spring project. Vintage tulips, bees and French graphics. What more do you need?
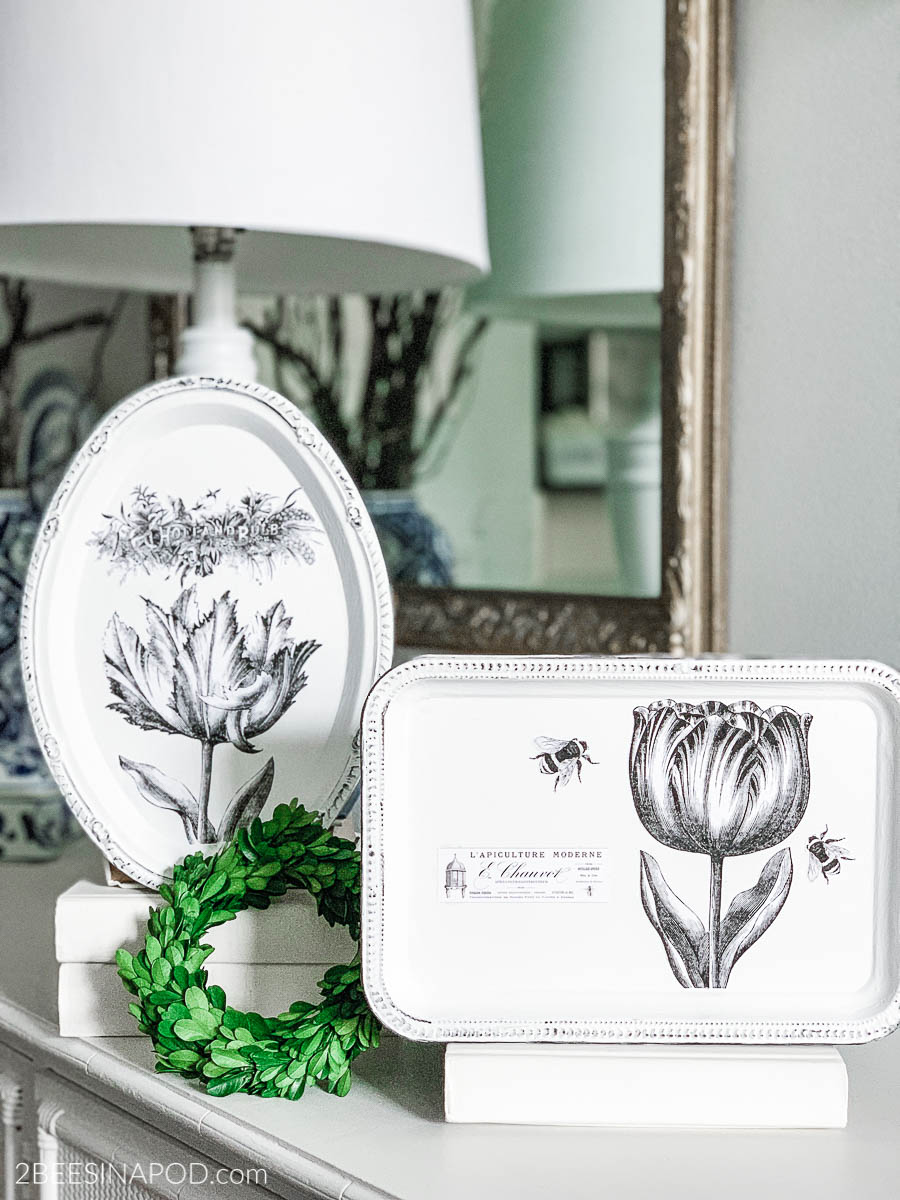
For me, these beautiful trays only cost $2.00 as I already had the other materials in my stash. By the way, Dollar Tree also had small bottles of ModPodge and black craft paint. Just sayin’ 😃
If you want to use my graphics, just click the link or the photo. Easy, peasy!
Chalk Painted Trays with French Graphics – My Dollar Store DIY Vintage Tulip Print 1
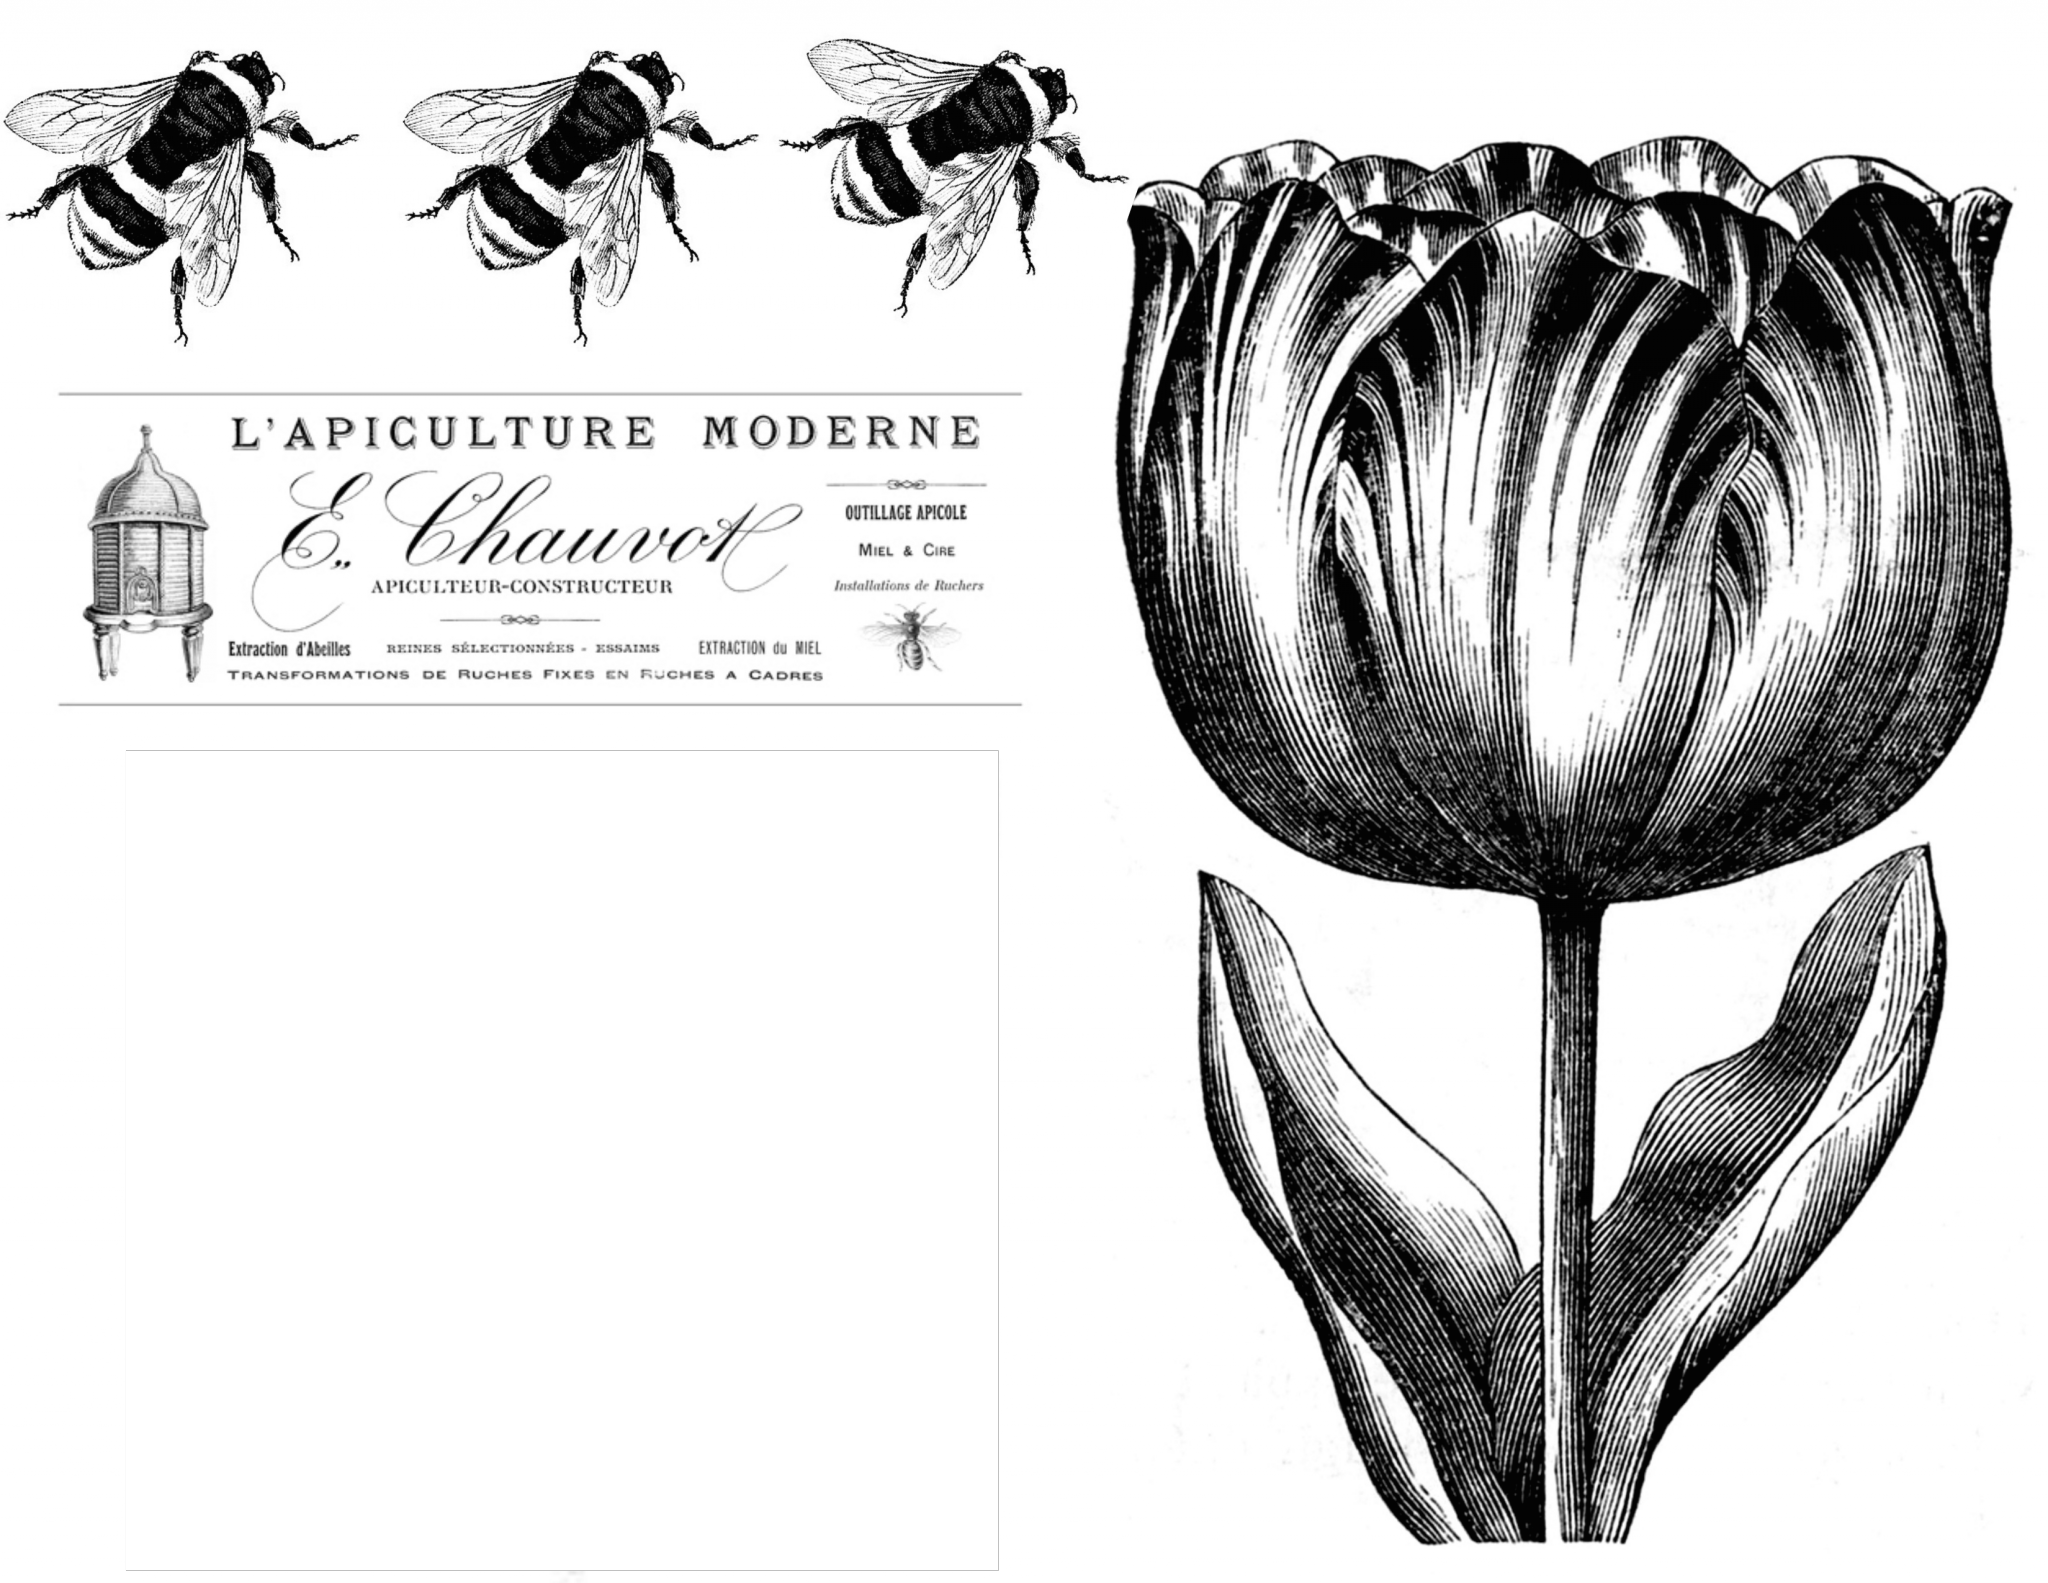
Chalk Painted Trays with French Graphics 2 – My Dollar Store DIY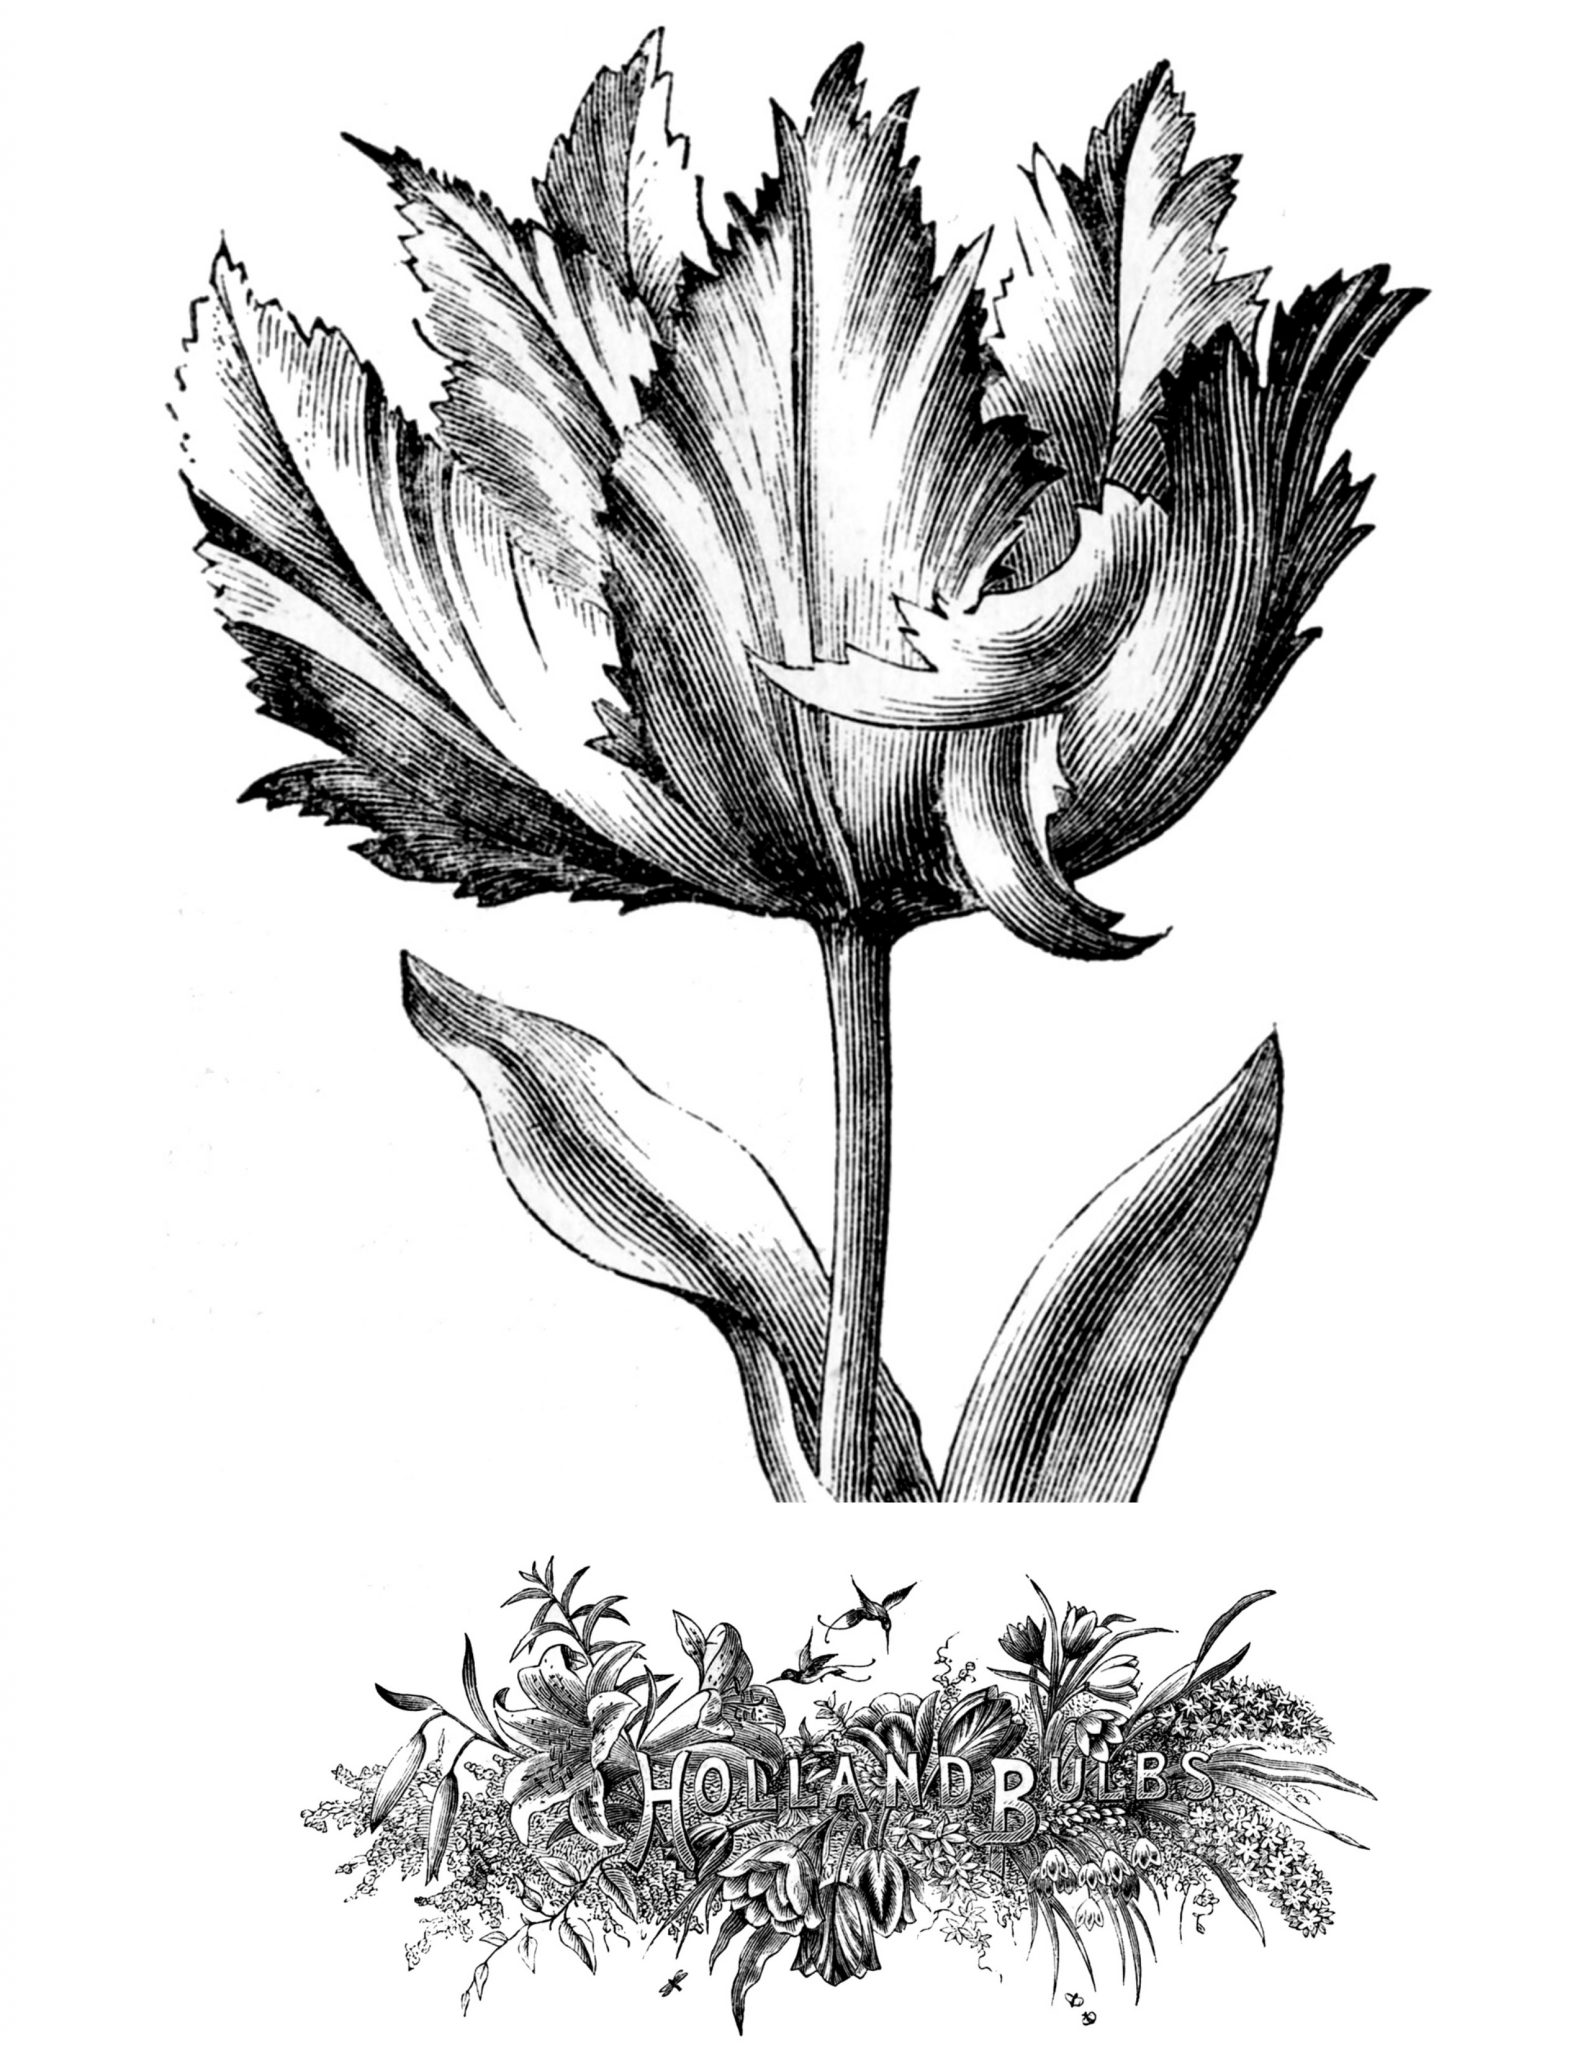
My sincerest hop is that you have been inspired today to create these beauties for your own home!
Don’t forget to Pin this to your favorite Pinterest Board!
Now let’s see all of the other fabulous Dollar Store projects! So much creativity!
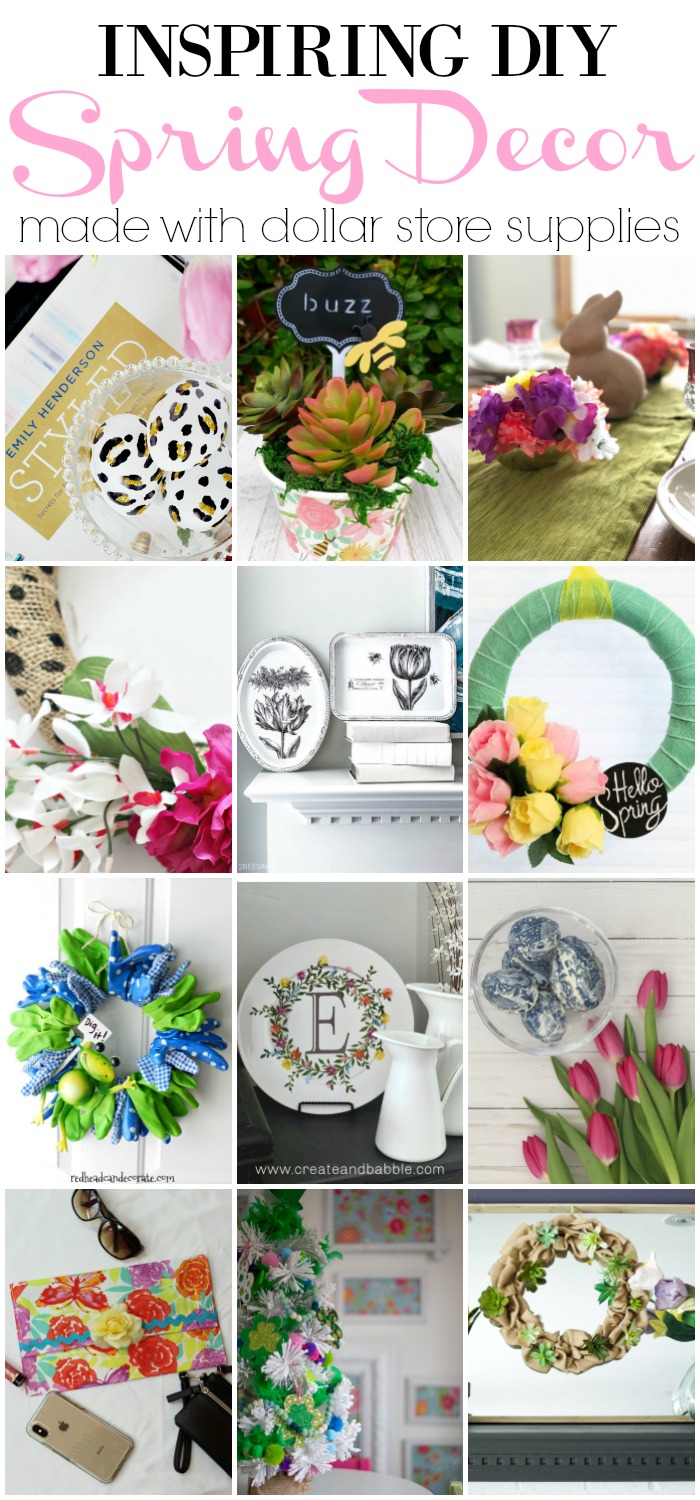
This is our Bliss | My Thriftstore Addiction | Red Couch Life | 2 Bees in a Pod | Creative Ramblings | Redhead Can Decorate | Create and Babble | Southern State of Mind | Knock it Off Kim | The Heathered Nest | The Organized Mama
WOW! These are gorgeous, ladies! I truly love the French floral design–thanks for sharing the graphics! Happy to be joining you for the dollar store challenge, today! Blessings, Cecilia @My Thrift Store Addiction
Vicki, these turned out just fabulous! You really can’t tell that they started as paper graphics and you definitely can’t tell they probably cost about $5 in total! Great dollar store project.
I’m going to Dollar Tree right now to get me some of these trays. I love how you made them look vintage!
What beautiful trays ladies! They simply can NOT pass as Dollar store decor now! Fantastic
Once again you have given me inspiration for a fun project. Your timing for this one is even more perfect. I am on house arrest with my lab who is recovering from knee surgery. I can do this with her in the x-pen right next to me. Thanks!
These are gorgeous. Just found your site. I don’t see dates on the posting or comments. It is Aug 2020 and the rectangular trays were in my Dollar Tree in June and now I can’t find them
anywhere. I’m in Central NJ. Tried ordering from Dollar Tree online and order was cancelled – out of stock. Any sites with similar item start at $10 each! Anyone having luck finding the rectangular ones online for $1 or close to that? I’ll order oval, but prefer rectangular.
Thanks!
Hey Laura –
We hate that Dollar Tree no longer has these in stock. Due to the virus and Jenn expecting – we haven’t been shopping anywhere in months. Wondering if the trays will be back closer to the holidays?
Let us know if you find any.
All the best,
Vicki and Jenn ~ 2 Bees
Fantastic idea!!! I love the bees, especially!!!
Those turned out great!!! What a terrific idea!!
These are beautiful, I can’t believe you started with Dollar Store trays. I love your technique too, great job!
Wow!! What a gorgeous transformation! And my how mod podge is such a must-have craft supply! It can do everything 🙂 Thanks so much for joining My Dollar Store DIY this Spring!!
Did you cover them with any type of sealer? If so what?
Hi again! These are so cute! What kind of paper did you use to print out the graphic? I am new to your blog but in just 2 DI Y’s, i am a forever fan. Pinning and replying. I noticed that the above messages from your followers do not have any replies from you. Can you please reply to me. I am new to this and I love this idea for smalls to go in my booth and i need direction….please?
Cheryl