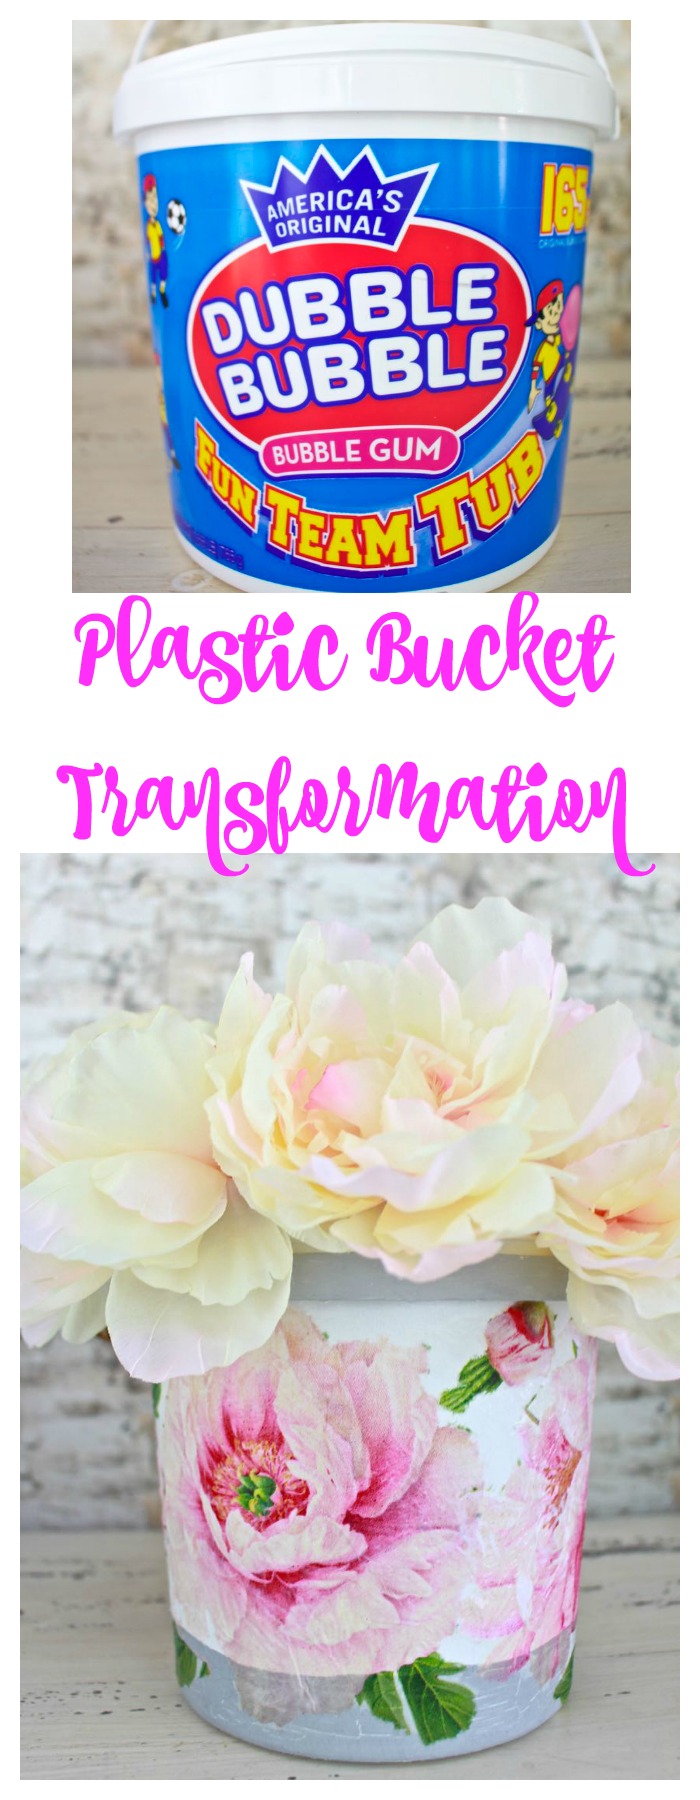
Plastic Bucket Transformation with Decoupage Peonies – Zero Dollar Challenge
Please note that this post contains affiliate links. As an Amazon Associate, Rewards Style influencer and Jane Influencer, we earn from qualifying purchases and any sales made through such links will reward us a small commission – at no extra cost for you.
Plastic Bucket Transformation with Decoupage Peonies
Welcome back to another installment of the Zero Dollar DIY Challenge. Every other month we create projects that cost no new money. This month I have to thank Honey Bee for my inspiration…and to divulge a secret about him. Well, it’s not really a secret to everyone that knows and loves him. He has a GIANT sweet tooth. He just can’t help himself – cookies, cakes, candy and bubble gum.
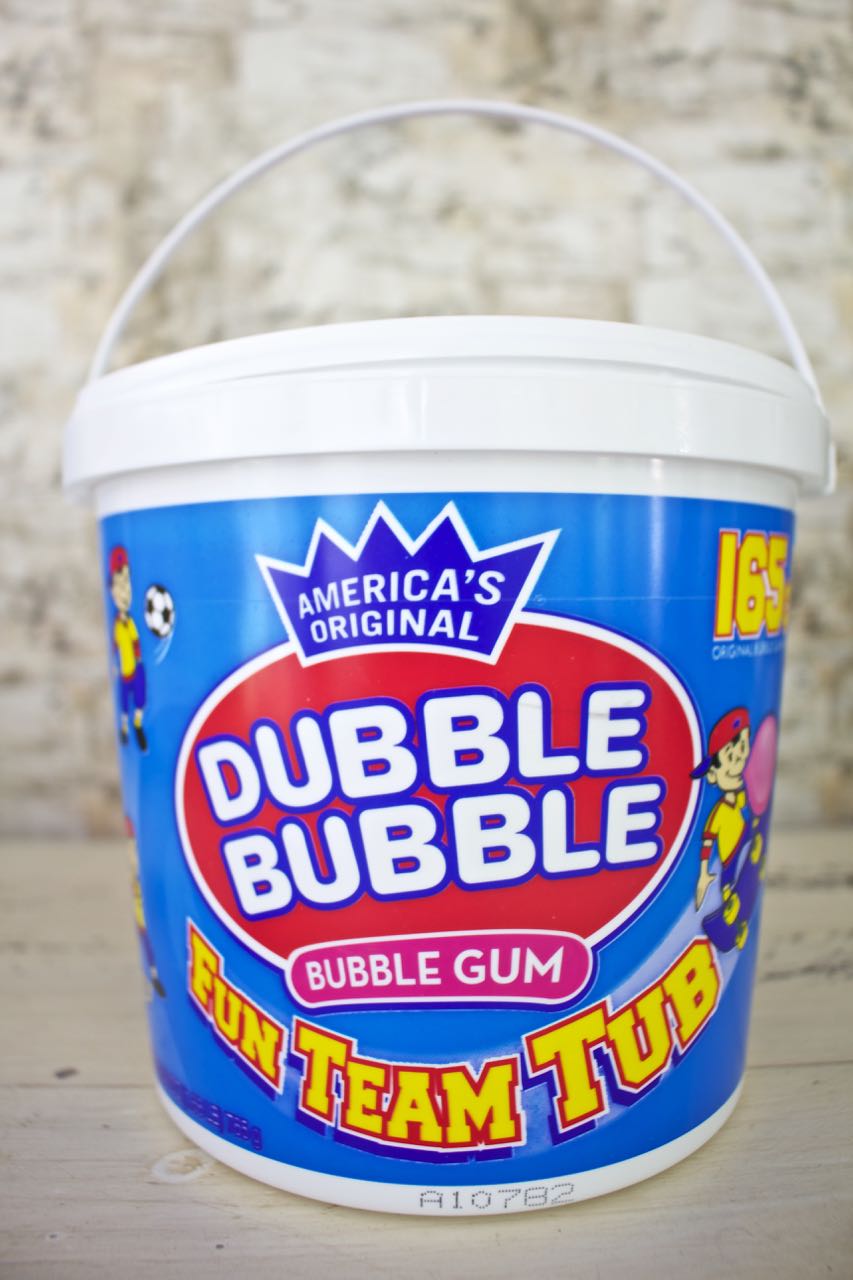
Yes, this plastic bubble gum bucket was his…sweet-tooth! Before he recycled it a few weeks ago he asked me if I wanted it for a project. At first I said “no” but quickly changed my mind and I am so grateful that I did!
Where are my peonies?
Now, it’s only fair that I share a secret about myself – and one I am not very proud of. I am jealous. Jealous of everyone that has fresh, pretty and fragrant peonies. Everywhere I look online I see the gorgeous photographs that everyone is sharing. I almost spit out my coffee the other morning as I was scrolling through my Instagram feed. Someone shared a picture of their grocery store that had a pyramid…a freaking pyramid of peonies and they were super inexpensive. I live in the country and I have one grocery store and one florist shop and zero peonies. Yes – cue the sad violin music. Call the peony police. Where is a master gardener when you need them? This is a travesty…and shame on me!
When life hands you carnations, make peonies.
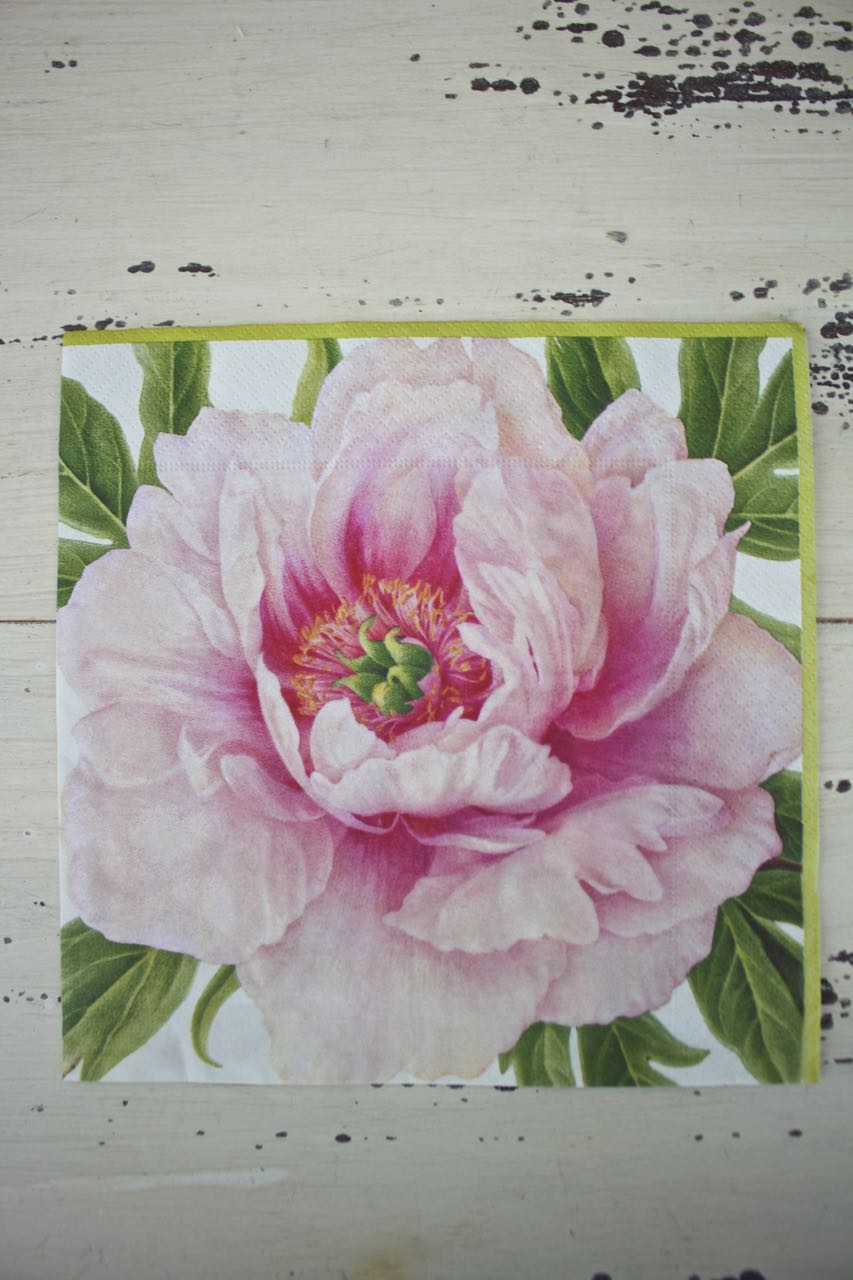
So, I remembered I had these peony cocktail napkins in my stash. Gorgeous, right? I knew that I could pair the plastic bucket with the napkin and make something pretty.
Here’s the details: Plastic Bucket Transformation with Decoupage Peonies

Supplies:
- 3 ply cocktail napkins, peony pattern
- plastic bucket
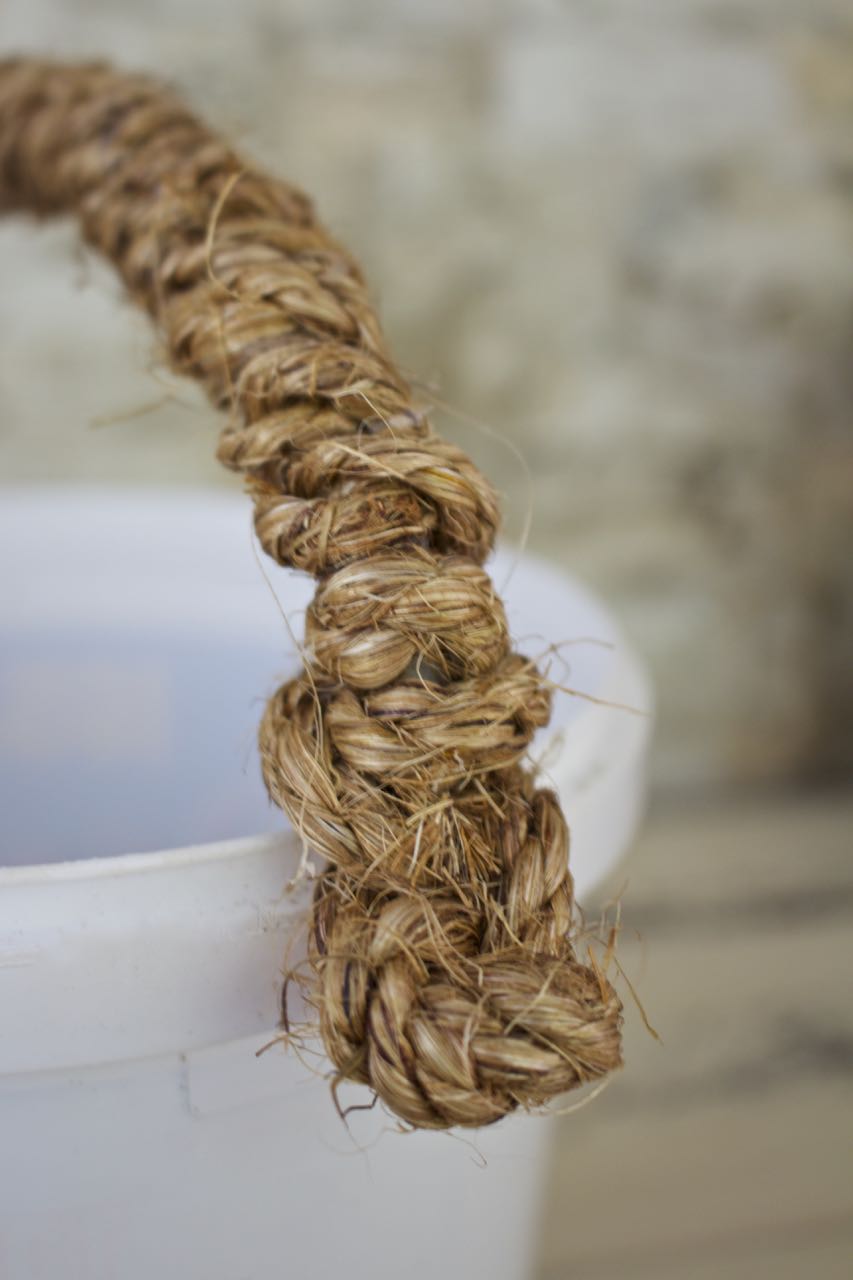
- rope
- glue gun with glue
- spray primer
- white chalk paint
- gray chalk paint (optional)
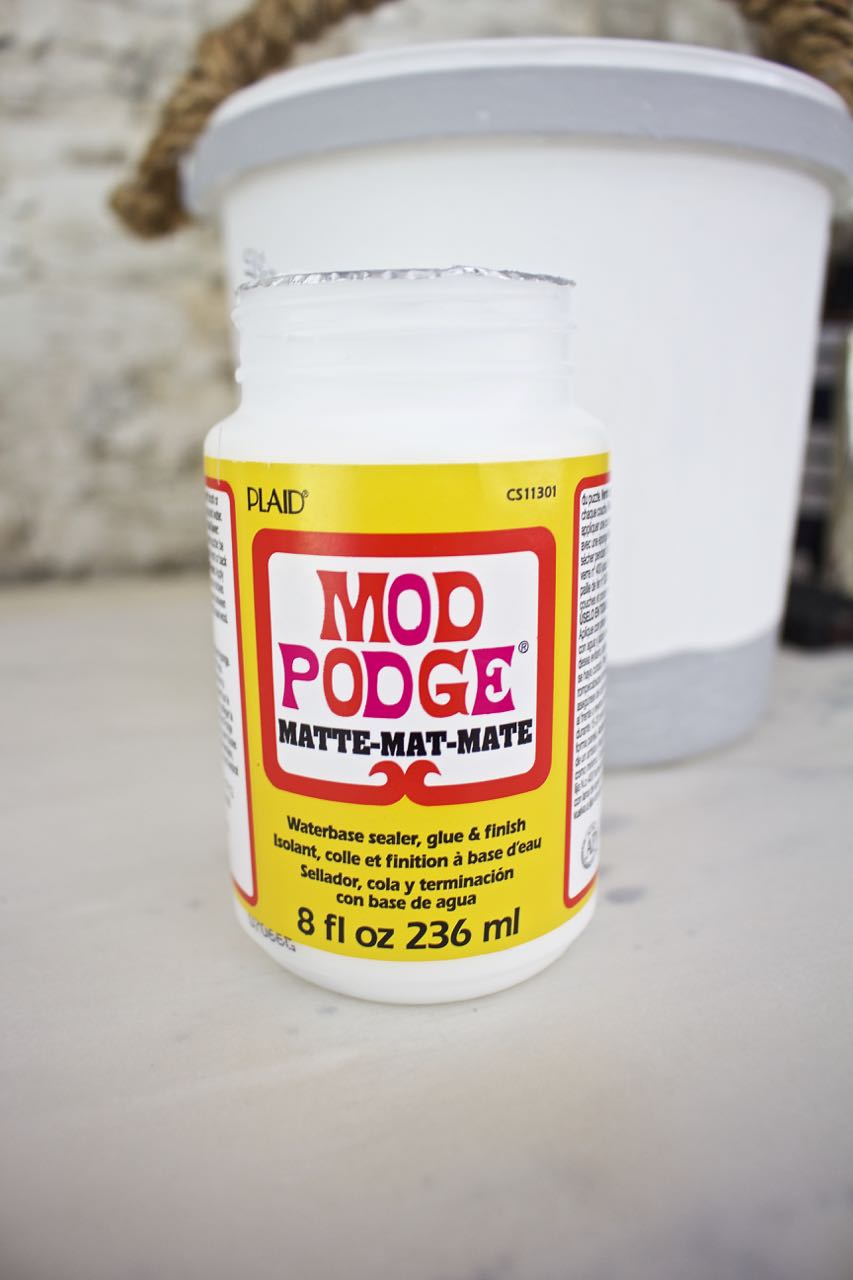
- Mod Podge
- plastic wrap
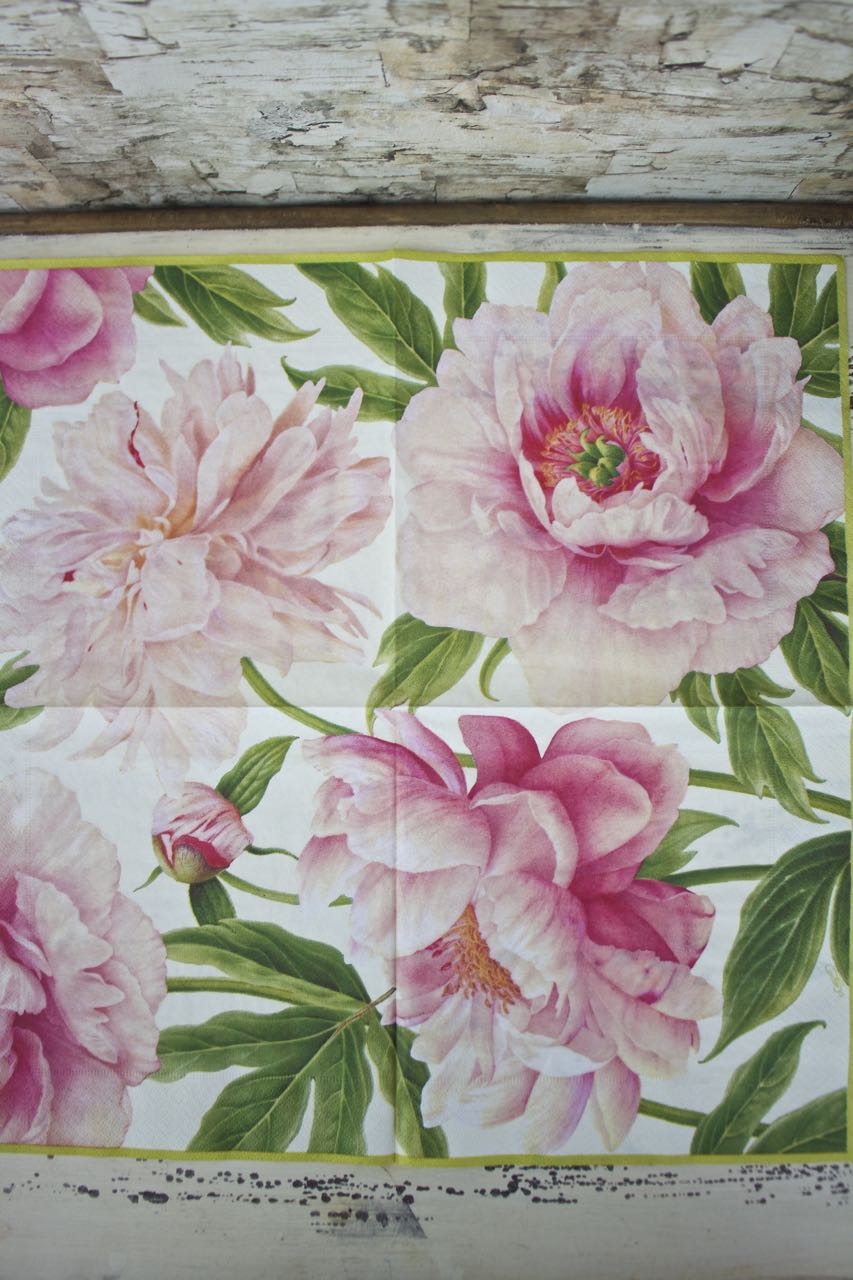
When the napkin is unfolded you can see three distinct peony patterns.
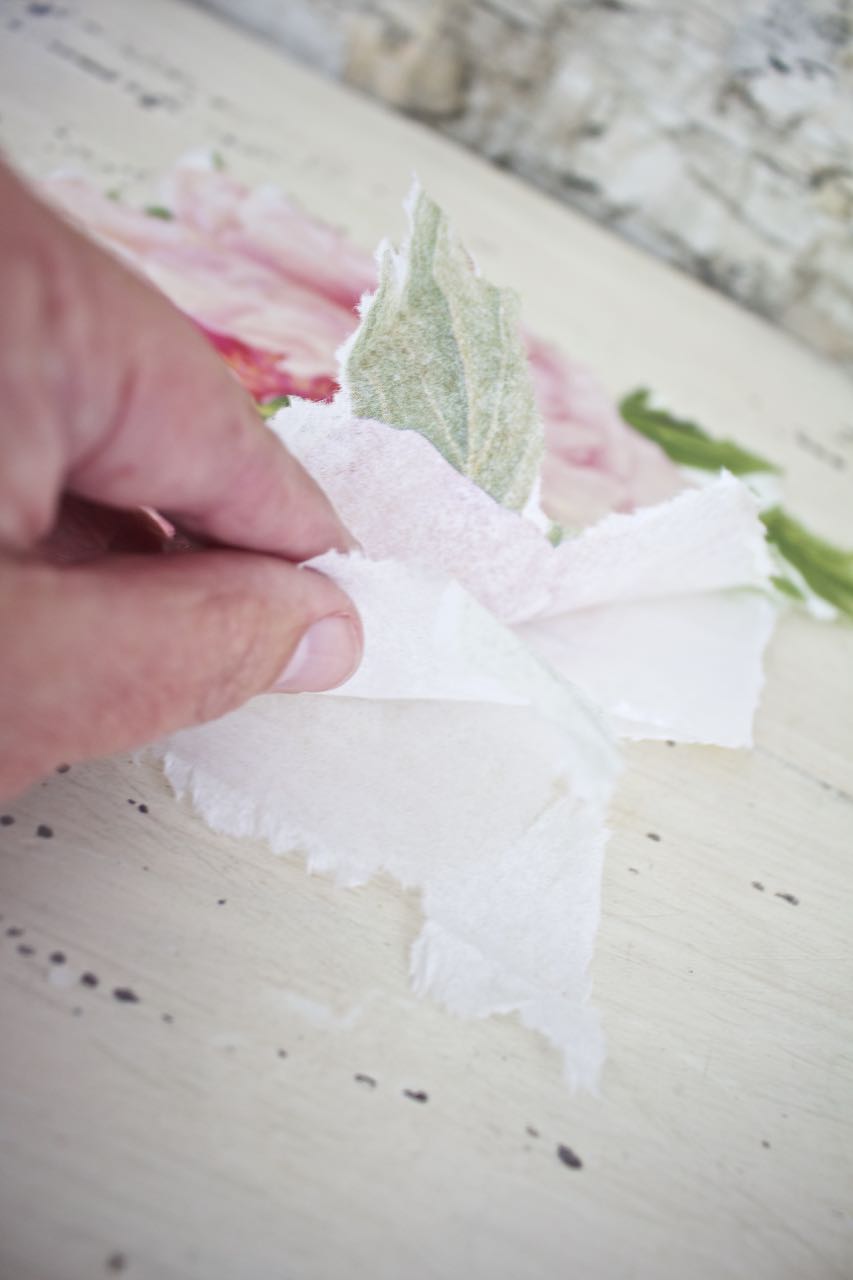
1. Tear away peonies from napkin by hand. This does not need to be perfect.
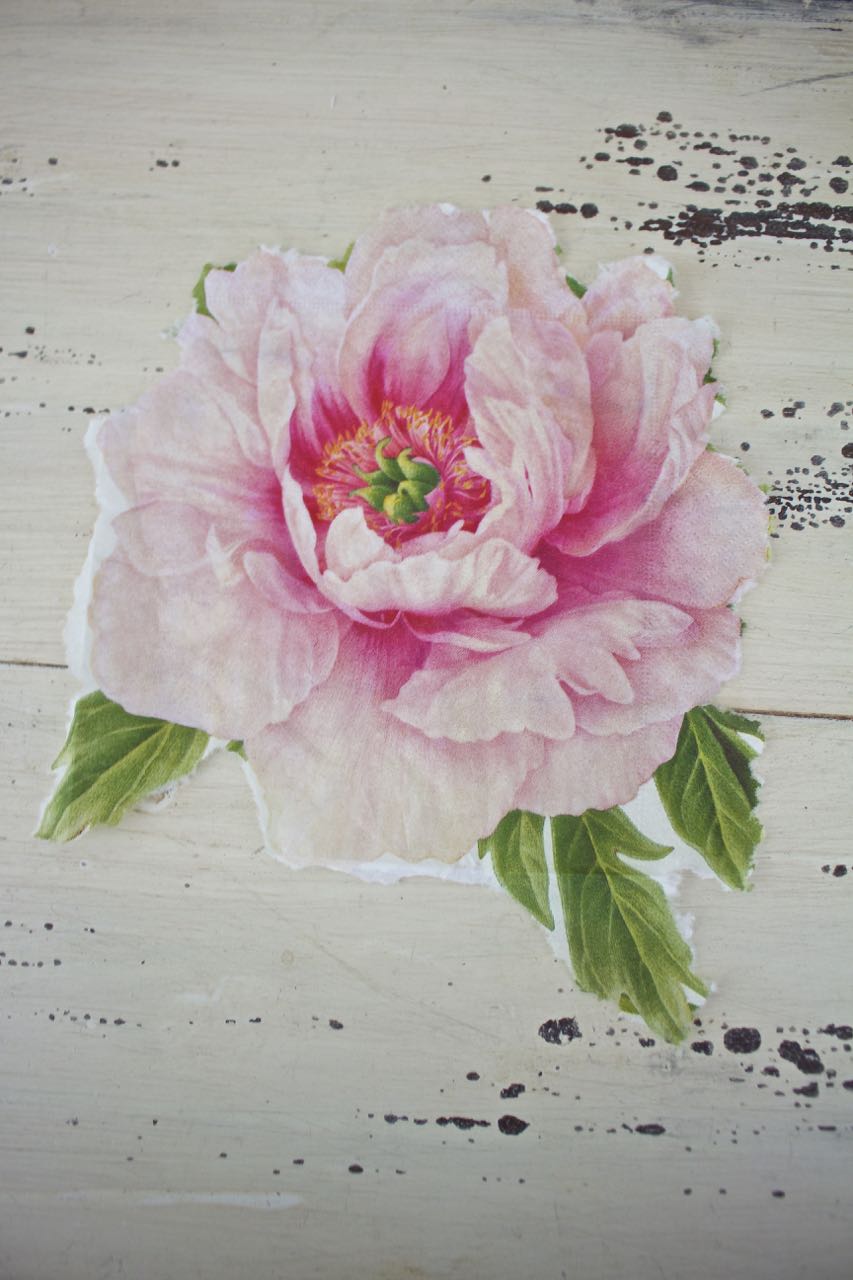 2. Separate the 3 layers of the napkin. Discard the bottom 2 layers.
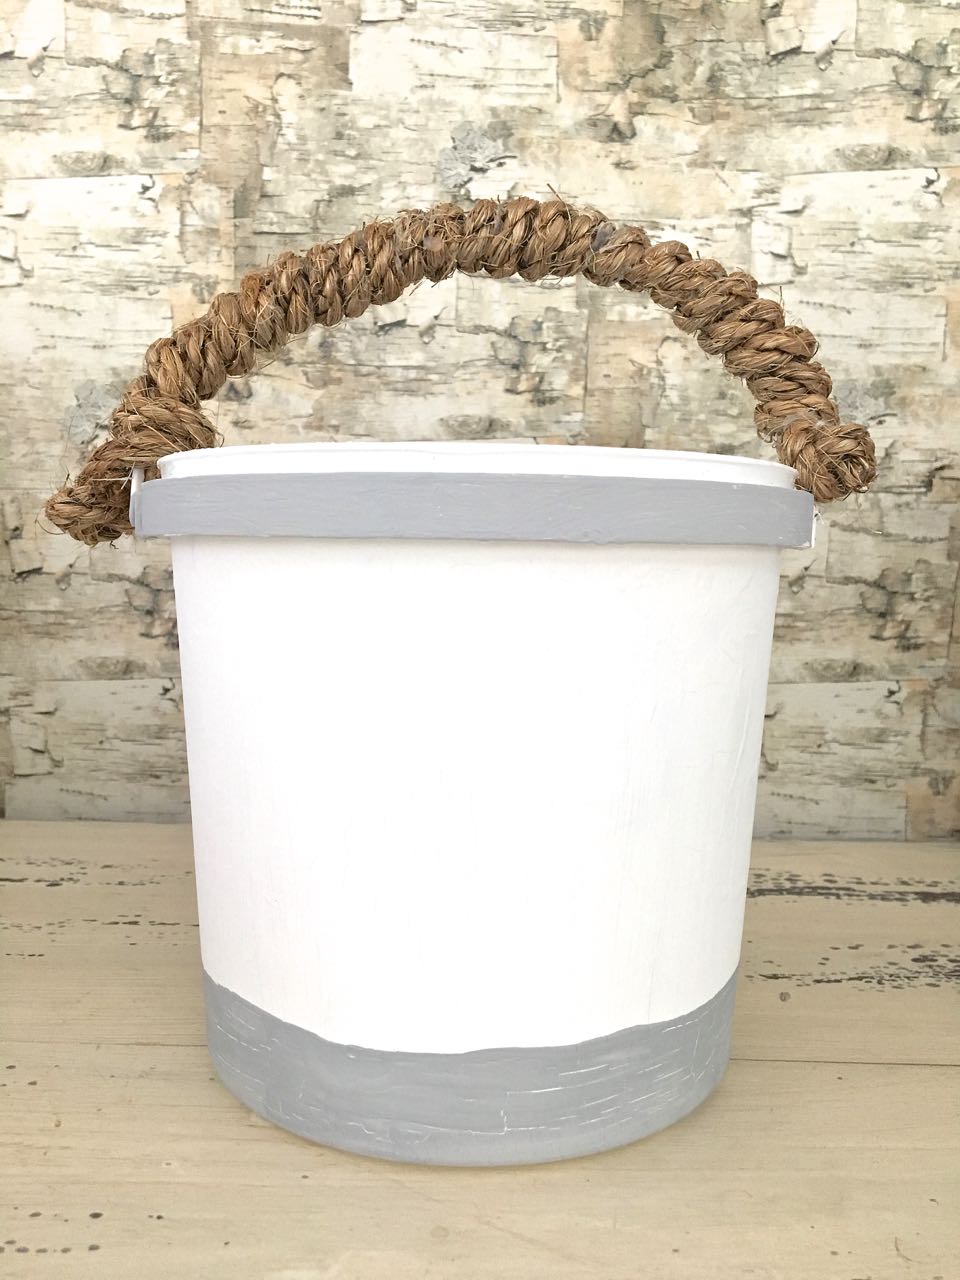
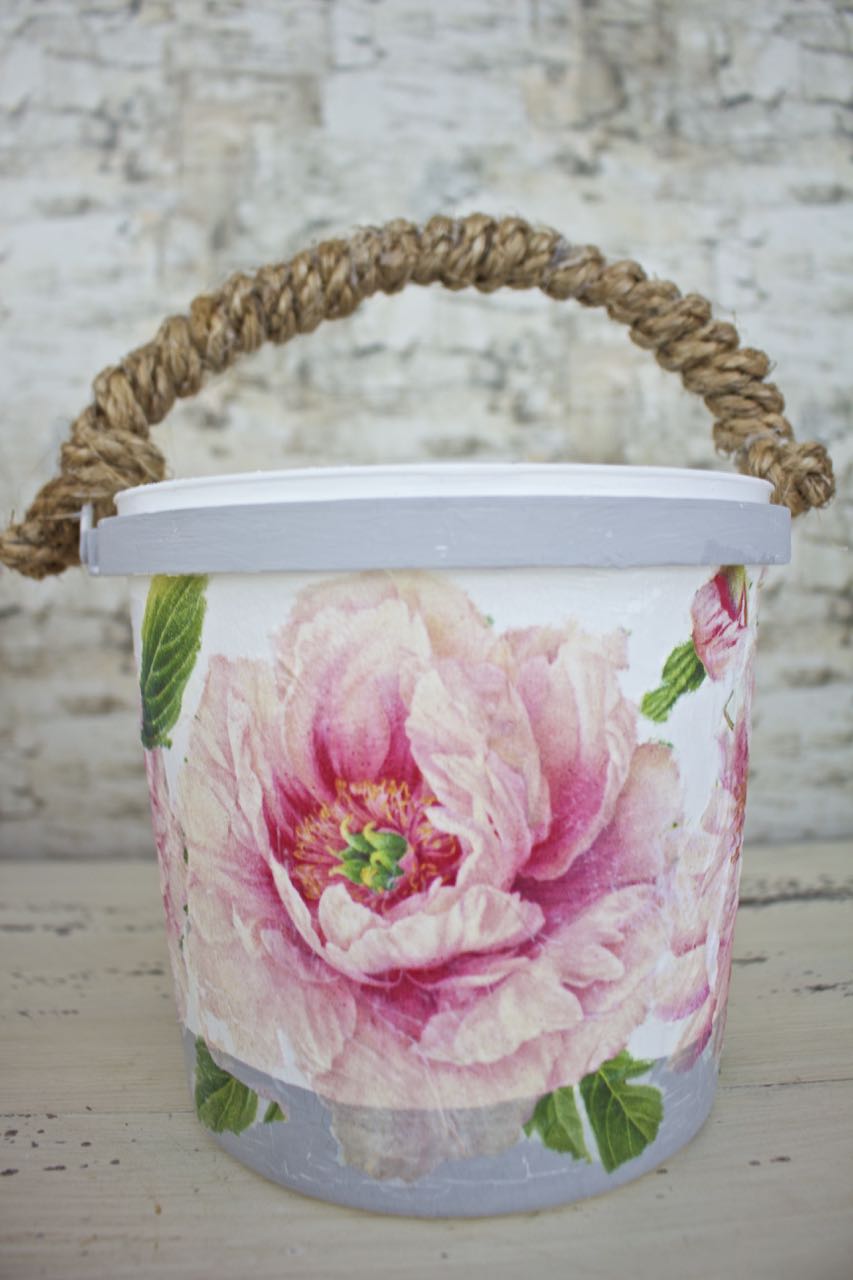
Plastic bucket preparation.
3. Spray plastic bucket with two coats of primer. be sure to use outdoors in a well ventilated area and follow directions on the can.

4. Add rope to the handle of your bucket using hot glue.
5. Paint two light coats of white chalk paint.
6. Paint one coat of gray paint in two rows (this is optional)
7. Add Mod Podge to the front side of the plastic bucket.
You will add one peony at a time.

8. Add the first peony to the Mod Podge by dropping it on the front of the bucket. DO NOT touch the paper as it will rip very easily. Gently lay the plastic wrap on top of the peony. Lightly wipe the plastic wrap to remove air bubbles and wrinkles from the peony. To remove plastic wrap gently roll up from the bottom. Repeat this process with each flower.
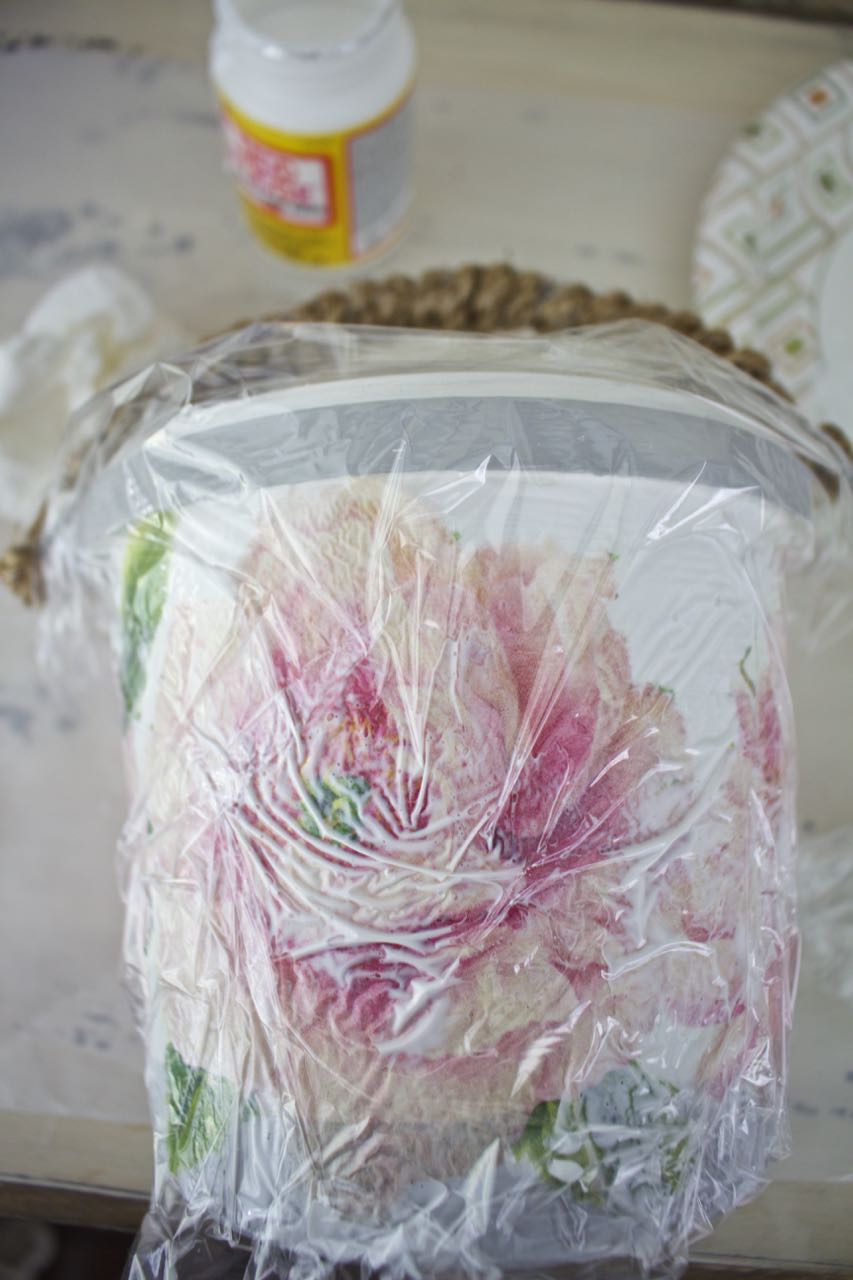
No extra Mod Podge needs to be added as the paper is very thin.

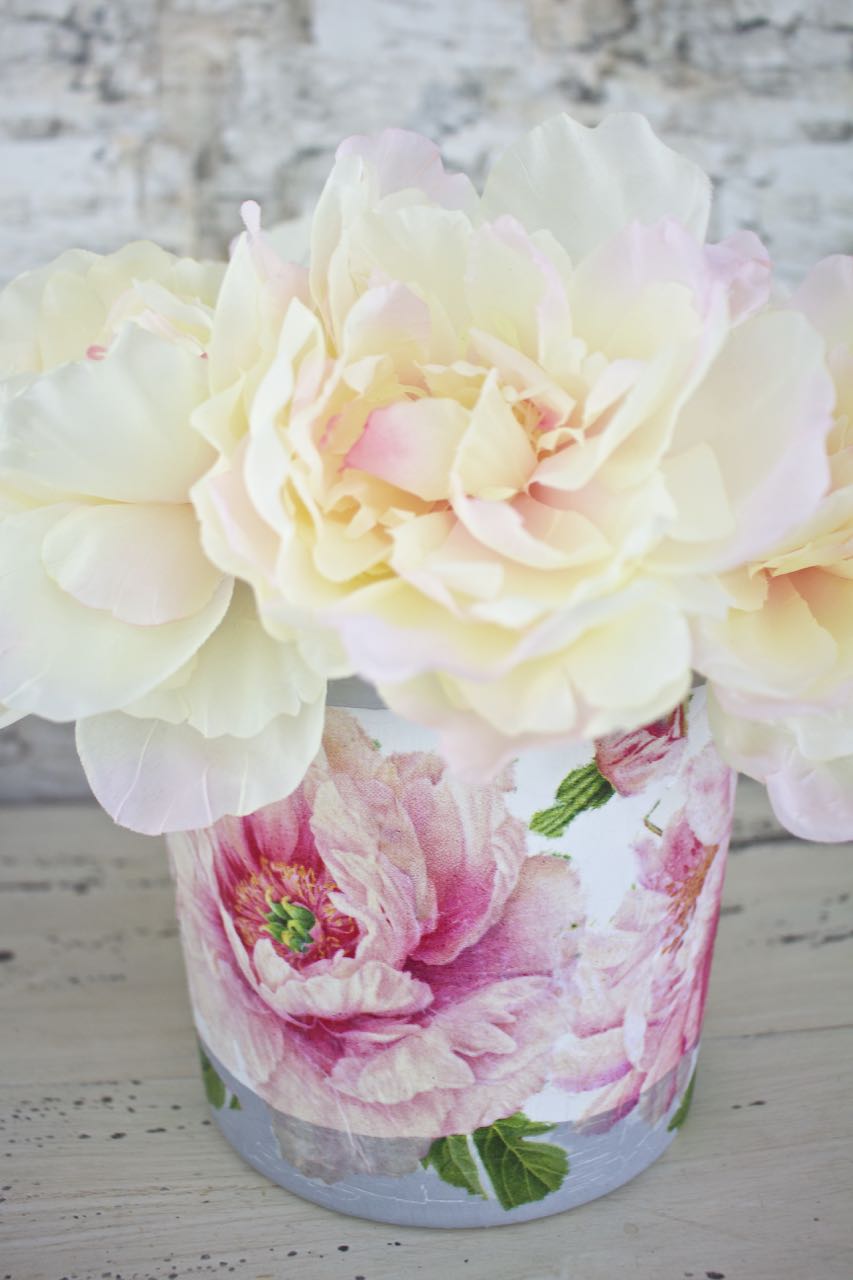
Being that this is plastic it is ready to add water and fresh flowers. It’s the perfect vessel to use as a garden vase.


I’m pretty proud of this project – when I can push myself creatively and do something that I haven’t seen before. What do you think?

A big “thank you” to our host Sarah of Flourish and Knot for putting this group together. Please be sure to visit all of the other creative projects below…
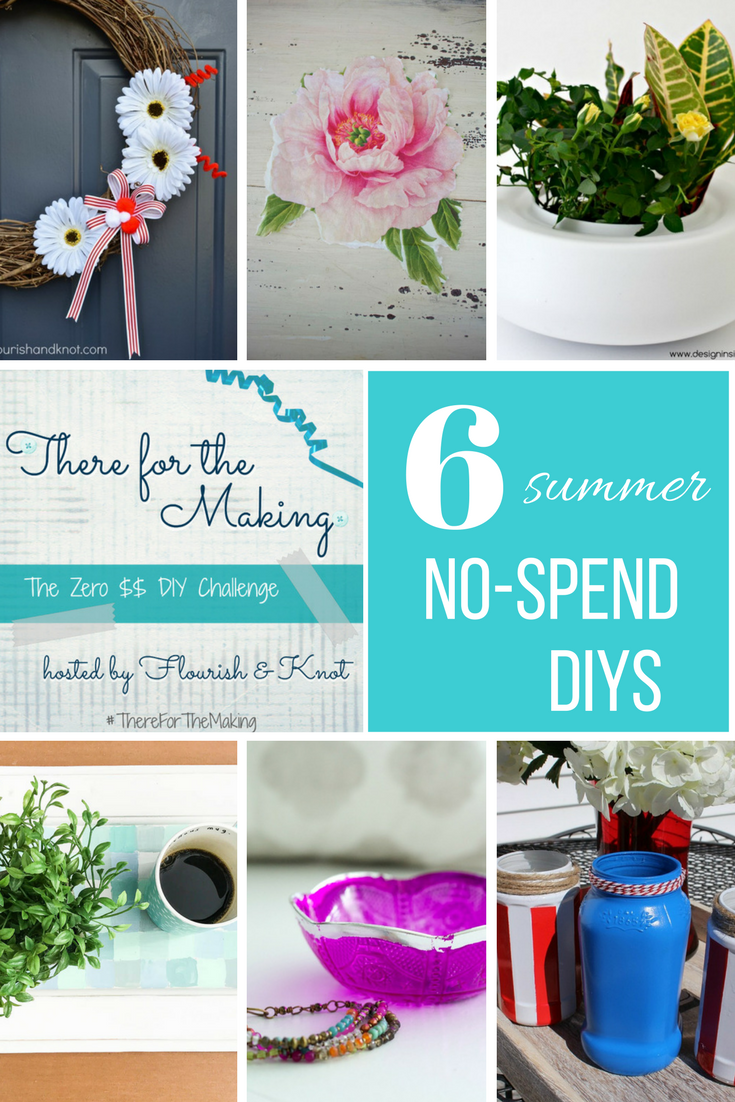
There for the Making: June 2017
DIY Passion: Cabinet Door Turned Faux Mosaic Tray
Two Purple Couches: DIY Moroccan-Style Trinket Dish
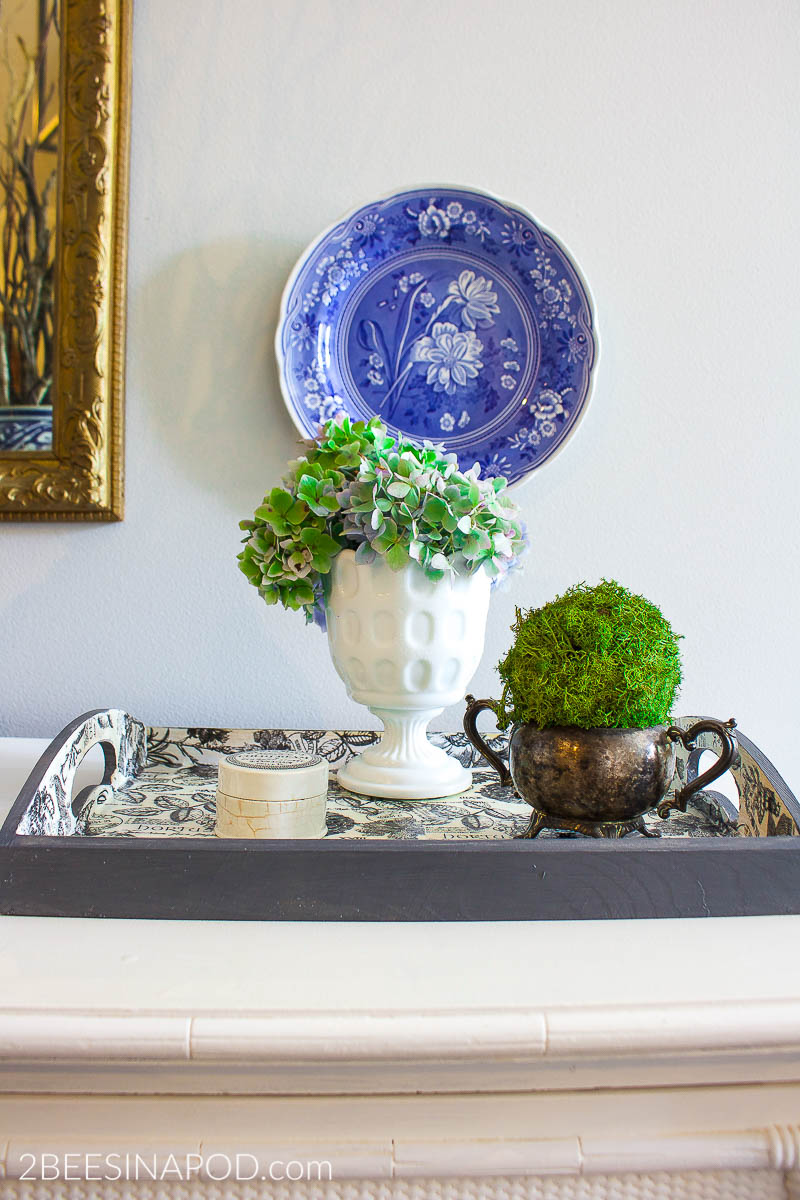
Design Inside the Box: Light Fixture Turned Vase
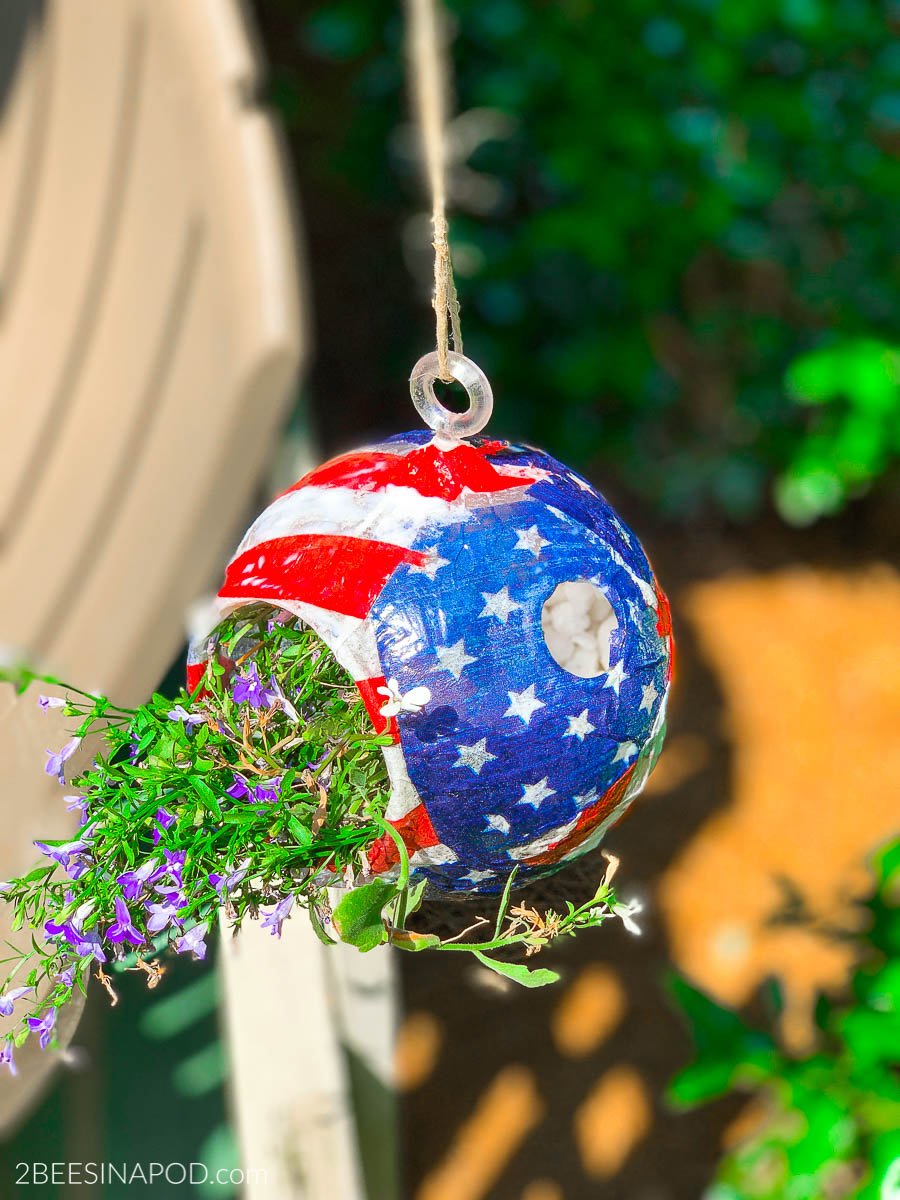
Green With Decor: Fourth of July Silverware Jars
Flourish & Knot: DIY Canada Day Wreath
2 Bees in a Pod: Decoupage-Transformed Bucket

The napkin transfer sure makes this cute! Good work!
Oh my goodness that bucket transformation is amazing!!! It feels too chic now to be called a bucket! LOL!! So gorgeous and I love the rope handle detail!
How creative to transform sugar into flora! Love it!
How clever is this – you would never know how it started! And I love that handle!
Ingenious! I love it. The applications and possibilities are endless.
Bambi
This is beautiful!! And I love that you recycled the bucket instead of it ended up in the trash. What a great way to give it new life. And BTW, I hear you about the peonies. Everyone has these pics of their peony plants just BURSTING with blooms, and my (albeit young) plants have, like, three blooms each. I am trying hard to be patient… Thank you so much for being a part of There for the Making this time around!
When life gives you carnations….. 😀 😀 Love this!
Great idea for a summer garden party!
I love your job
What a great idea!! And what a lovely & perfect napkin to keep in your stash 🙂 Way to think outside the bucket 😉
This looks so amazing! I’m not that confident with my DIY skills but this looks so exciting to do and to use! Anyways, thanks for sharing creative idea 🙂