Fall DIY Painted Sign – Zero Dollar Challenge
Please note that this post contains affiliate links. As an Amazon Associate, Rewards Style influencer and Jane Influencer, we earn from qualifying purchases and any sales made through such links will reward us a small commission – at no extra cost for you.
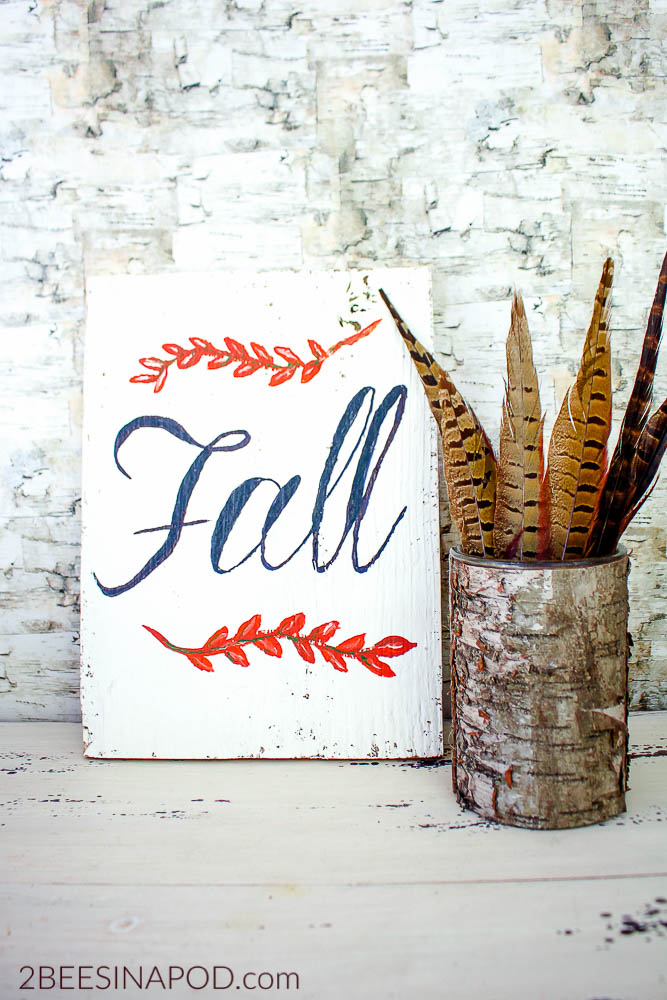
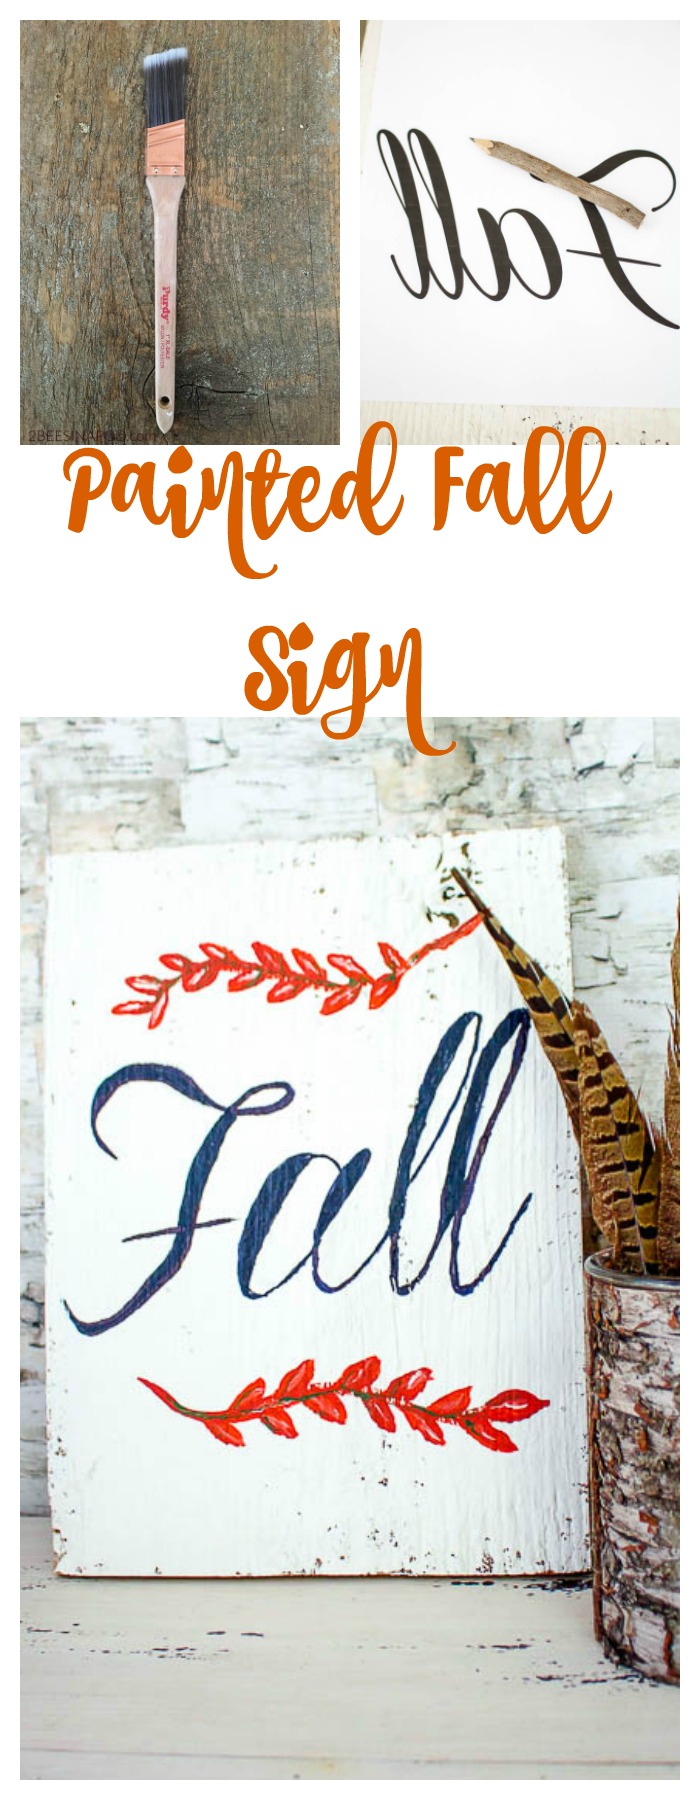
Prepare for the season ahead early ~ DIY Painted Sign for Fall.
You can never be too prepared or organized for most situations in your life. I would like to think this list would include getting ready for seasonal decor changes in your home. Fall as you are probably well aware is my favorite season. Don’t worry, I haven’t dragged pumpkins out to my front porch yet. I am just creating little things here and there. This way when the season of Pumpkin Spice Everything hits, I will be ready!
This is another installment of our Zero Dollar DIY Challenge hosted by Sarah of Flourish and Knot. Can I just say that I love this challenge? Every month I love to push myself to see what I can create without spending one single cent. It really gets my creative juices flowing and I get to see what the rest of the group creates too. More than that, I love that you as readers get to see what maybe you can create in your homes without having to spend any money at all.
Let’s get started
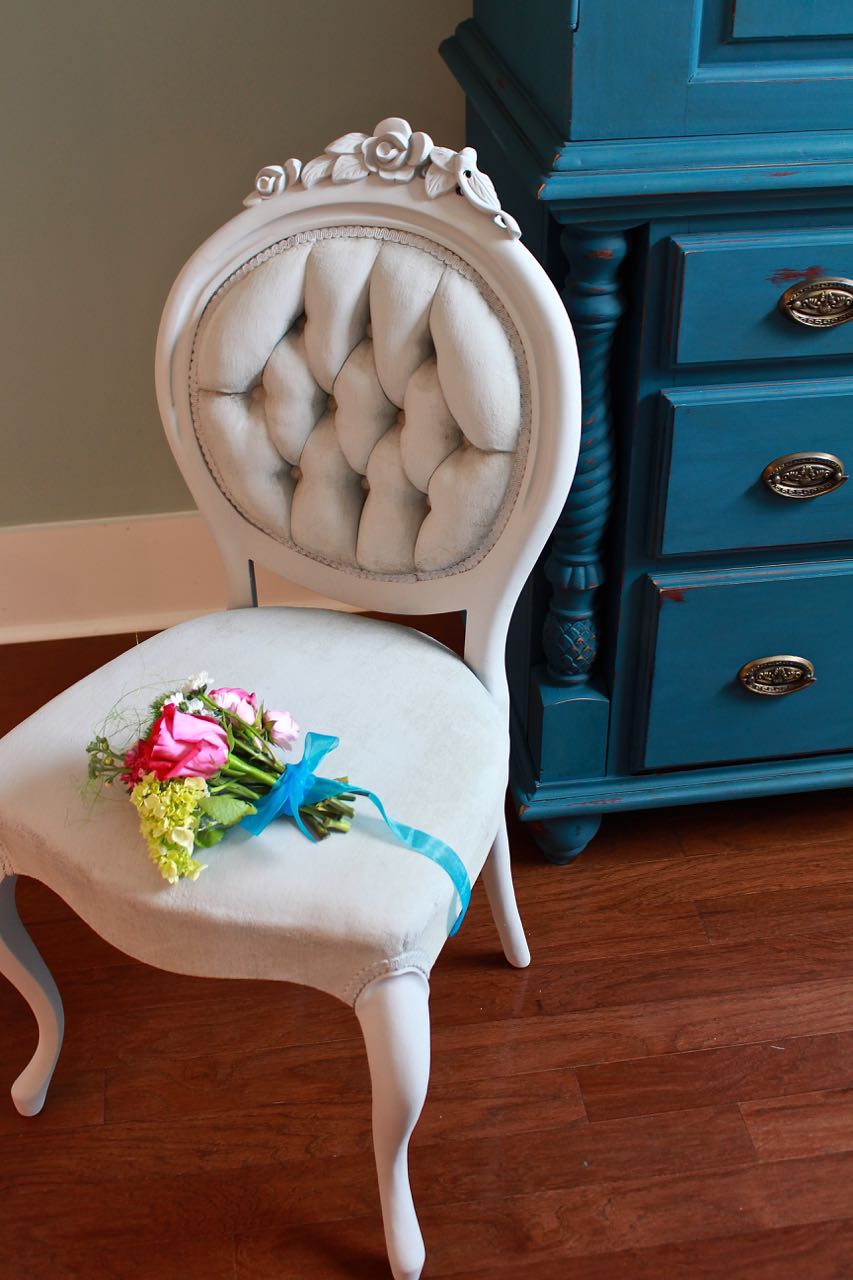
I began with this rustic square piece of wood. In fact this is one of the few remaining pieces leftover from Jenn’s DIY rustic wedding table numbers that we made.
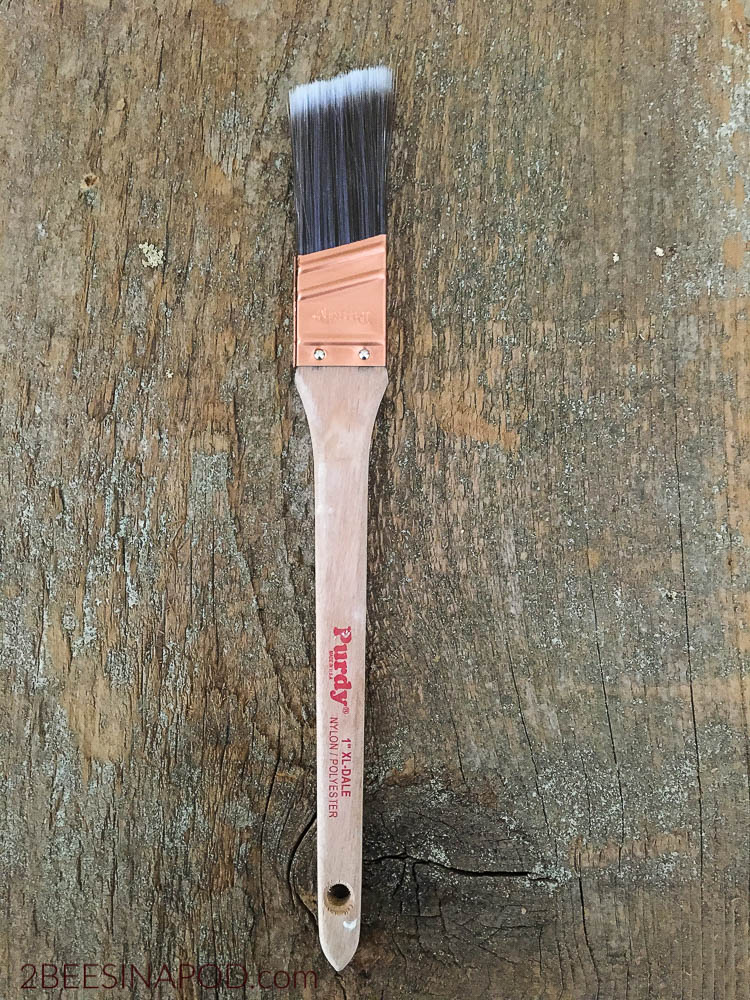
Paint one thick coat of Annie Sloan Chalk Paint in Old White. Let dry completely. You can use any paint that you have in your stash.

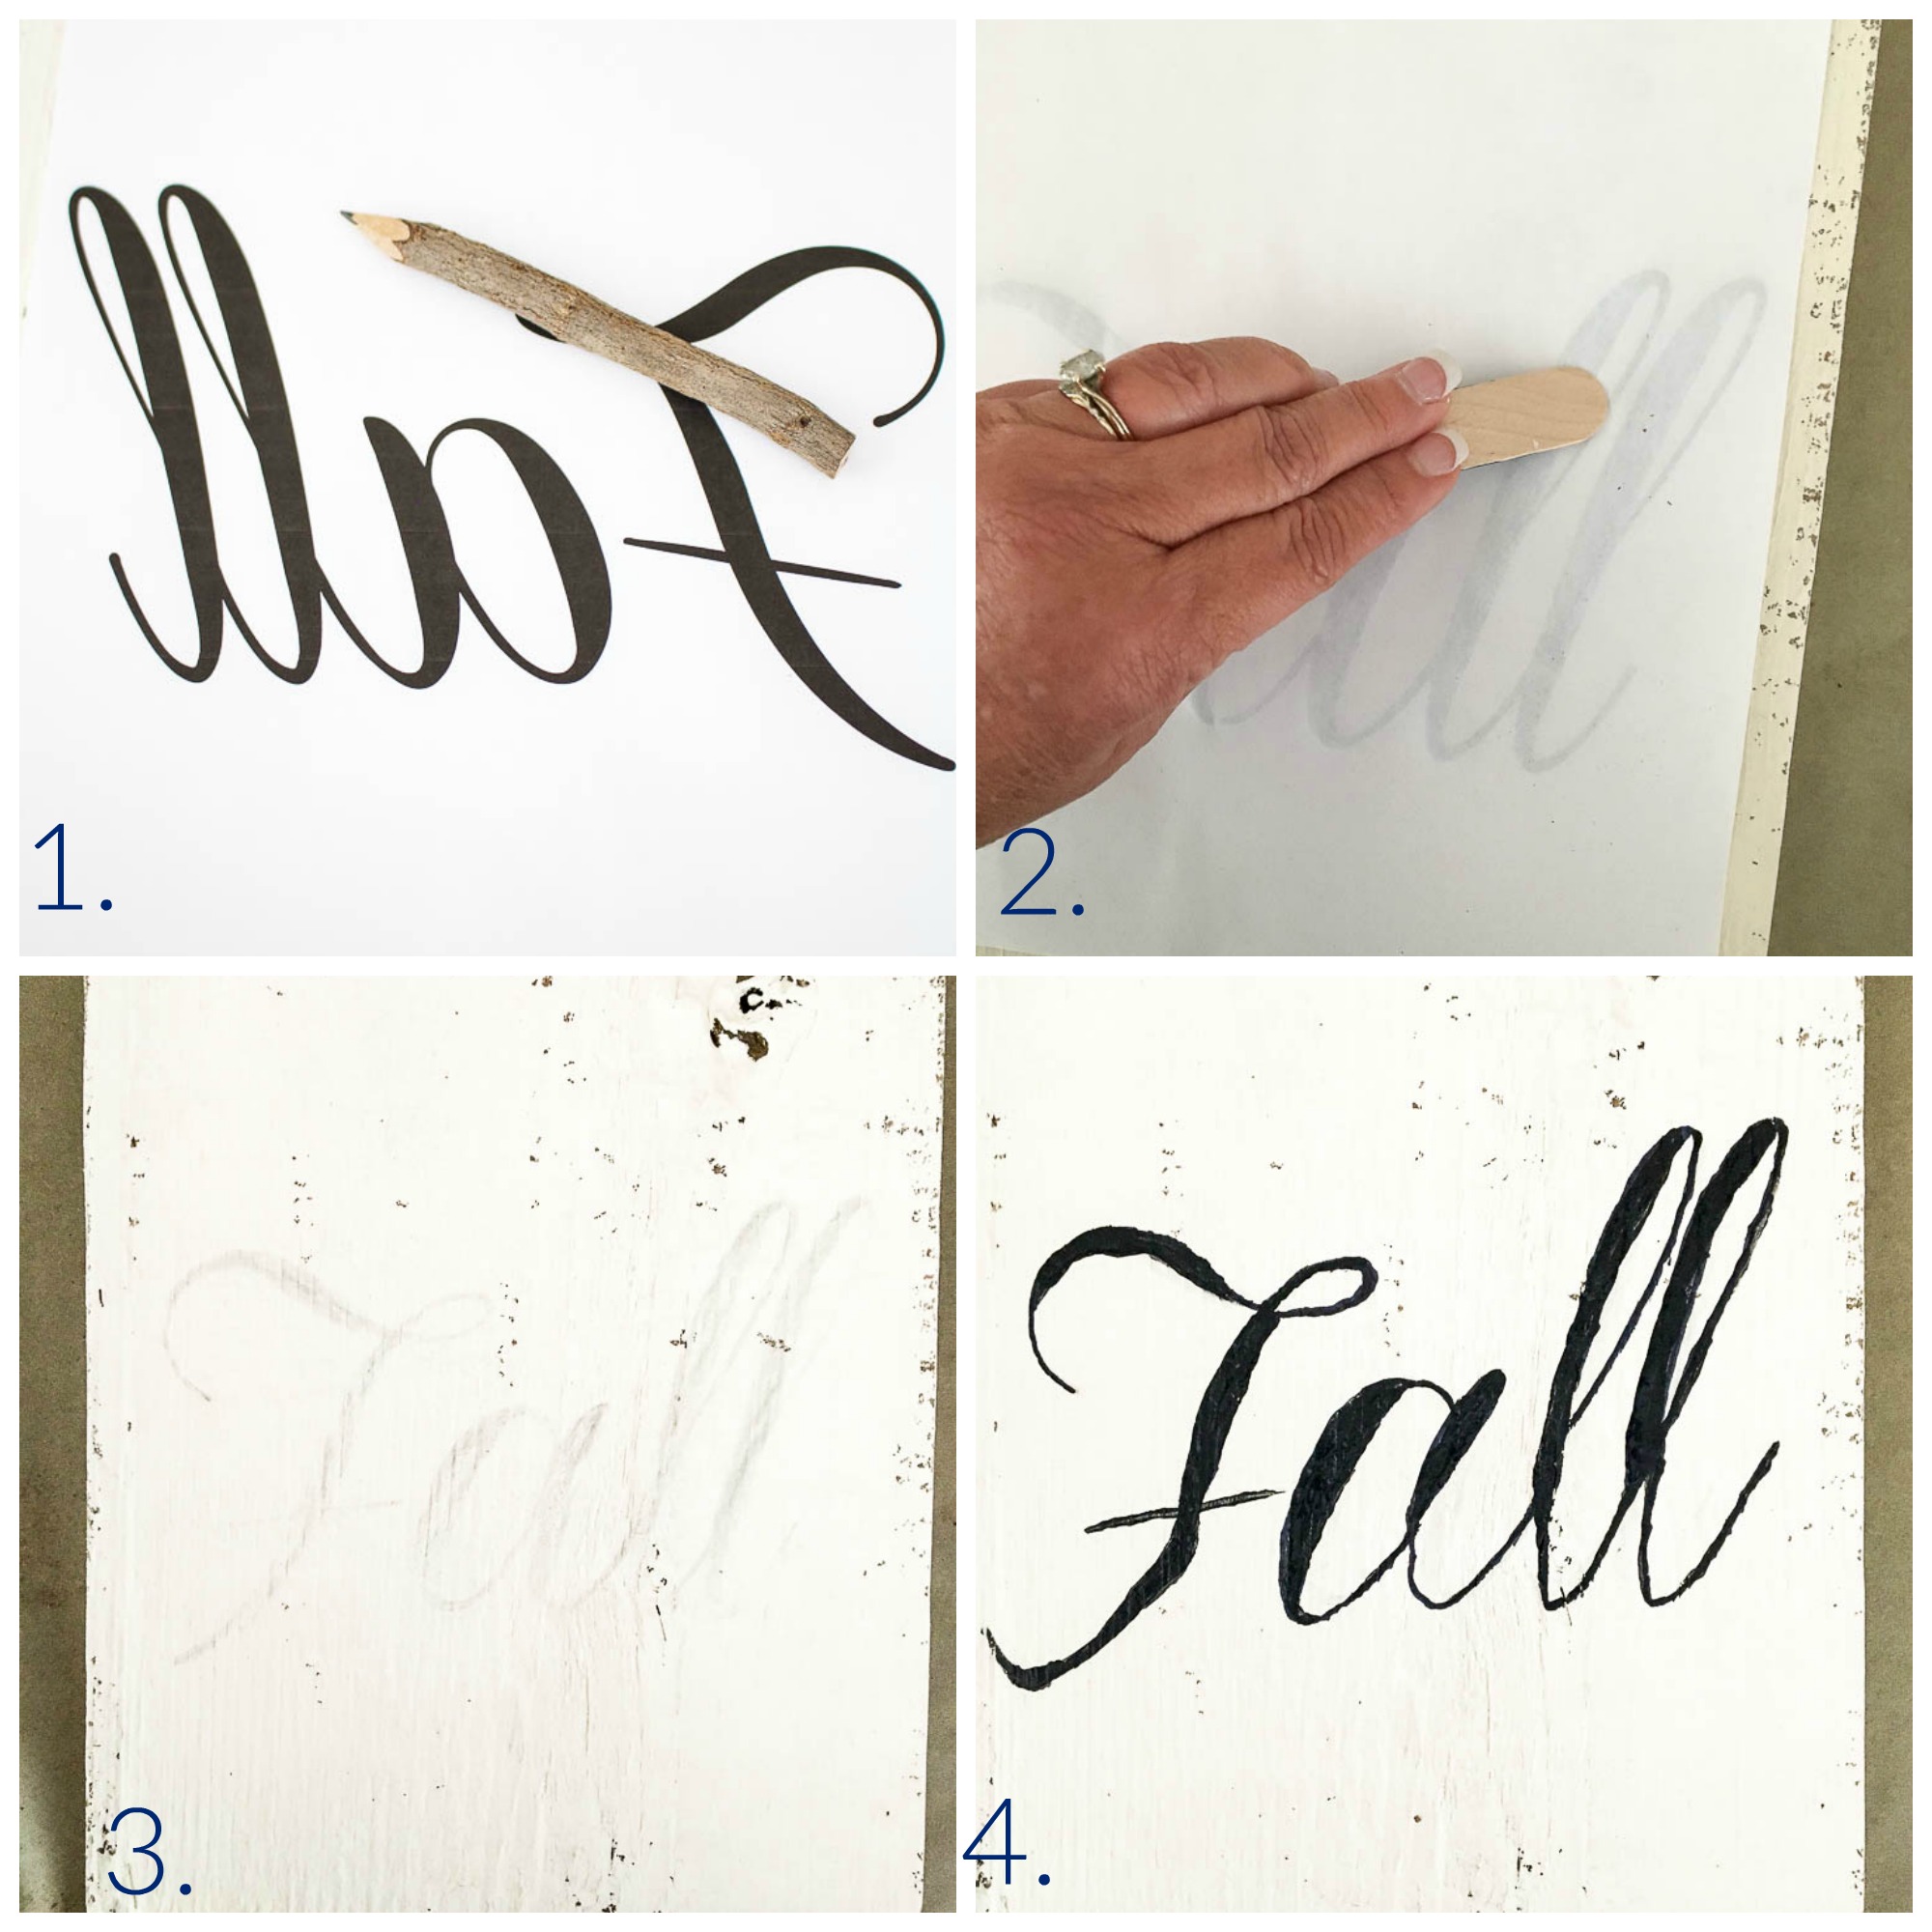
- Find a font on your computer that you like. Print it in reverse on your home printer. Use a pencil and fill in all of the lettering well.
- Lay the paper, graphic side down on top of the painted wood. Begin rubbing the lettering onto the painted board.
- Remove paper to reveal the pencil rubbing.
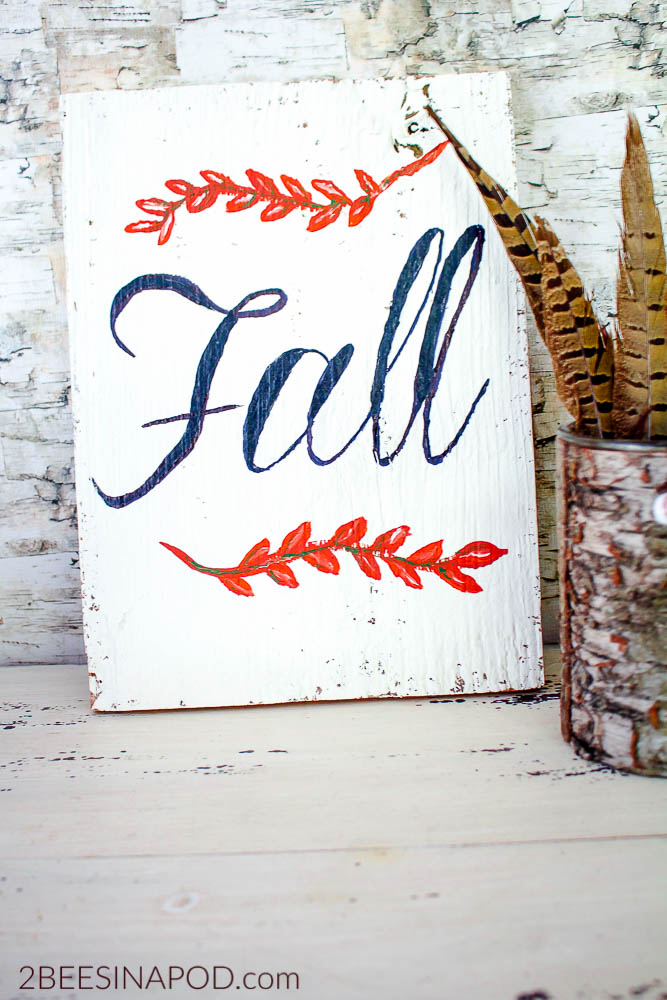
- Use black acrylic craft paint and trace the pencil rubbing.
Orange craft paint is used for the vine and leaves at the top and bottom of board. Use green craft paint to embellish.
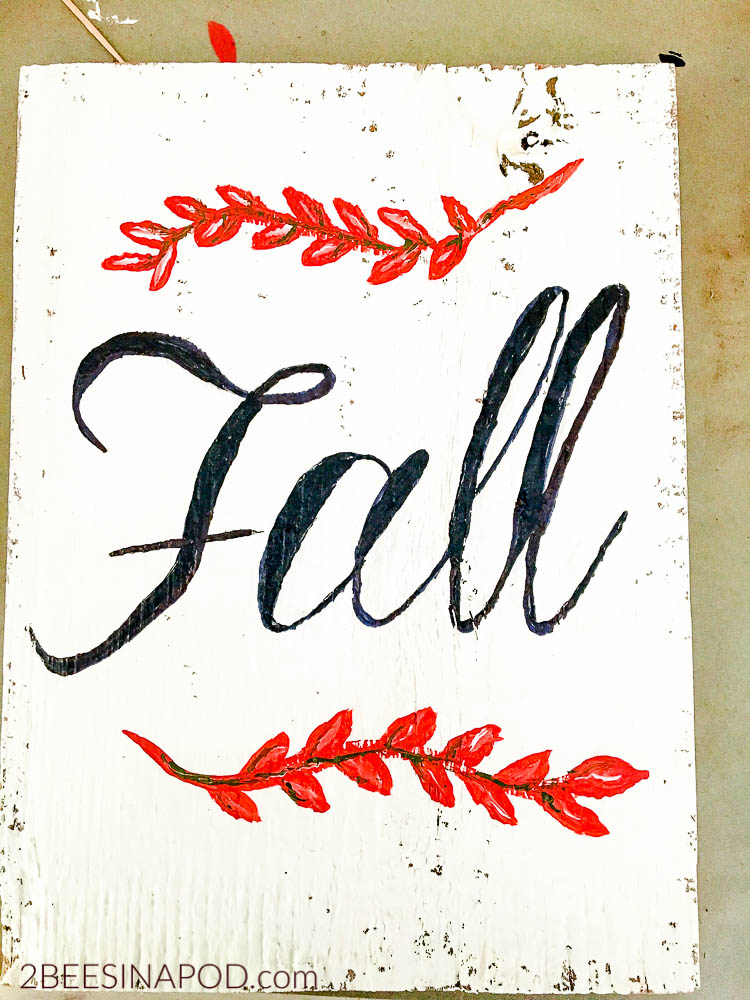
Rustic signs have a quality that look vintage and antique. Can I share a secret with you? They don’t need to look perfect when they are painted with this method either. 🙂
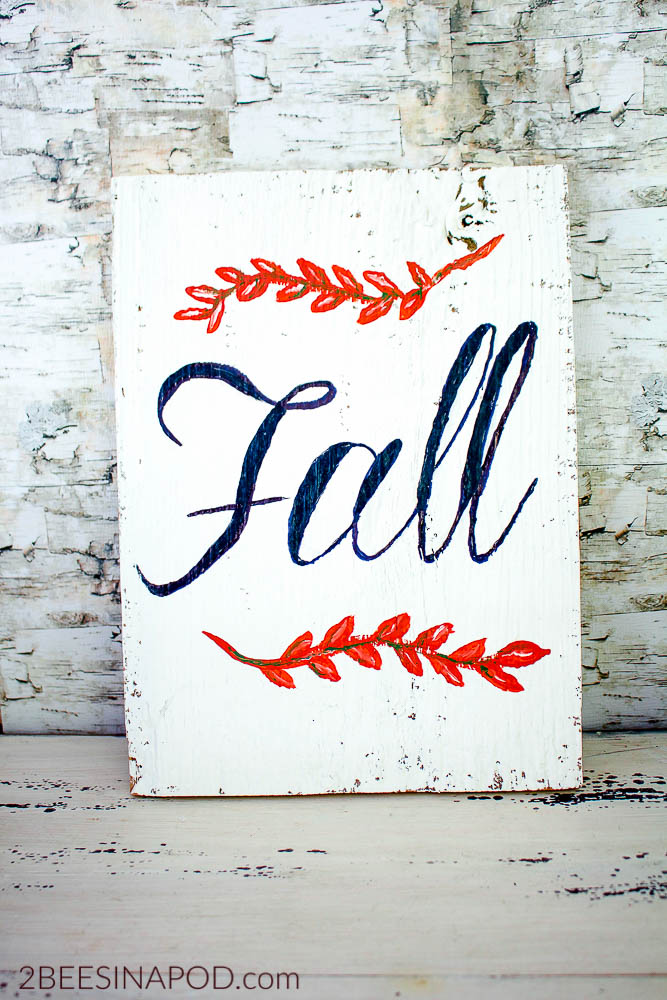
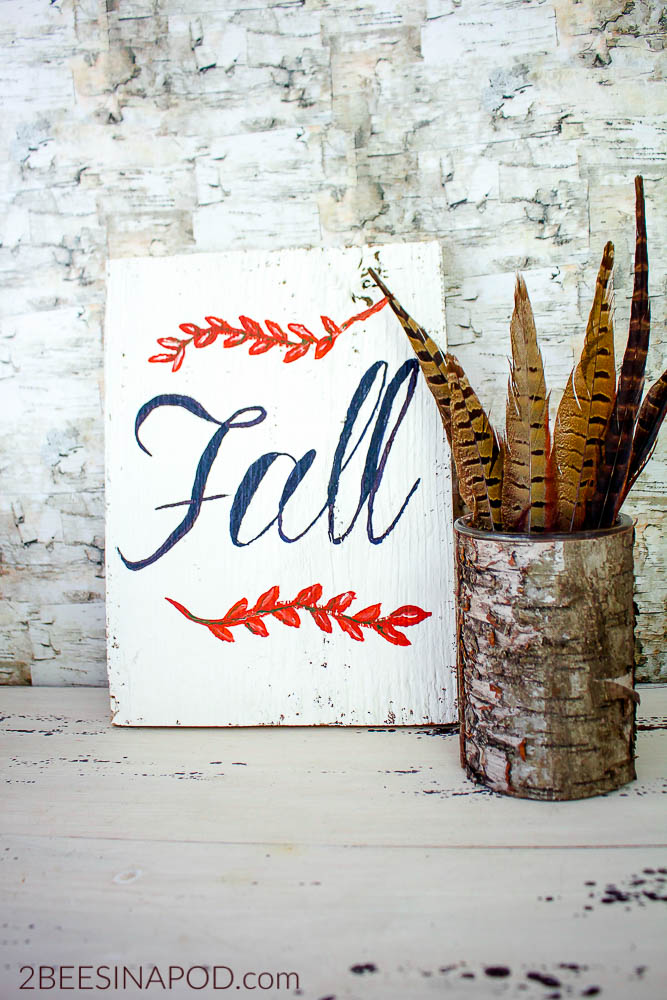
You will be seeing this sign in my fall entry decor in the near future.
Personally, I think it turned out fairly well being that I’m not an artist and it didn’t cost me a single cent to make as I had all of the materials in my garage.
Be sure to check out the projects of the other bloggers because I know they never disappoint!
Until tomorrow,
Don’t forget to pin this to your favorite Pinterest board.
There are three other talented bloggers participating in this August edition of There for the Making, and I would love it if you would take a moment, stop by their blogs, and see what they made on a zero-dollar budget. There is some really creative inspiration to be had this month!
Check out all the no-spend DIY inspiration in this month’s #ThereForTheMaking Challenge!

Vicki and Jenn, I just LOVE this sign! Your technique is so simple but effective. I will definitely be trying this, because I need some better fall decor. 🙂 Thank you for being a part of There for the Making!
Ohhh I’m loving that Fall is coming up and this sign is just perfect!!
This is so cute, I love fall, too!! Can’t wait for coooler temps. Pinned 🙂
Wow, I love this fall sign ladies! I seriously can’t wait for the season to arrive. I’m getting so excited. Love the great ideas in this series. Hugs, CoCo