How to Decoupage with Paper Napkins and Make a Tray Look Fabulous
Please note that this post contains affiliate links. As an Amazon Associate, Rewards Style influencer and Jane Influencer, we earn from qualifying purchases and any sales made through such links will reward us a small commission – at no extra cost for you.
How to Decoupage with Paper Napkins and Make a Tray Look Fabulous!
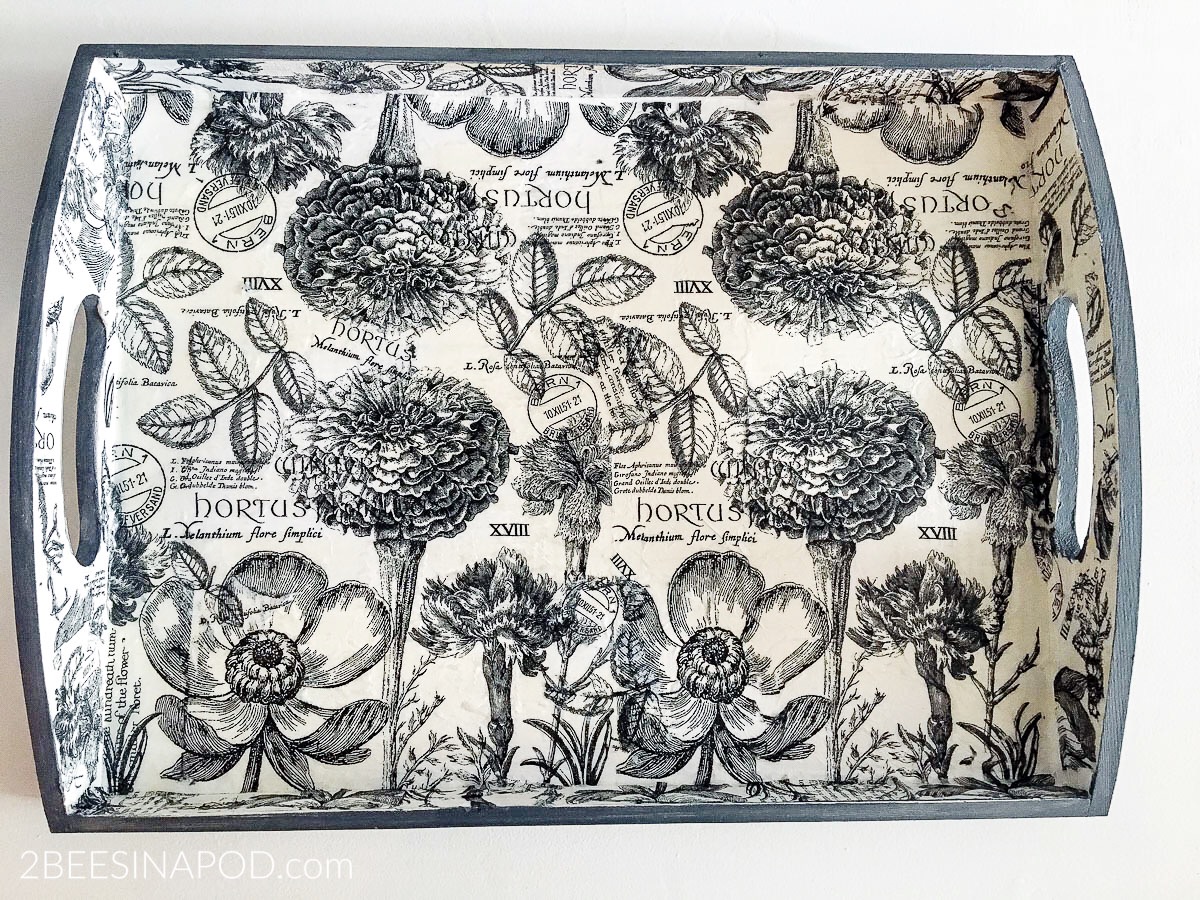
Recently I created a gift for my friend Darlene’s birthday. It turned out so cute, I had second thoughts about giving to her LOL. Being that I love to use trays in my home decor, I feel that everyone else should too. This project was super easy so I thought that I would share all of the details with you – How to Decoupage with Paper Napkins and Make a Tray Look Fabulous!
Start with a Tray
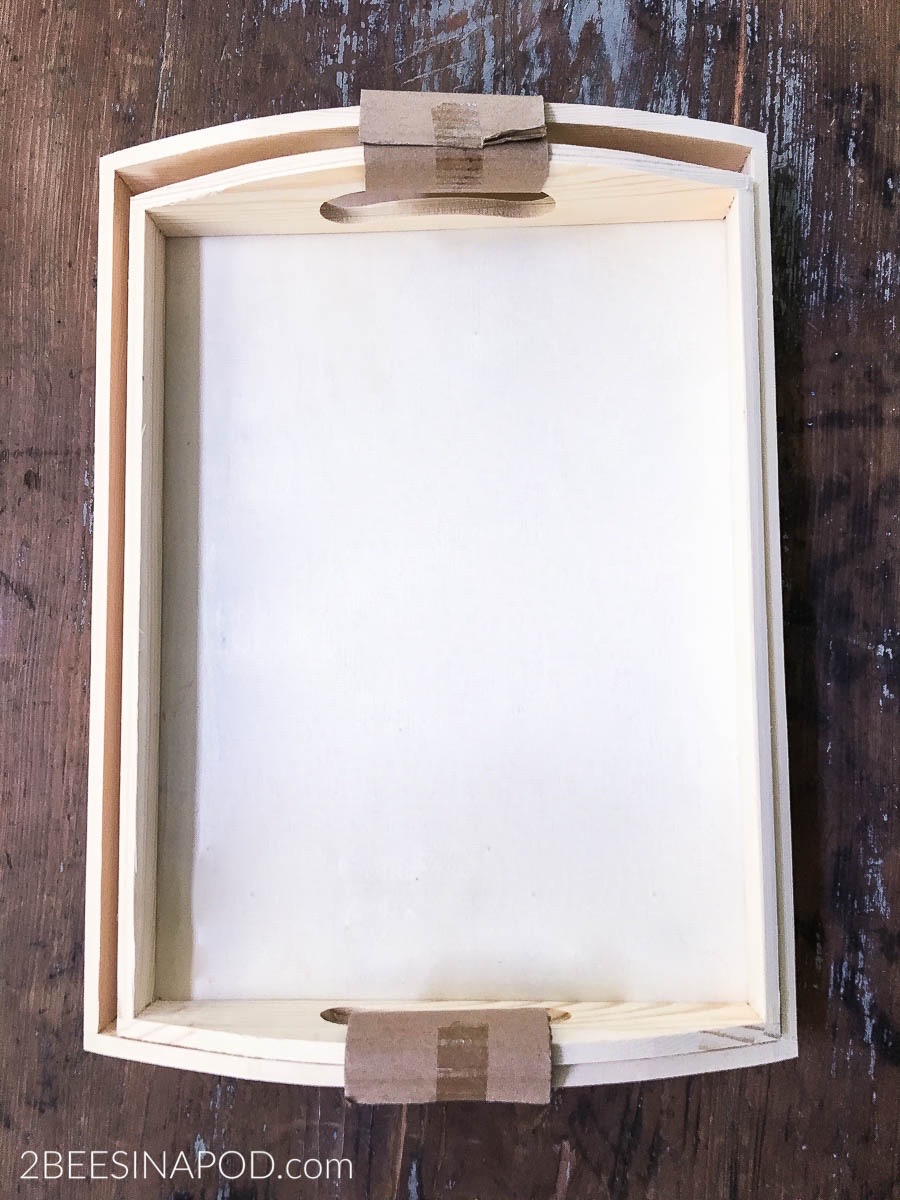
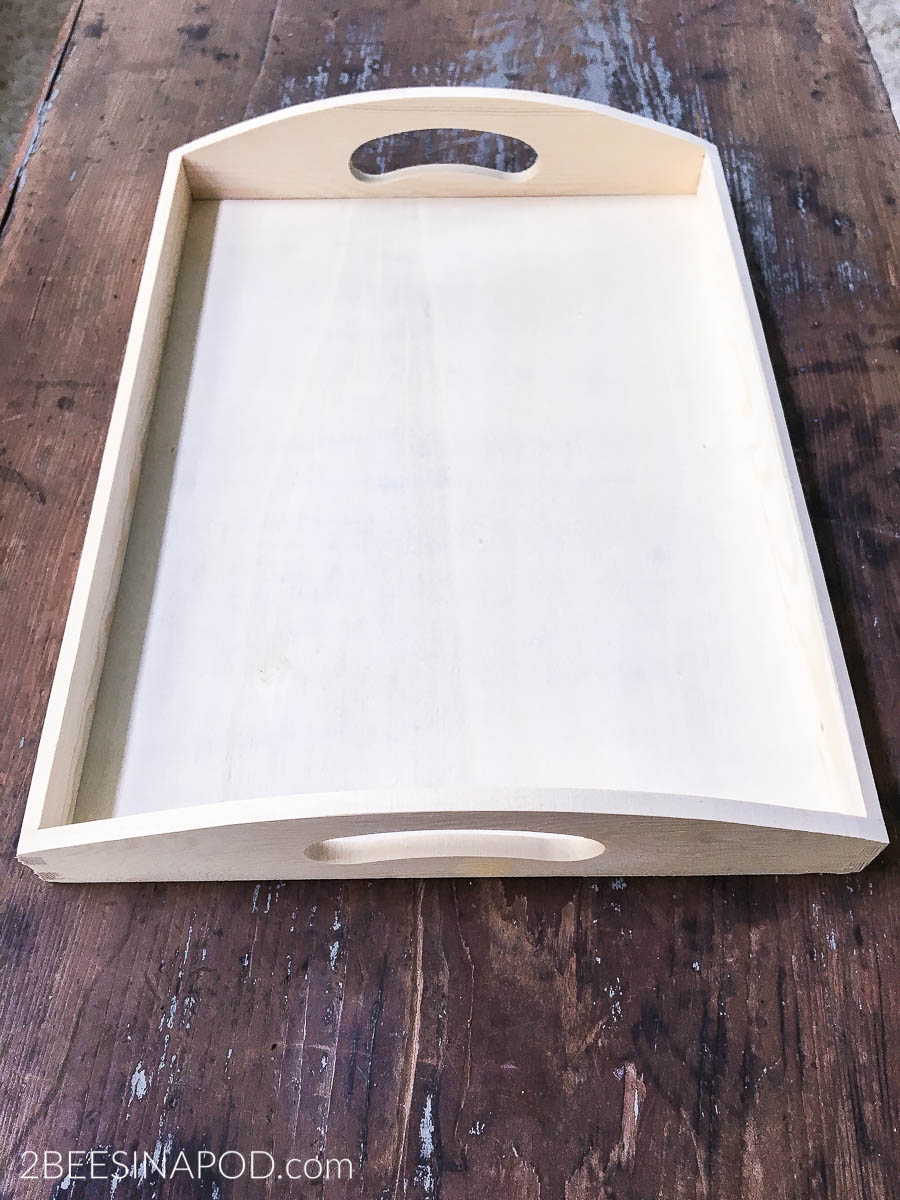
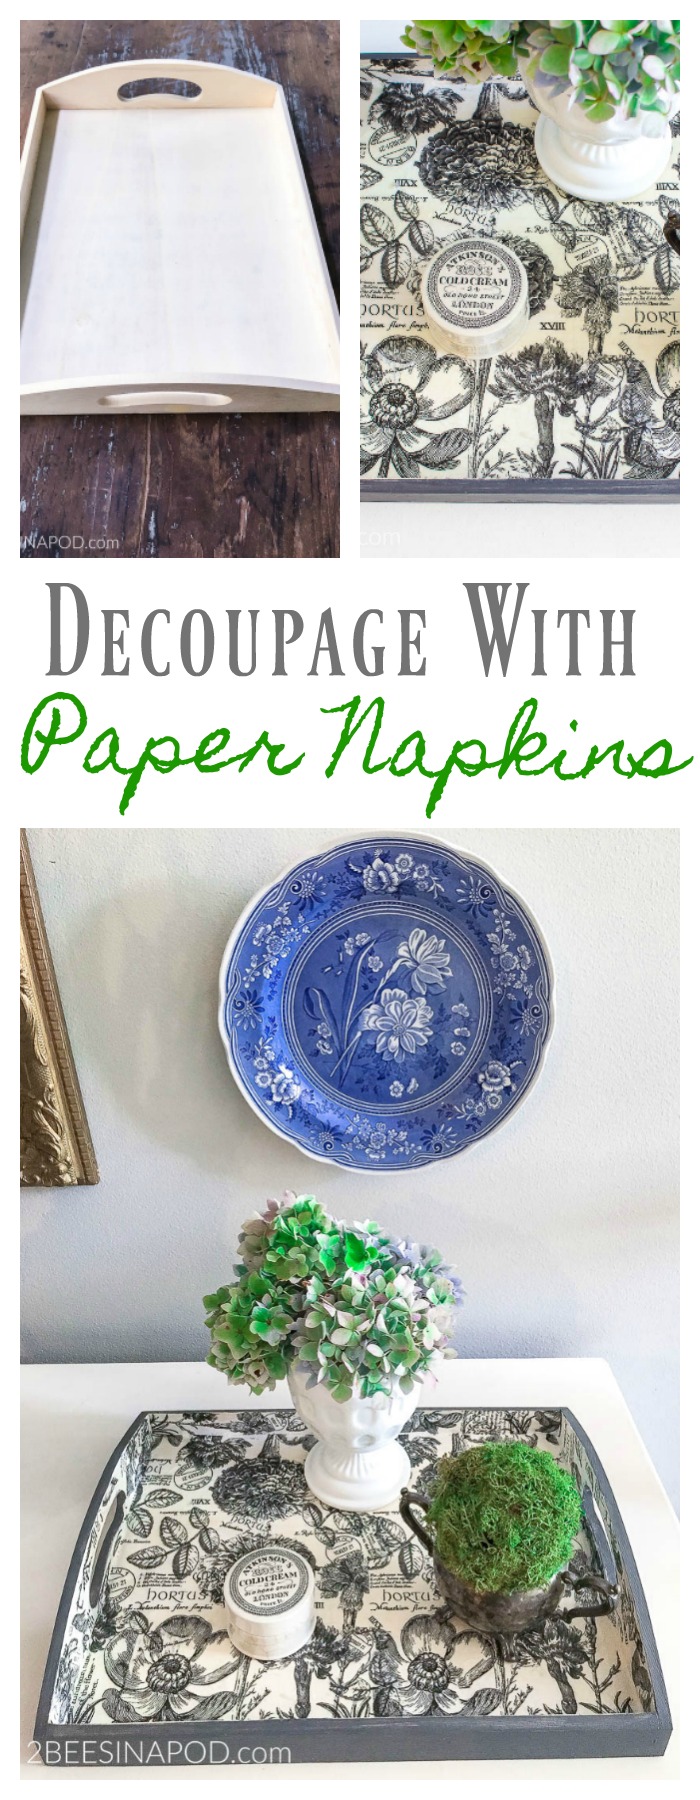
On a recent trip to the craft store I found this set of wooden trays on clearance. After the markdown the pair of trays only cost $4.00.
For my gift-making idea I chose to use the larger of the two trays.
Supplies Needed:
- Tray
- Decorative paper napkins
- Paint
- Sponge brush
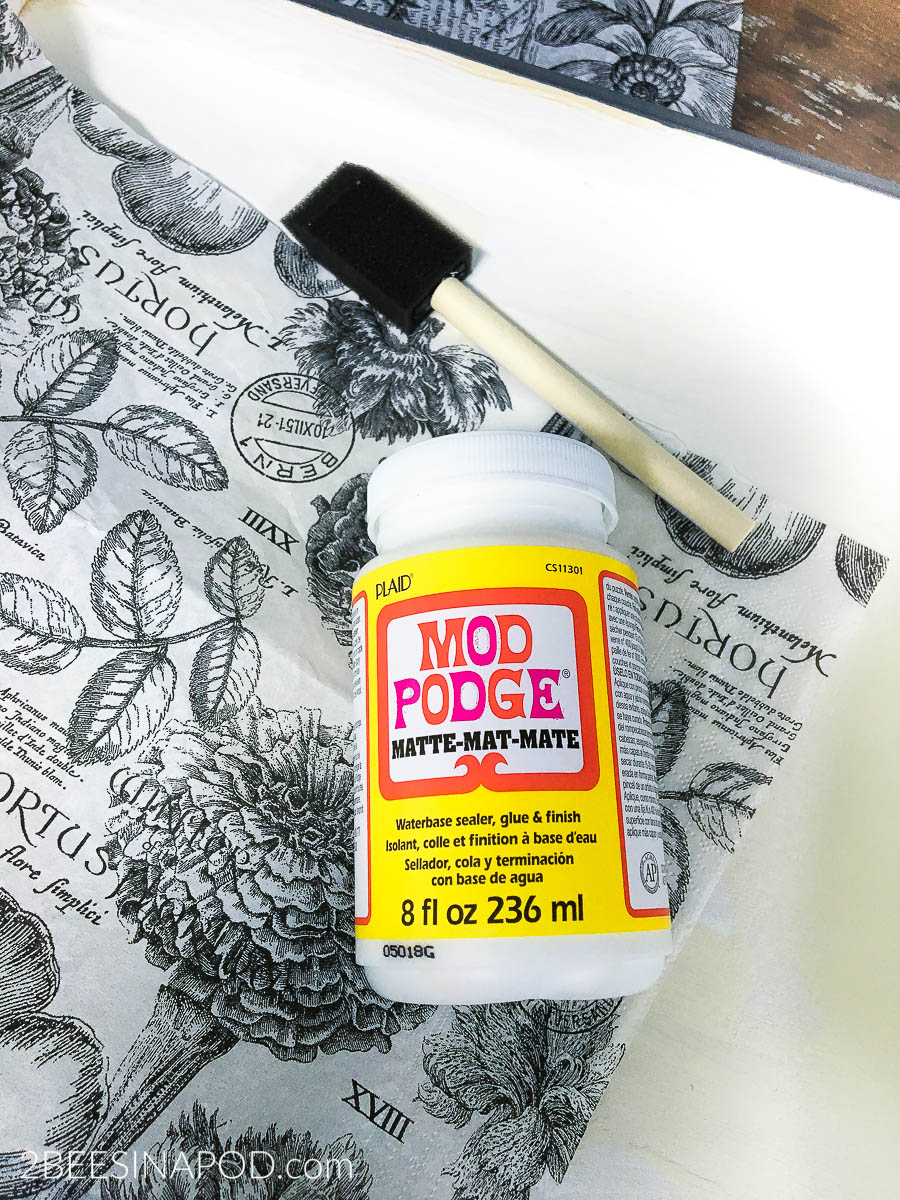
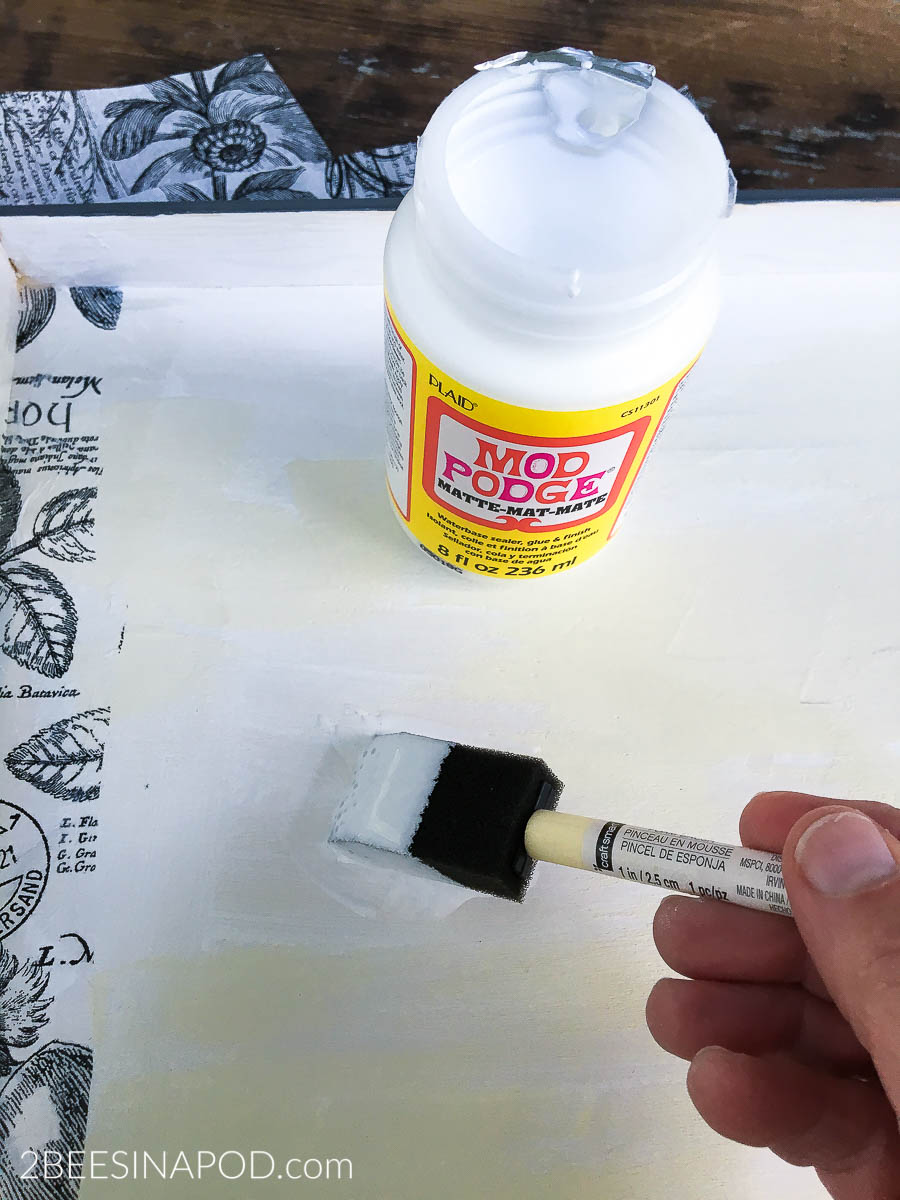
- Mod Podge – matte
- Scissors
- Beeswax
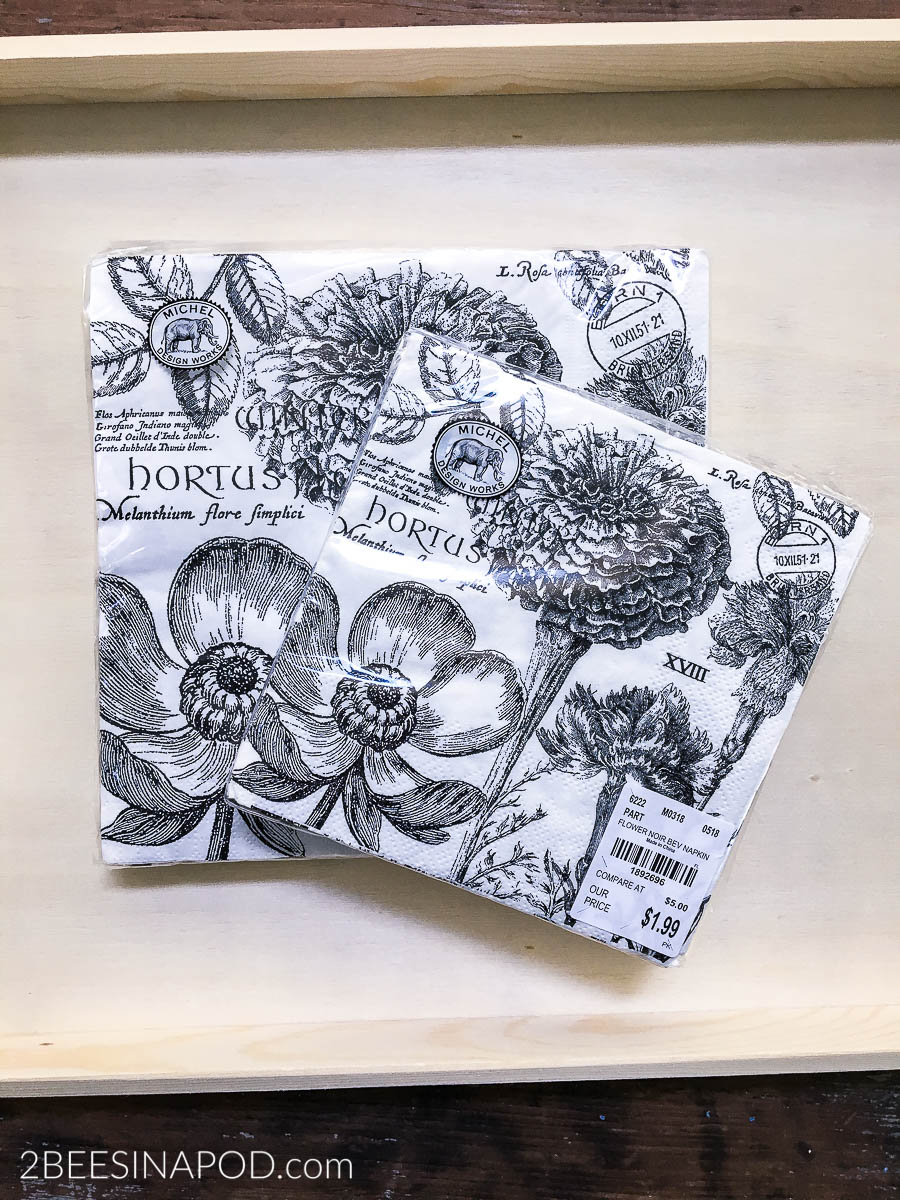
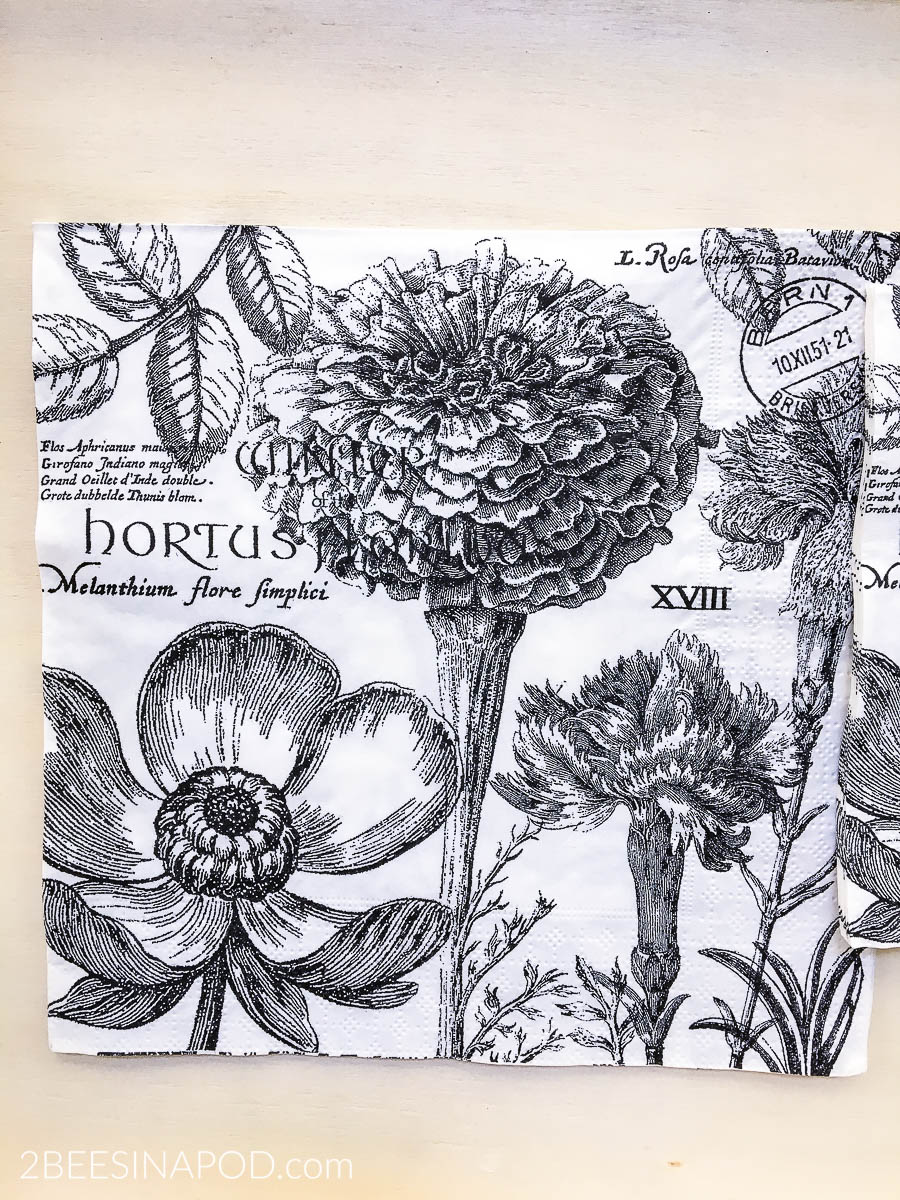
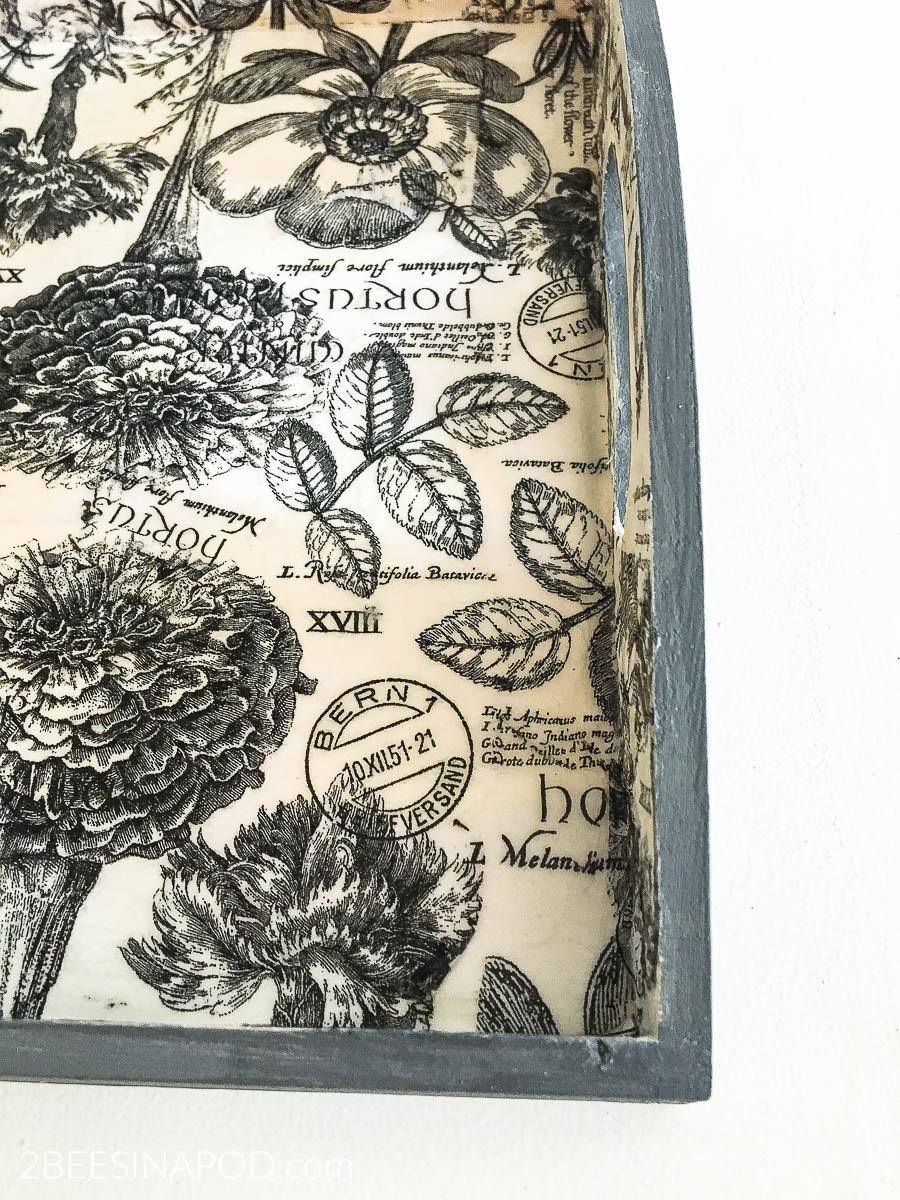
Ever since I did this Peony Decoupage project, I have wanted to do another decoupage transformation. When I was in California I purchased these beautiful black and white botanical paper napkins at Tuesday Morning. Bonus – they were 80% off! Yes, I shopped and found so many beautiful paper napkins and great deals for future projects. I think my suitcase was 10 pounds heavier on the return flight home LOL!
The vintage graphics and artwork just called my name.
Directions:
- Paint the tray in your desired color choice. Let dry completely.
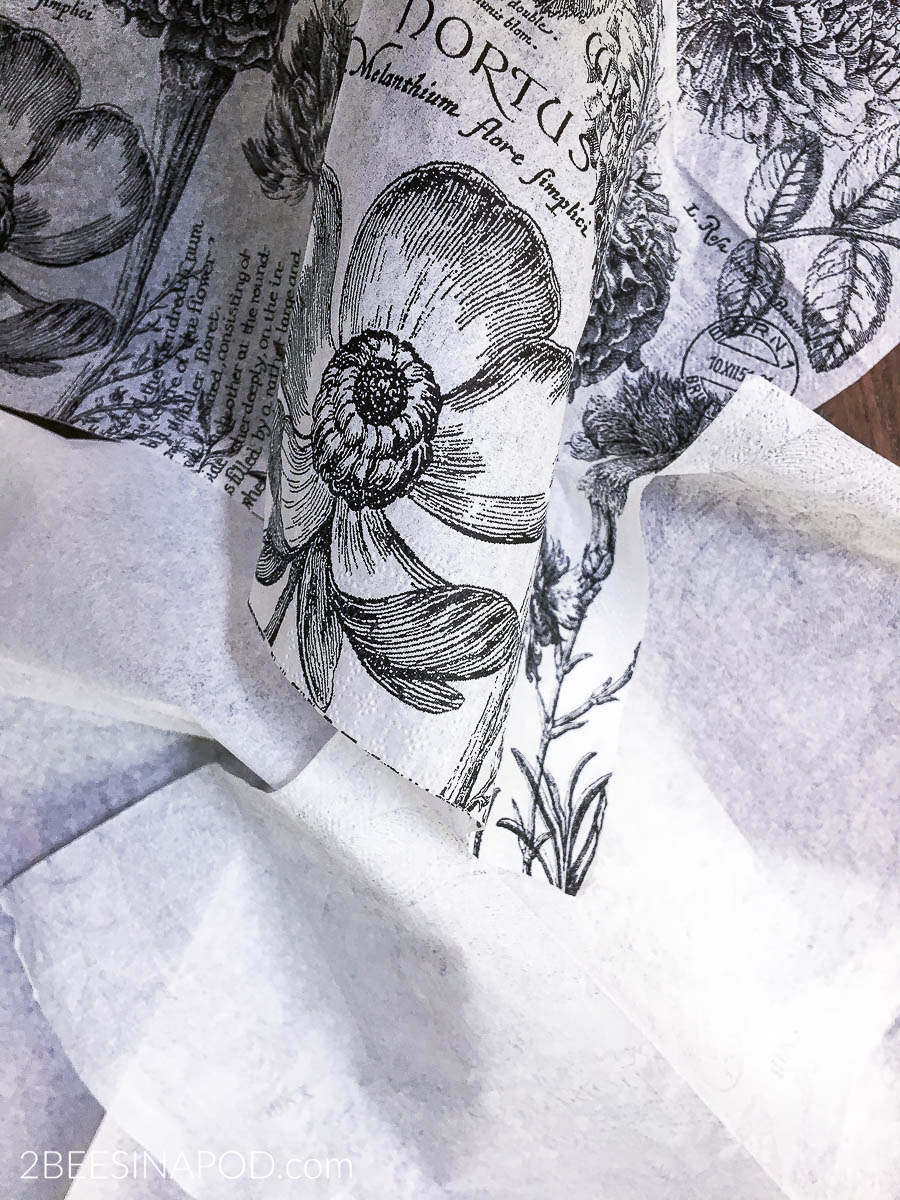
- Next you need to separate the layers of the napkins. Typically they are 3-ply like these napkins. Throw away the two bottom white layers.
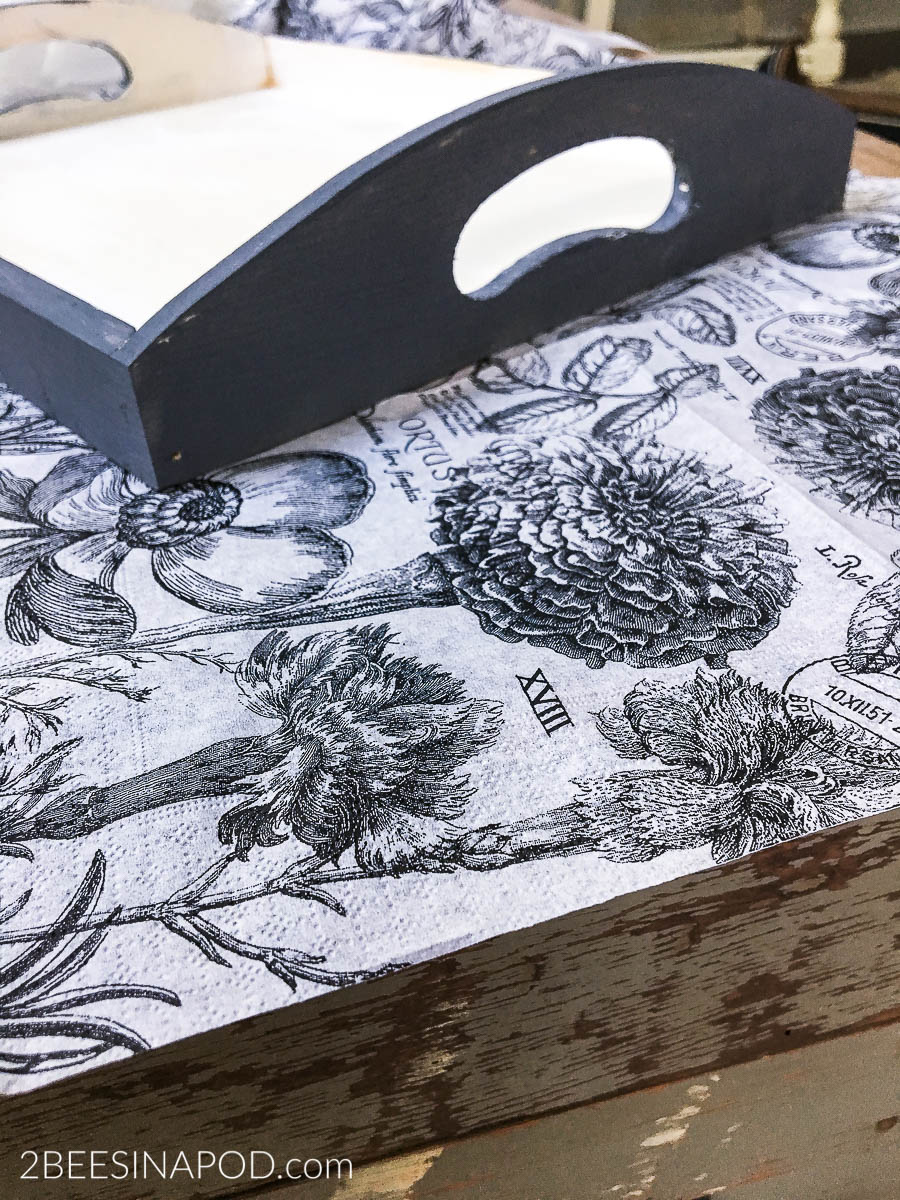
- Lay the napkin inside the tray and trim as necessary. I needed to add a piece from a second napkin and tried to match up the pattern as best as possible.
- Remove the napkin from the tray and place to the side.
- Use Mod Podge and a small foam brush. Paint a thin, wet layer on the bottom only of the tray.
- Carefully place your napkin as precisely as possibly in place on the tray bottom.
- Being gently, smooth out as best as possible.
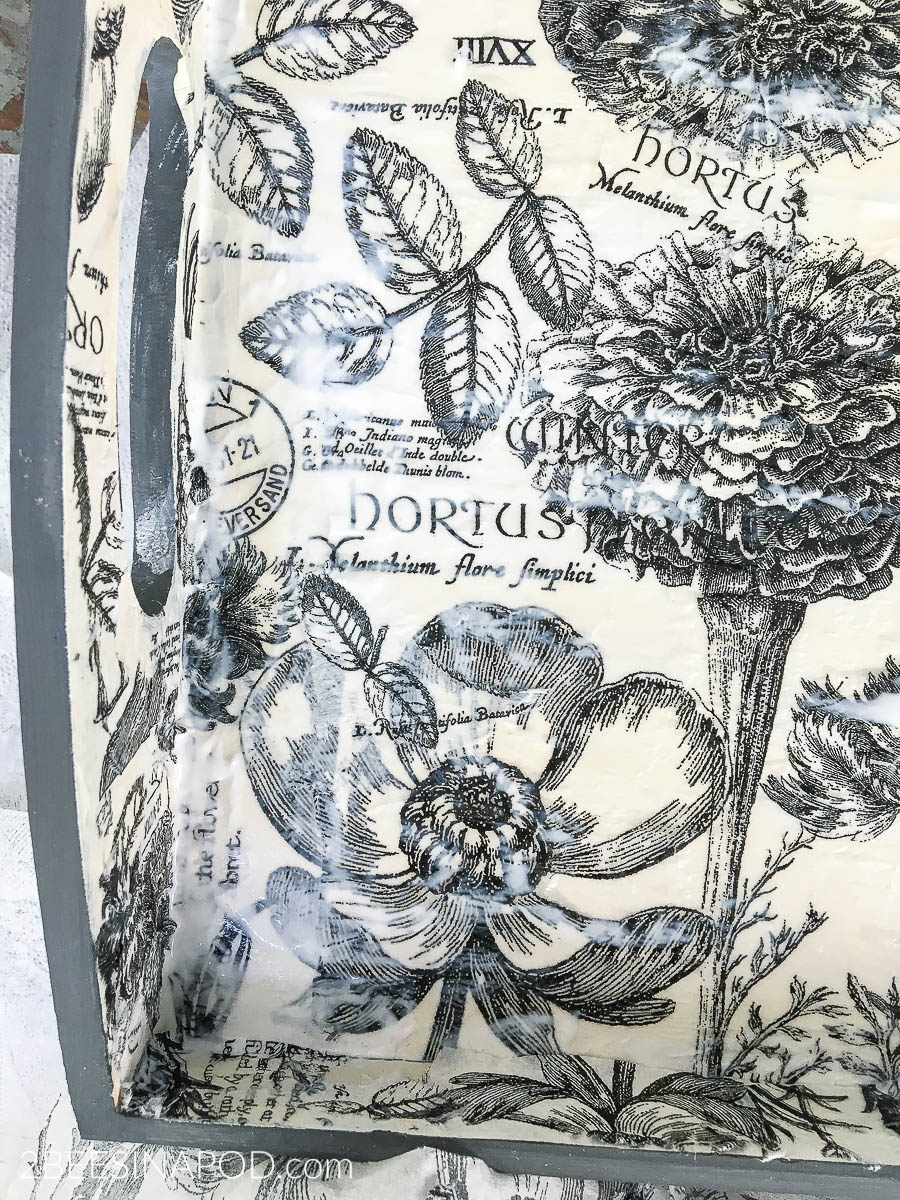
- If you’re feeling extra crafty you can also add the paper napkin to the interior sides of the tray.
- Let dry completely. Approximately 15 minutes.
- Add another coat of Mod Podge on top of napkin layer.
- Let dry completely.
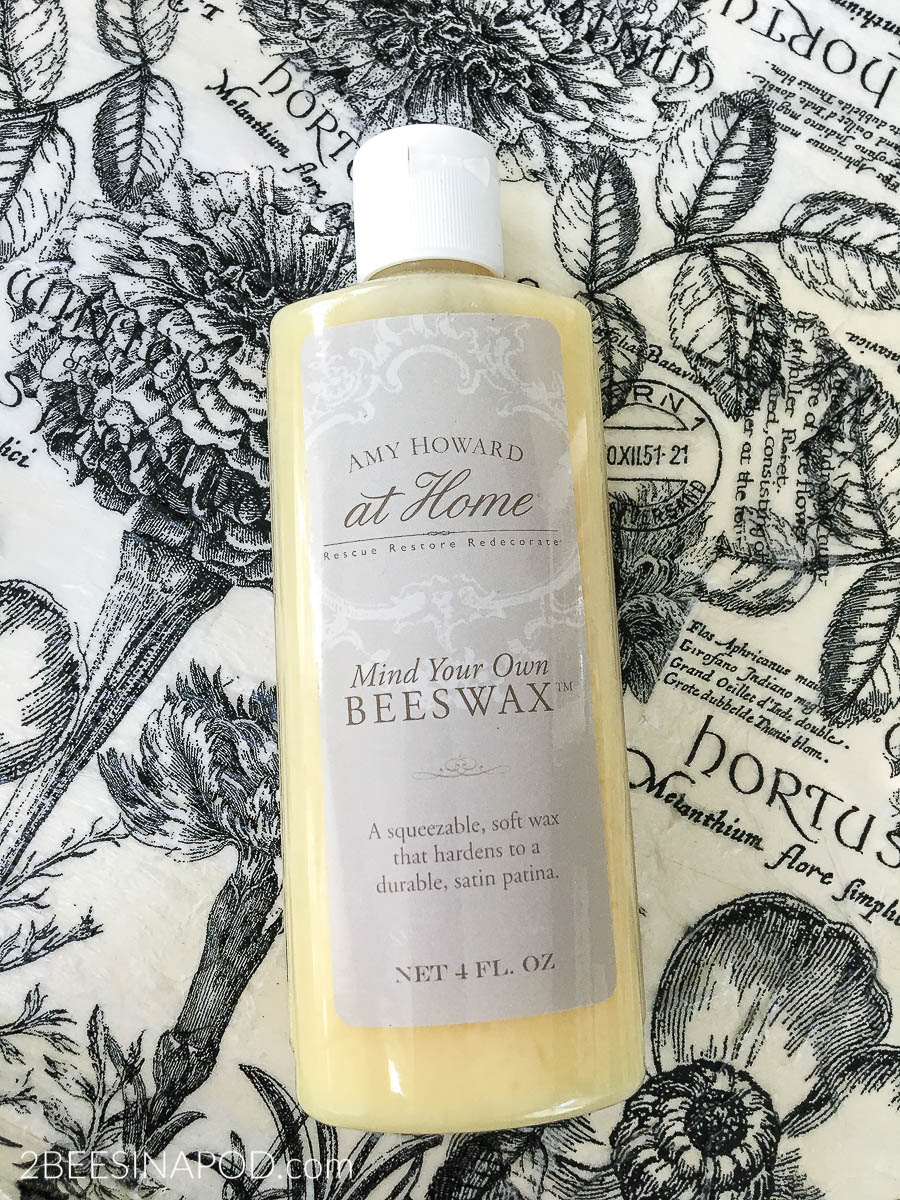
- Wax the outside of tray.
I painted the inside of my tray Annie Sloan Chalk Paint® Pure White. The outside was painted in Graphite.
Mod Podge dries very quickly.
Also, it dries clear with a matte finish.
For small projects I love to use Amy Howard at Home Beeswax. It’s soft and buttery.
Because chalk paint and Mod Podge dry so quickly, this project was complete in just 1 hour.
I couldn’t resist doing a little bit of staging before I gifted this to Darlene.
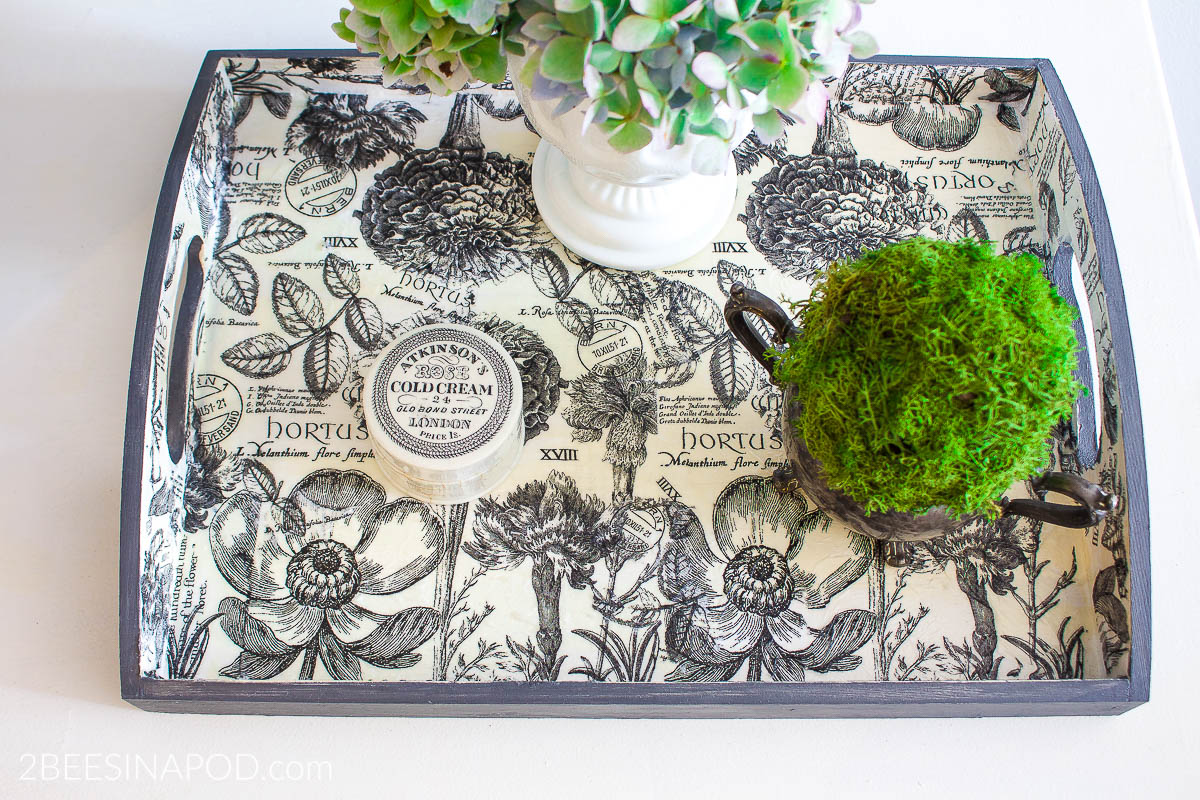
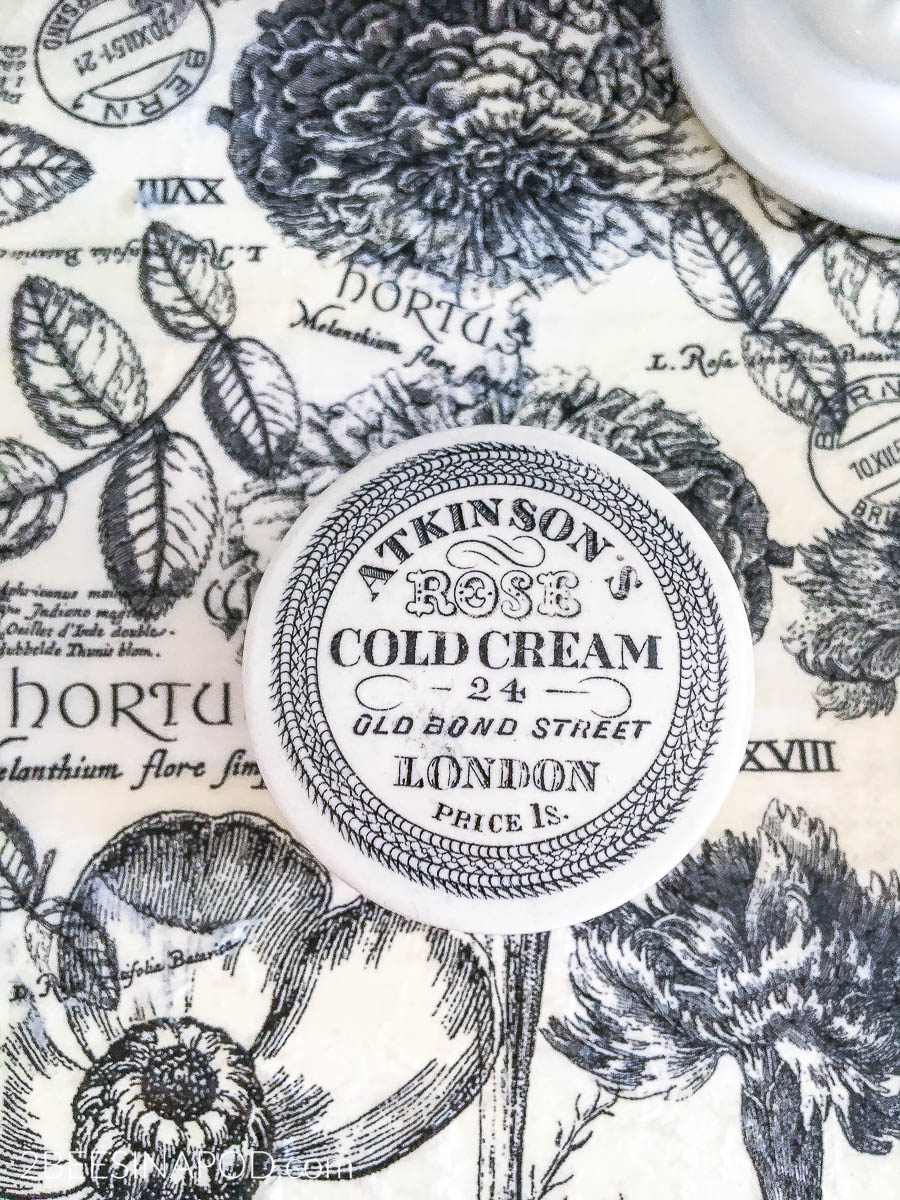
How perfect is this vintage cold cream apothecary jar?
Hopefully Darlene loves trays as much as I do.
And hopefully you have enjoyed learning how to decoupage with paper napkins and make a tray look fabulous.




Very cool project! I have a bit of a thing for pretty cocktail napkins. What a neat way to enjoy them.
Bambi
I for real thought this was wallpaper, not napkins! That is bananas! You guys have been totally nailing it with the trays lately which has been really helpful for the summer season. I can’t wait to add these ideas into holiday entertaining as well. Thank you! Hugs, CoCo
Hi! I am new to your Blog. I have a couple of questions because i have wasted so many pretty napkins trying to get this look. I have so many trays and pretty napkins. How did you not have wrinkles? Not one? Please, i am begging for your secret. Did you wax or coat the paint before the decoupaging? OK, three questions! How did you cover the sides? I am desperately asking you for help.
Thank you,
cheryl
love, love this thanks for sharing,can’t wait to start a project