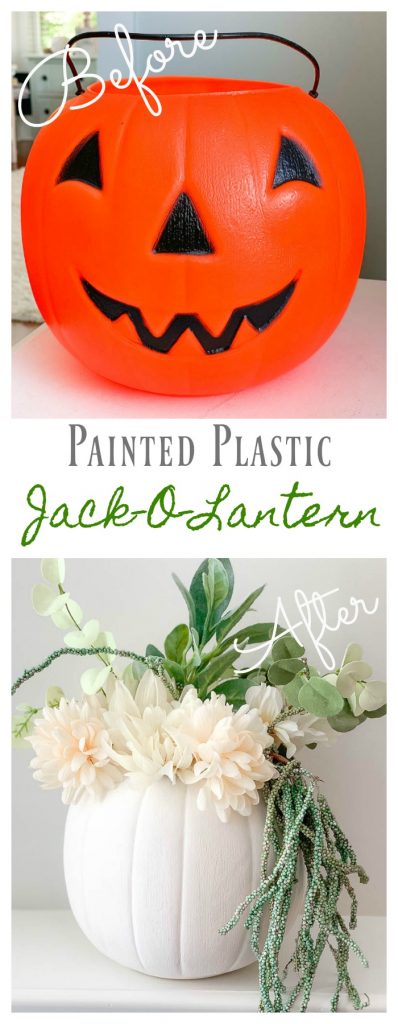
Painted Plastic Jack-O-Lantern Makeover
Please note that this post contains affiliate links. As an Amazon Associate, Rewards Style influencer and Jane Influencer, we earn from qualifying purchases and any sales made through such links will reward us a small commission – at no extra cost for you.
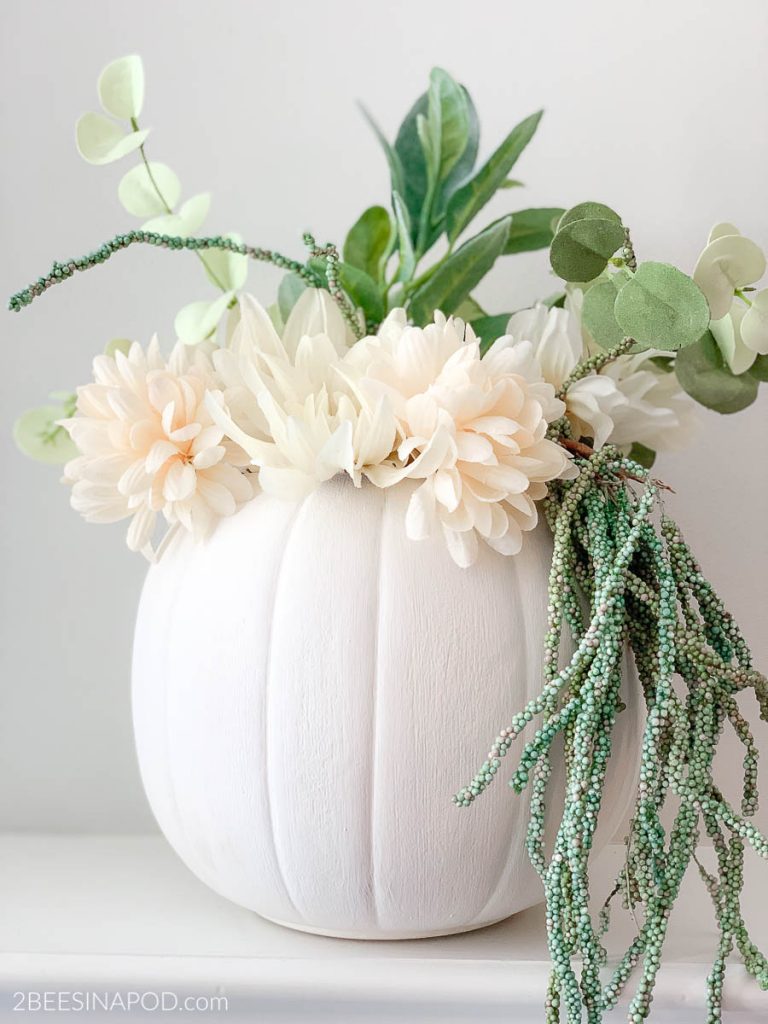
Who knew that a painted plastic jack-o-lantern makeover could look this good?
Admittedly, I am overly-excited to share this post today. This is because my painted plastic jack-o-lantern makeover project cost me a grand total of 10¢. And I love how it turned out! An added bonus for you is you will find links to the other Thrifty Style Team members and their below.

Cheap and Garish
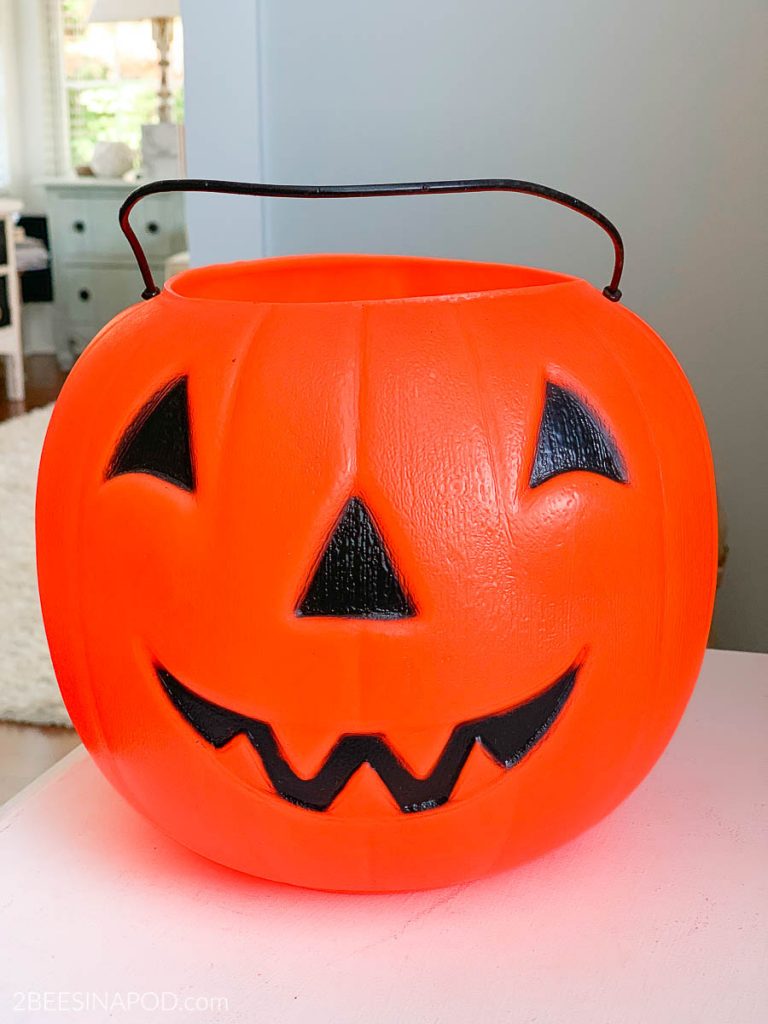
We’ve all seen these plastic pumpkin jack-o-lanterns. Typically they are used by kids going trick-or-treating. I purchased mine at the thrift store for jus ten cents.
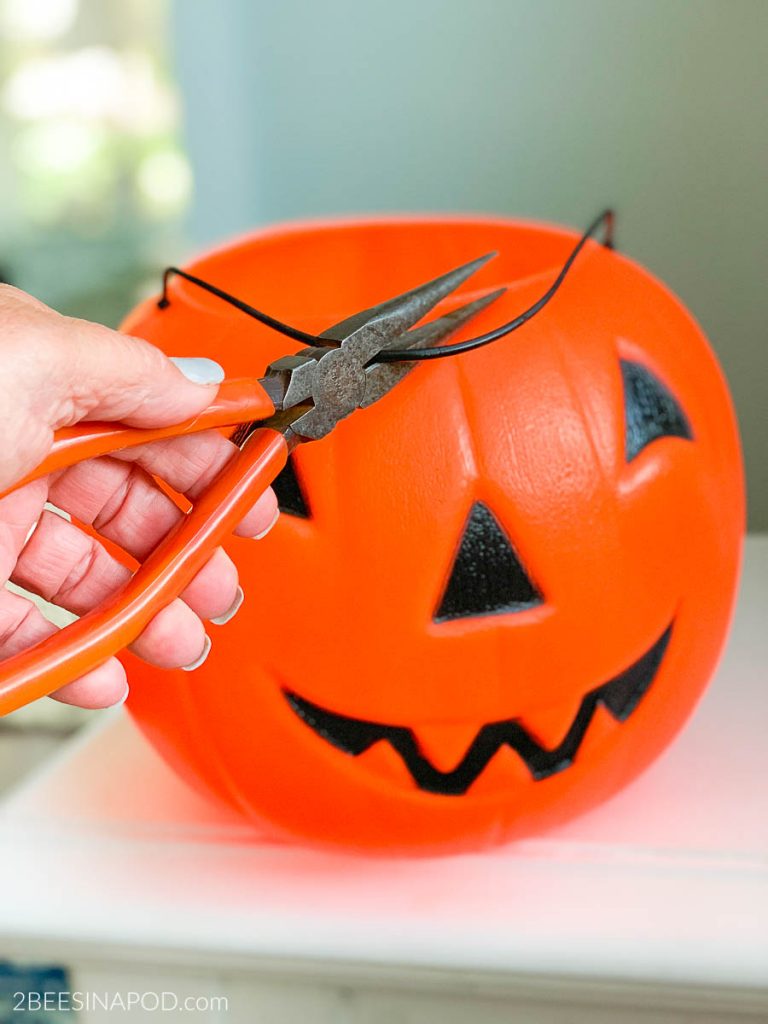
Using wire cutters, I easily clipped the pumpkin handle for removal.
All other materials were in my craft stash.
This is how you do it
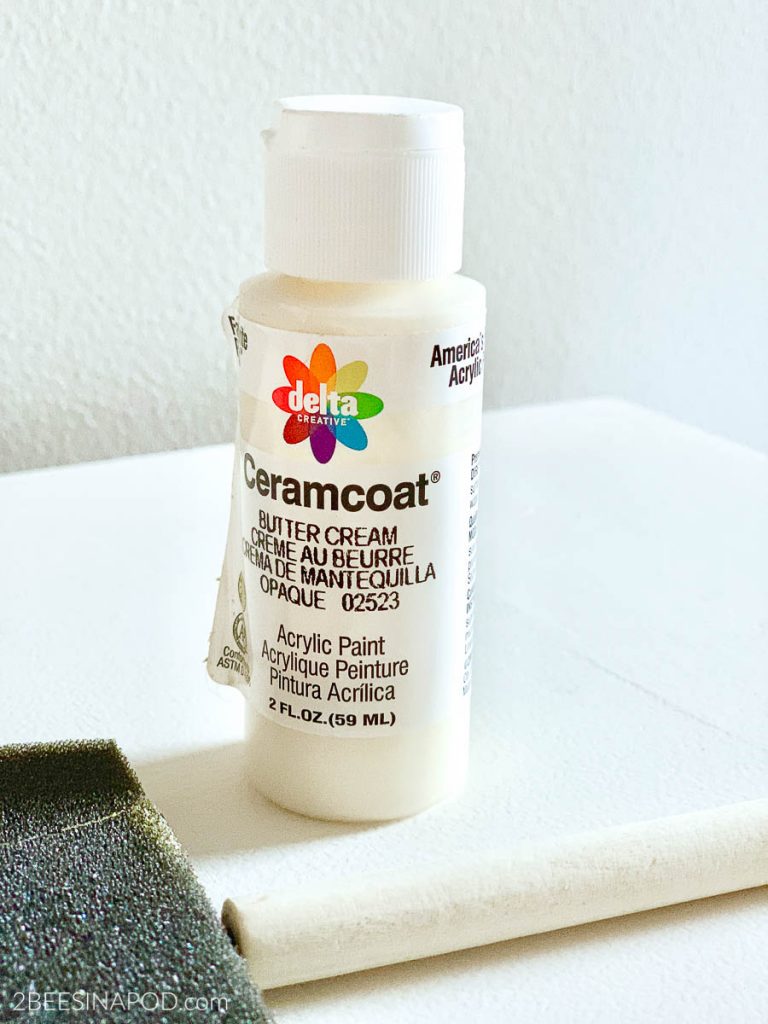
- Use an off-white craft paint color for best results.
- Paint 1 good coat of craft paint. Let dry completely.
- Paint another coat of paint, checking coverage. You don’t want any bright orange showing through.
- After the jack-o-lantern is completely dry, begin adding flowers.
- Flowers can be faux or real, being that the jack-o-lantern is water tight.
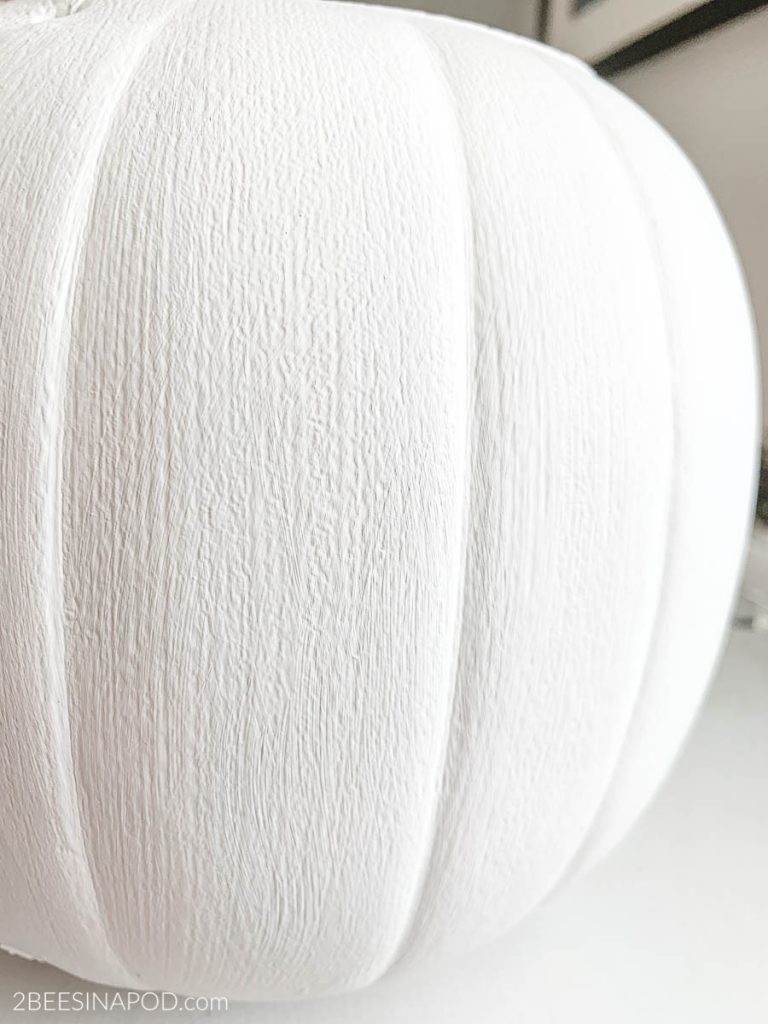
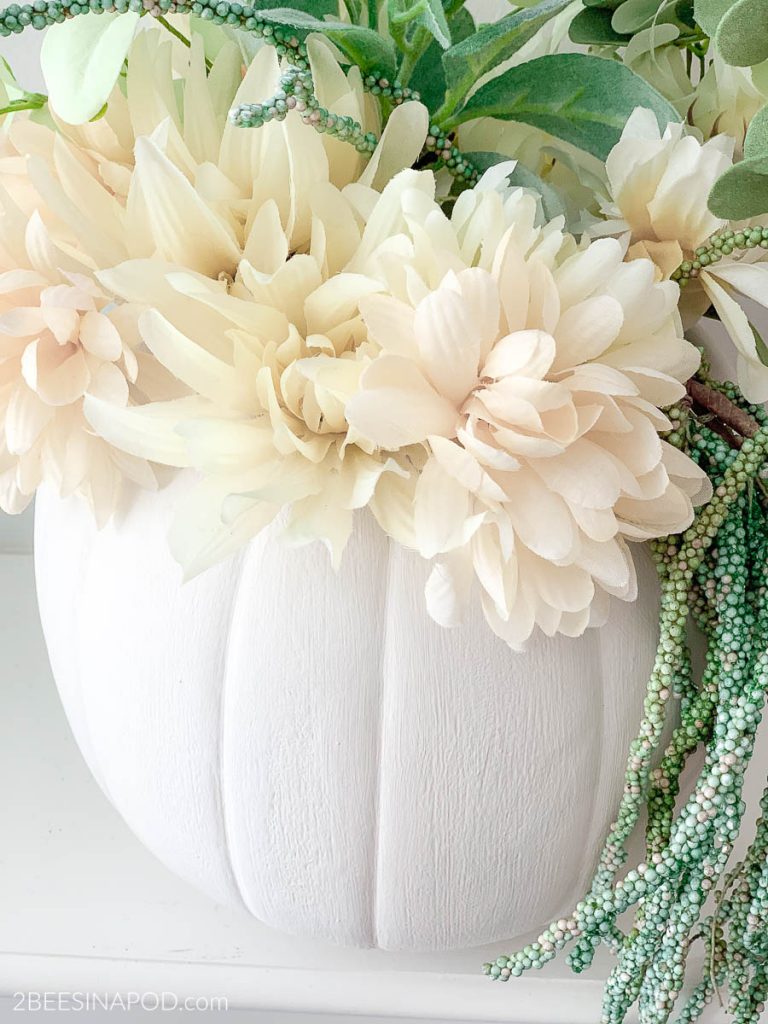
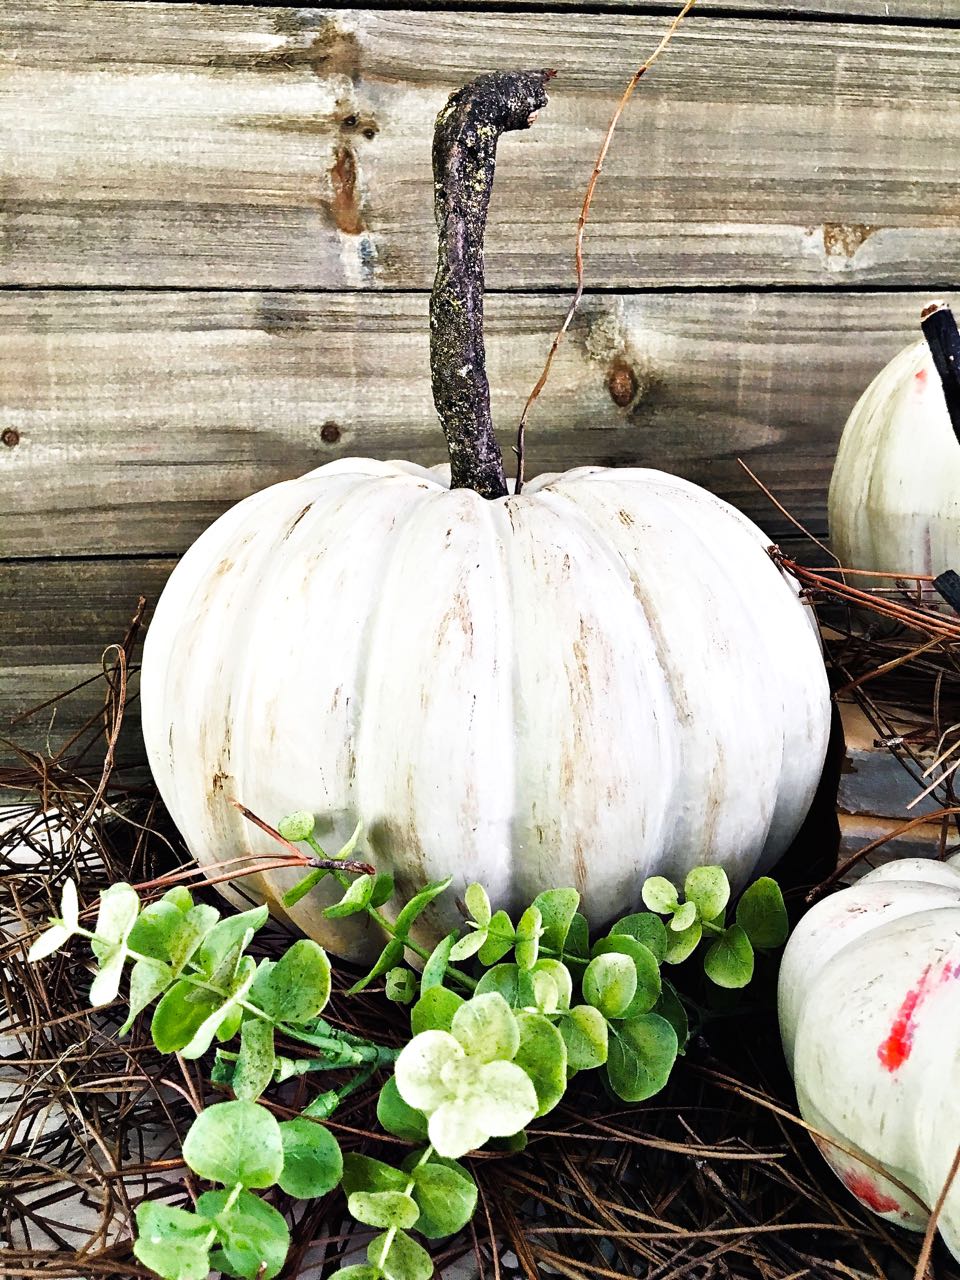
The craft paint covered well after two coats.
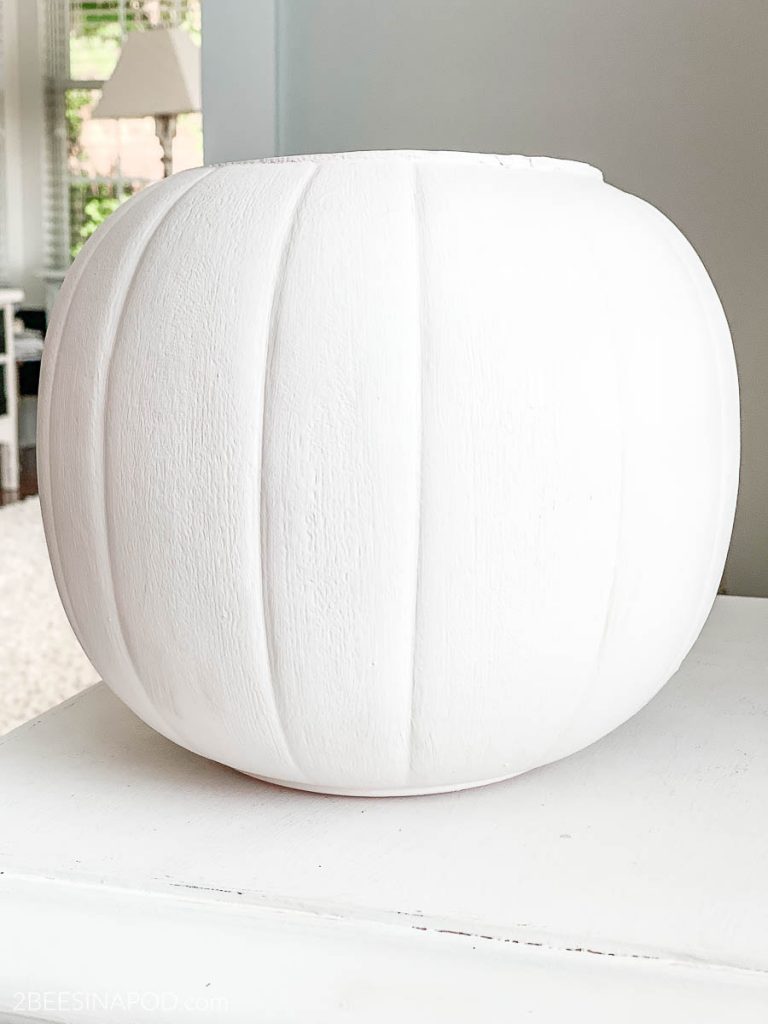
My plastic jack-o-lantern had a bit of texture which lends to an authentic look, after painting.
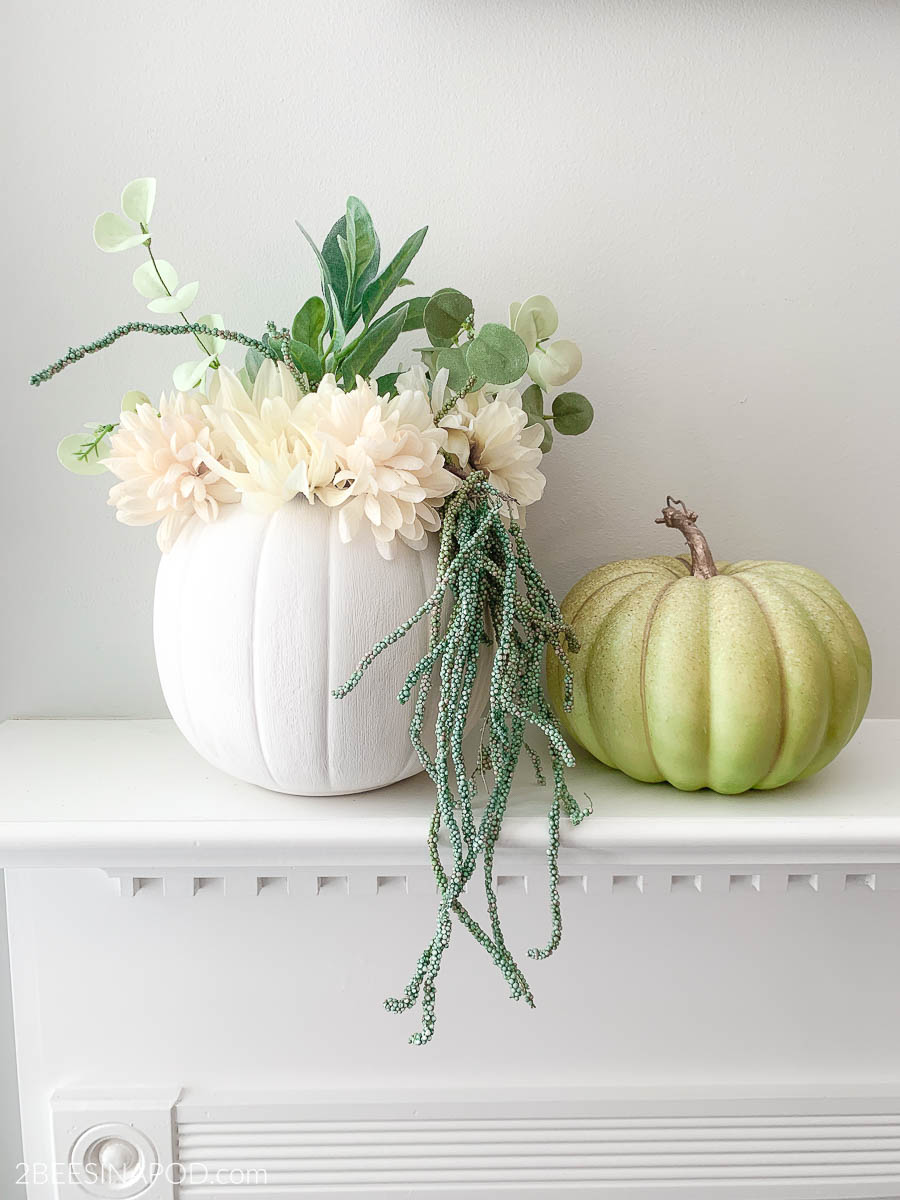
Again, using florals from my stash I created a casual and pretty arrangement.
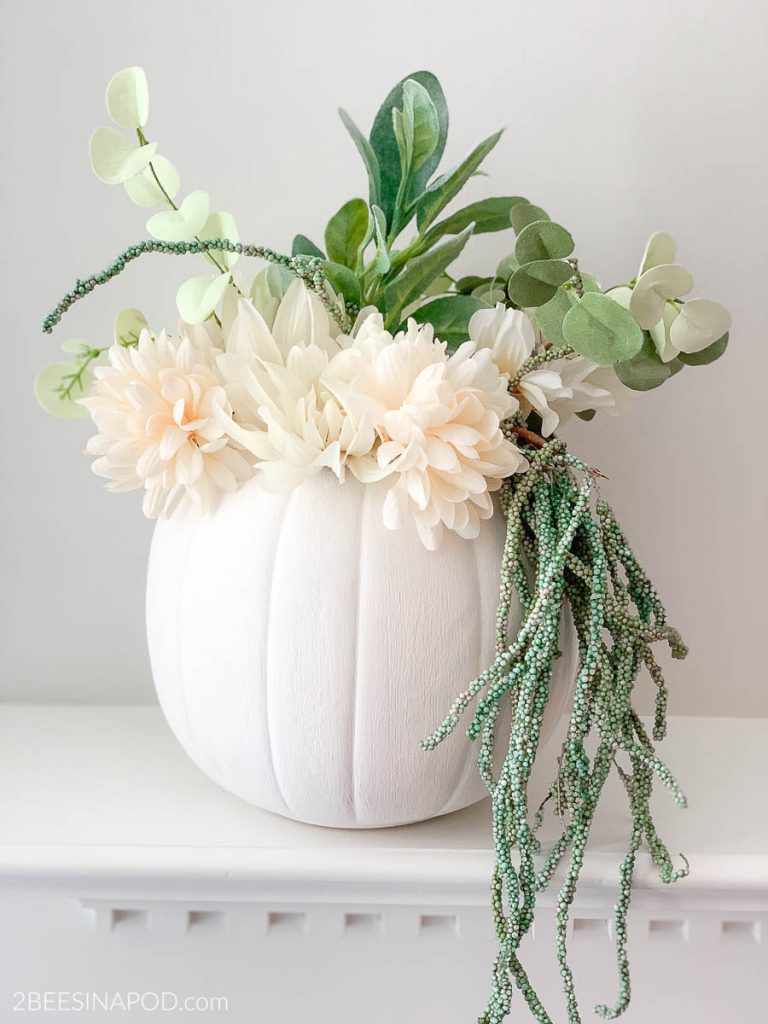
When creating an arrangement, it is best to cut the stems apart for a more authentic look.
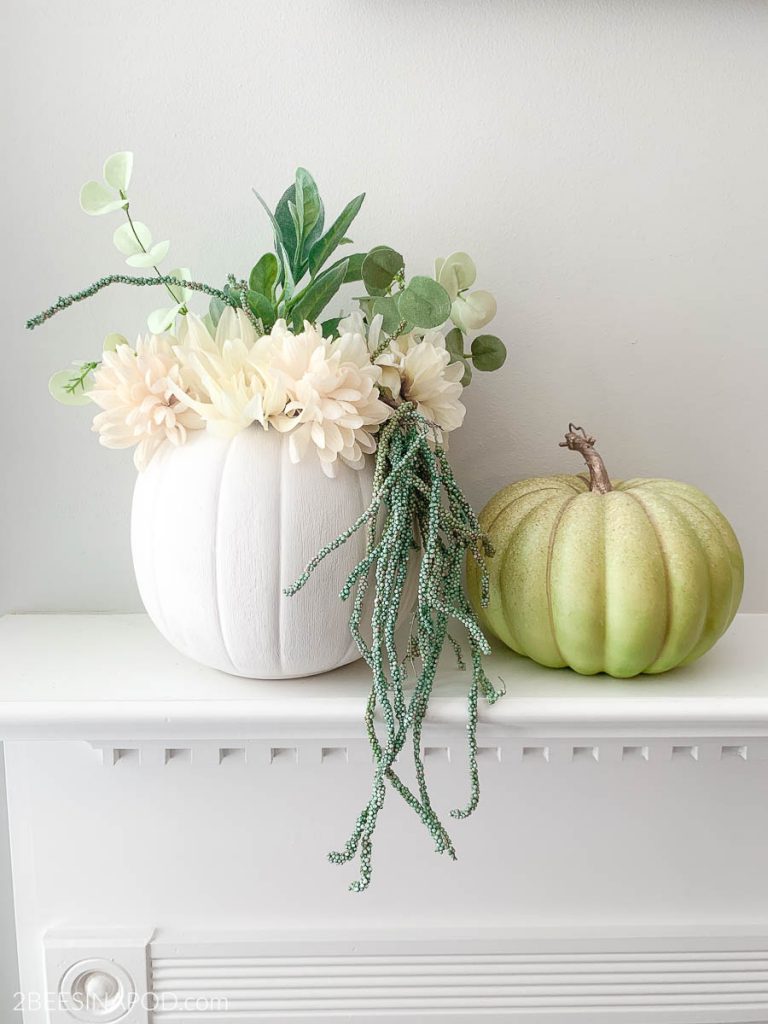
All of the florals and most of the greenery was scored at the Dollar Tree.
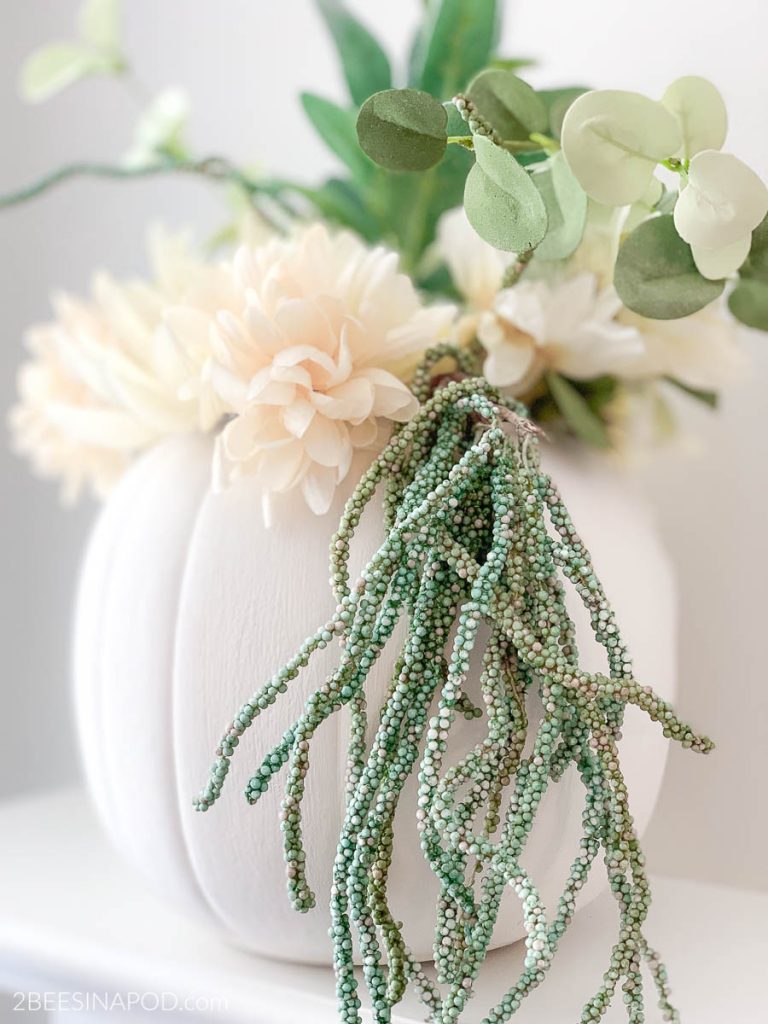
Does anyone know what this twisting vine thingy is called? I’ve been using it in many displays and arrangements for years. Take a look at my cozy and inviting fall porch last year.
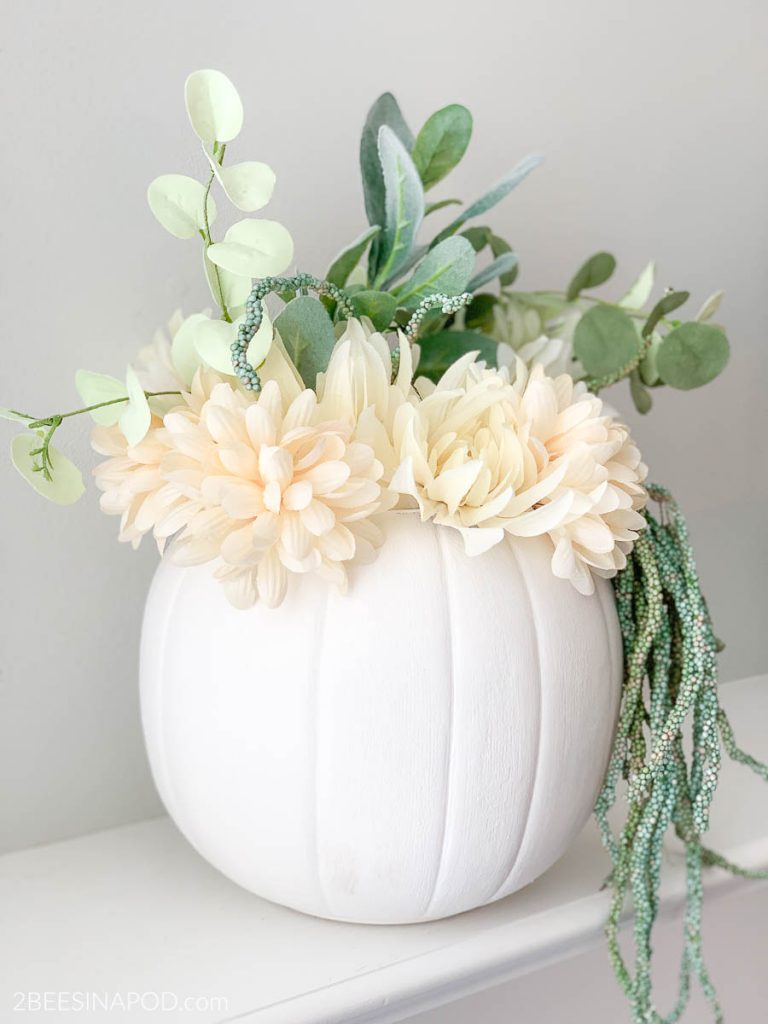
Creamy white silk flowers look soft and pretty with the greenery.
Next week I’ll be sharing my fall mantel decor. Stay tuned!
Now, lets see what the other Thrifty Designers have created this month! Just click the links below!
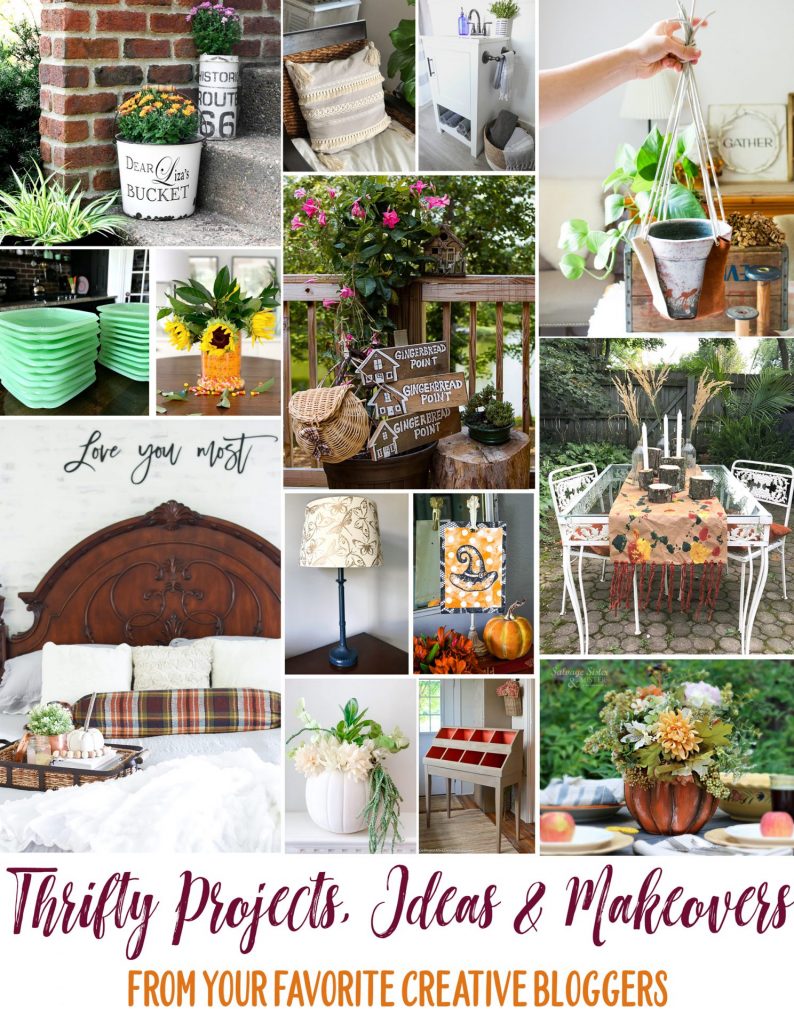
- OPERATION HOME PURGE…SAVE MONEY BUYING & SELLING ON FACEBOOK by Redhead Can Decorate
- FUN HALLOWEEN CANDY CENTERPIECE DIY by Chatfield Court
- VINTAGE ENAMEL BUCKET by Bliss Ranch
- COZY FALL BEDROOM DECOR IDEAS by DIY Beautify
- UPCYCLED DETERGENT POD CONTAINER PUMPKIN CENTERPIECE by Salvage Sister and Mister
- THRIFTY BOHO STYLE PILLOW TUTORIAL by What Meegan Makes
- 5 WAYS TO UPGRADE A BATHROOM ON A BUDGET by The Creekline House
- DIY LAKE HOUSE DIRECTIONAL ROAD SIGN ON SCRAP CEDAR by Unskinny Boppy
- EASY DIY LEATHER PLANT HANGER by The How-To Home
- COUNTRY COTTAGE CUBBY MAKEOVER by Cottage at the Crossroads
- TURN A SUMMER WREATH INTO A FALL ARRANGEMENT by Duke Manor Farm
- VINTAGE HALLOWEEN PRINTABLES by I Should Be Mopping the Floor
- PAINTED PLASTIC JACK-O-LANTERN MAKEOVER by 2 Bees in a Pod
- EASY KRAFT PAPER AND PAINT TABLERUNNER by Jennifer Rizzo
- THRIFT STORE LAMP UPDATE by The DIY Village
Don’t forget to Pin this to your favorite Pinterest Board!

Wow! So simple and SO lovely!! This looks fantastic! I love the transformation! (I’m obviously headed out to buy 10 to paint and put all around my house now, lol!) Thanks for sharing such a great idea! It’s great getting to link up with you and the others on the Thrifty Style Team! xoxo
Wow, I just LOVE this update! I had no idea those pumpkin buckets had so much texture! It looks just amazing painted that creamy white! Btw, I have those tendril thingys too…no idea what they’re actually called! 😉
Great transformation! I have several of these floating in my fall boxes in the basement. Now I know what I can do with them. Thanks for the idea, and the tutorial!
This is such a pretty display and I never would have guessed that it started out as one of those little orange plastic pumpkins. So creative!
Yep, this is awesome! Super chic for a .10 cent plastic pumpkin!
You ladies are so talented. I love the simple look and makeover of your Halloween pumpkin. The floral styling is perfection.
This doesn’t even look like the same pumpkin, you guys, that is so crazy! I love the way you layered in all the flowers. It’s all so pretty and I love how versatile it is too. Great job! Hugs, CoCo