How to Make A Fall Centerpiece Using a Crate
Please note that this post contains affiliate links. As an Amazon Associate, Rewards Style influencer and Jane Influencer, we earn from qualifying purchases and any sales made through such links will reward us a small commission – at no extra cost for you.
Adding seasonal decor to your home should be easy and budget friendly. Here’s how to make a fall centerpiece using a crate.
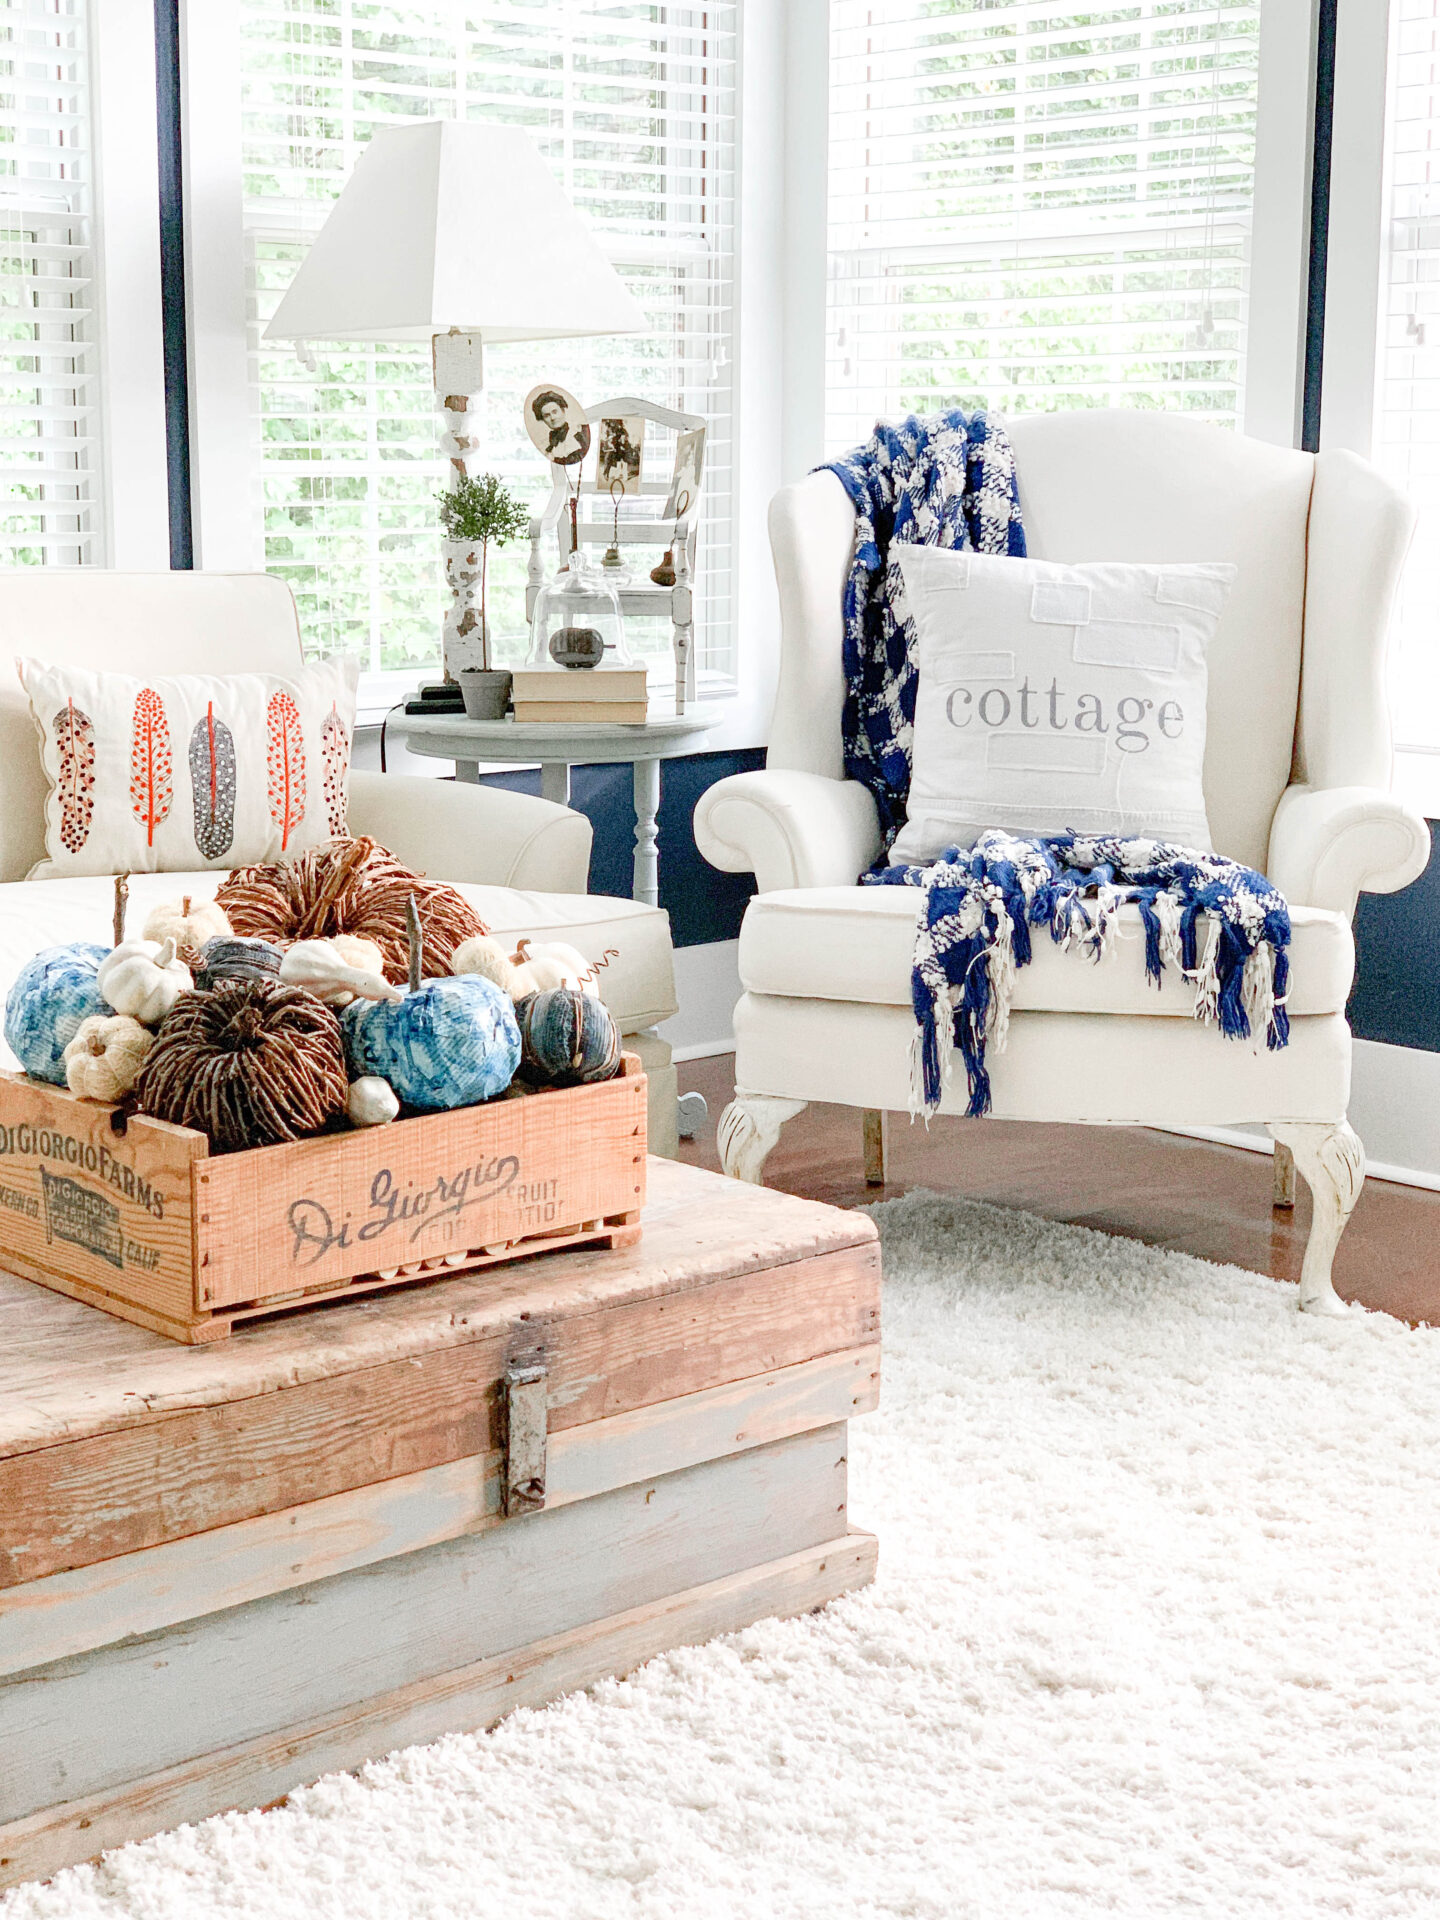
We had a lot of interest in the decor in my fall living room. The coffee table is what you were most interested in. I thought that I would create this post showing the step-by-step of how to make a fall centerpiece using a crate.
Choose your base
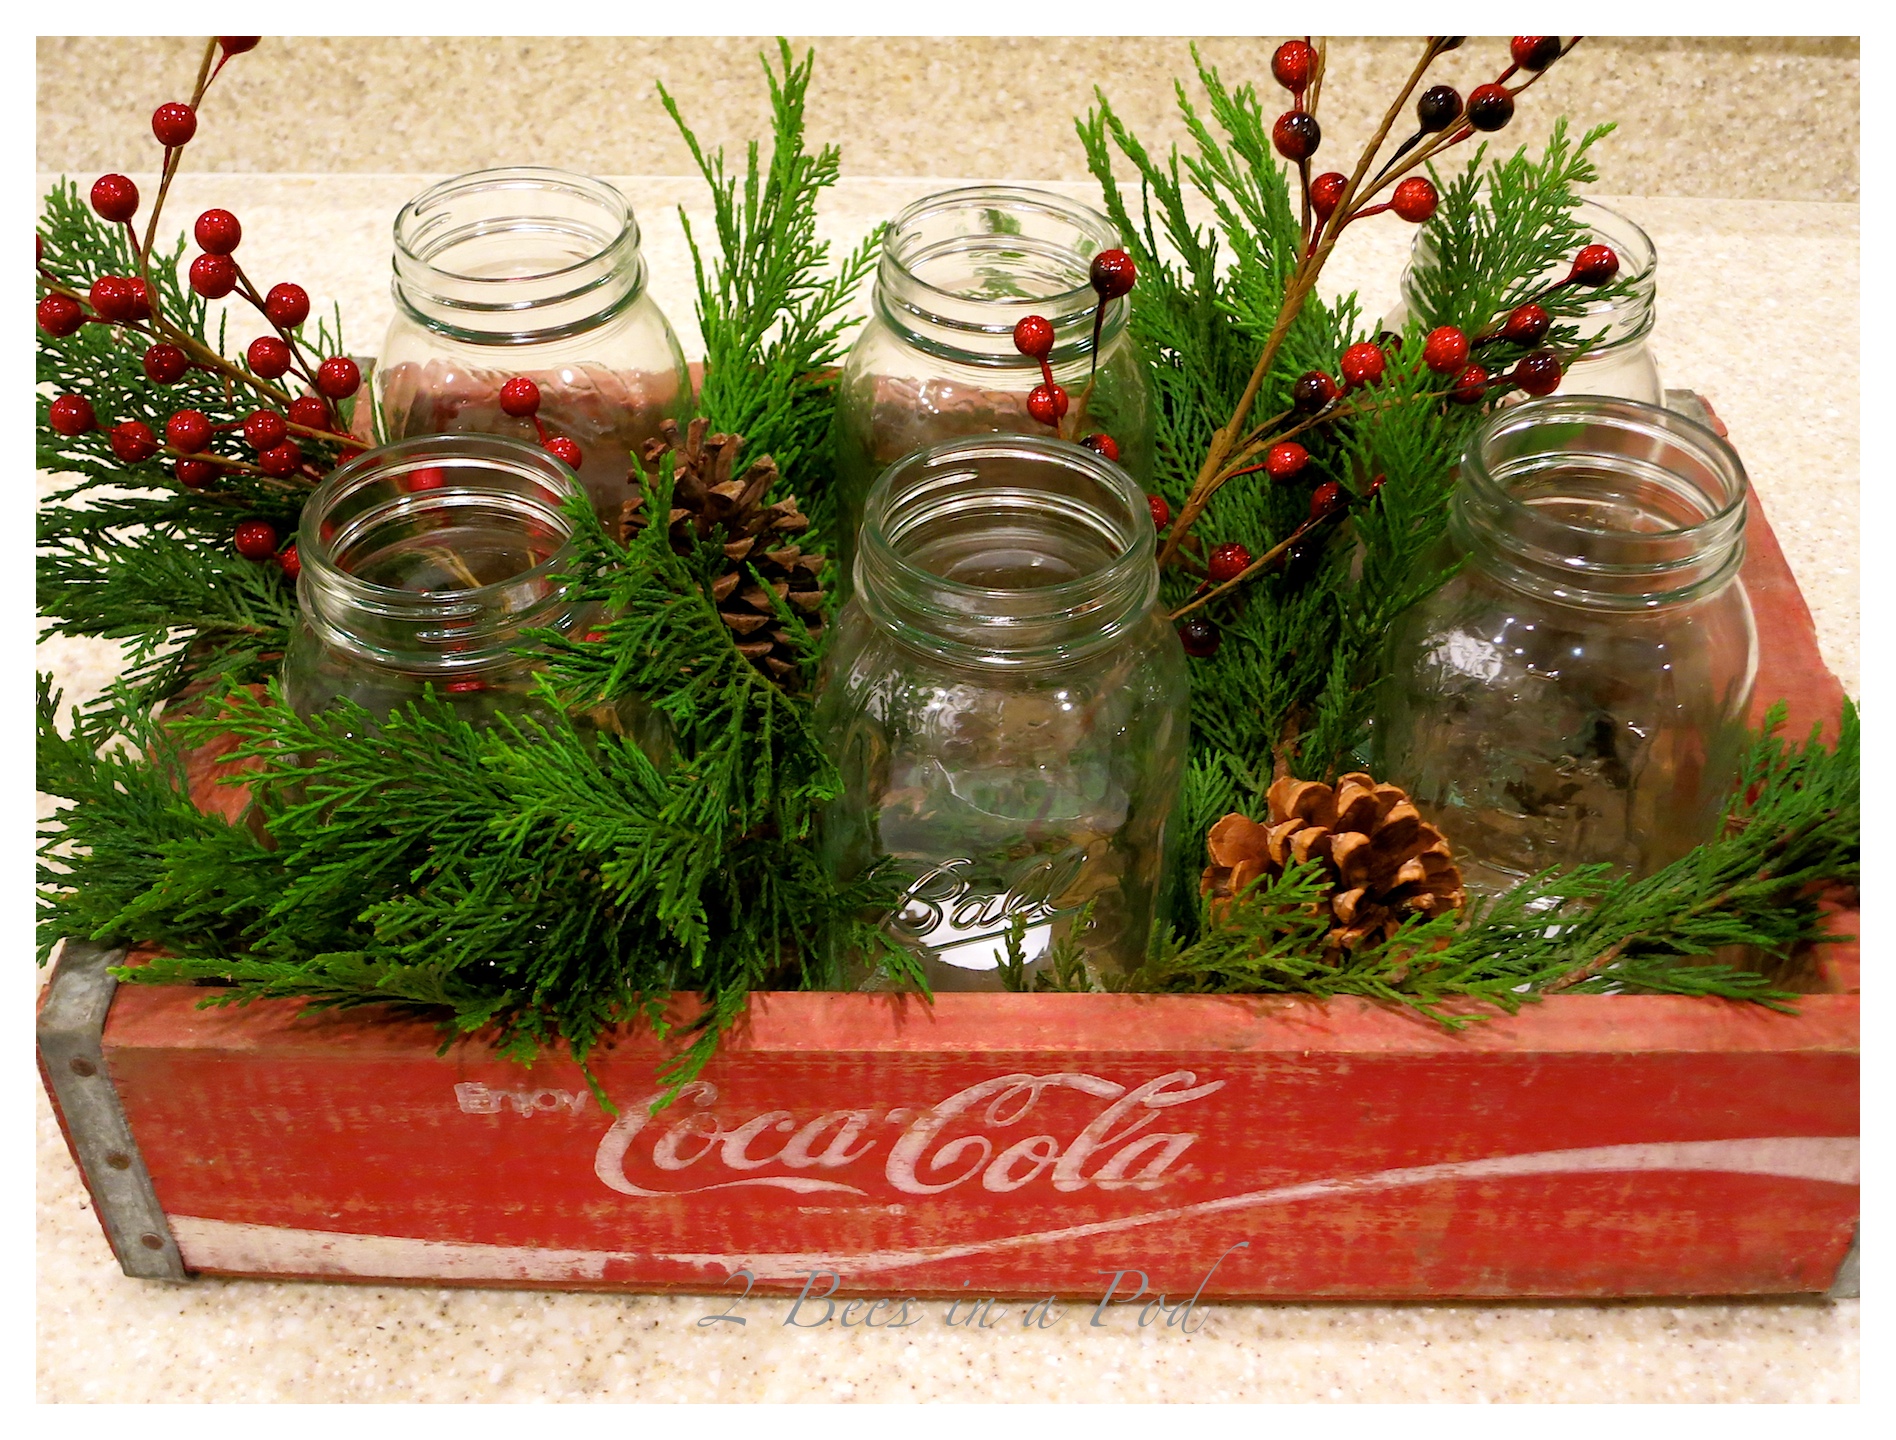
The base for a fall centerpiece can be a wooden crate, large tray, tulip box or any other type of box.
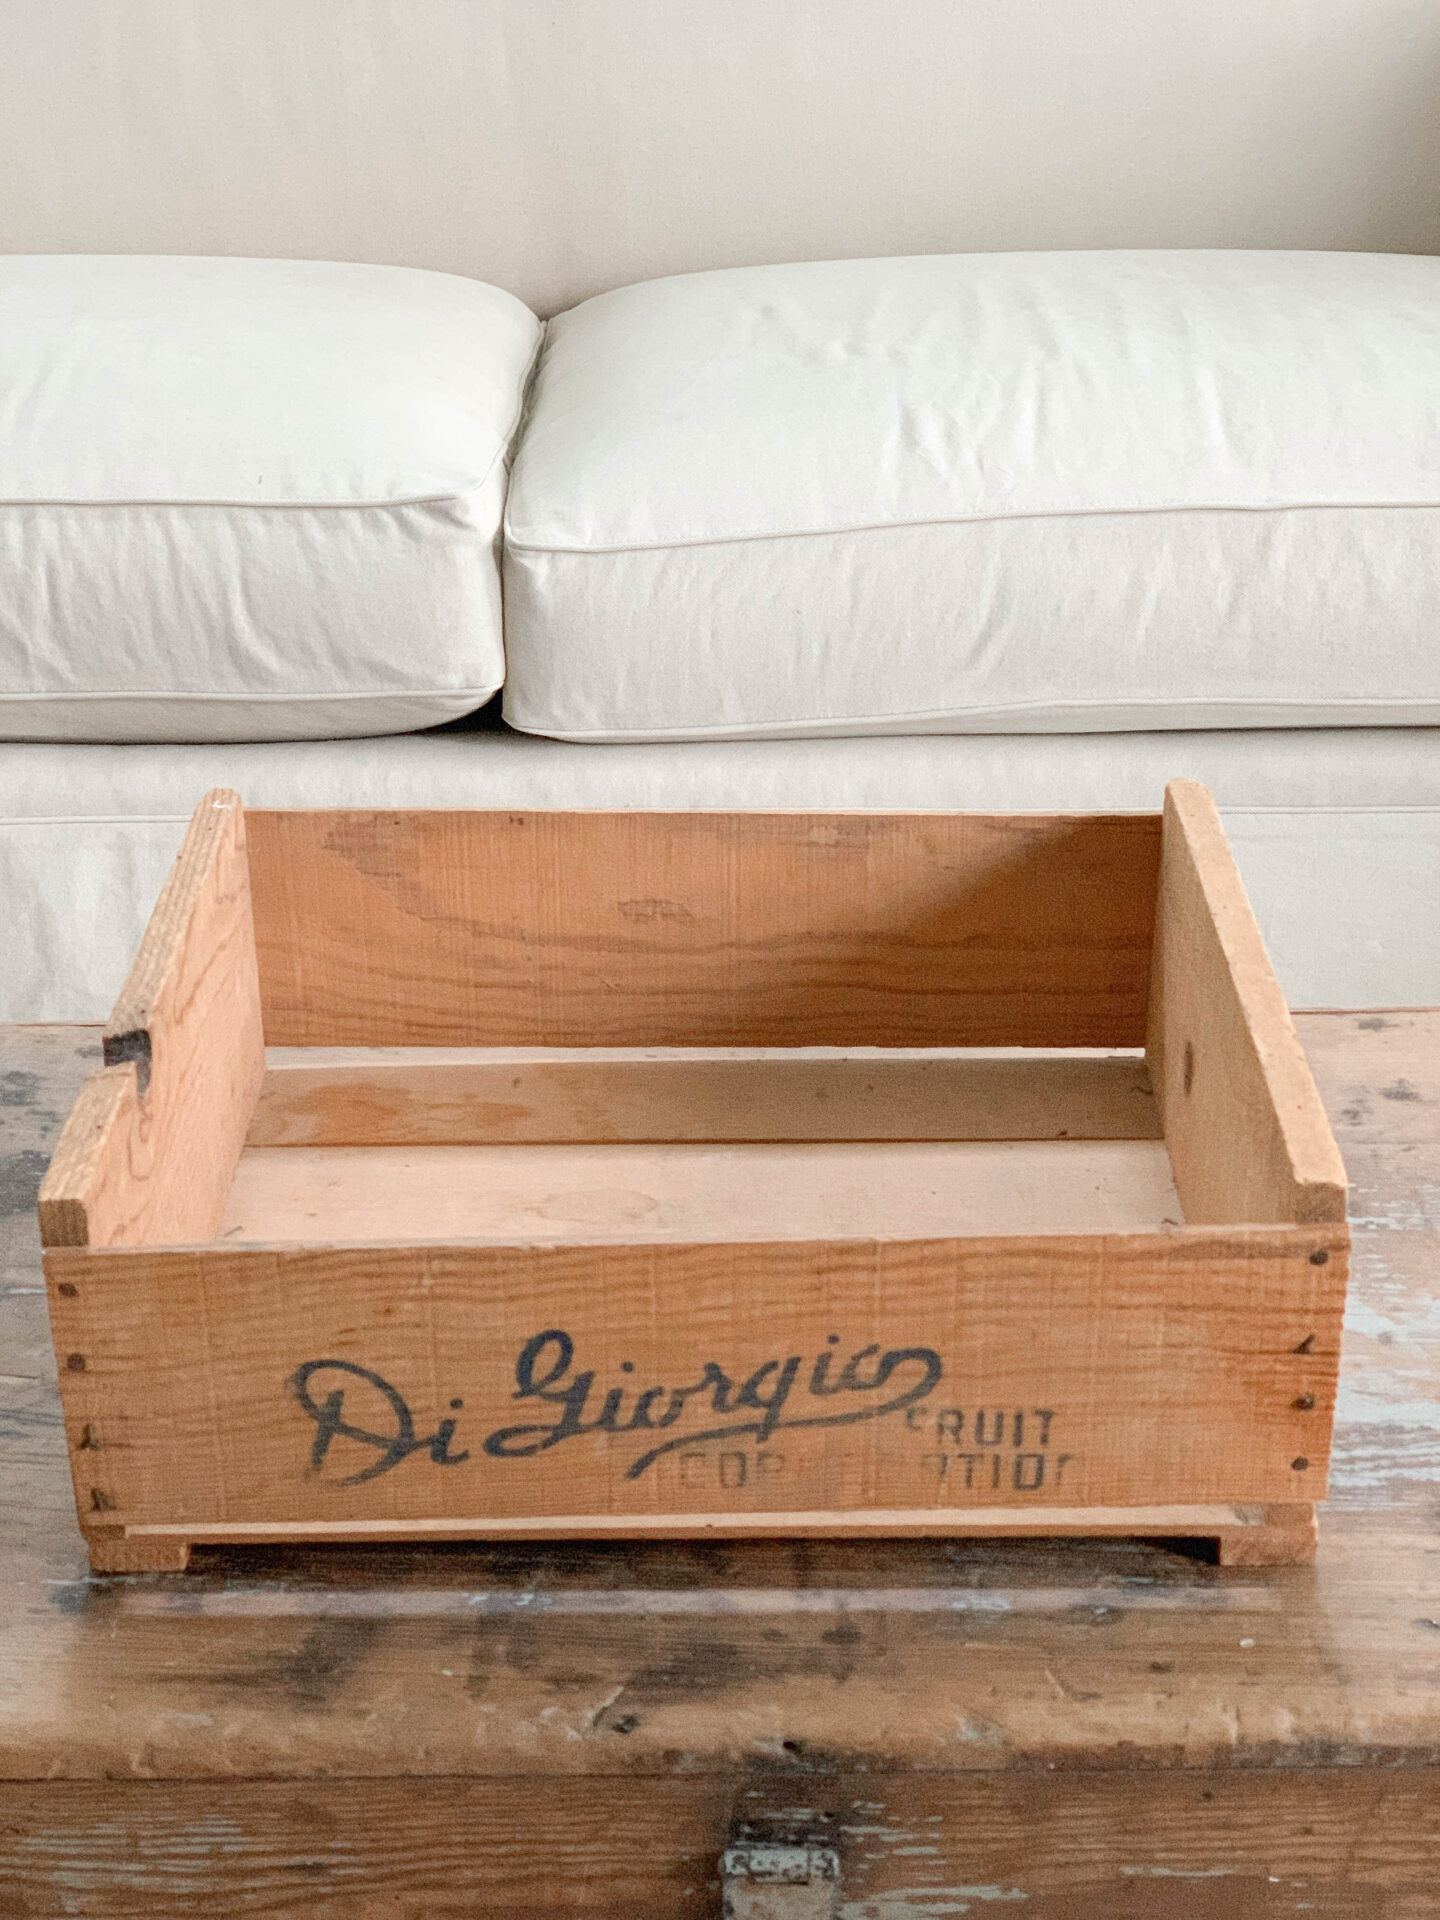
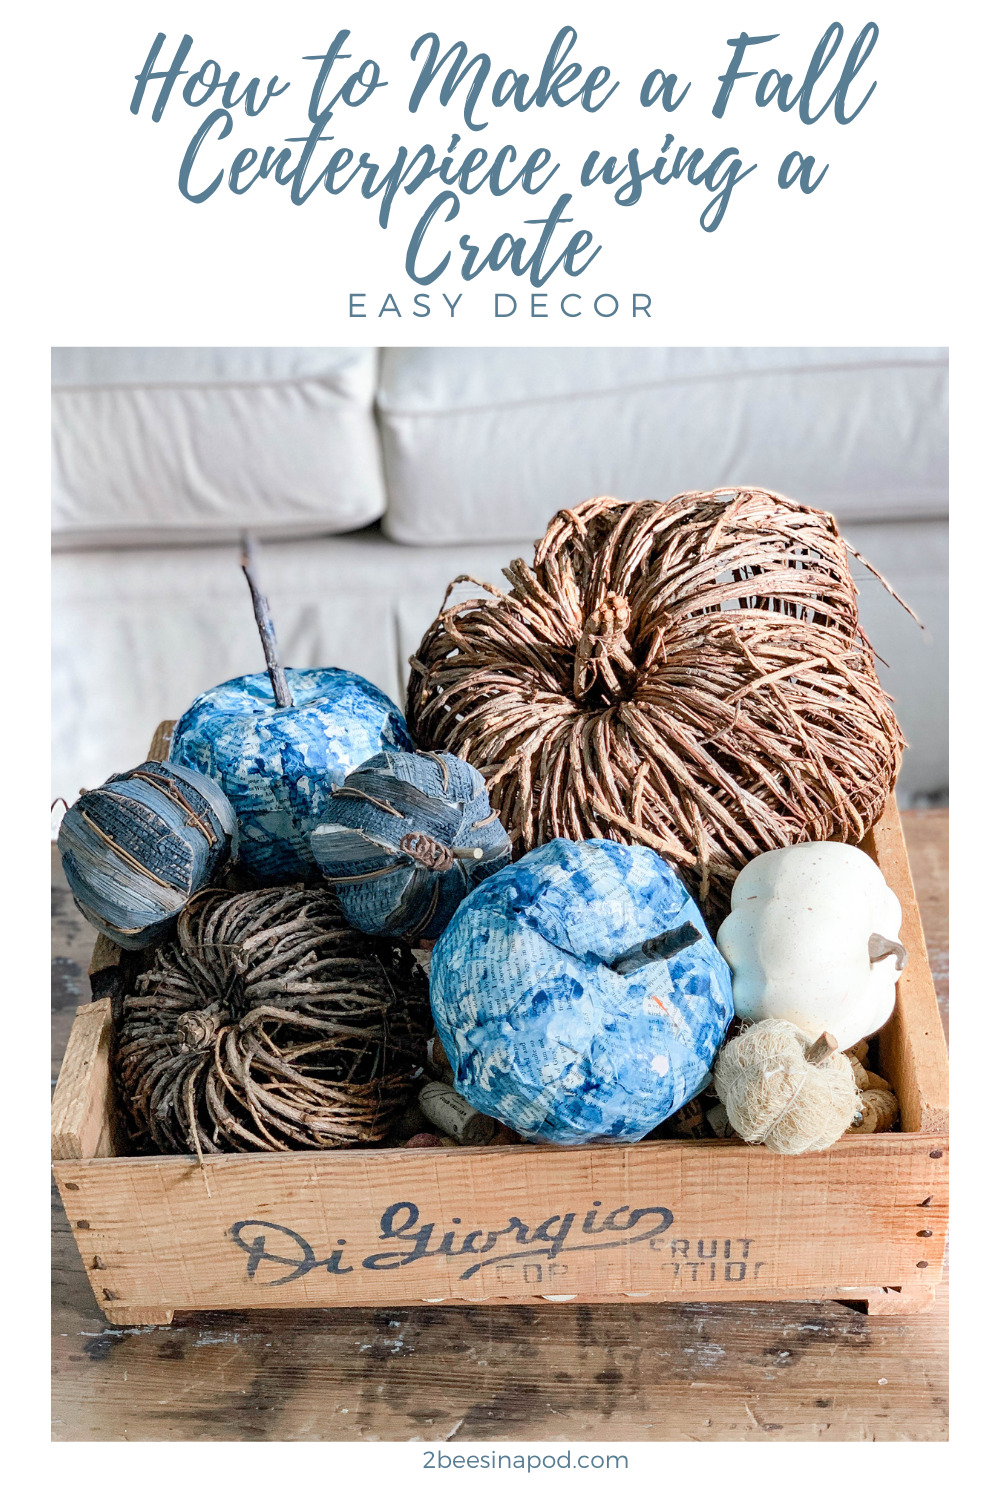
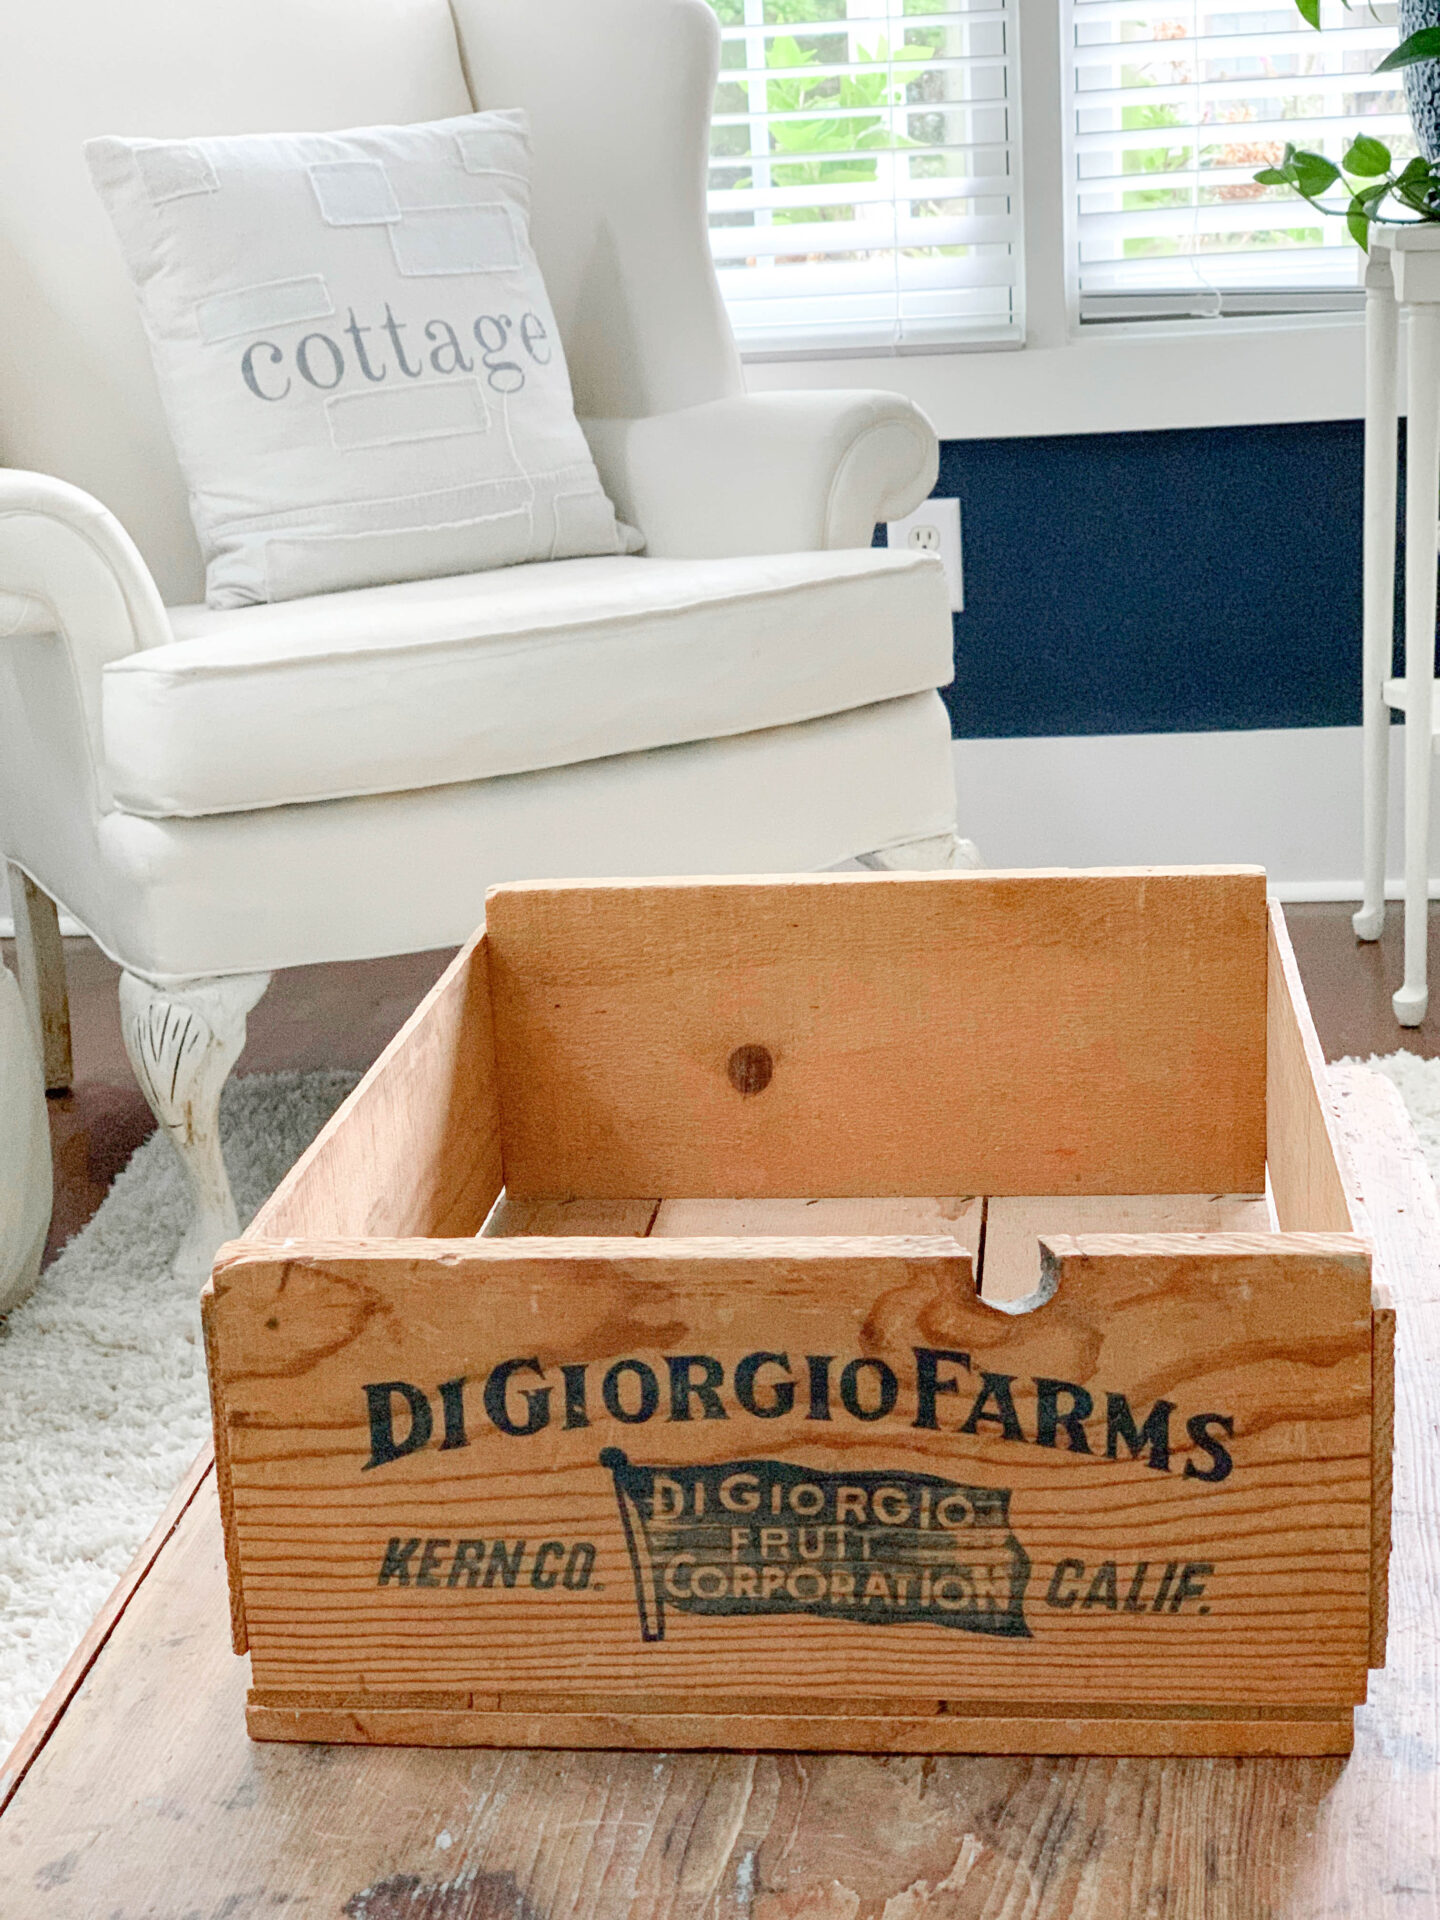
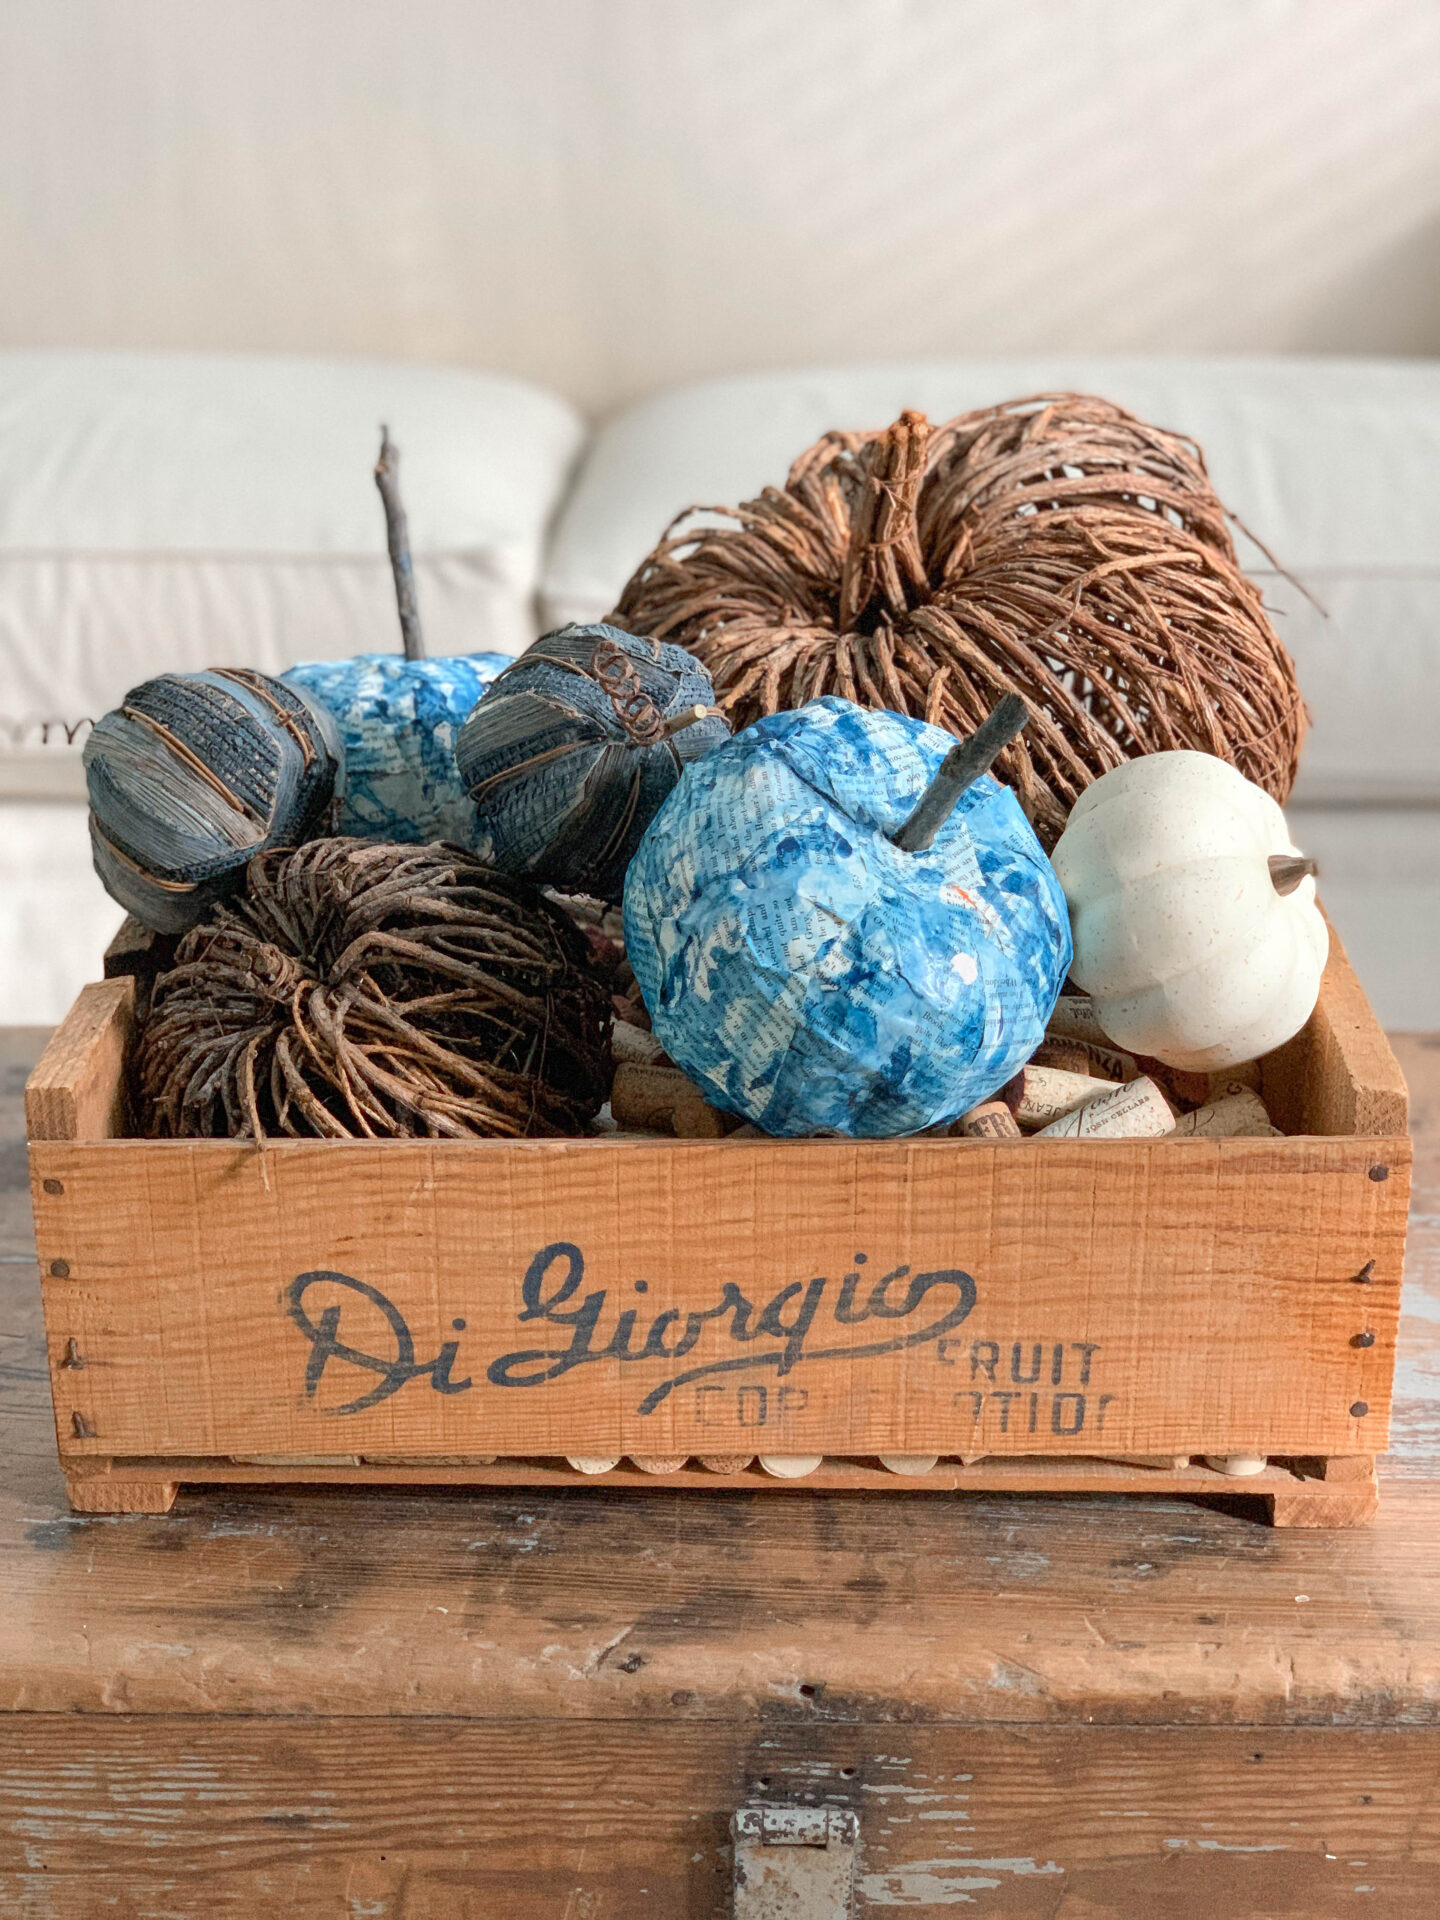
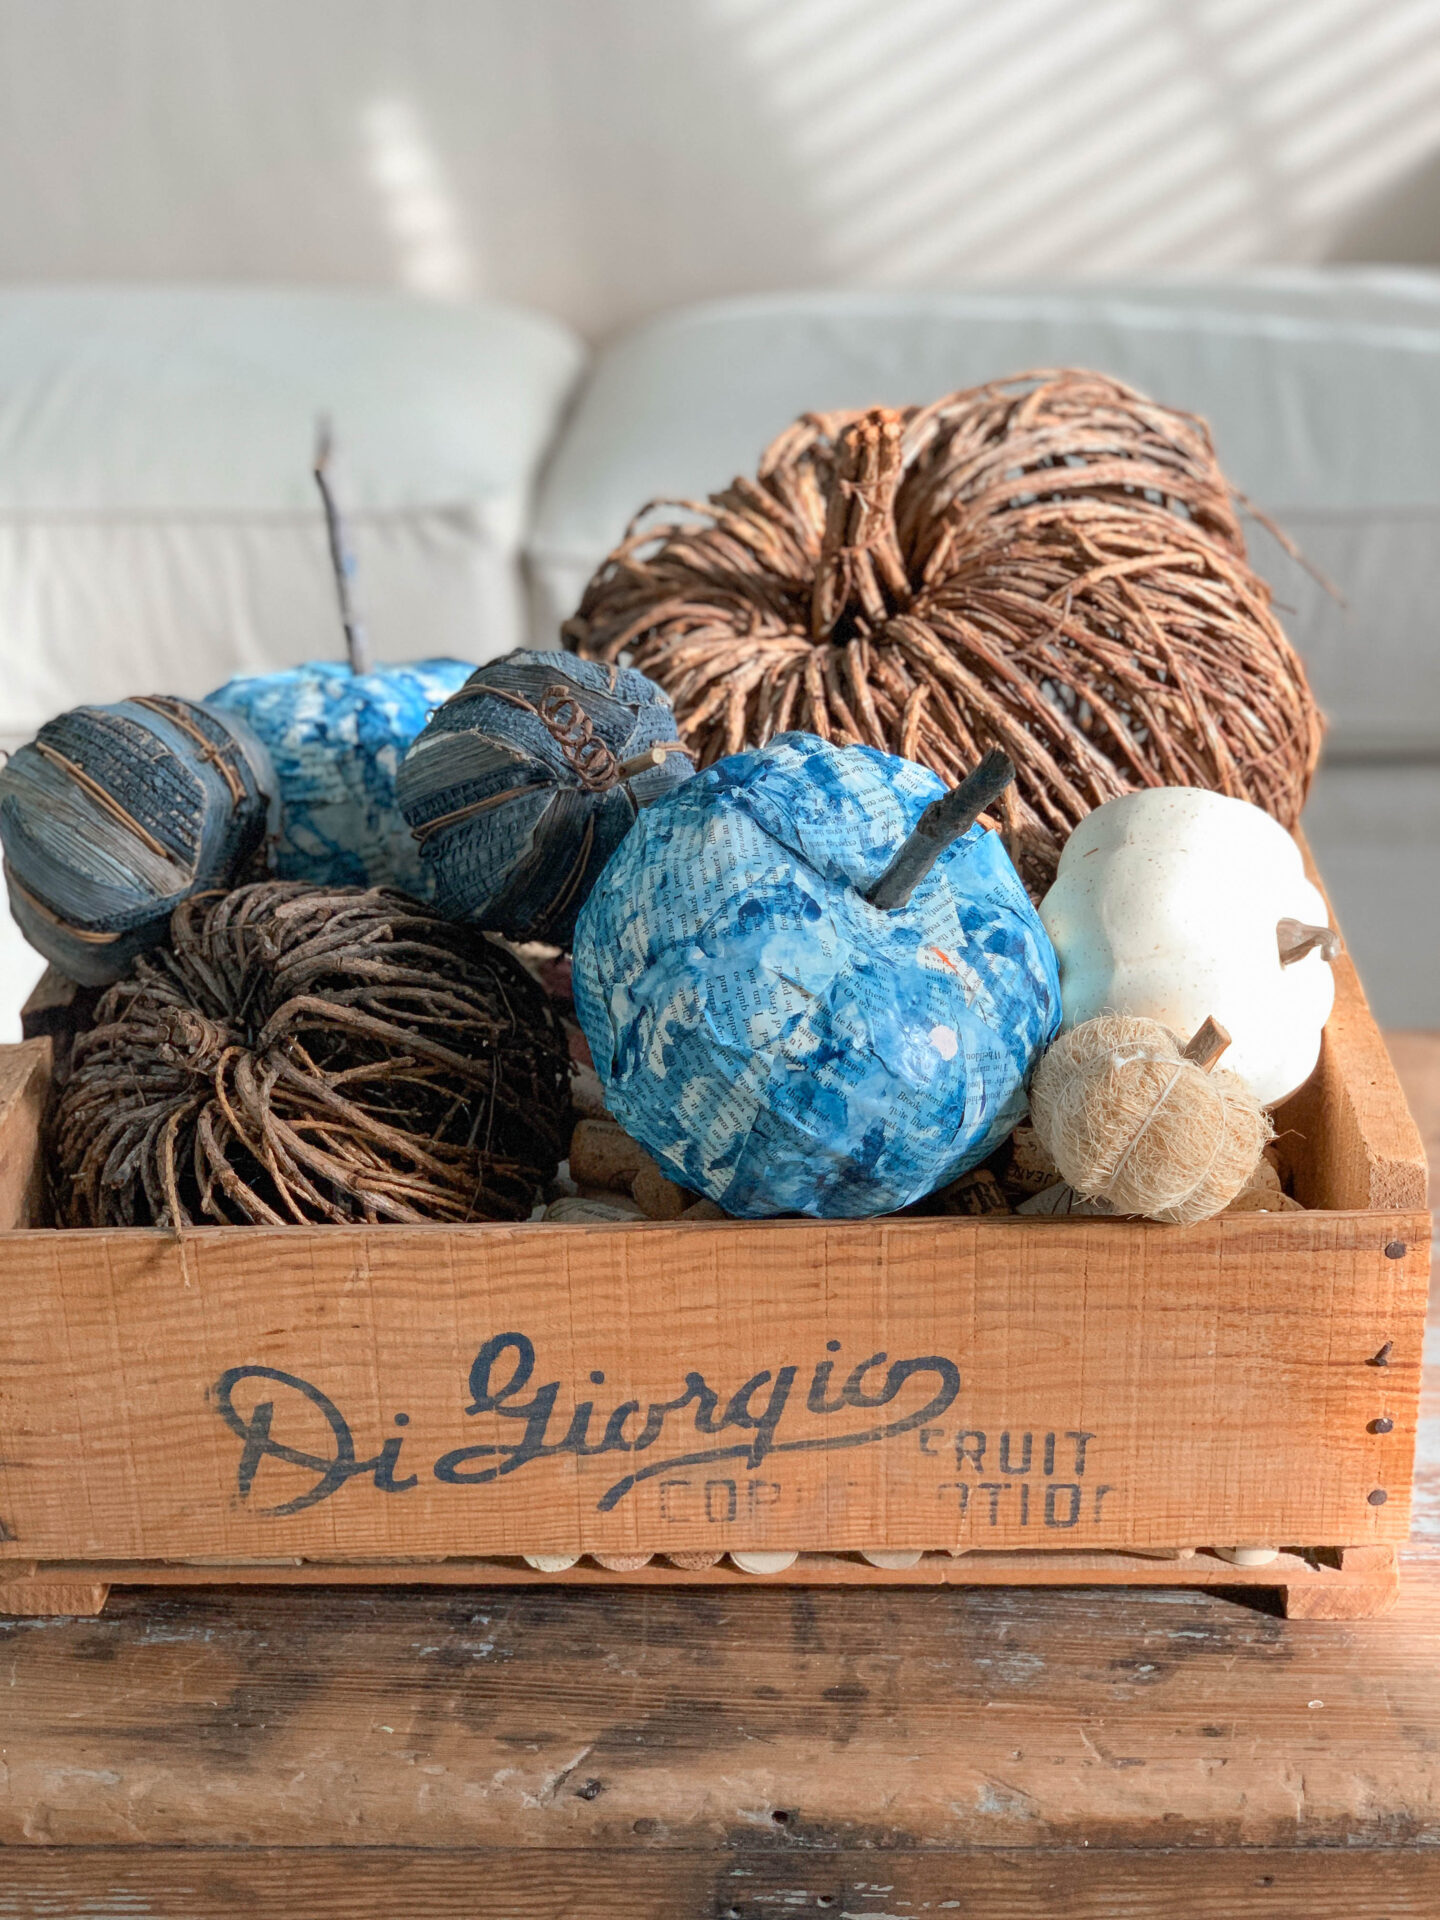
For my decor, I chose this vintage fruit crate. The blue graphics are perfect for the living room. And the depth of the crate offers a higher display.
Add some filler
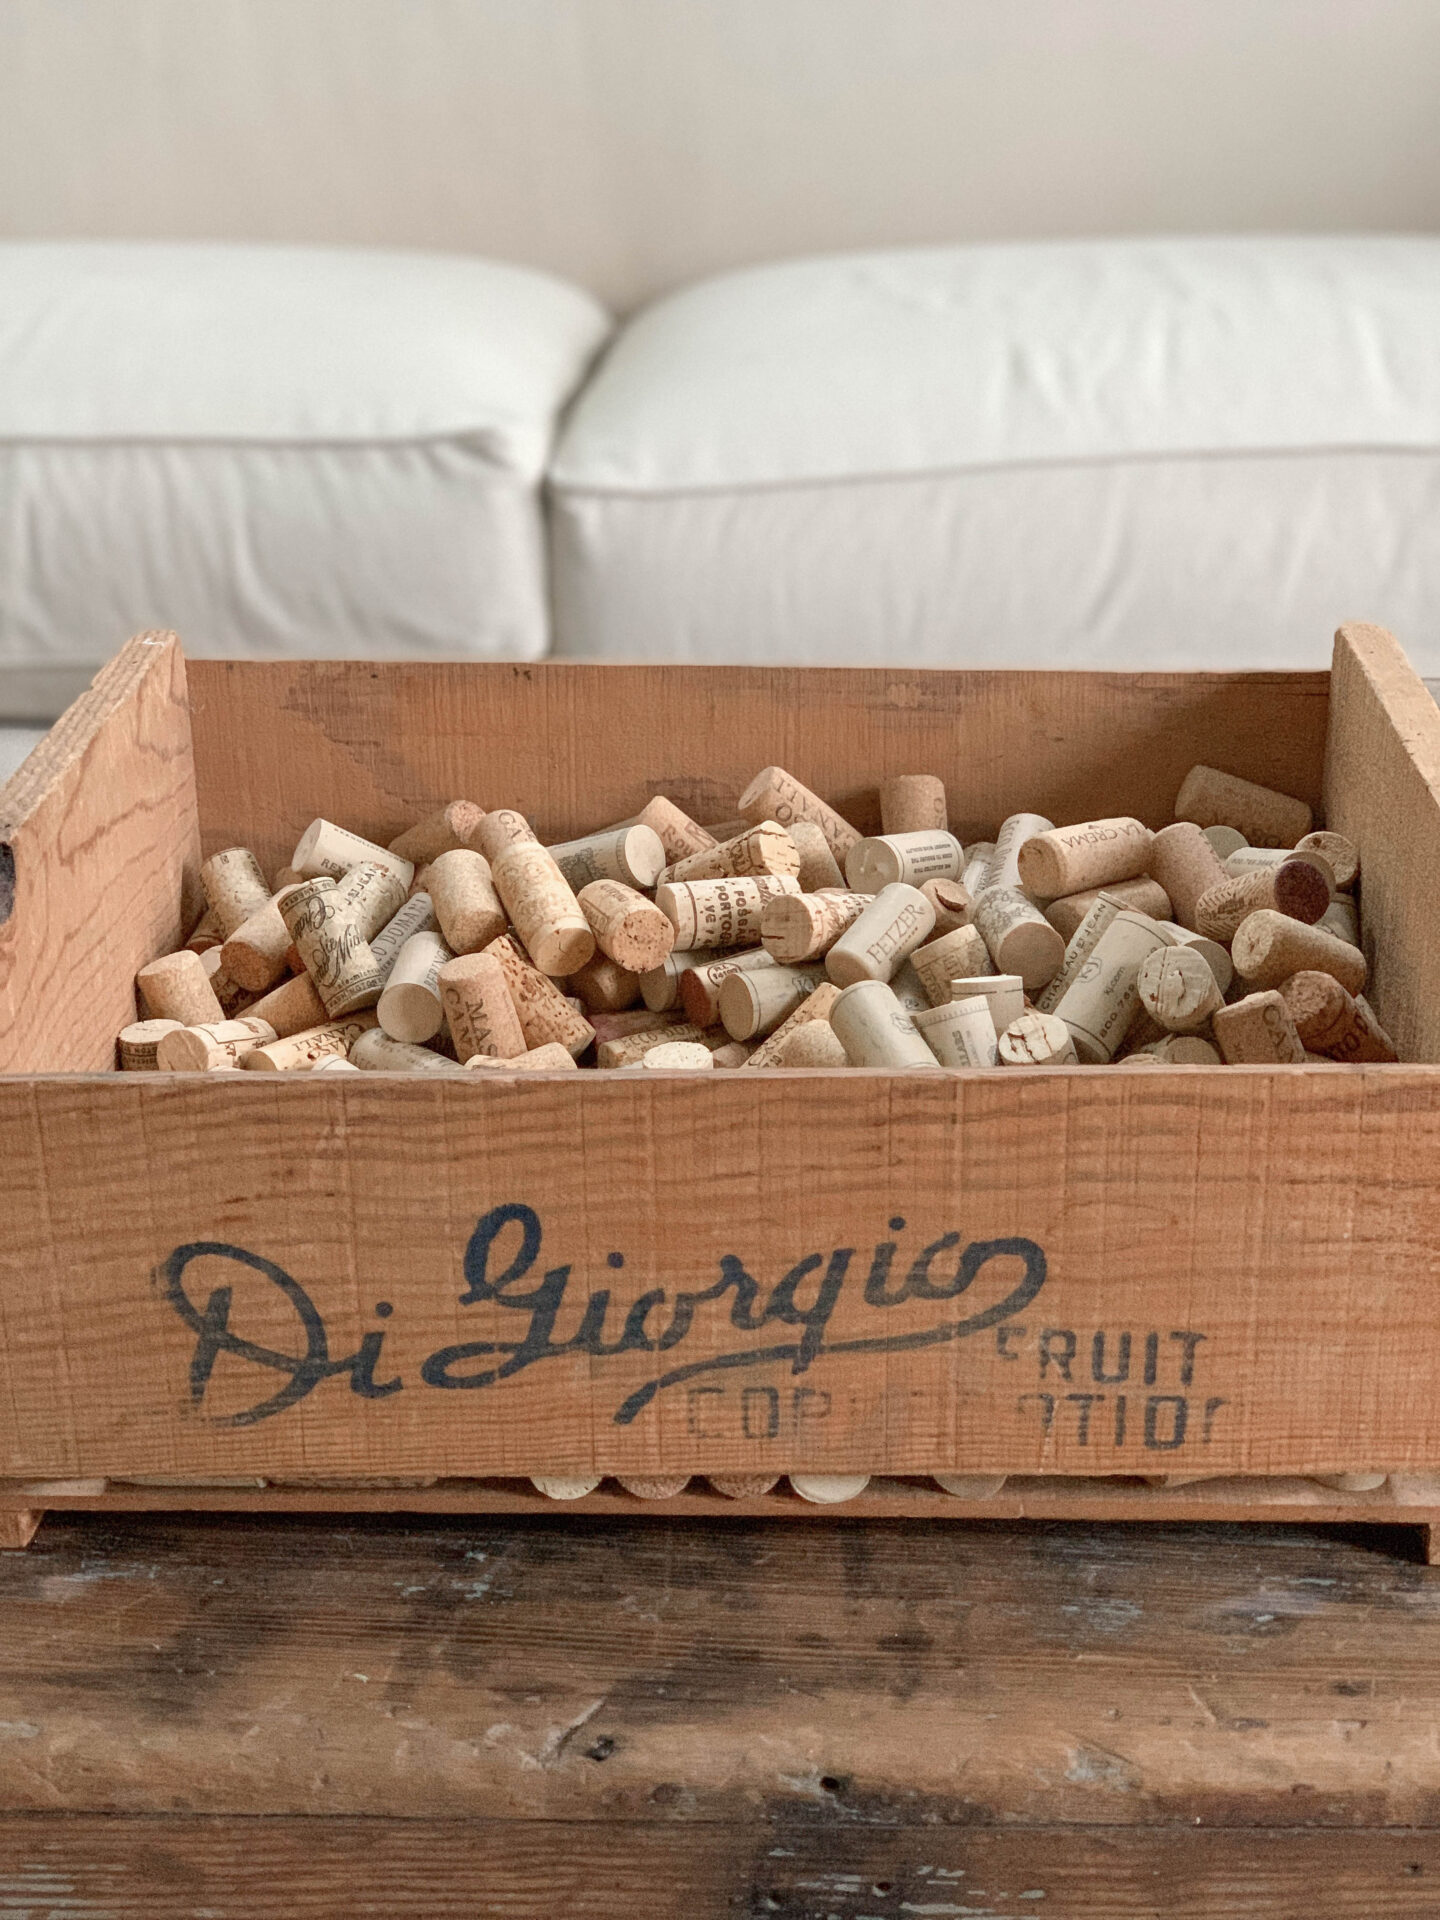
I had a vision of the crate being filled to overflowing with fall pumpkins.

The deep depth of the crate would have taken a lot of gourds and pumpkins to fill it. I didn’t want to waste any of my fall decor for the bottom of the crate, as none of it would be seen. To solve this issue, and to create some height, I added a bunch of wine corks.
You could add scrunched up paper, plastic grocery bags or even a bunch of pinecones.
Gather your decor
Then gather up the fall items that you think you will use. Be sure to have extra handy. This is one case where more is better. LOL
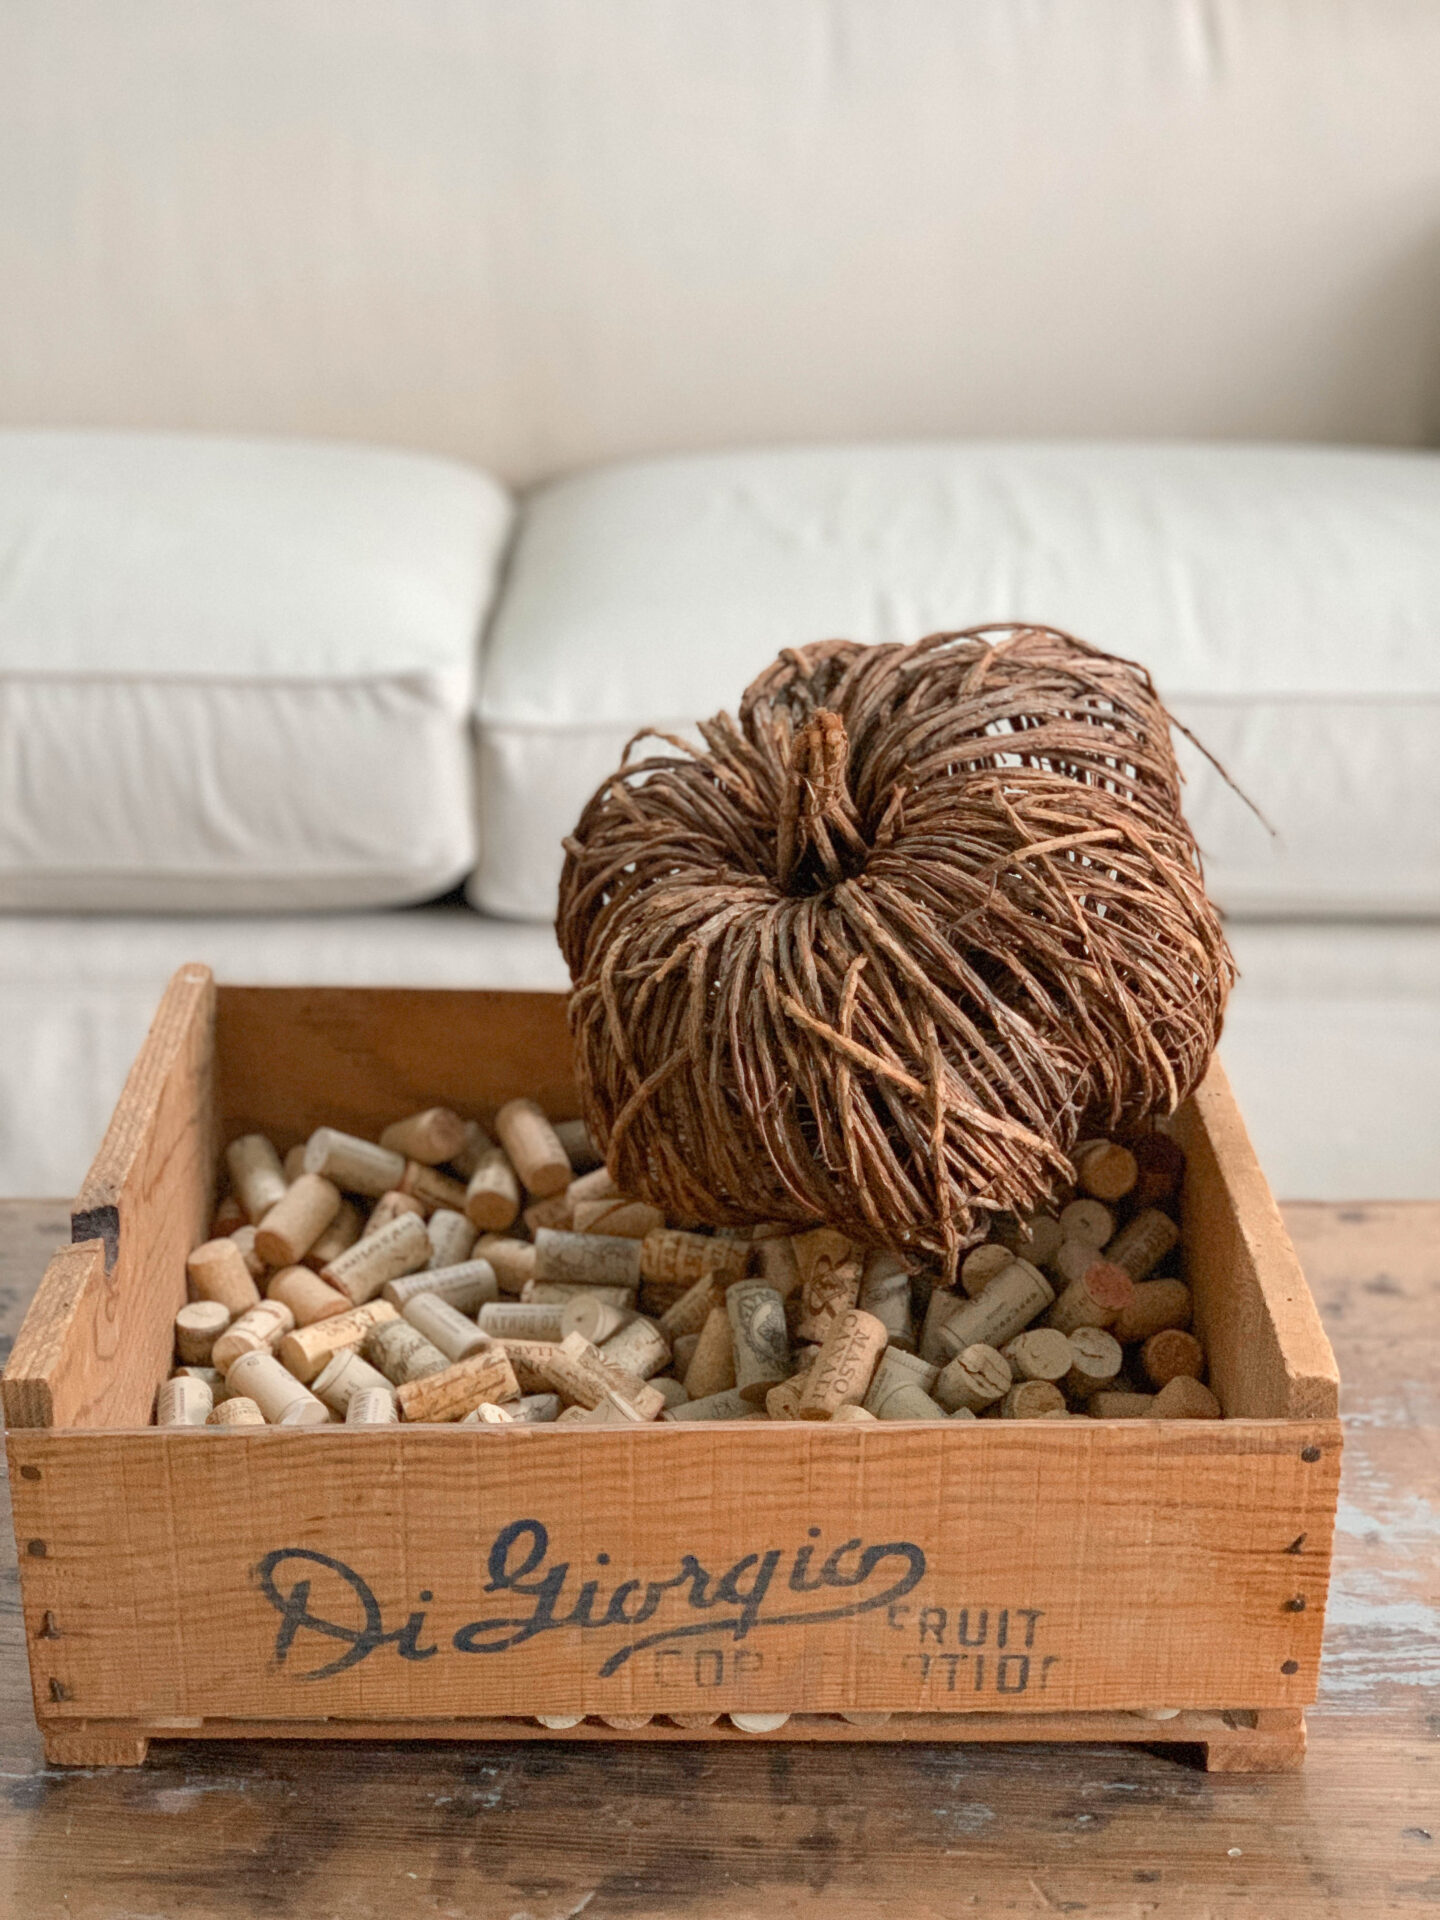
Start layering
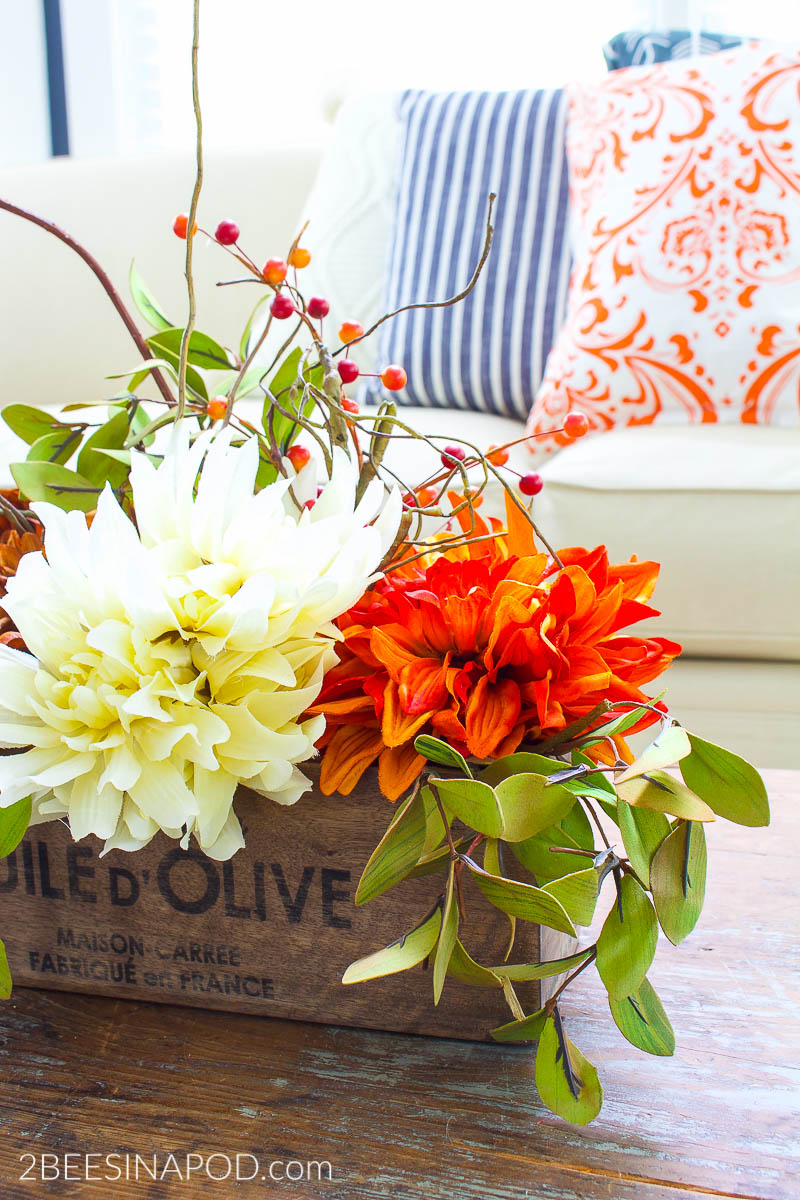
First, begin with the largest pieces. I added an extra-large wicker pumpkin.
Then follow with the second largest item and continue on with this pattern.
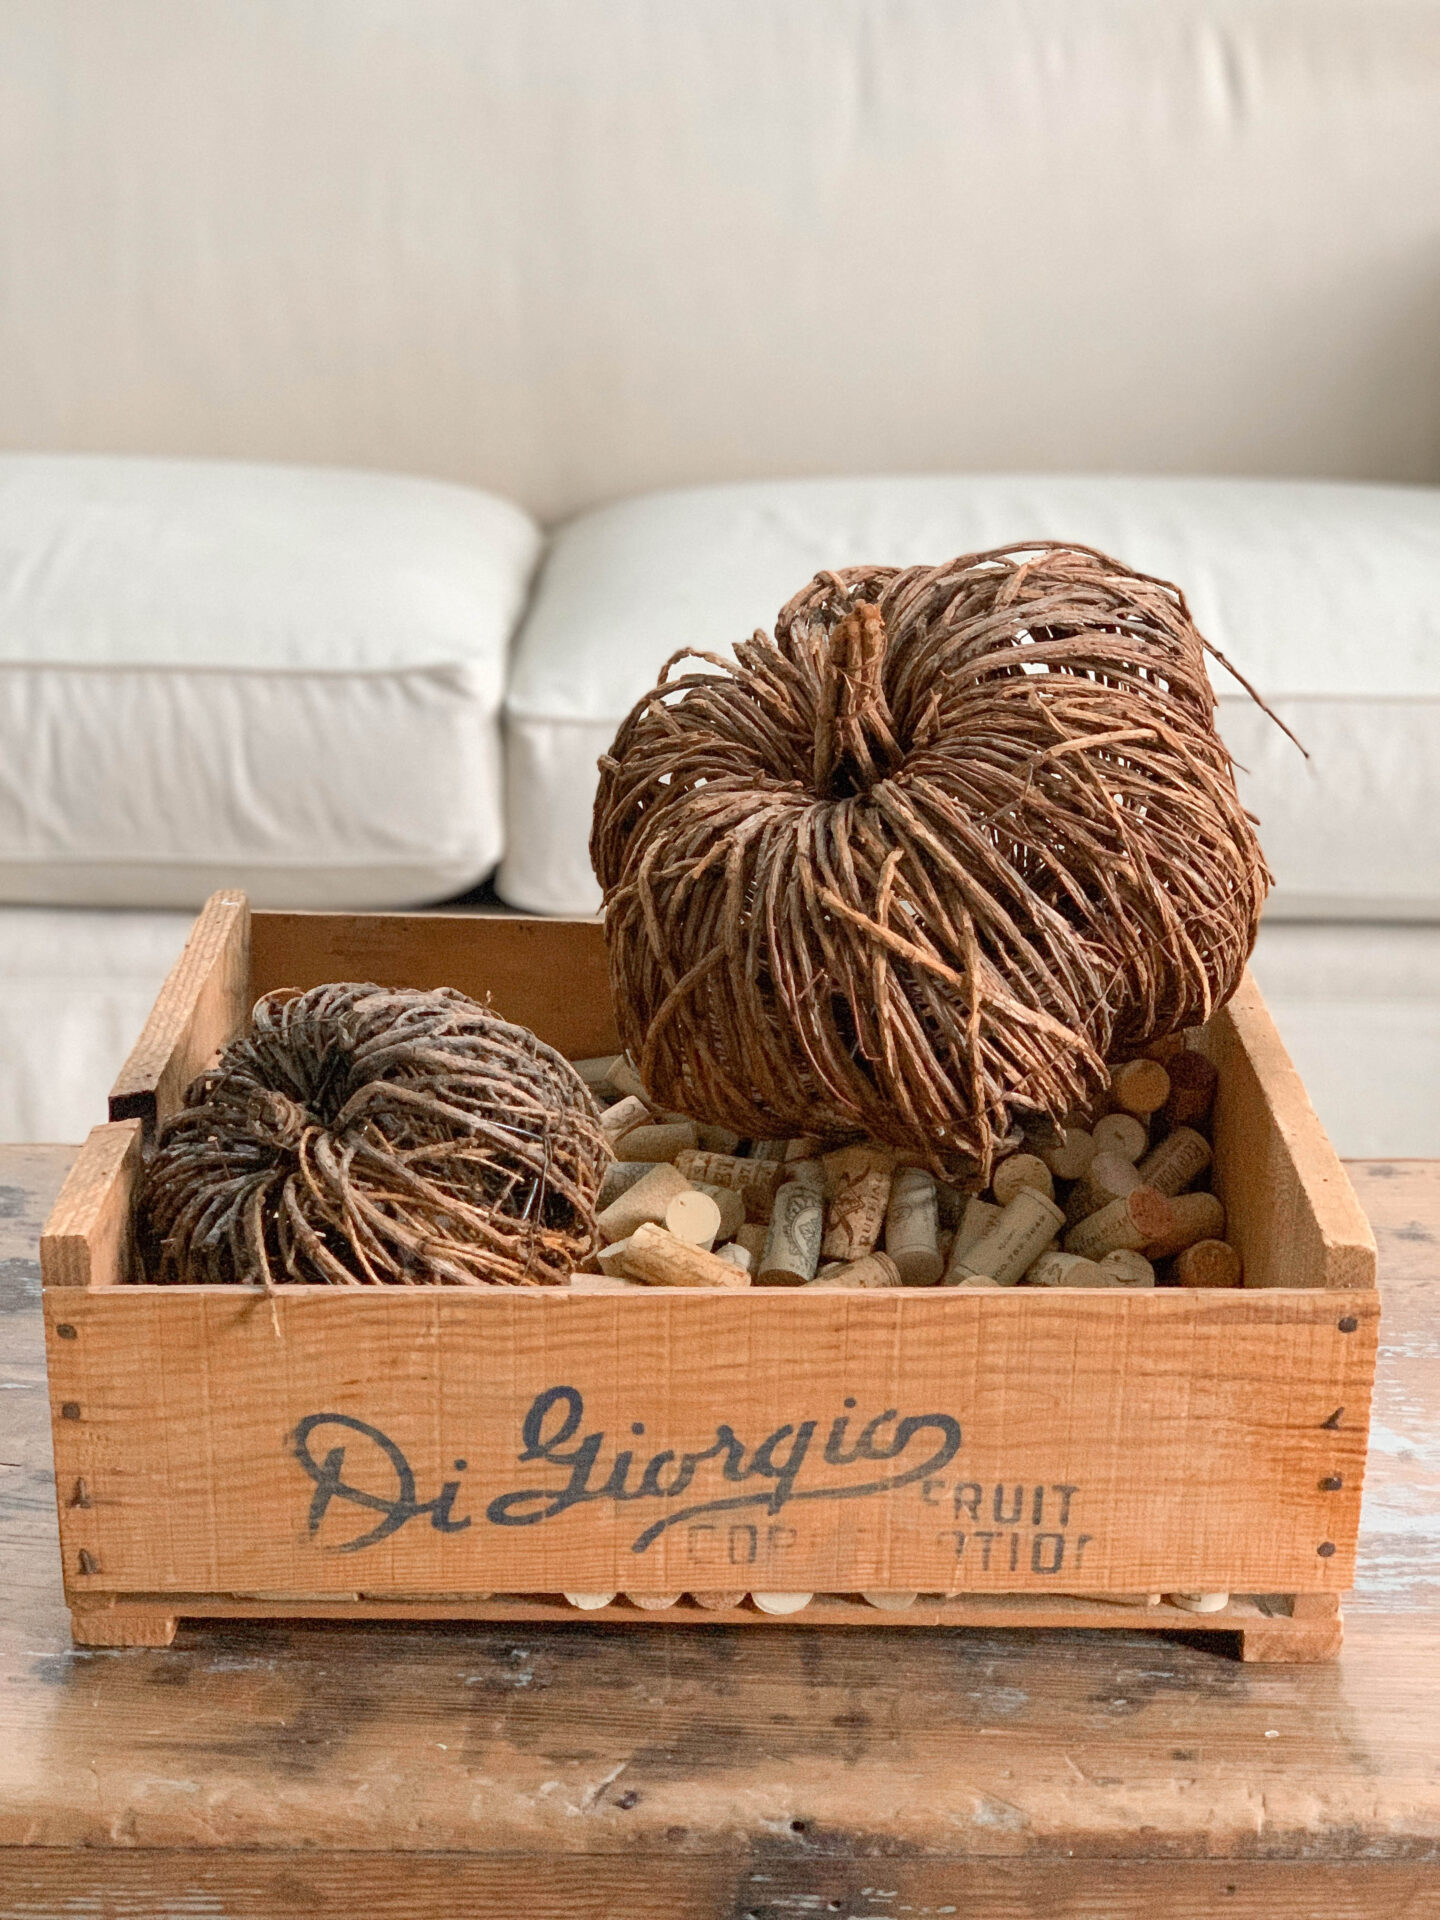
Keep adding decor in order of size.
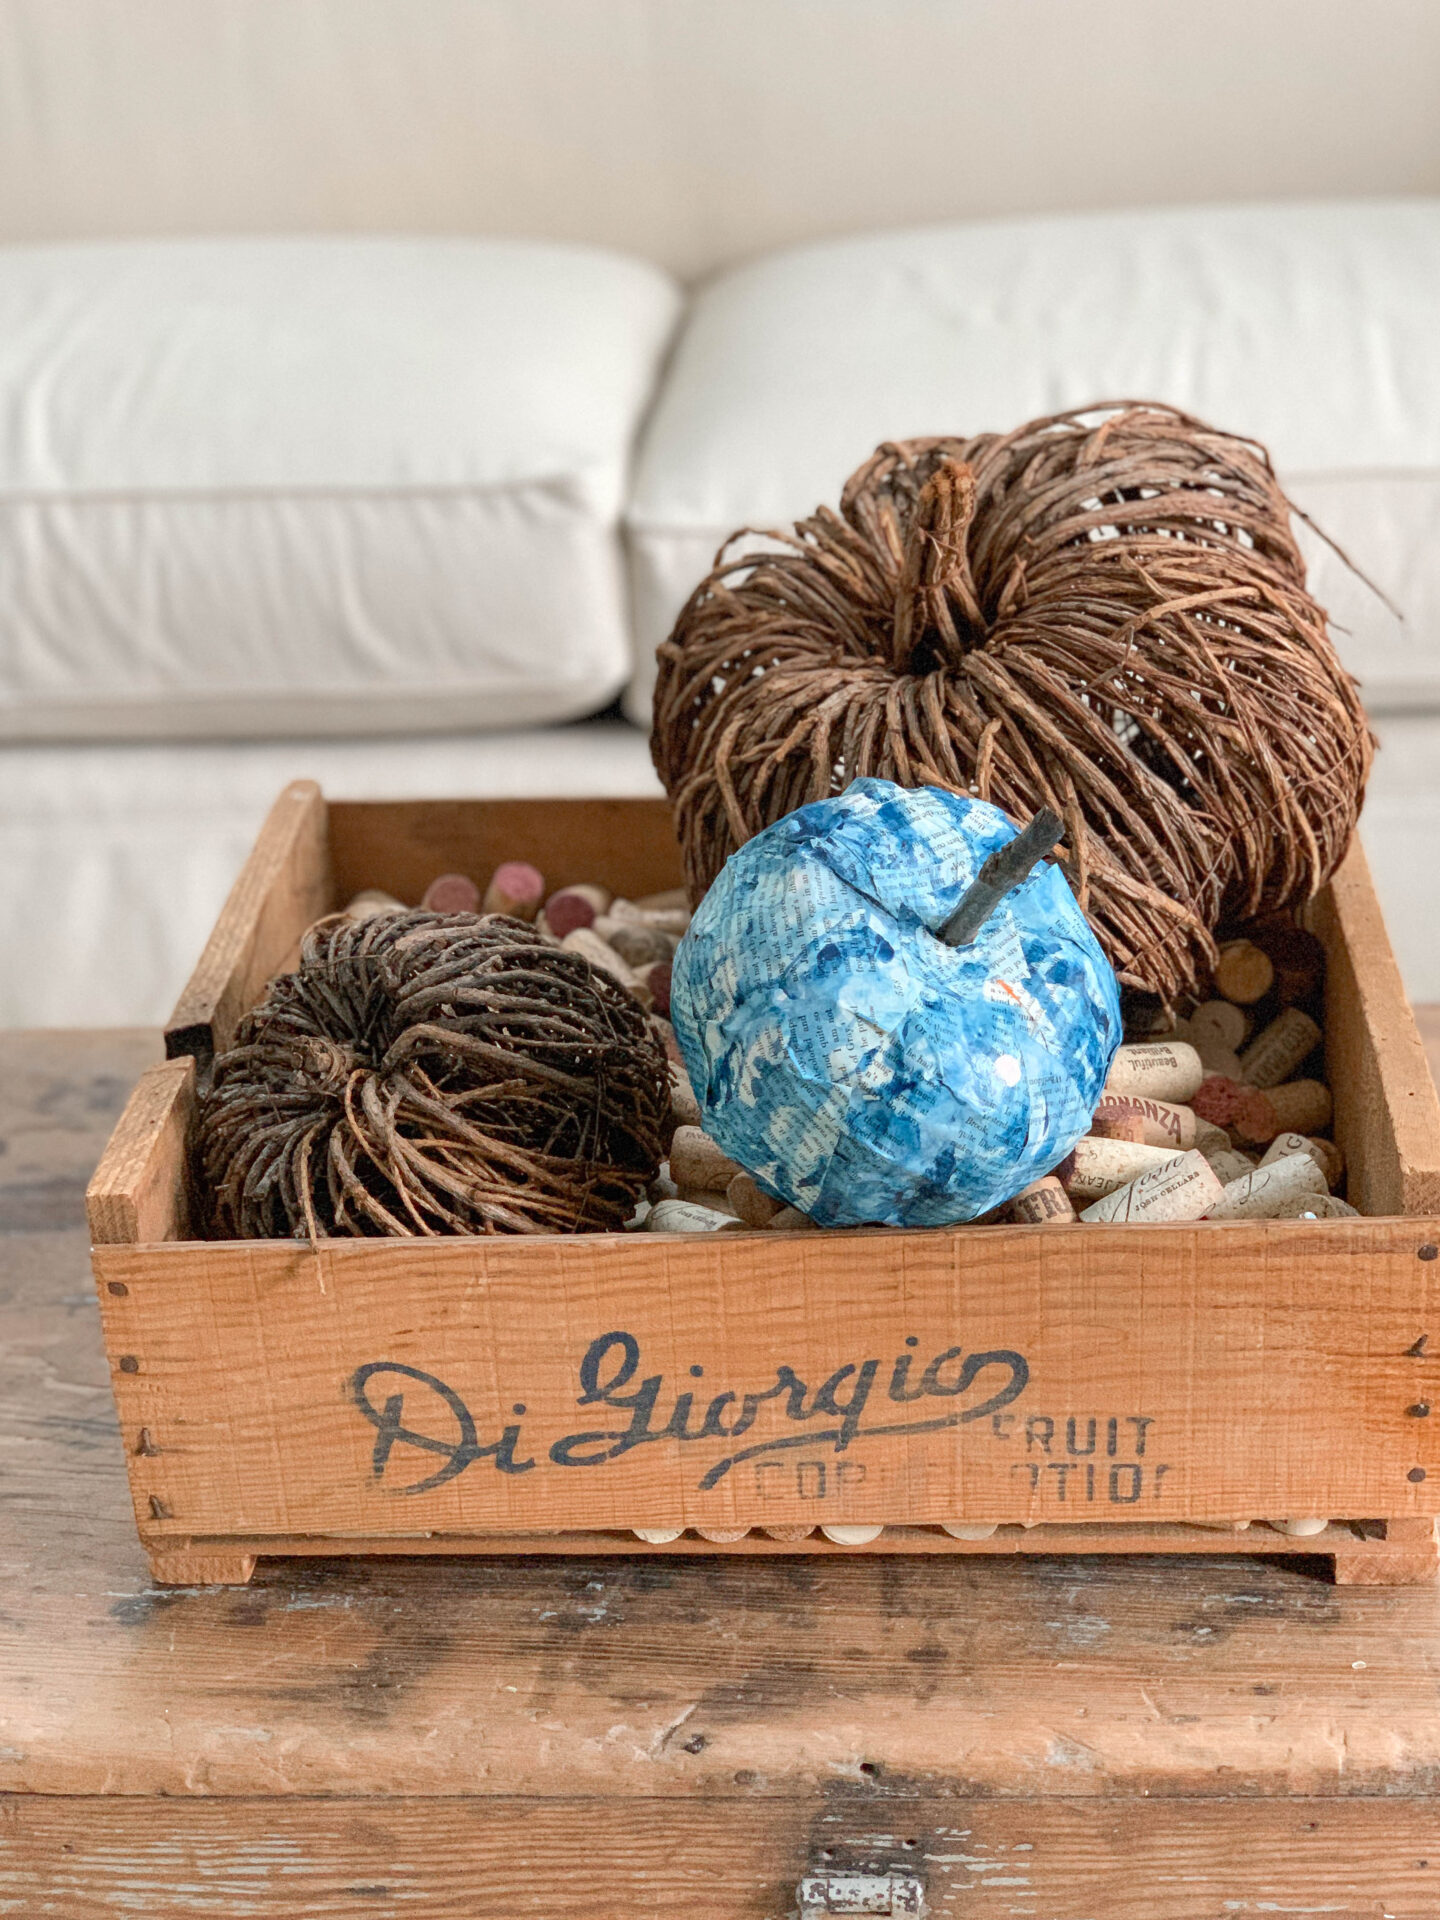
One of my favorite fall projects are these indigo blue painted book page pumpkins. They were easy to make and look beautiful! Make them in any color of your choice.
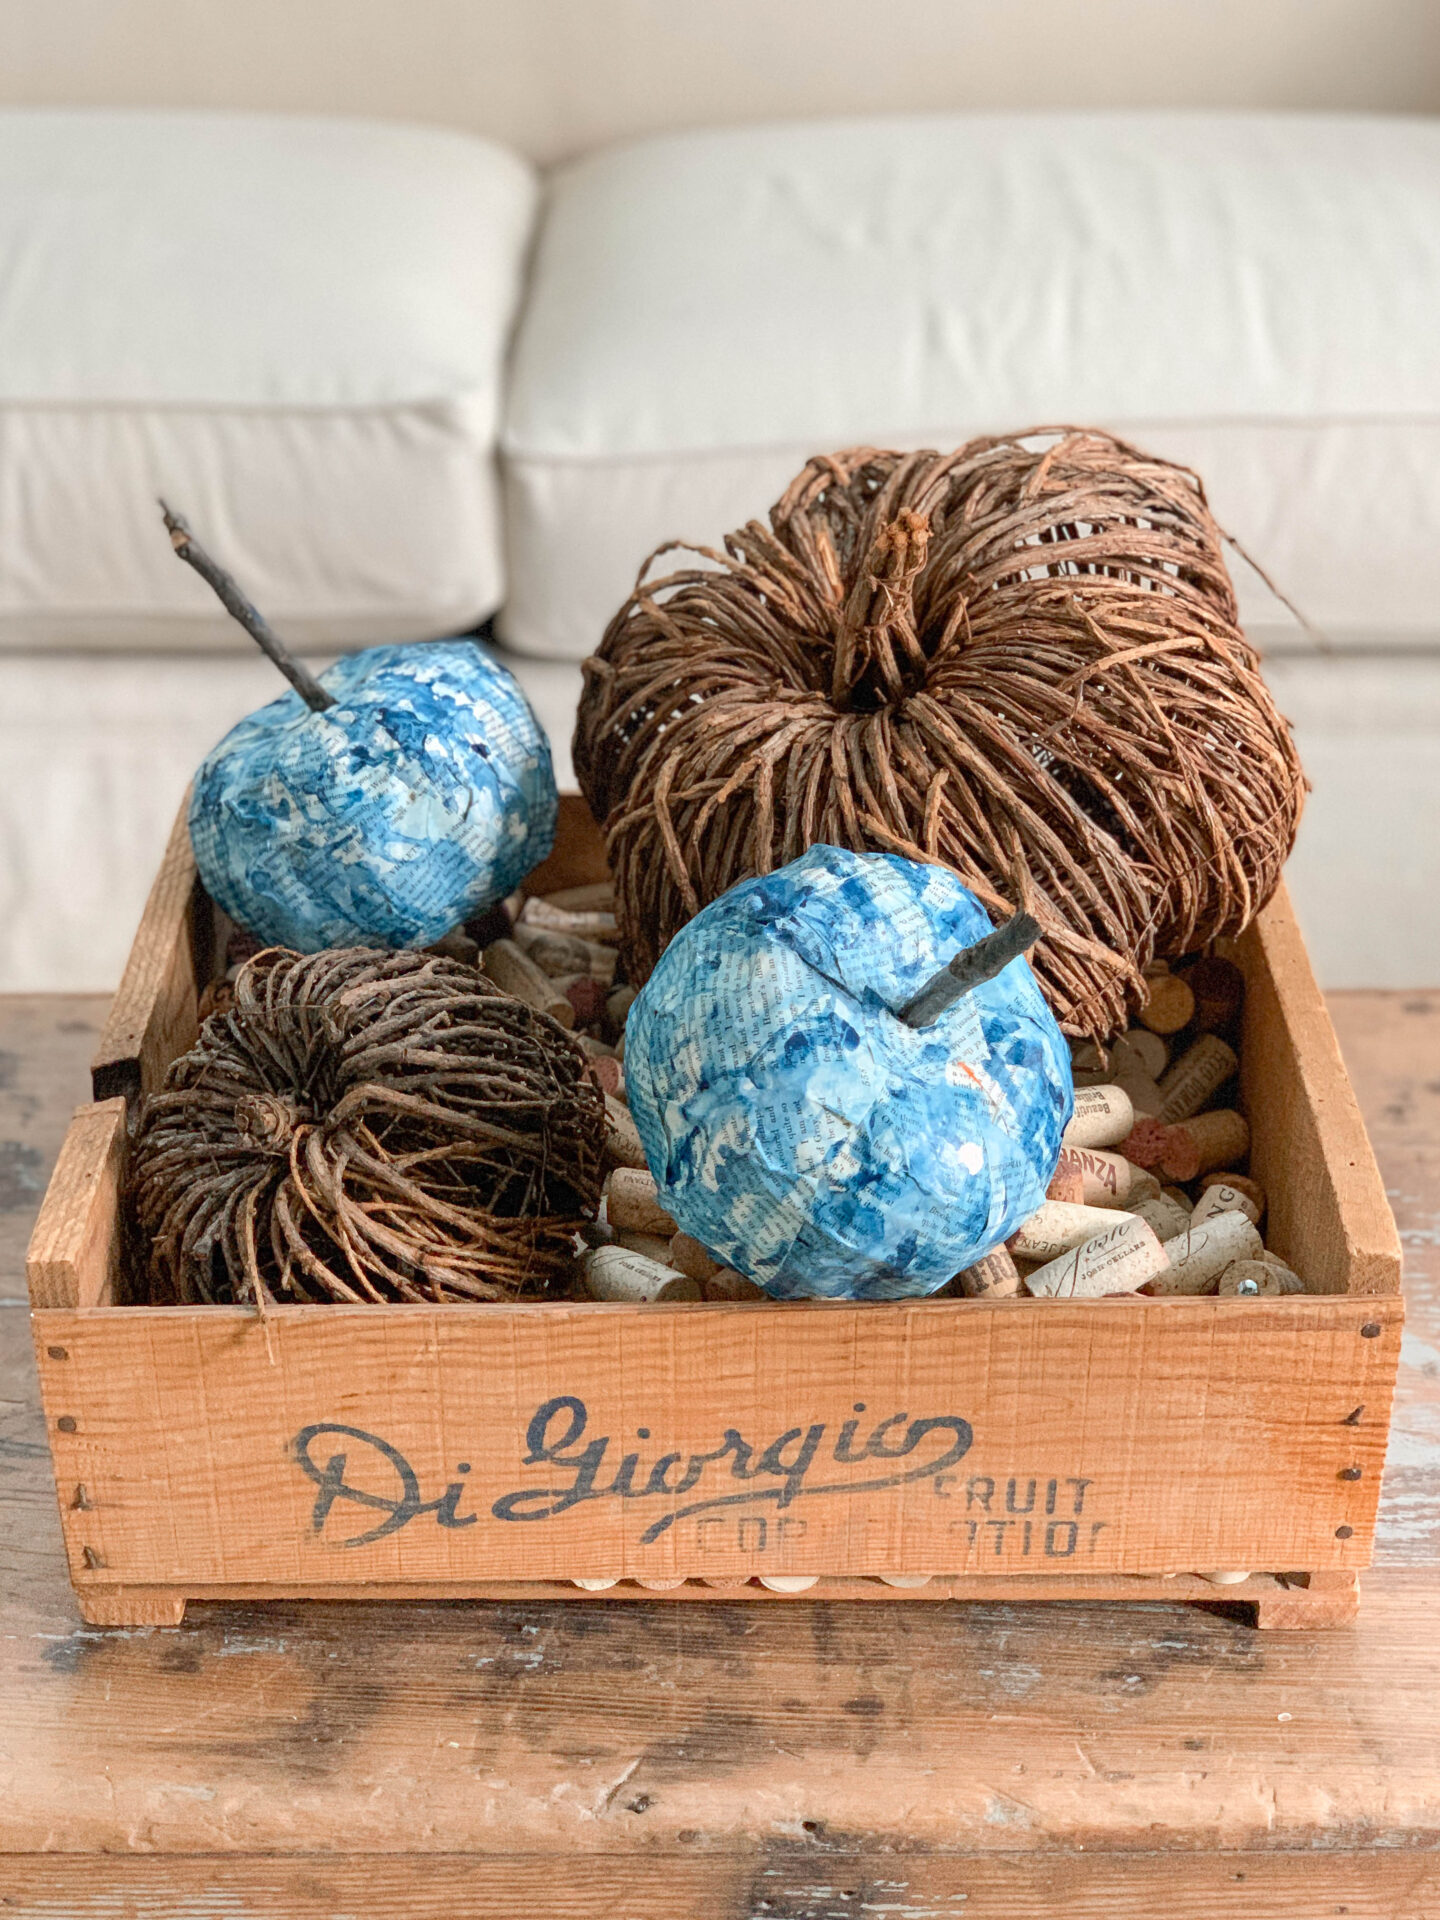
Smaller pumpkins are nestled on top of the larger pieces.
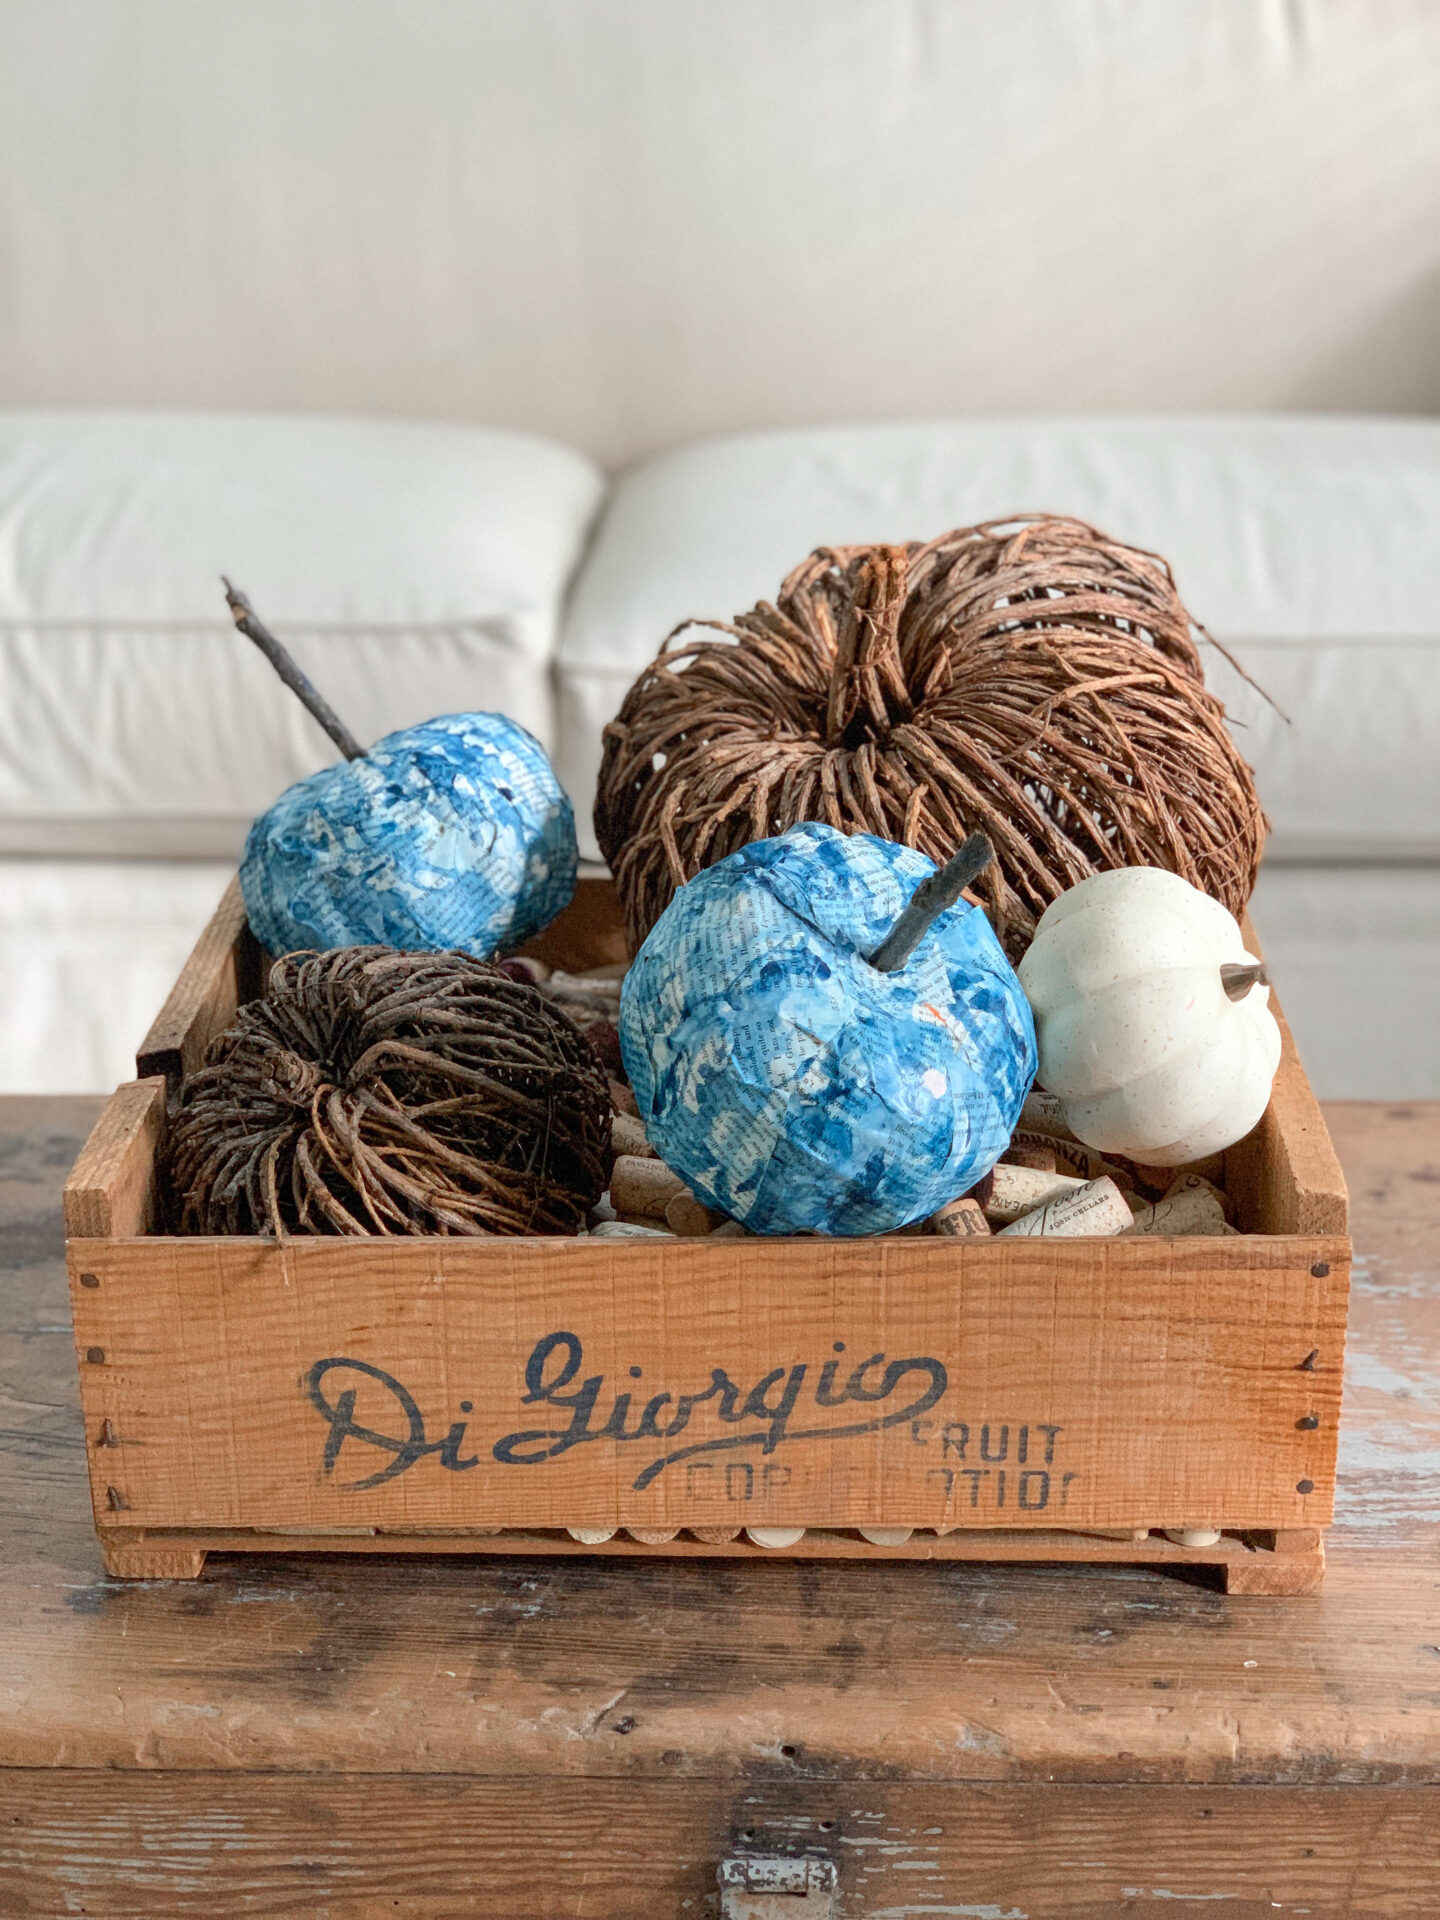
It’s like a set of building blocks. Just keep adding and nestling on top of each other.
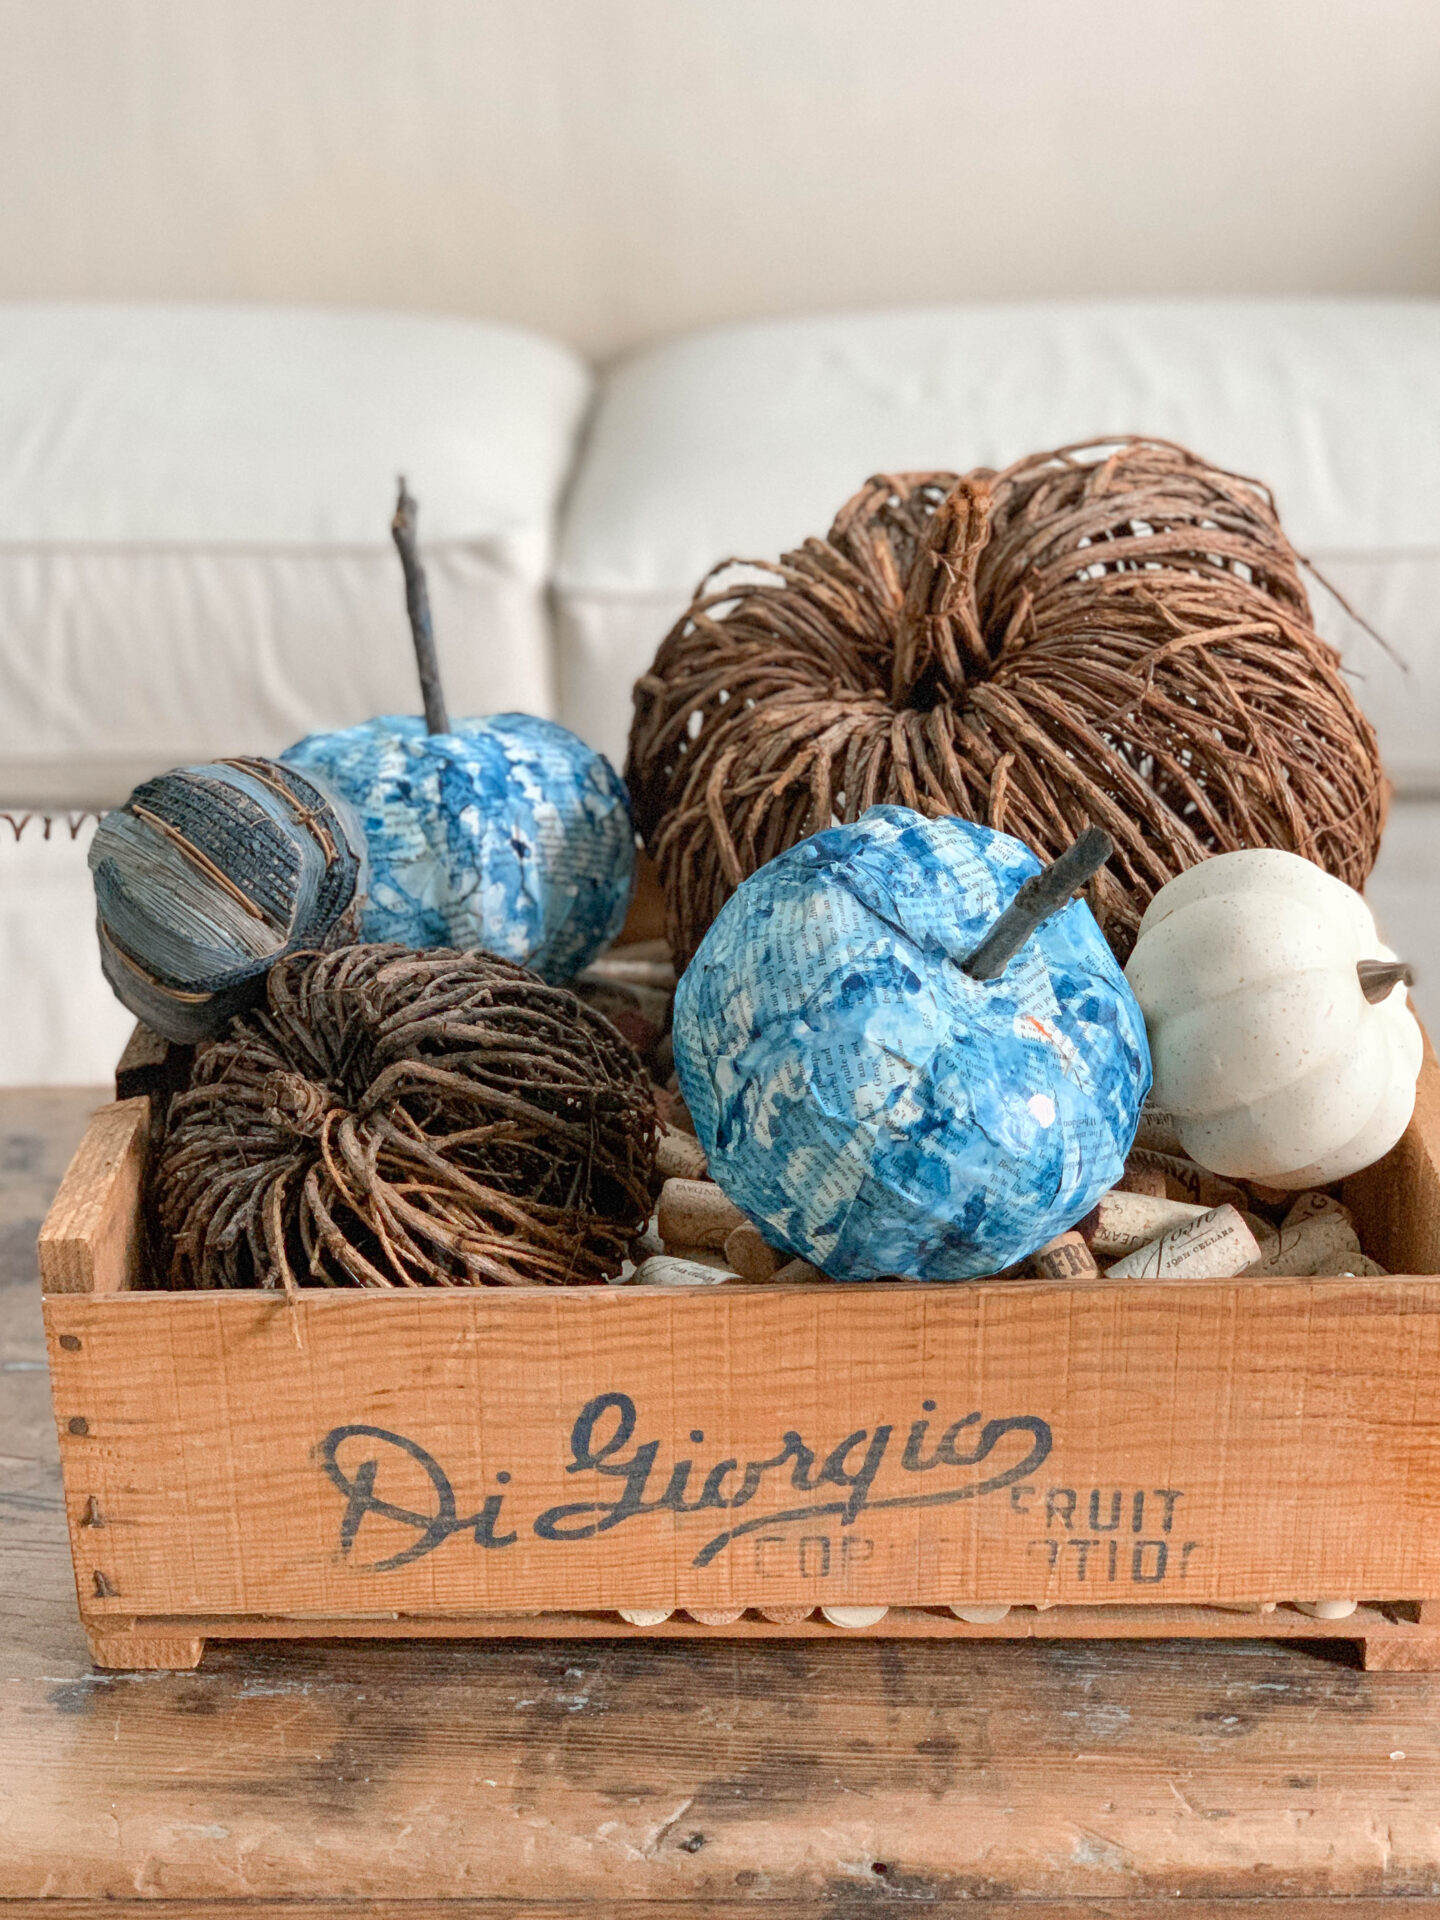
Every once in awhile, step back to see if you like what you’re creating. This is also a good time to see if there are any spots where you need to add something.
When you’re happy with your creation, display it proudly!
Hopefully you have been inspired in some small way today. Thank you so very much for your interest in creating a centerpiece!
Don’t forget to Pin this to your favorite Pinterest board!