Homemade Clay Gift Tags for Your Valentine
Please note that this post contains affiliate links. As an Amazon Associate, Rewards Style influencer and Jane Influencer, we earn from qualifying purchases and any sales made through such links will reward us a small commission – at no extra cost for you.
Homemade Clay Gift Tags for Your Valentine
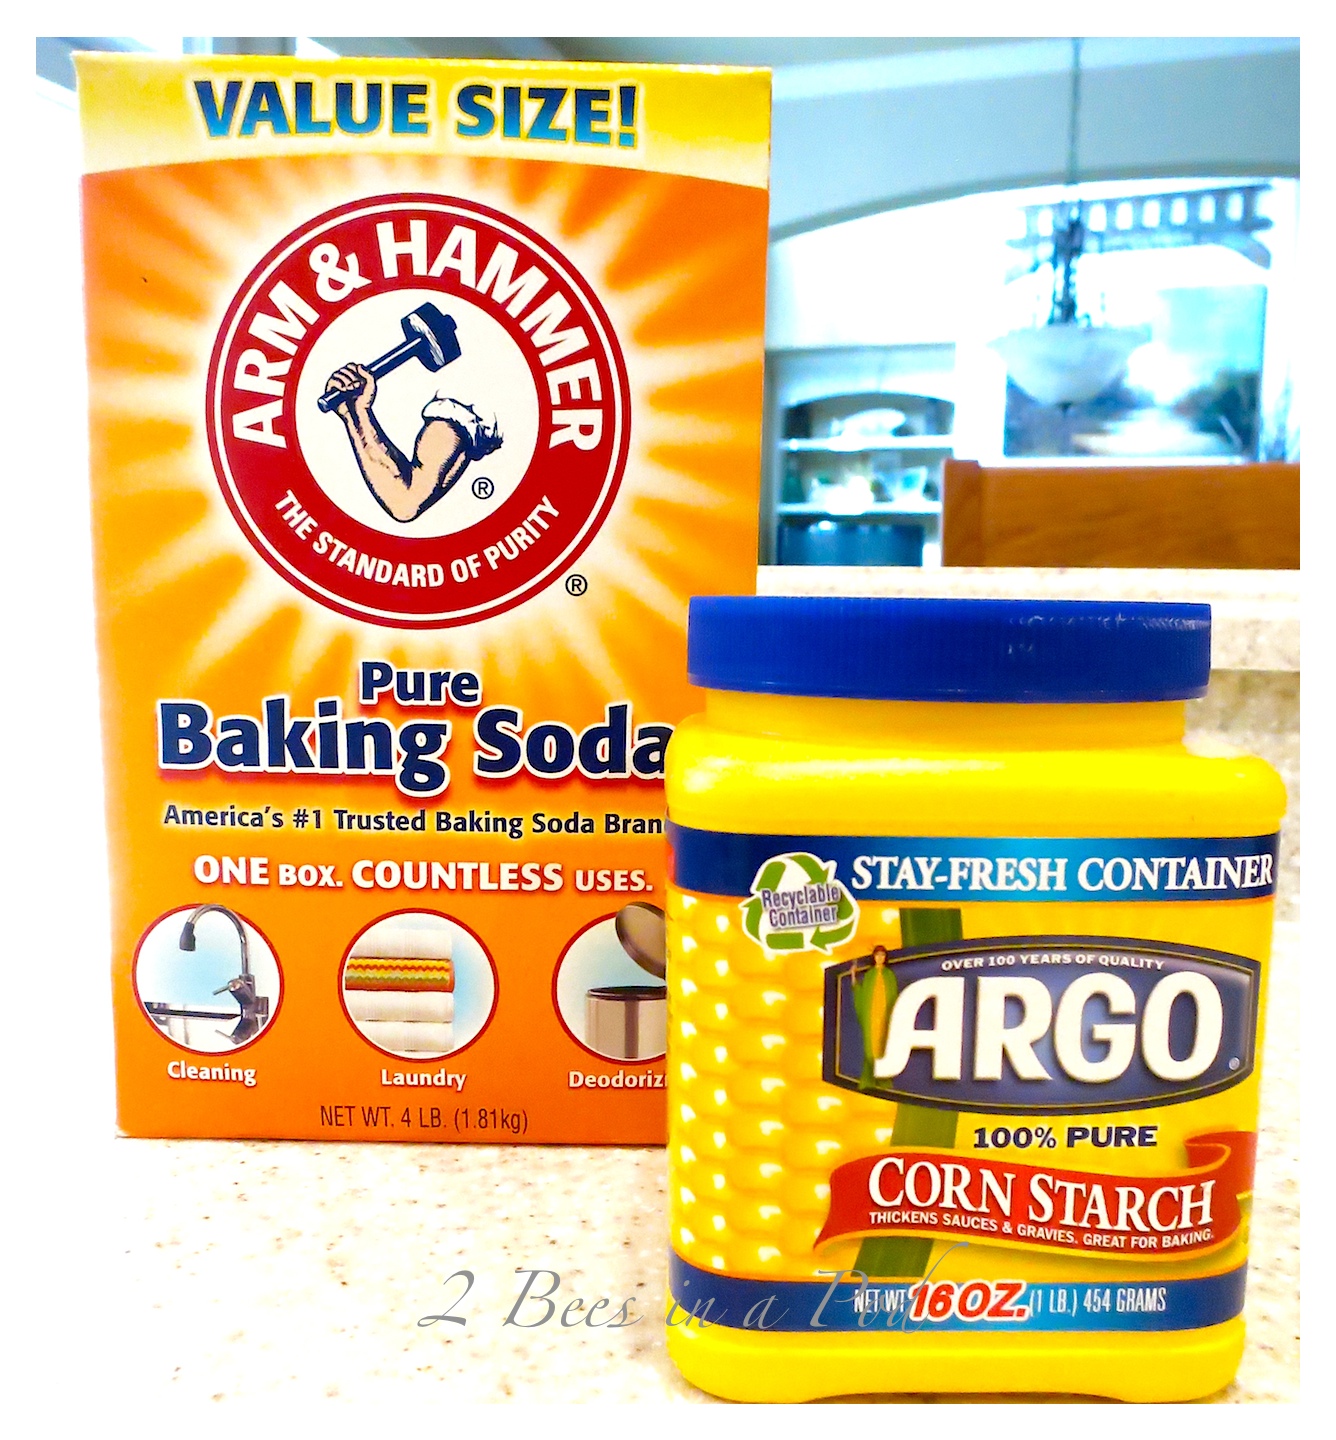
Can you believe that Valentines Day is Friday? This Friday? Not that we do a lot for Valentines Day, but I do like to create something with my own two hands that is a little special. Here is how I created Homemade Clay Gift Tags for Your Valentine. I remembered a recipe I used decades ago when I was a preschool teacher. What I really love about this recipe, is that the clay is made from two items that I’m sure you have in your pantry right now…baking soda and corn starch.
This is how you do it
Ingredients
- 2 cups baking soda
- 1 cup corn starch
- 1 cup of water
Instructions
Preheat over to 175 degrees.
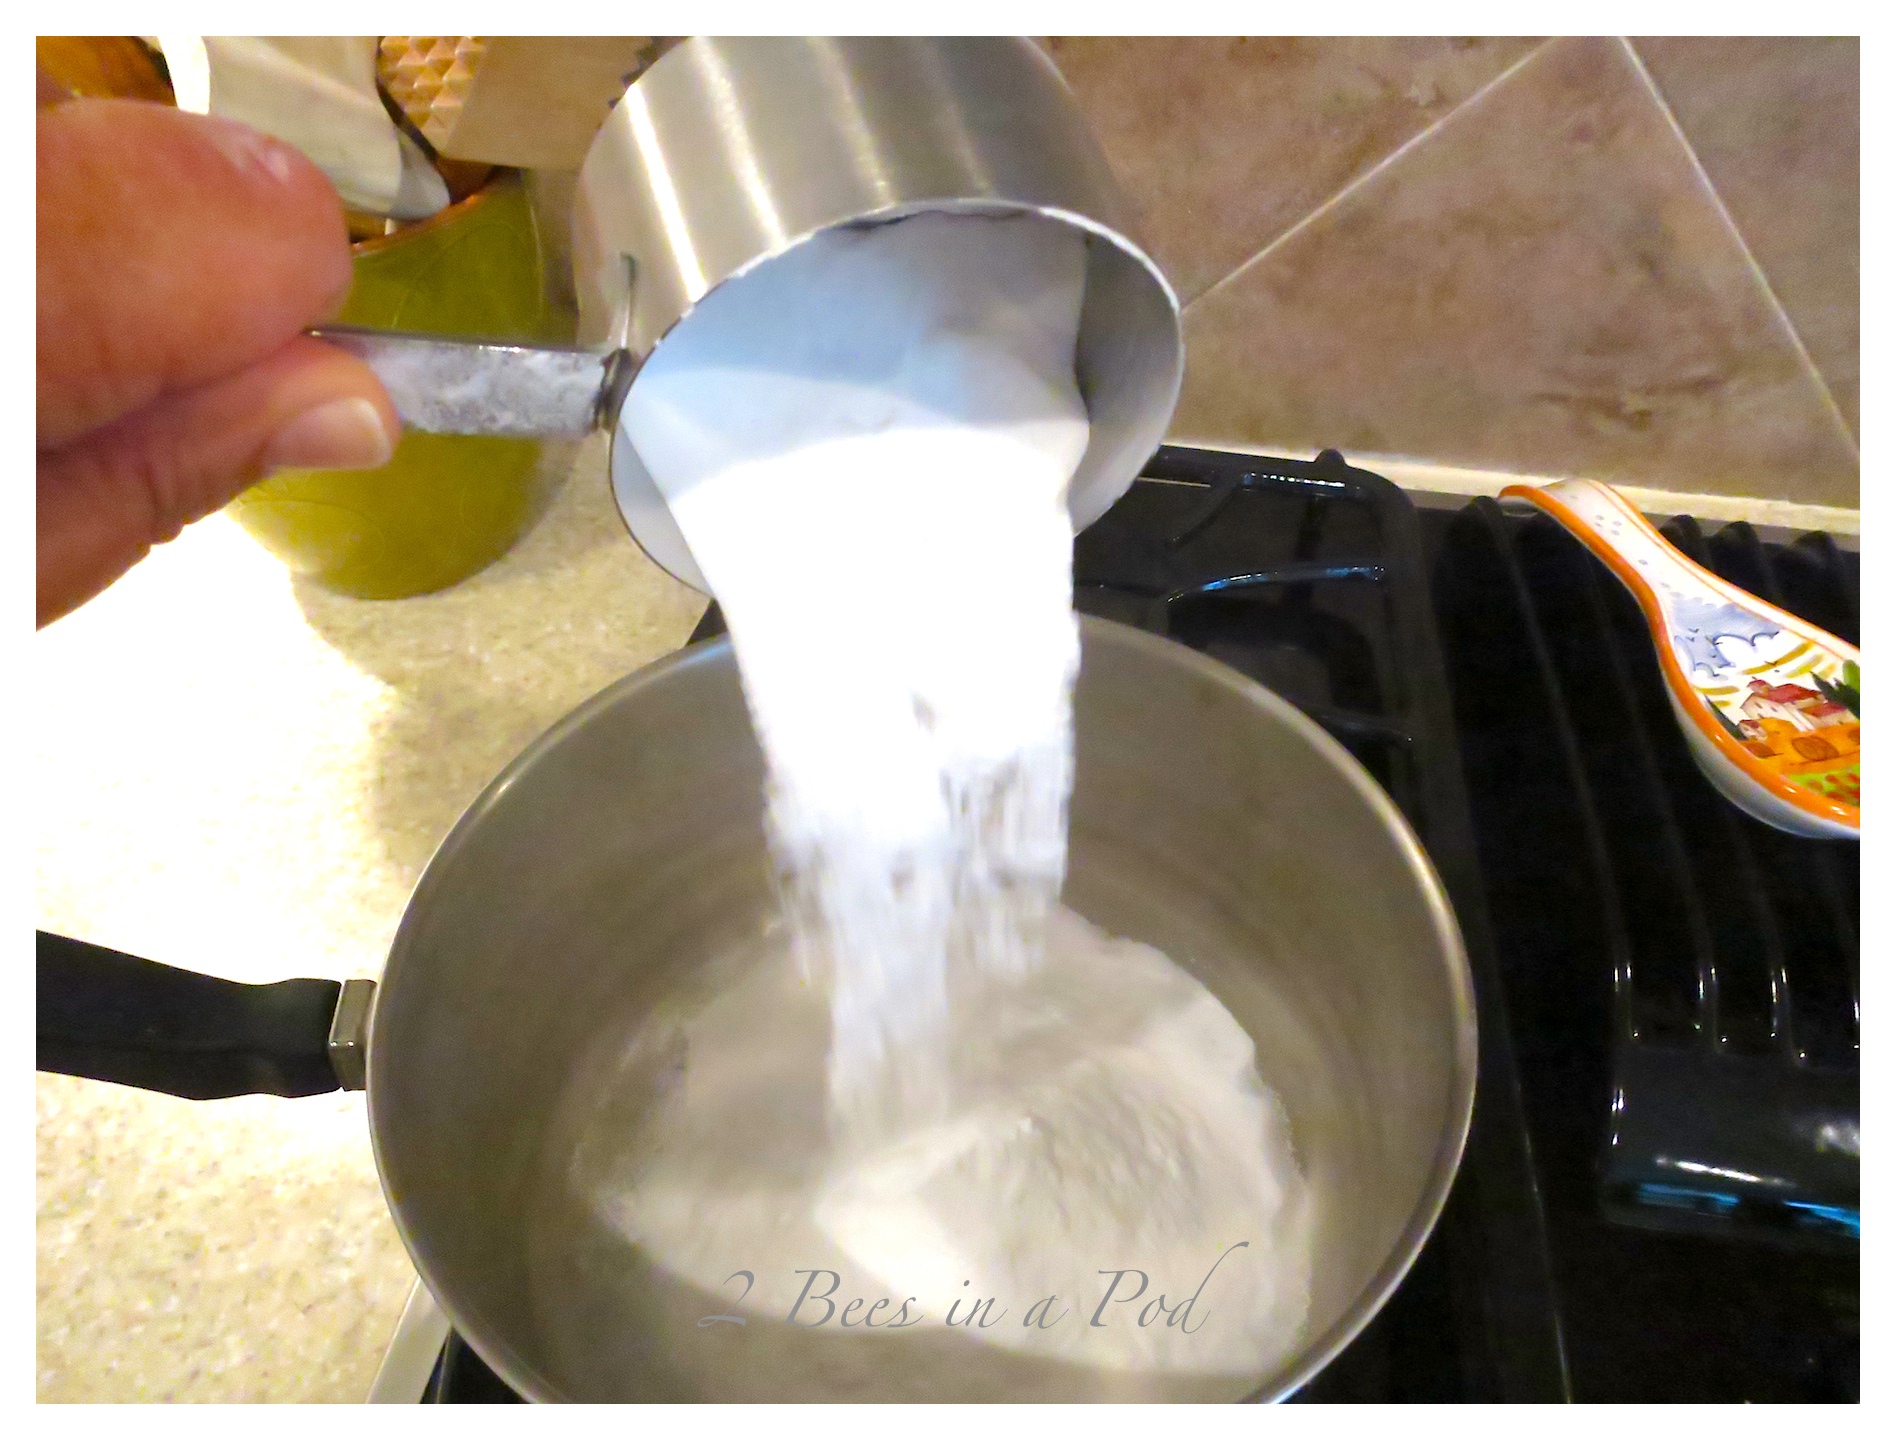
Combine the baking soda, corn starch and water in a medium sauce pan and mix together over medium heat.
Do not let the mixture boil or become too hot. Only keep over heat until completely mixed and smooth.
Pour hot mixture into a mixing bowl. Place a cool, damp cloth on top of dough. Let dough cool a little before you begin toughing it.
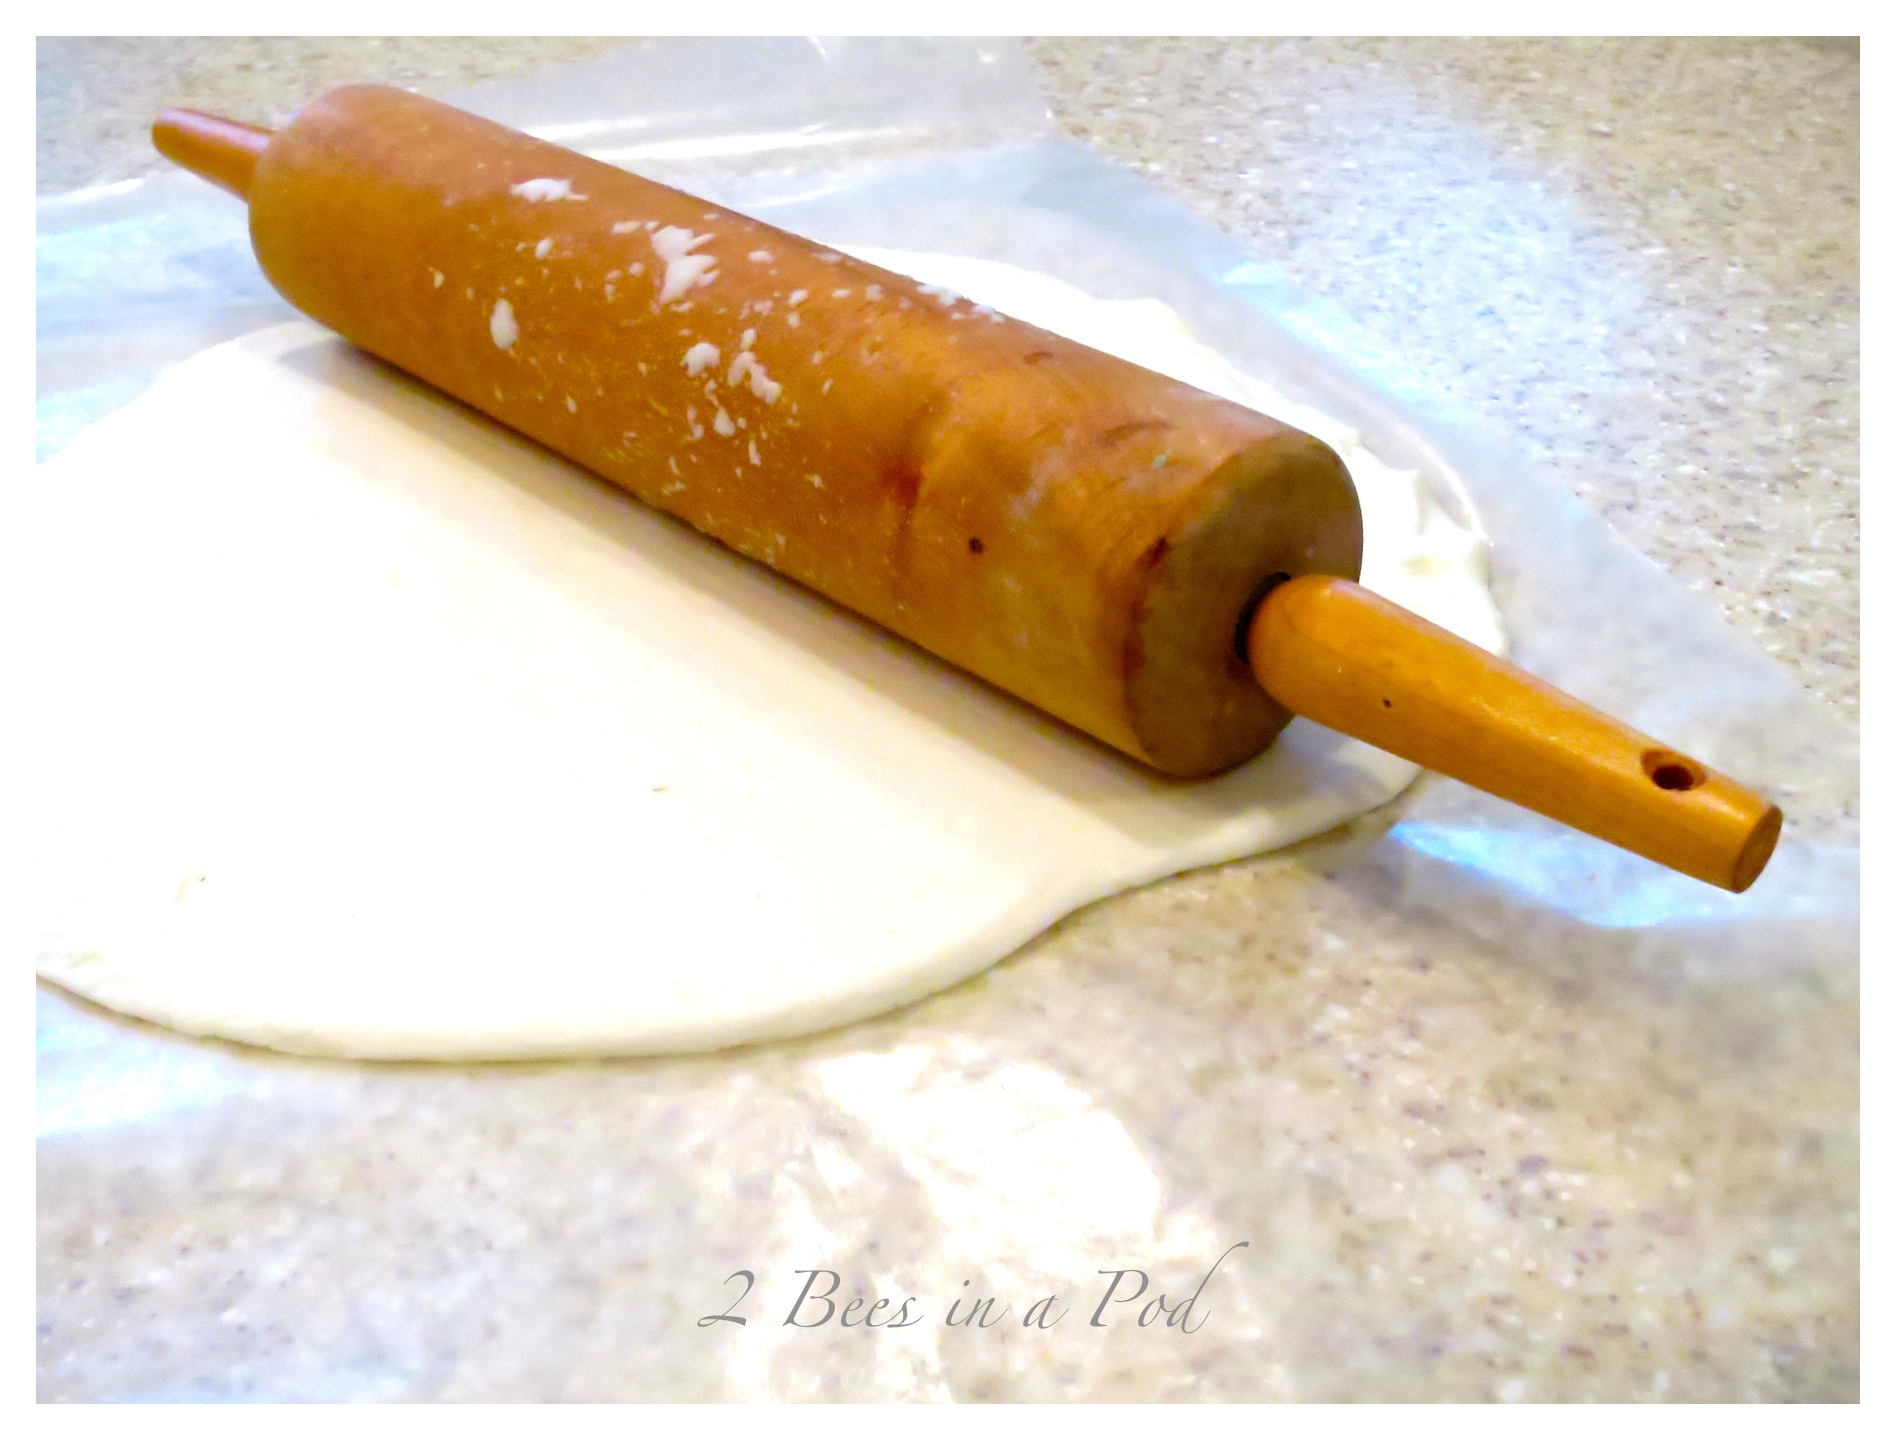
Place warm dough onto wax paper and begin rolling out until 1/4" thick.
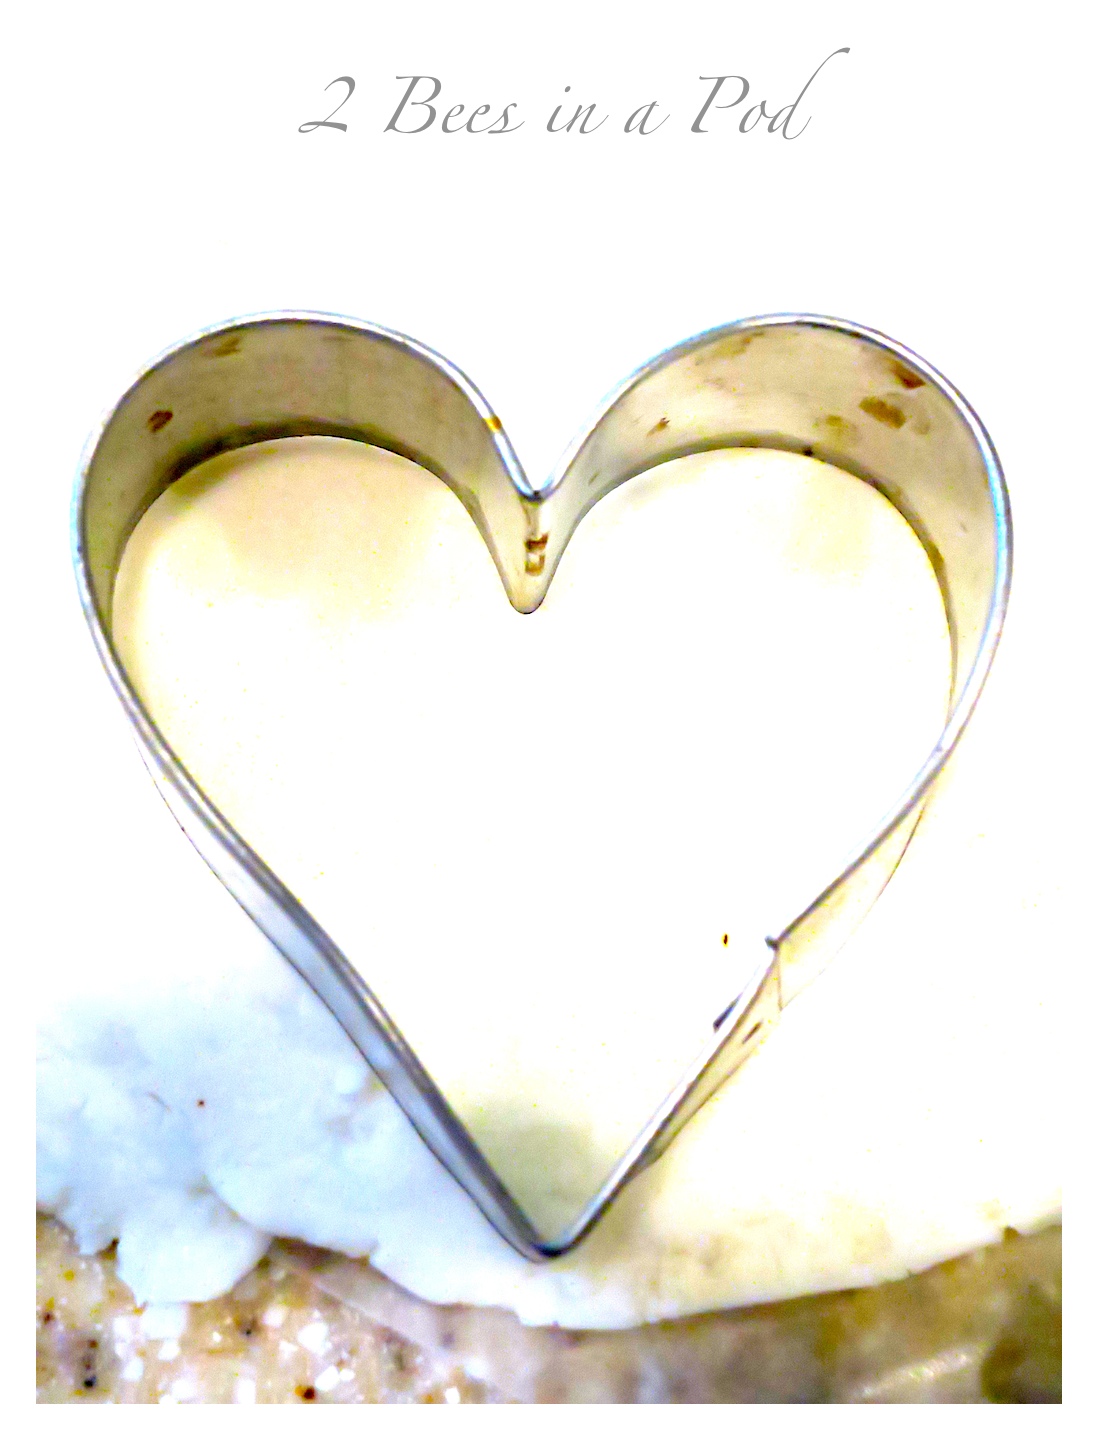
Begin cutting out shapes.
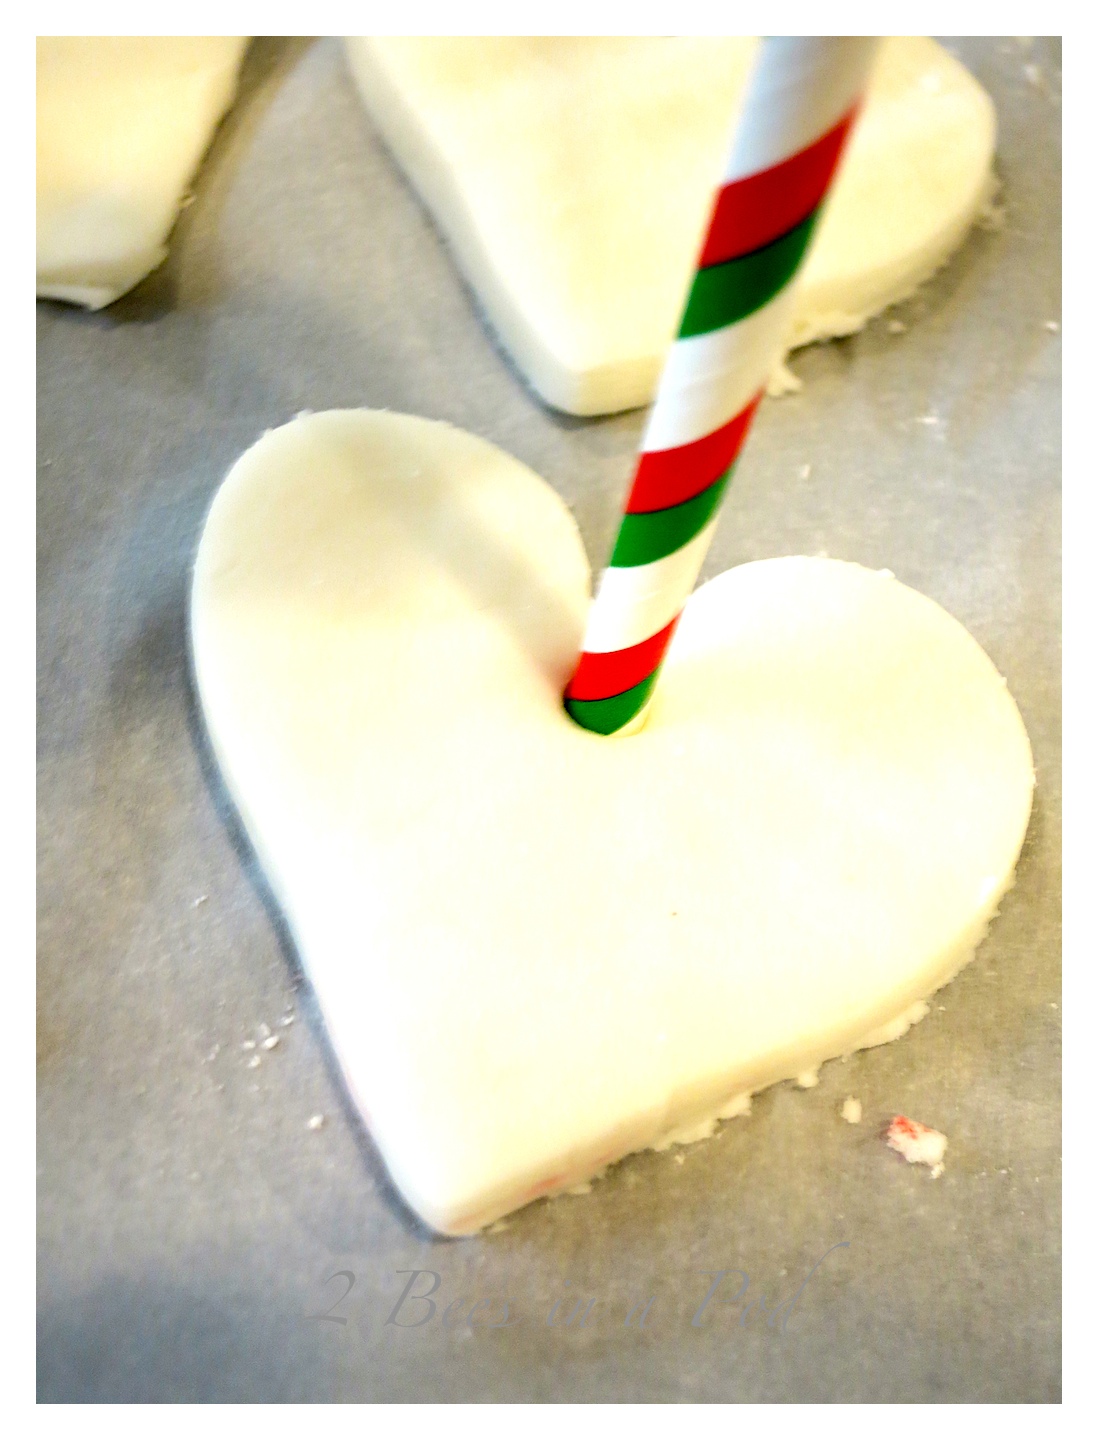
Using a straw or instrument of your choice, poke a hanging hole into the dough.
Place cutouts on a parchment paper lined cookie sheet.
Bake cutouts in 175 degree oven for two hours, turning halfway through baking. Depending on your oven more bake time may be necessary. If you see any moisture, add more baking time.
Turn oven off and leave try in oven until cool
https://2beesinapod.com/homemade-clay-gift-tags-for-your-valentine/Baking soda, corn starch and water are added to sauce pan…
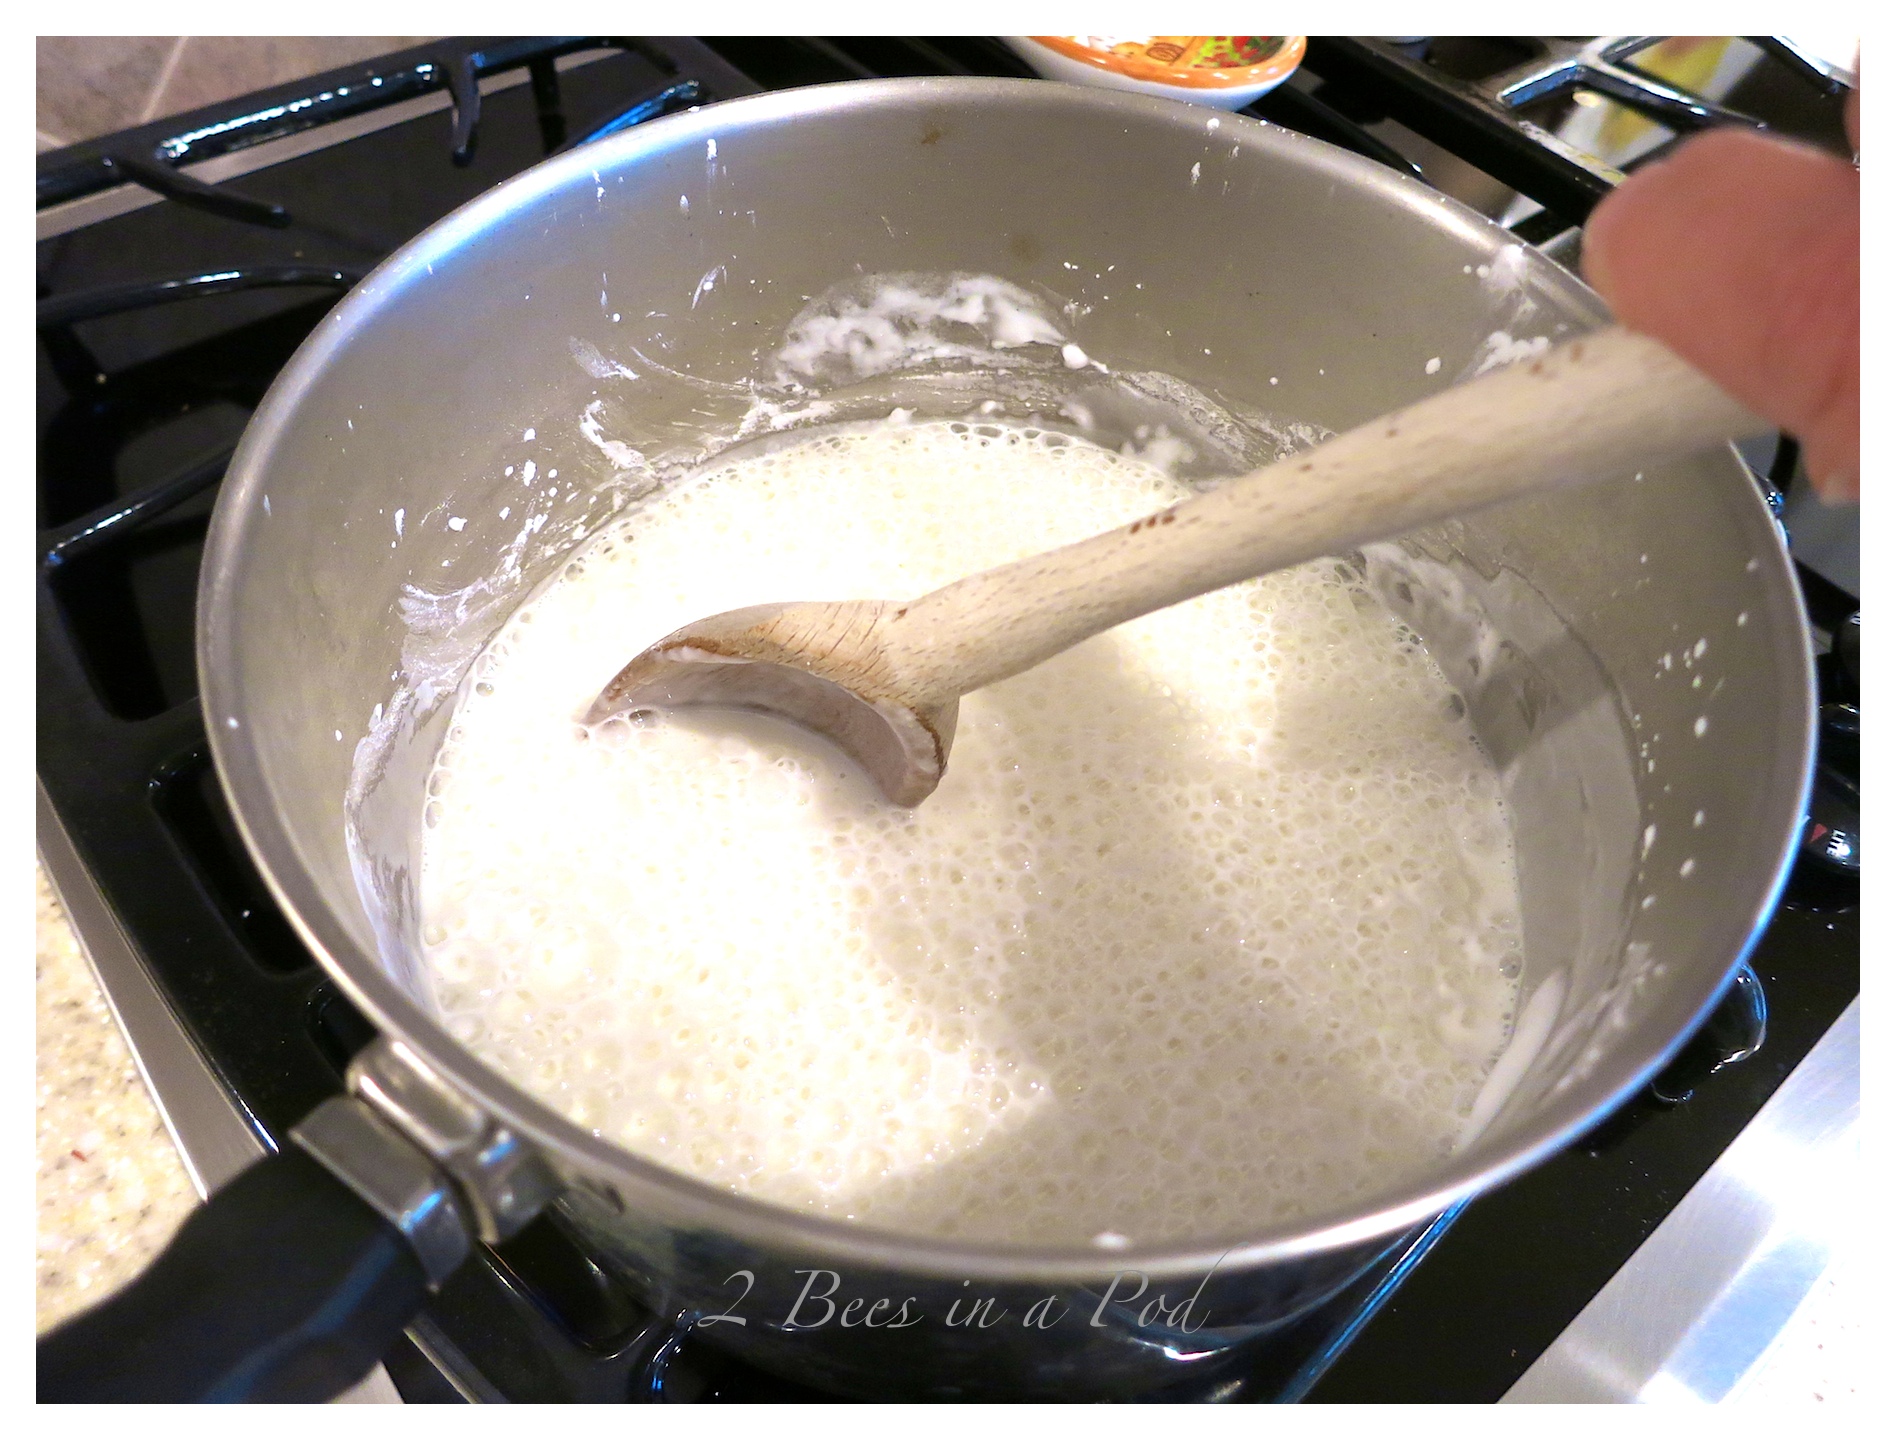
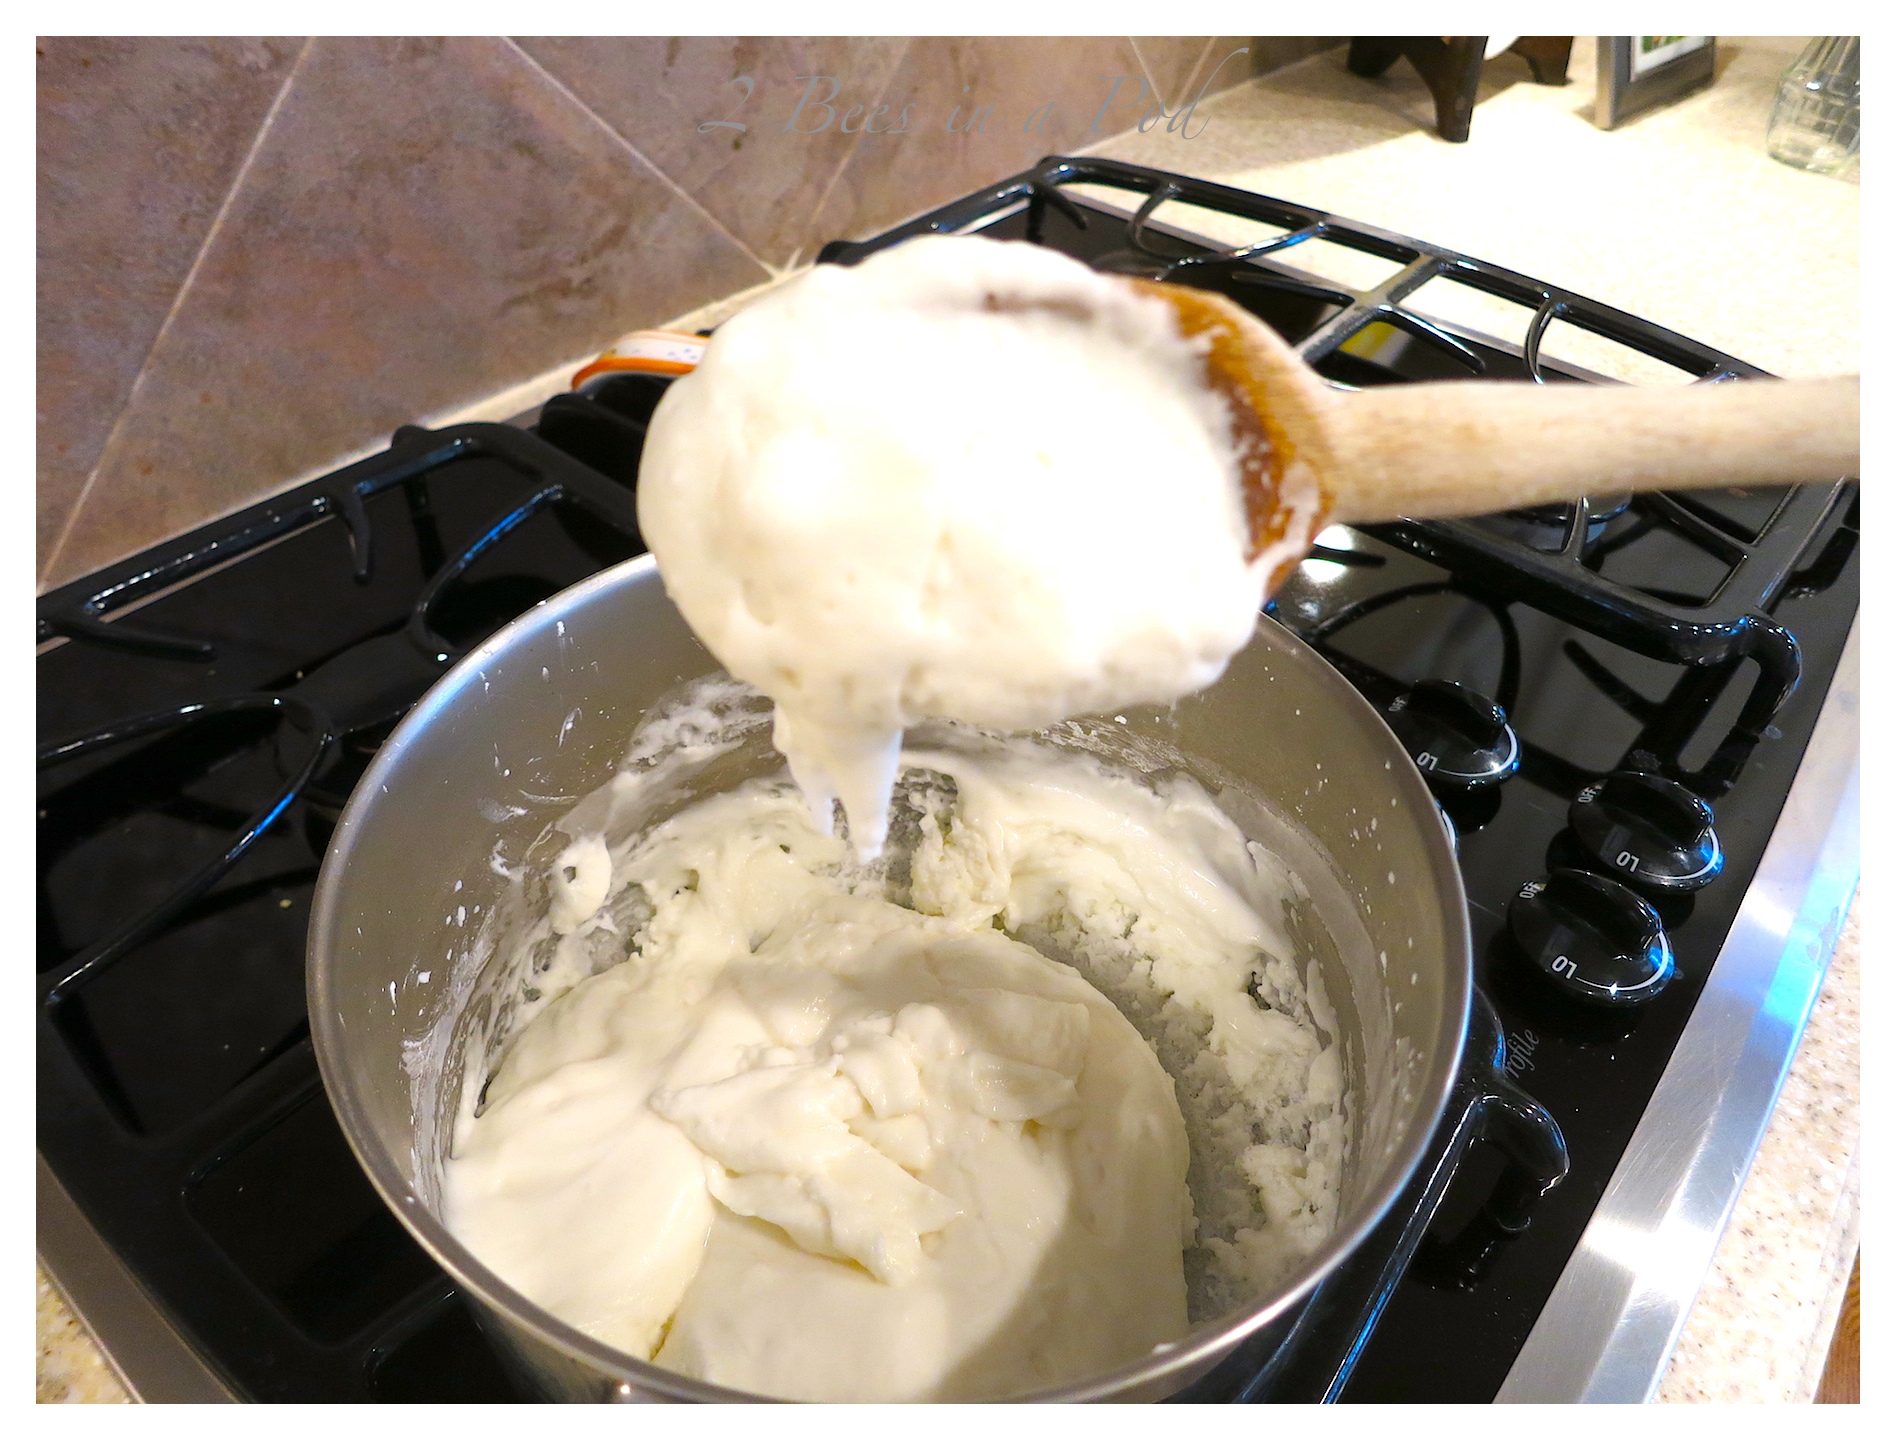
…mix until dough is smooth.
While the mixture is melting, it is the consistency of icing.
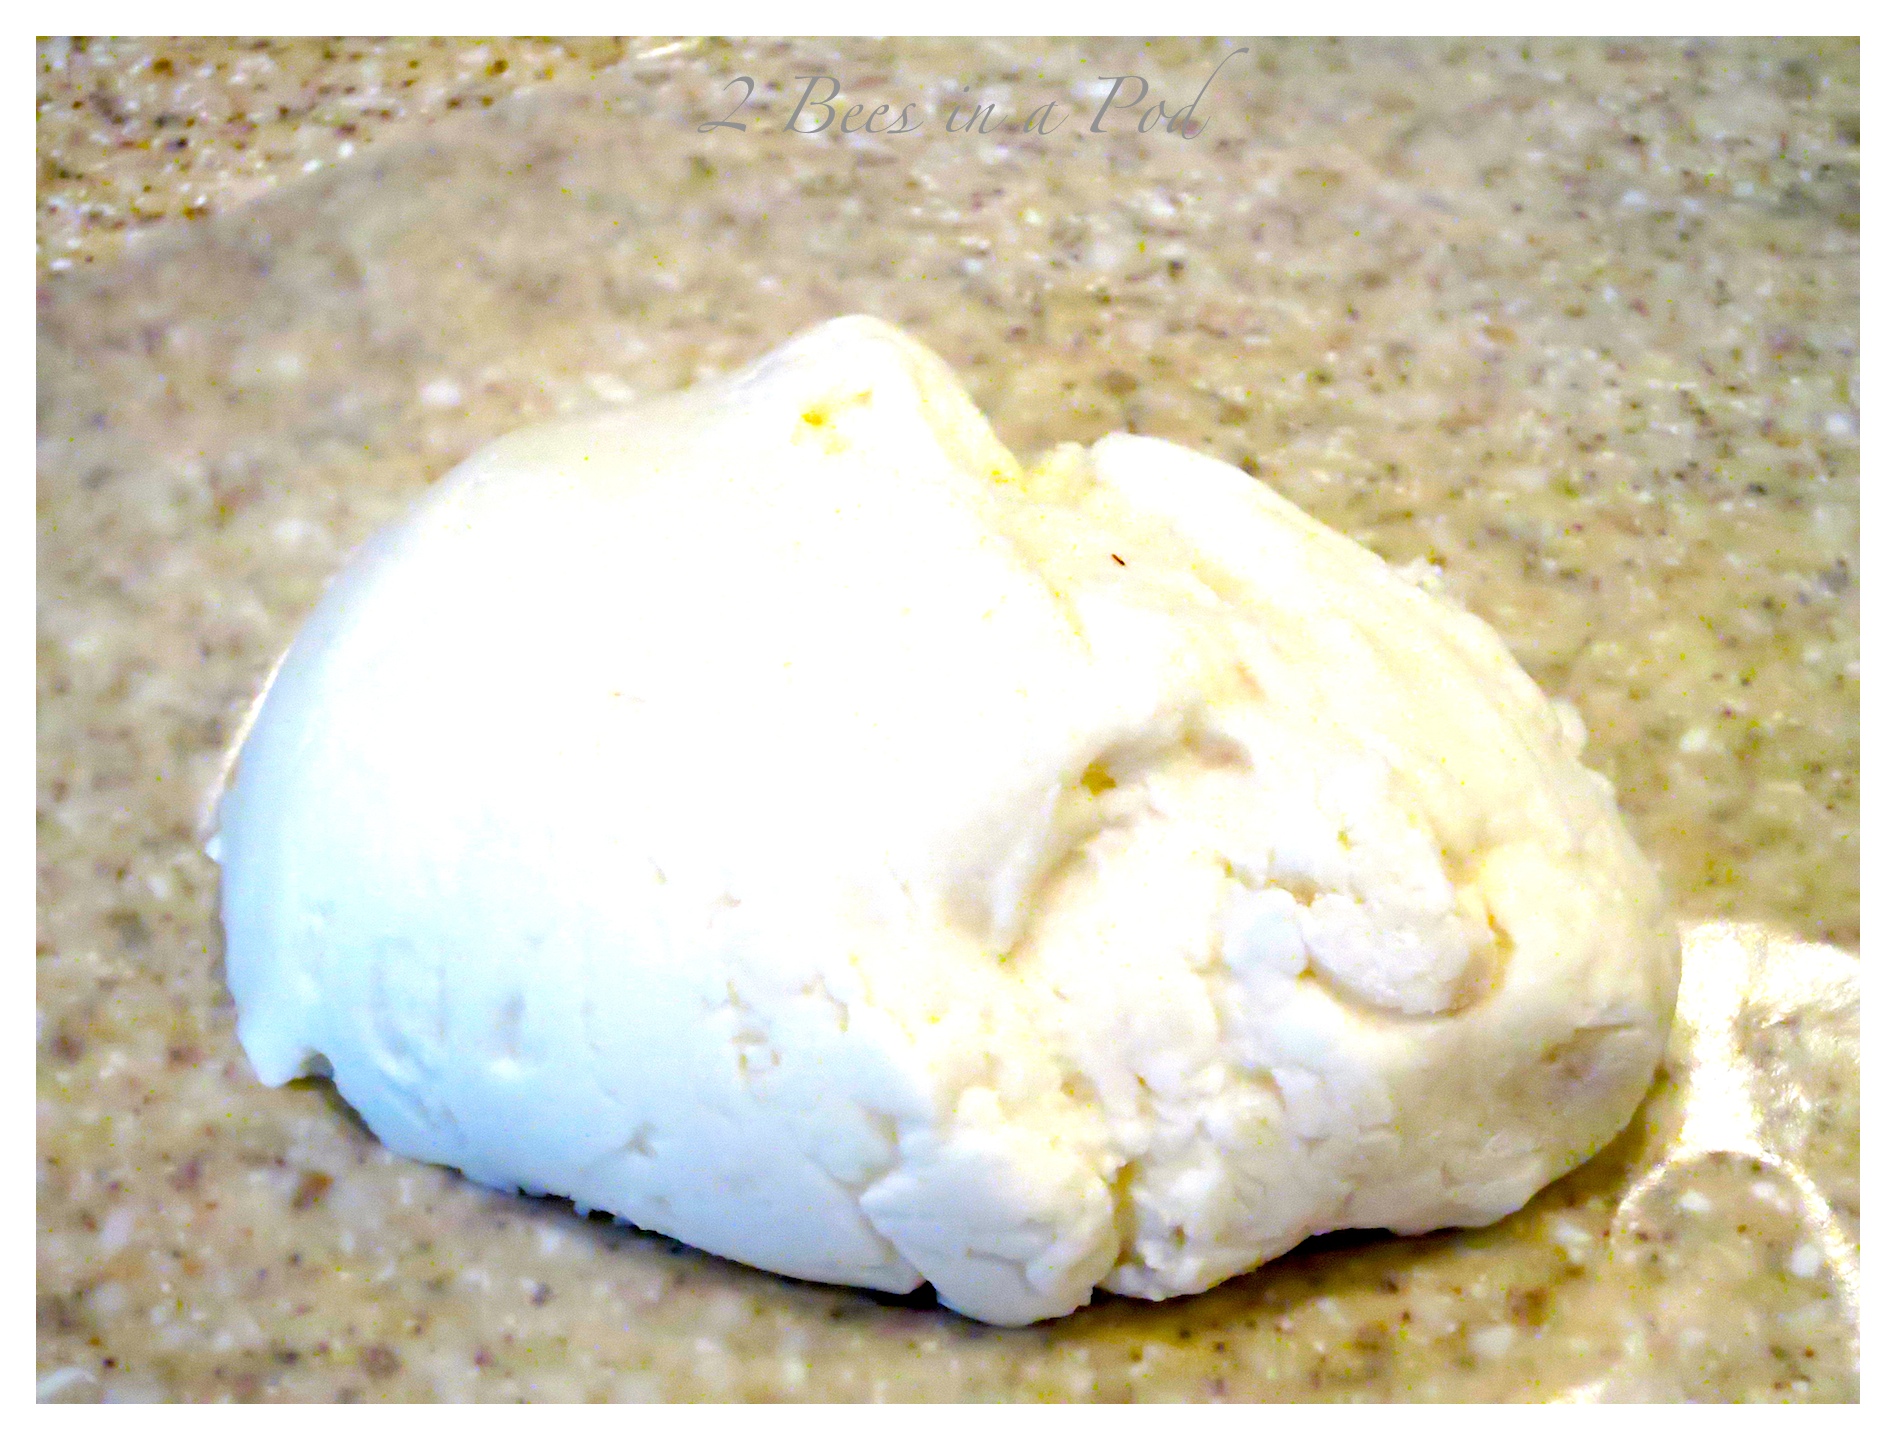
After it has cooled slightly, it is more like pizza dough.
Roll out dough to 1/4″ thickness.
Cut out shapes of your choosing.
All cut out…
…Make sure to create a hole for your gift tag.
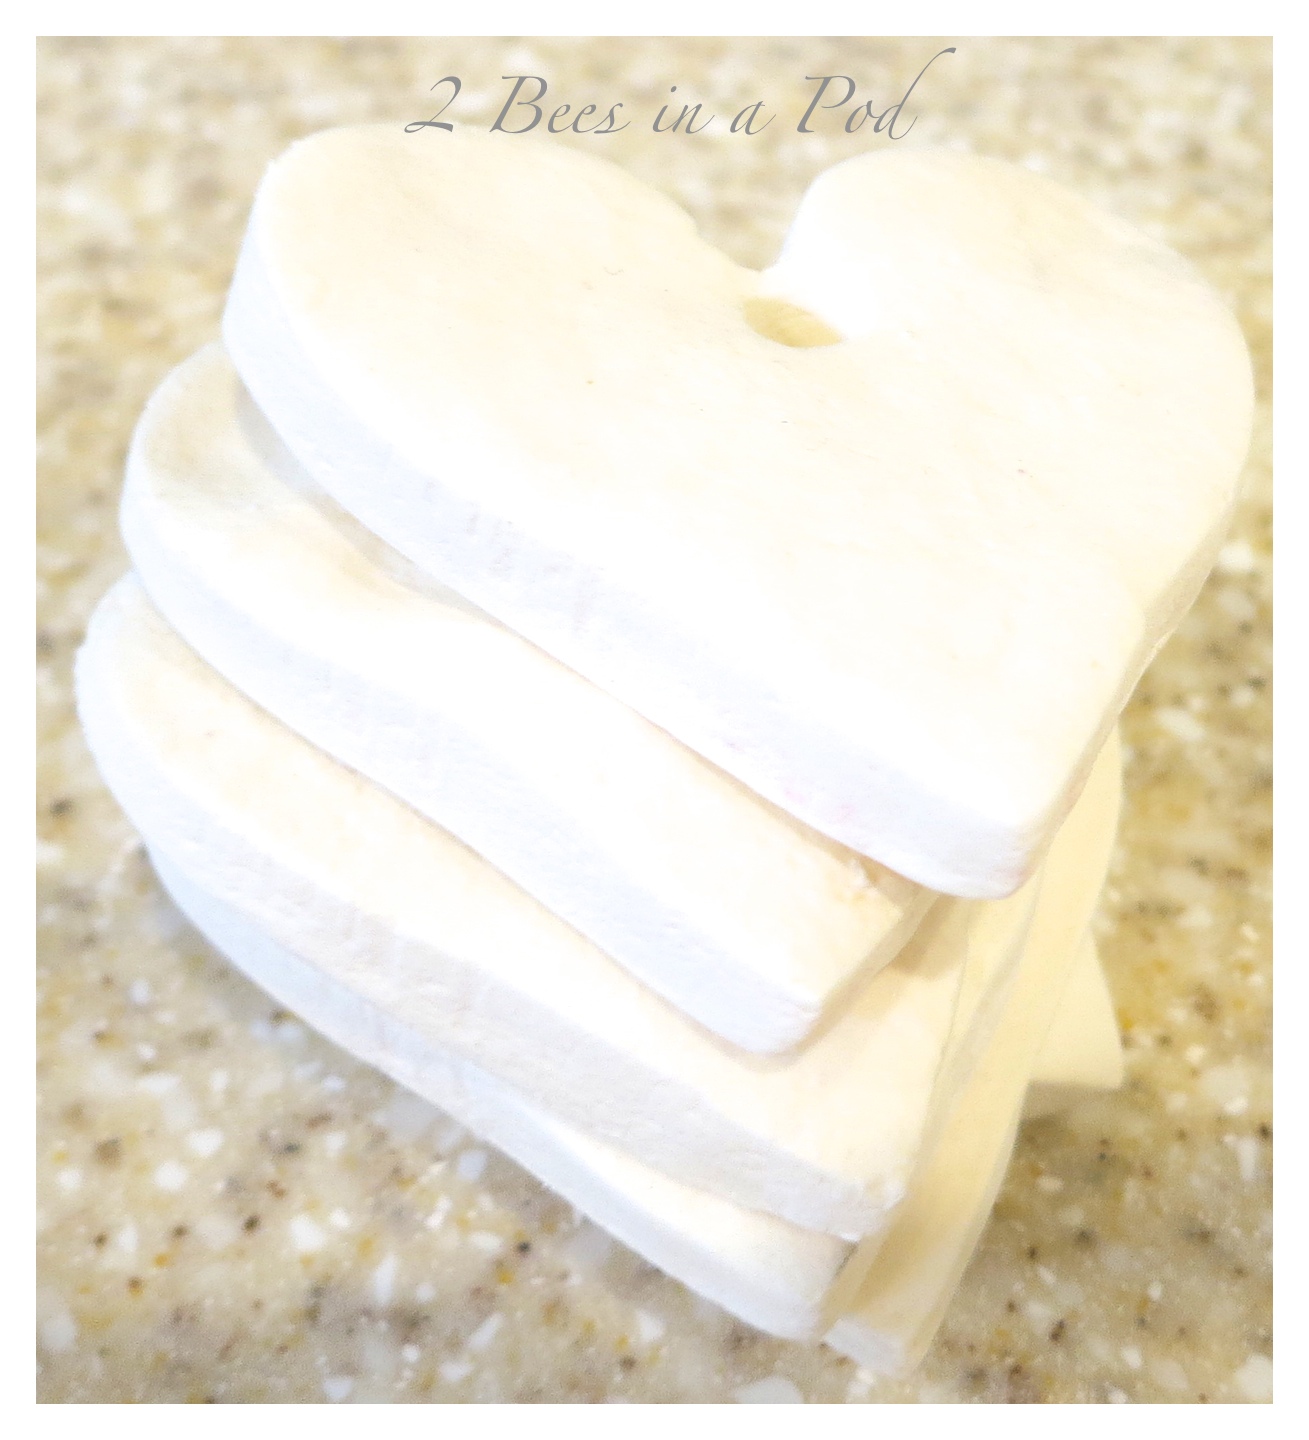
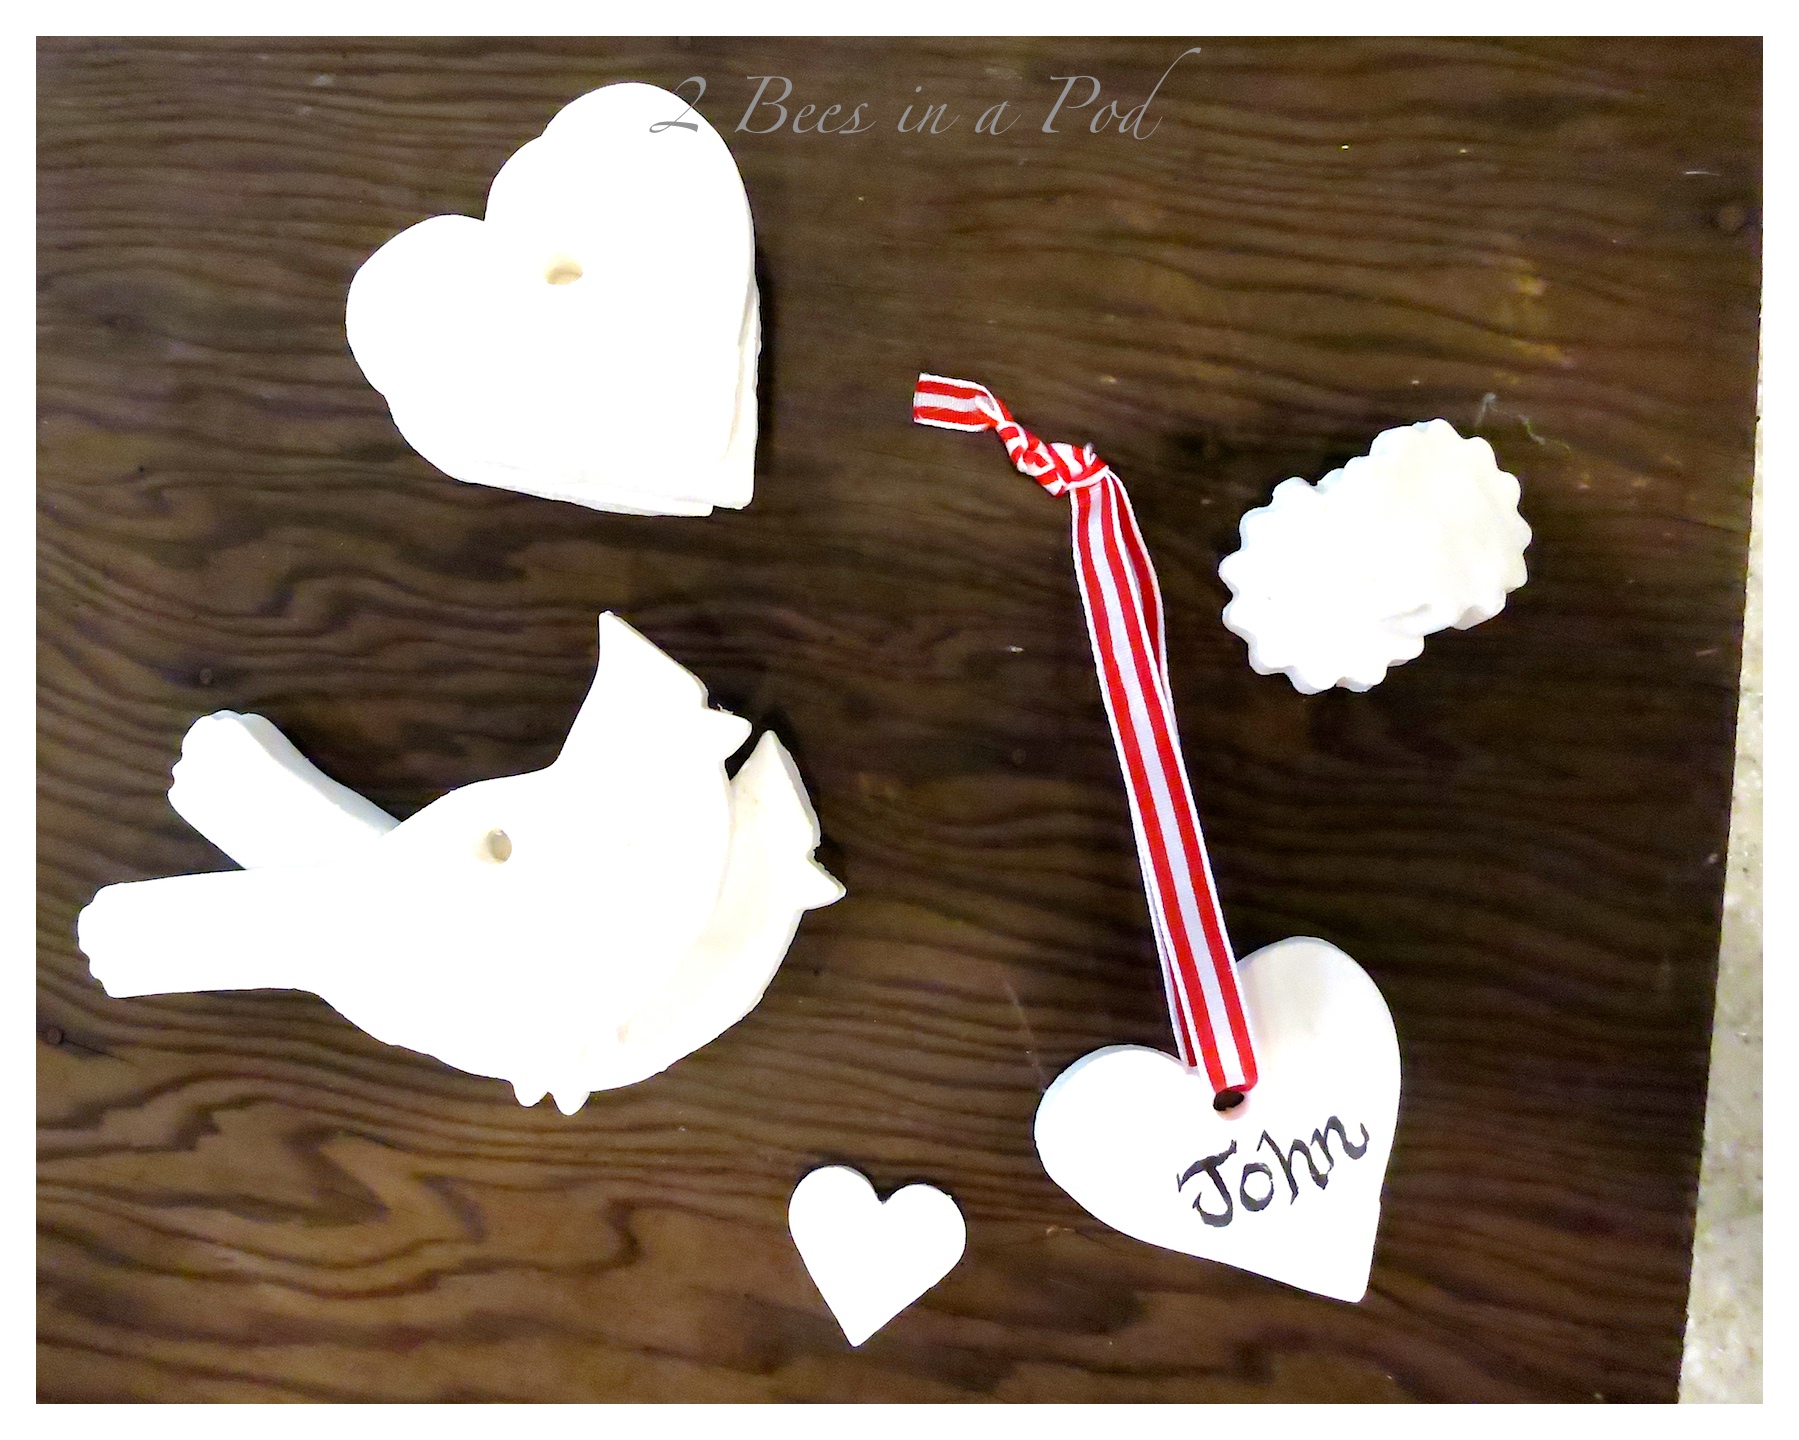
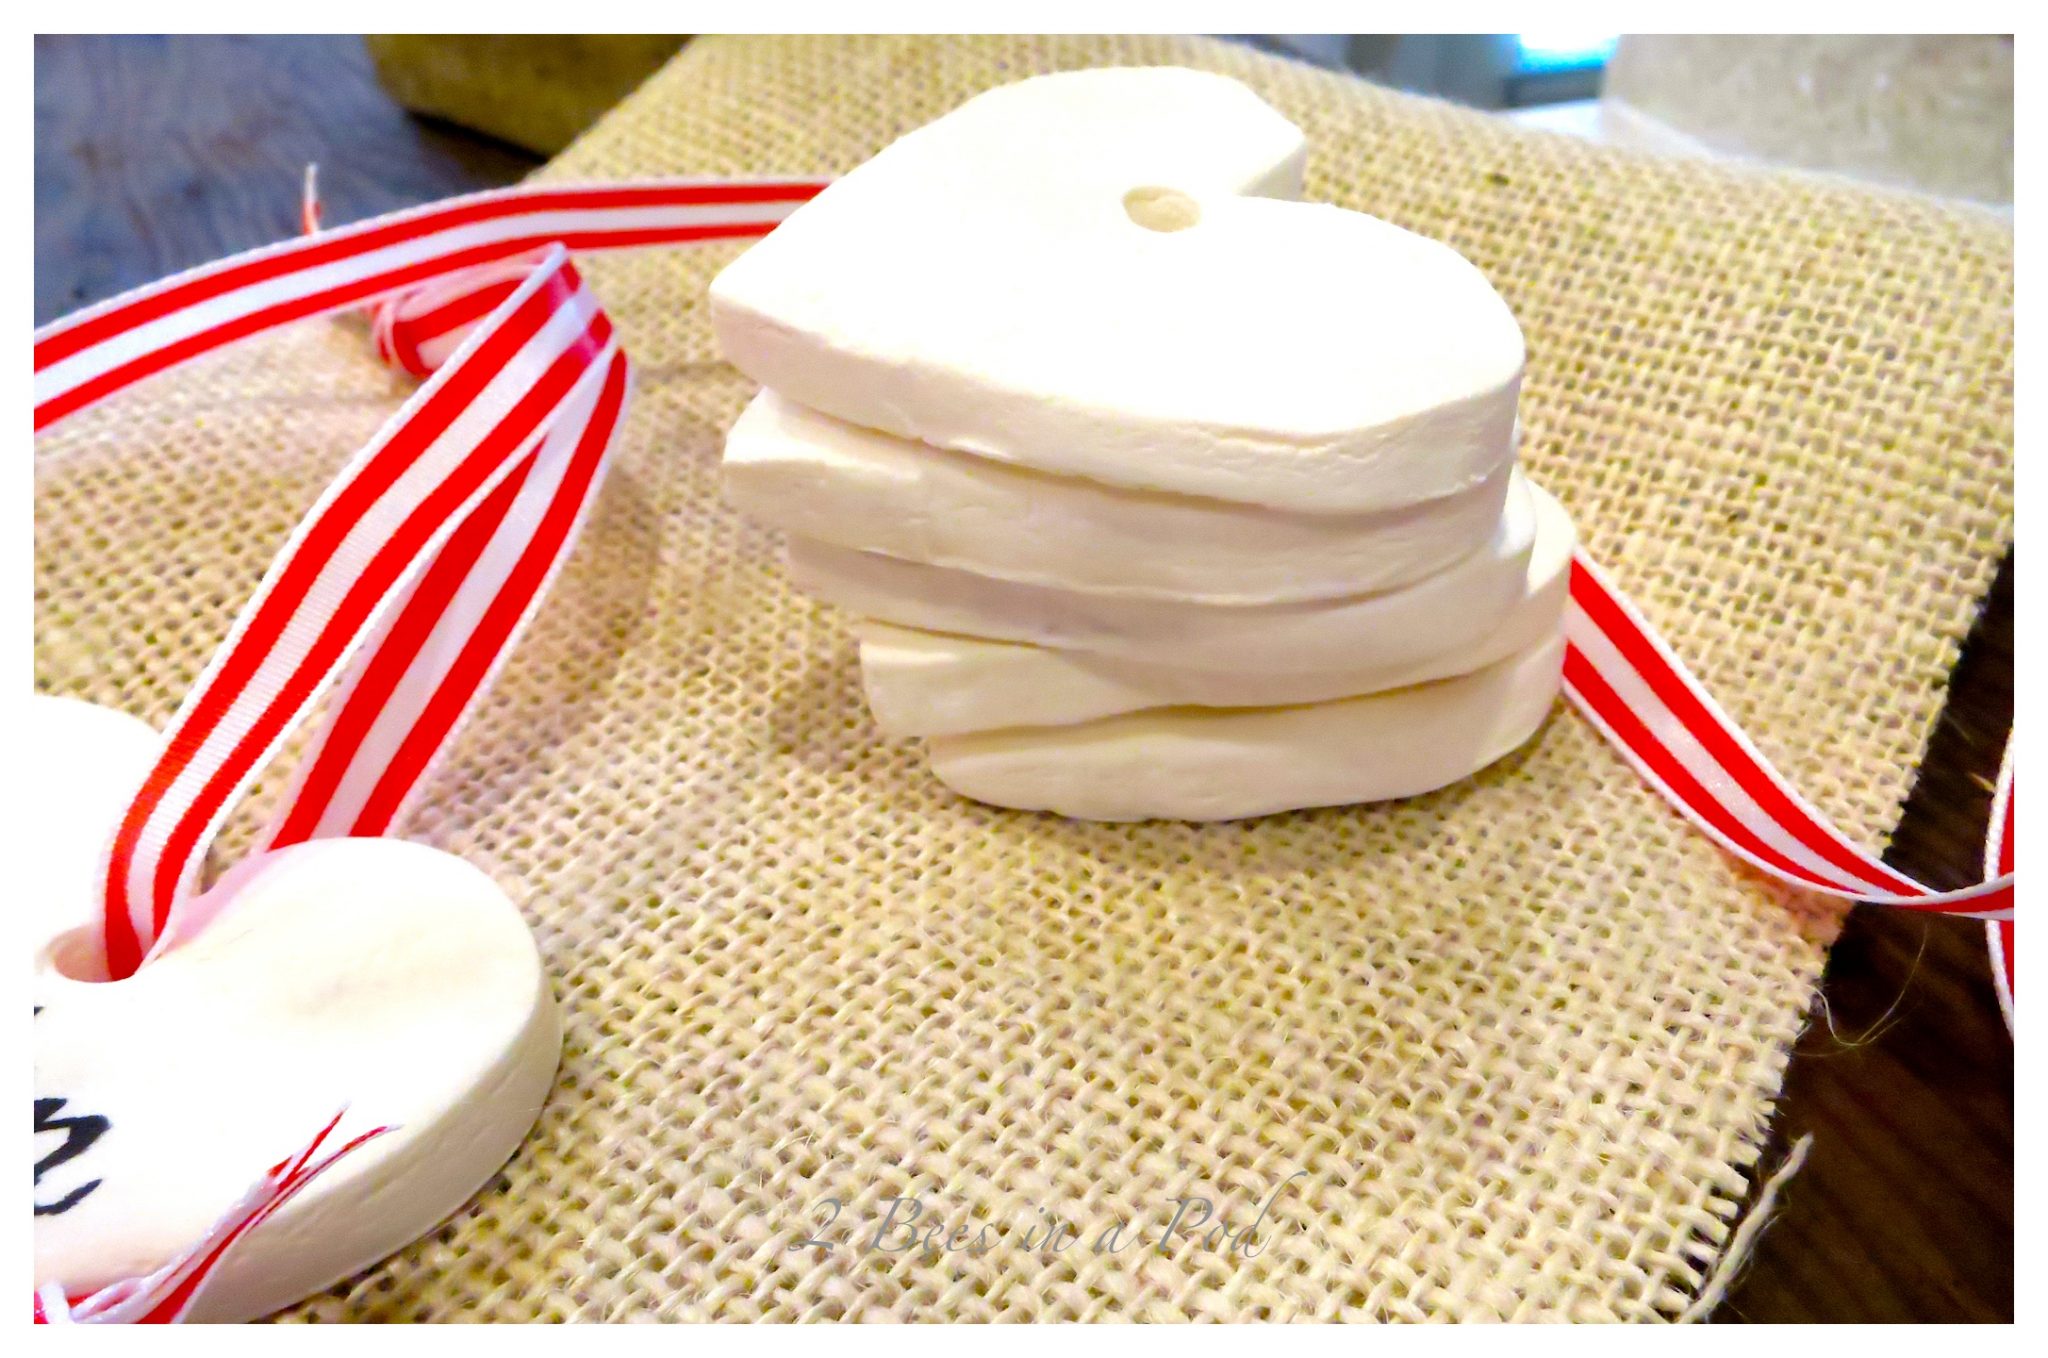
All baked and hardened.
I chose to lightly sand the rough edges of my cut outs.
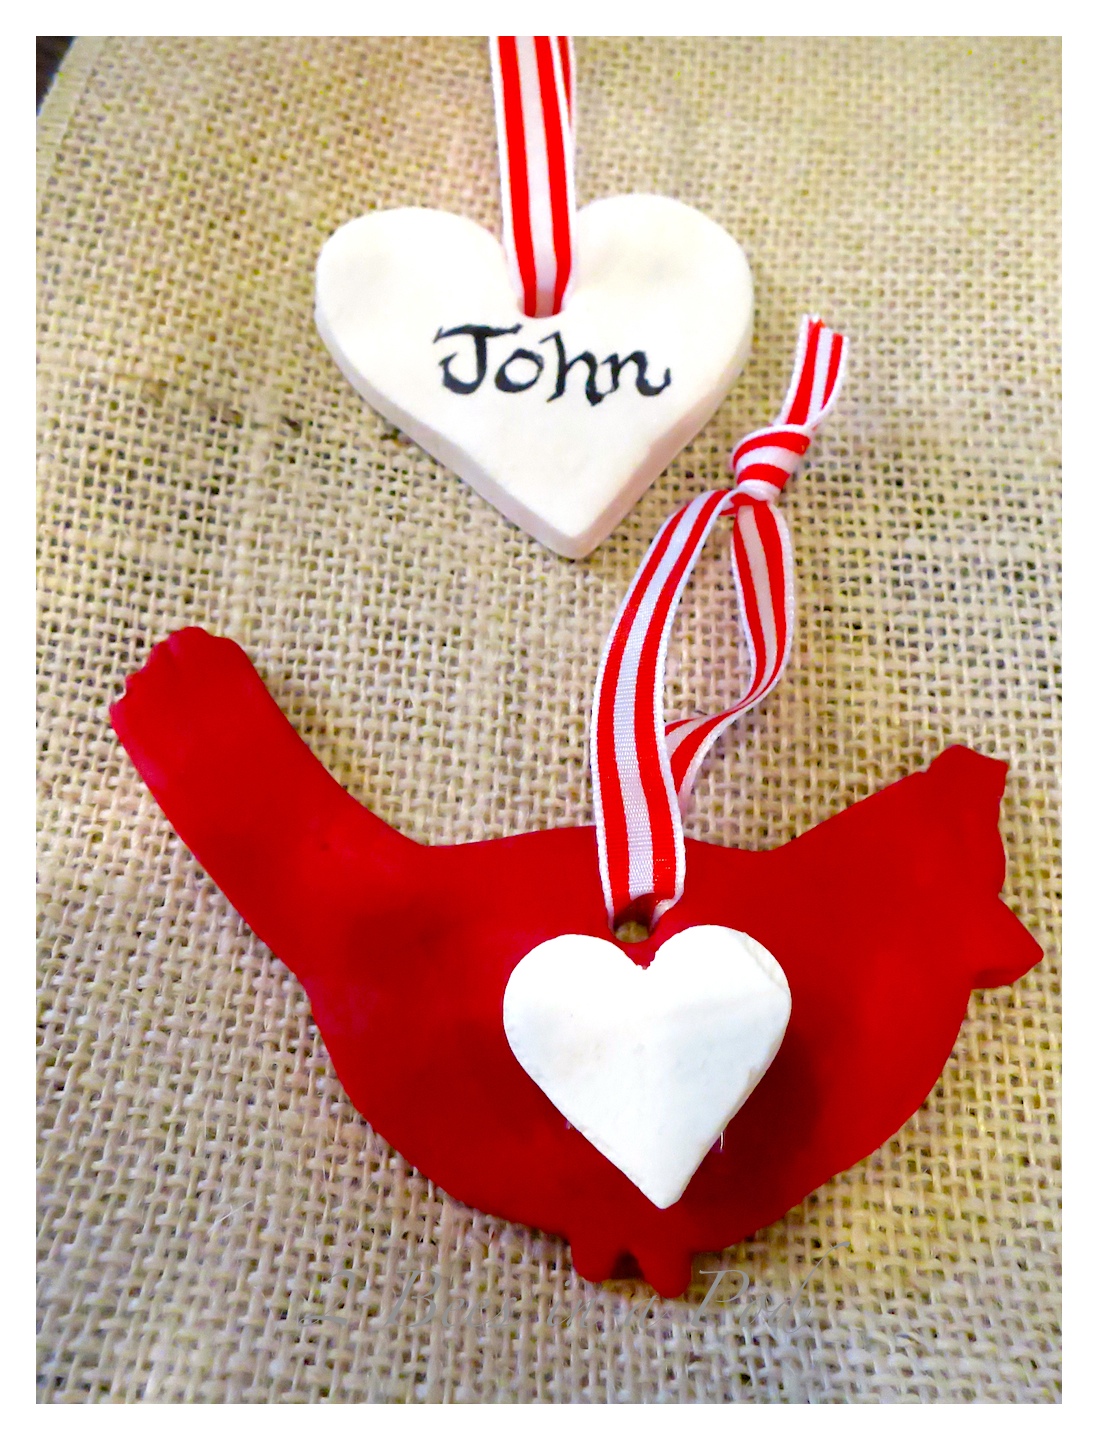
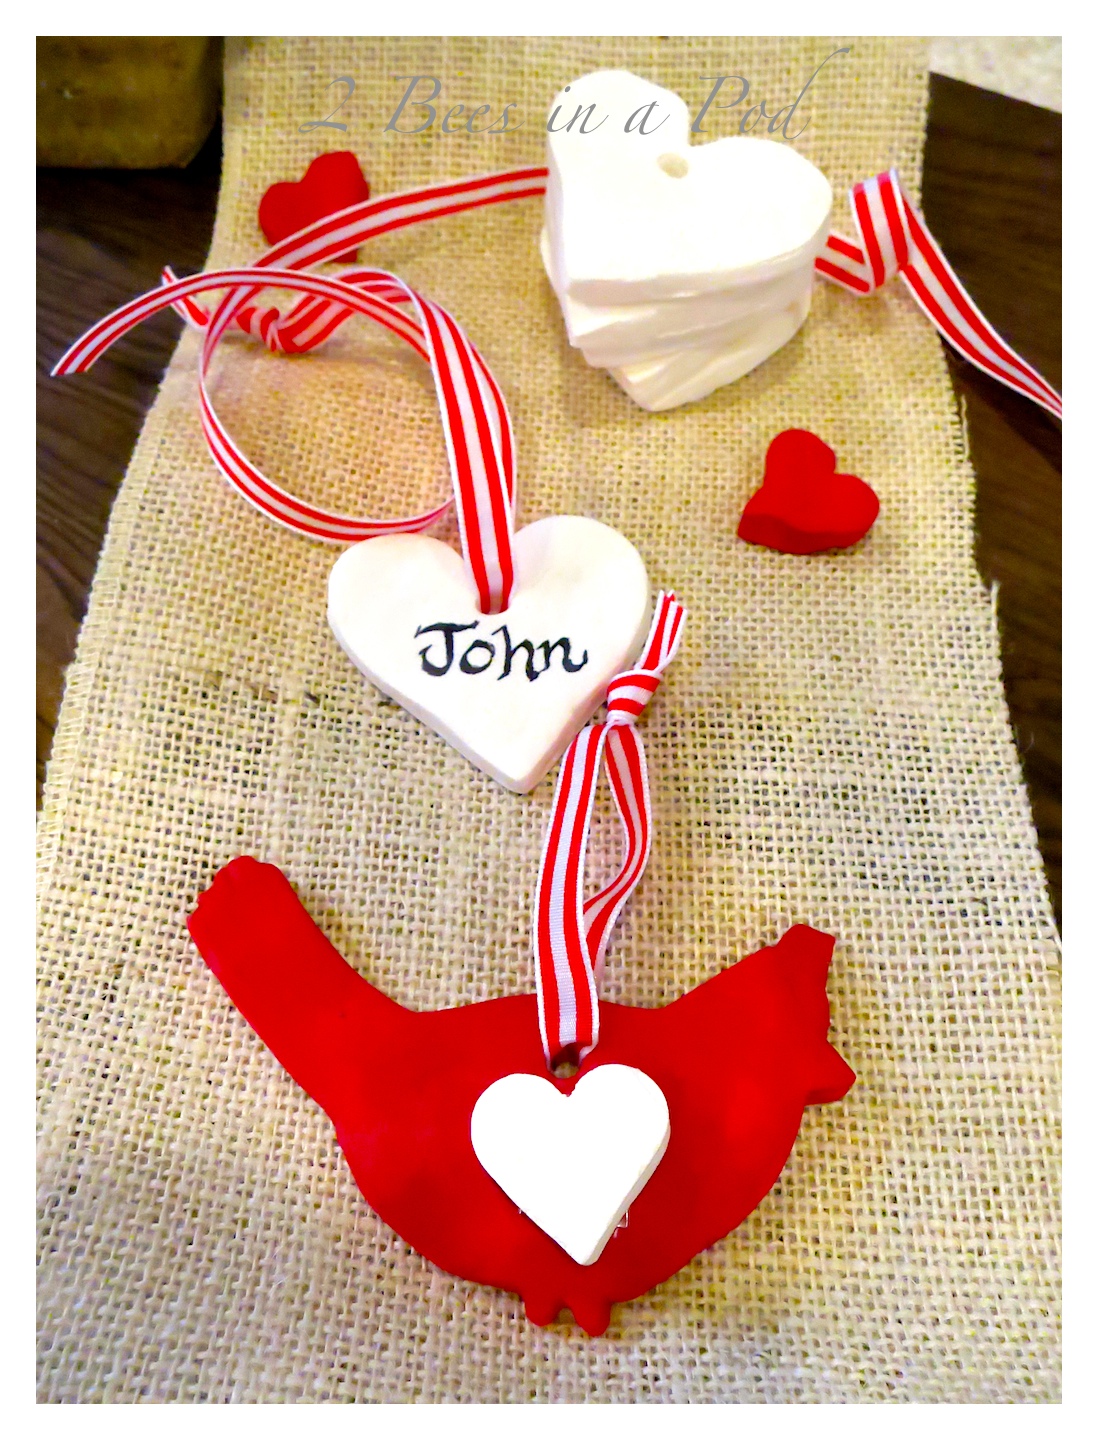
Although I love the bright whiteness of this clay, I decided to paint one of the cardinals and two small hearts red. I was very happy that I did – I love the brightness of this acrylic paint. Cardinals remind me of our wonderful time living in North Carolina.
And as I said, I love the bright white too.
This is my Honey Bees gift tag. I don’t have a gift for him yet, but he has this beautiful tag :)) I just hand painted his name and added this pretty red and white ribbon.
Doesn’t the cardinal look great? I think I’m keeping her 🙂
The miniature hearts got some red acrylic paint as well.
One important thing to remember: Do not get these clay tags wet after they have been baked, as they will disintegrate. The finished product is very hard and sturdy. Also, be careful when painting. I used one thick coat on top and I was sure to let the paint completely dry before I handled again.
So, what do you think? Are you going to give this a try? I think you will be very happy that you did. This is an easy, fun project…Good Luck!!








One Comment