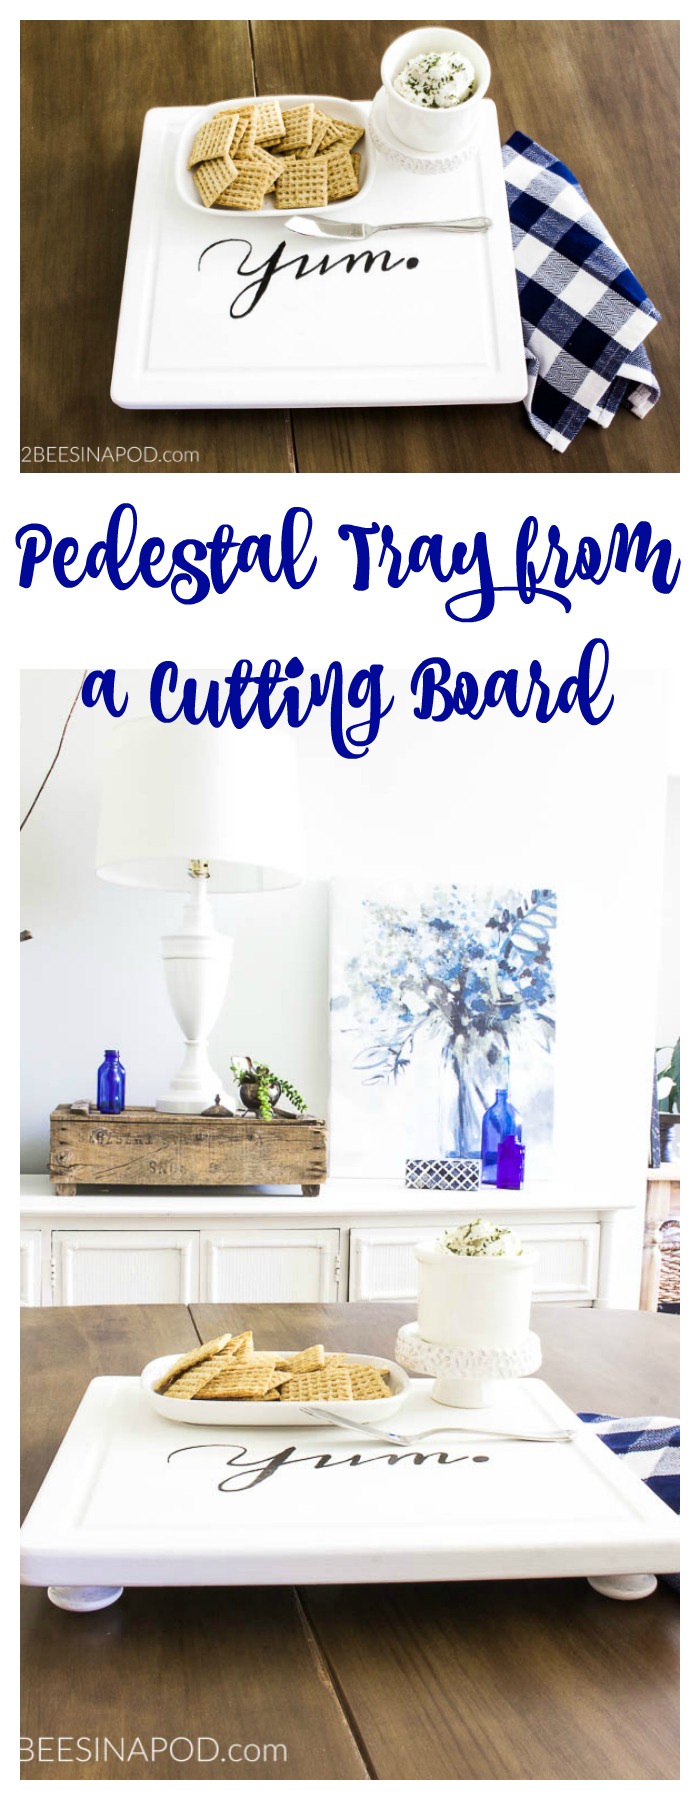
Easy DIY Pedestal Tray From a Cutting Board
Please note that this post contains affiliate links. As an Amazon Associate, Rewards Style influencer and Jane Influencer, we earn from qualifying purchases and any sales made through such links will reward us a small commission – at no extra cost for you.
I know that I always talk about easy projects, but this really is an easy DIY pedestal tray from a cutting board.
So quick and easy in fact that I forgot to take photos of the painting materials. Where’s the forehead smack emoji when you need one? But seriously, you’ll get the idea. You know how I always talk about you never know when or where inspiration for a project will strike? Well, this DIY pedestal tray from a cutting board came about because I was cleaning out kitchen cabinets. Not glamorous at all! But it was for a very good reason and so exciting. I will be sharing more with you in the next couple of weeks! Anyway, I was cleaning, purging and donating a few things.
Let’s get started
One of the items in my donate pile was this cutting board.

For some reason I love to collect cutting boards and I have an over-abundance. This particular one was well used at one time and relegated to the back of the cupboard. As I double-checked the donate box an idea immediately struck because these knobs were also in the box.
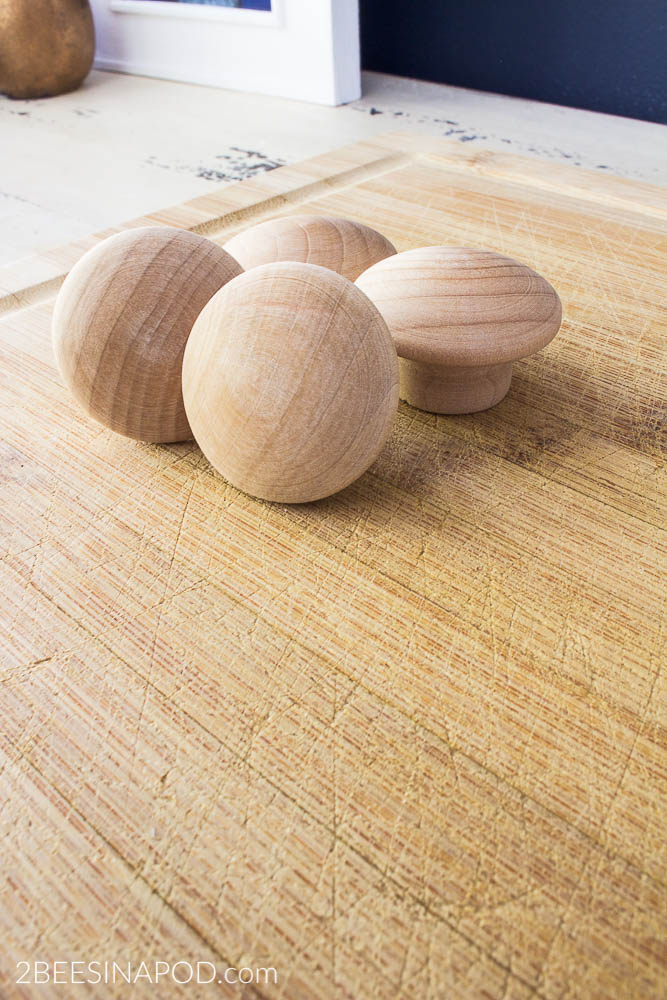
I don’t even remember what the knobs came off of, but I am so glad that I saved them. It is also important for me to point out that I never cut meat on my wooden cutting boards. I have a couple of glass ones that I use solely for that purpose.
Materials Used
- Wooden cutting board
- 4 wooden knobs – these come in a 10 pack. You can do multiple projects or share with a friend.
- Gorilla glue
- White chalk-style paint
- Black paint or my favorite black paint pen
- Wax paper if using wax paper method
- Minwax Polycrylic Protective Finish
Don’t blink – this project goes fast
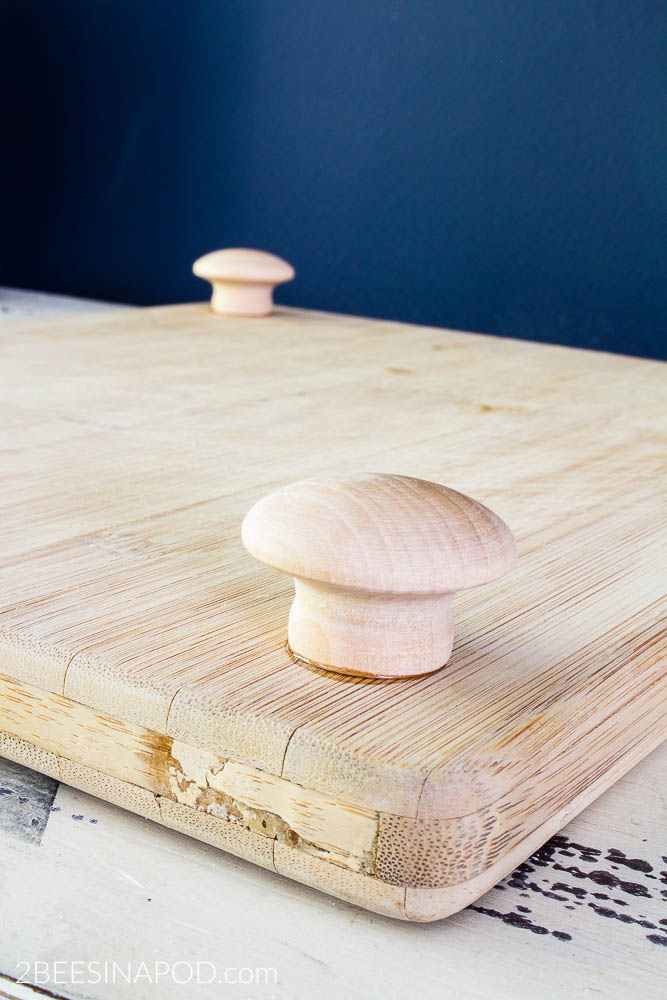
On the flat side of the wooden knob, add a small amount of Gorilla Glue and press firmly to the back side corner of the cutting board.
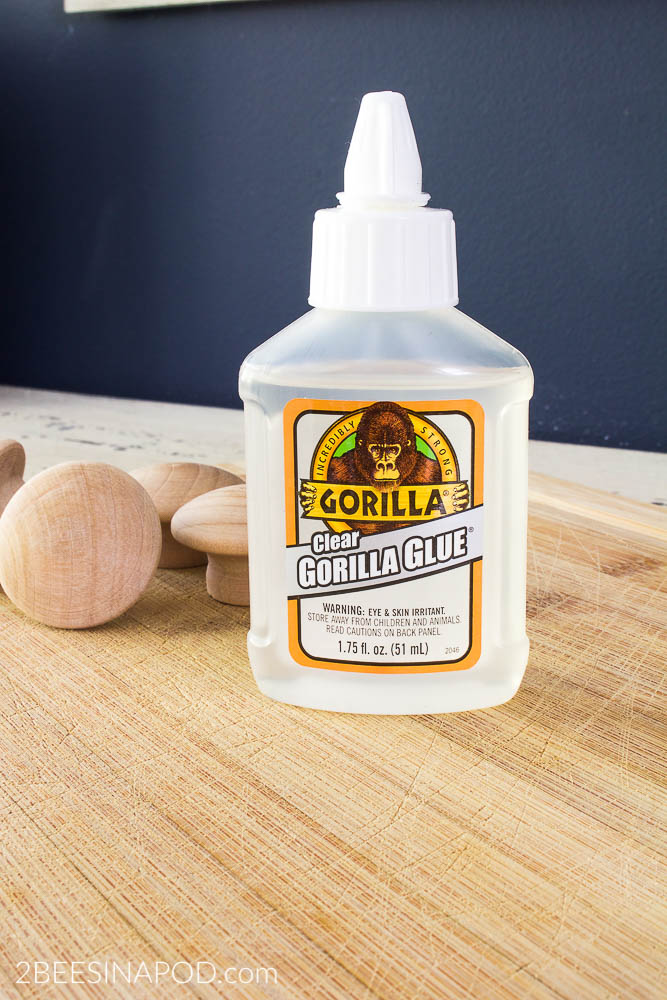
Repeat this step three (3) more times for each corner. Allow the glue to dry per package instructions.
Apply two coats of white chalk-style paint to the entire piece, allowing to dry between coats.

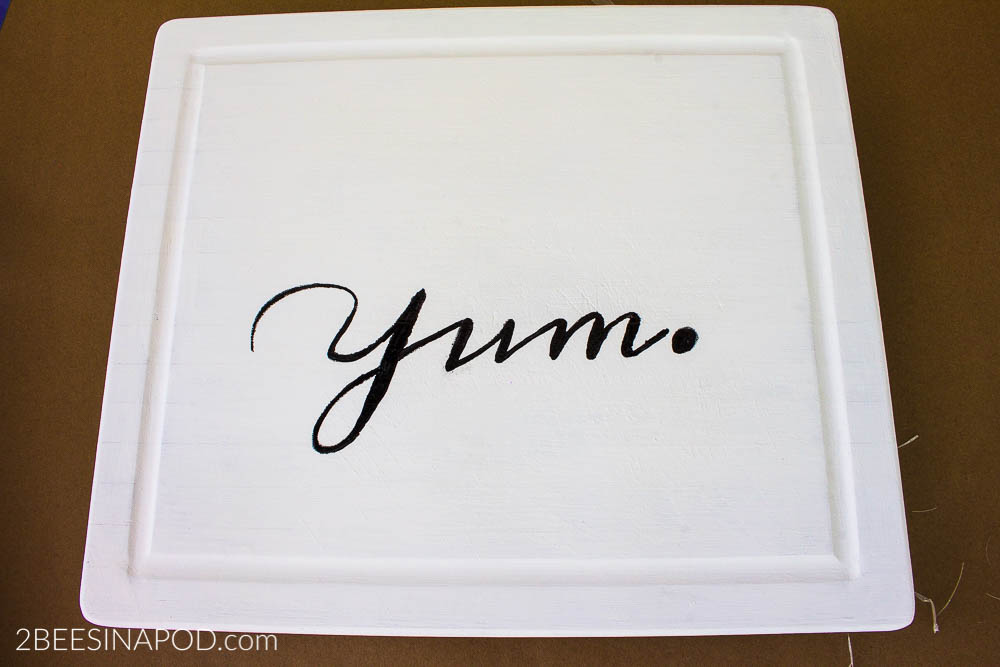
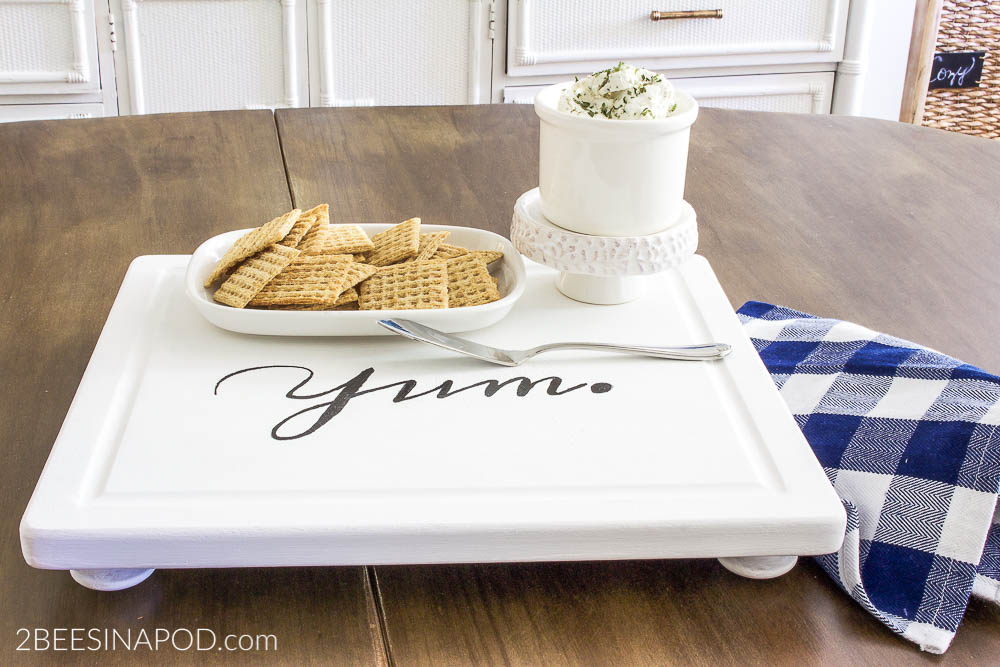
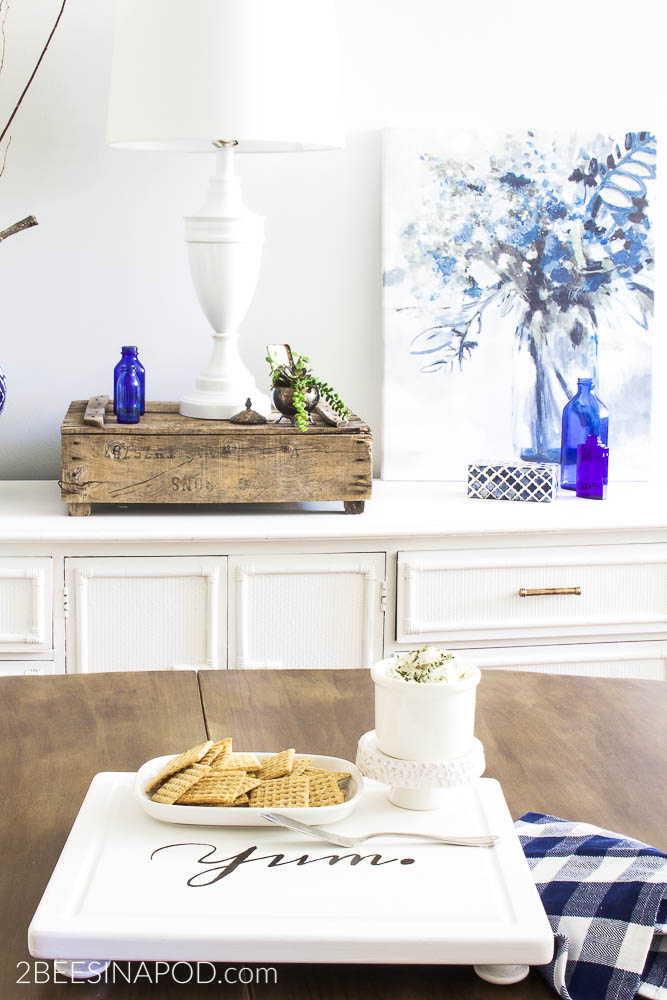
I wanted a cute graphic for the top of my pedestal tray. Do you remember several weeks ago I shared this Lazy Susan post with a tutorial for Wax Paper Graphics? That’s exactly how I transferred this image to the tray.
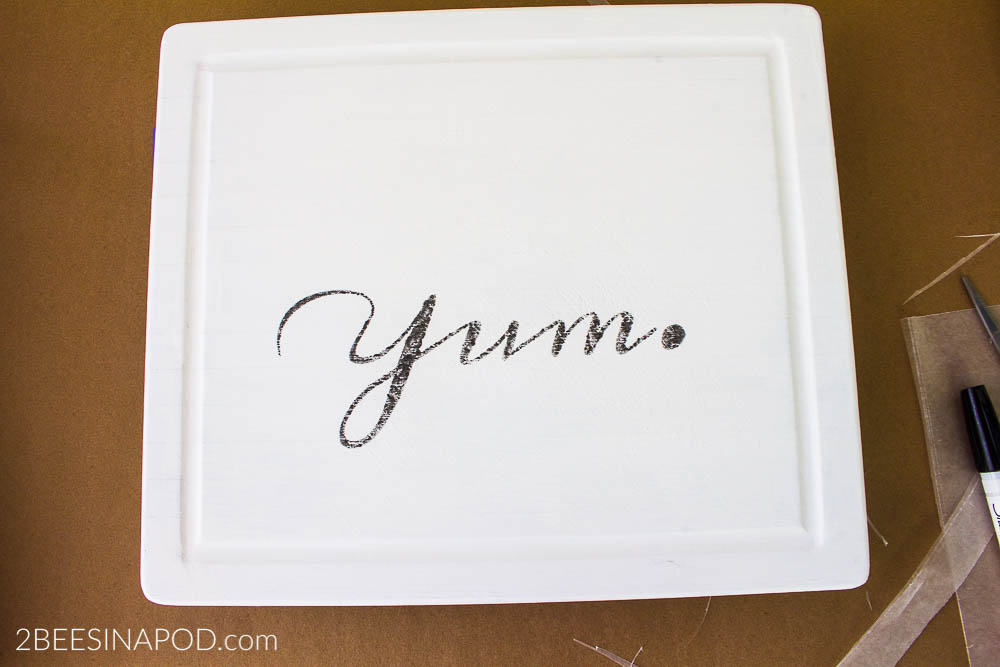
Being that this pedestal tray is going to be used a lot, I wanted the graphic to be more crisp. Using a black paint pen like THIS one made the job super easy. A coat of poly was added for protection. Much research was done by me online because I want my pedestal tray to be food safe. This is what I found:
According to FDA regulations, the typical clear wood finishes that dry to a hard film, including polyurethane, are considered food safe. Wait to use the surface until the finish is completely dried, and clean it before allowing food contact.
Being that all of the products that I used were very quick drying, this made this a fast project.
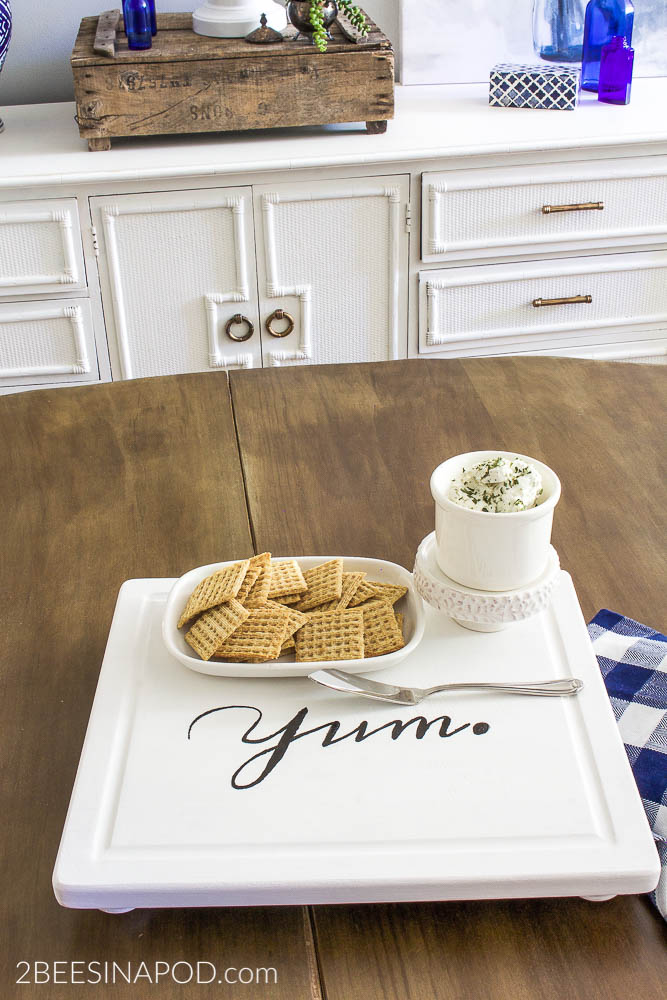
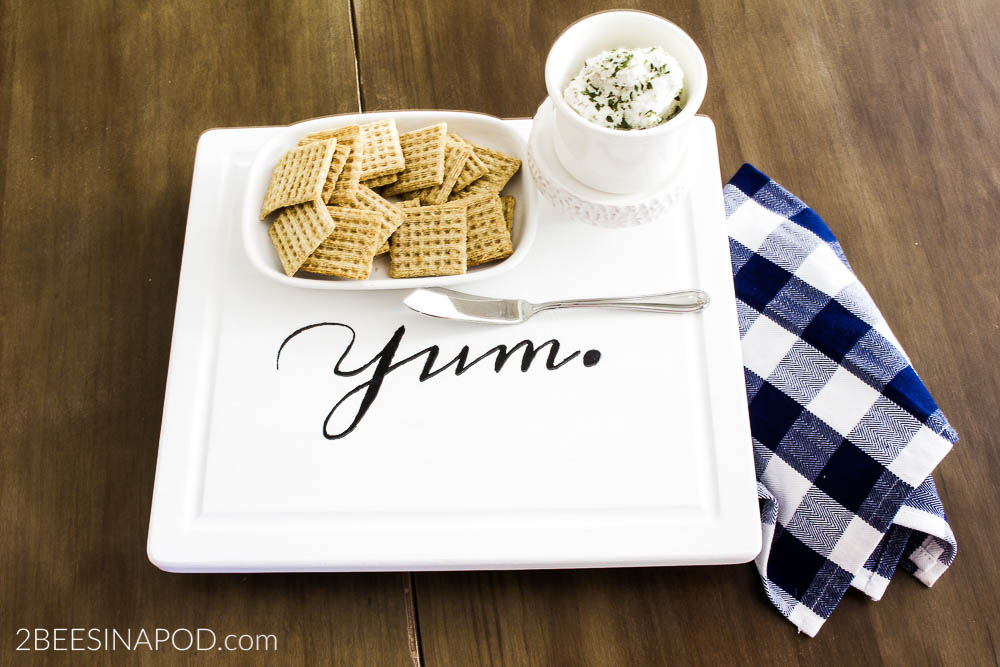
And look at how cute this is!
Before “officially” using it, I will allow the poly to have more curing time.
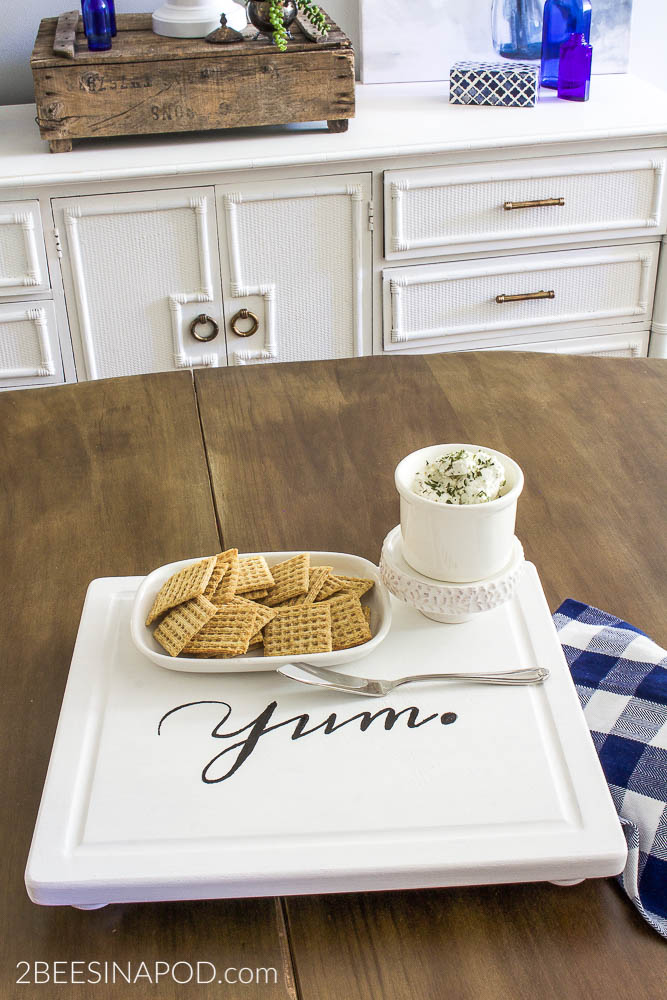
The little bun feet elevate the board off of the table just enough. This allows your hands to move free underneath for easy carrying.
Not bad for what would have been donate pieces.
I love repurposing and reusing whenever I can.

Be sure to stay tuned in for that kitchen news too!
Don’t forget to Pin this to your favorite Pinterest board!
Love this idea and will definitely be doing! Thanks as always!
What a great idea! Will try with my extra cutting boards👍
Super cute ladies! I love the script you put on the front too. This will be great to use all season long. Hugs, CoCo