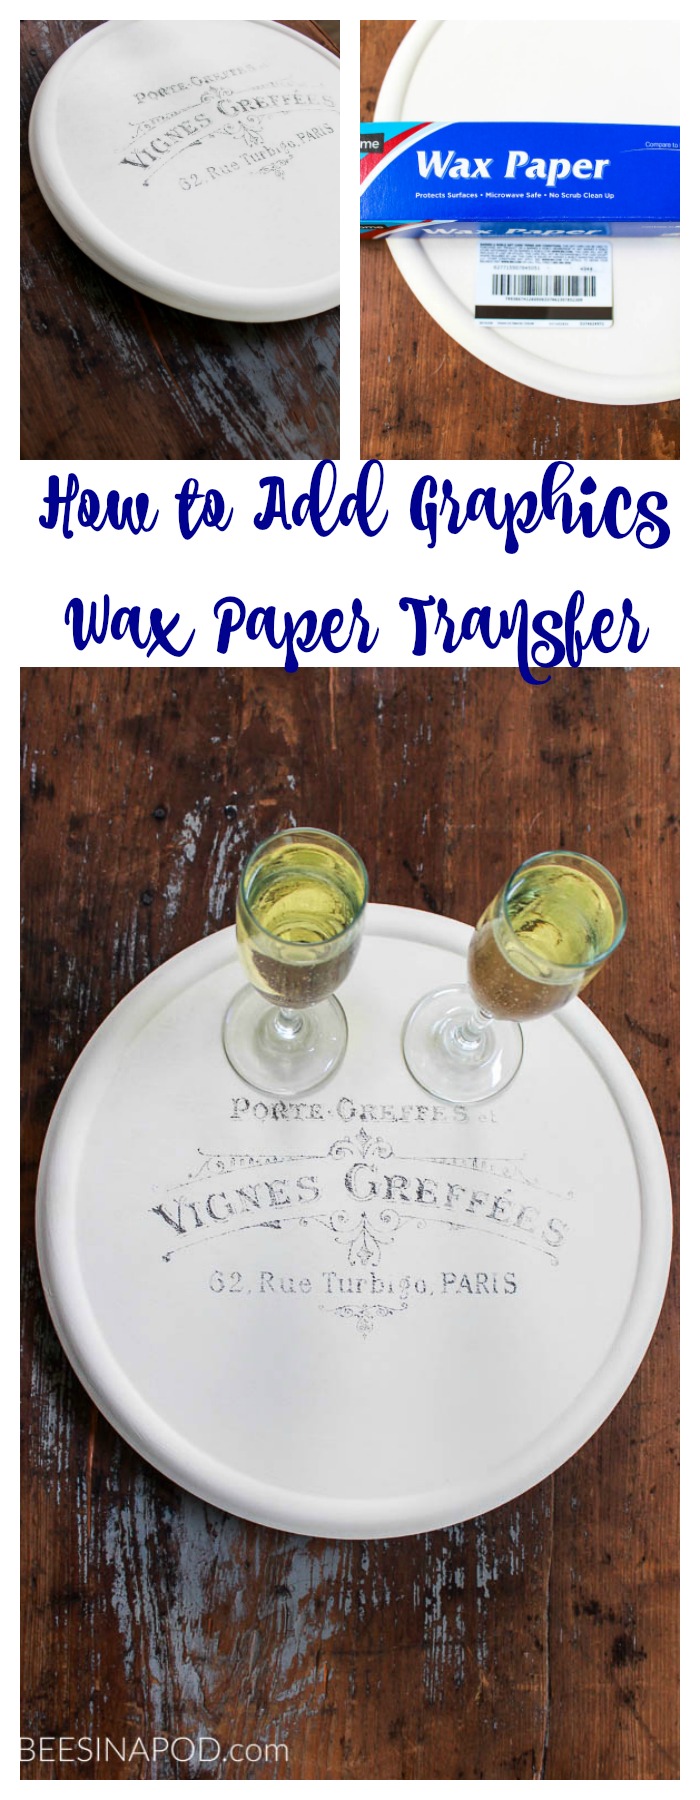
How To Add Graphics With Wax Paper Transfer
Please note that this post contains affiliate links. As an Amazon Associate, Rewards Style influencer and Jane Influencer, we earn from qualifying purchases and any sales made through such links will reward us a small commission – at no extra cost for you.
Painted signs, graphics and typography continue to be on trend and our most popular posts. Today we are sharing with you how to add graphics using the wax paper transfer method.
Painted Graphics
There are so many methods to painting graphics, but today we are going to cheat a little. Don’t tell anybody. It’s not always easy to create the look that we want or to get crisp clean lines. In my case, I wanted a vintage French advertisement.
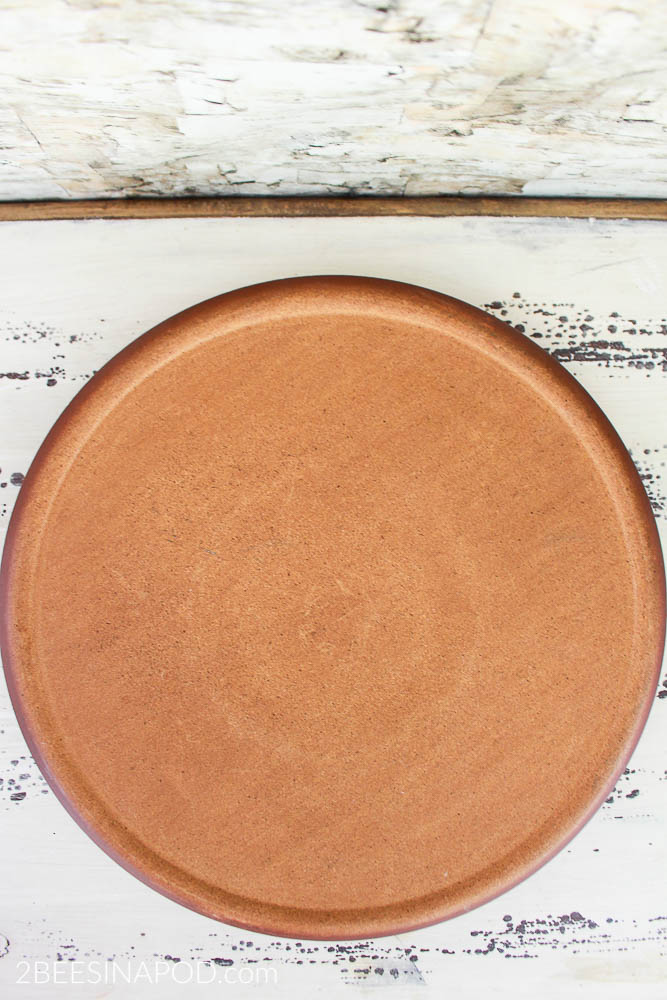
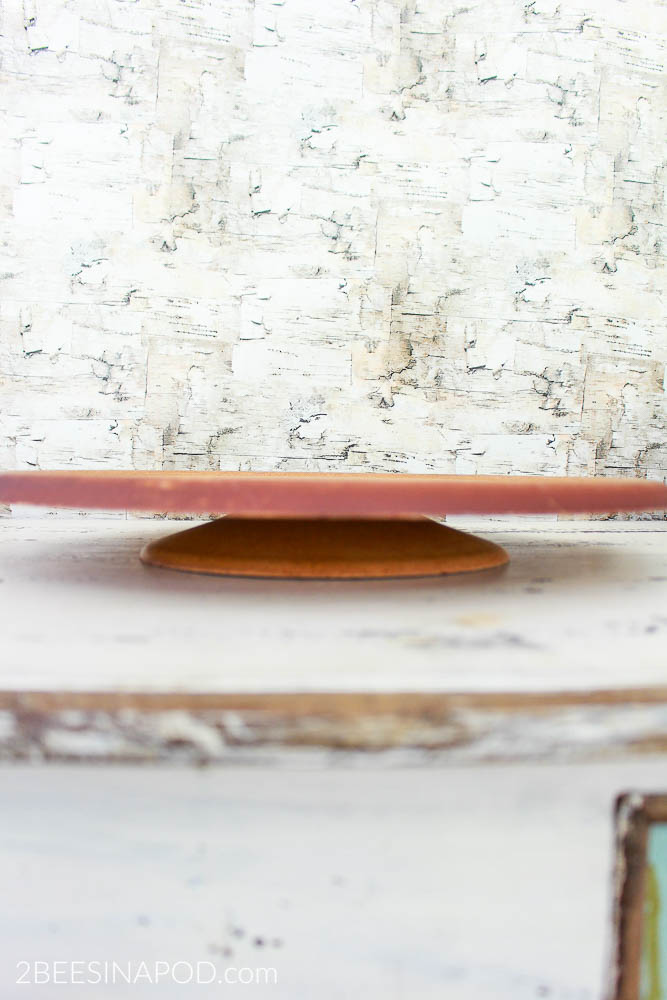
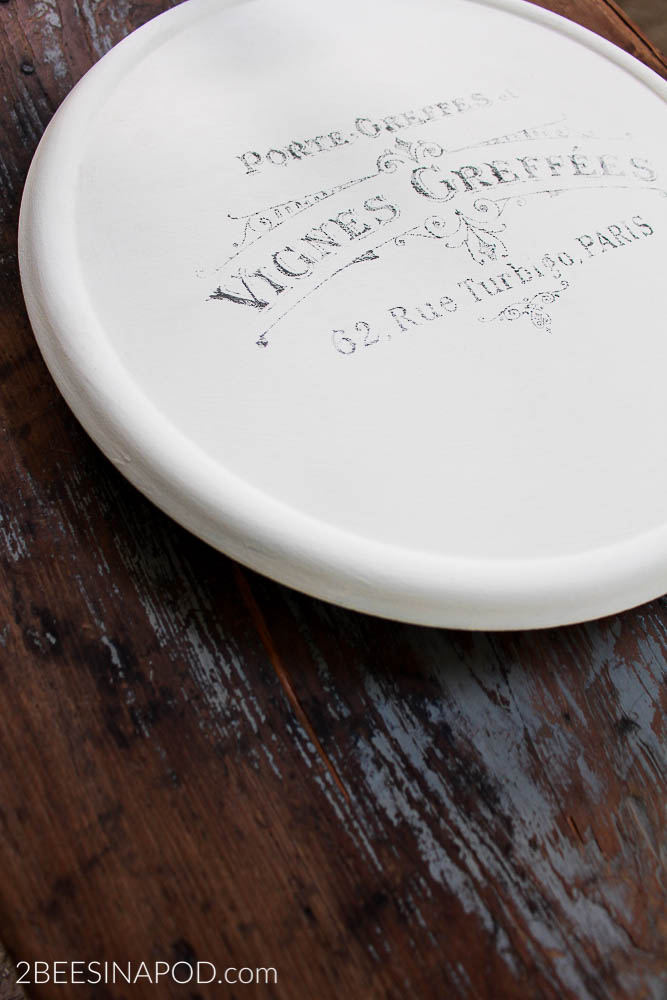
This lazy Susan from my thrifting adventures was the perfect candidate.
It is a tad short and the rosey color is a bit odd.
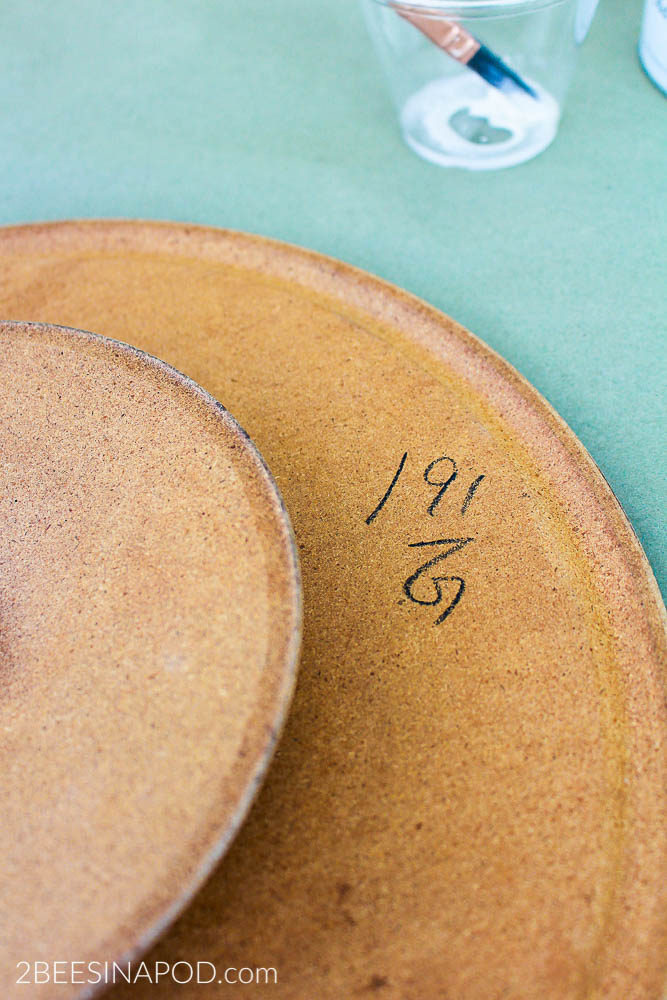
Dare I say I could not pass it up for the low cost of $1.91?
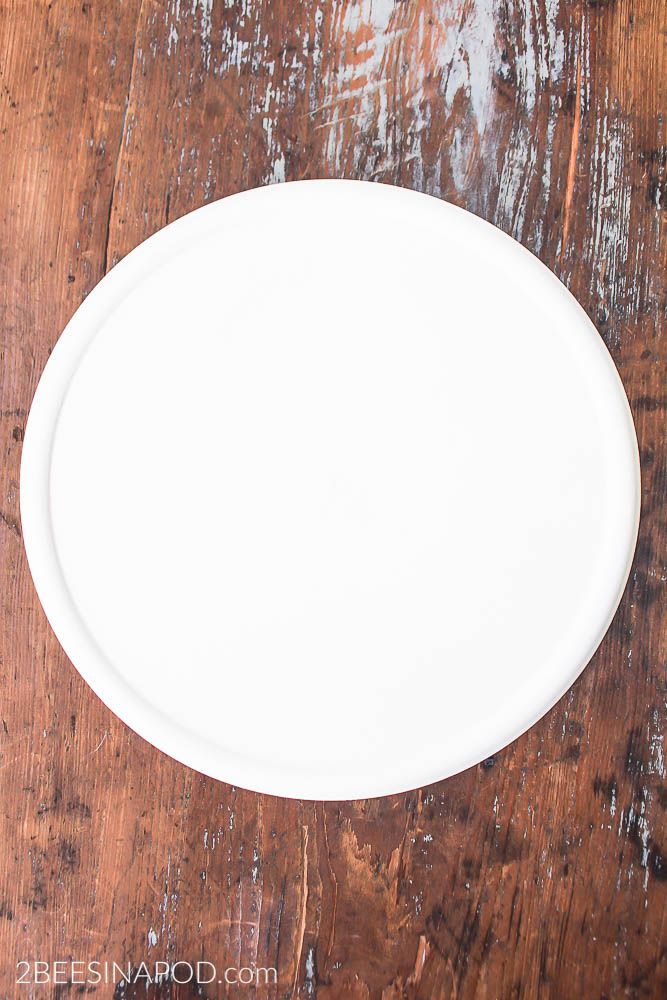
The piece was taken apart for the ease of painting. Two coats of Old White chalk paint were applied.
Here’s where the fun starts! You only need a couple of items for this project. I used a graphic from one of my favorite sites Graphics Fairy.
Let’s get started!
Supplies:
- Wood item that your graphic will be placed on
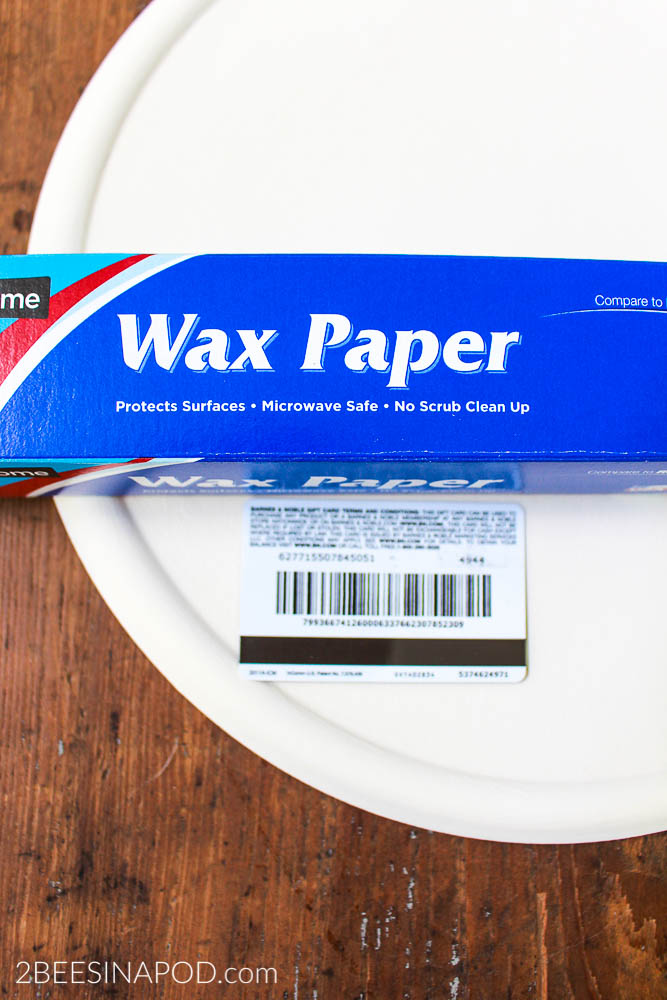
- Wax paper
- Scissors
- Graphic of your choice
- Credit card
You can see a tutorial below to see how easy it is.
This is how you do it:
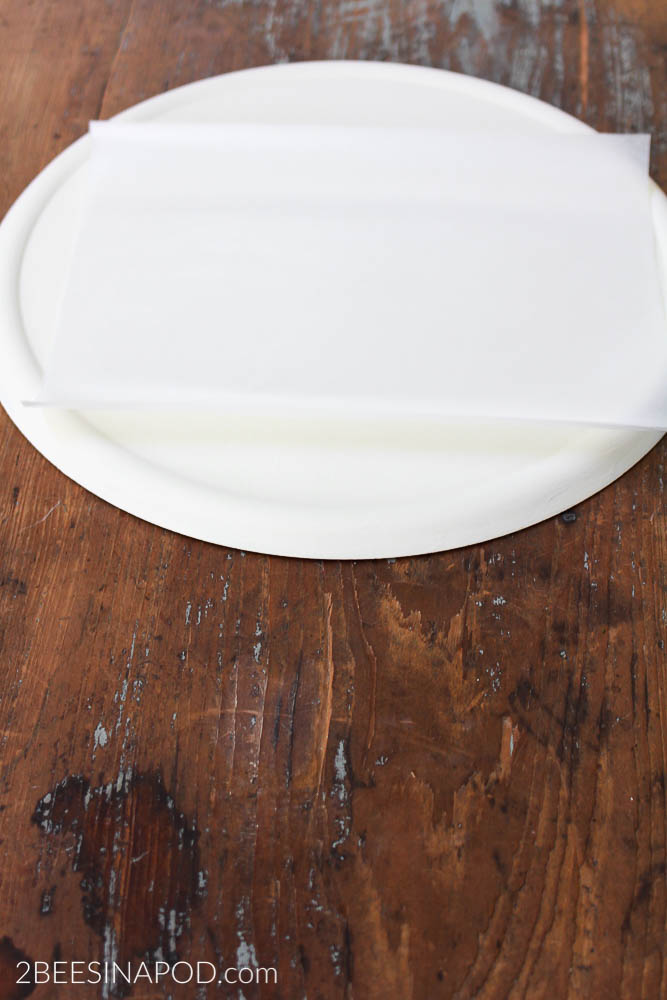
- Cut wax paper sheet to match your printer paper size. Mine is 8 ½ x 11.
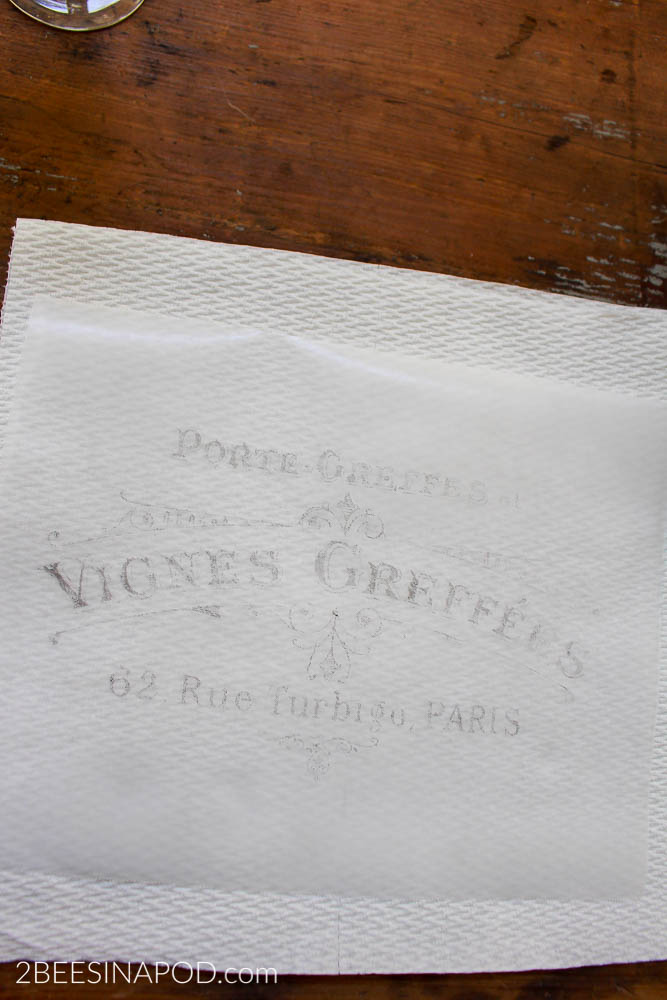
- Print your chosen graphic in reverse, or mirror image.
- Be very careful that your wax paper does not wrinkle.
- The ink is very wet so use caution so that you do smudge it.
- Move quickly while the ink is wet.
- Line the wax paper up and lay it in place on the wood. Do not move it again.
- Hold the wax paper firmly in place.
- Use the credit card to scrape the ink onto the wood.
- Carefully remove the wax paper – do not smudge the ink
Let the ink dry for 24 hours.
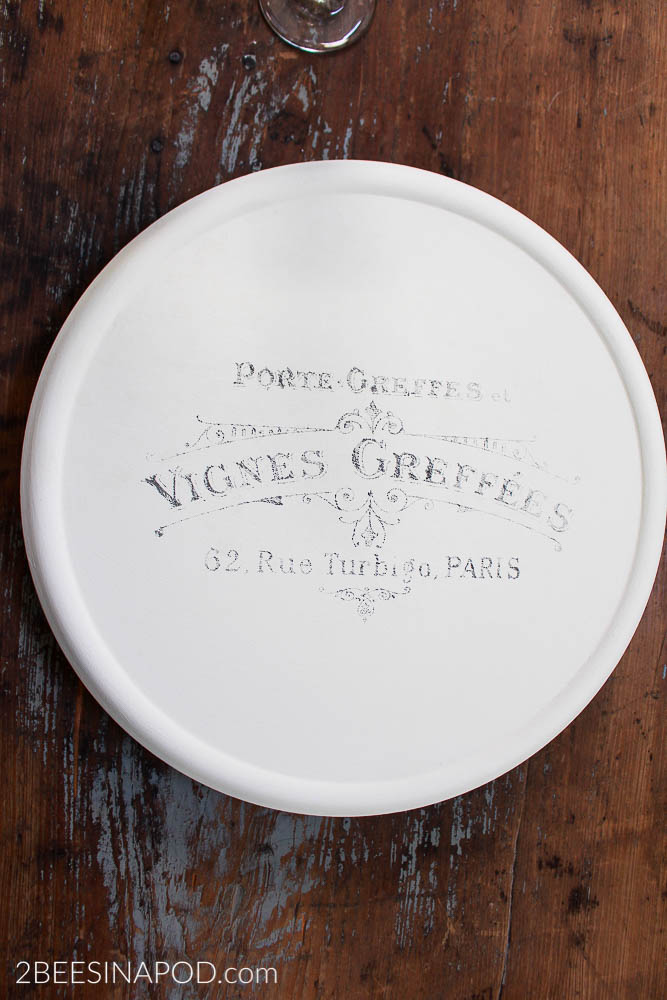
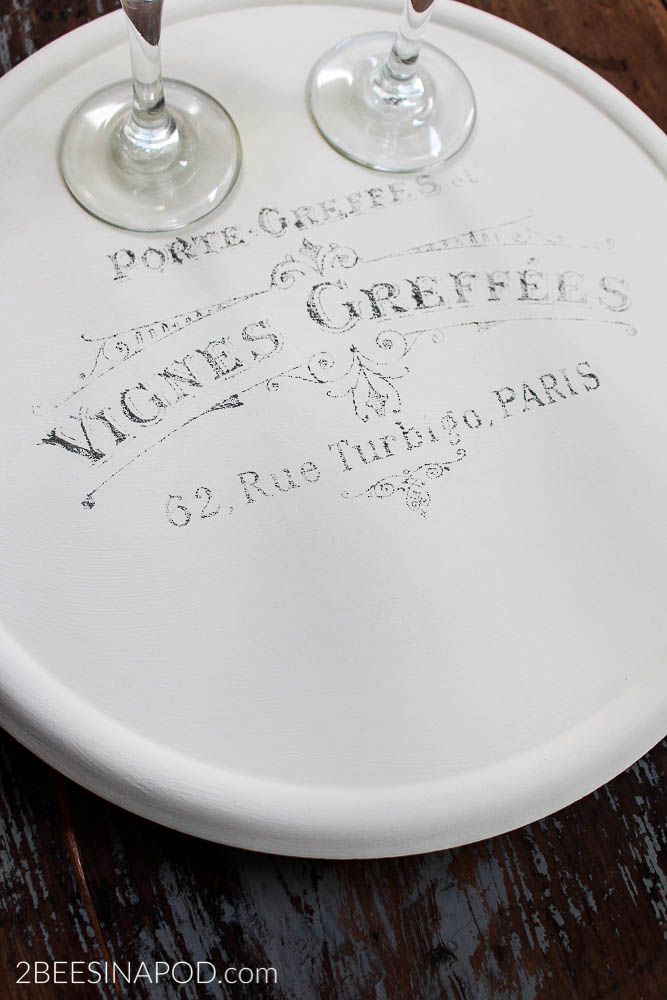
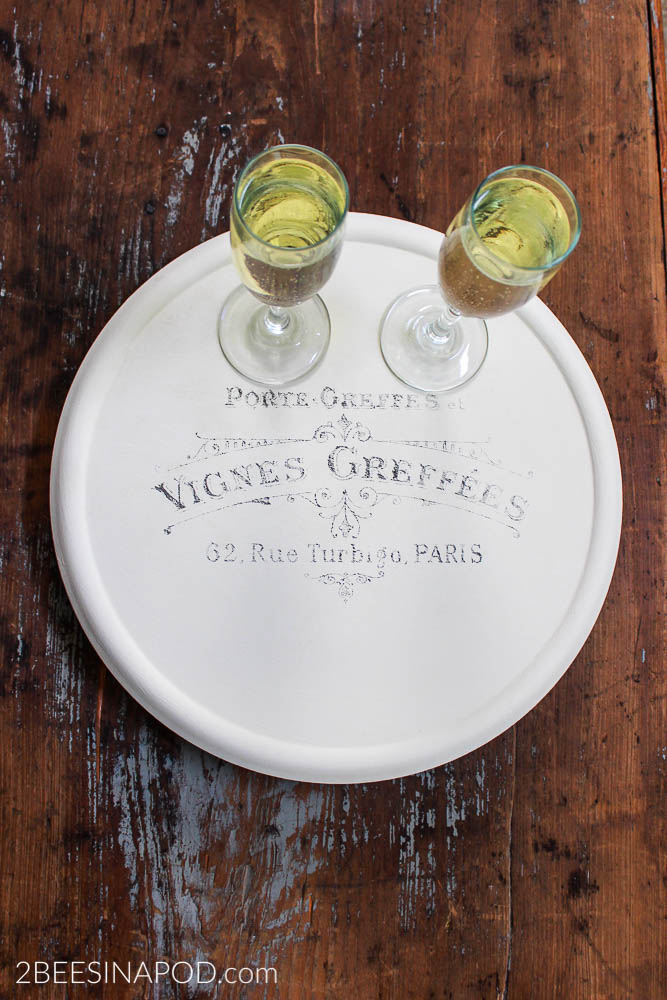
The lazy Susan serving tray looks fabulous. Vintage French graphics are so pretty and ornate. This is a wine advertisement.
After the appropriate drying time I carefully and gently applied a light coat of clear wax. Some people have had issues with smearing ink graphics while applying sealers so use caution.
Seriously, this project could not have been any easier. As you can see in the tutorial video it takes just a minute to do.
Cheers until our next project!




You guys have been doing so many pretty things with graphics lately it’s making me want to run to the store and look for fresh pieces of wood to paint. I love everything you’ve done so far – keep it coming! Hugs, CoCo
This is really beautiful . I would like to try this.
HELP. Do you put the wax paper in the printer? Not sure how the picture got on the wax paper? Does it matter what side goes in the printer wax up or wax down?
Thank you
,
This is really beautiful . I would like to try this.
HELP. Do you put the wax paper in the printer? Not sure how the picture got on the wax paper? Does it matter what side goes in the printer wax up or wax down?
Thank you
,
Hey Shari – Yes – after you cut the wax paper to fit the same size as the normal paper size (we assume 81/2 x 11) place it in the paper feed. Remember you must have your graphic print in reverse. Then you would print as you would a normal copy. Be careful as the ink is very wet on the wax paper. It does not matter which side of the wax paper you print on. We hope this helps. If you have any more questions we would be happy to help. Good luck!
Thank you so much for your quick reply! Can’t wait to try this.
I really love your projects and all your great finds.
You inspire me.
You are so welcome Shari! We can’t thank you enough for your sweet comments and for following our adventures. We would love to see what you create!