Drop Cloth Farmer’s Market Tote Bag
Please note that this post contains affiliate links. As an Amazon Associate, Rewards Style influencer and Jane Influencer, we earn from qualifying purchases and any sales made through such links will reward us a small commission – at no extra cost for you.
Hey y’all…today’s post is super fun! We are big fans of drop cloths. You know…the kind you find in the paint supply department. Well, did you know that you could use them for things other than catching paint drips and spills? We have personally used them as tablecloths, table runners, vanity seat covers and more. Today we will show you how we created a drop cloth farmer’s market tote bag.
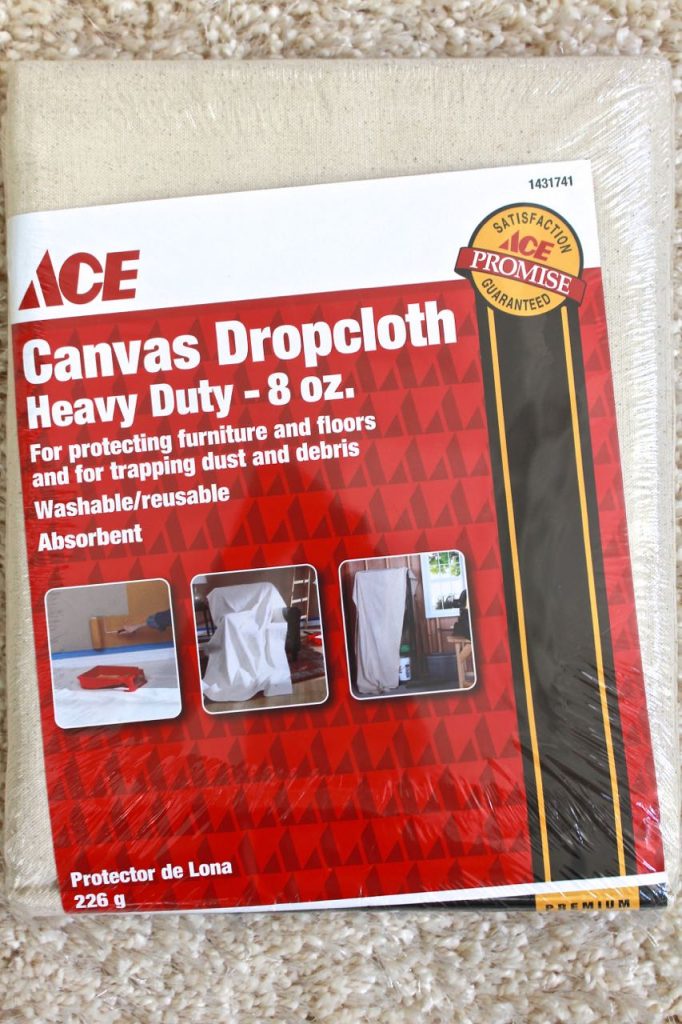
Our tried and true, all-time favorite drop cloth is from Ace Hardware. This isn’t a sponsored post…we just really love their drop cloths. This one set us back $8.00. It is a lot of fabric – a little over 3 yards. We were able to make three large tote bags and one large pillow cover and we still have a lot left over for future projects.
We have purchased a lot of drop cloths over the years. Some can be very pricey…and then when you get them home they are dirty and have holes in them or the seams aren’t sewn together. We aren’t kidding. And we are left wondering, what happened before it was packaged? All of this is to say that we have never been disappointed with the Ace cloth…ever. (This post contains affiliate links.)
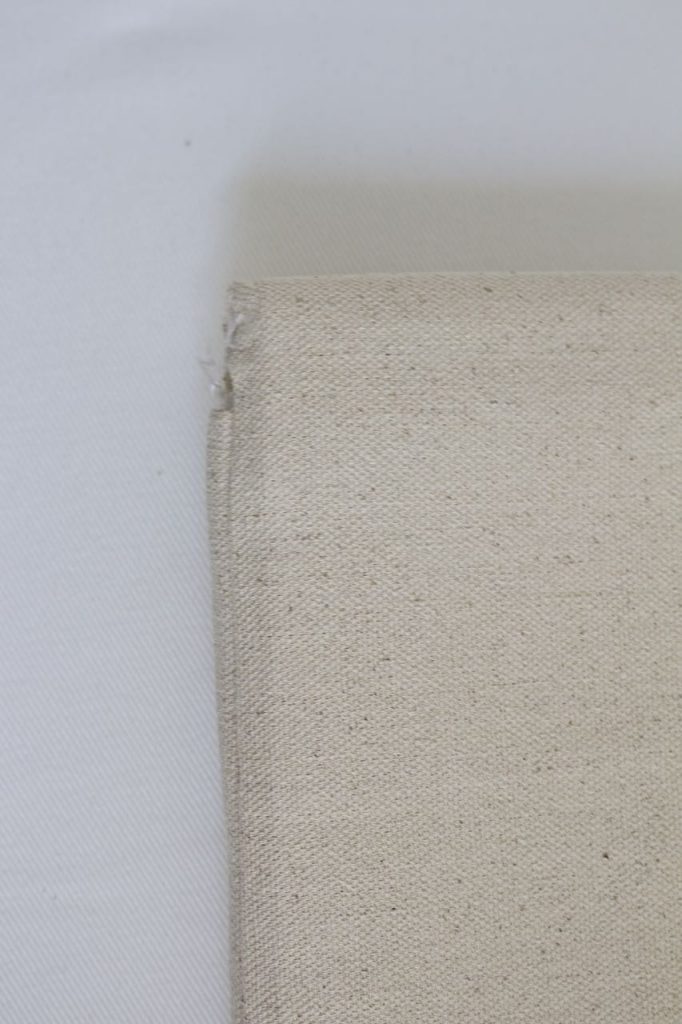
It starts out as a thick canvas that we call oatmeal colored. We prefer to take the color of our cloth from this…
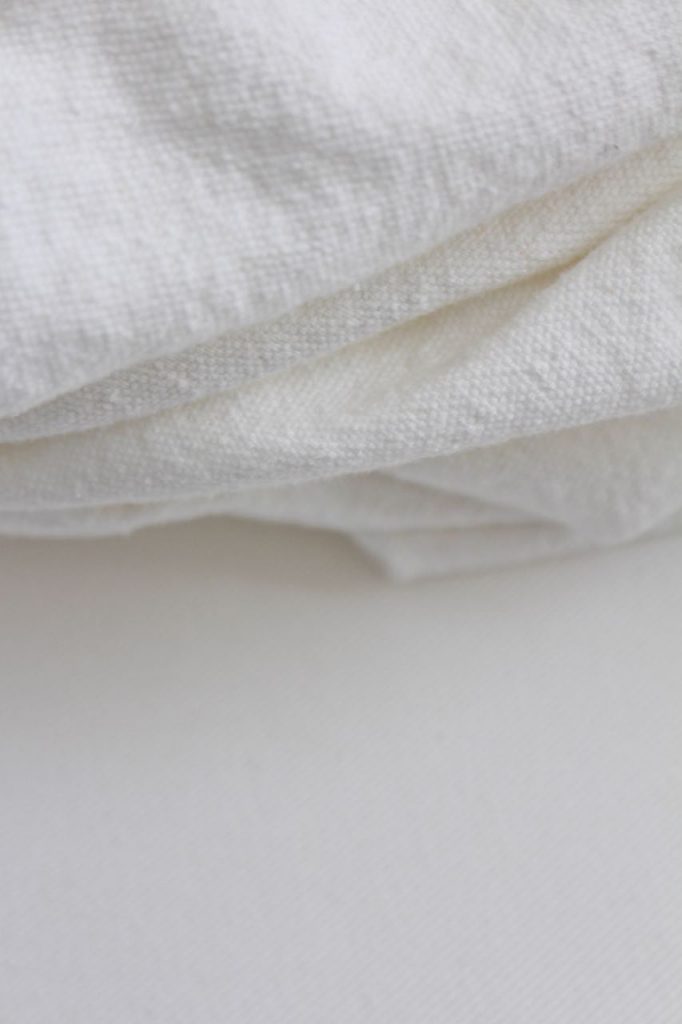
…to this.
Beautifully soft and creamy white. Now, we know you are wondering how we got it too look this way. We use a bleach bath method. After lots of trial and error over the years, this is the ONLY way we bleach our drop cloths. Other methods produced splotchy color and disappointment. Here’s what you need:
Ingredients
- Ace Hardware canvas drop cloth
- 1/2 a gallon of bleach...yes, half of a gallon
Instructions
Place drop cloth in the washer.
Fill washer with warm water and turn off washer.
Add all of the bleach.
Turn washer on and agitate until drop cloth is submerged and turn washer off.
Let sit for one hour in bleach water and turn on agitator until cloth is fully submerged. Repeat each hour for 3 more hours.
You can let drop cloth sit for up to 8 hours.
Turn washer on and let the entire cycle run.
Wash cloth again with laundry soap and no bleach.
Dry as normal.
Sit back and be amazed at how beautiful your fabric is!
https://2beesinapod.com/drop-cloth-farmers-market-tote-bag/Here’s the steps we took to make our farmer’s market tote bags…
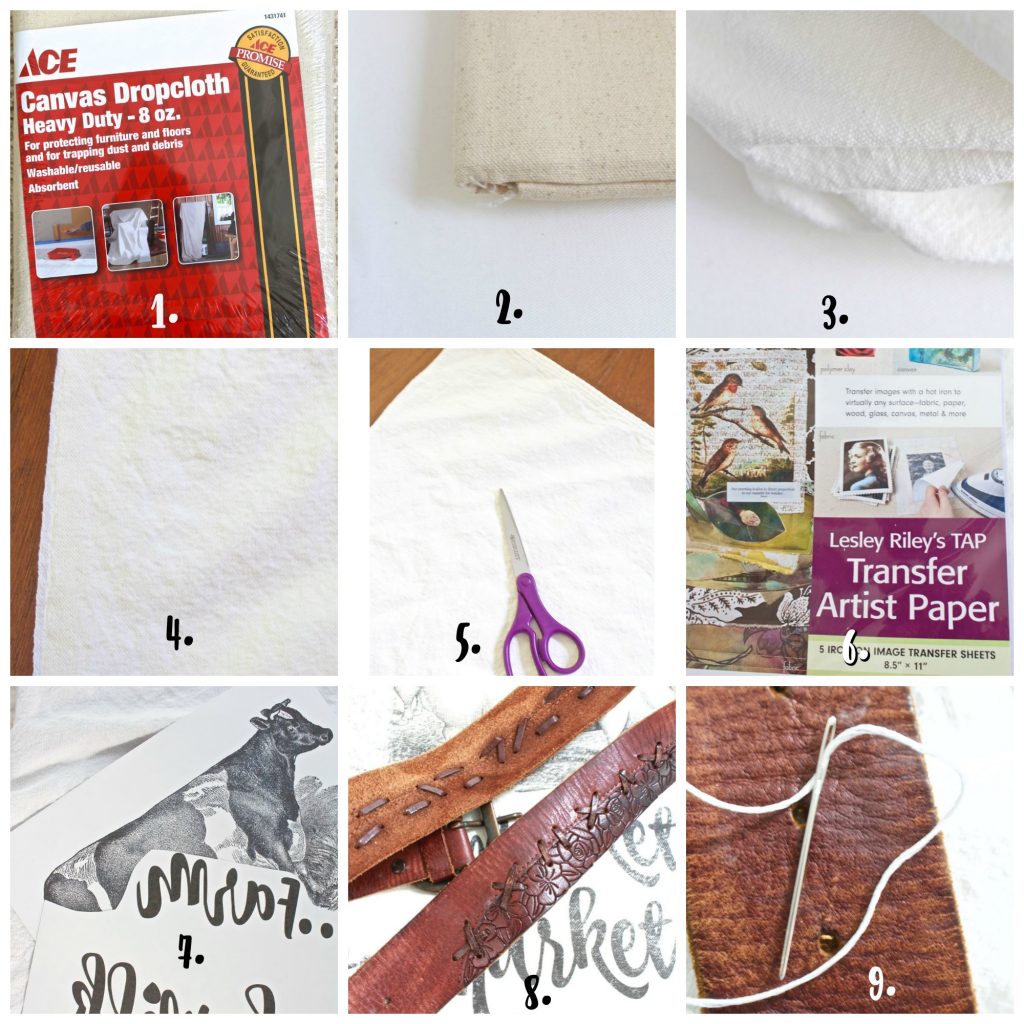
- Purchase Ace Hardware drop cloth – you can find one similar here
- Remove drop cloth from packaging
- Give drop cloth a bleach bath and dry
- Lay drop cloth on flat surface
- Cut to desired size. We cut ours 20 inches square.
- Use Lesley Riley’s transfer paper – you can purchase the transfer paper here
- Print out your chosen artwork and graphics onto transfer paper and iron onto bag *See Below*
- Use vintage or old belts as bag strap handle
- Hand sew into place
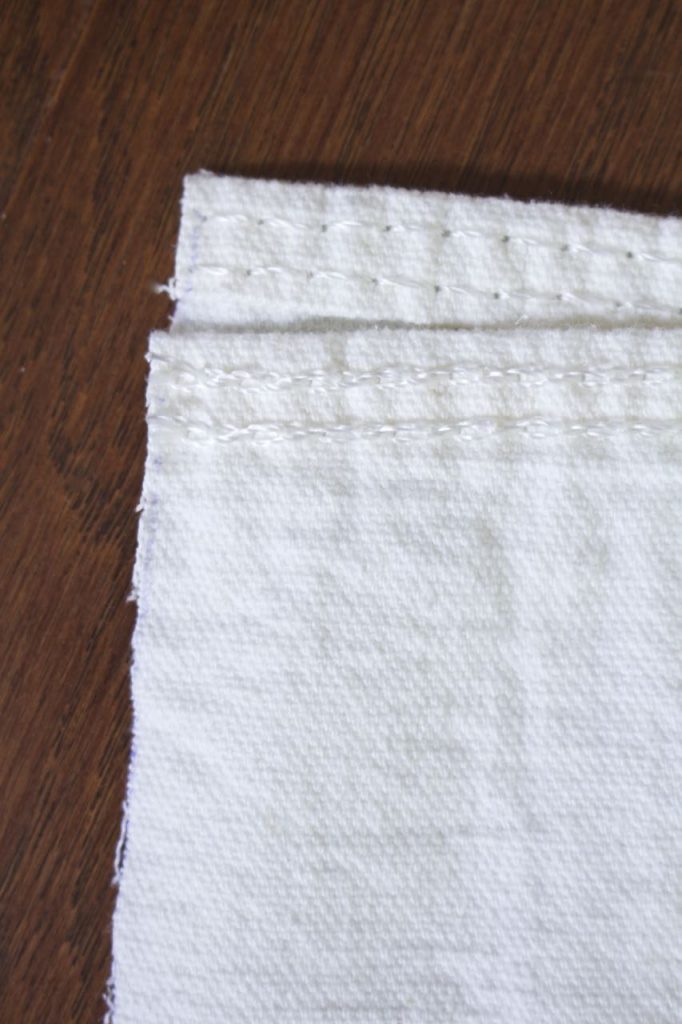
We let the drop cloth do some of the work for us. The drop cloth has a stitched finished edge. We use this portion as our bag opening.
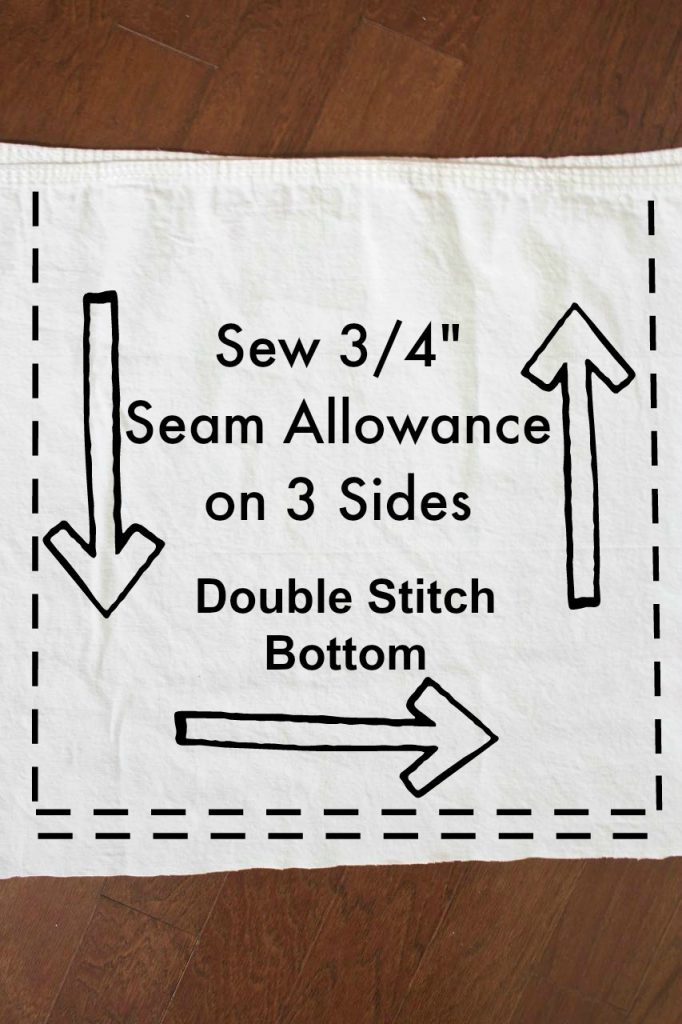
With right sides together, we sewed three edges closed using a 3/4″ seam allowance. The bottom seam was sewn twice for a stronger edge to hold the weight of our market purchases.
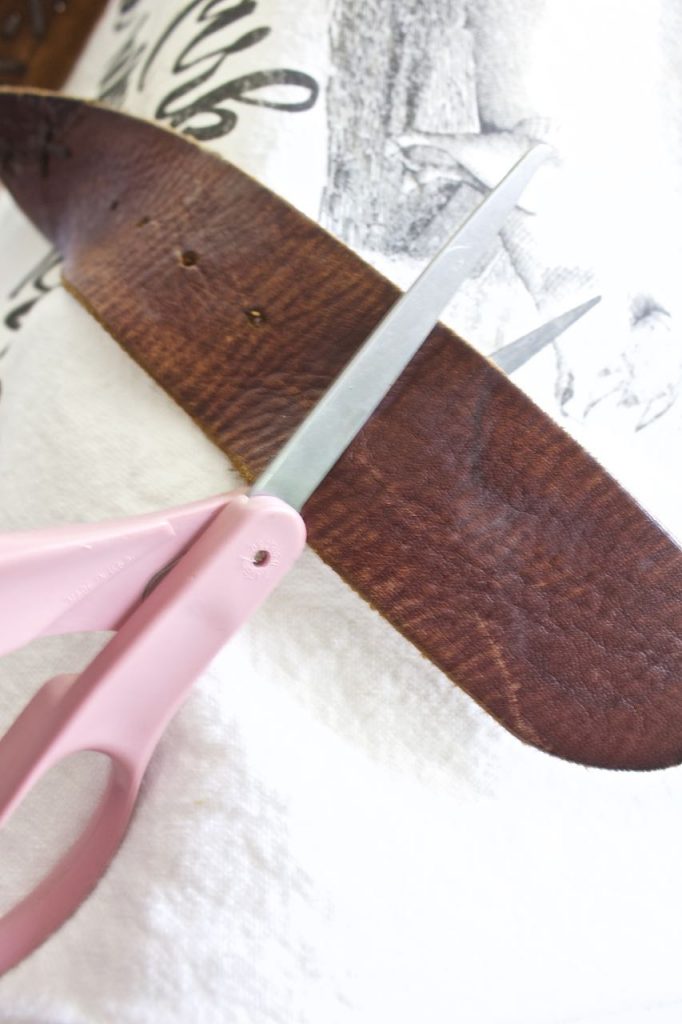
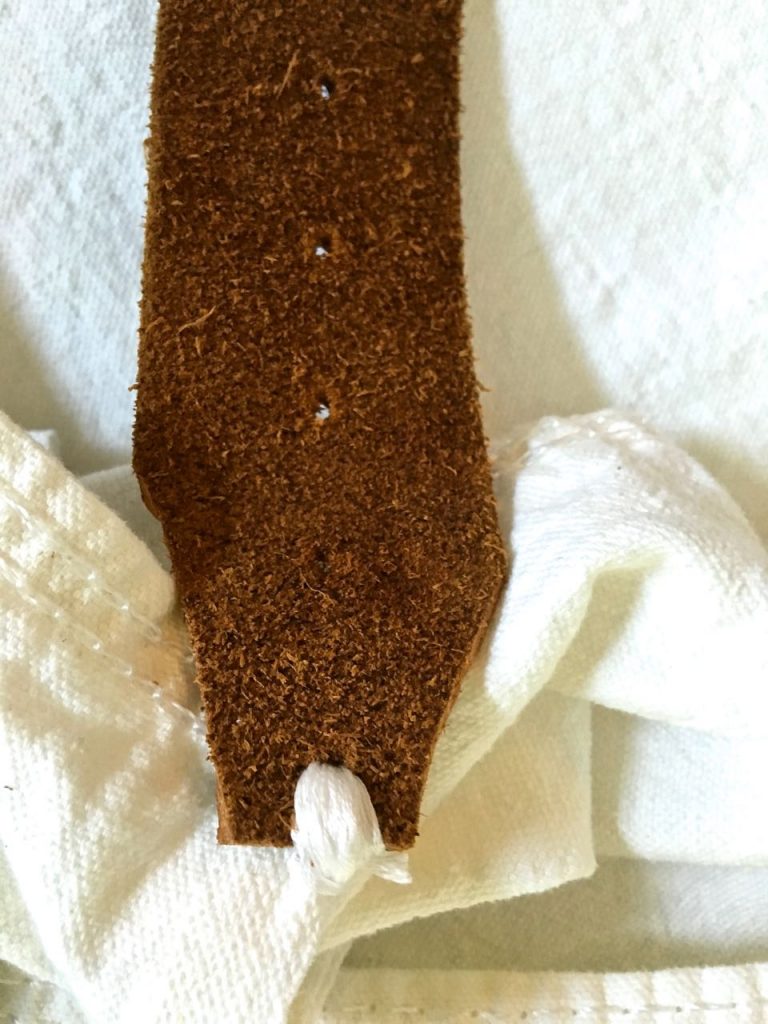
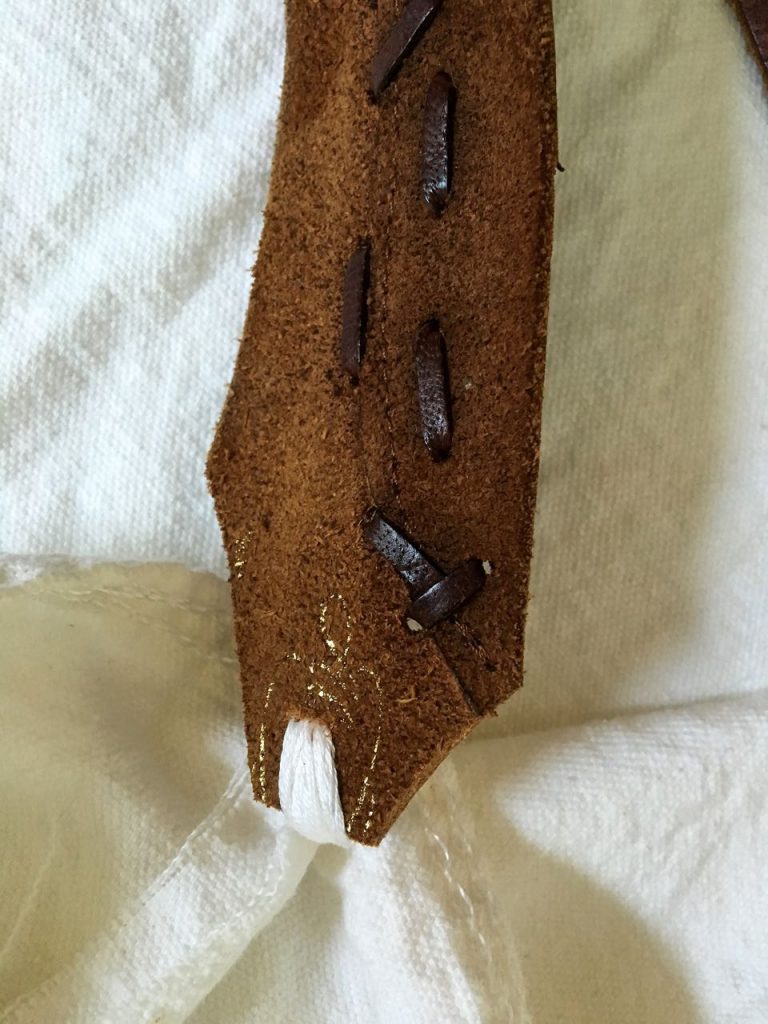
To add the belt strap, we cut each end of the leather.
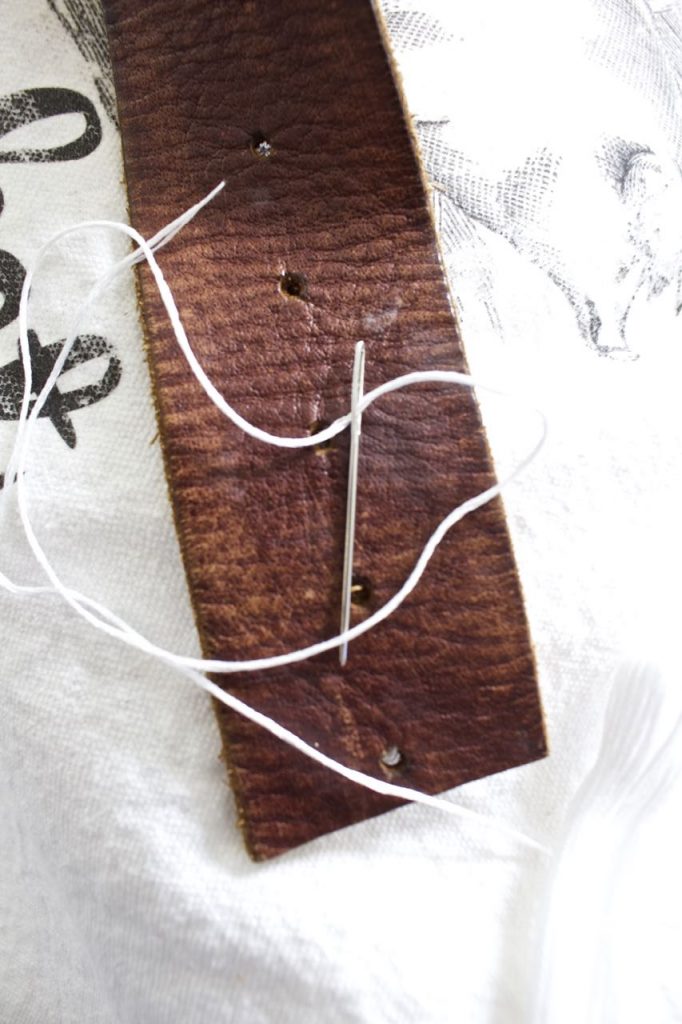
We hand sewed the belt strap onto the bag using 6-strand embroidery thread. One end already has holes which makes for easy sewing.
Using our scissors we made a whole on the buckle end of the leather. We also trimmed the ends of the leather on both sides.
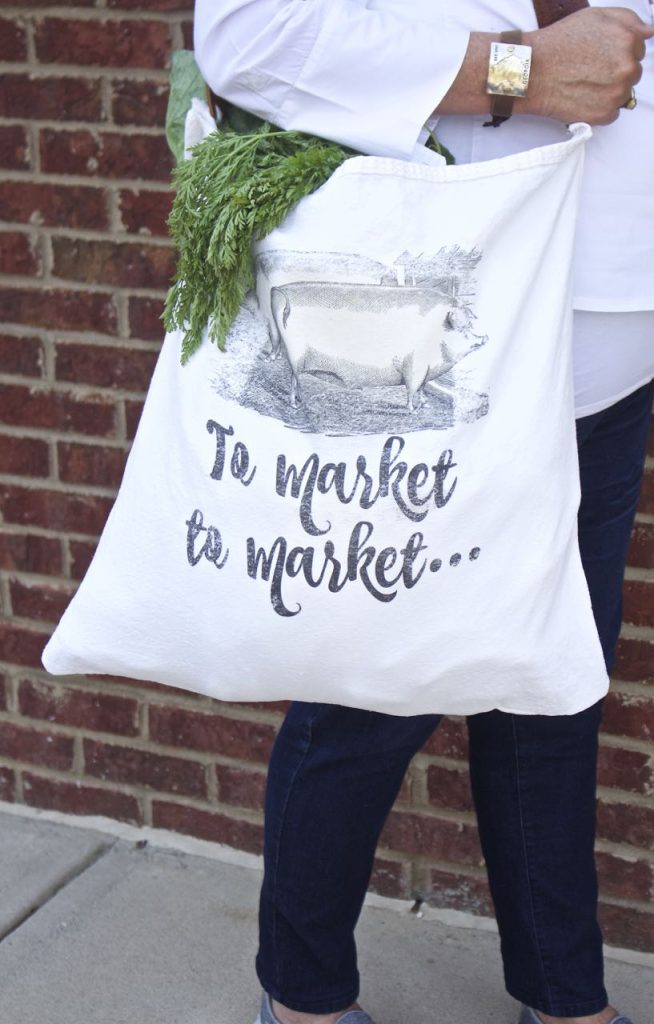
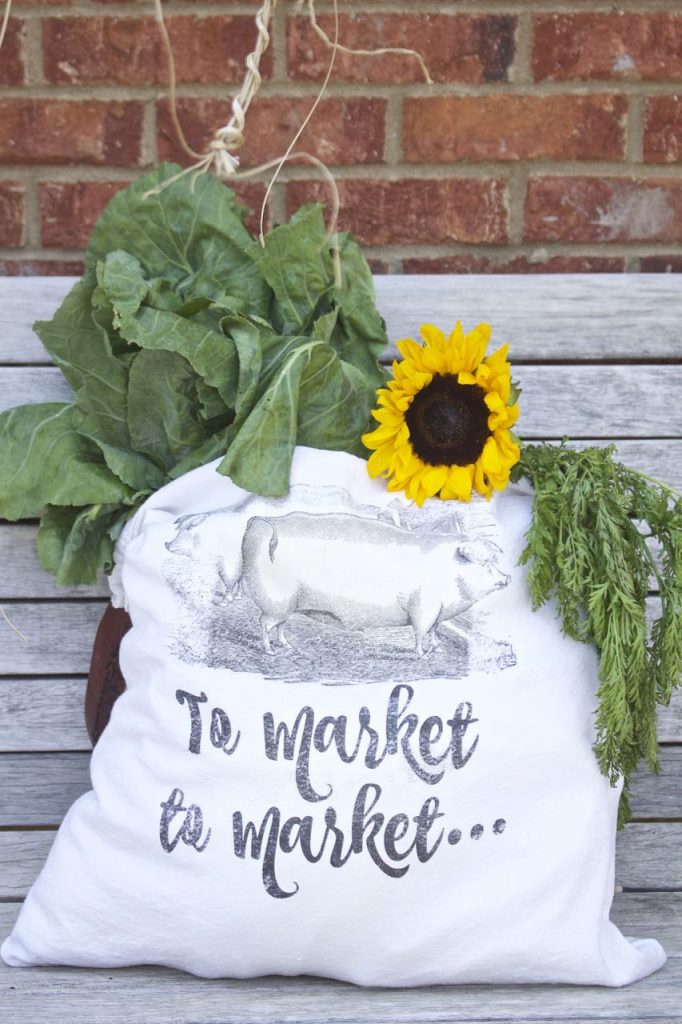
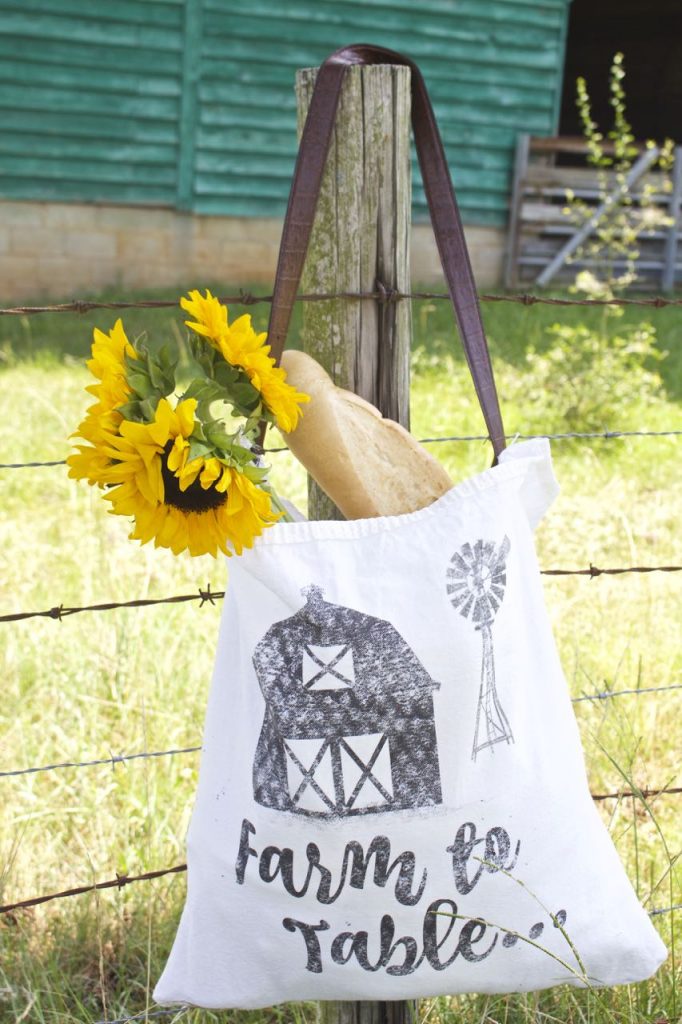
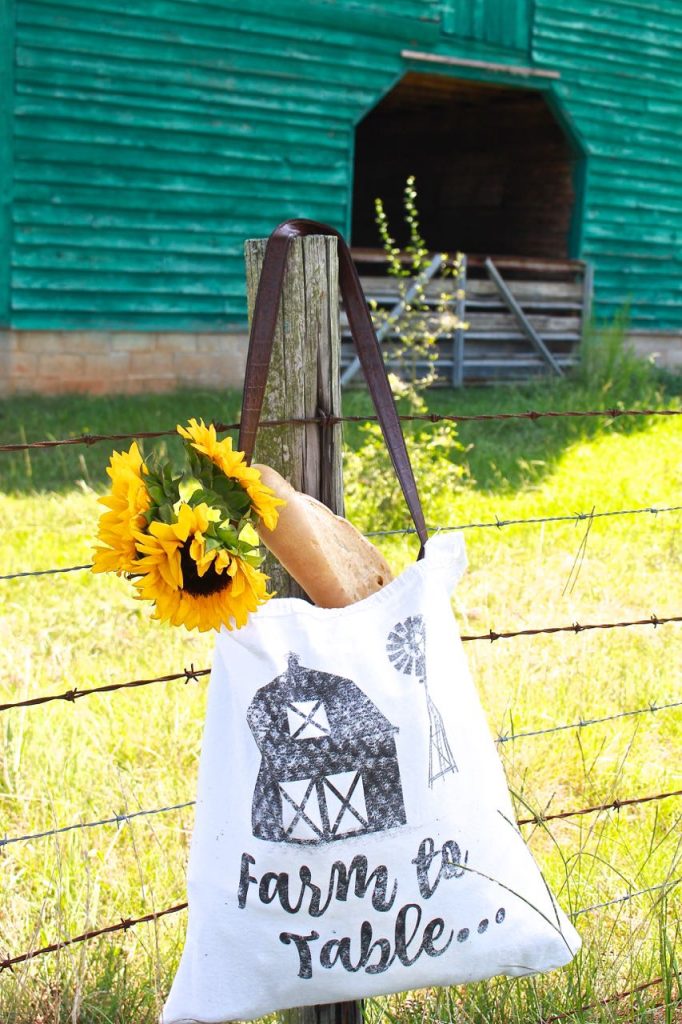
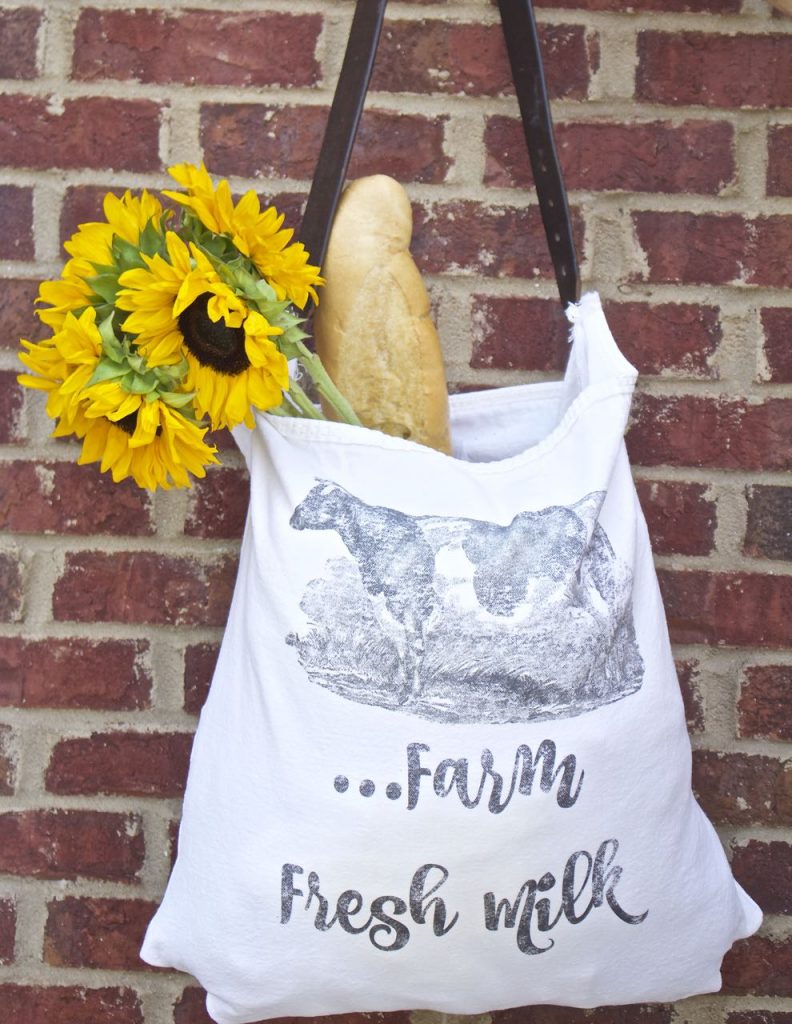
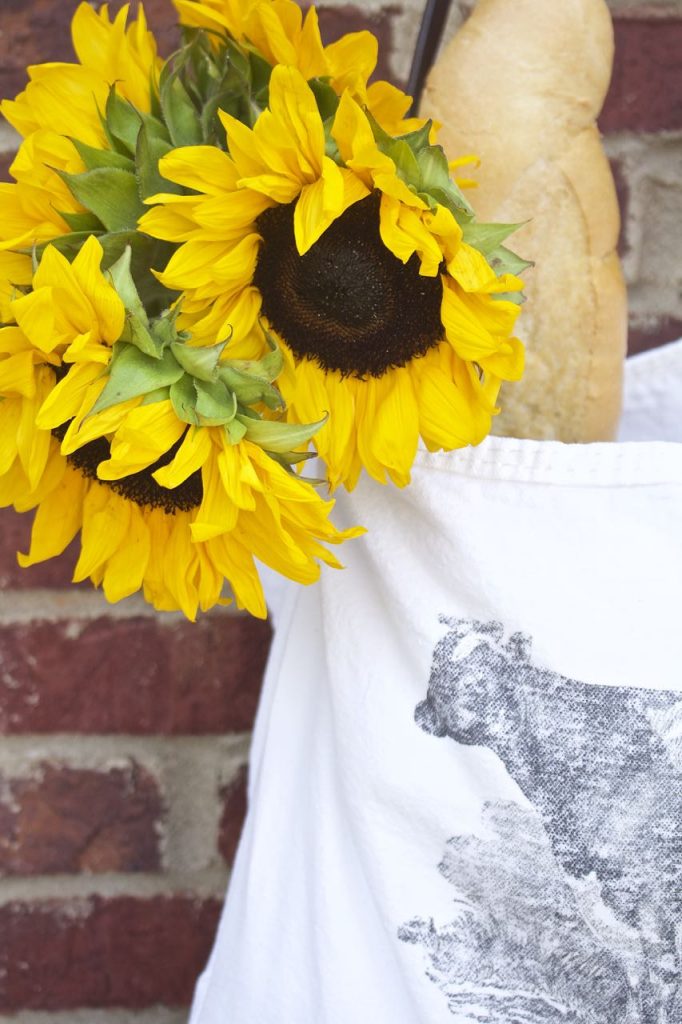
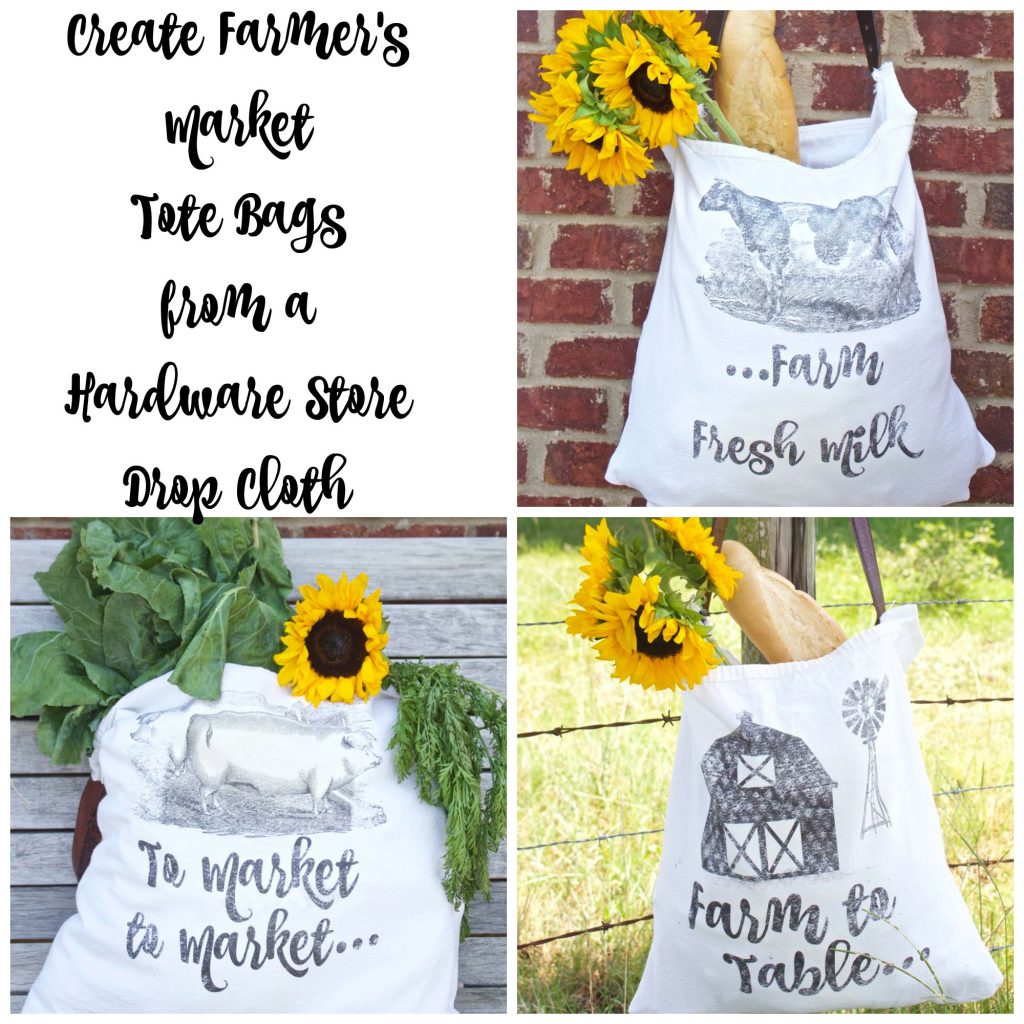
Look at how cute our completed drop cloth farmer’s market tote bags are:
We really love how vintage the graphics and and artwork look on the canvas.
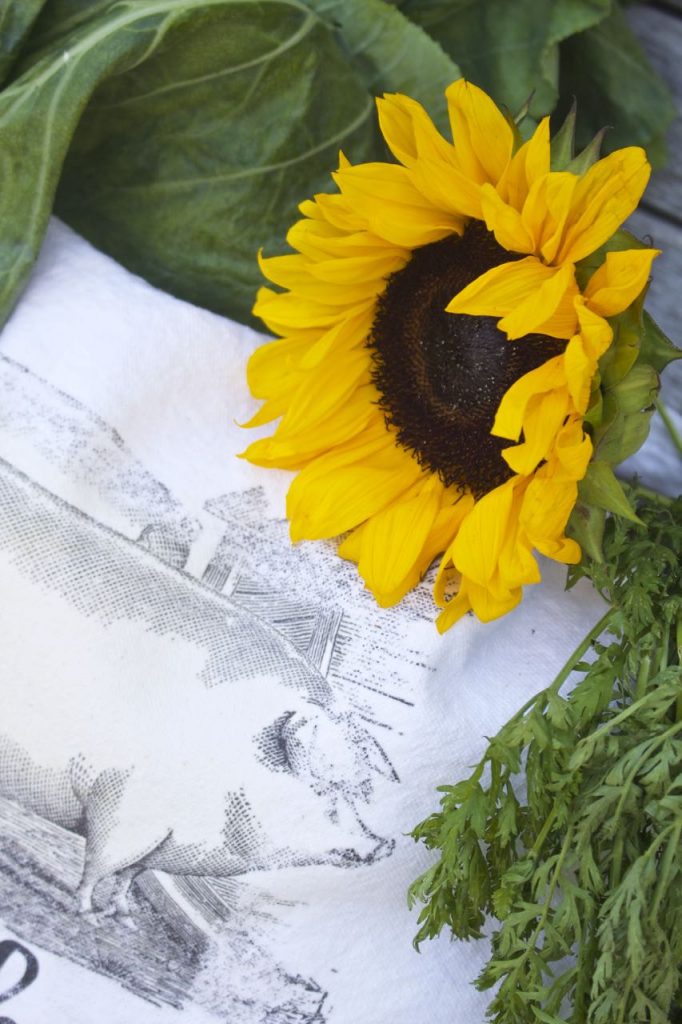
Love this pig!
How fabulous is this turquoise barn?
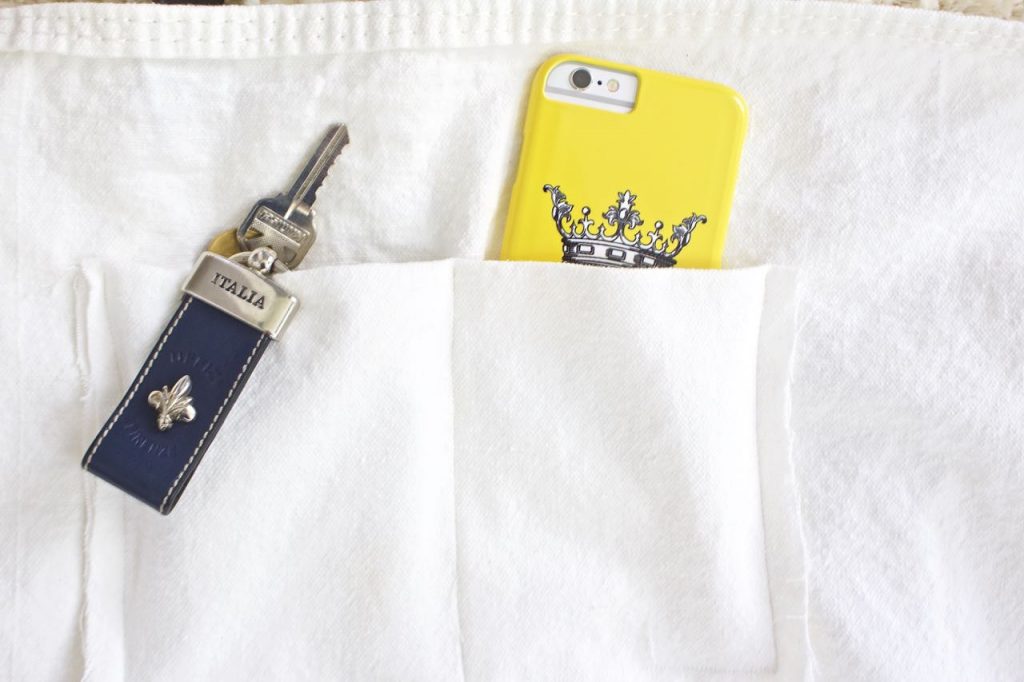
At the last minute we decided to add a rudimentary stitched pocket to the back of the bag. It’s perfect for our phone, keys and money.
We really hope that y’all consider a drop cloth project. It is fun, inexpensive, easy and most importantly looks great – no matter what you do! We would love to see your projects when you are done..we love it when you share!
XO~Vicki and Jenn
We’ve done the hard work for you 🙂 Here’s our artwork and graphics.
Don’t forget to Pin this to your favorite Pinterest board…
You can see other drop cloth projects HERE.



Very nice. Good for the environment, too.
Thanks John – we couldn’t agree more!
How are the belts attached
Hey Rhonda – with two of the belts the leather was thin enough that we could lowly sew them on with the sewing machine. With the other belt we used embroidery thread to hand-sew it on. we used the first belt hole on one side and created a new hold on the other side of the cut leather. Hope this makes sense! Please ask us if it doesn’t!
Hi Rhonda – we have just updated the post with this detail. Thanks so much!
How about some instructions on sewing it together and the belts.
I realize you see the two sides together. But you give no instructions about rough edges or anything else.
Thank you
Deborah
Hi Deborah – We sorry that our directions were not more clear. we have updated the post with more detailed information. We would be happy to help if more information is needed. thanks so much for reading!
Love the bags you made. How do you sew a heavy leather belt onto the fabric for the handle? Thanks, Judy
Hey Judy – thanks so very much! We got lucky with one of the belts and it was thin enough to machine-sew at a very slow speed. The other belts were hand-sewn. We have added more details to our post to depict this. If you have any more question, please don’t hesitate to ask!
Oh my goodness, ladies, SO CUTE!! I have never tried bleaching drop cloths but I sure love the look! And your photos are gorgeous. Have a great week!!
Are the instructions for bleaching the drop cloth different if using a front load washing machine?
These bags are so cool! I love the graphics you chose and that tooled leather belt is really creative. I can’t wait to make my own. Hello, awesome! Hugs, CoCo
Your market bag is so adorable! I am pinning this project! Thanks for sharing your tutorial.
Hi Lauren – we are pretty proud of this project. We love how they turned out. Thanks so very much!
So adorable! Did you use an inkjet printer for the transfer paper and how hot does your iron need to be?
Hey Lauren –
Thank you so much! Yes, we did use our inkjet printer and were very careful to not smudge the ink. The iron was set at steam (very hot) setting without any water in the iron. We hope this helps!
All the best…
Vicki and Jenn
1 yard canvas at Hobby Lobby is $9.99.
4 yard drop cloth at Harbor Freight Tools is $8.99 for the same fabric.
No brainer which to buy.
Thanks for the tips. Mine is bleaching now to make your lavender drier sachets. I see market bags in my future after seeing this post. 🙂