Farmhouse Style Chalkboard Easel Makeover
Please note that this post contains affiliate links. As an Amazon Associate, Rewards Style influencer and Jane Influencer, we earn from qualifying purchases and any sales made through such links will reward us a small commission – at no extra cost for you.
Hey y’all…Here’s the tale of how a farmhouse style chalkboard makeover came to life!
Our sweet friend Kendra from Joy in Our Home has gathered some of our favorite blogging friends and asked us all to showcase a makeover from a thrifted find. We just love how creative everyone is. You can follow along at the end of our post.
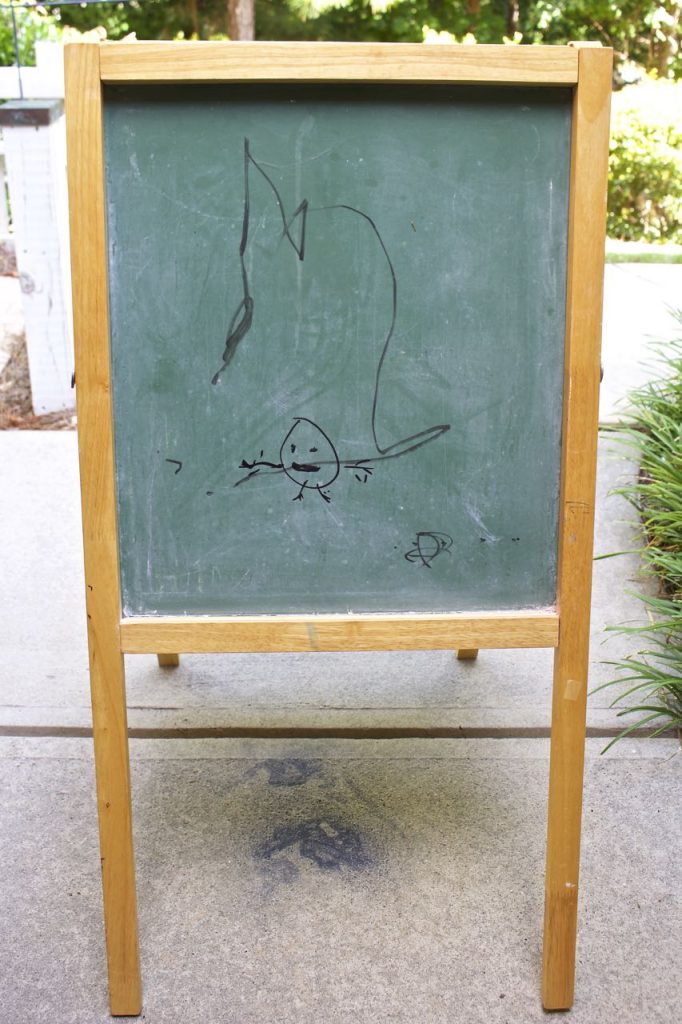
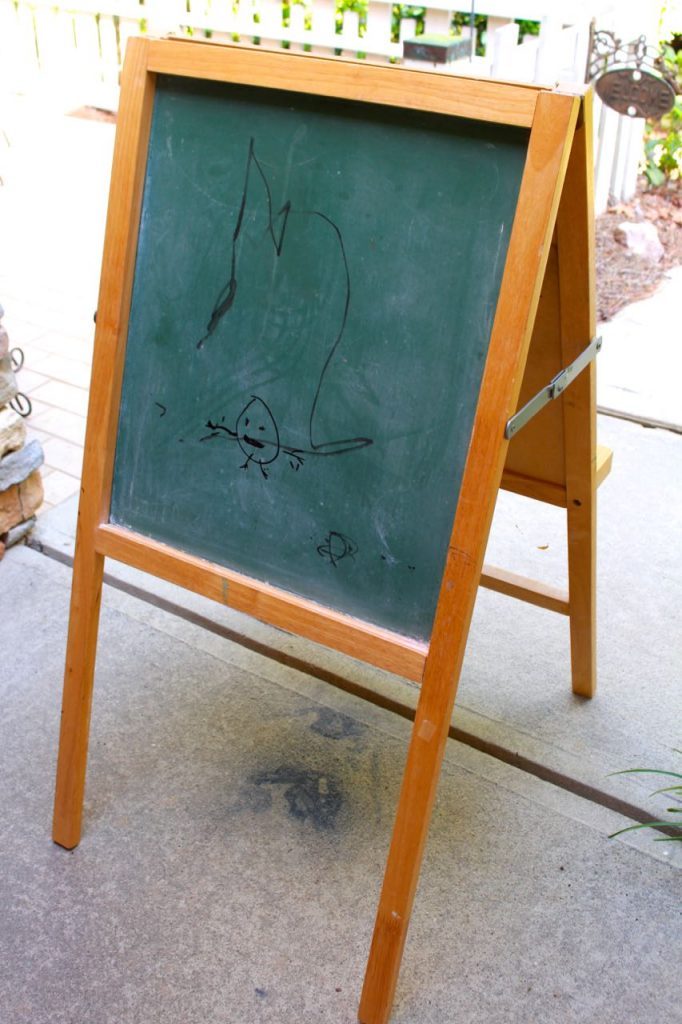
Sometimes we even surprise ourselves at what we will bring home from the thrift store. In this case it was a deal too good to pass up. We weren’t even sure what we were going to do with it at the time, but we knew we would regret walking away from this one.
Shocking…we know. Plus we don’t even have small kids in our family.
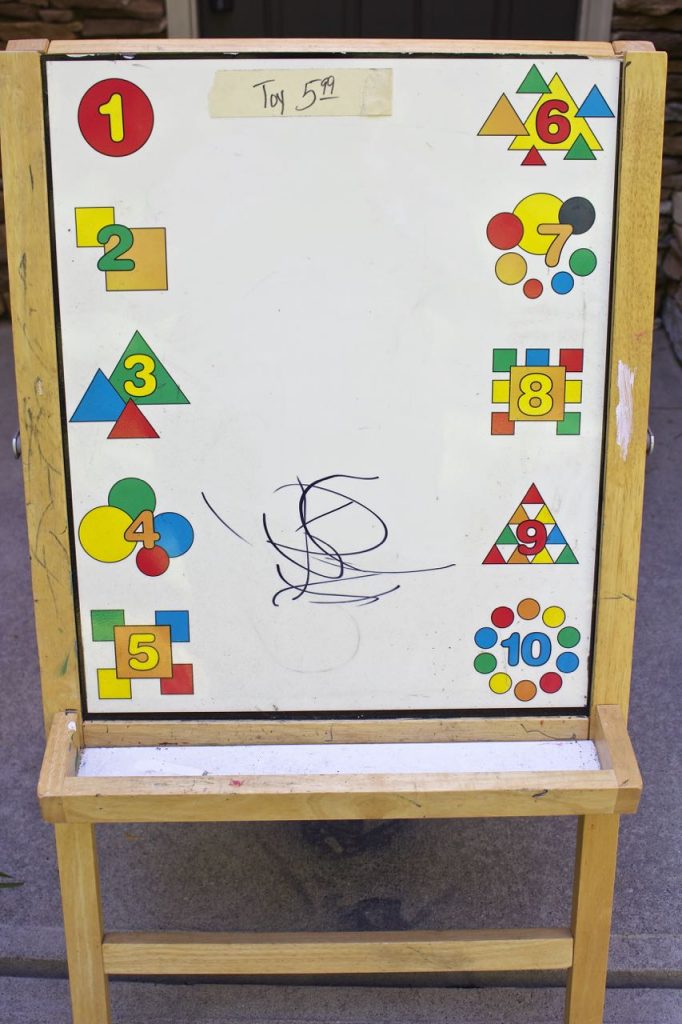
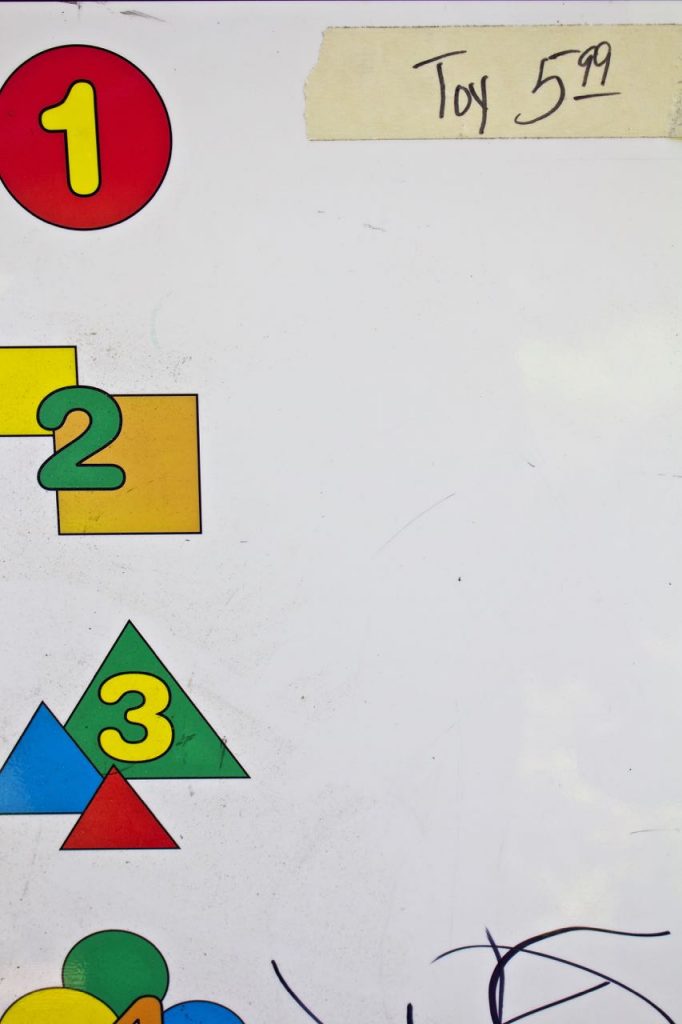
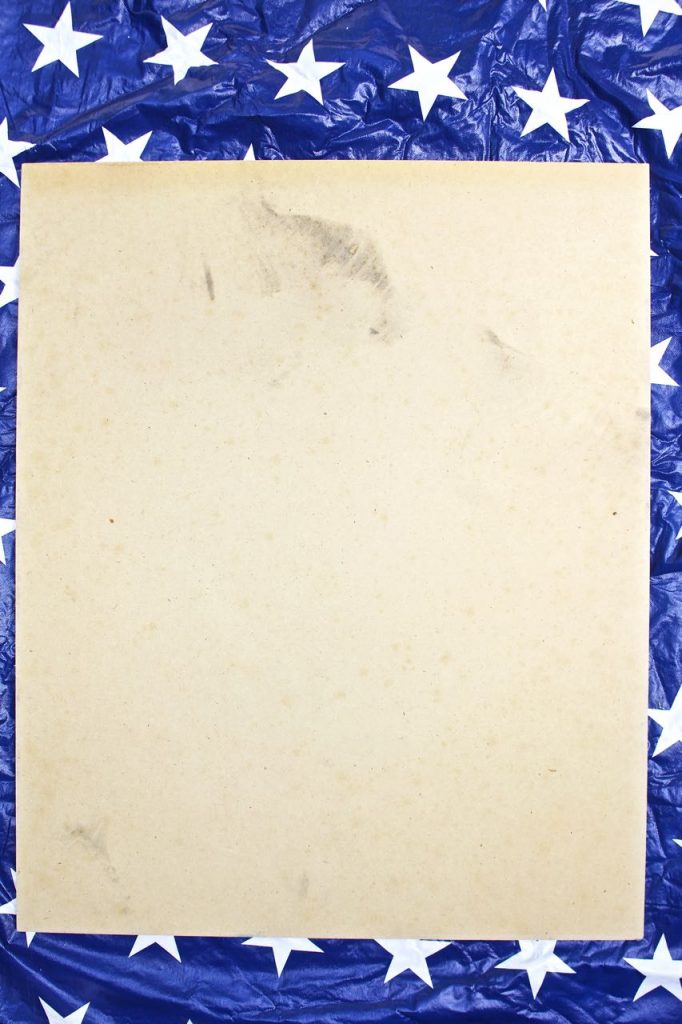
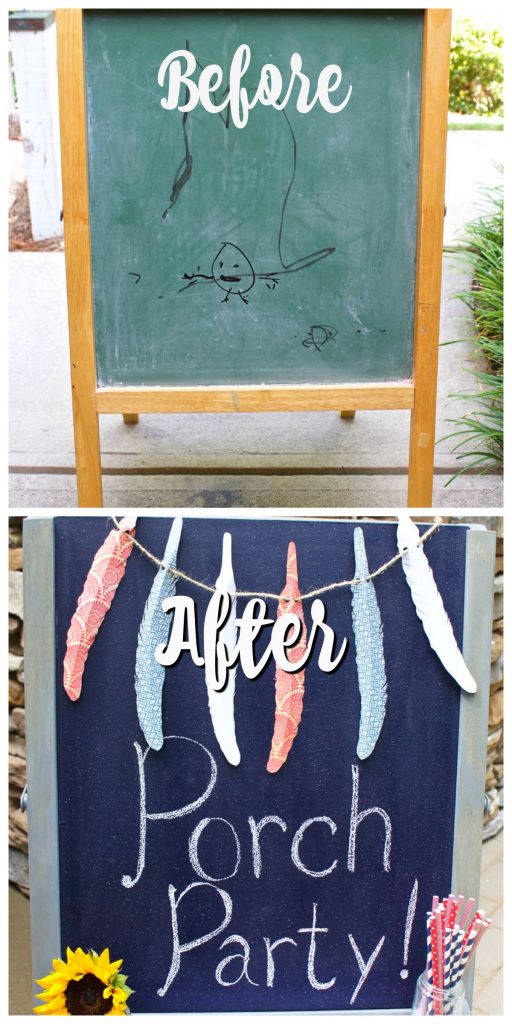
The other side of this easel isn’t any better. Permanent marker was used by a little Picasso-in-the-making on the dry erase board, the chalkboard and the frame.
But, as you can see this thrifted item was priced right. And it gets even better…the day of our shopping adventure anything marked “Toy” was another 50% off! So this little beauty was only $3.00!
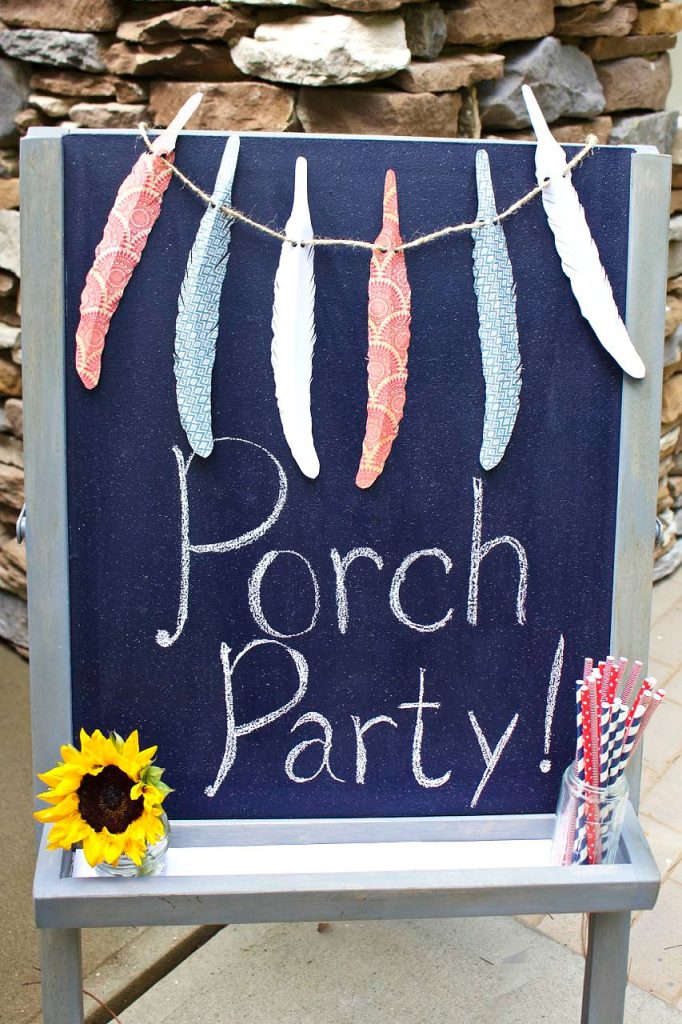
We just knew we could transform this easel into a more grown-up chalkboard for the front porch. It took us just a hot minute to come up with a plan.
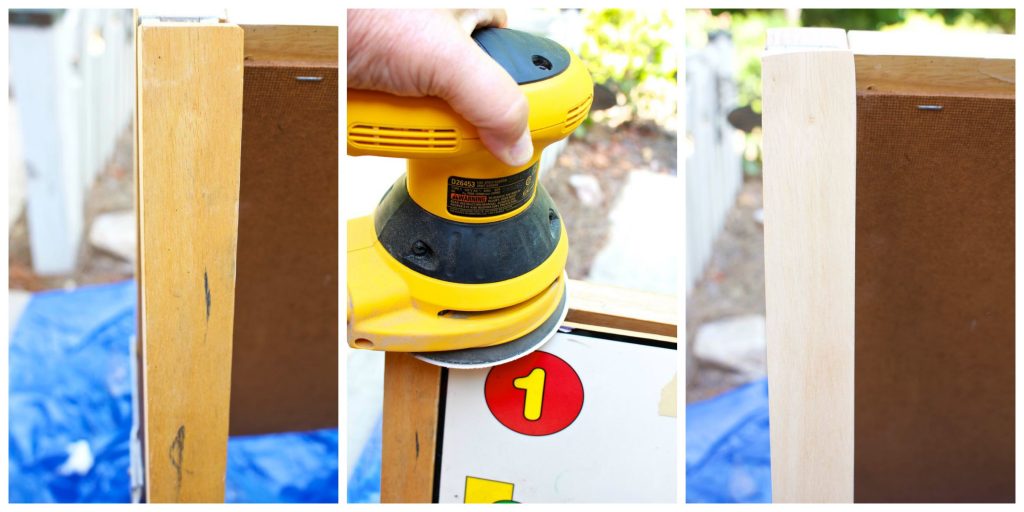
First on the list was making sure that there was real wood under the orangey/yellow finish. Using a palm sander, we quickly discovered that there is indeed wood under this shiny layer.
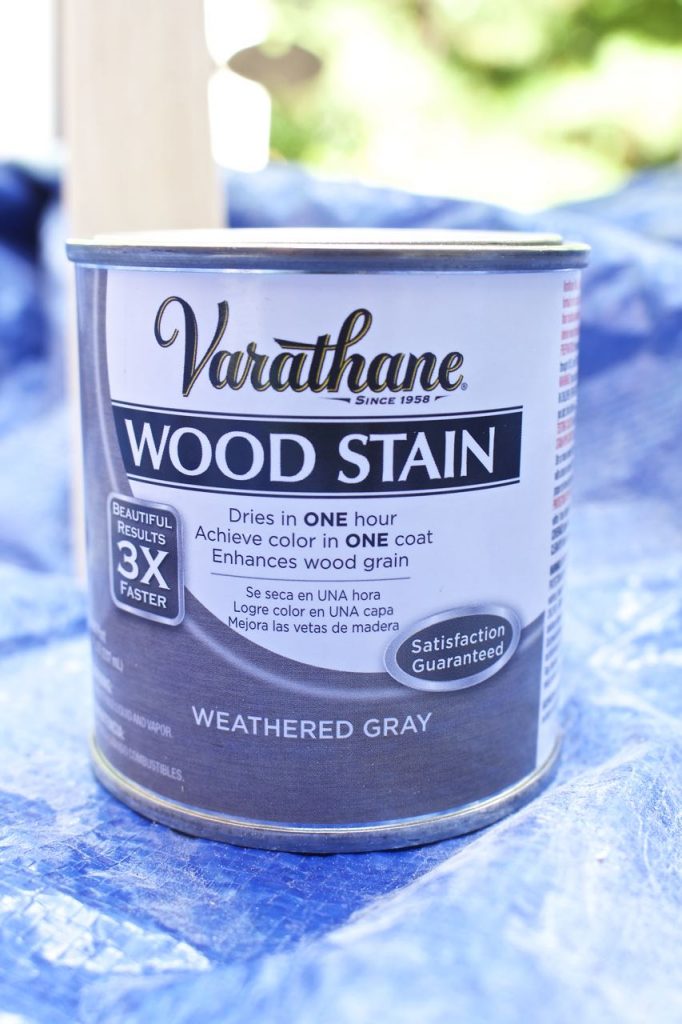
After sanding down the entire frame we used this stain on the entire frame. We love this color…if dries in an authentic rustic, farmhouse finish.
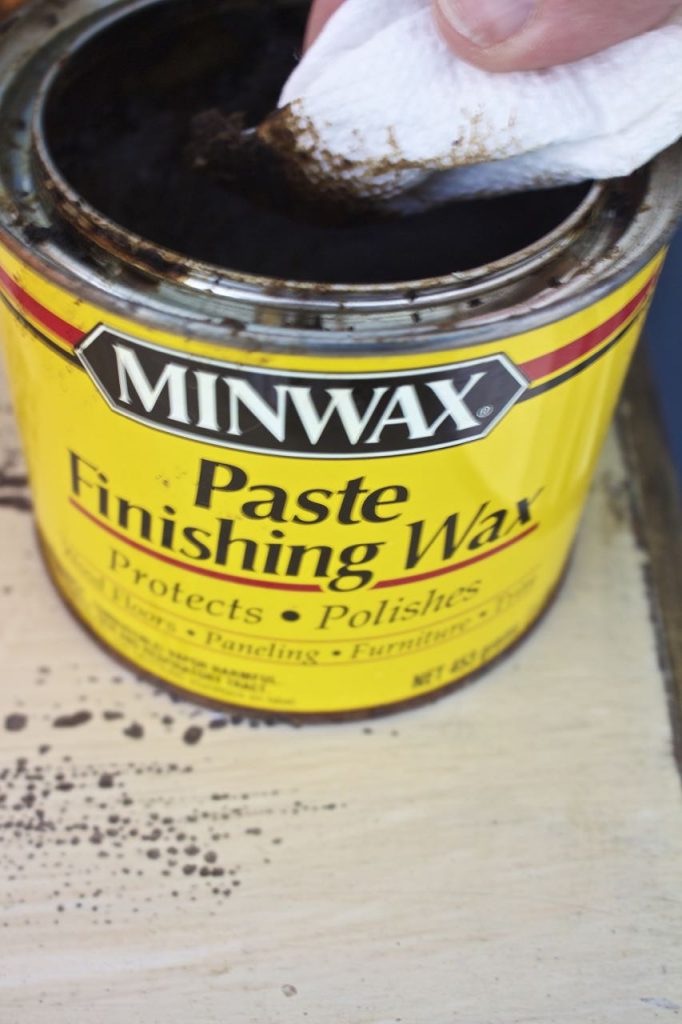
In all honesty this stain was completely dry in about 10 minutes. It was hotter than blazes on the day we were working on this. We were able to apply one good coat of dark wax to the dried stain.
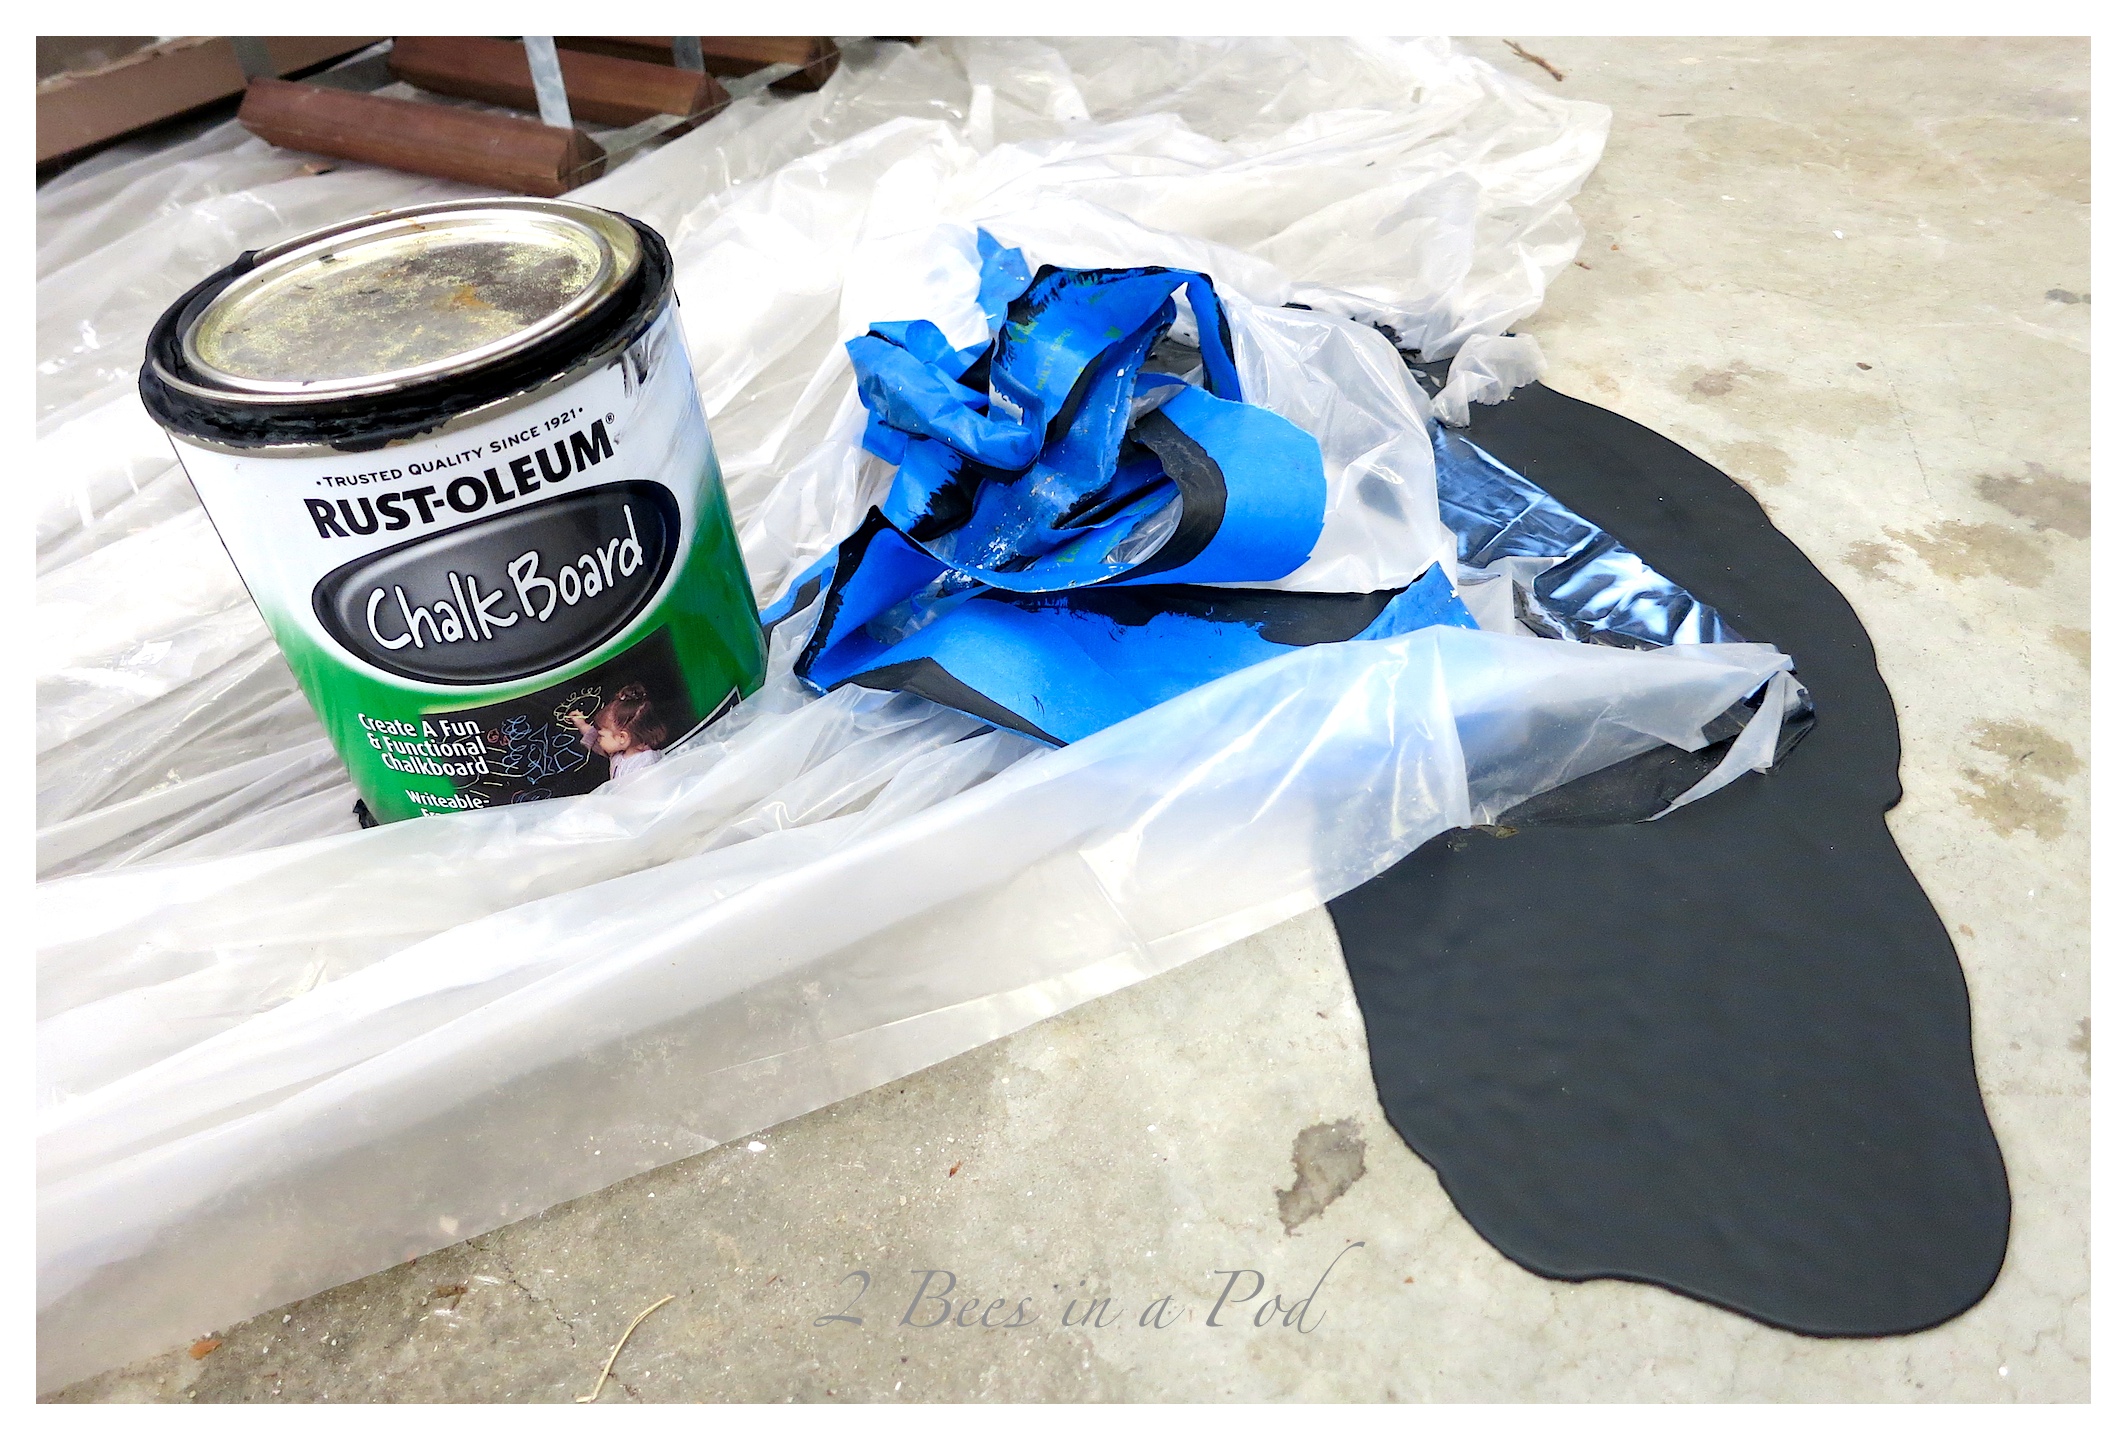
The dry erase board was removable from the easel frame. We flipped it over and painted it with homemade chalkboard paint. We love making our own chalkboard paint (not to be confused with chalk paint) because we can make custom colors and it is very cost effective! We used leftover latex paint from the lake house family room – Benjamin Moore Hale Navy.
Here’s the recipe we swear by:
Ingredients
- One cup of latex paint in any color that you choose.
- 2 TBS unsanded tile grout
- 2 tsp of water
- **Foam Roller**
Instructions
The success to this mixture is making it one cup at a time.
Blend all of the above ingredients until all lumps are removed,
Mix very well.
Begin painting. a foam roller works best.
Be sure to paint in only one direction. Try to avoid going over the same spot repeatedly.
https://2beesinapod.com/farmhouse-style-chalkboard-easel-makeover/On the day we were painting the chalkboards it was 101 degrees outside…not ideal painting conditions. The chalkboard paint was drying the minute it hit the board. We just had to work quickly so we don’t have any photos of that process…sorry folks 🙂
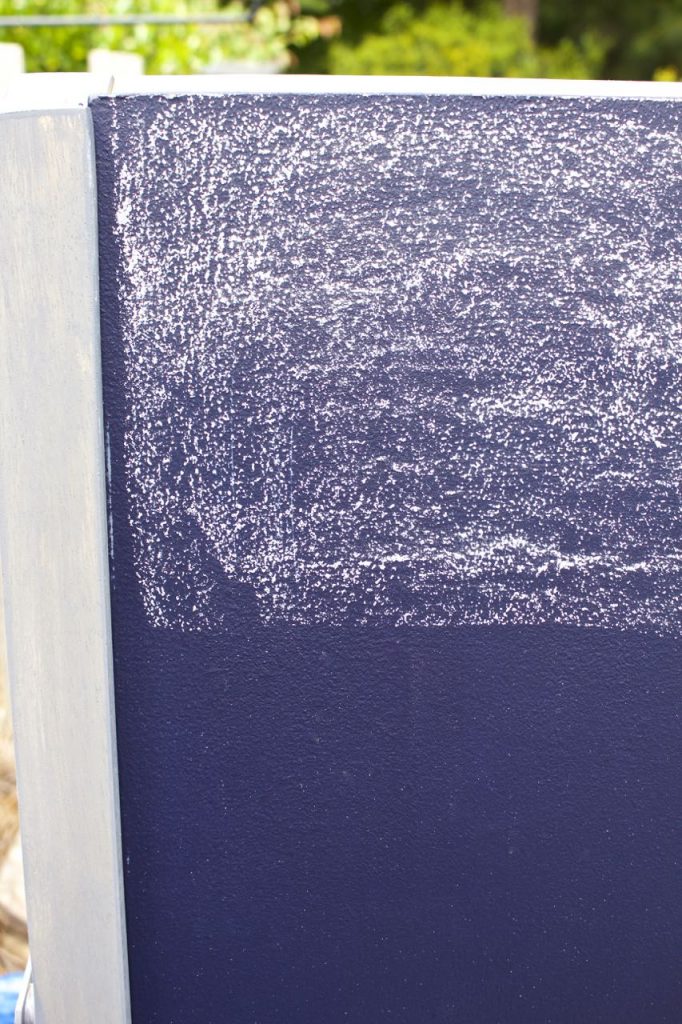
After the chalkboards were dry, we had to season them. Did you know that you have to do that? Just take the side of a piece of chalk and rub it in one direction on the entire board. Clean off with a barely damp, lint-free rag.
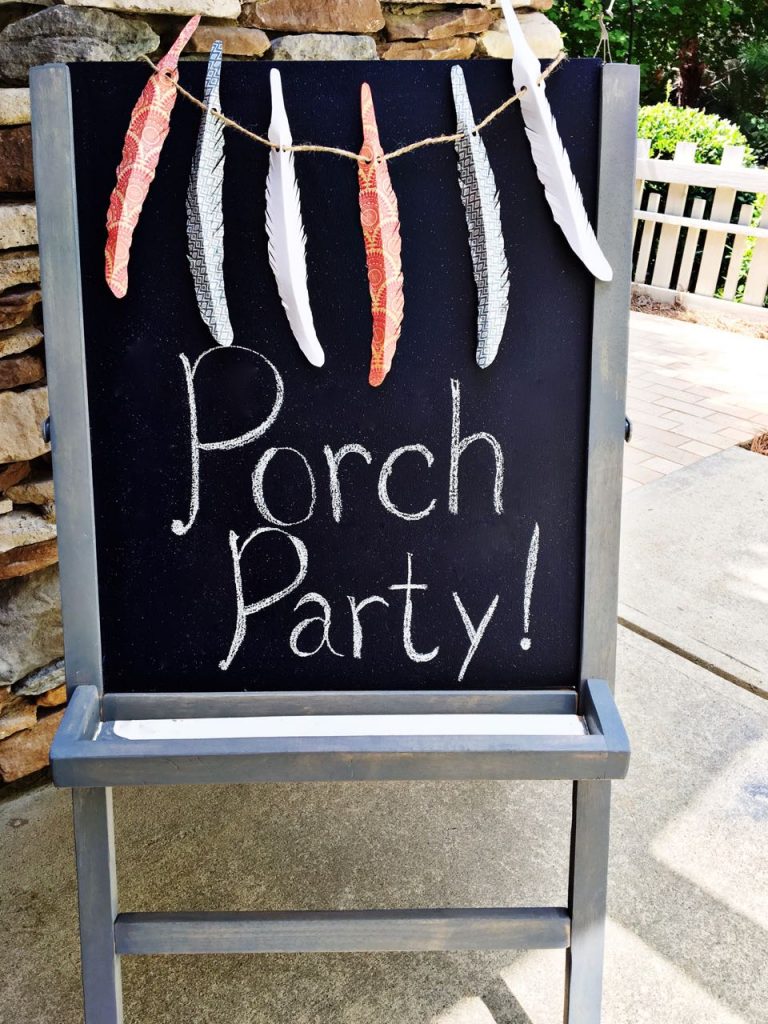
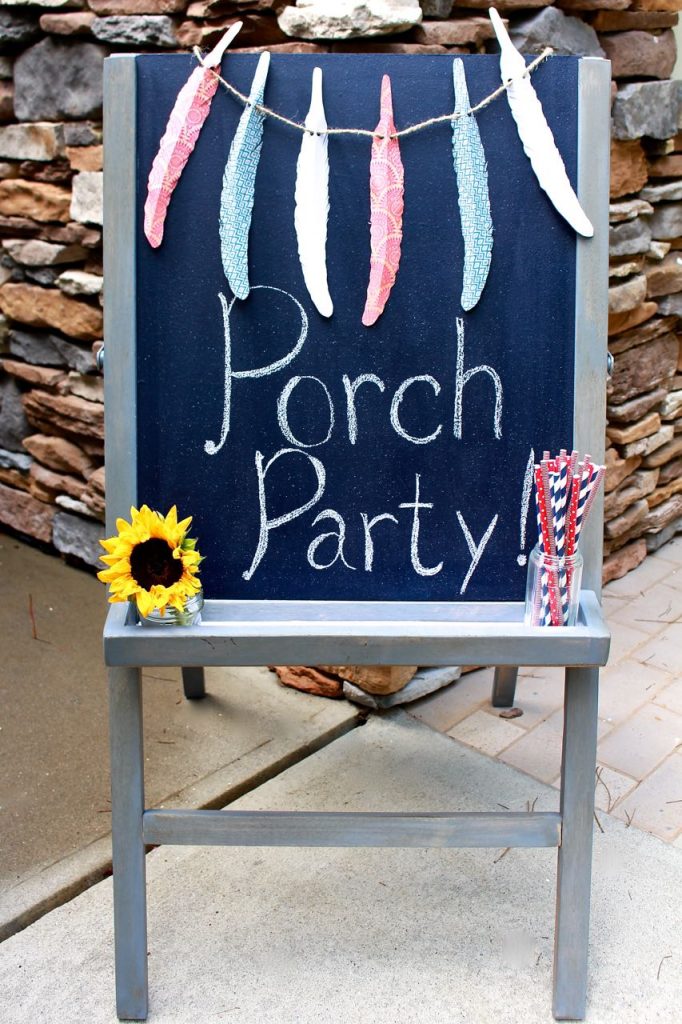
We are very pleased with how this turned out. There might be a custody battle LOL!
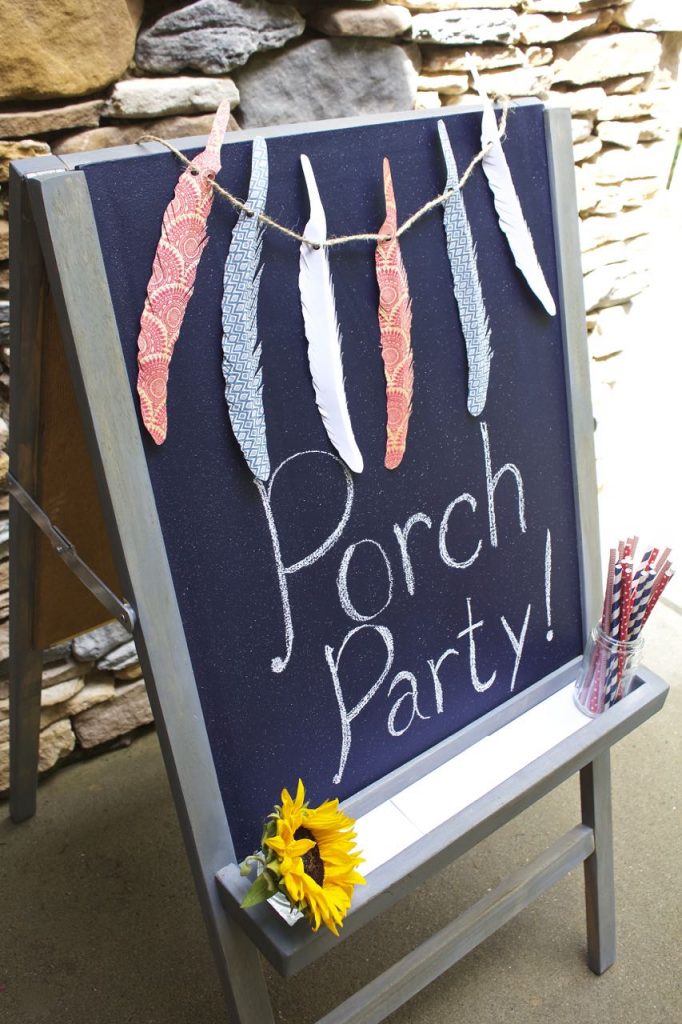
We plan to do a lot of entertaining once the temps come down!
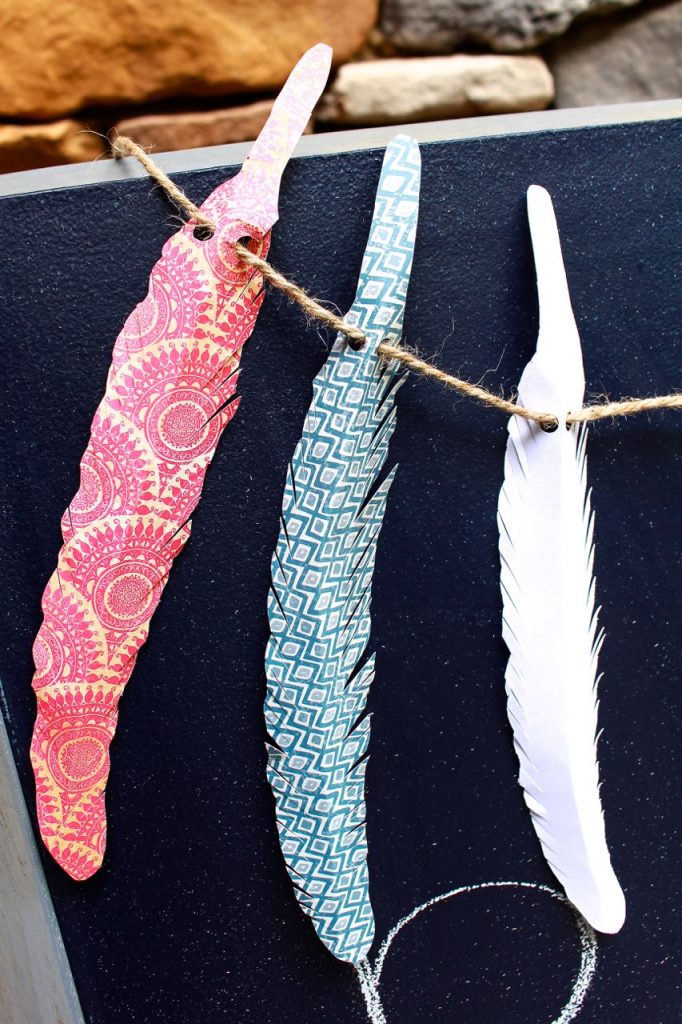
Come back on Friday to see more of what we are doing with these paper feathers!
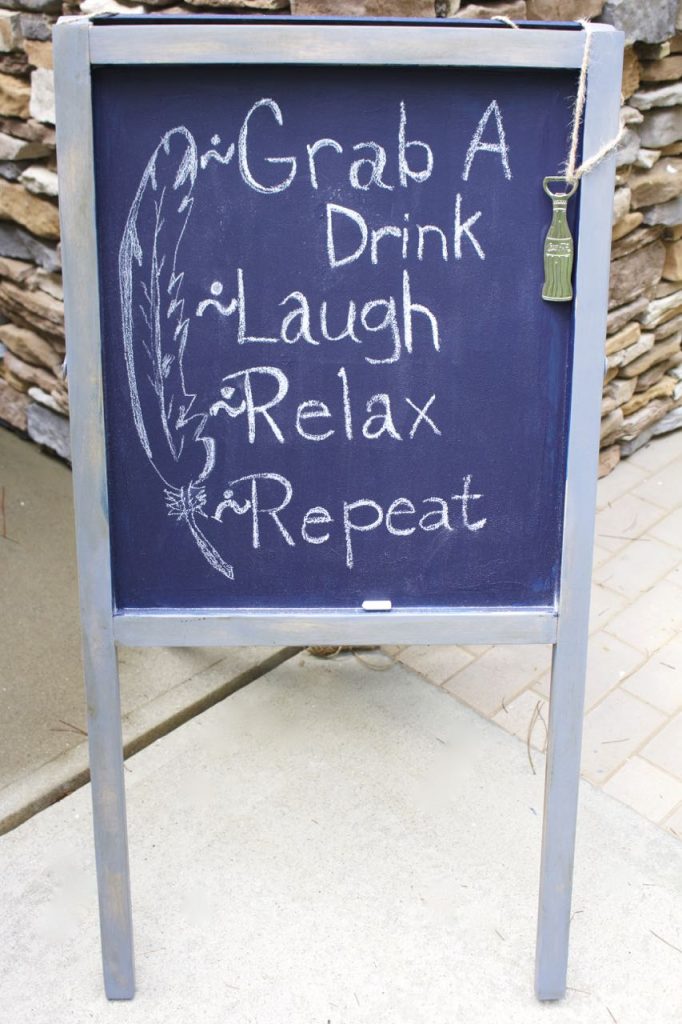
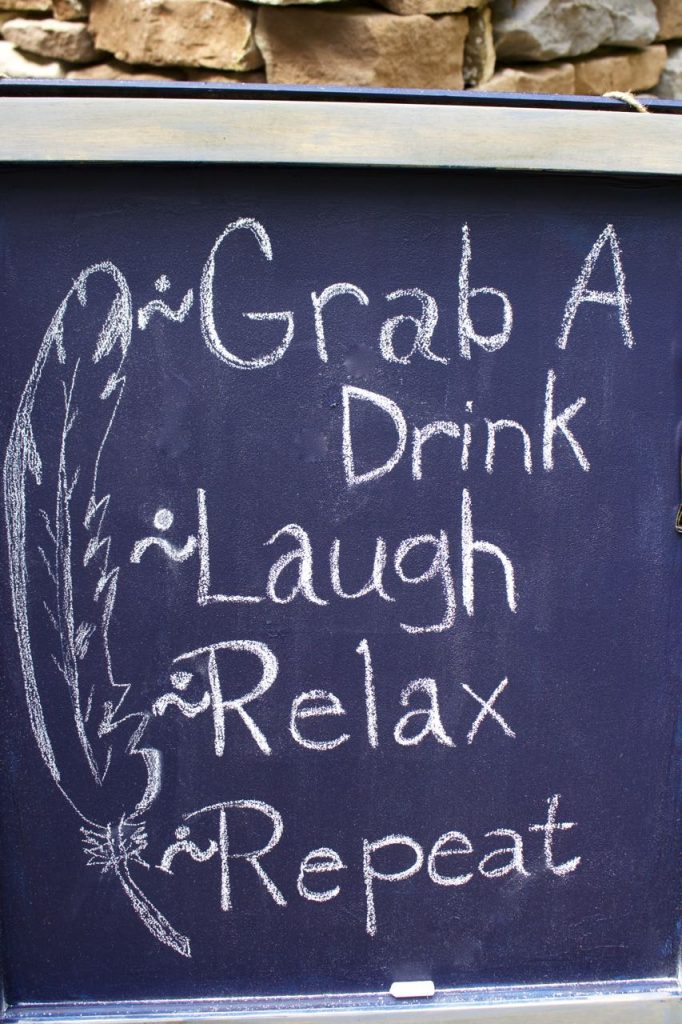
This is our entertaining mantra! We always want everyone to feel comfortable and have the best time possible when they are at our homes.
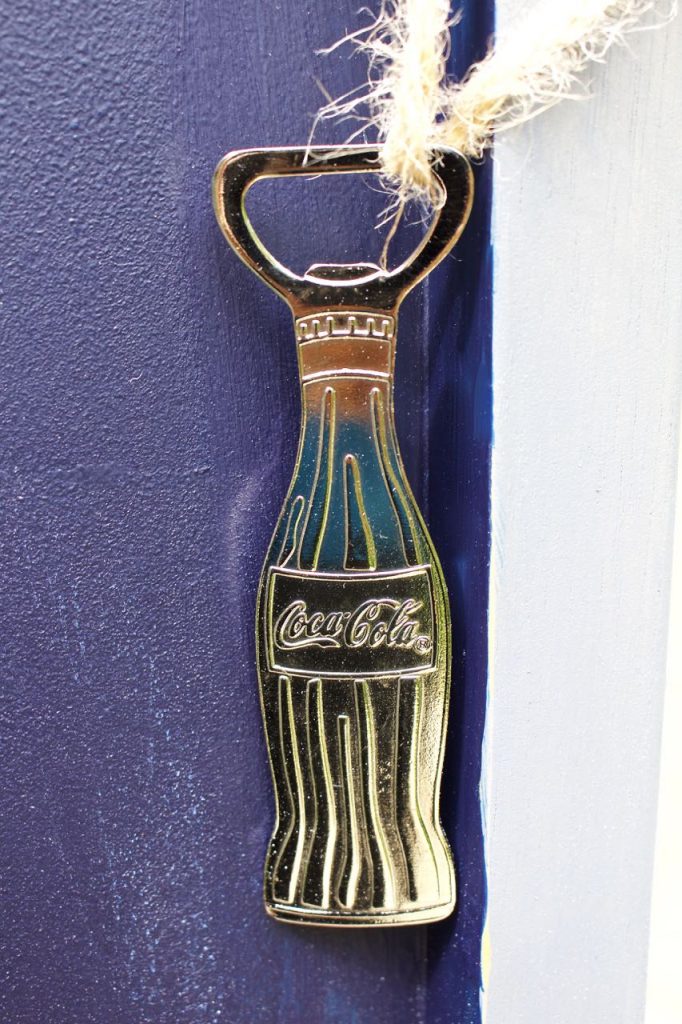
We added this cute bottle opener for the convenience of our guests…
We hope that you have been inspired to go to the thrift store. You never know what you are going to find. You may not need it at that moment…but when inspiration strikes you will be ready to go! Please visit all of our friends and their creative makeovers!
Until Friday…
XO~Vicki and Jenn
Monday
Tuesday
Wednesday
You guys are so creative! I don’t know what I love more the colors you chose, the paper feathers or the bottle opener. This is awesome and seriously so much work! Great job on this ladies, hugs, CoCo
Thanks so much sweet friend!! This was a fun makeover!
Hi guys! I LOVE the colour of the stain you used! And the finished project is so creative and fun… the paper feathers are great!
xo Andrea
Thanks so very much! We love the rustic look too. So fun “hopping” with you!
Great job! Your chalk board easel looks so beautiful now! Nice project.
We appreciate it Lauren. This was definitely a fun project!
I would have been way to scared to buy that chalkboard but you made it look fabulous! There are so many ways you can use it now. Great job!
Hi Jamie – at the time we figured that for $3 it was worth it. But it definitely was a bit scary when we were hoping that it turned out!
What a great transformation.
We appreciate you so very much John!
What a great find, ladies!! And for $3?! I can just picture it in the fall and Christmas with some cute messages on it!! Love it and can’t wait to see what else you do with it! Thank you so much for being a part of this blog hop! xo
We were so excited to find it Kendra. And you are so right…can’t wait for Fall parties and get togethers.Thanks so much for inviting us to participate in the fun hop!
You guys are always so filled with fun and trendy ideas. This is so cool. Love it dearly!
Maria