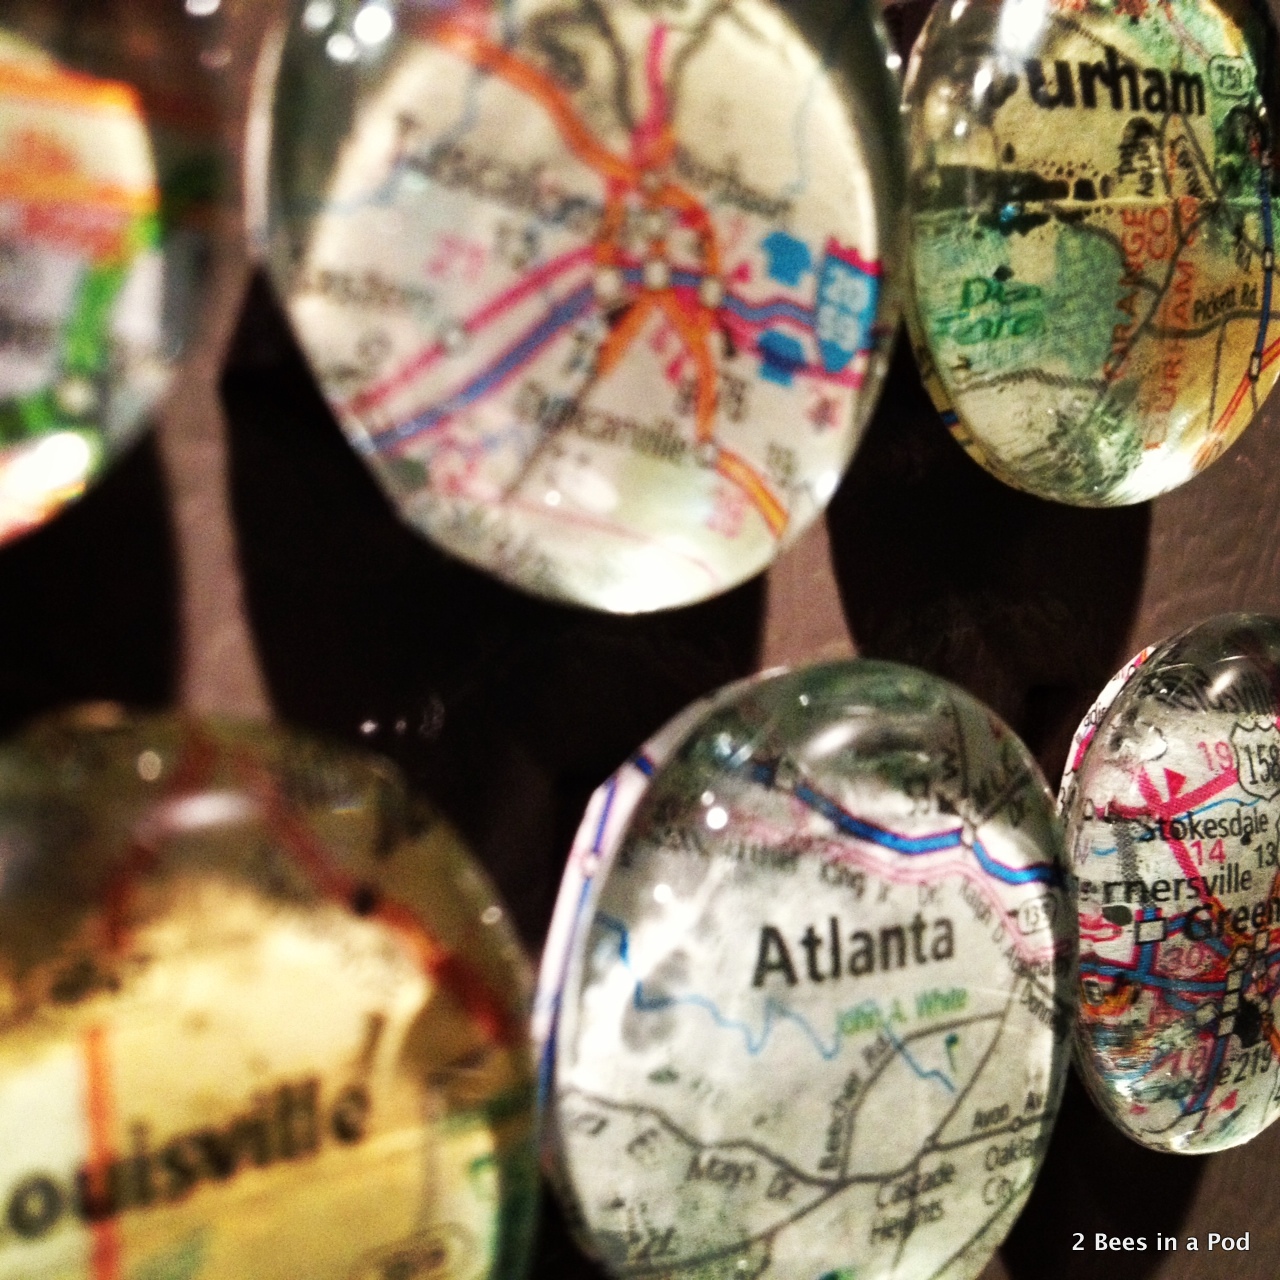
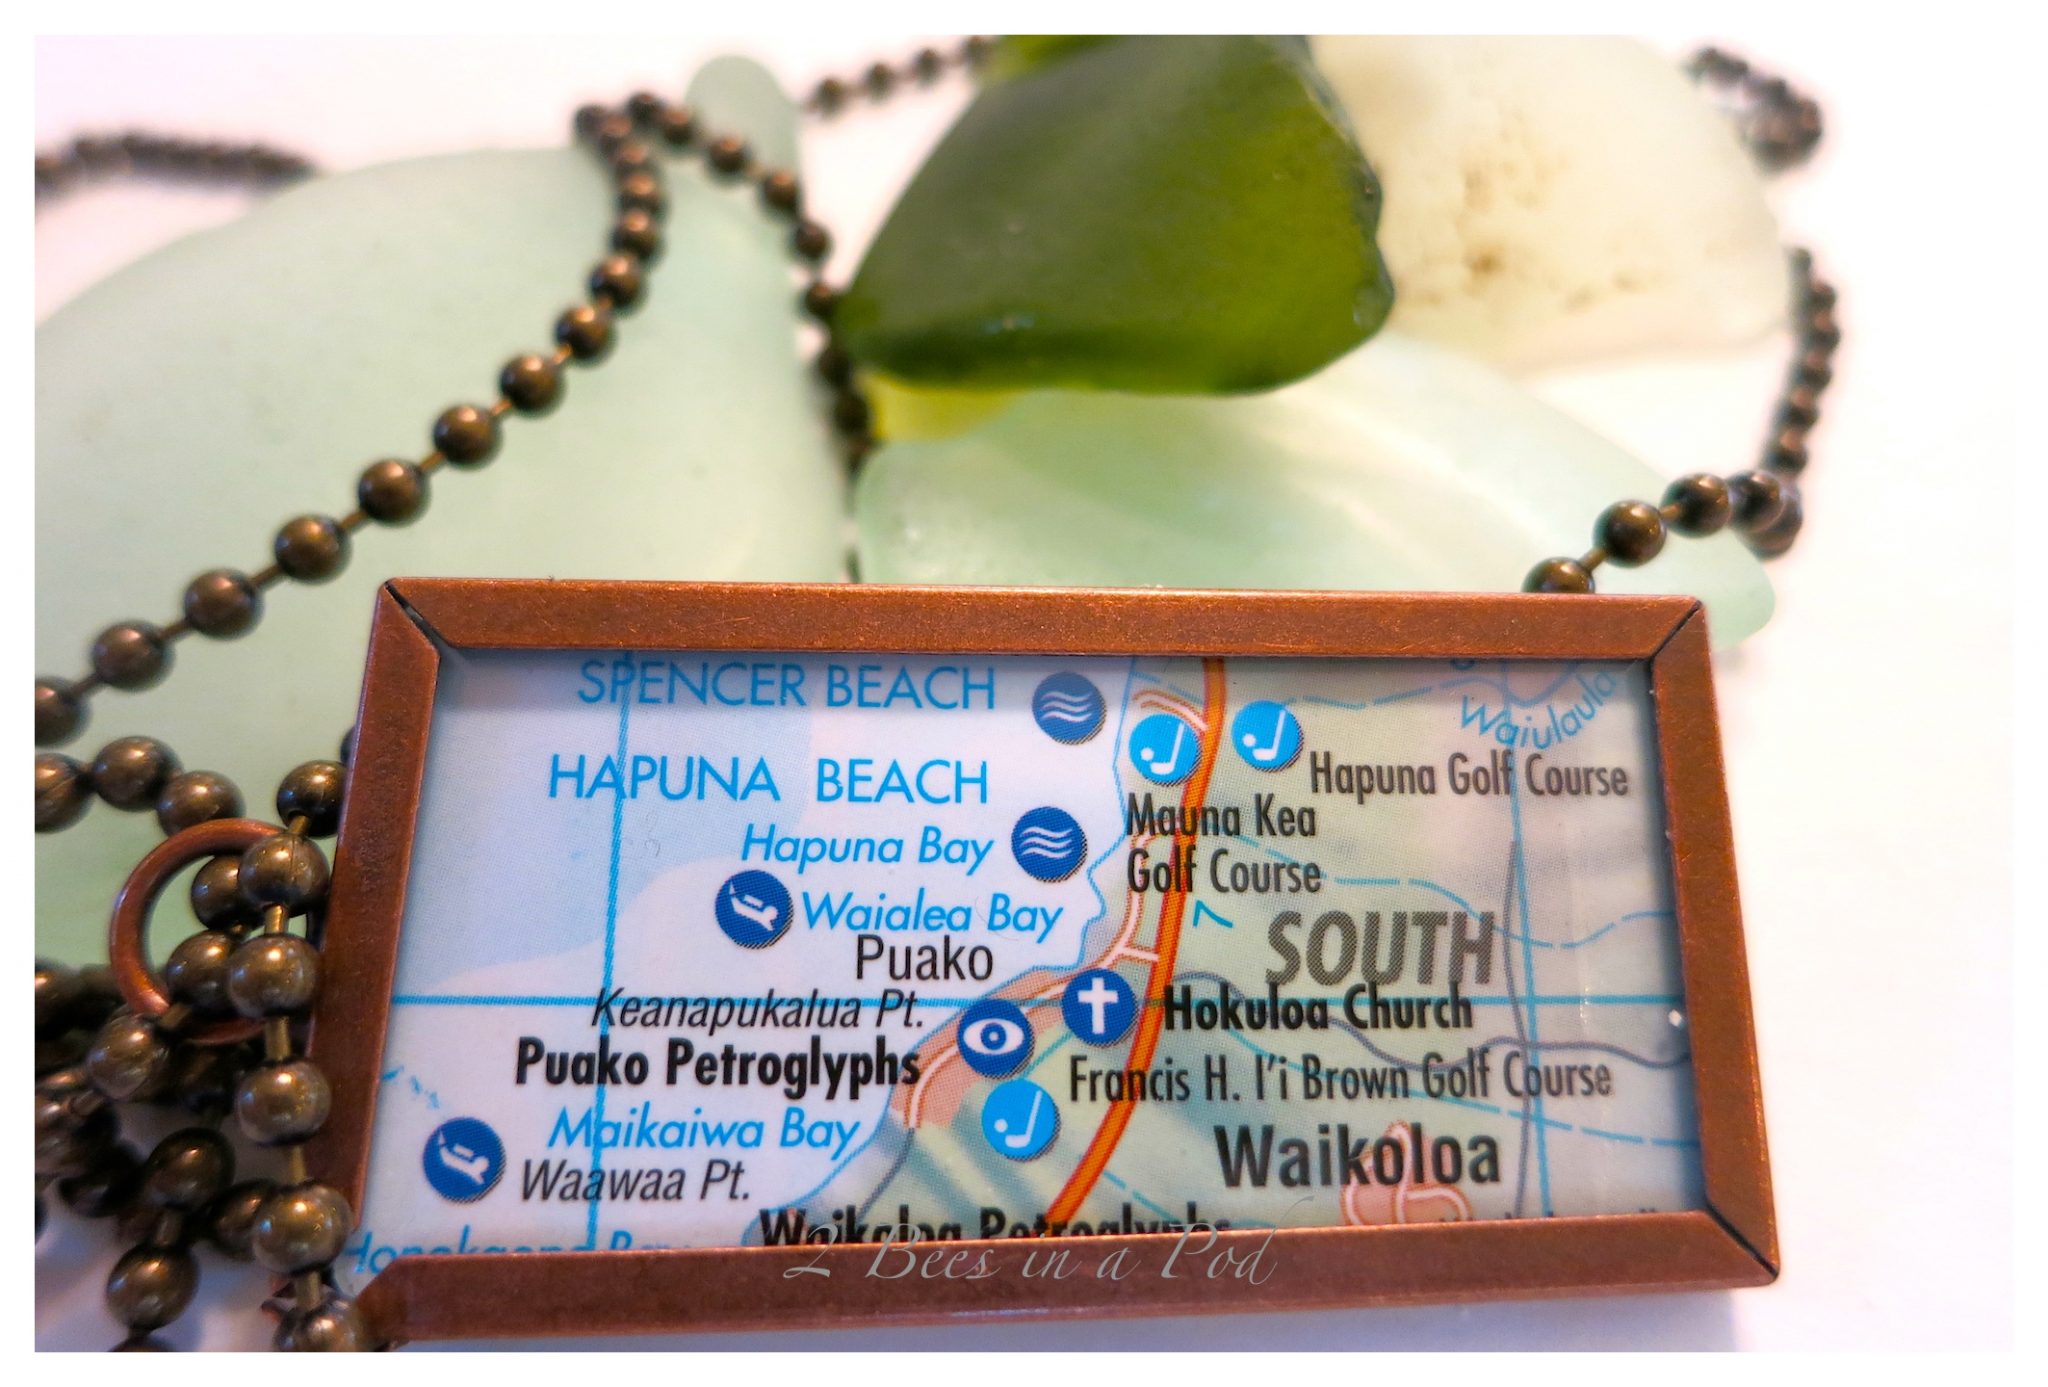
DIY Map Magnets
Please note that this post contains affiliate links. As an Amazon Associate, Rewards Style influencer and Jane Influencer, we earn from qualifying purchases and any sales made through such links will reward us a small commission – at no extra cost for you.
I saw this recently and thought it was a great idea and would make a perfect gift for Christmas! I got my supplies from my local Dollar Tree & Target and probably spent about $5.00 total.
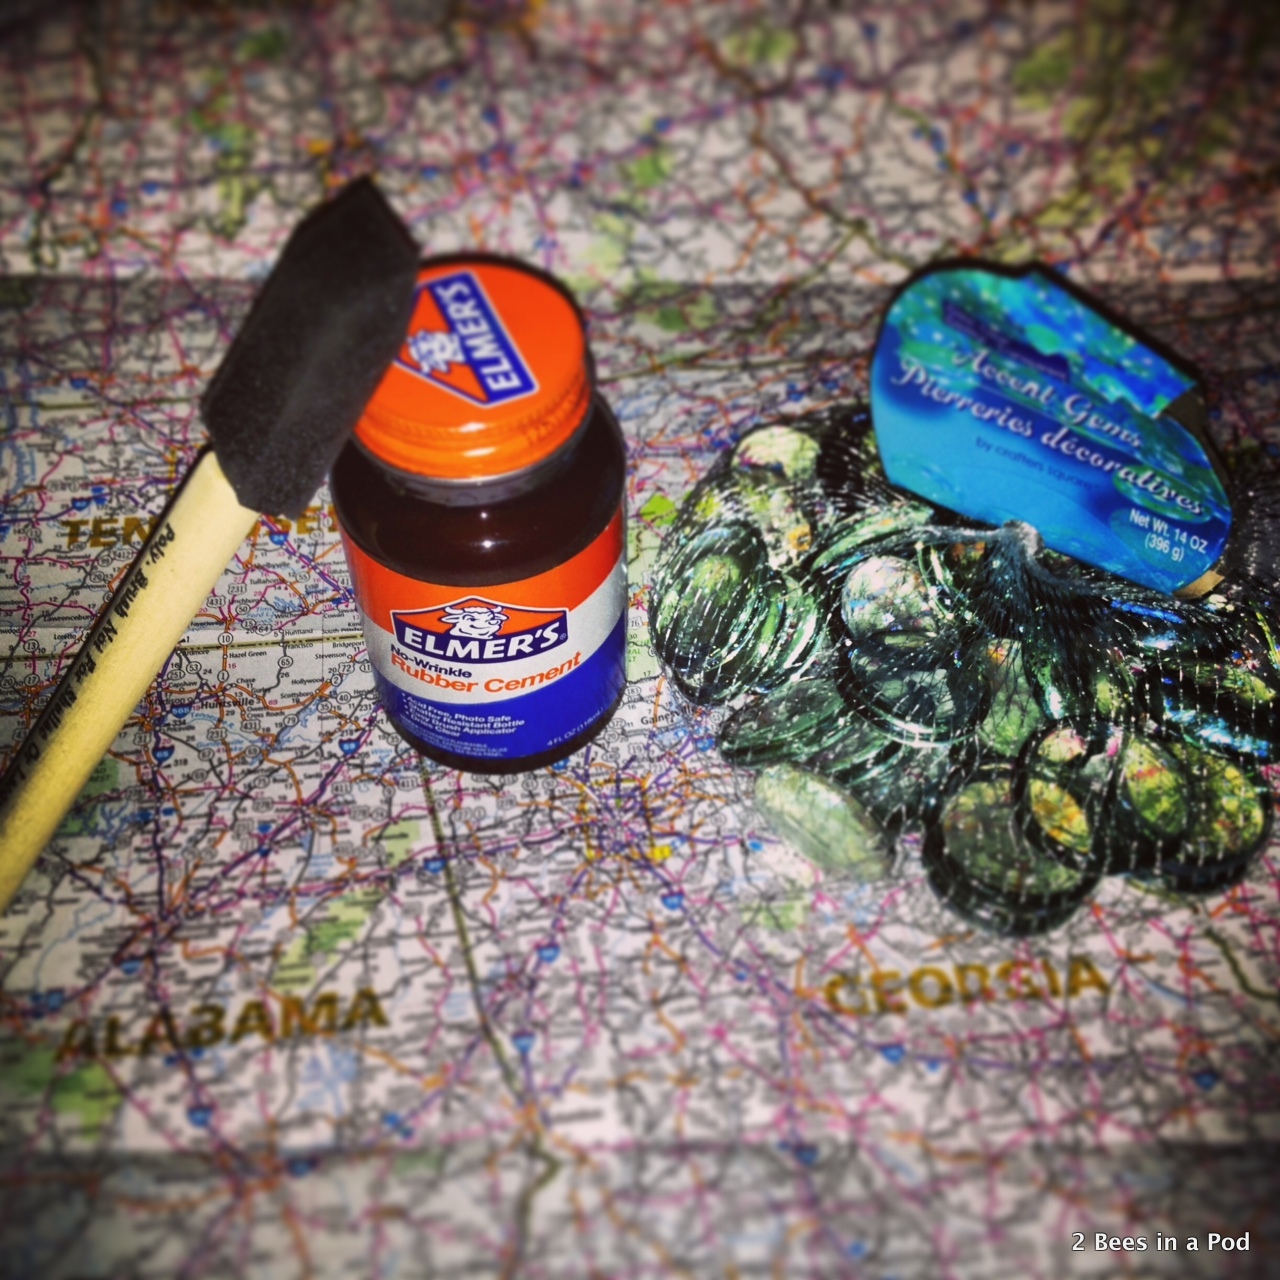
Items you will need:
- Map
- Glass Beads
- Rubber Cement or Modge Podge
- Exacto Knife
- Self Adhesive Magnets
And that’s it…so simple!
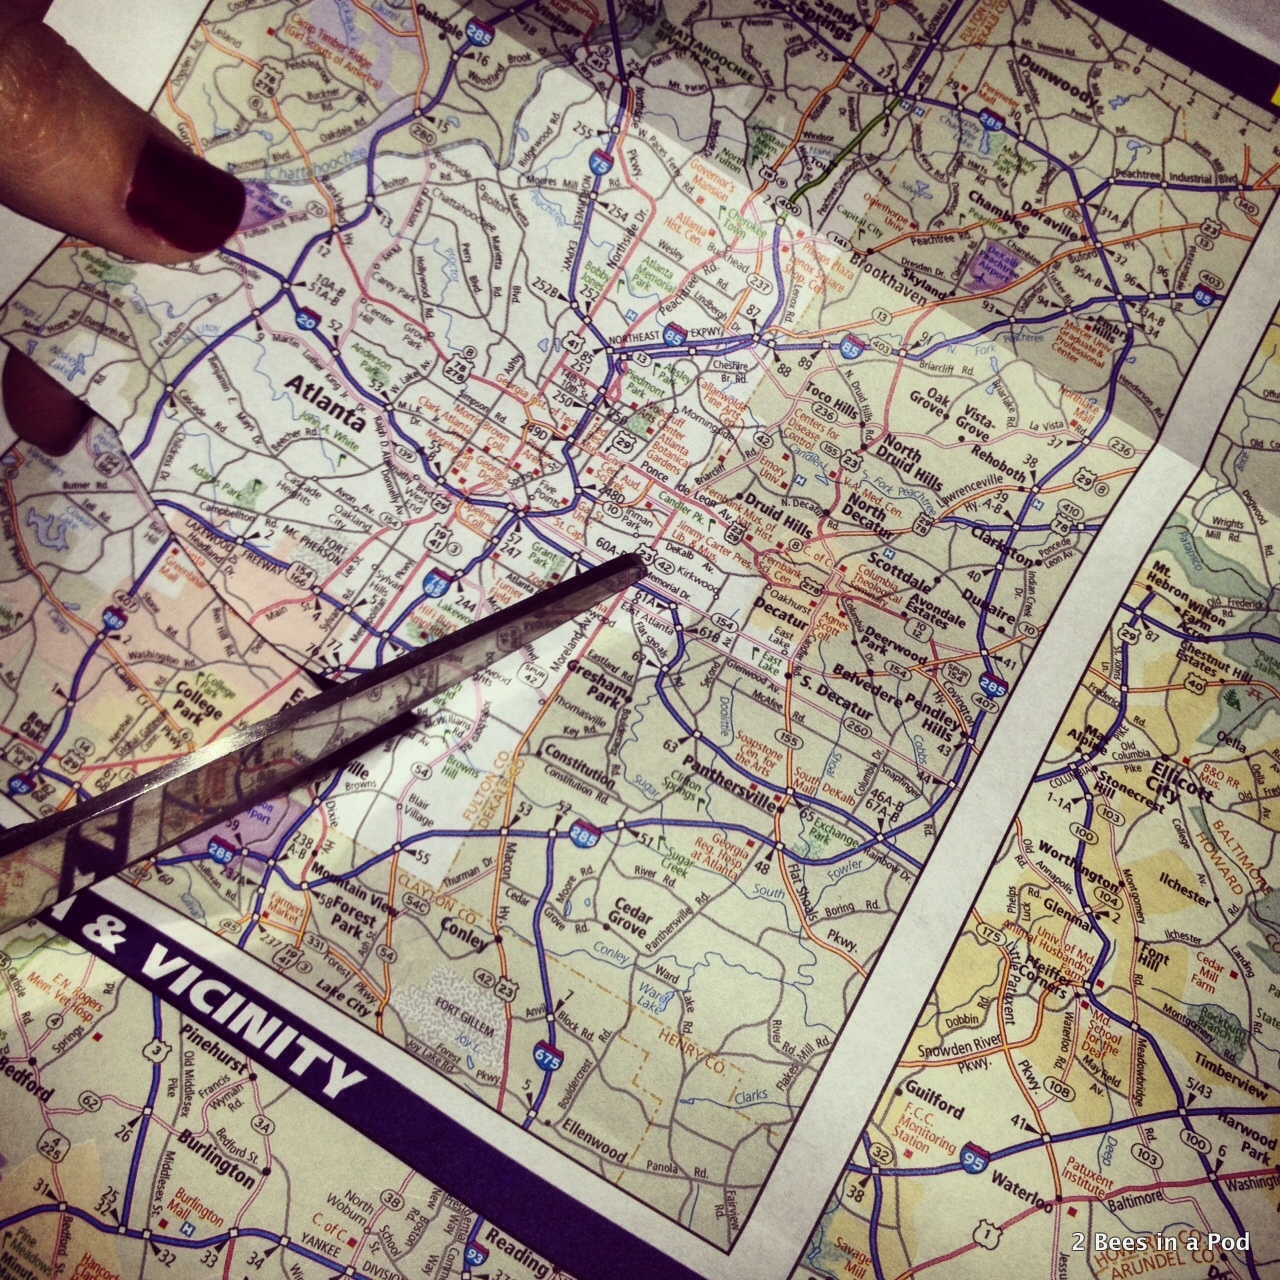
First you’ll want to decide which places on the map you want to use. You could do places you’ve travelled to or where you’d like to go. If you’re taking someone n a trip somewhere, you could use places of where you are taking them to make the gift giving a little more fun 🙂
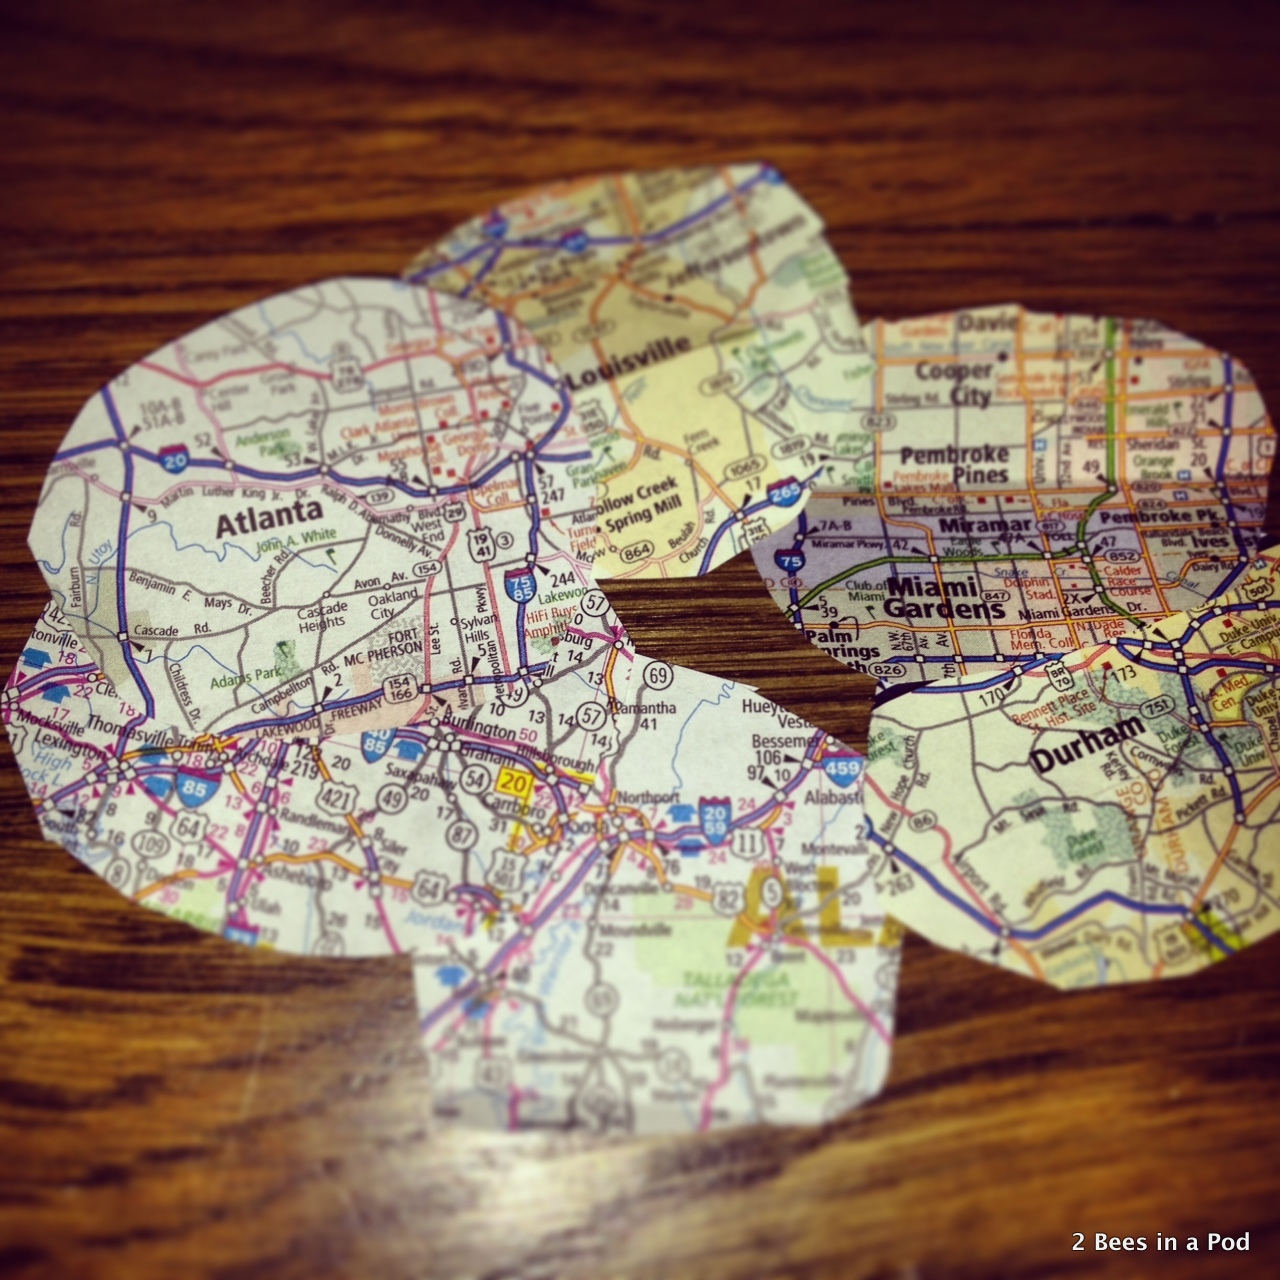
For this one I did places where the gift recipient has lived 🙂
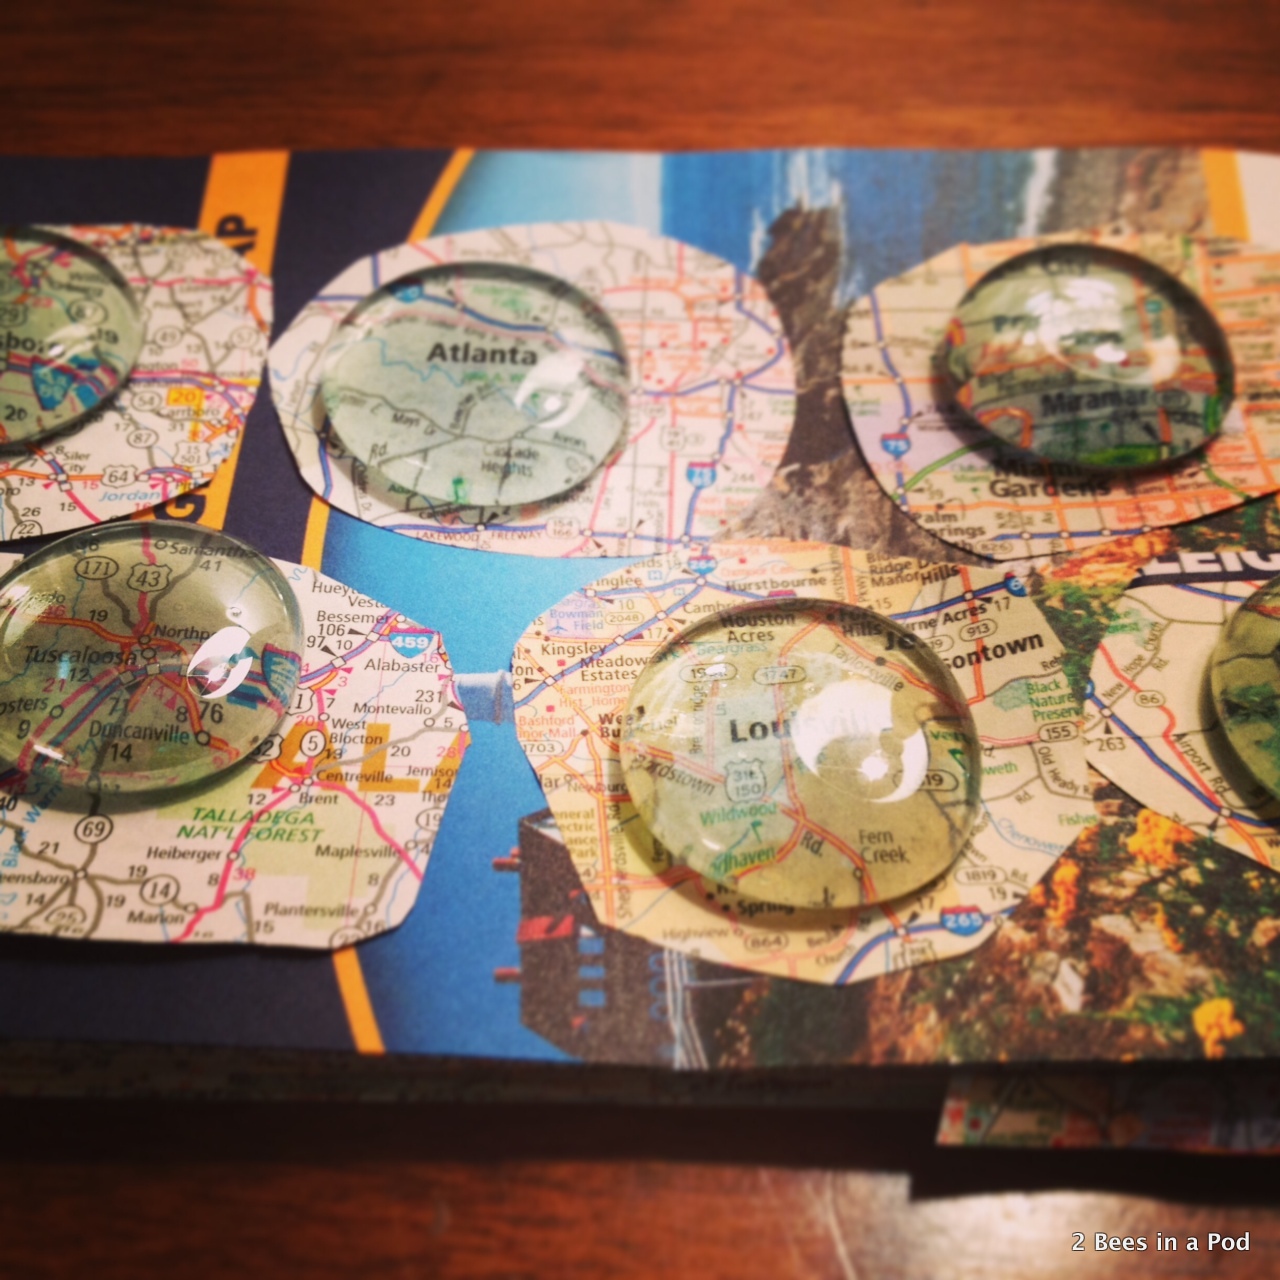
I started off by cutting out the places I wanted to use and making sure they were large enough to fit the beads.
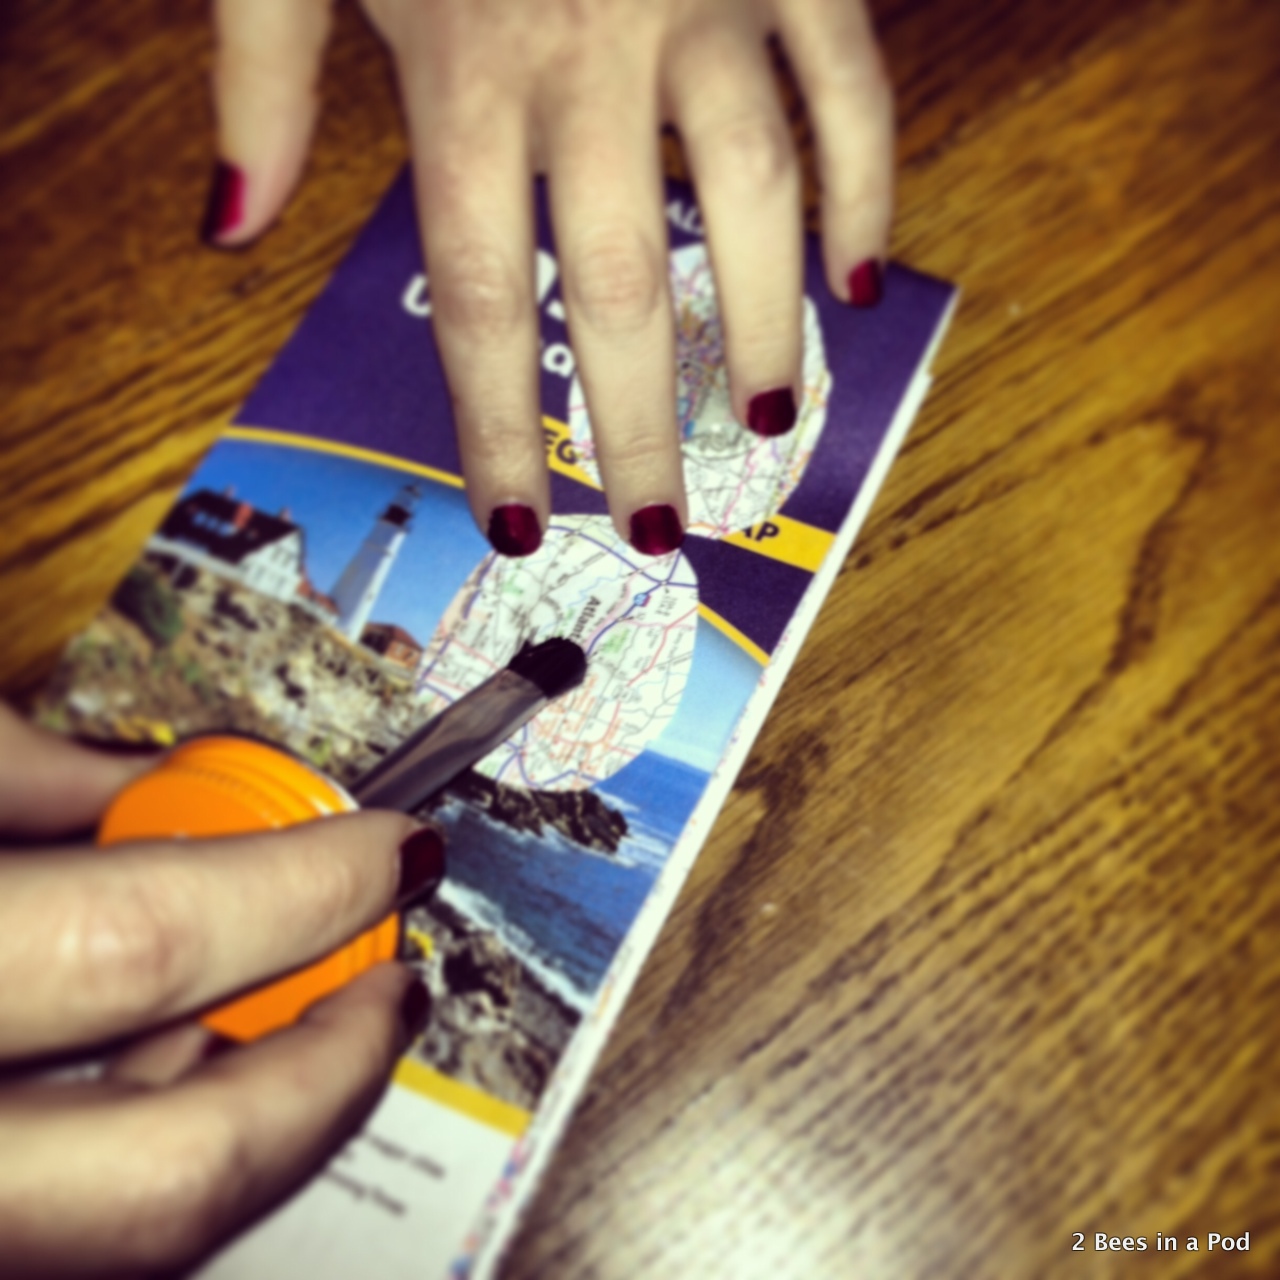
After I did this, I used a small brush and put rubber cement onto both the glass bead and the map to ensure that it really stuck.
Then I carefully laid the bead on the map, trying to get the city I want to highlight in the center.
I let this set overnight before proceeding with the next step.
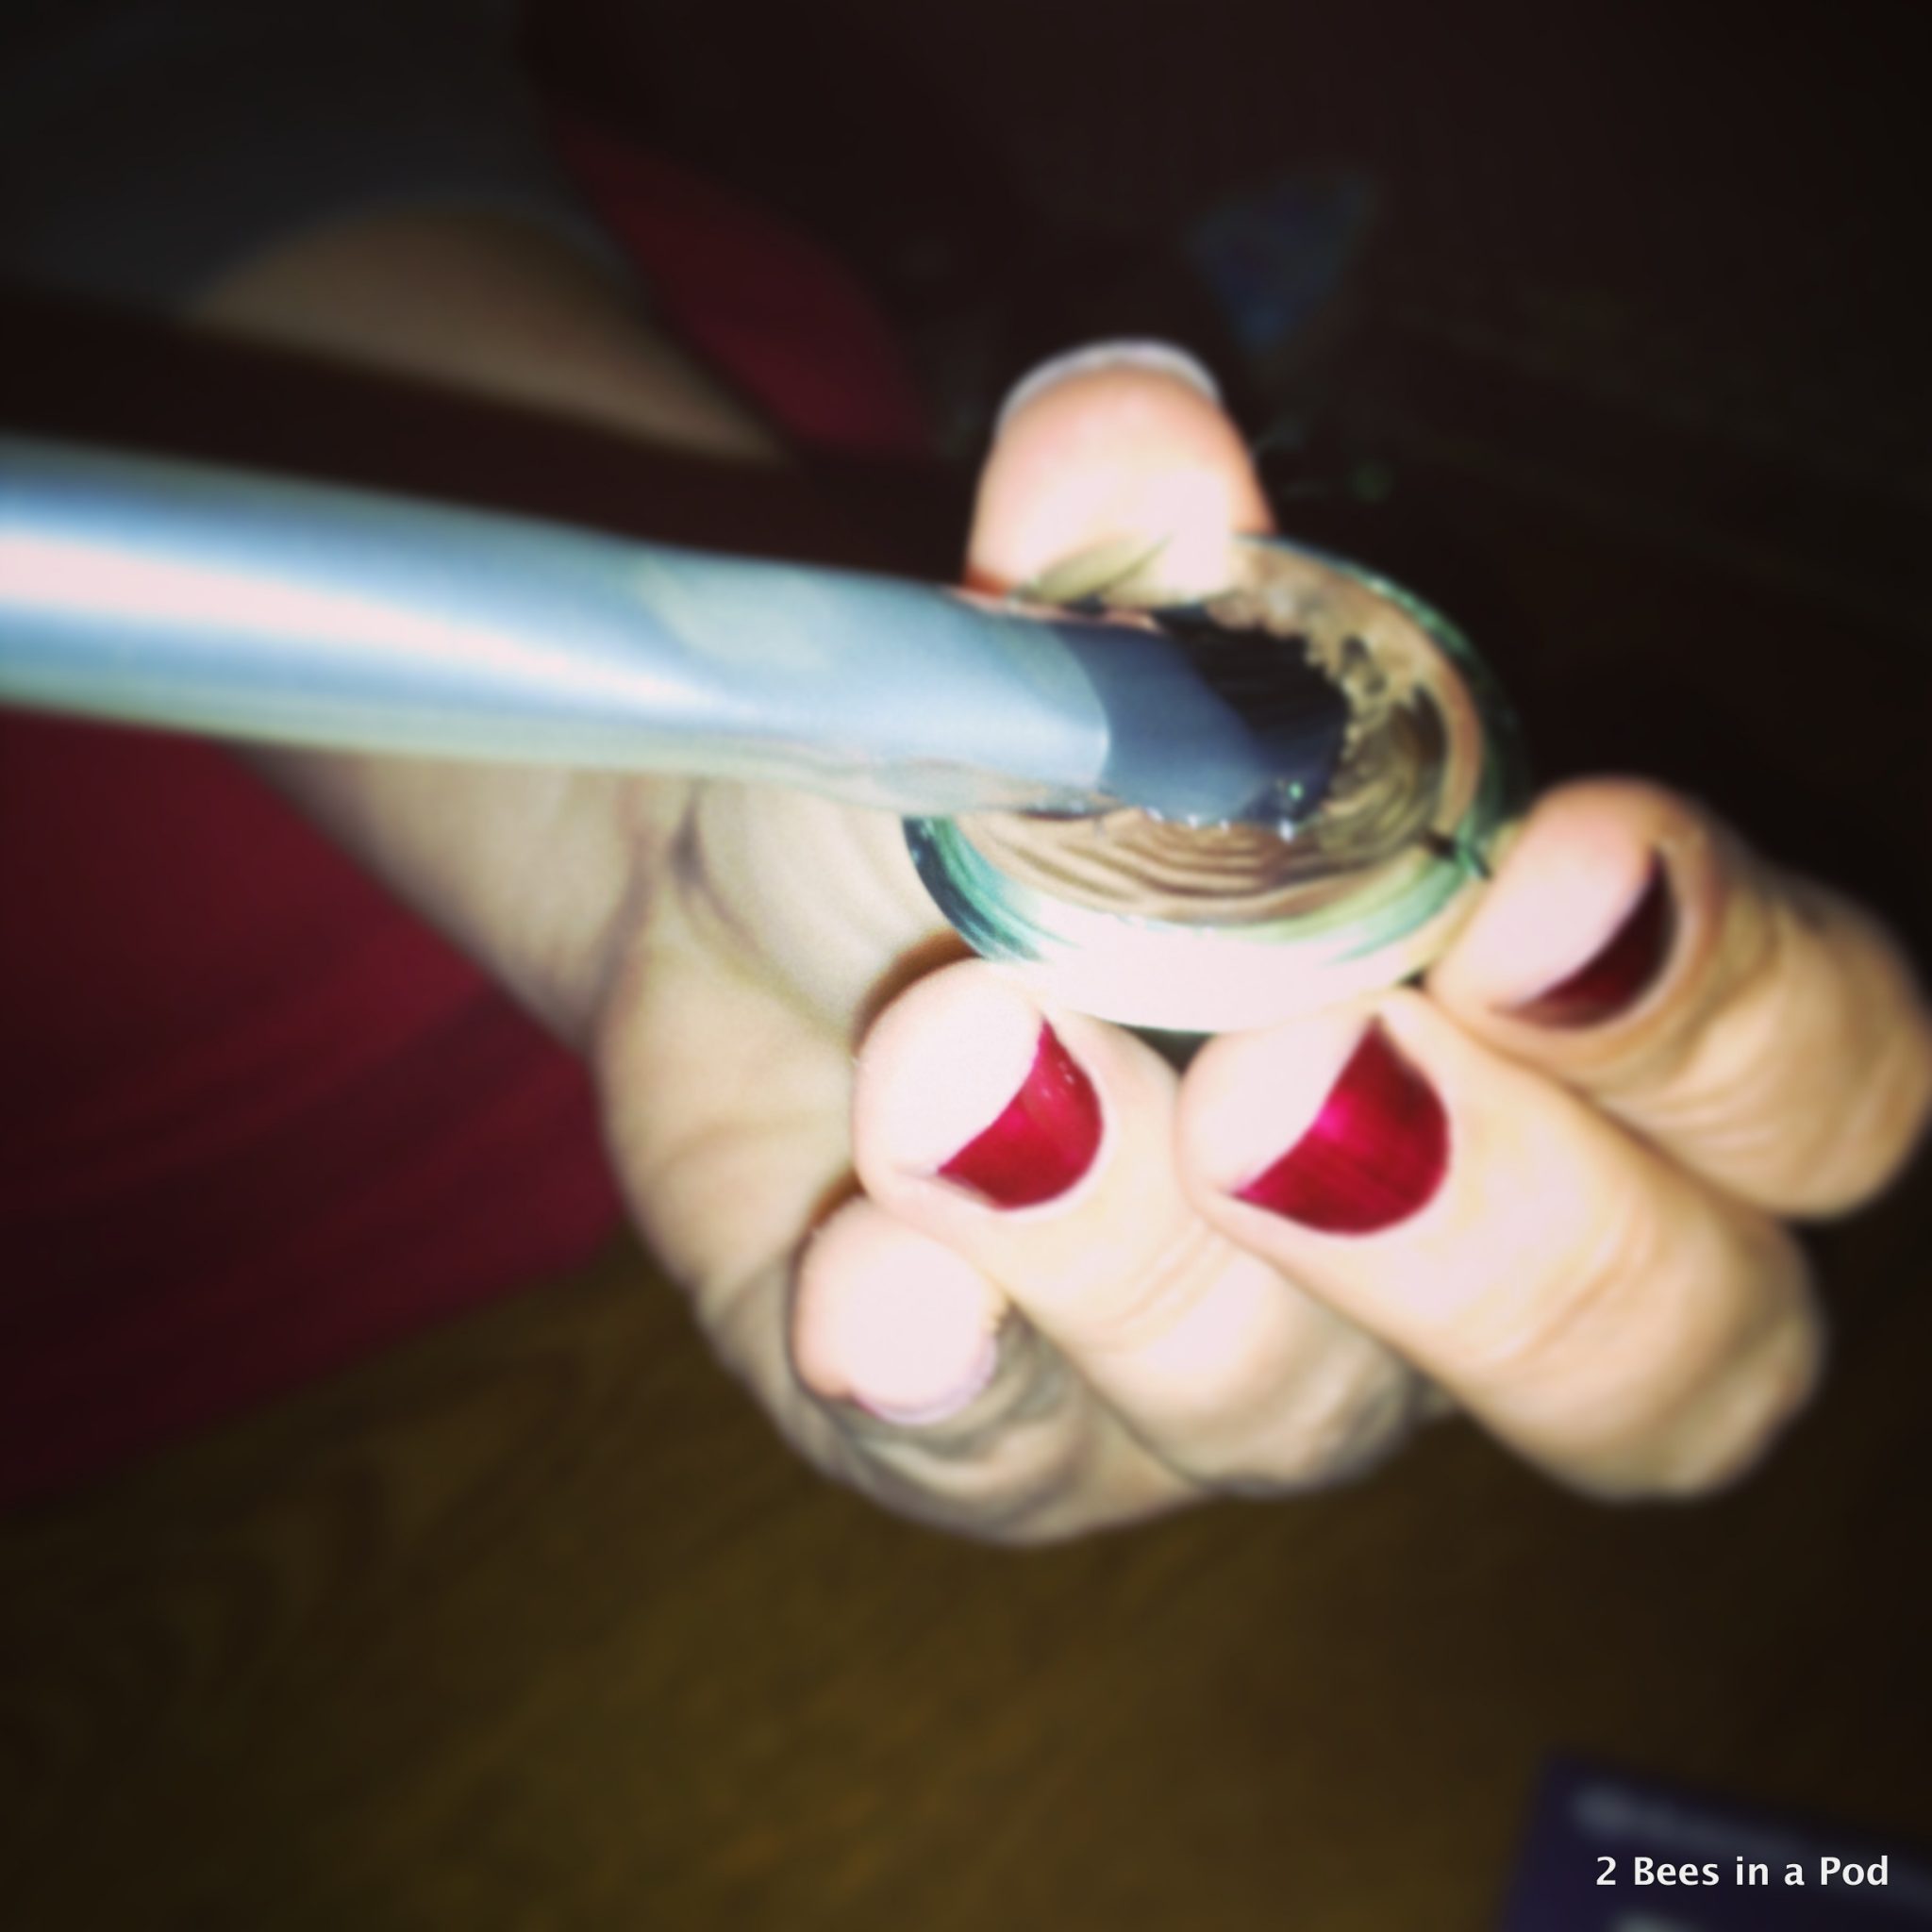
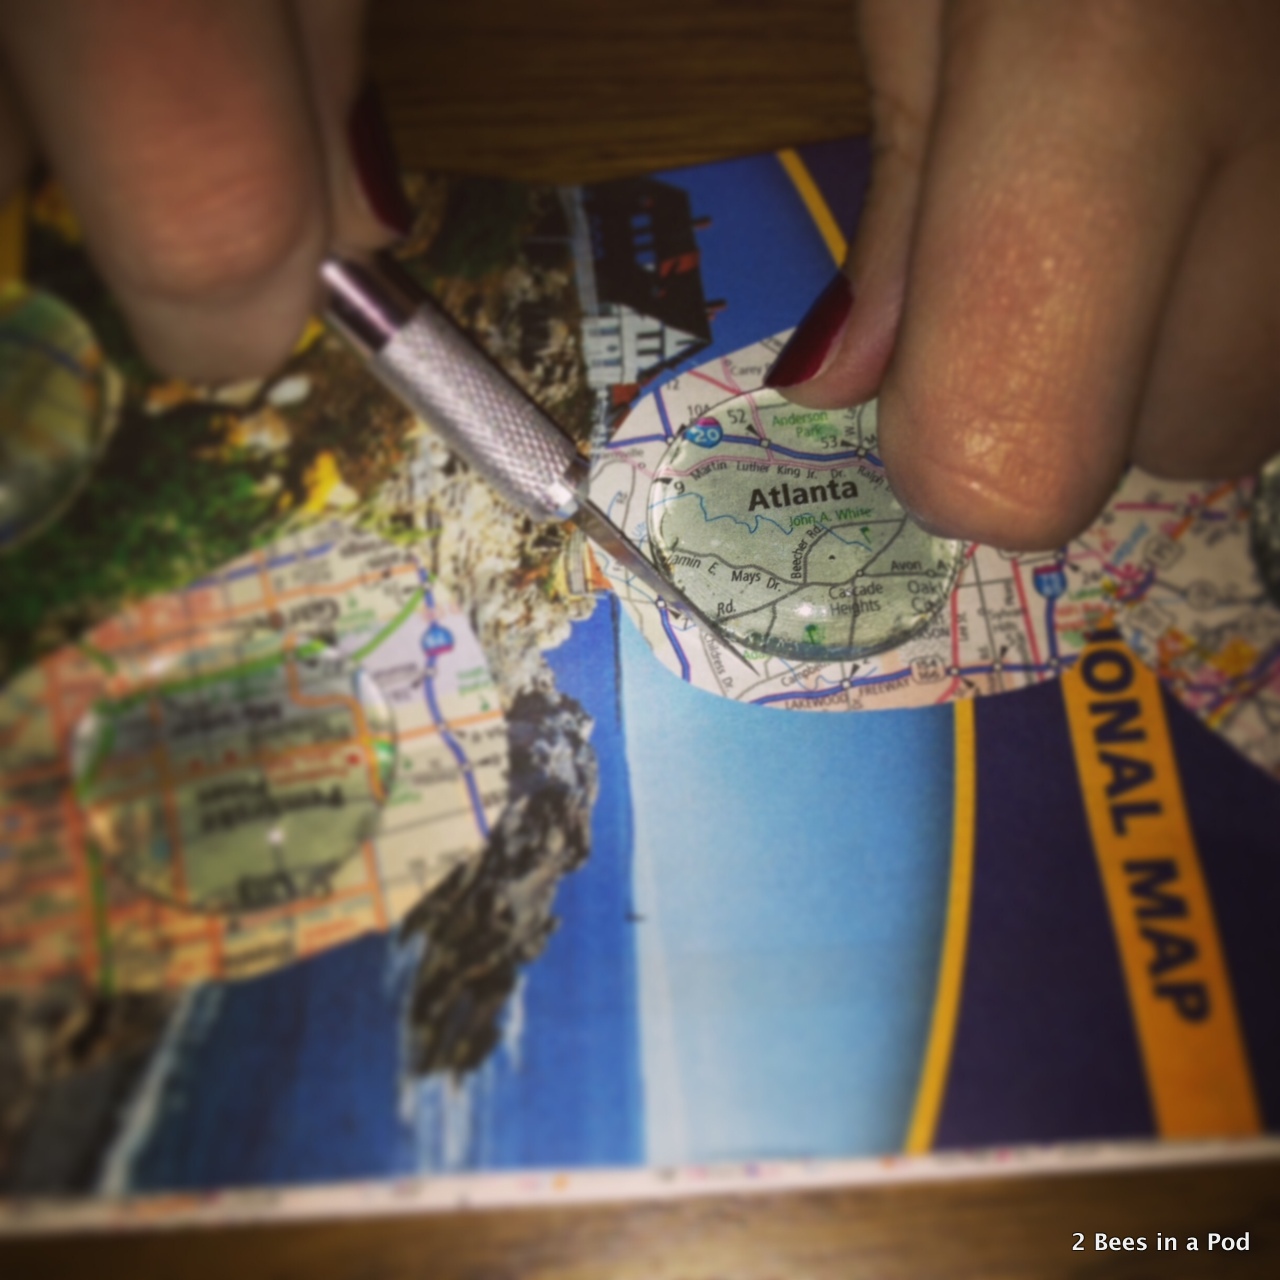
After it sat out, I used an exacto knife to cut off the excess map.
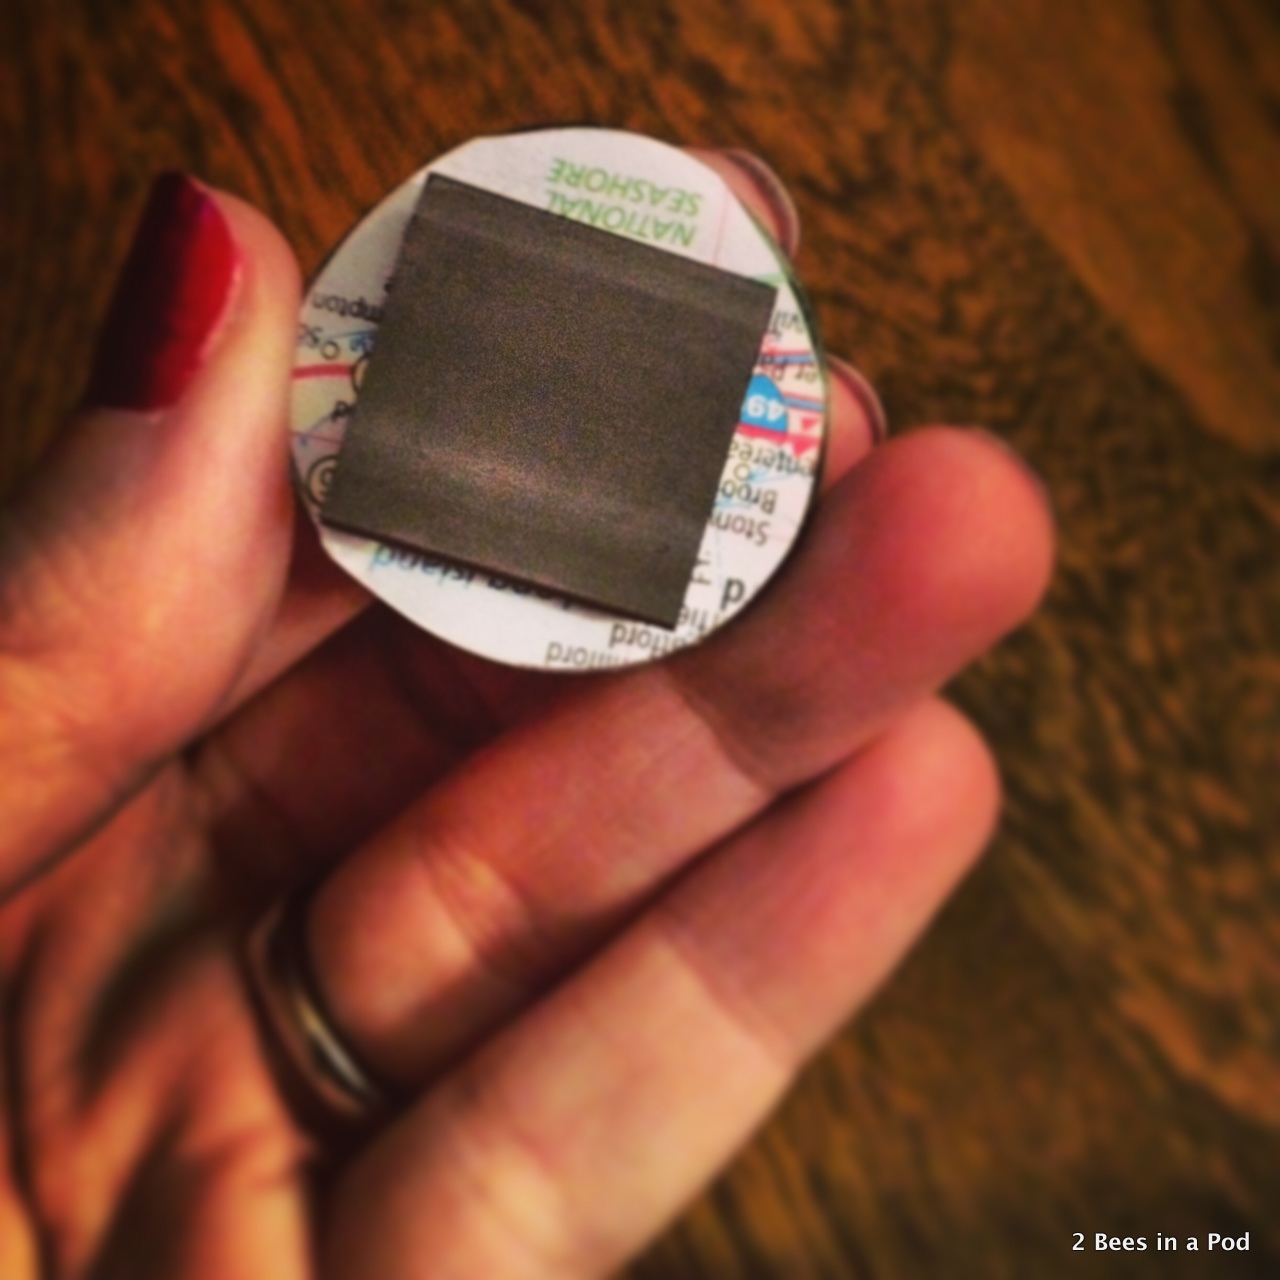
I then used the self adhesive magnet, which made it so much easier, and attached it to the back of the map.
And that’s it! It was so easy and I had great gifts ready to go that were thoughtful and sentimental!
These would also make great stocking stuffers 🙂

