How to Paint and Distress Mason Jars
Please note that this post contains affiliate links. As an Amazon Associate, Rewards Style influencer and Jane Influencer, we earn from qualifying purchases and any sales made through such links will reward us a small commission – at no extra cost for you.
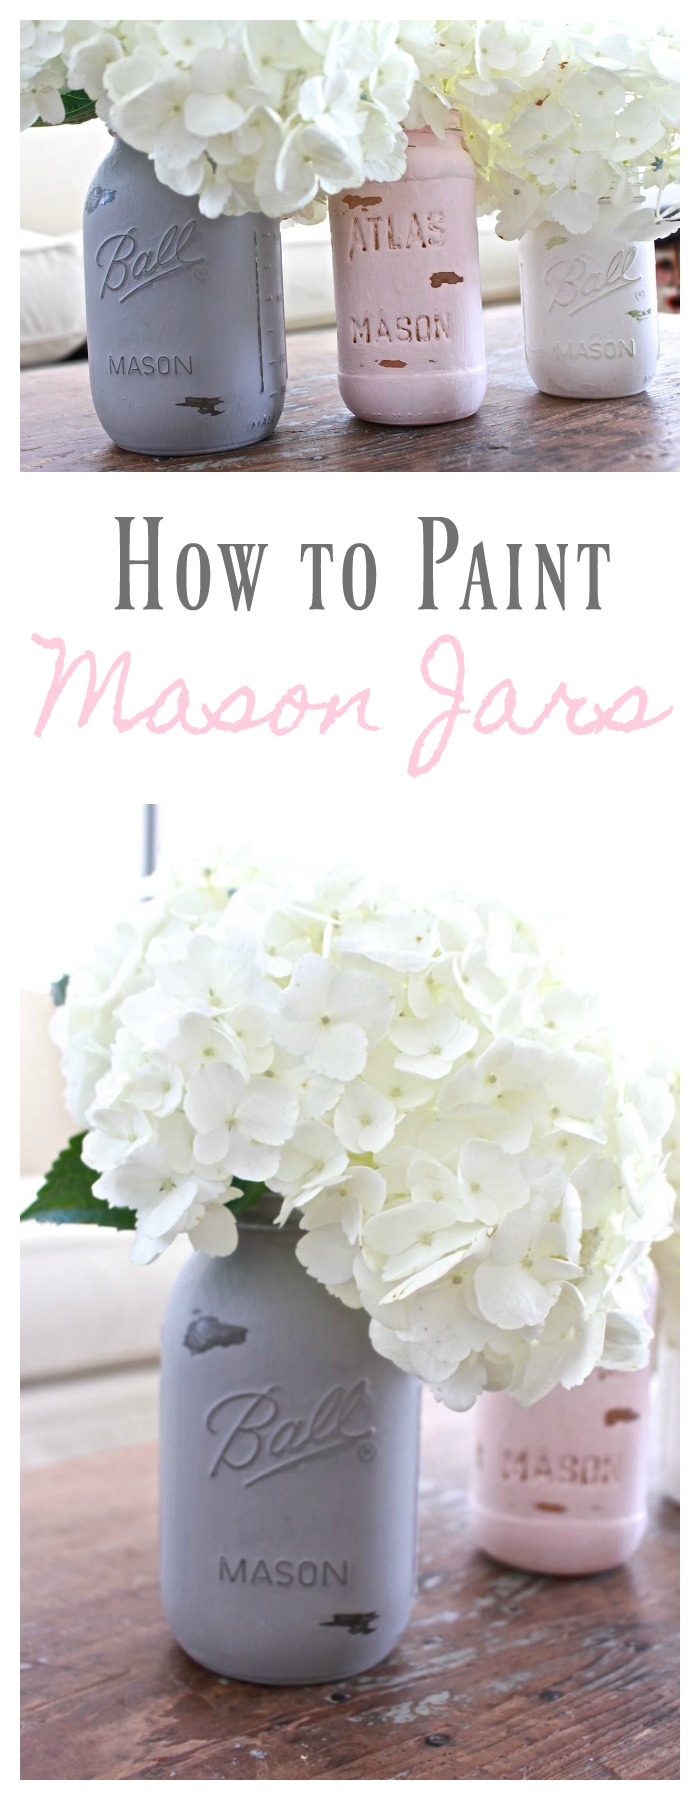
Have you ever painted mason jars? Several years ago I painted about 25 jars for a baby shower centerpiece. They were so pretty in hues of yellow and turquoise – and then guests got to take one home with them. Another time I painted mason jars in red, white and blue for a 4th of July party. I had forgotten all about them until recently when a friend asked if I knew how to paint mason jars. I thought maybe you would like to know too. Here’s how to paint and distress mason jars.
Supplies
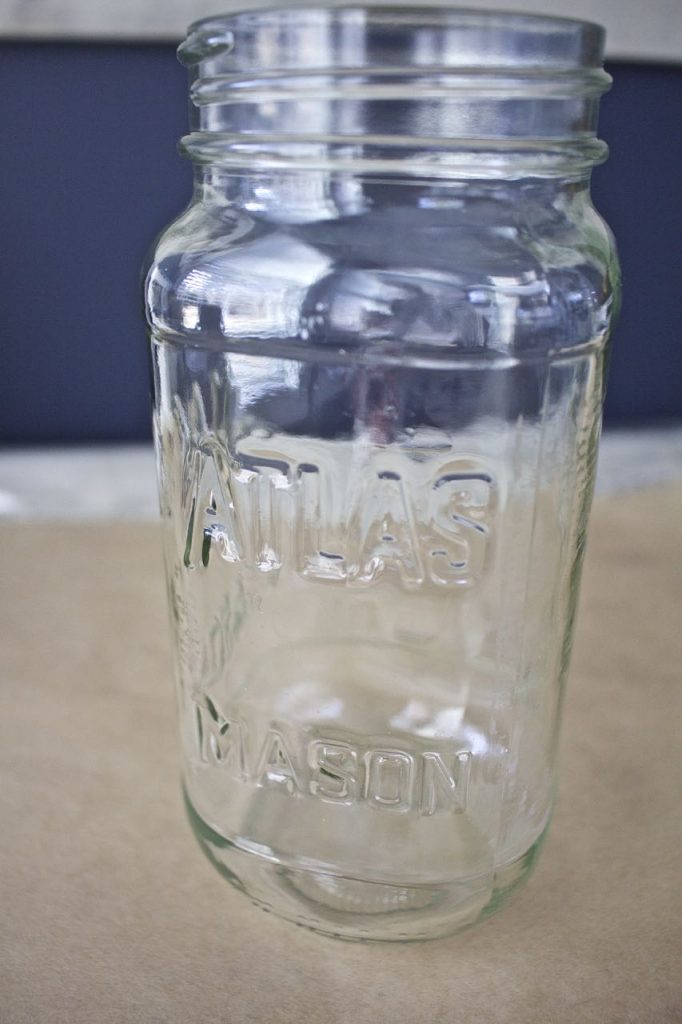
- Mason Jars in the size of your choice
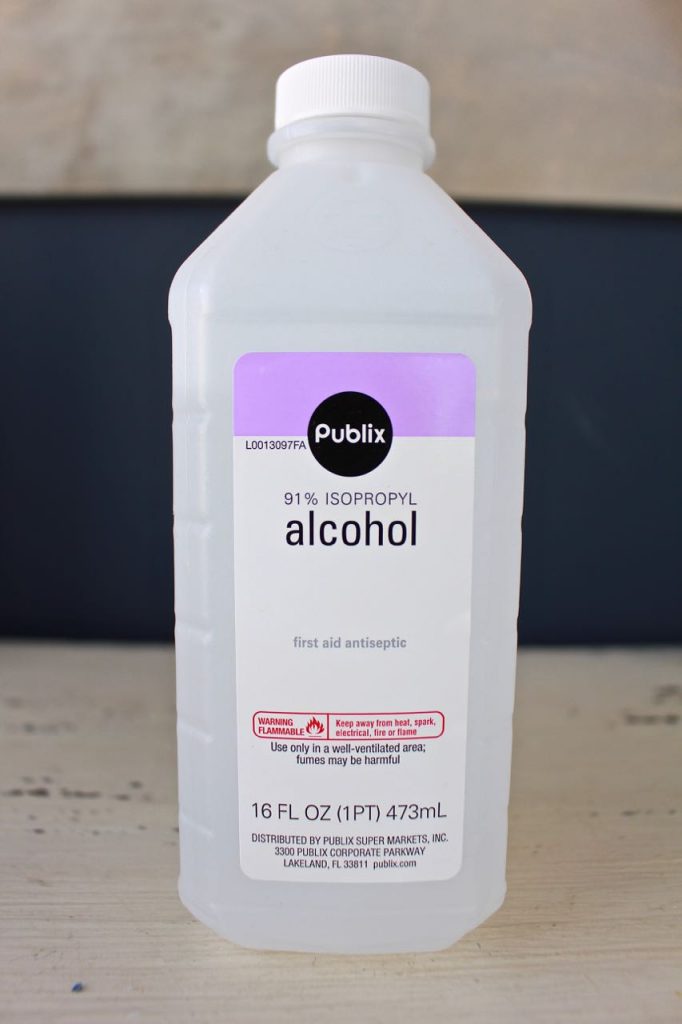
- Rubbing Alcohol
- Cotton boll
- Hot water
- Paint Brush
- 80 grit sandpaper
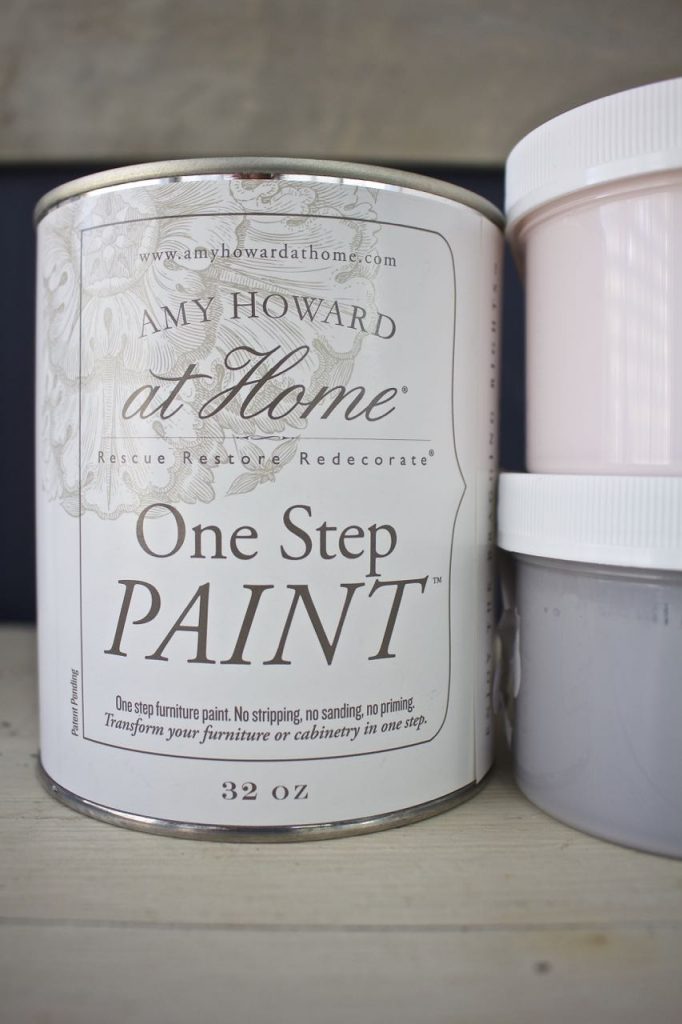
- Chalk Based Paint in various colors – I used Amy Howard One Step Paint in Atelier, Bauhaus Buff and Palmer Pink.
- Paste Wax
**These painted mason jars are for decorative purposes only. They are not food or beverage safe**
First, you want the outside of your jar as clean as possible. You would be surprised how much natural oils are in our hands.The jar must be completely free of oil, grit, dust or soap build-up. A single fingerprint can cause paint to not adhere properly to your jar.
Saturate a cotton boll and rub the entire outside of the mason jar, including the rim and the bottom. Immediately rinse the outside of the jar with very hot water and let air dry.
Use a chalk-type paint in the color(s) of your choice. I used Amy Howard One Step Paint in the colors listed above.
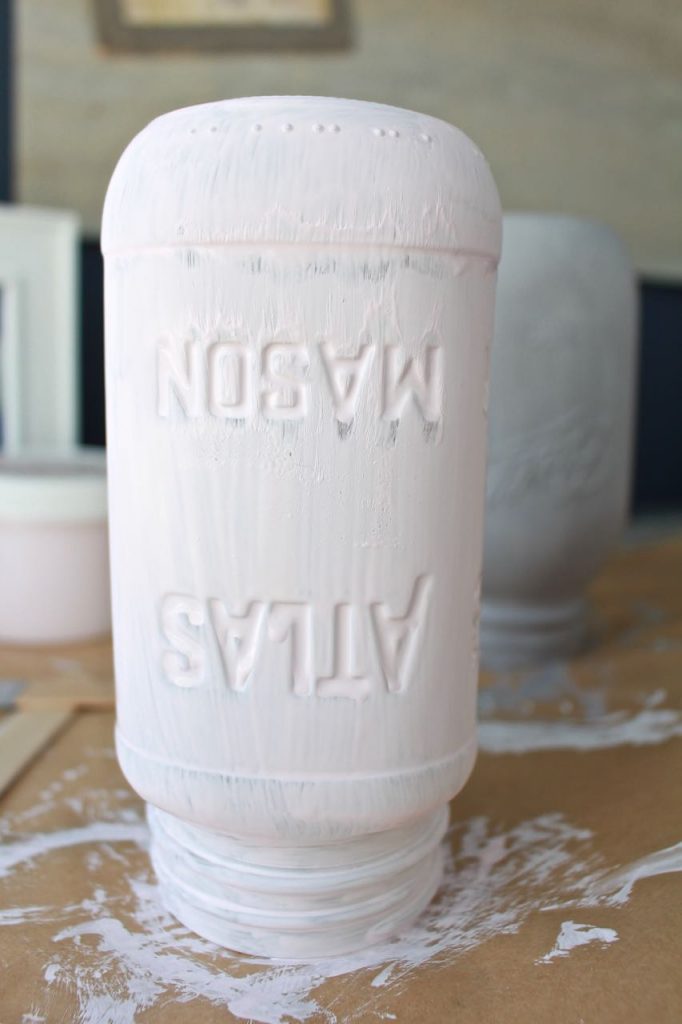
Being as careful as possible to not touch the outside of the jar, place it upside down. Paint one thin coat of paint on the entire exterior – let dry completely. Remember, the painting doesn’t need to be perfect.
Paint a second, thicker coat on the jars. Let dry for 24 hours.
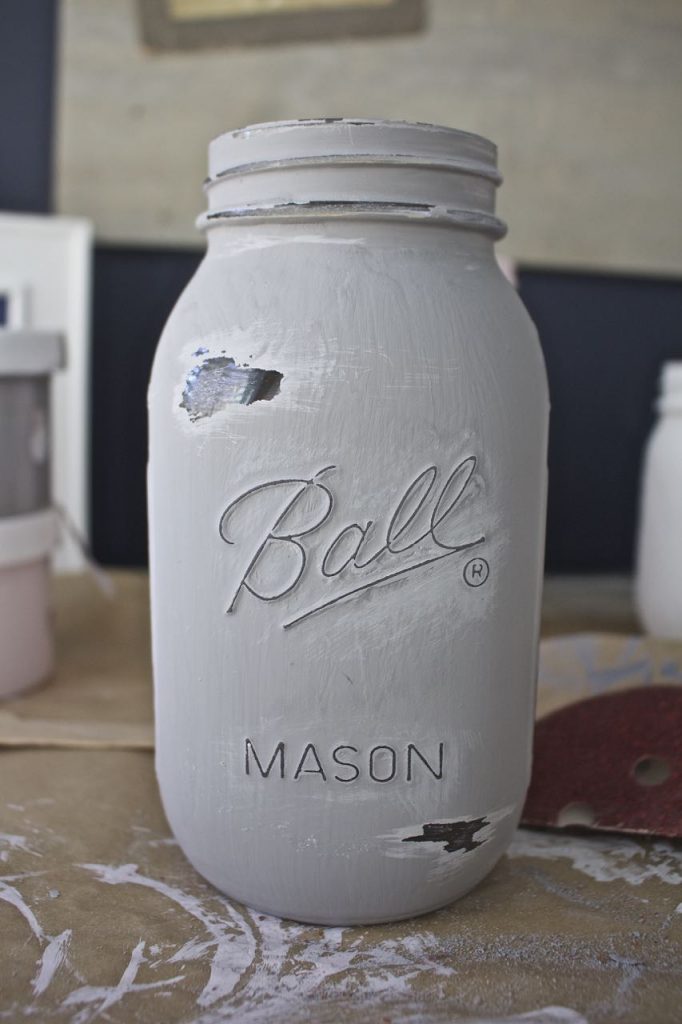
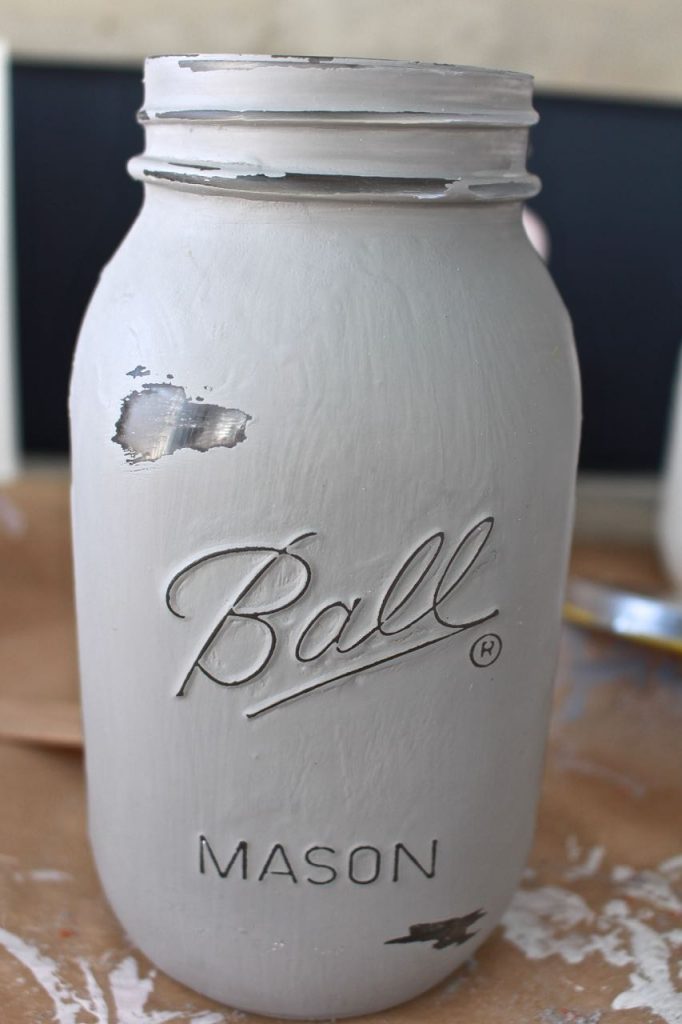
Here’s where the fun begins. Using 80 grit sandpaper, start sanding all of the raised edges around the mason jar including the rim.
Also sand a couple of spots to give the appearance of being worn.
Remove dust. Add one good coat of clear paste wax to the outside of the jar.
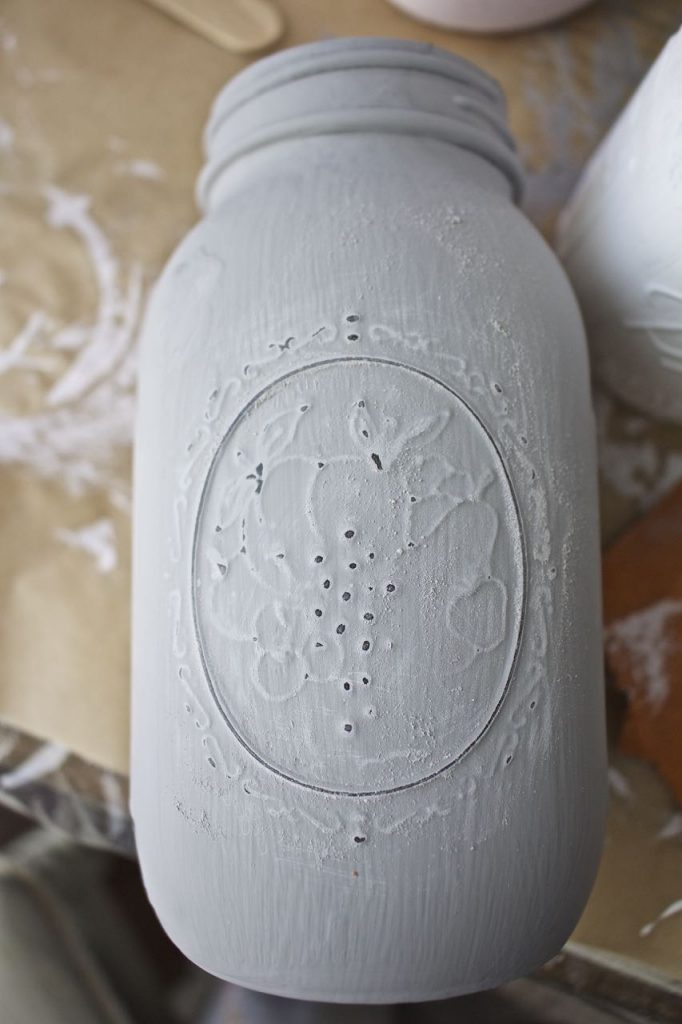
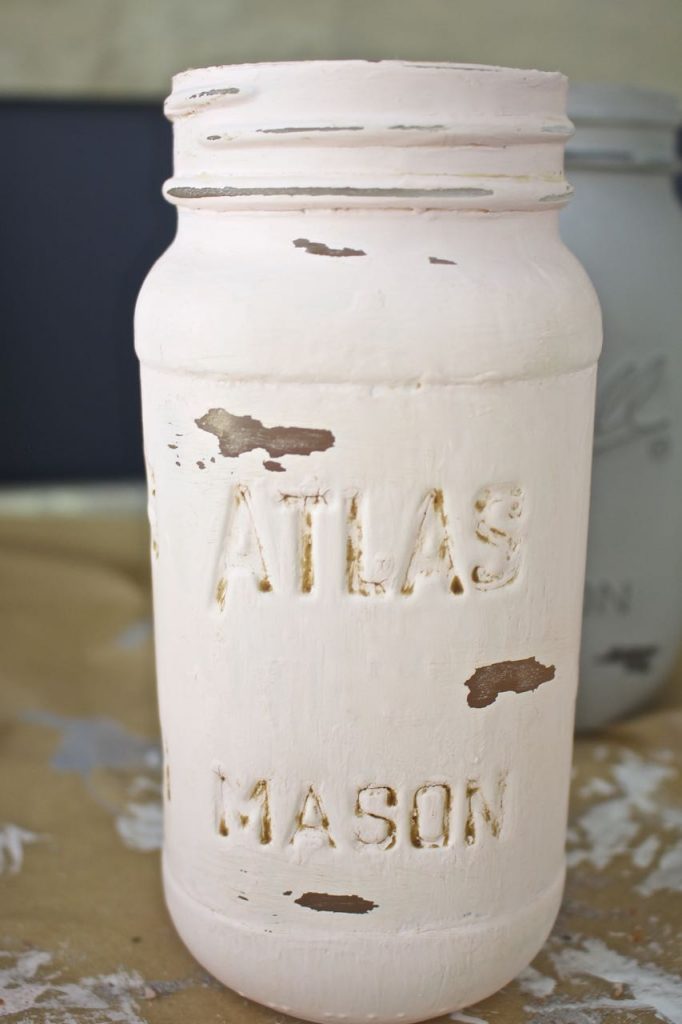
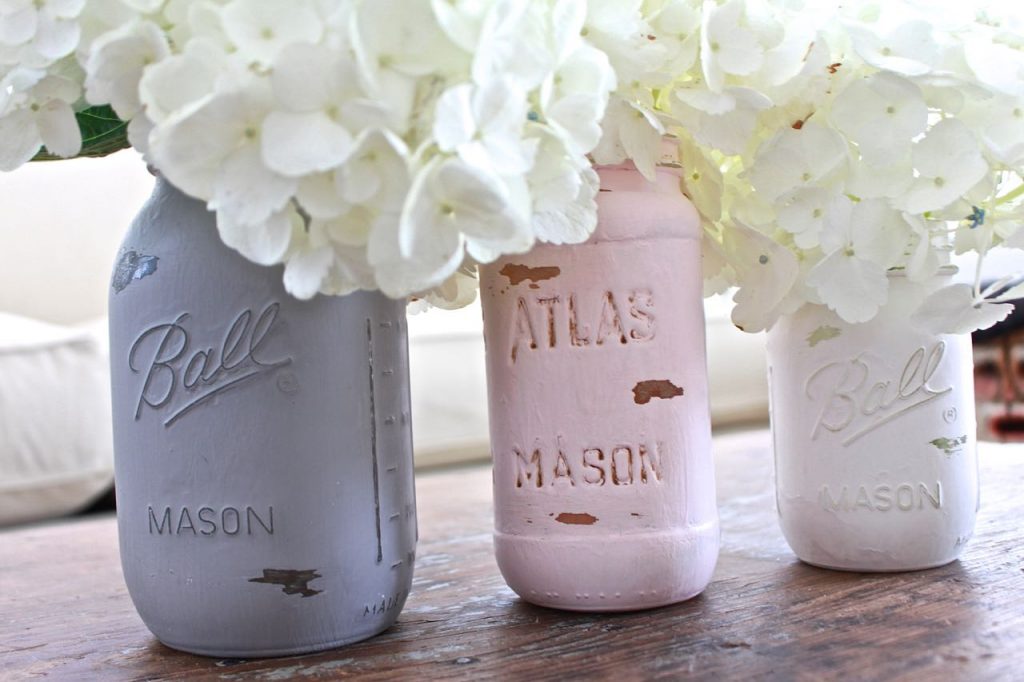
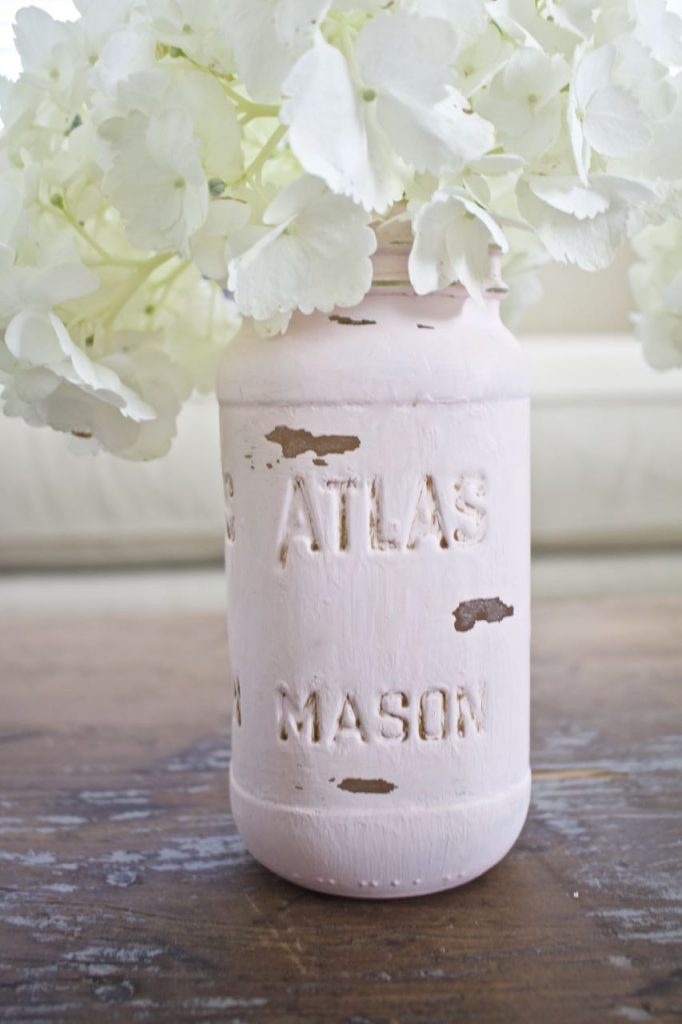
The graphics on this spaghetti sauce jar were indented rather than raised. I added dark wax to the graphics for enhancement and then used clear wax for the rest of the jar.
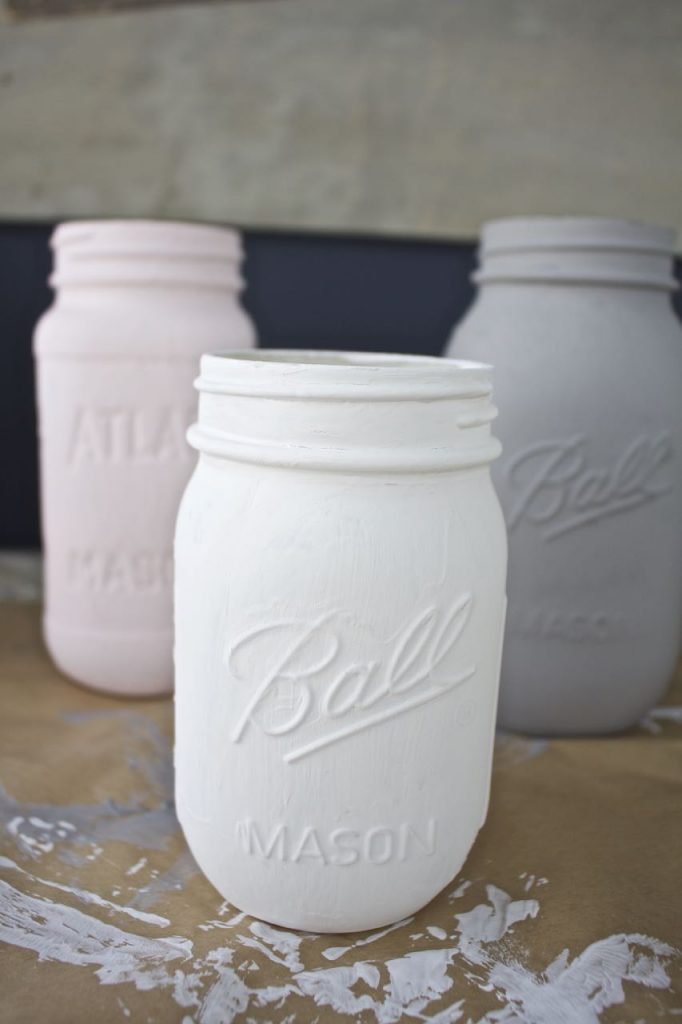
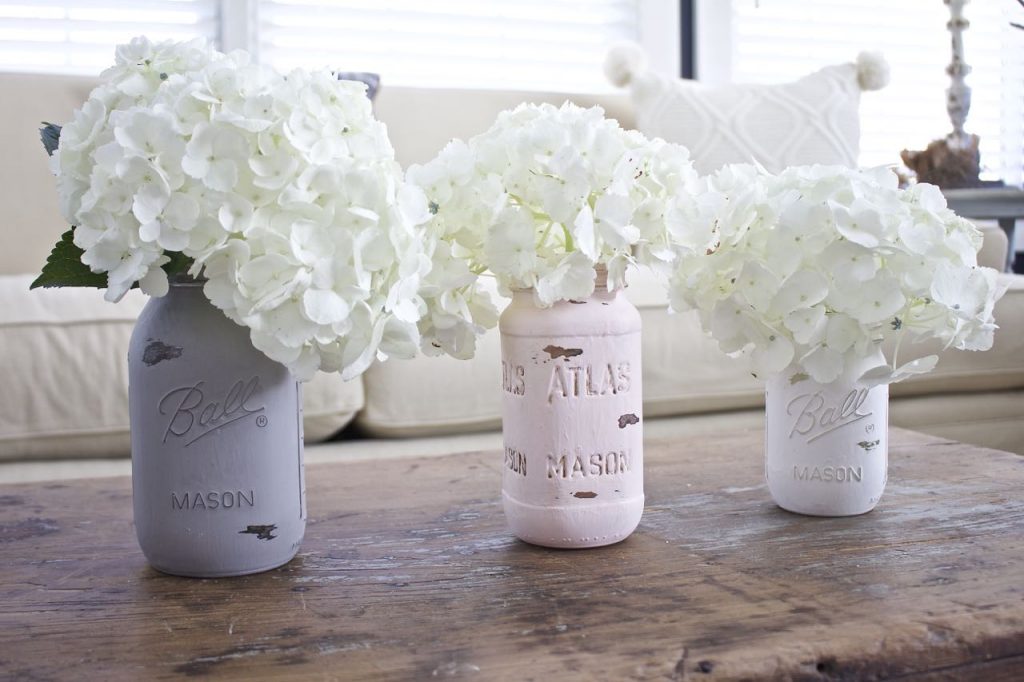
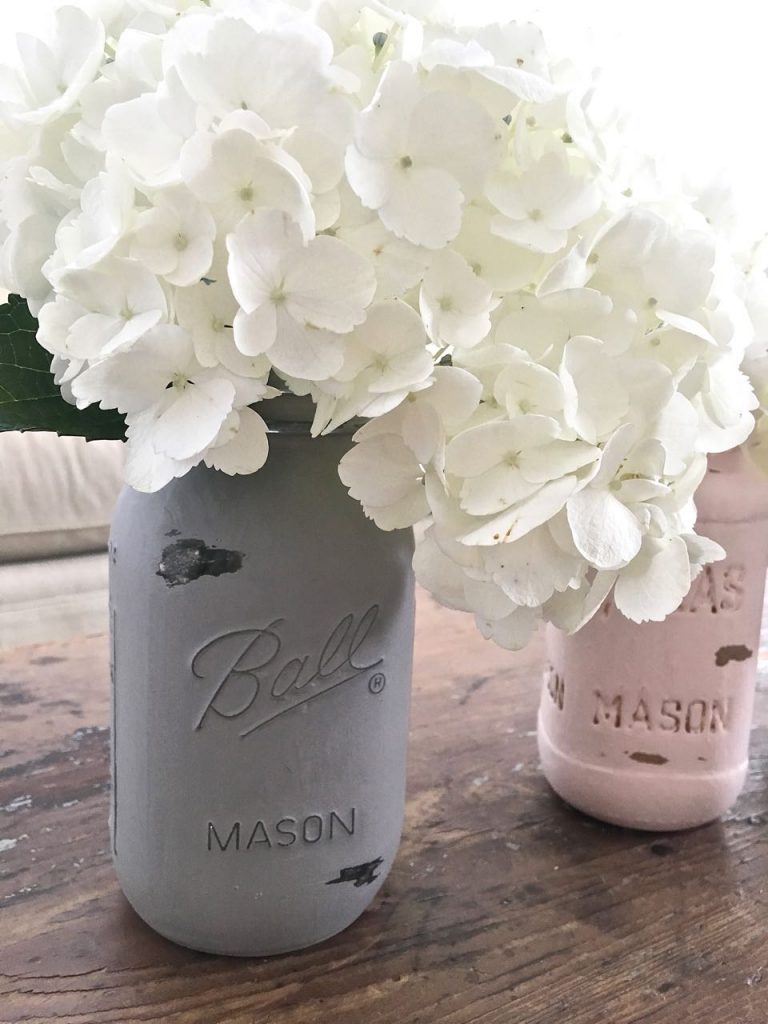
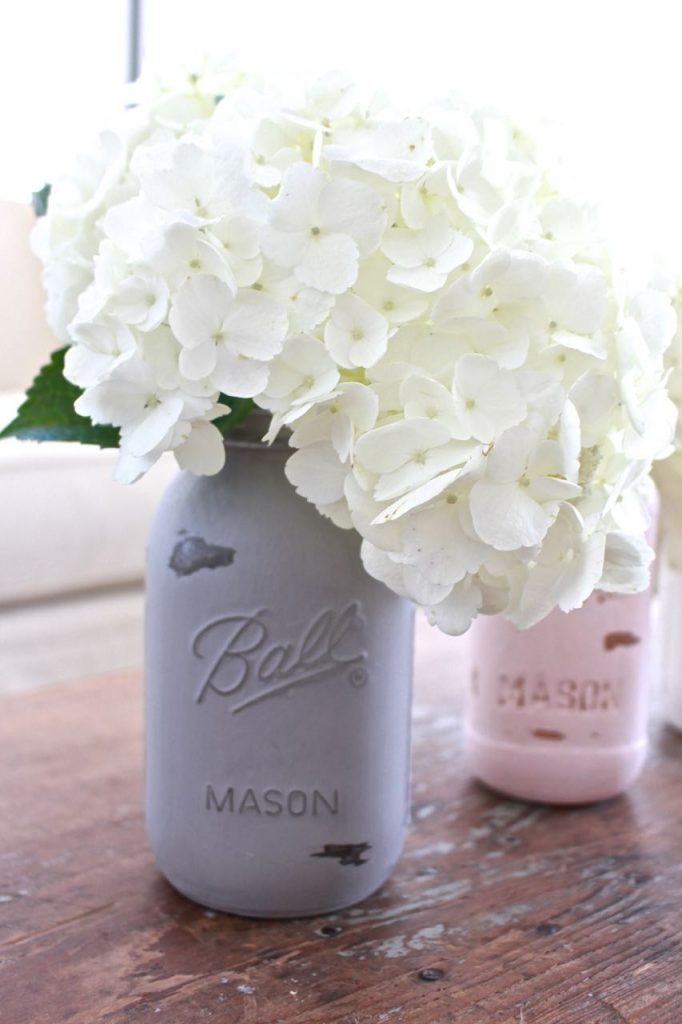
I am in love with this color palette and the jars look great.
It’s amazing what a little bit of paint can do.
White hydrangeas look beautiful…
…so soft and pretty.
I hope you are encouraged to give this project a try. It is fun and easy.
Just remember…these painted jars are not waterproof. Do not put into the dishwasher or submerge in water. Take care to keep the outside of the jar as dry as possible. A little bit of water won’t hurt.
Just think of all of the colors you could use!

These colors would make such a pretty Valentine’s Day centerpiece! Love these muted hues. Hugs, CoCo
Pretty☺. What clear paste wax did you use?