No-churn Vanilla Ice Cream
Please note that this post contains affiliate links. As an Amazon Associate, Rewards Style influencer and Jane Influencer, we earn from qualifying purchases and any sales made through such links will reward us a small commission – at no extra cost for you.
To beat the heat I decided to make no-churn vanilla ice cream!
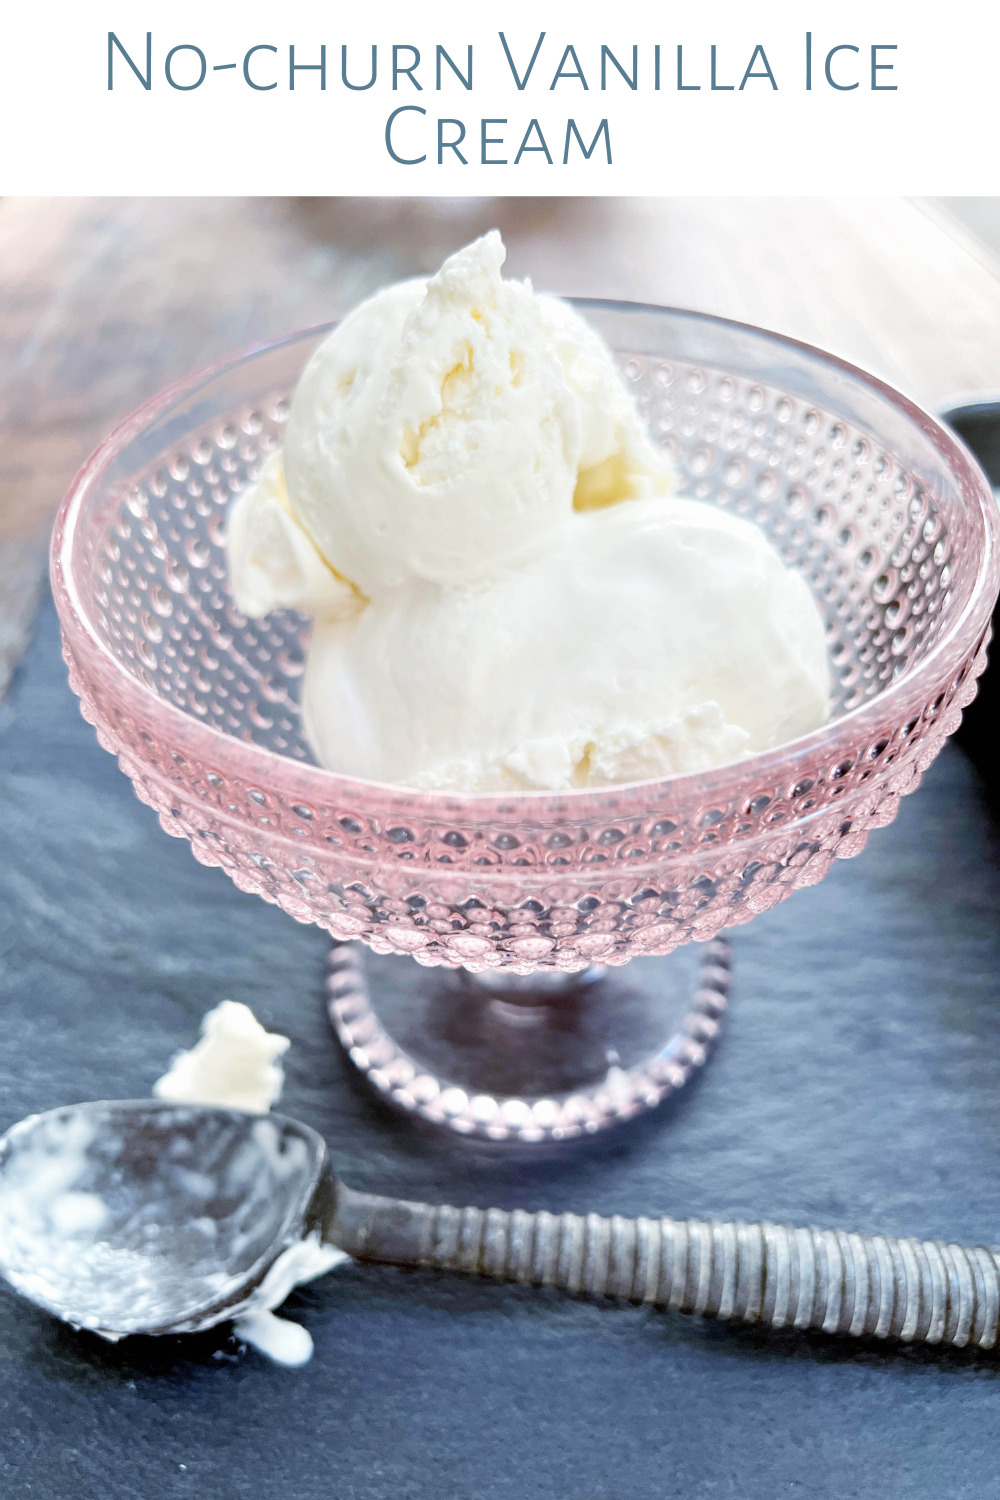
No-Churn Vanilla Ice Cream is super delicious and easy to make! It is soft and creamy homemade vanilla ice cream made in just a few minutes with no ice cream maker required! You just need to be patient for the required freeze time.
“In 1984, President Ronald Reagan designated July as National Ice Cream Month and the third Sunday of the month as National Ice Cream Day.” This is a holiday that I can definitely support!
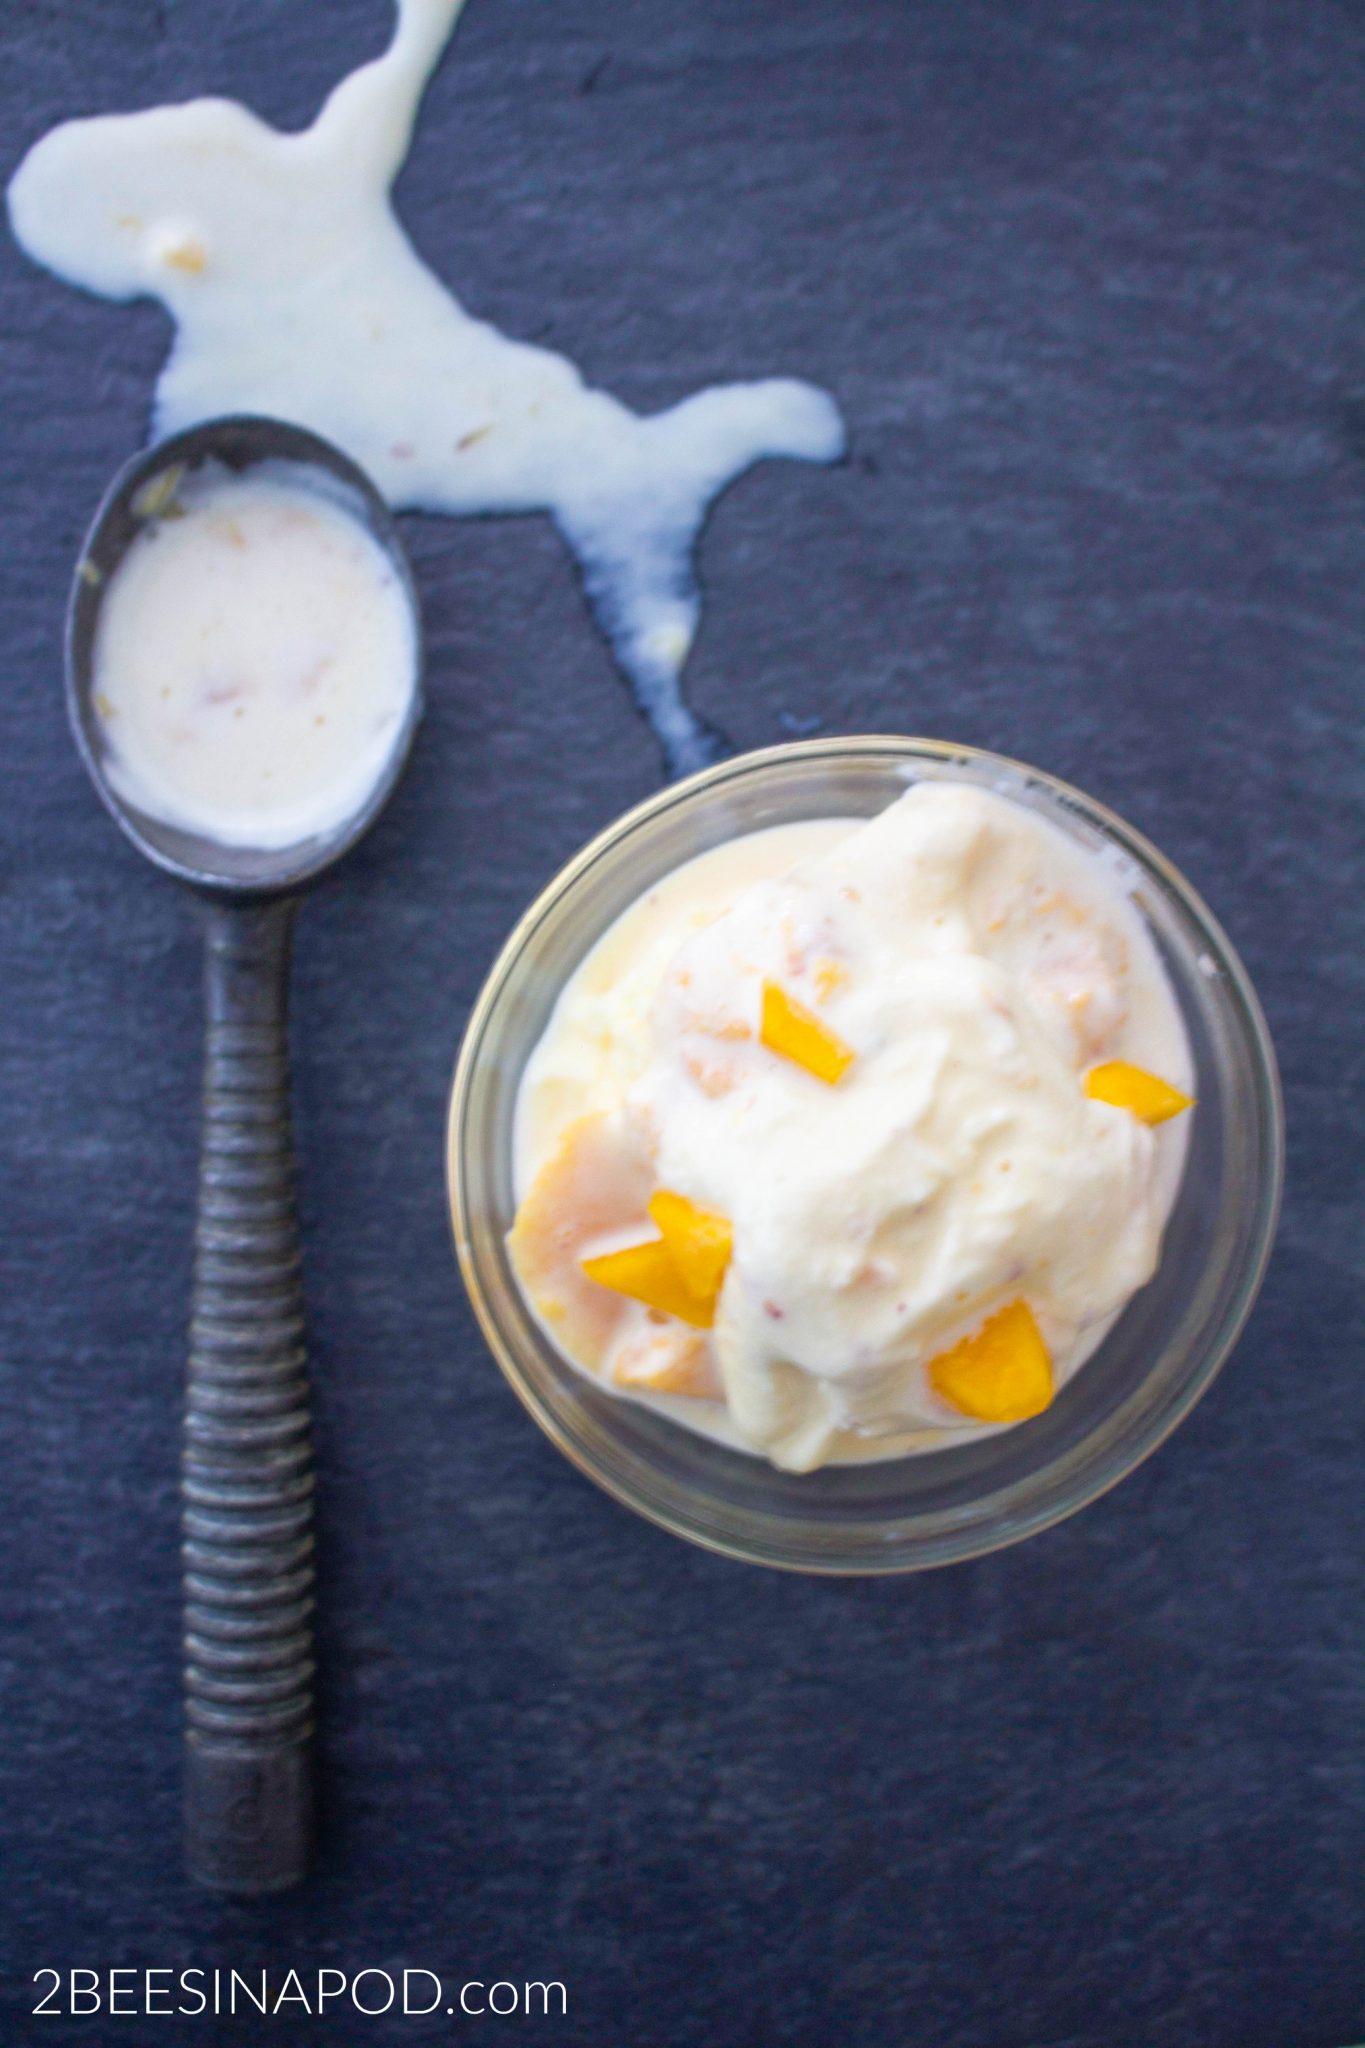
If you love ice cream like I do, you may also like my Easy Peach Ice Cream recipe.
By now, I think most of us can say that we are sick of the heatwave this summer. I can’t remember a hotter summer. The last time our heat was below 90º was all the way back in May.

I decided that we needed a cool dessert to take the edge off. Any excuse to make ice cream, right? LOL
This is a great recipe because you don’t need an ice cream maker or fancy machine. I do own a Cuisinart Ice Cream Maker, but for vanilla ice cream, this is so much easier.
This is what it looked like right before I popped it into the freezer.

No-churn Vanilla Ice Cream

No-Churn Ice Cream is soft and creamy homemade ice cream made in just a few minutes with no ice cream maker required!
Ingredients
- 2 cups heavy whipping cream
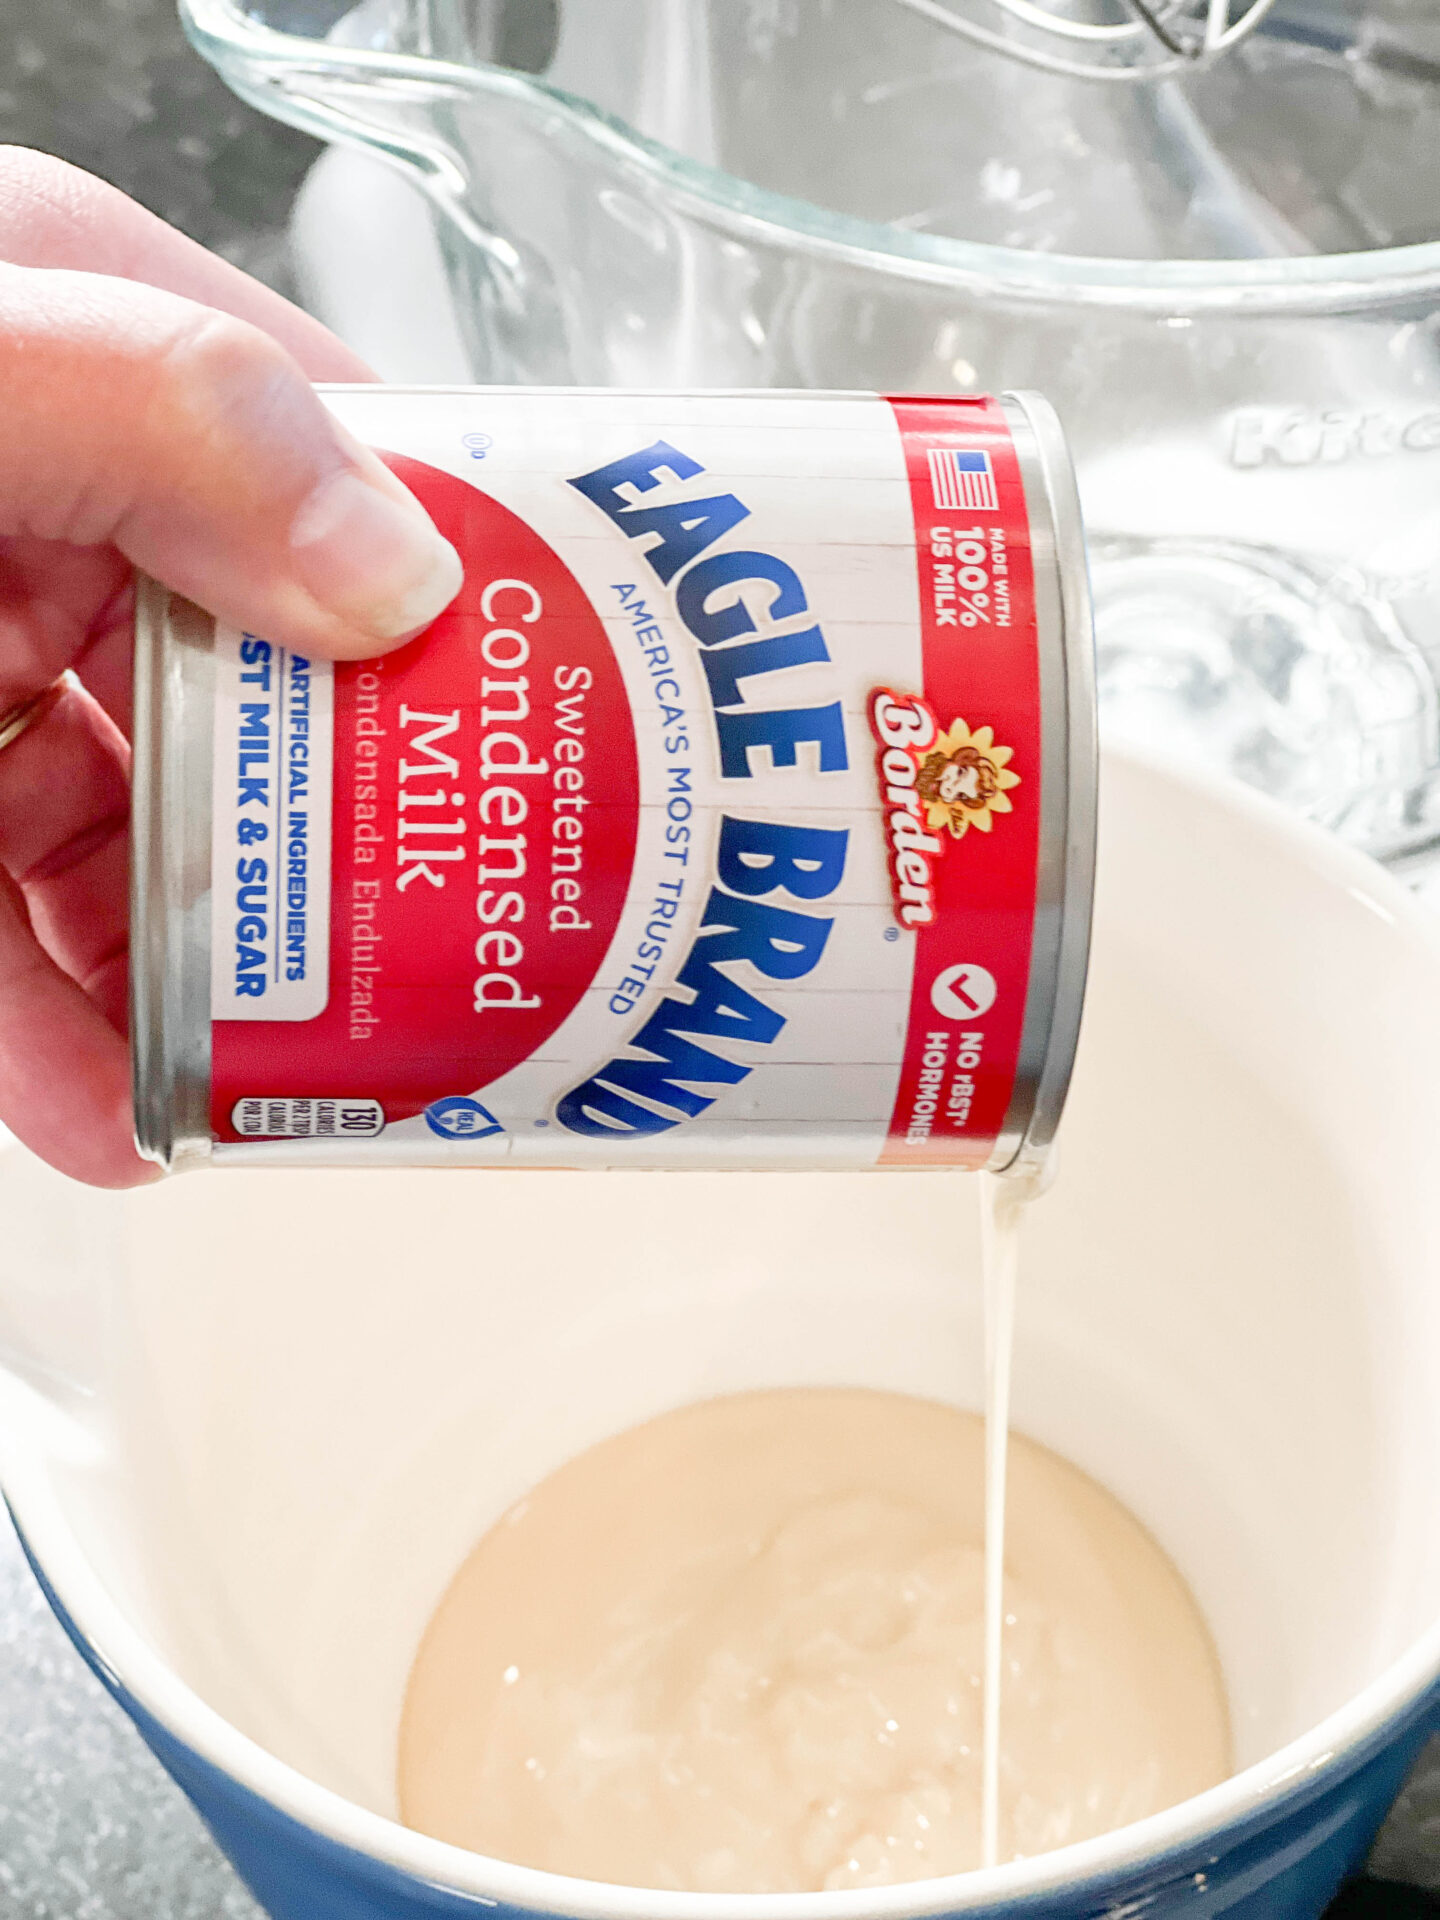
- 1 can (14 ounce) sweetened condensed milk
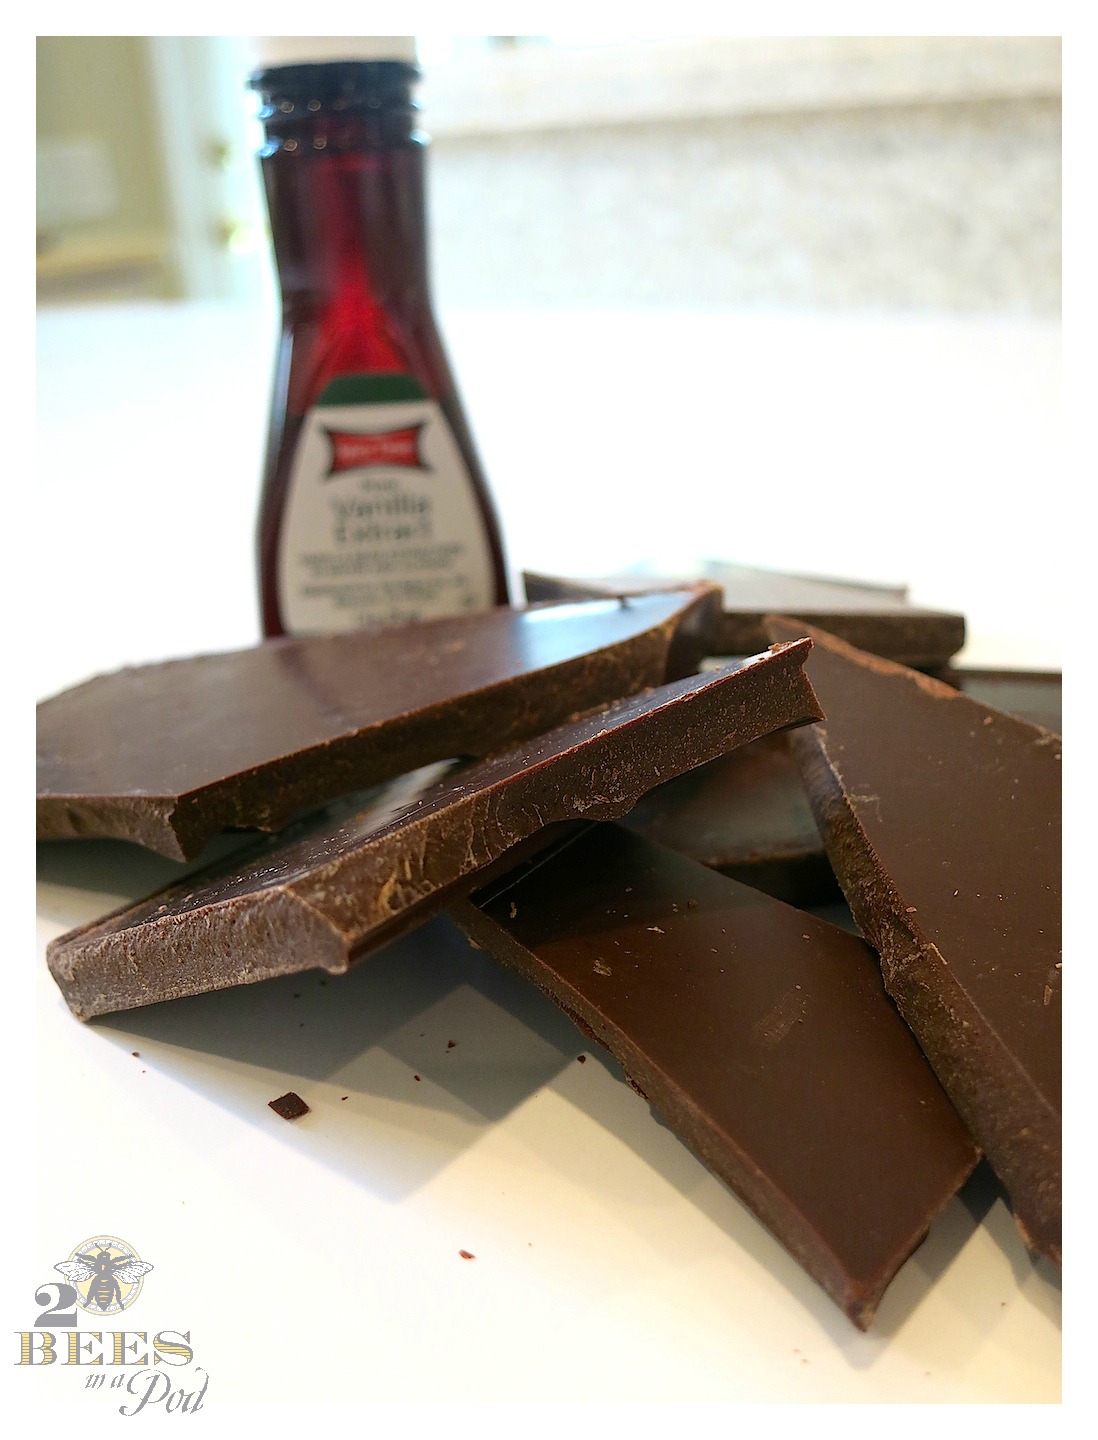
- 1 teaspoon vanilla extract
- 1/8 teaspoon kosher salt
Instructions
- Place a 9x5 inch loaf pan in the freezer.
- In the bowl of a stand mixer add the heavy whipping cream. Start mixing on low and then increasing to medium speed. The cream will begin to thicken and start to peak.
- Now, mix on high until the cream is thick and stiff. Do NOT over-mix.
- In a separate, medium bowl, combine sweetened condensed milk, vanilla, salt, and 1 cup of whipped cream.
- Gently mix the sweetened condensed milk mixture back into the mixing bowl with the rest of the whipped cream.
- Carefully pour the ice cream mixture into the chilled pan and freeze for at least 5 hours, or until fully set up, before serving.
Notes
When mixing the heavy whipping cream, be sure to carefully watch the consistency as it thickens. It can turn into butter very quickly if you over-mix the cream.
After just five hours it was ready to serve.

Fun additions to no-churn vanilla ice cream
- crushed cookies
- chocolate chips
- caramel sauce or chocolate sauce
- strawberries or other fruit
- gummy candies
- crunchy cereal
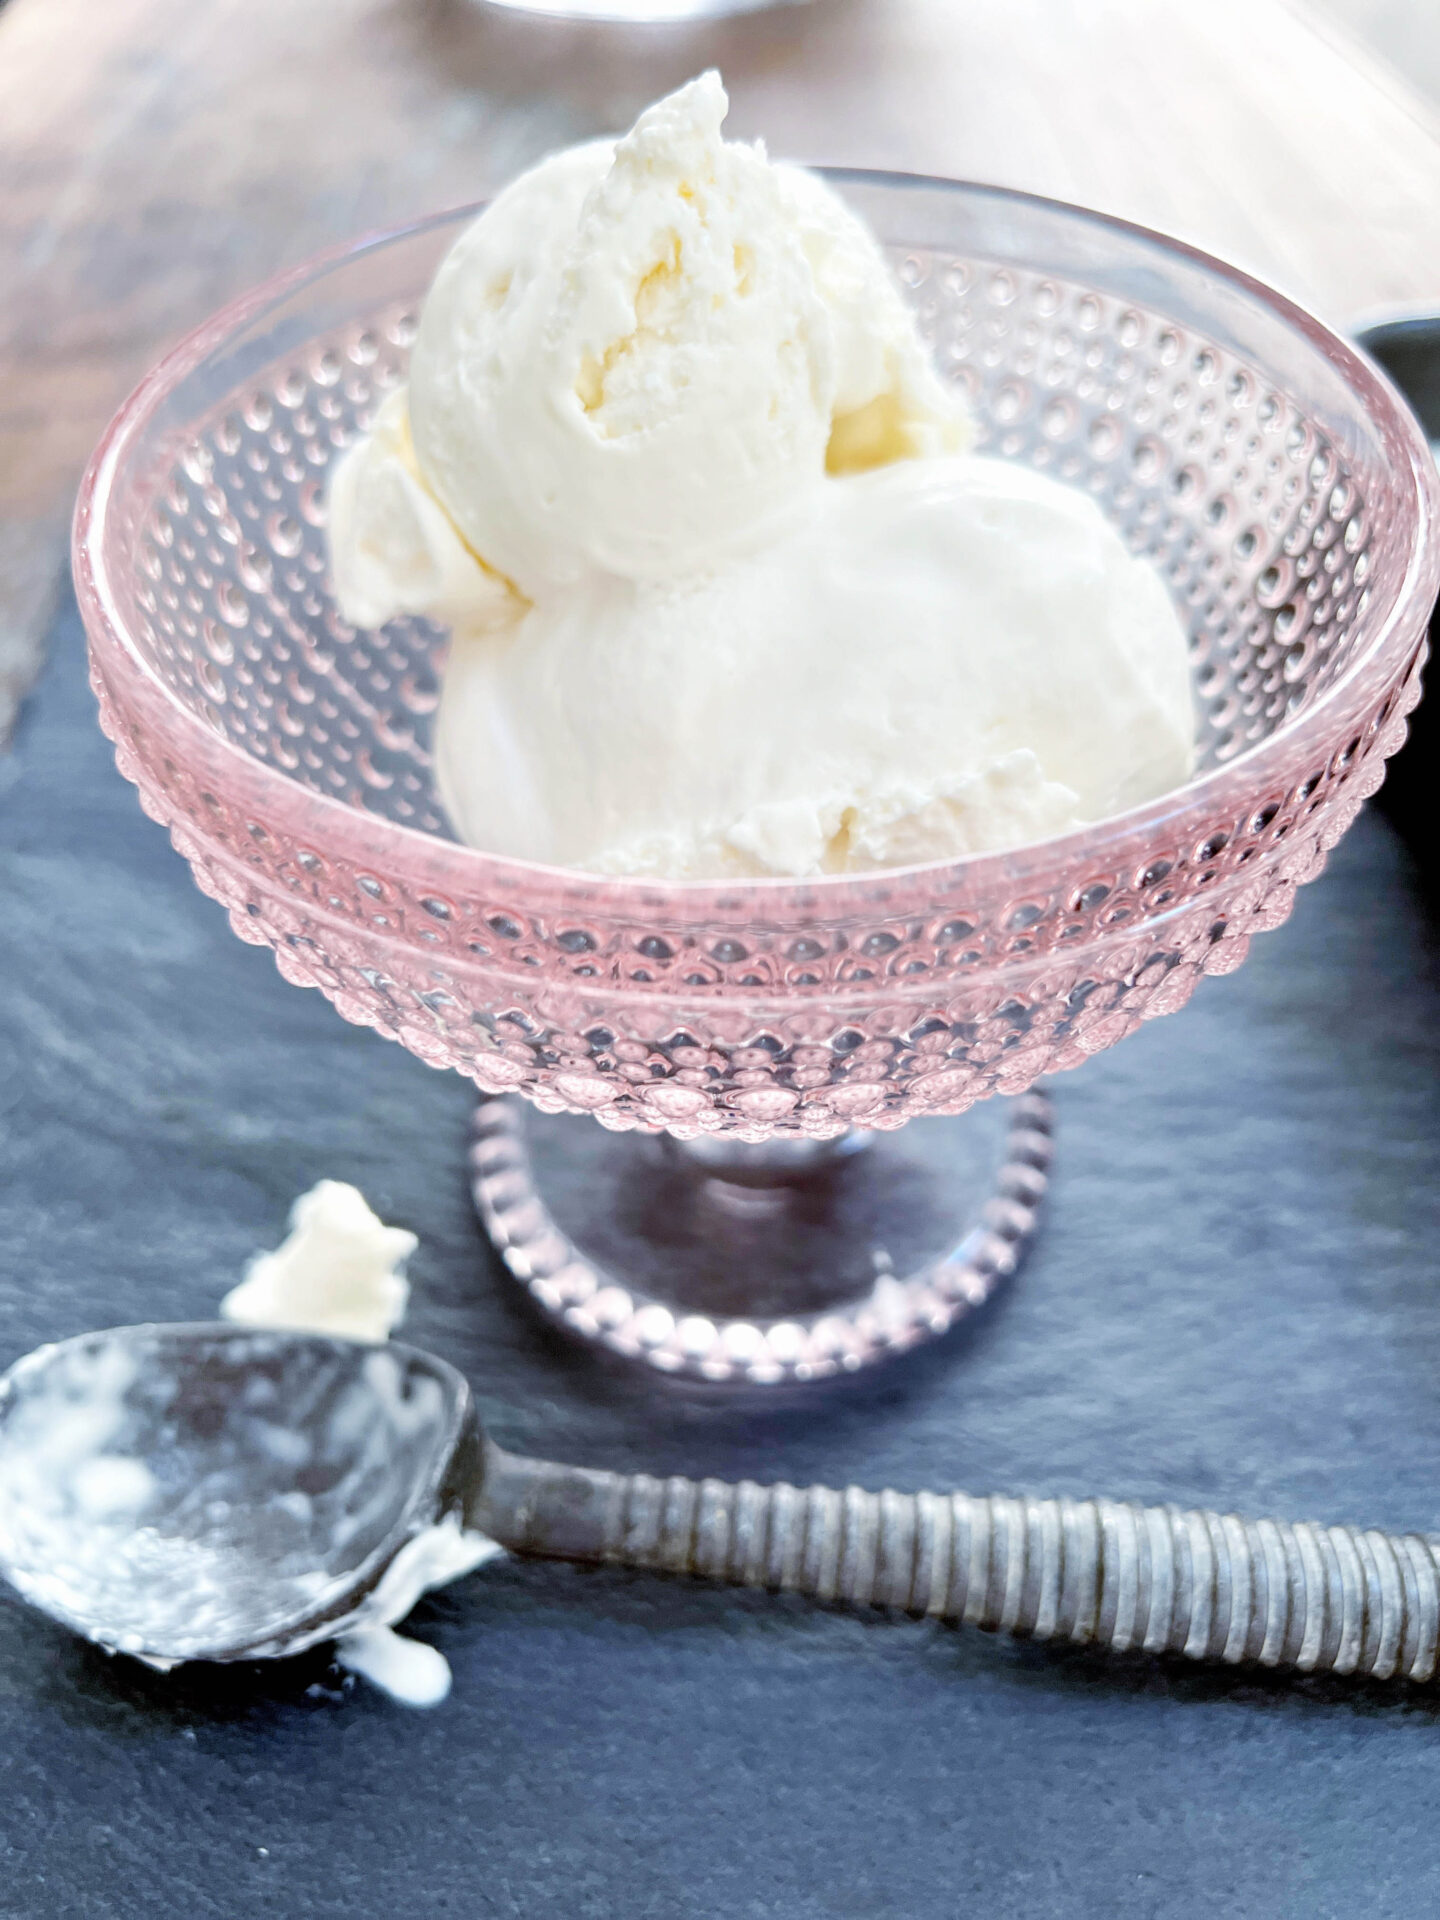
Honey Bee declared it a triumph. Well…what he really said was that it was delicious! LOL I full-heartedly agree. This ice cream is not overly sweet and is perfectly creamy.

Are you sure?
Be sure to double-check your ingredients. Please make sure that you are using condensed milk -which is thick and sweet, not evaporated milk. I know of someone that did this with a Thanksgiving pie one year. Trust me – the results were not successful. LOL
Do not over-whip the heavy whipping cream. It can quickly turn to butter. Fold in the whipped cream gently so it doesn’t deflate; it helps make the ice cream fluffier.
The hardest part is being patient enough for the freeze time. This will vary depending on the size of your container and the capacity of your freezer. A loaf pan will take about 5 to 7 hours.

Are you inspired to make no-churn vanilla ice cream? I truly hope so! How do you beat the heat of summer?
Don’t forget to Pin this to your favorite Pinterest Board!