How to Make a Pom Pom Garland – Home With Decor
Please note that this post contains affiliate links. As an Amazon Associate, Rewards Style influencer and Jane Influencer, we earn from qualifying purchases and any sales made through such links will reward us a small commission – at no extra cost for you.
We are so excited that our sweet friend Meg of Green with Decor invited us to participate in this blog hop. It is affording us the opportunity to take a trip down memory lane in the best way possible. When we were each little girls, our grandma’s showed us how to make and create all kinds of things. Clothes for our Barbie dolls, loomed potholders, clothespin butterflies and so much more. One of the easiest crafts we learned was making pom pom balls from yarn. We thought y’all might like to learn how to make a pom pom garland.
Today’s hop is all about green DIY projects. Be sure to visit all of the other great ideas at the end of this post. Now…lets get these pom poms started! (Affiliate links have been provided for your shopping convenience)
Supplies
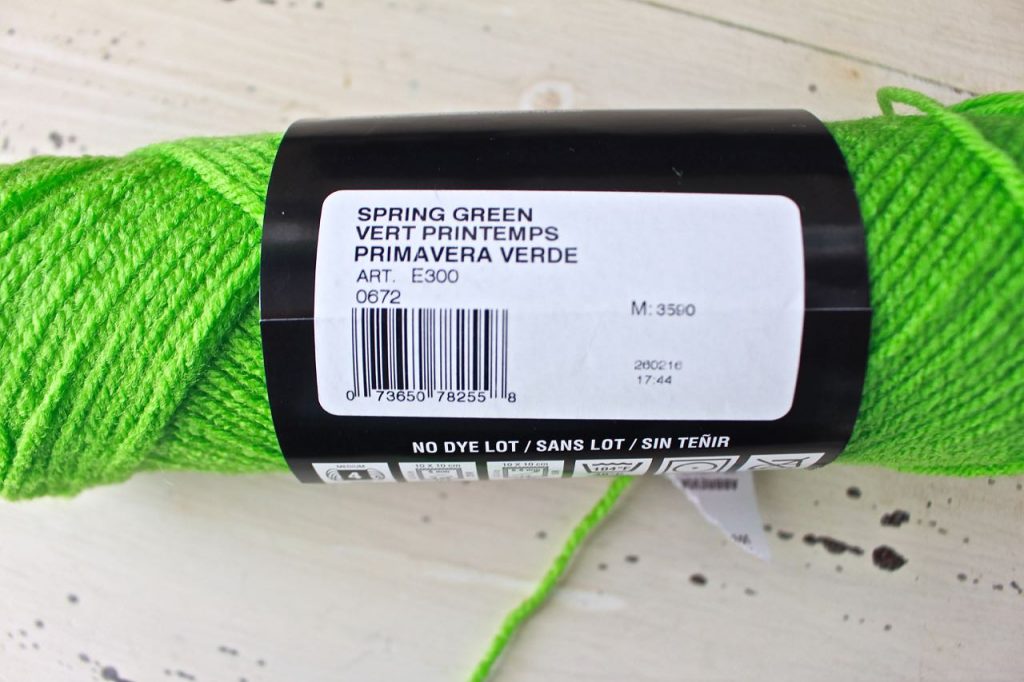
- yarn in desired color – We used THIS one
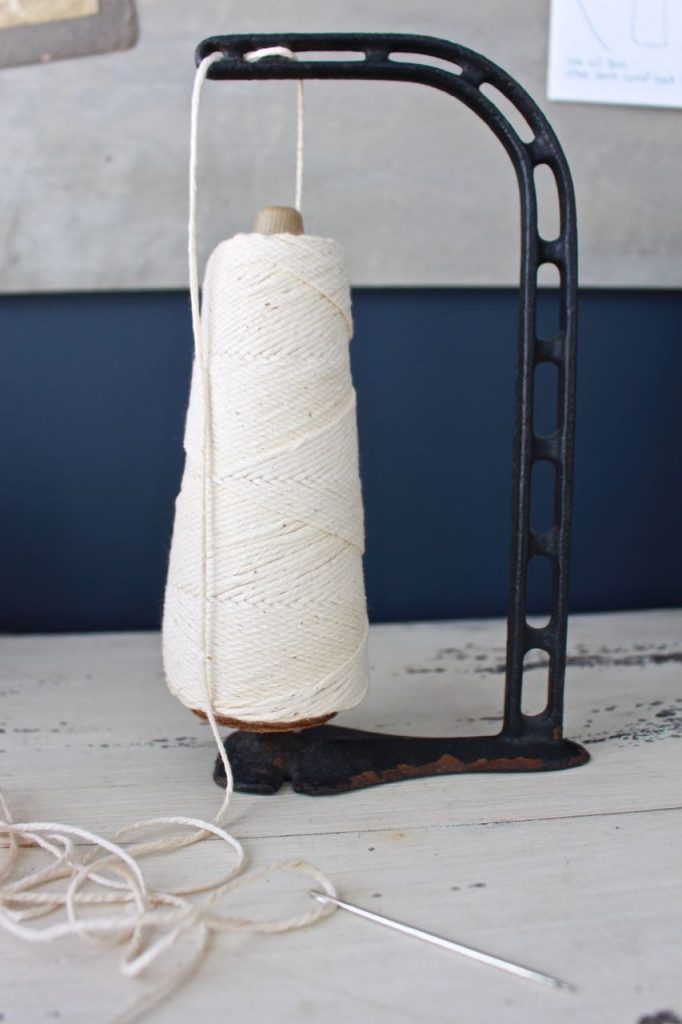
- twine or thick string – like THIS
- darning needle – THIS size
- sharp scissors – we love THESE
We found this skein of yarn at Big Lots for $1.00! How perfect is this color?
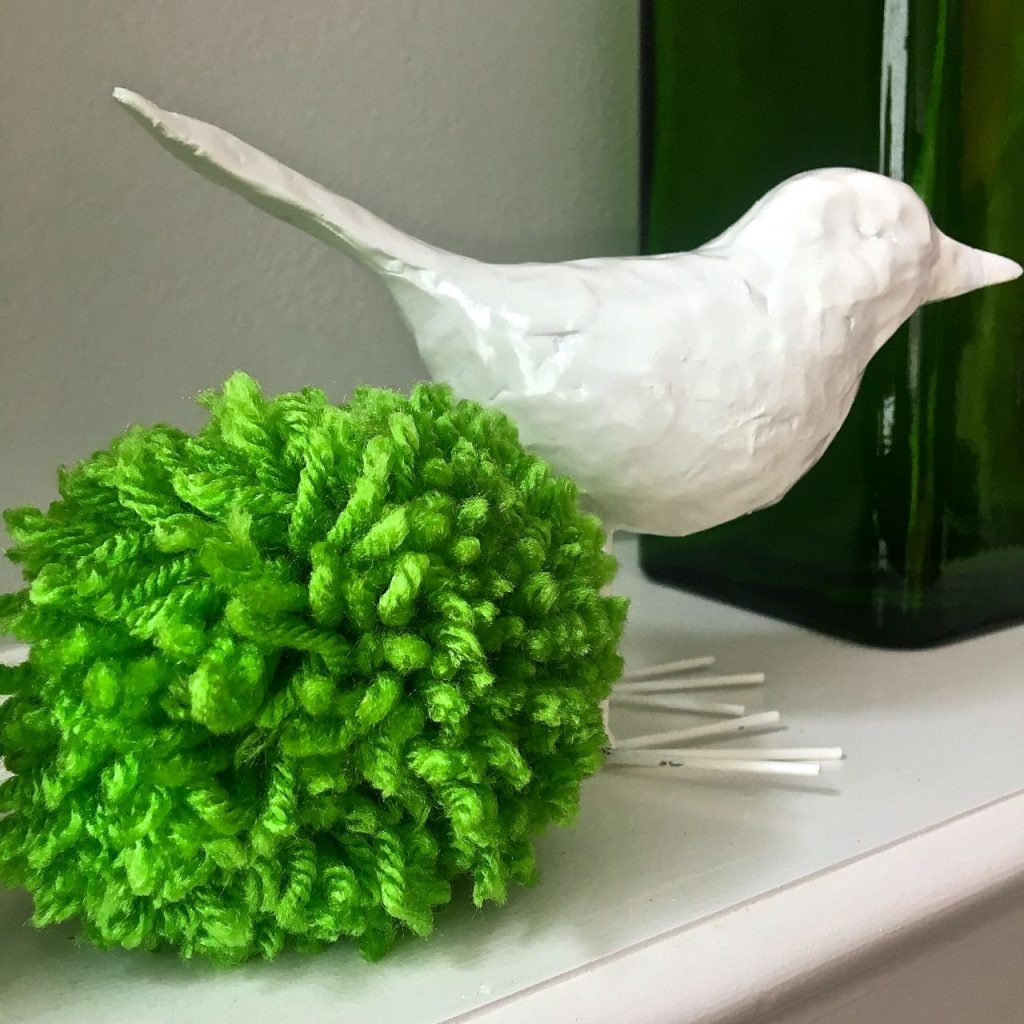
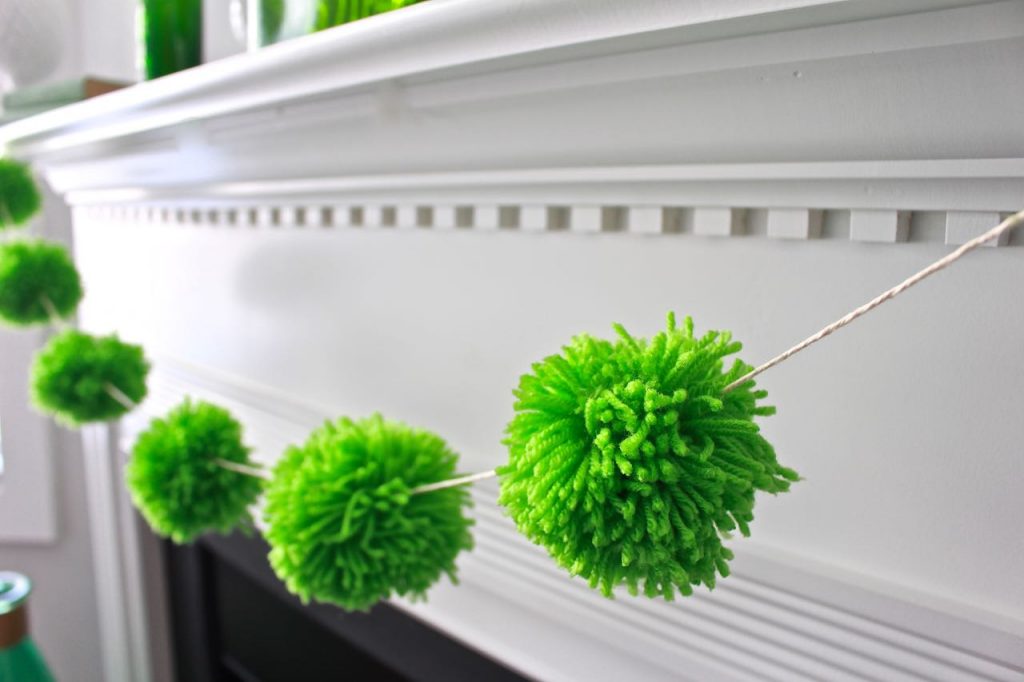
Being that these pom poms will be hanging on the fireplace mantel, we wanted them to be of a larger size.
Step 1.
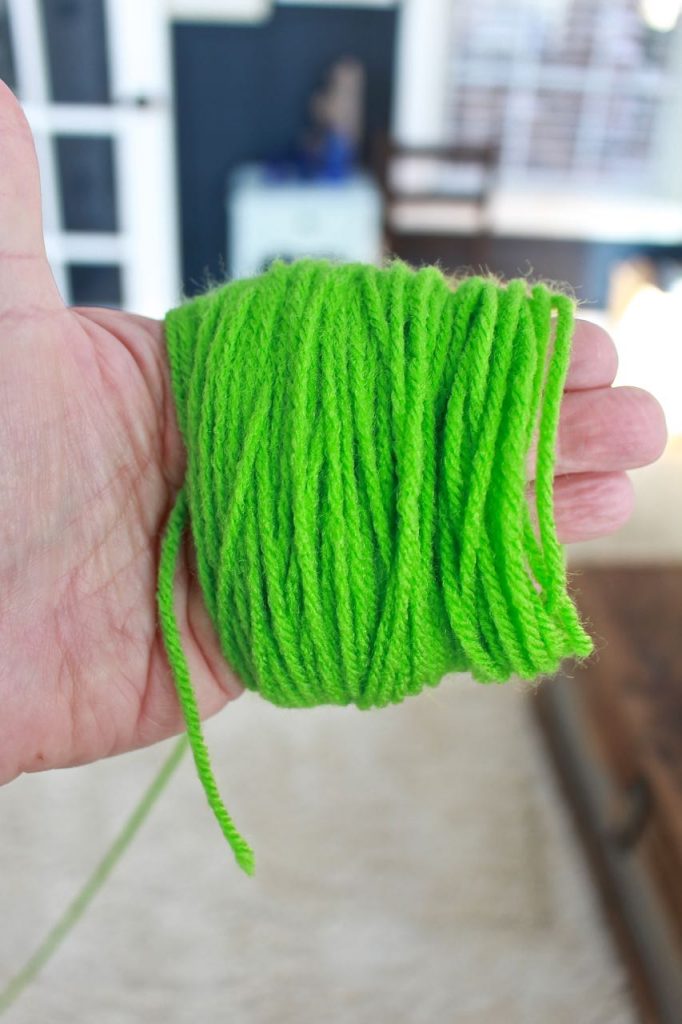
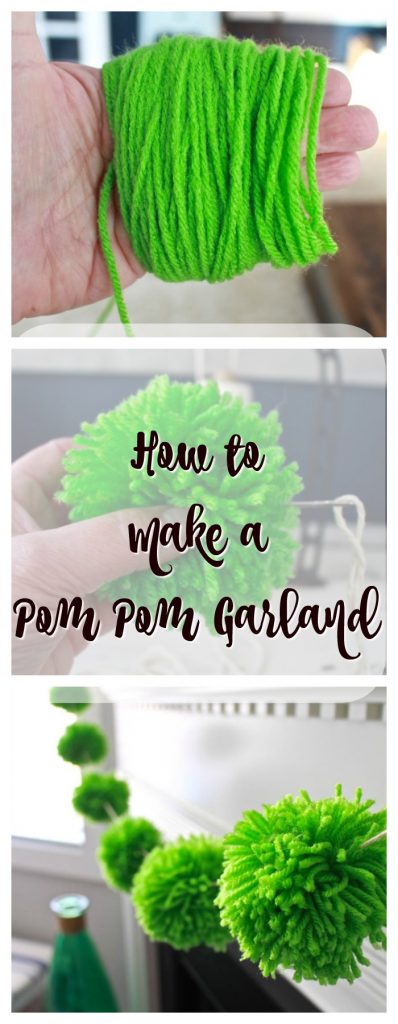
Using your hand, wrap the yarn around 150 times. Be sure to do this a little bit loosely. You don’t want to cut off the circulation in your hand and you want to be able to slide the wrapped bundle off with ease.
Step 2.
Cut a piece of yarn in an 8 inch length. Lay it out on a flat surface.
Step 3.
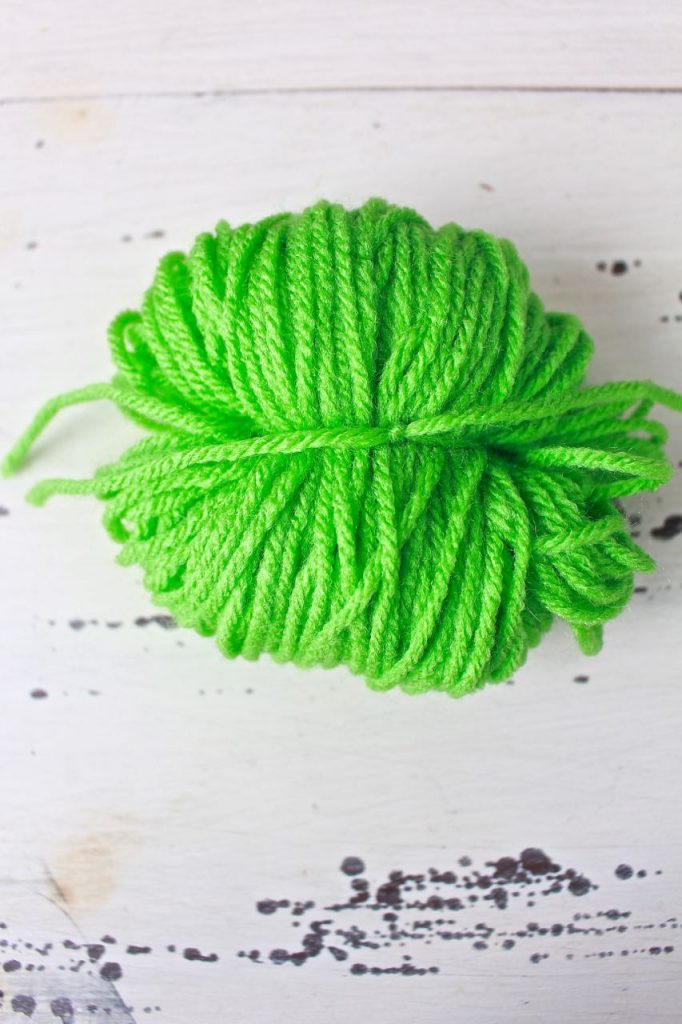
Place the bundle on top of this cut piece of yarn.
Step 4.
Tie this piece of yarn very tightly around the bundle and knot twice.
Step 5.
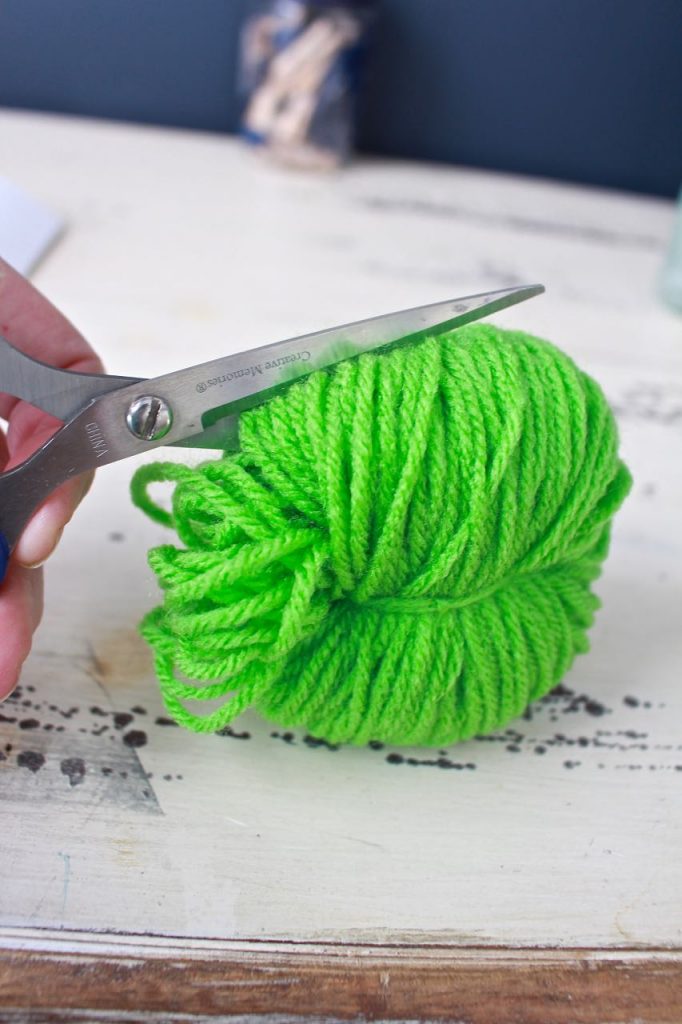
Using sharp scissors, cut the looped ends all of the way around the circle. Take care to not cut yourself 🙂 or to cut the knotted yarn in the center.
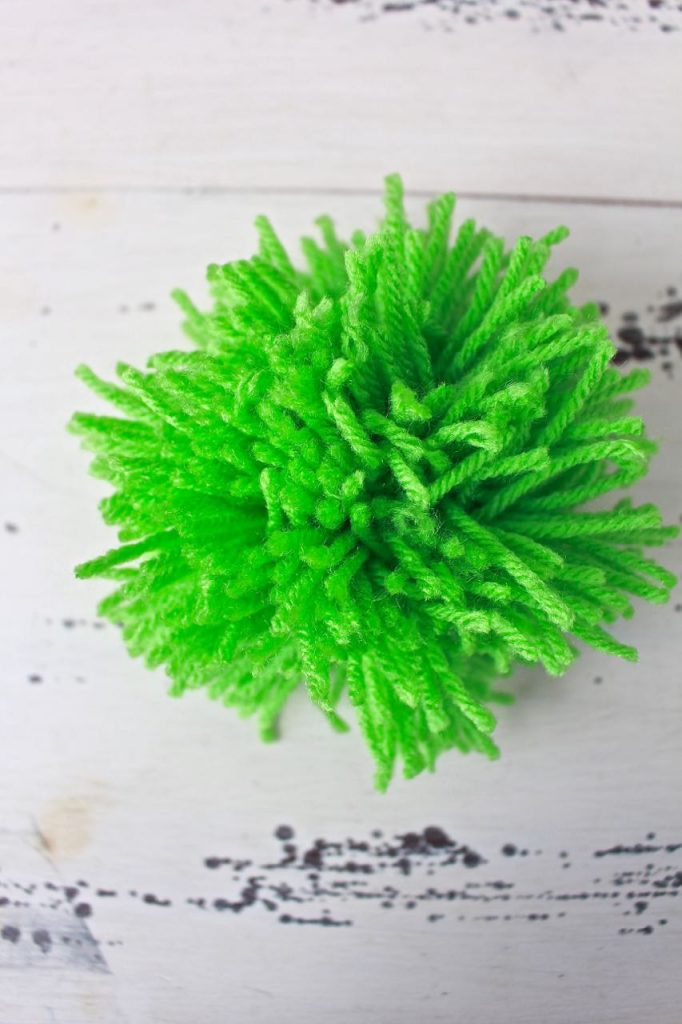
This is what your pom pom will look like.
Step 6.
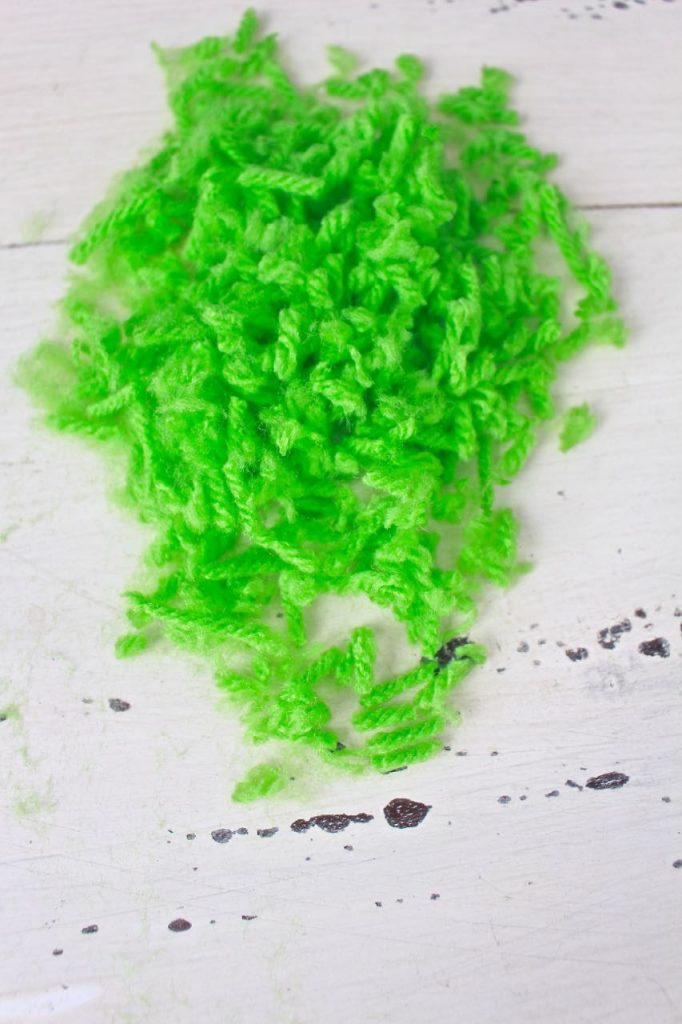
You will now need to trim your pom pom. It’s like a barber giving a haircut. Take a little off of the top and sides…trimming the yarn all of the way around.
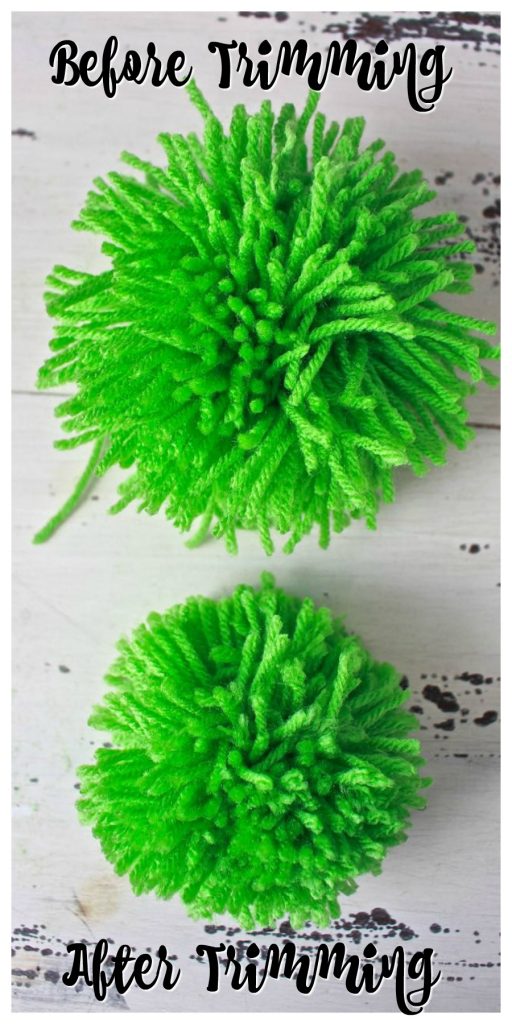
Here you can see the before and after of the trimming process. You can trim off even more for a tighter weave. For our pom pom garland we prefer a more bushy look.
Step 7.
Cut a piece of twine or string in the desired length of your garland. Thread it through a large darning needle.
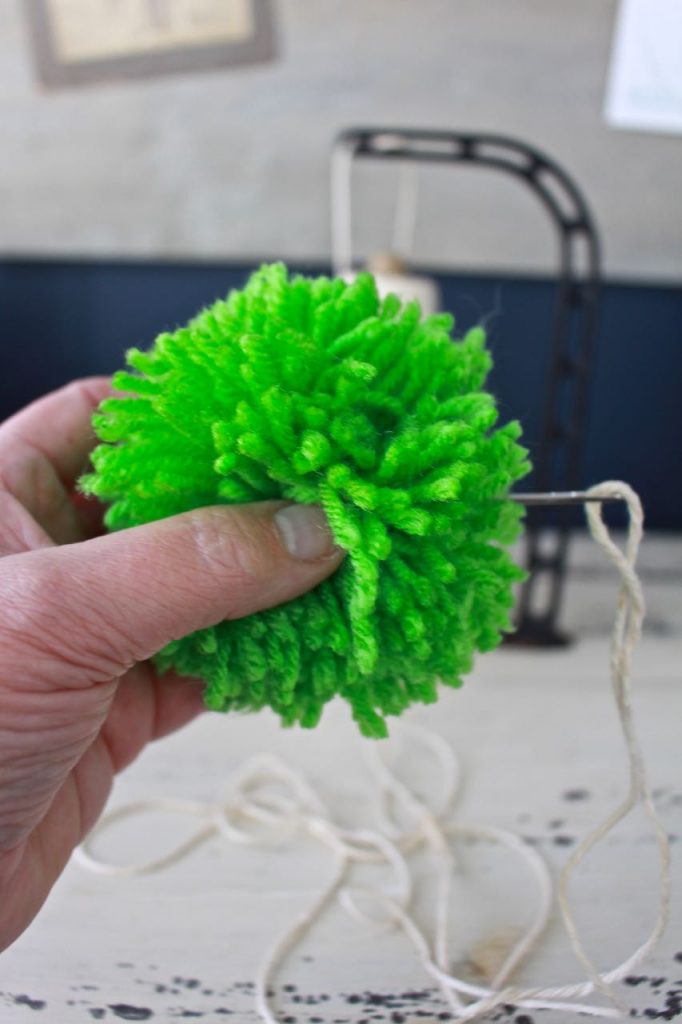
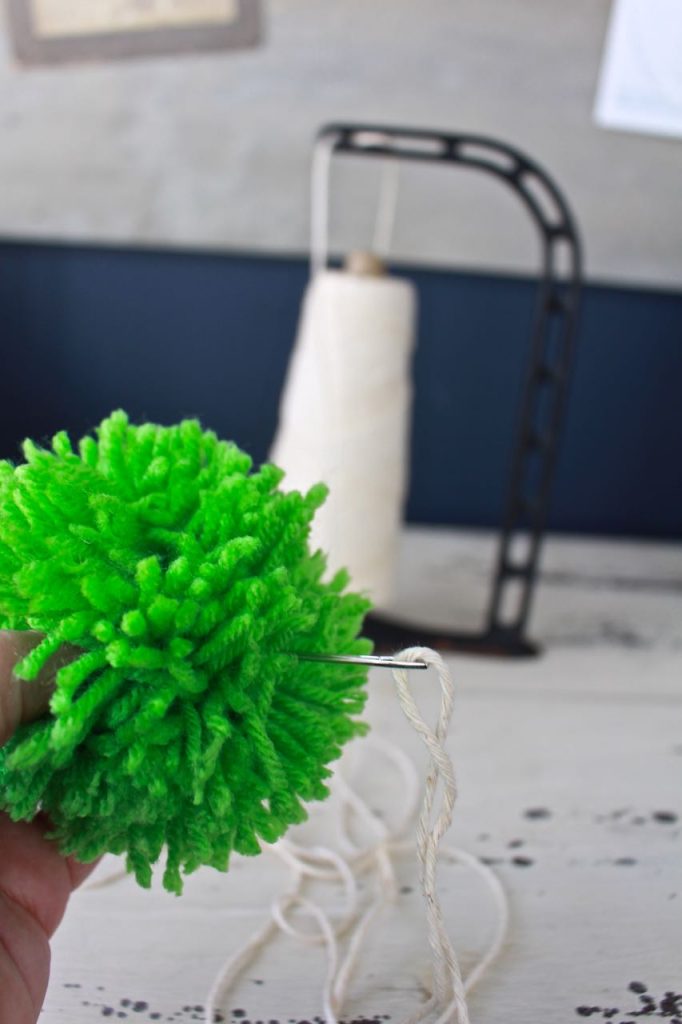
Stick the darning needle directly into the center of the pom pom ball.
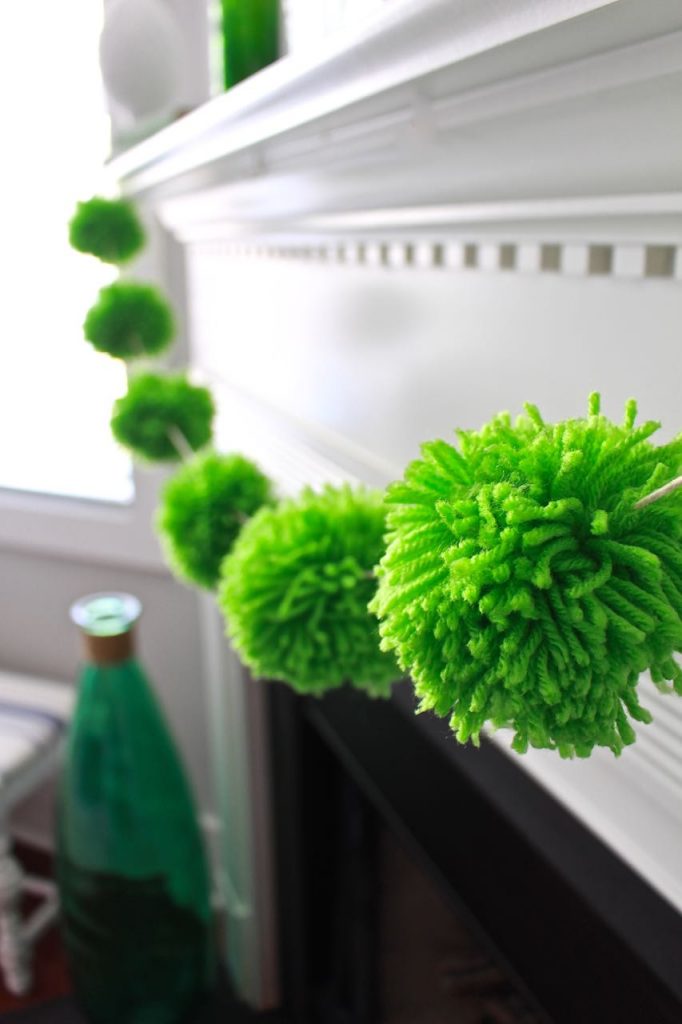
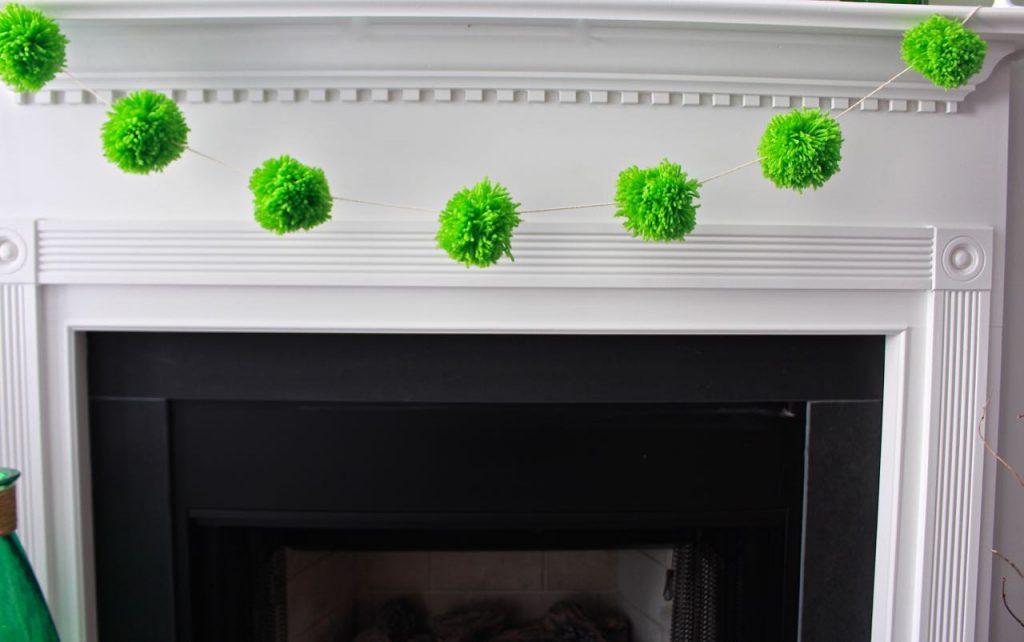
Push it all the way through to the other side of the pom pom. Repeat this process until you have added all of your pom poms. We made 7 large pom poms for our garland.
Hang your garland. Stand back and admire your work 🙂
Stay tuned for next week when we share our entire mantel decor.
Making a pom pom garland is fun, quick and easy to do. We hope you give it a try!
Don’t forget to click through each of these fabulous projects!



Too cute! All the green projects are perfect for St. Patrick’s Day!
Looks like a fun project.
I love making pom poms. I usually use tulle but these yarn ones are so adorable! I love the idea of making them into a garland. Came out so cute! Thanks for sharing!
I haven’t made pom poms in years! So fun! I love how big and full yours are! Such a cute garland!
Ooh I just love this!! I love the green yarn color you picked!
Oooo!! I love pom poms! Perfect for St. Patty’s Day.. thanks so much for sharing!
Aw, this is really cute! I never thought to make pom poms with my own hand! So smart! Thanks for sharing, ladies!
These green pom poms are so much fun! I love how they pop against that crisp white on your mantel. I am so excited for Spring! Hugs, CoCo
Wow! What an impact that pop of color makes!
I love this! I have always wanted to attempt this, great tutorial!