How To Hang Copper Industrial Pipes
Please note that this post contains affiliate links. As an Amazon Associate, Rewards Style influencer and Jane Influencer, we earn from qualifying purchases and any sales made through such links will reward us a small commission – at no extra cost for you.
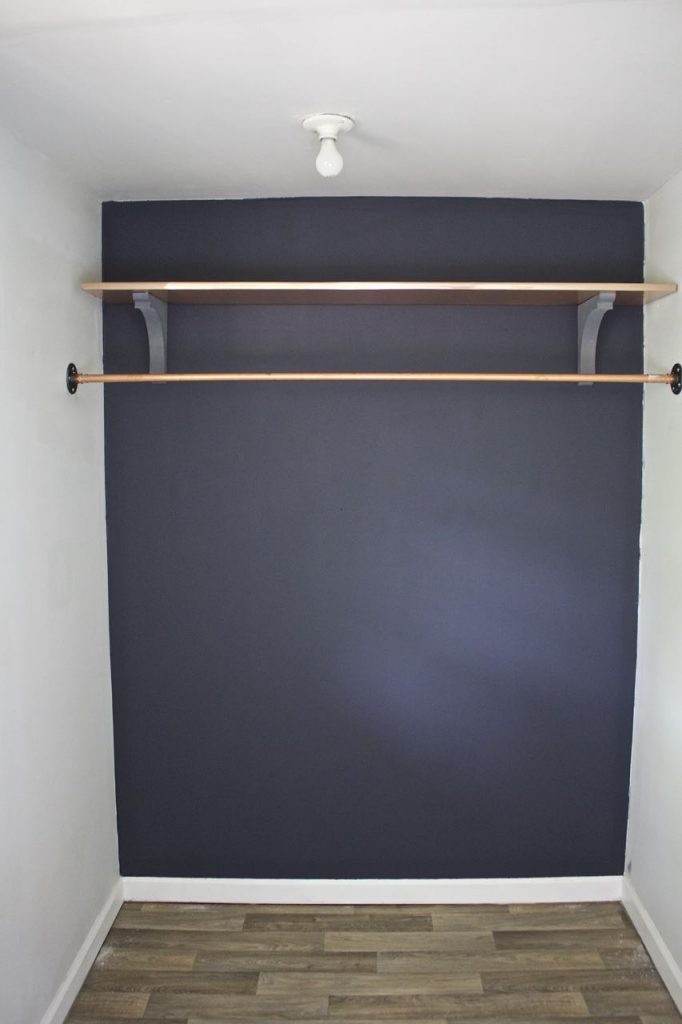
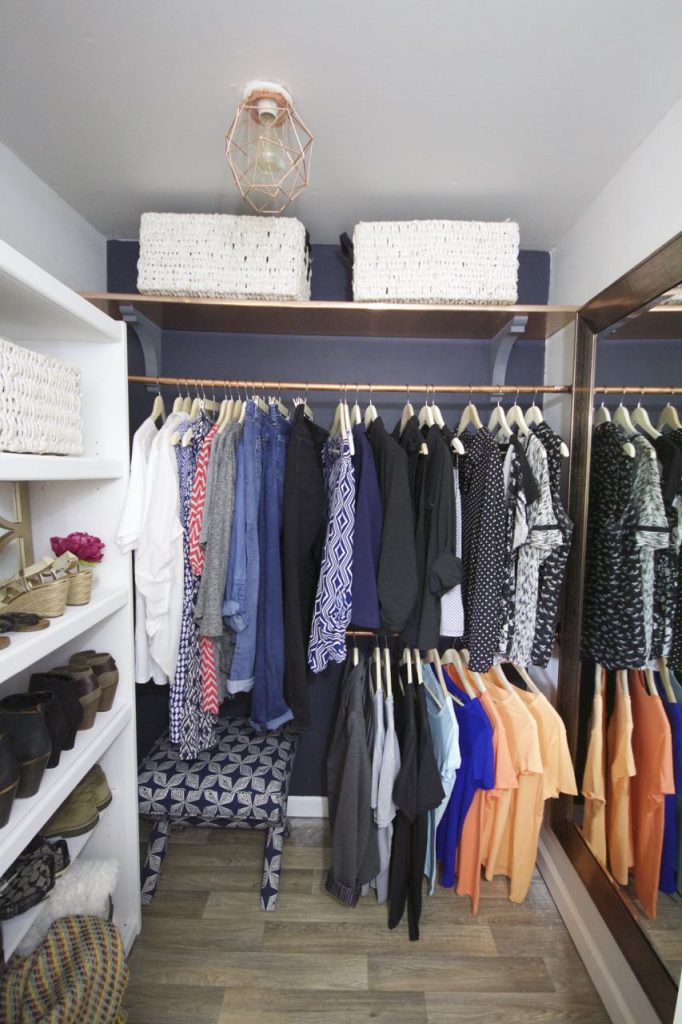
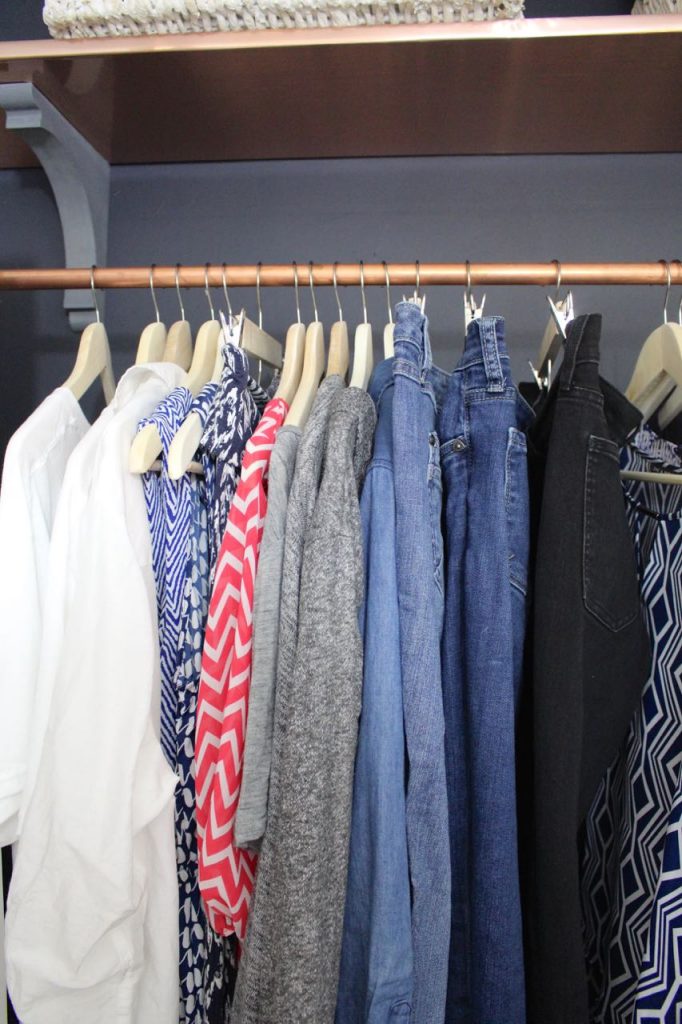
Hey y’all…we hope you’re doing well! Now you’re probably getting sick of hearing about our new industrial chic master bedroom closet, but we are officially in love. We are especially in love with the copper pipe closet system we created, which to be honest was fairly easy to install. Plus, it really does look great against the wall we painted in Behr Poppyseed. And today we wanted to share with you how to hang copper industrial pipes so that you can too!
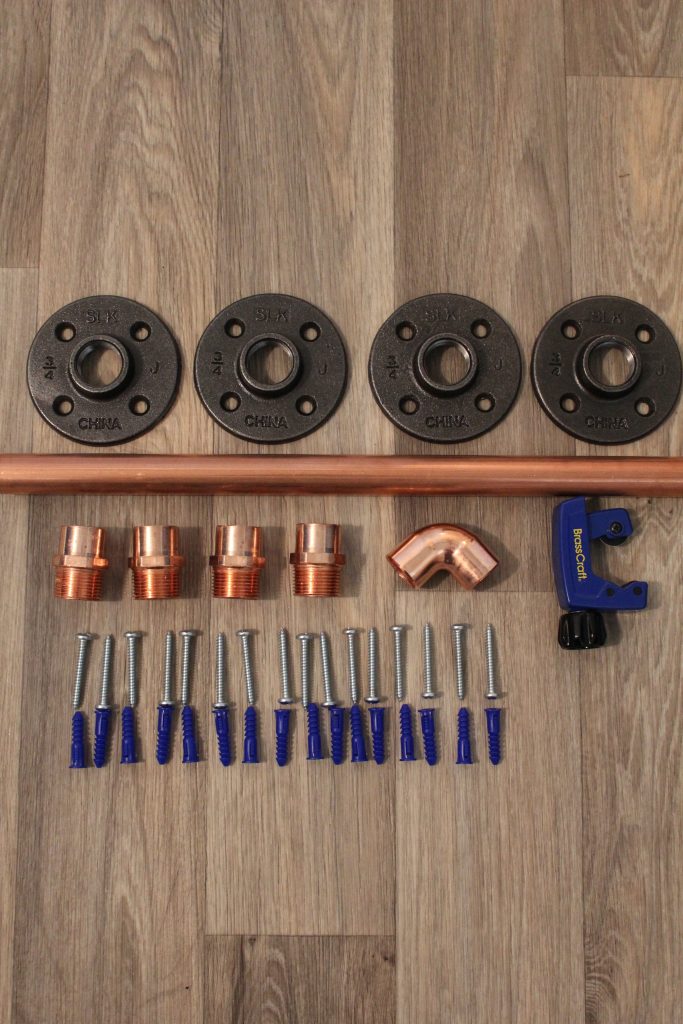
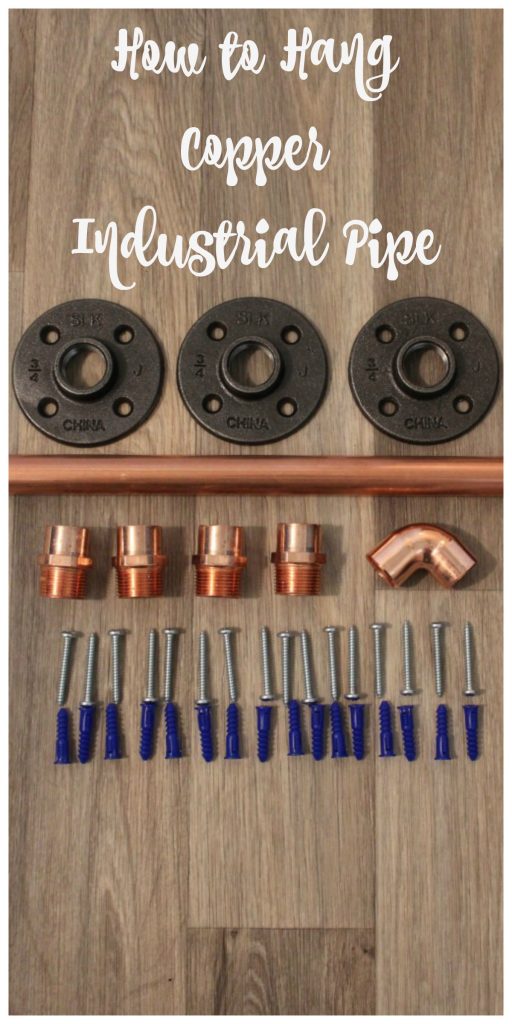
The first thing we did was go to Home Depot and purchase everything we thought we would need and then laid it all out so that we had a visual. We work best this way.
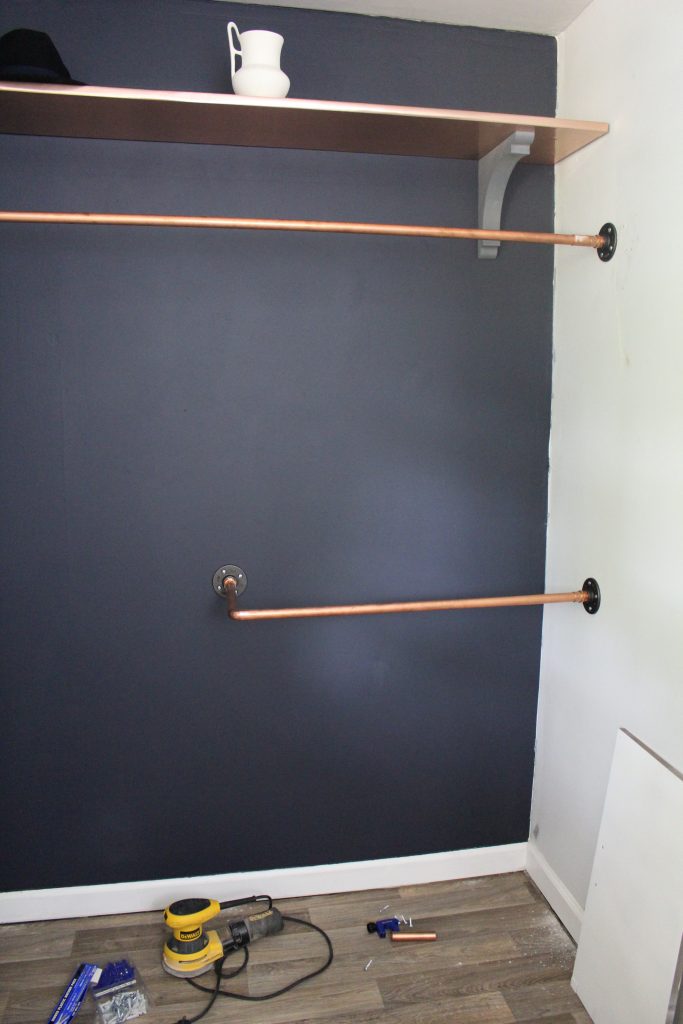
Here’s what you’ll need to create your own copper industrial pipe closet system (this will depend on how many hanging rods you would like to create). We did 2 rods. One was wall to wall and one was half of a wall.
- 3/4″ Copper Pipe (there are all different sizes, so just measure the space to get the right one)
- Pipe Cutter
- Flanges (4)
- 90 degree elbow (1)
- 3/4″ male adapter (4)
- Screws and anchors
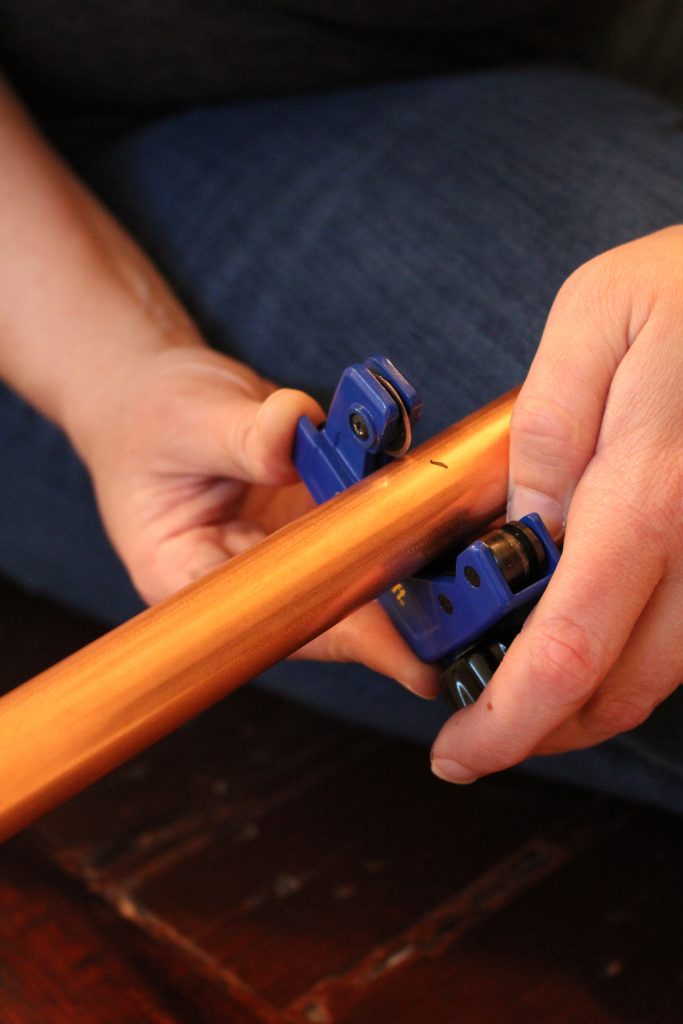
With the pipe cutter, you can cut your pipe to whatever size you need, which is great. Do not do what we did, however, and forget to account for the pipe also fitting into the adapter. In our error we cut the pipe too short. And of course it was late at night and we didn’t have any extra copper pipe. It was a fun moment 🙂
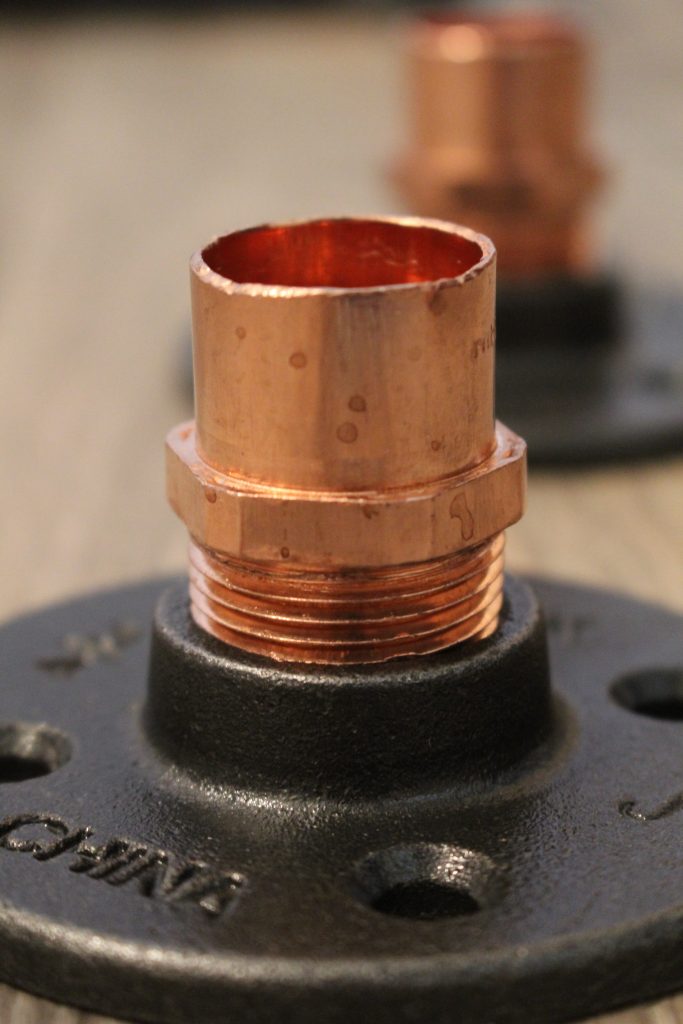
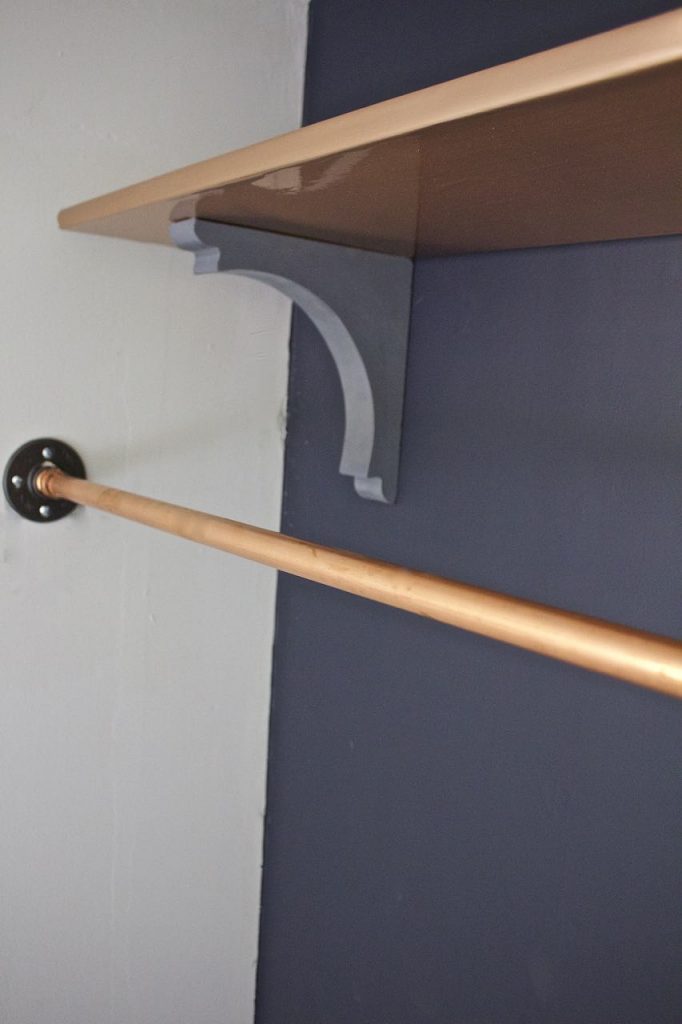
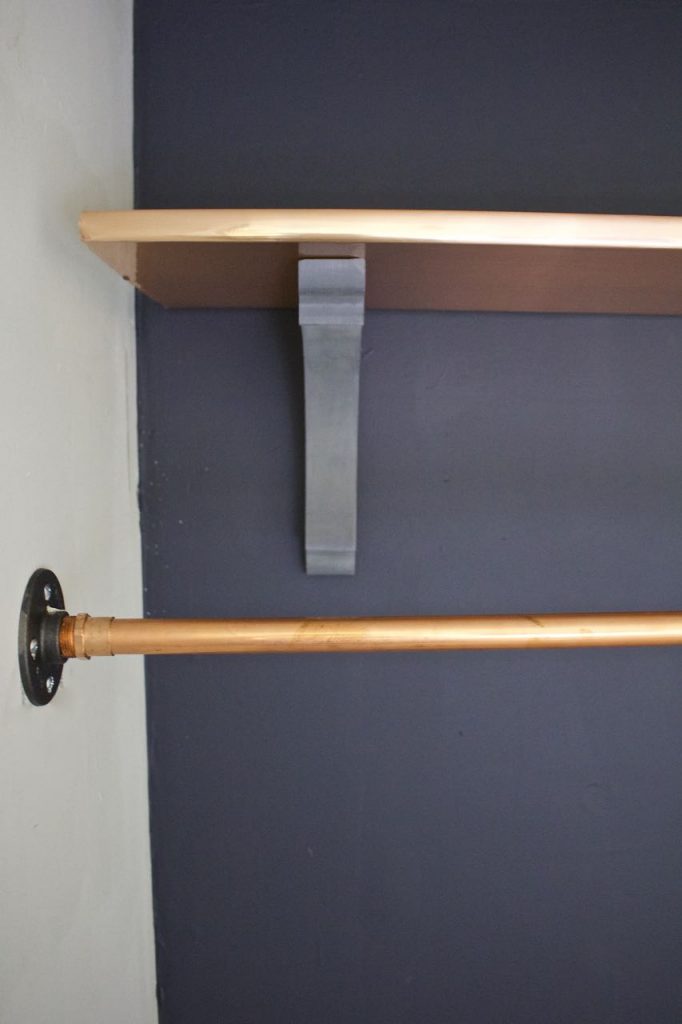
Once we got the copper pipe the length we needed it, we attached the adaptors to the flanges, and then put the copper pipe in between.
For the long bar, we attached them from side wall to side wall…
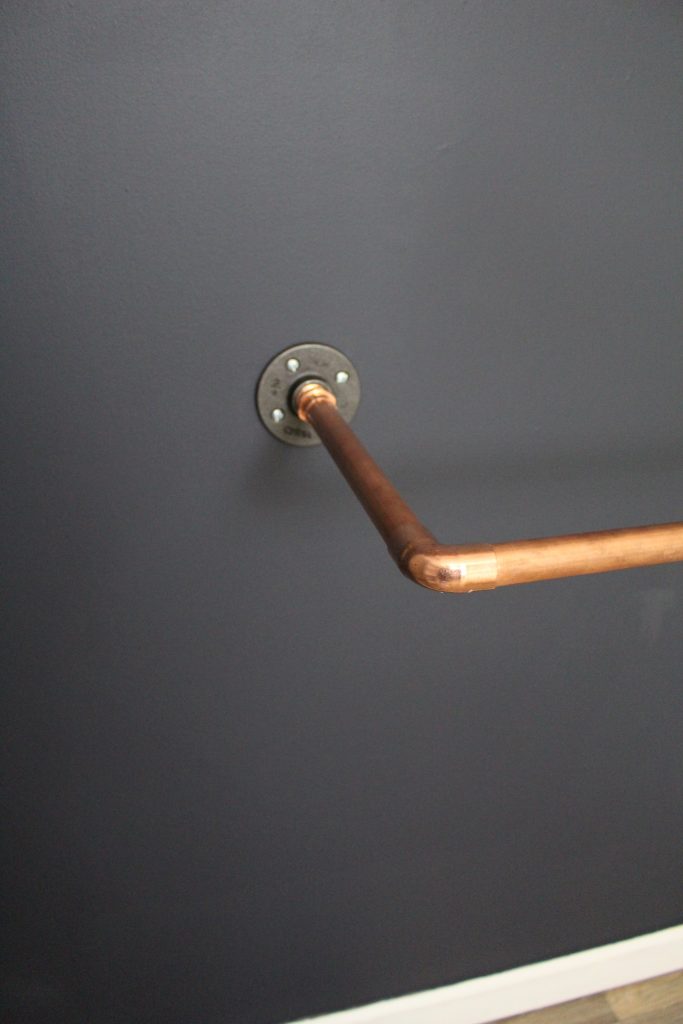
In this process we did learn that attaching the pipe wall to wall can be a little tricky and that it is easier to use the elbows to attach either one of both ends to the back wall. But we got both to work and it turned out great!
You also want to make sure you use a level so that you are not installing them crooked. When attaching one section to the back wall and the other to the side wall, I installed the flange to the side wall first and then placed the copper pipe in. I then installed the back wall flange with the smaller copper pipe and 90 degree elbow.
The copper pipes turned out better than I even imagined and I am so happy that it is the route we decided to take. We hope we’ve inspired you to install your own copper pipes to help bring some life back into your closet. Plus the total cost for creating both hanging rods was about $75, which is a lot less expensive than other closet systems. We’re all about creating something great on a budget!
XO – Jenn
Don’t forget to Pin this to your favorite Pinterest board…


You make it look so easy
Thanks for being a fan JJ!
your closet looks amazing!!
I’m loving all of the copper accents you guys chose for this space! I would have never thought to use copper pipe as a clothing rack – so creative! Hugs, CoCo
What a brilliant idea!! Pinning this one
Beautiful! How did you attach the pipe to the threaded adapters? Is it just sitting in there, or is it glued in some way?
Great post; thank you for including all these details (including challenges!). Do you know how much weight these can handle?
We have a small closet, so our closet rods are more over-filled than some. ; )