DIY Faux Copper Shelf
Please note that this post contains affiliate links. As an Amazon Associate, Rewards Style influencer and Jane Influencer, we earn from qualifying purchases and any sales made through such links will reward us a small commission – at no extra cost for you.
Hey y’all…as promised, we are sharing how we created our copper shelf for Jenn’s master bedroom closet. Did you see our One Room Challenge™ update yesterday? We have had a couple of challenges along the way…you can get caught up HERE.
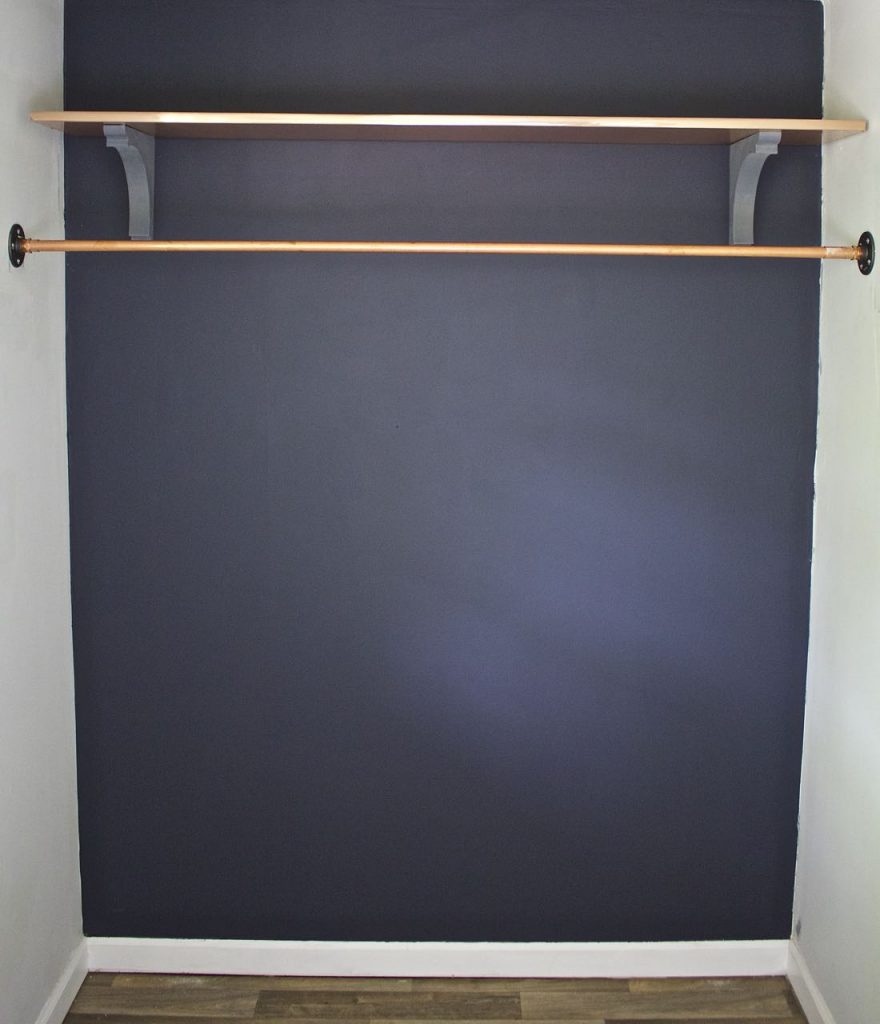
After we hung the copper clothes rod, we realized we would have enough room to hang a shelf in the unused space above it. We began strategizing what type of shelf would look best. I pushed for a copper shelf and felt certain this was a perfect DIY project for us. Well…I had no idea how expensive sheet copper was! The shelf was going to fit the width of the feature wall…a bit over 5 feet wide. For a single piece of copper to wrap around our board the cost is upwards of $125.00! GULP! That would be ¼ of our overall closet budget. Obviously, we needed to search for an alternative. We thought about painting techniques but ultimately knew that this wasn’t the right decision for us. The paint would look flat on the board with no shimmer. We researched online for faux copper ideas, but none of them were doable or suitable for our project. The main issue is that we wanted on continuous piece of copper…not a lot of pieces patched together.
We were temporarily defeated until one of our bagillion (yes, it’s a word) visits to our big box hardware center. On this particular visit we were looking for flooring options. We were way in the back corner of the store and there was a clearance bin. Y’all know we had to look…I mean c’mon – clearance! And man are we glad that we did. Look at what we found…
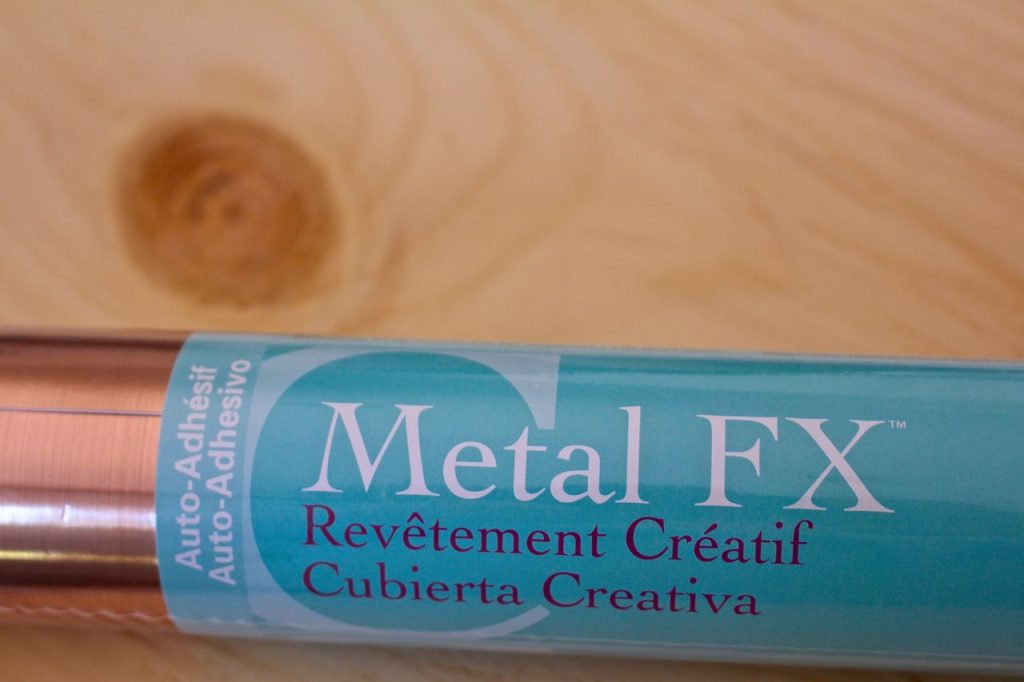
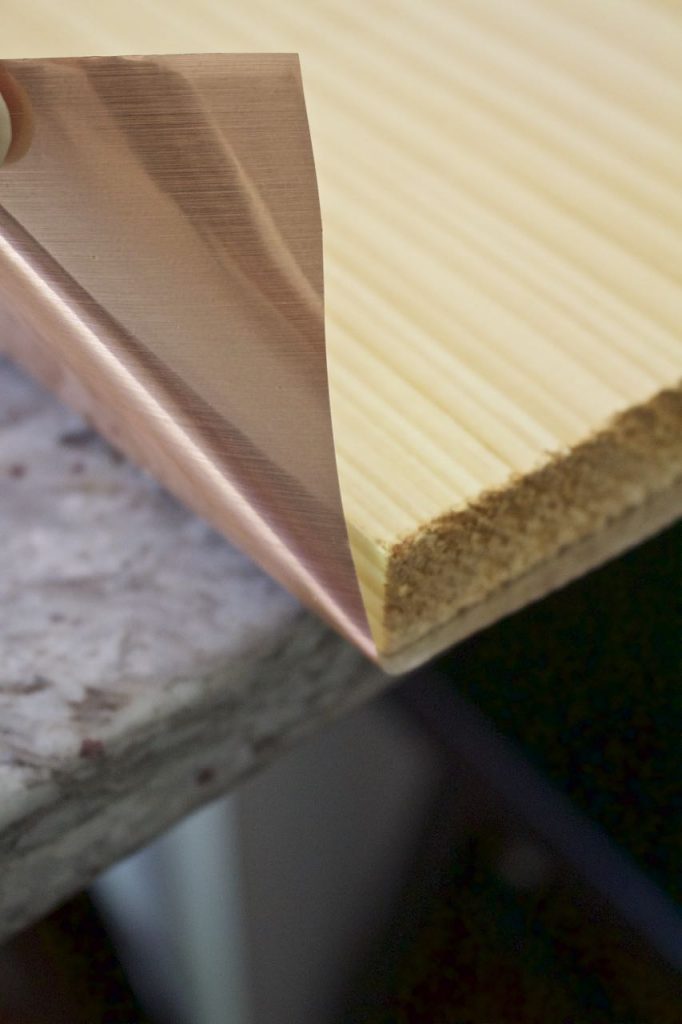
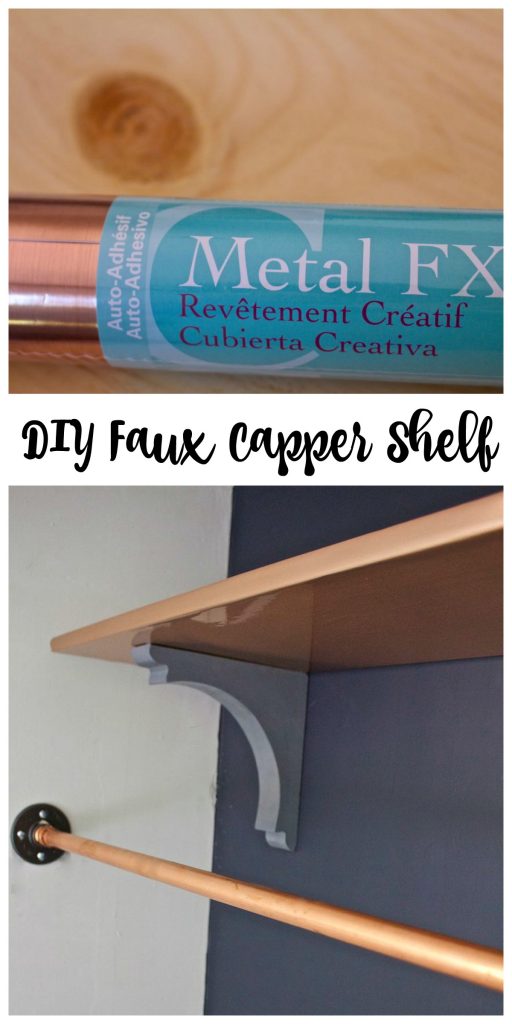
Copper shelf paper! Can you believe it? We didn’t even know that such a thing existed. The added bonus is that it is peel-and-stick and each roll was marked at $6.00!
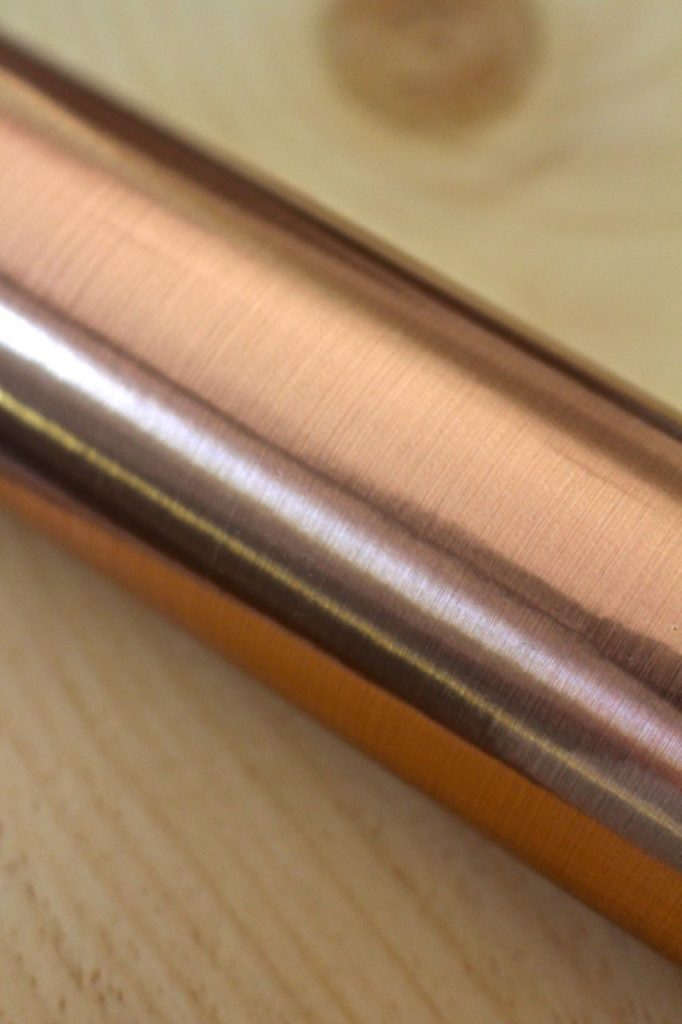
This paper also has real copper metal bits in it so that the paper glimmers and shines just like the real thing.
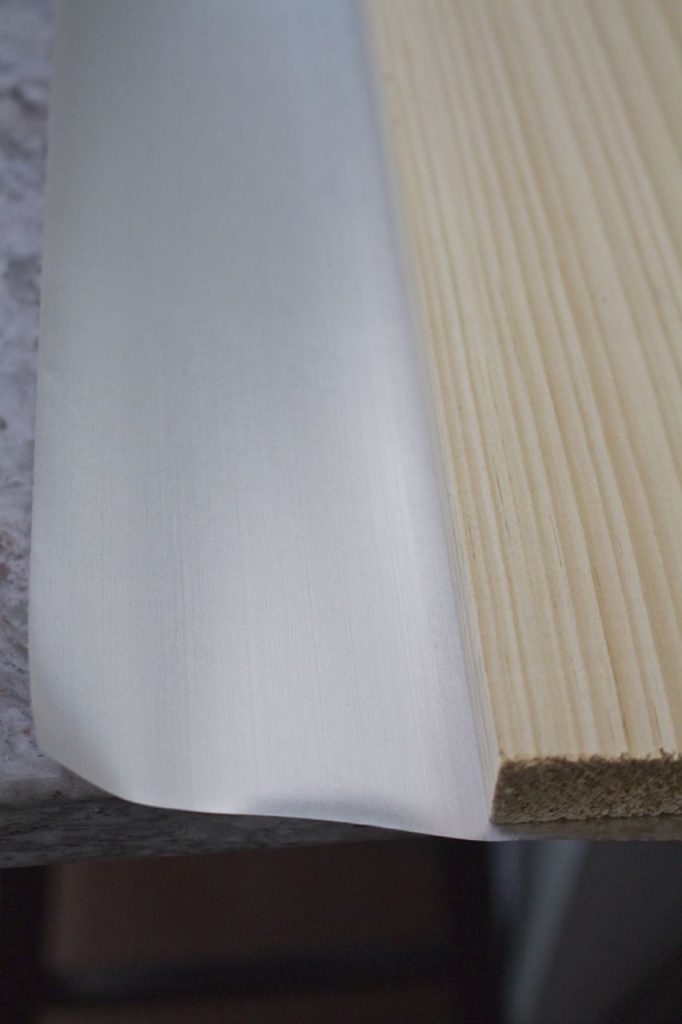
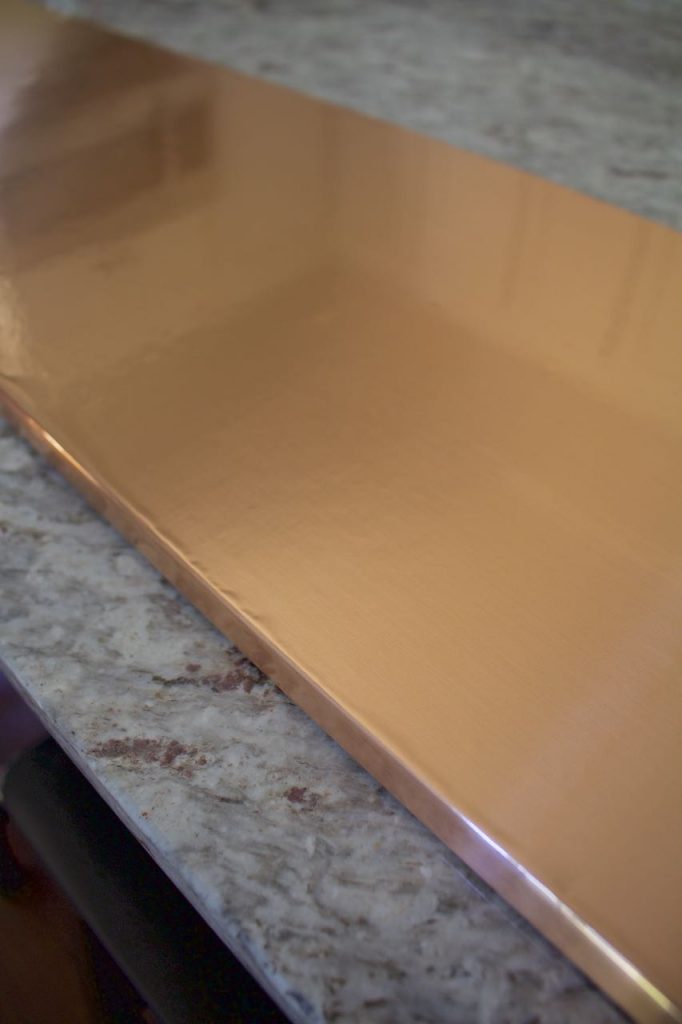
We did all of our prep work on Jenn’s kitchen island. We were very careful to not crumble the paper, but we didn’t need to worry…wrinkles did not show up. The back side of the paper was silver.
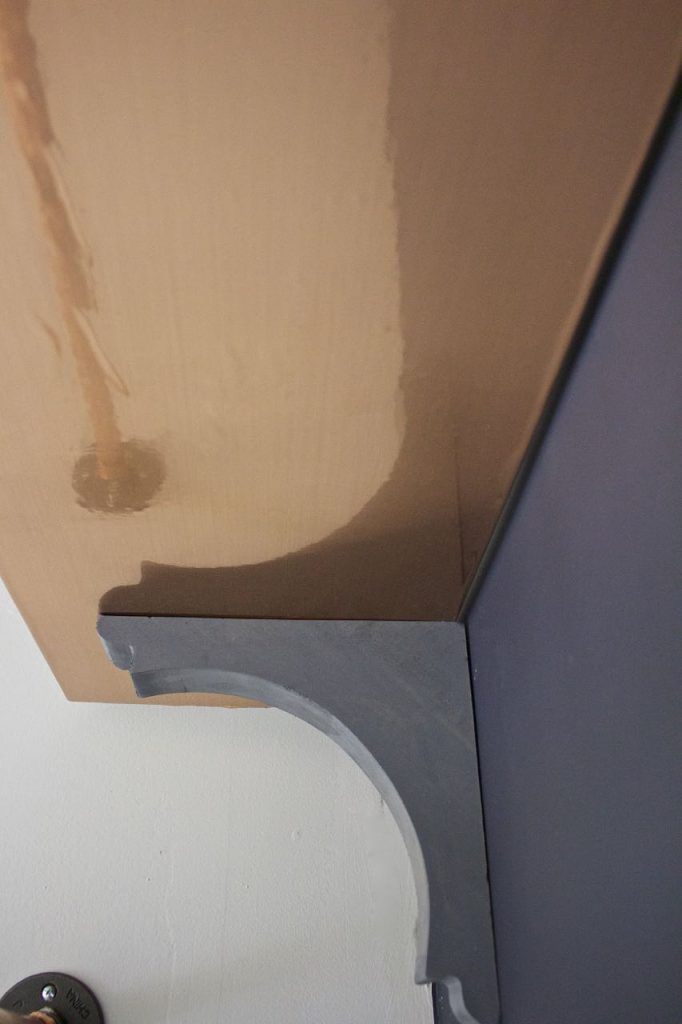
And then we wrapped the paper around our shelf board and smoothed out all of the air bubbles. For our shelf we used one full roll of copper paper.
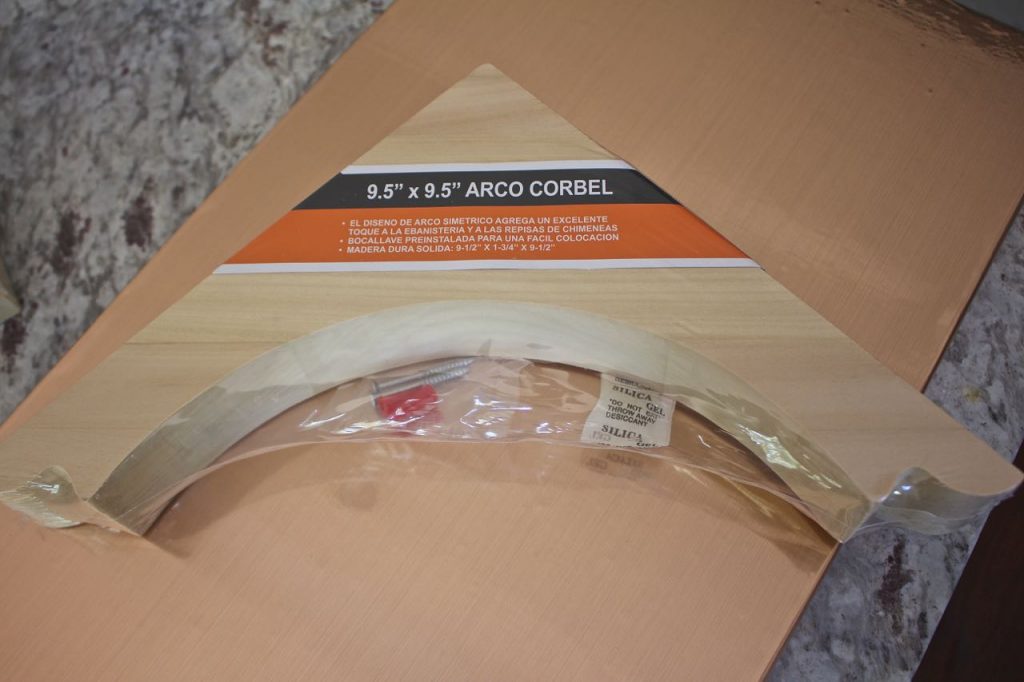
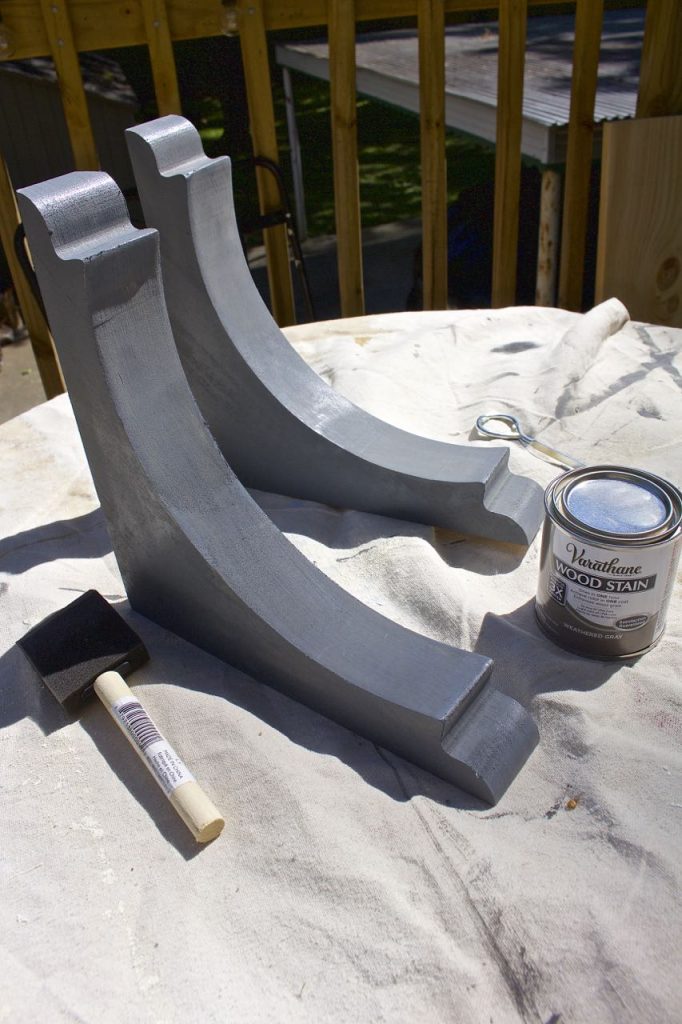
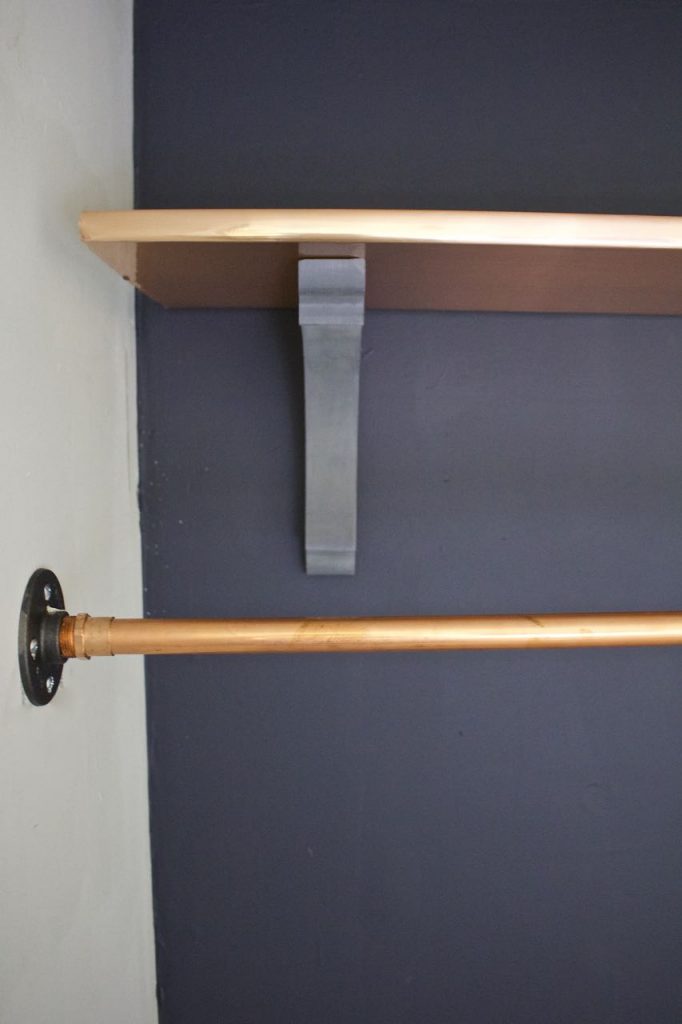
We then got to work on our shelf corbels. There were lots of options and we decided on these inexpensive wood corbels.
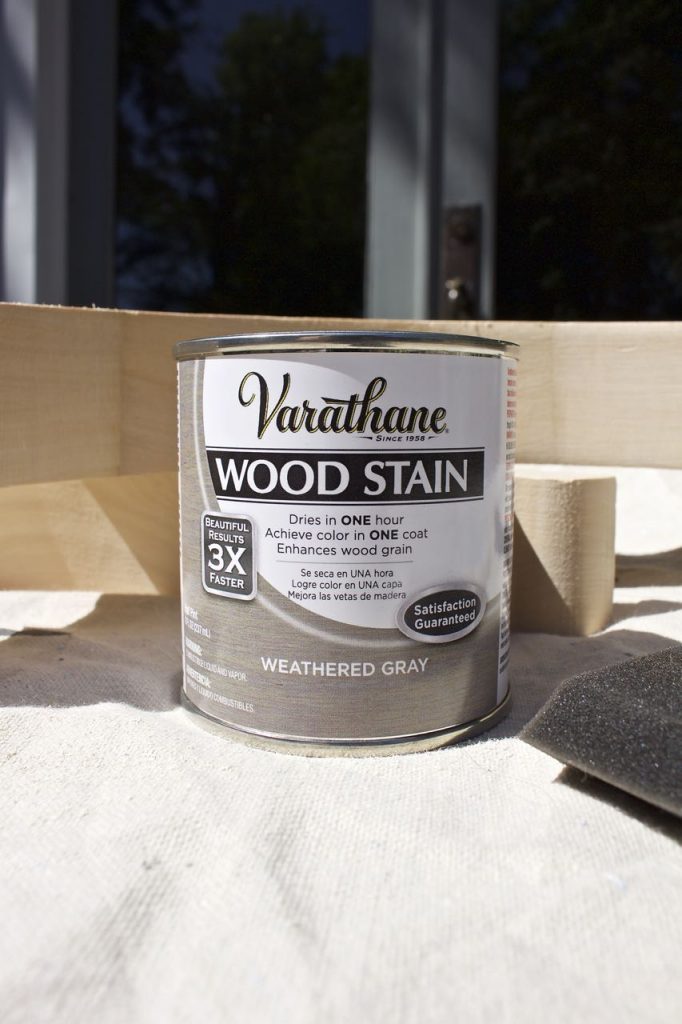
We had this weathered gray stain leftover from a conference. We knew it would be perfect on our feature wall.
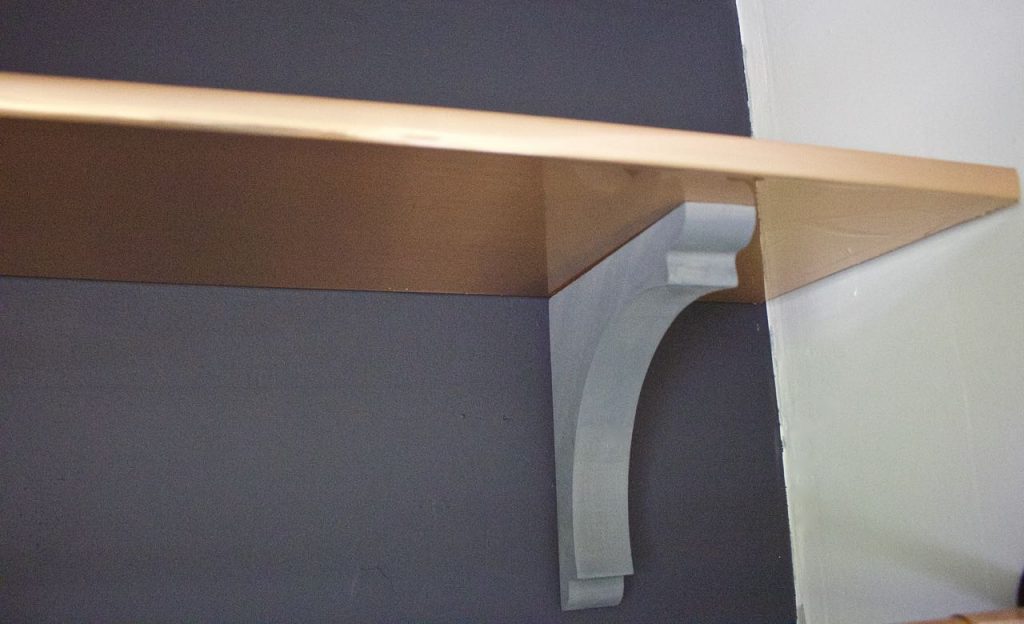
We were so excited, we couldn’t wait to get everything in place on the wall.
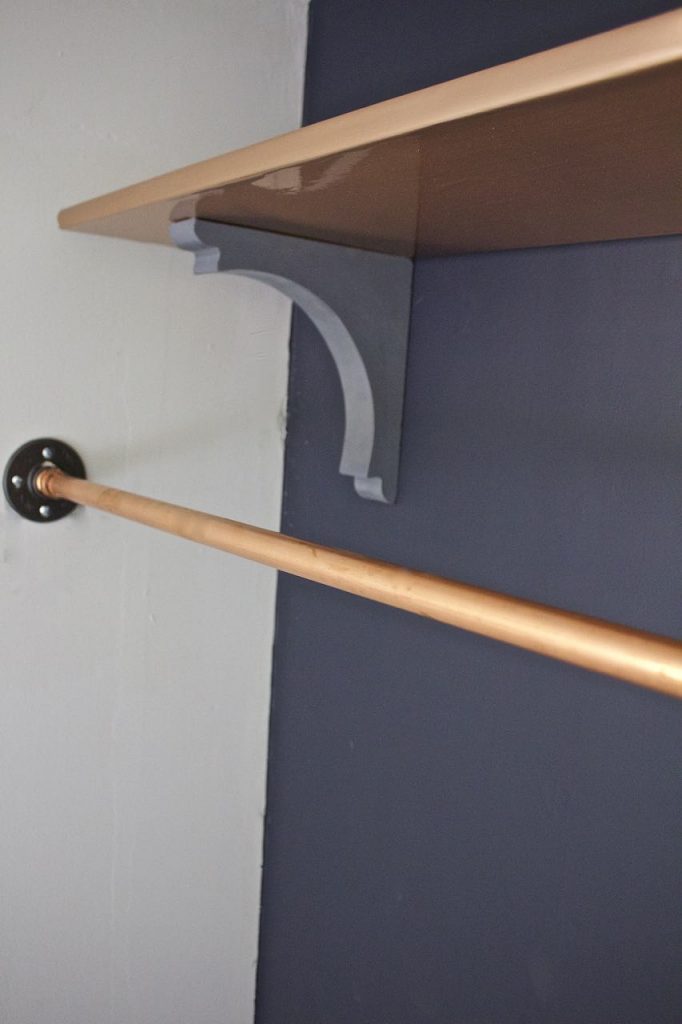
I’m sure Jenn’s neighbors could hear our squeals of delight! We could not be happier with how this turned out.
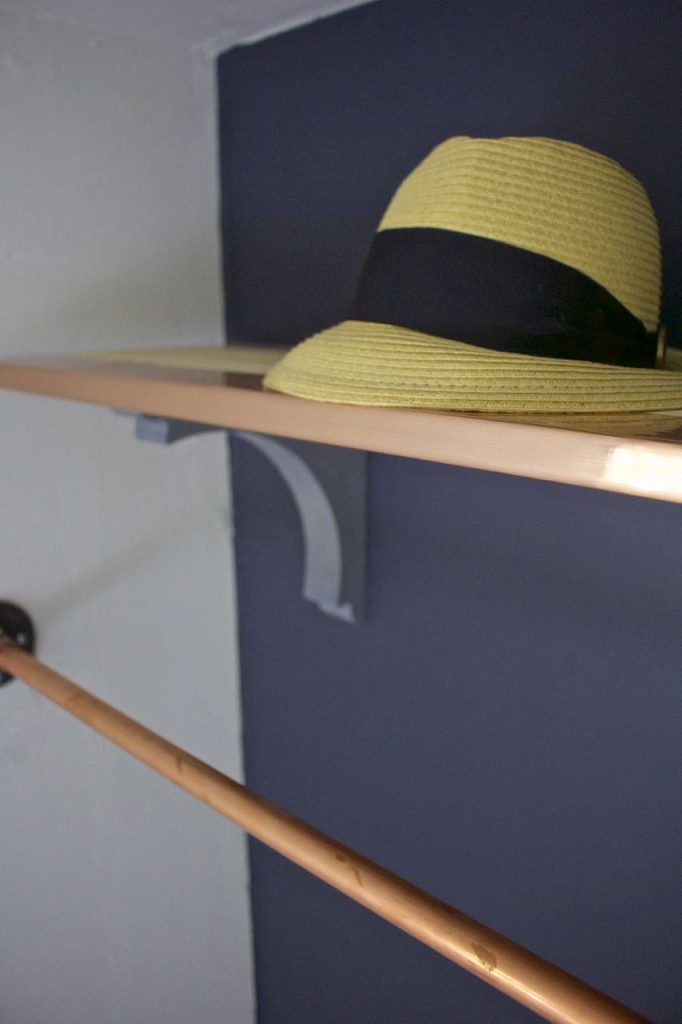
Our faux copper shelf blends perfectly with the real copper rod. You can’t tell at all that this is copper paper!
We don’t pat ourselves on the back that often, but we are pretty darn proud of this DIY project.
We hope that you like our shelf as much as we do. It was a simple project that we were able to complete in a little over an hour. Most of that time was waiting for the stain to dry on the corbels.
We will be back next week with more projects and updates. Cheers to a wonderful weekend.
XO~Vicki and Jenn
Don’t forget to Pin this to your Pinterest boards:
Sharing at: Savvy Southern Style




I would have guessed paint, but wow, I love the contact paper! I used marbled contact paper for the shelves in my office makeover, and love the look too. Can’t wait to see next week’s progress!
You girls come up with THE best ideas! I can’t believe this was only $6 – that is awesome. It looks just like the copper closet rod which is totally amazing. This closet is going to be so much fun. Hugs, CoCo
This shelf looks so neat and clean! The copper makes for a great color and shine. This also seems relatively easy to do at home. It’s always helpful when you can find a good guide like this for DIY projects. Fabulous post! Thanks so much for sharing!