DIY Moss Covered Eggs…
Please note that this post contains affiliate links. As an Amazon Associate, Rewards Style influencer and Jane Influencer, we earn from qualifying purchases and any sales made through such links will reward us a small commission – at no extra cost for you.
Hey there…We hope that Spring has finally made her appearance in your neck of the woods. Even though our temperatures have dipped again, we are at least fortunate that the bright sun is shining down on us.
As we ready ourselves for this beautiful season we are also looking ahead to Easter. I was also thinking of how I would decorate my dining room table. I have a couple of projects in the works. These moss covered eggs being one of the projects.
We headed to our fave craft store – Michael’s – and we were thrilled with what we found. Our original thought was to use sheet moss and cover paper mache’ eggs. We soon realized that this would be more costly.
I was thrilled when I discovered a bag of styrofoam eggs – perfect for this project! This is what we purchased:
This is how we put them togehter:
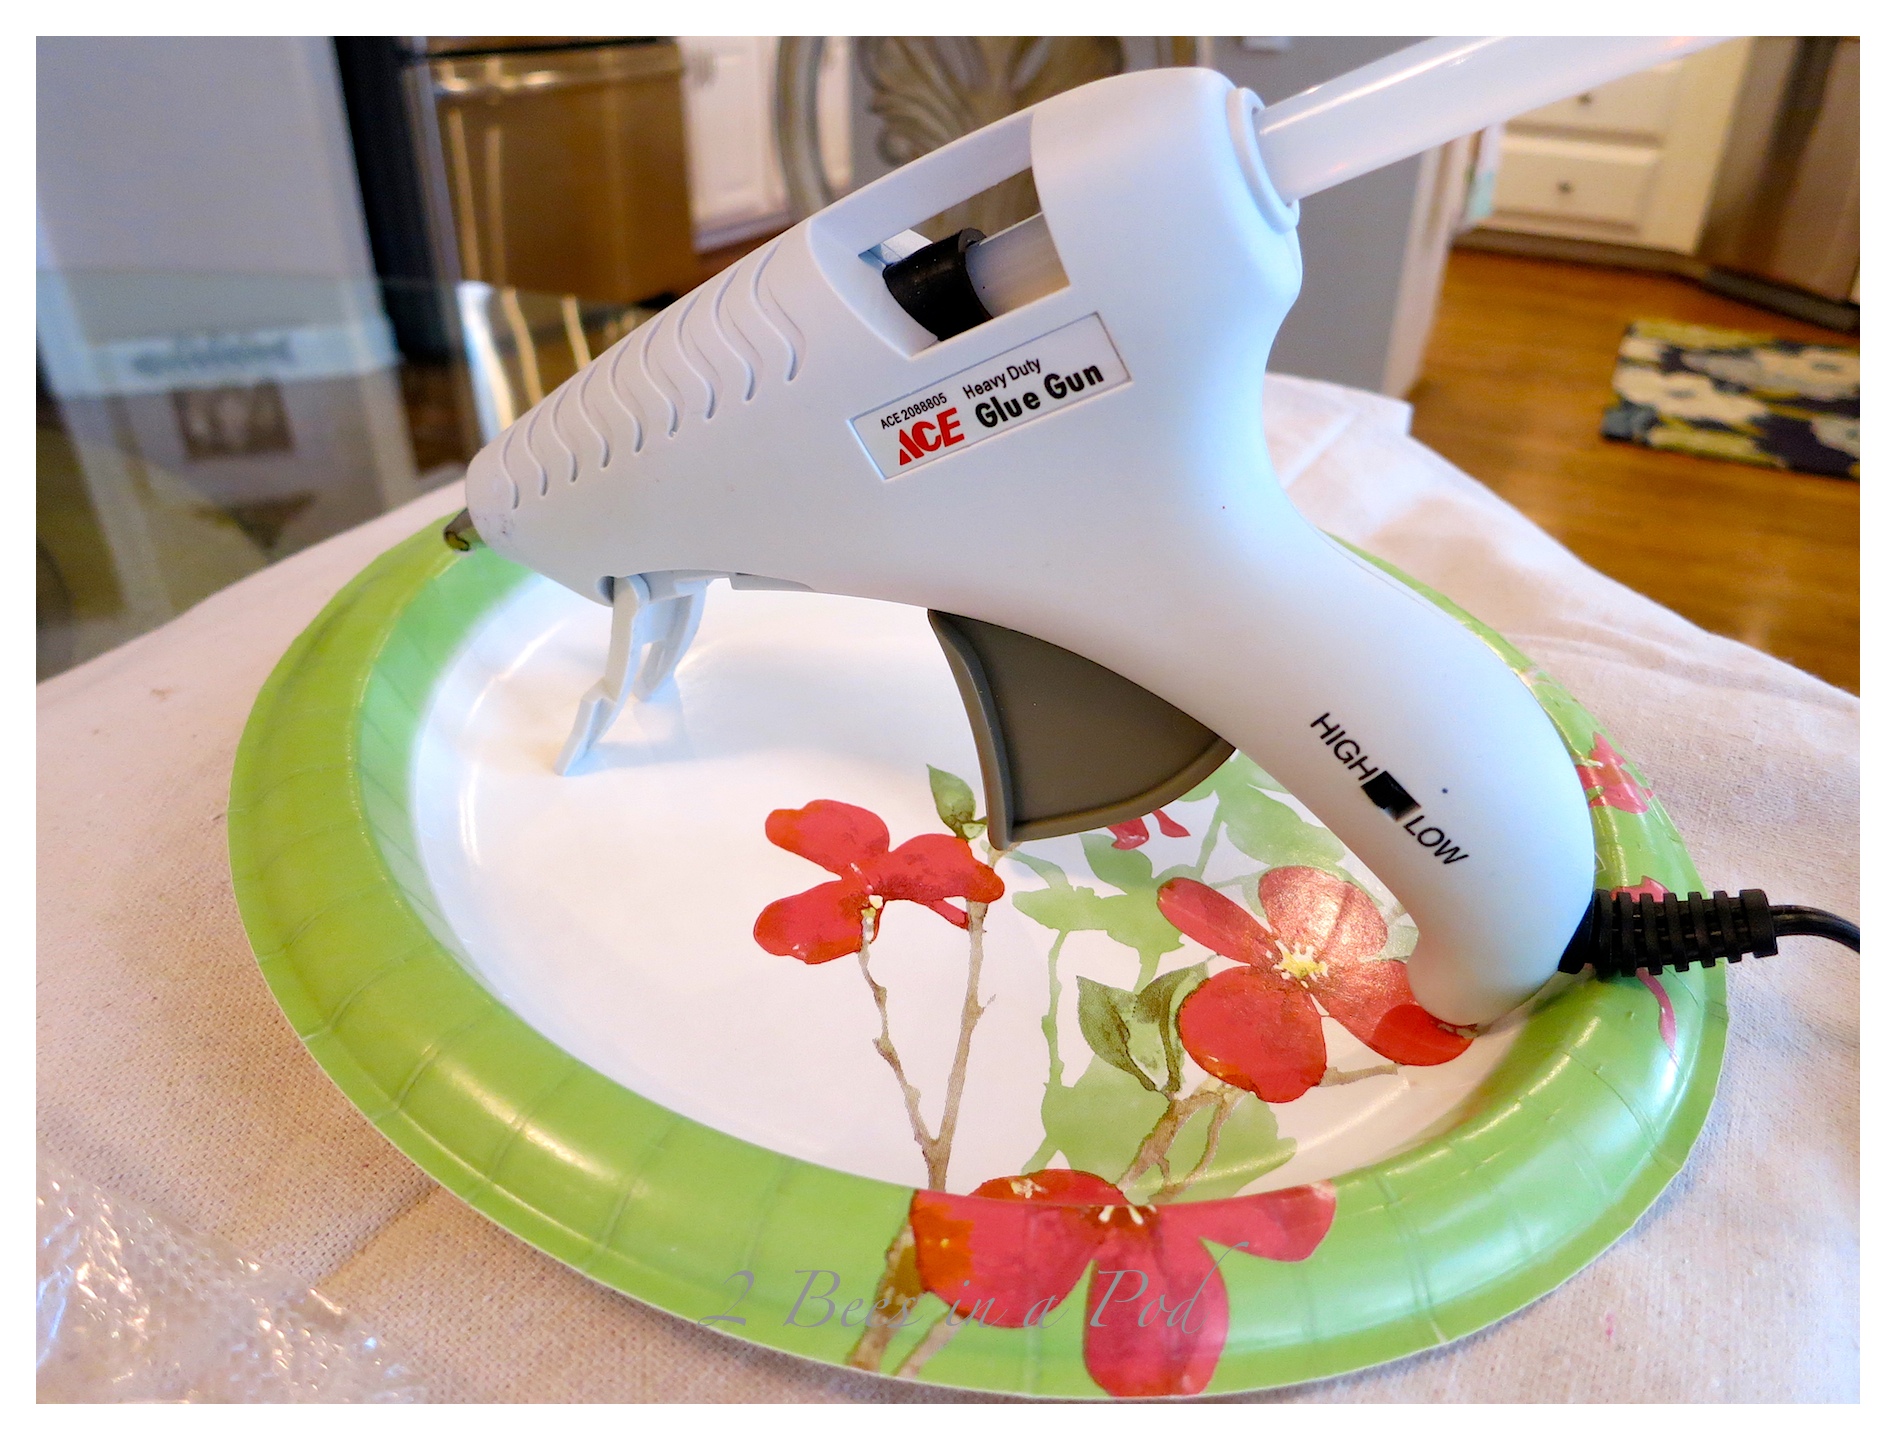
Preheat your glue gun…
 I had never used this type of sheet moss before. I would highly recommend it. This is what the backside of the moss looked like…
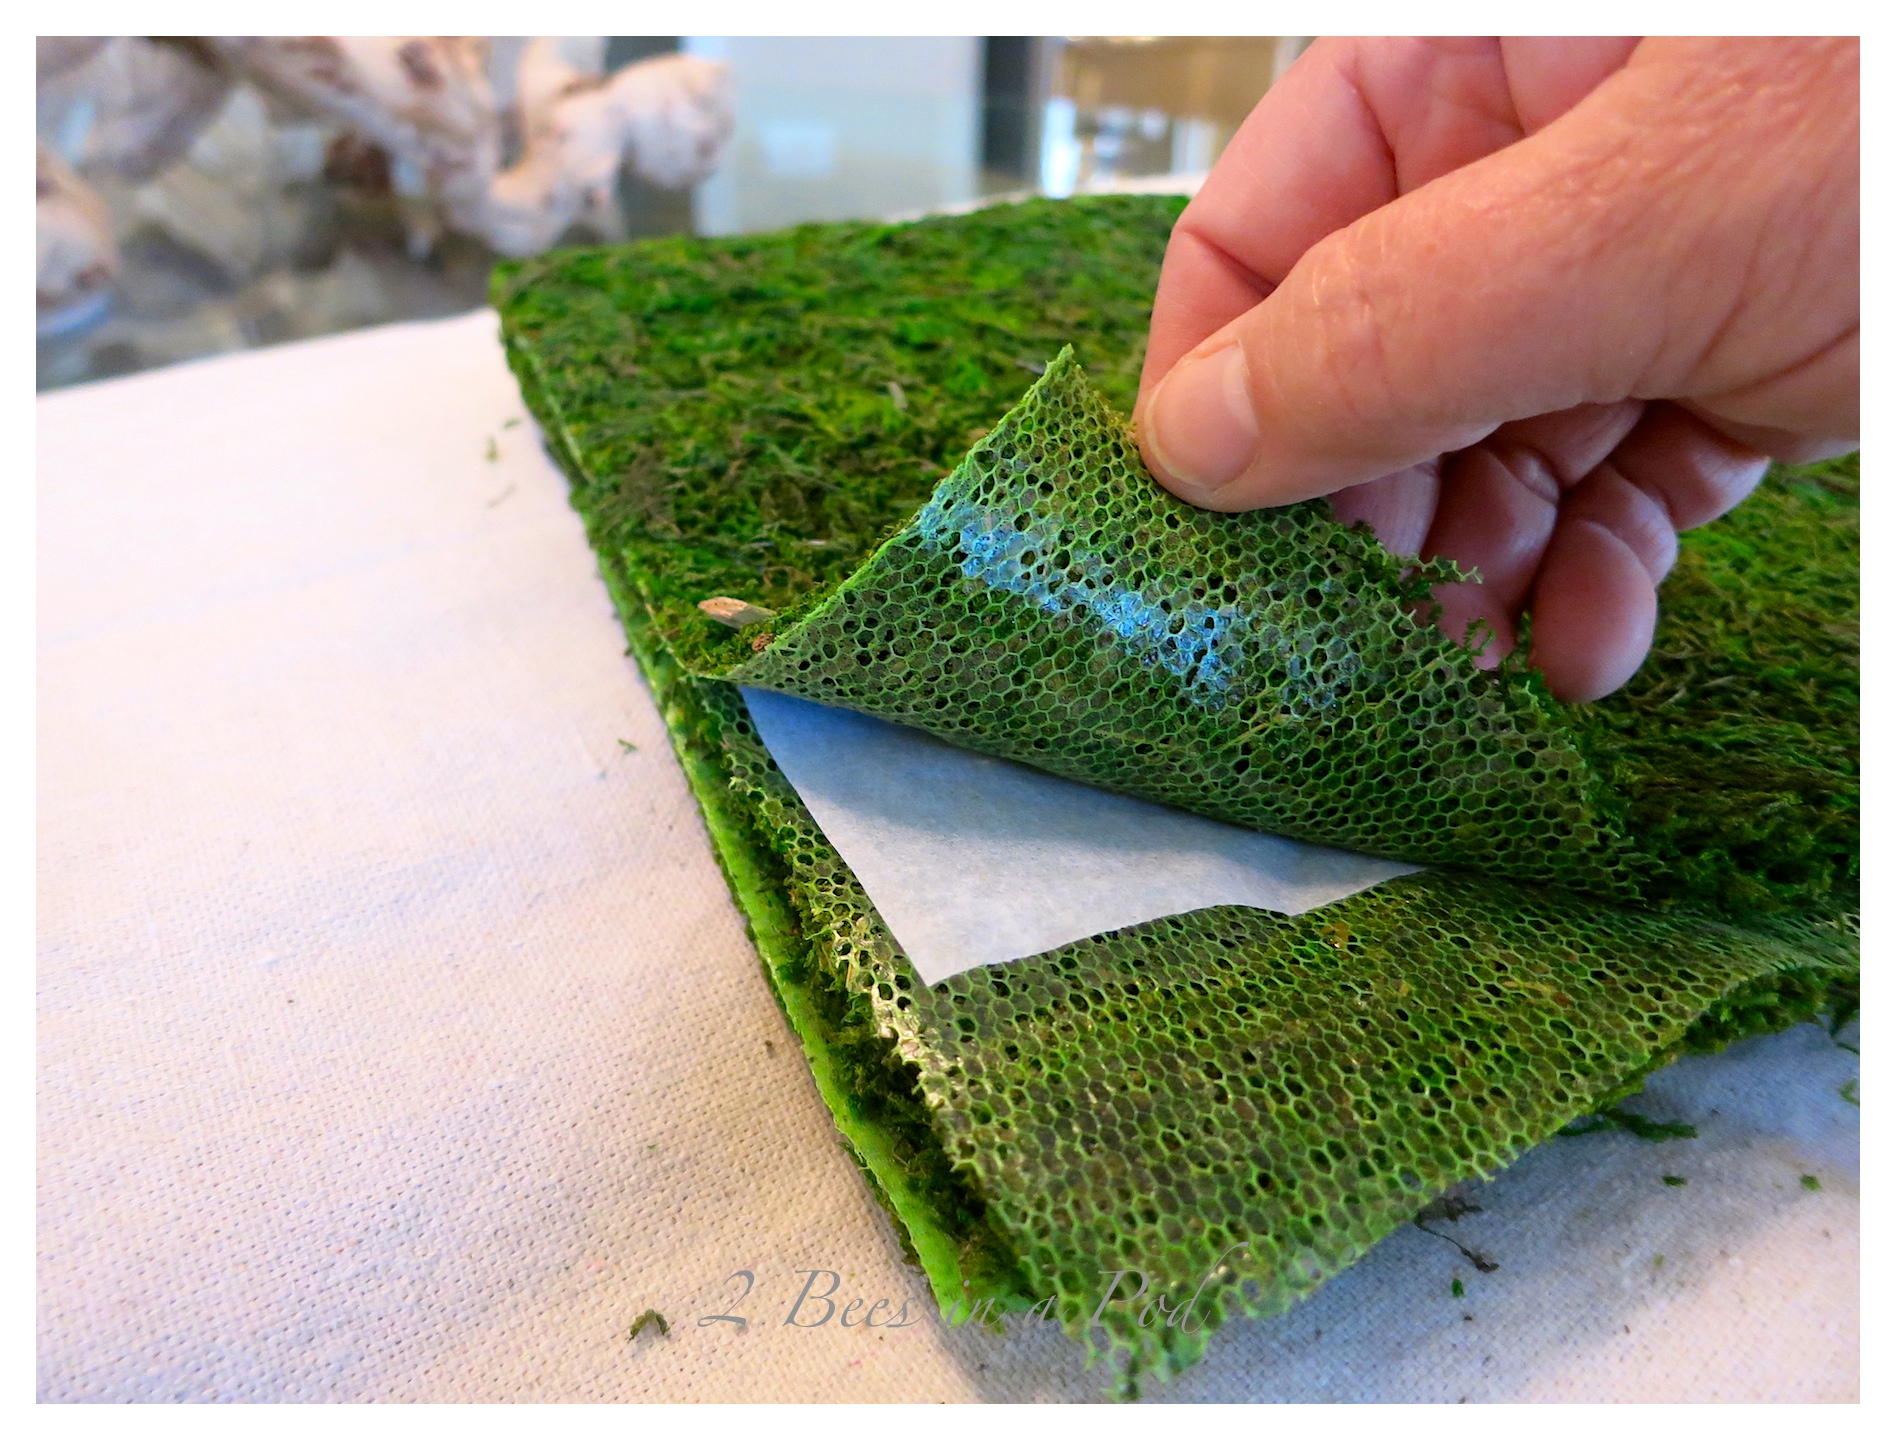 …and fully opened. The waxed paper keeps the backing from sticking.
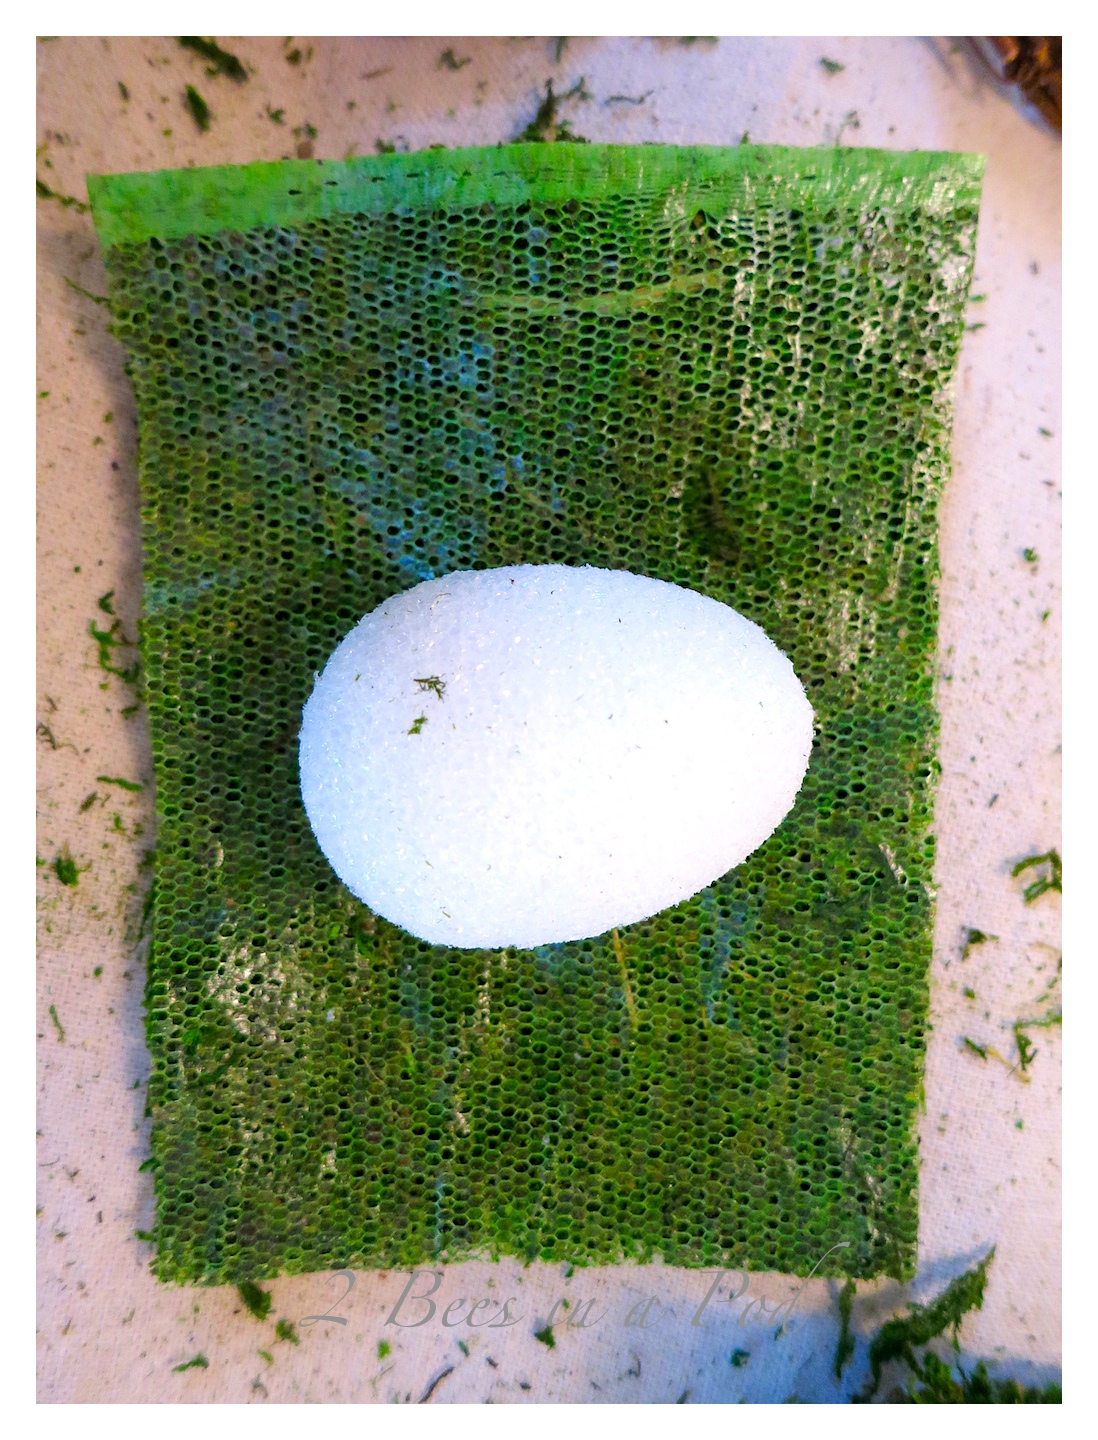
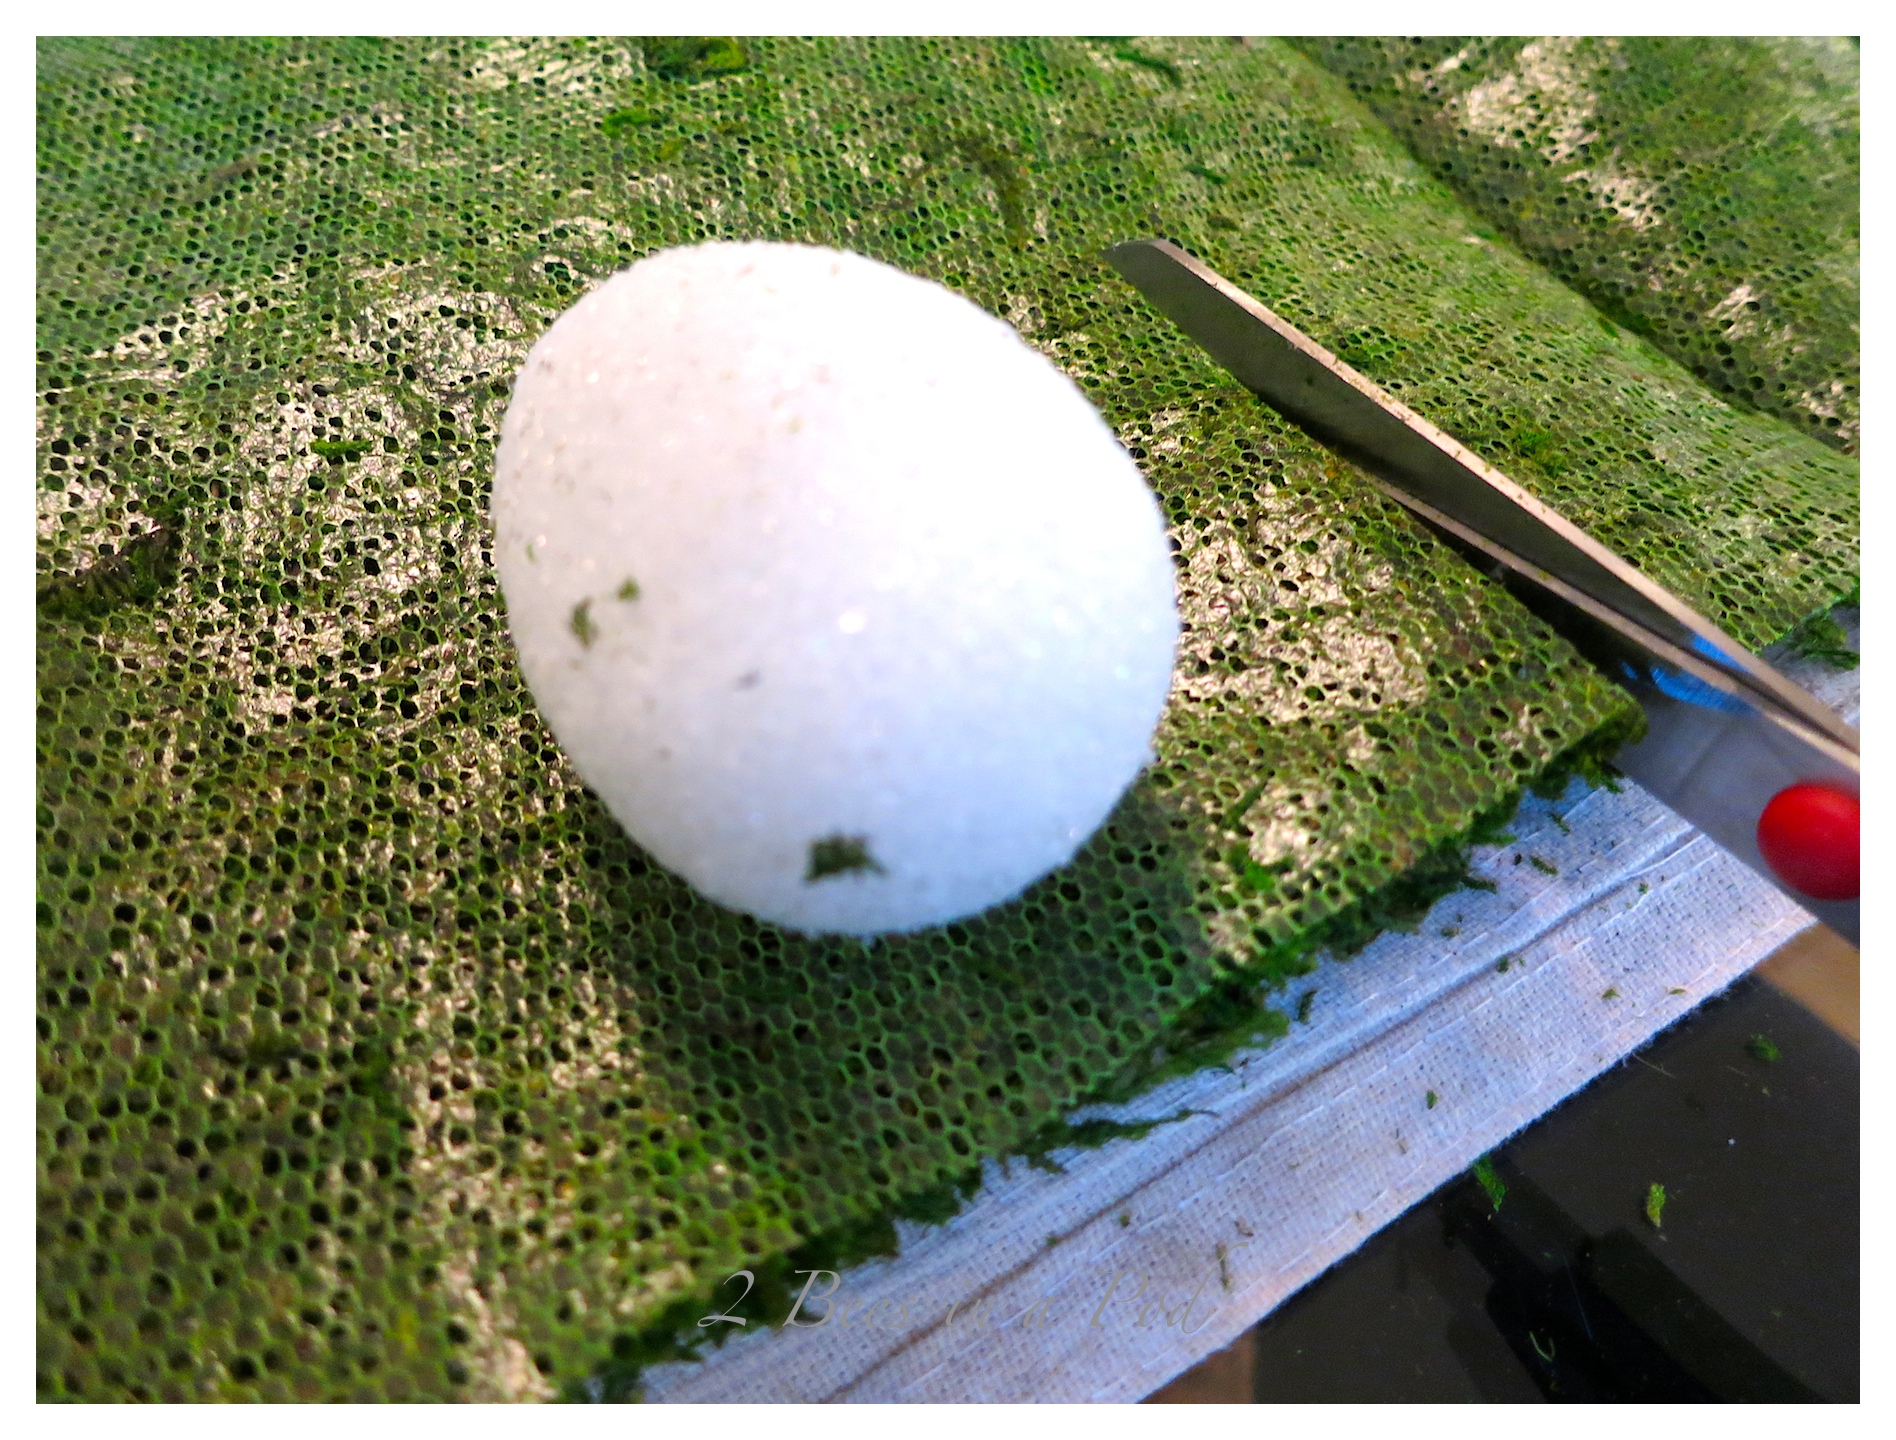
 I laid down a styrofoam egg and just did a rough cut of moss – no measuring for me :). The sheet moss cut very easily.
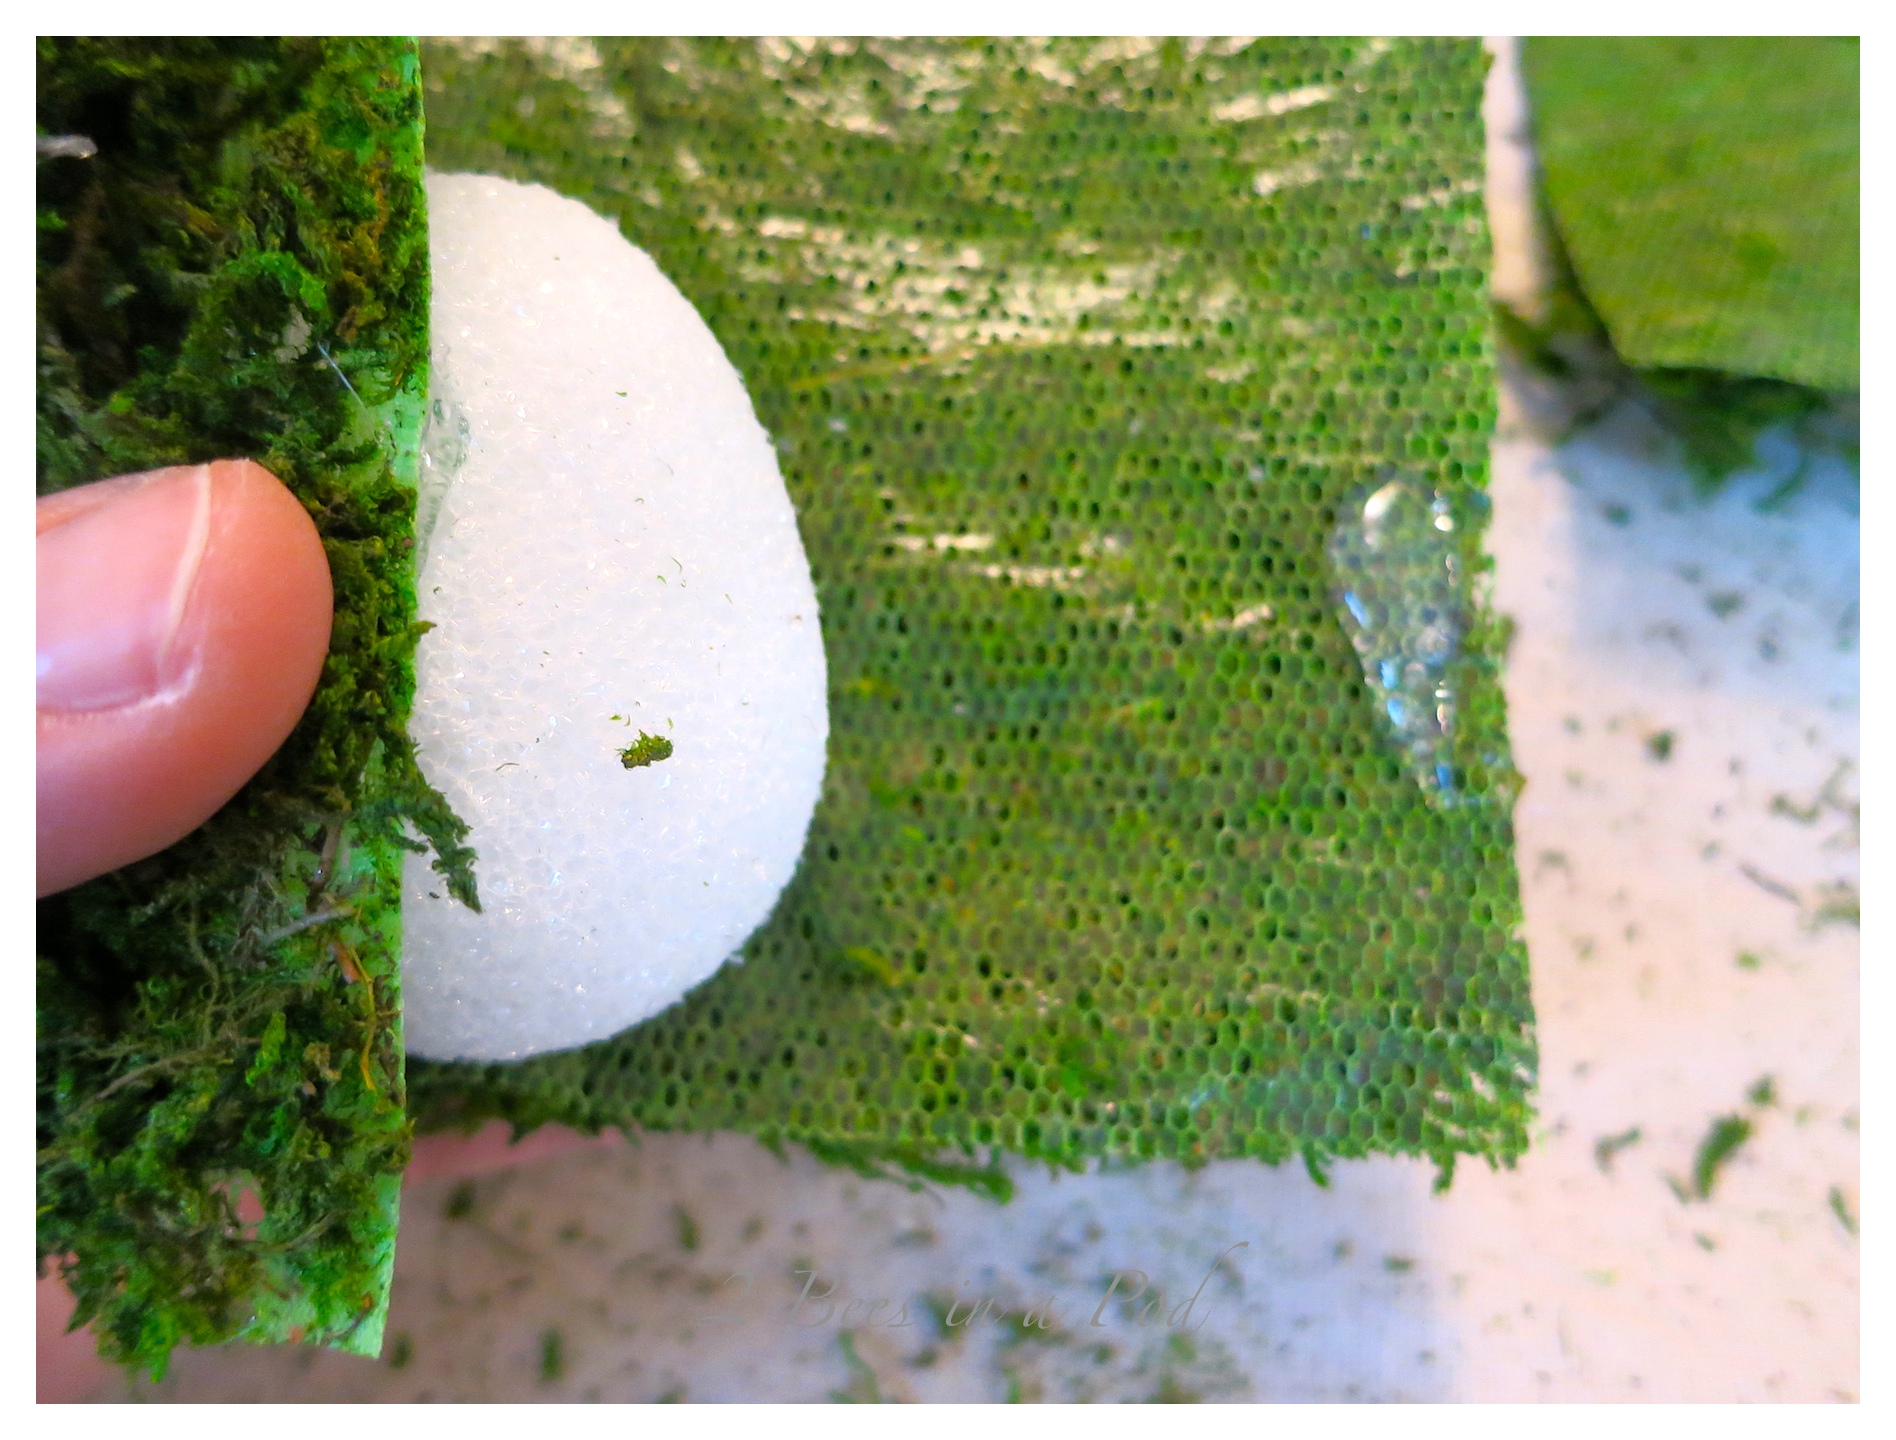
 I used the hot glue on the moss. I knew from past experience that the glue would melt the styrofoam eggs.
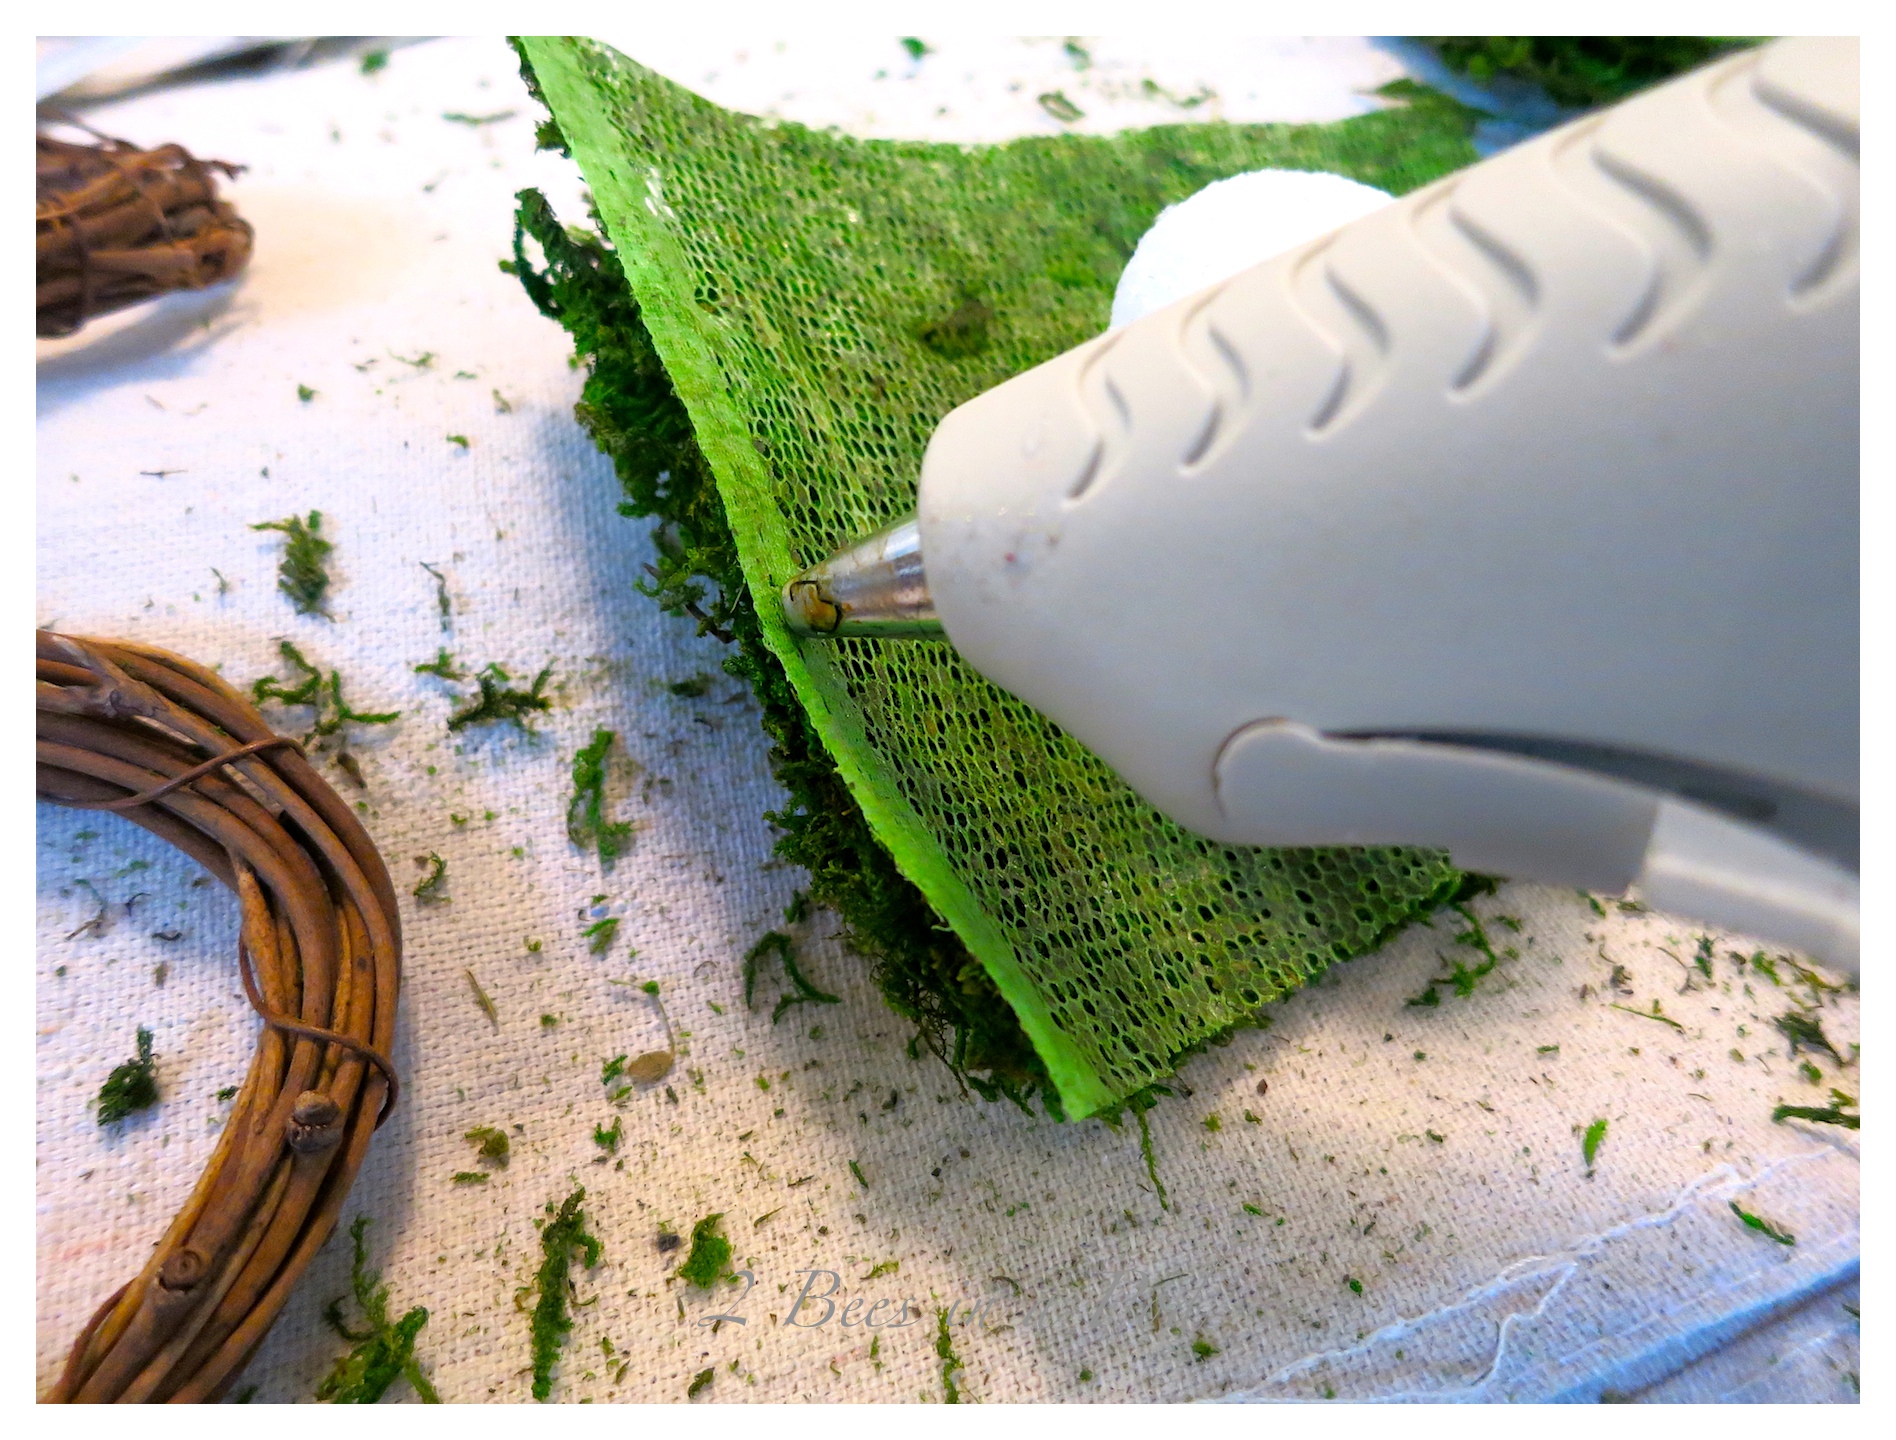 I placed hot glue on both sides of the moss and began wrapping the egg.
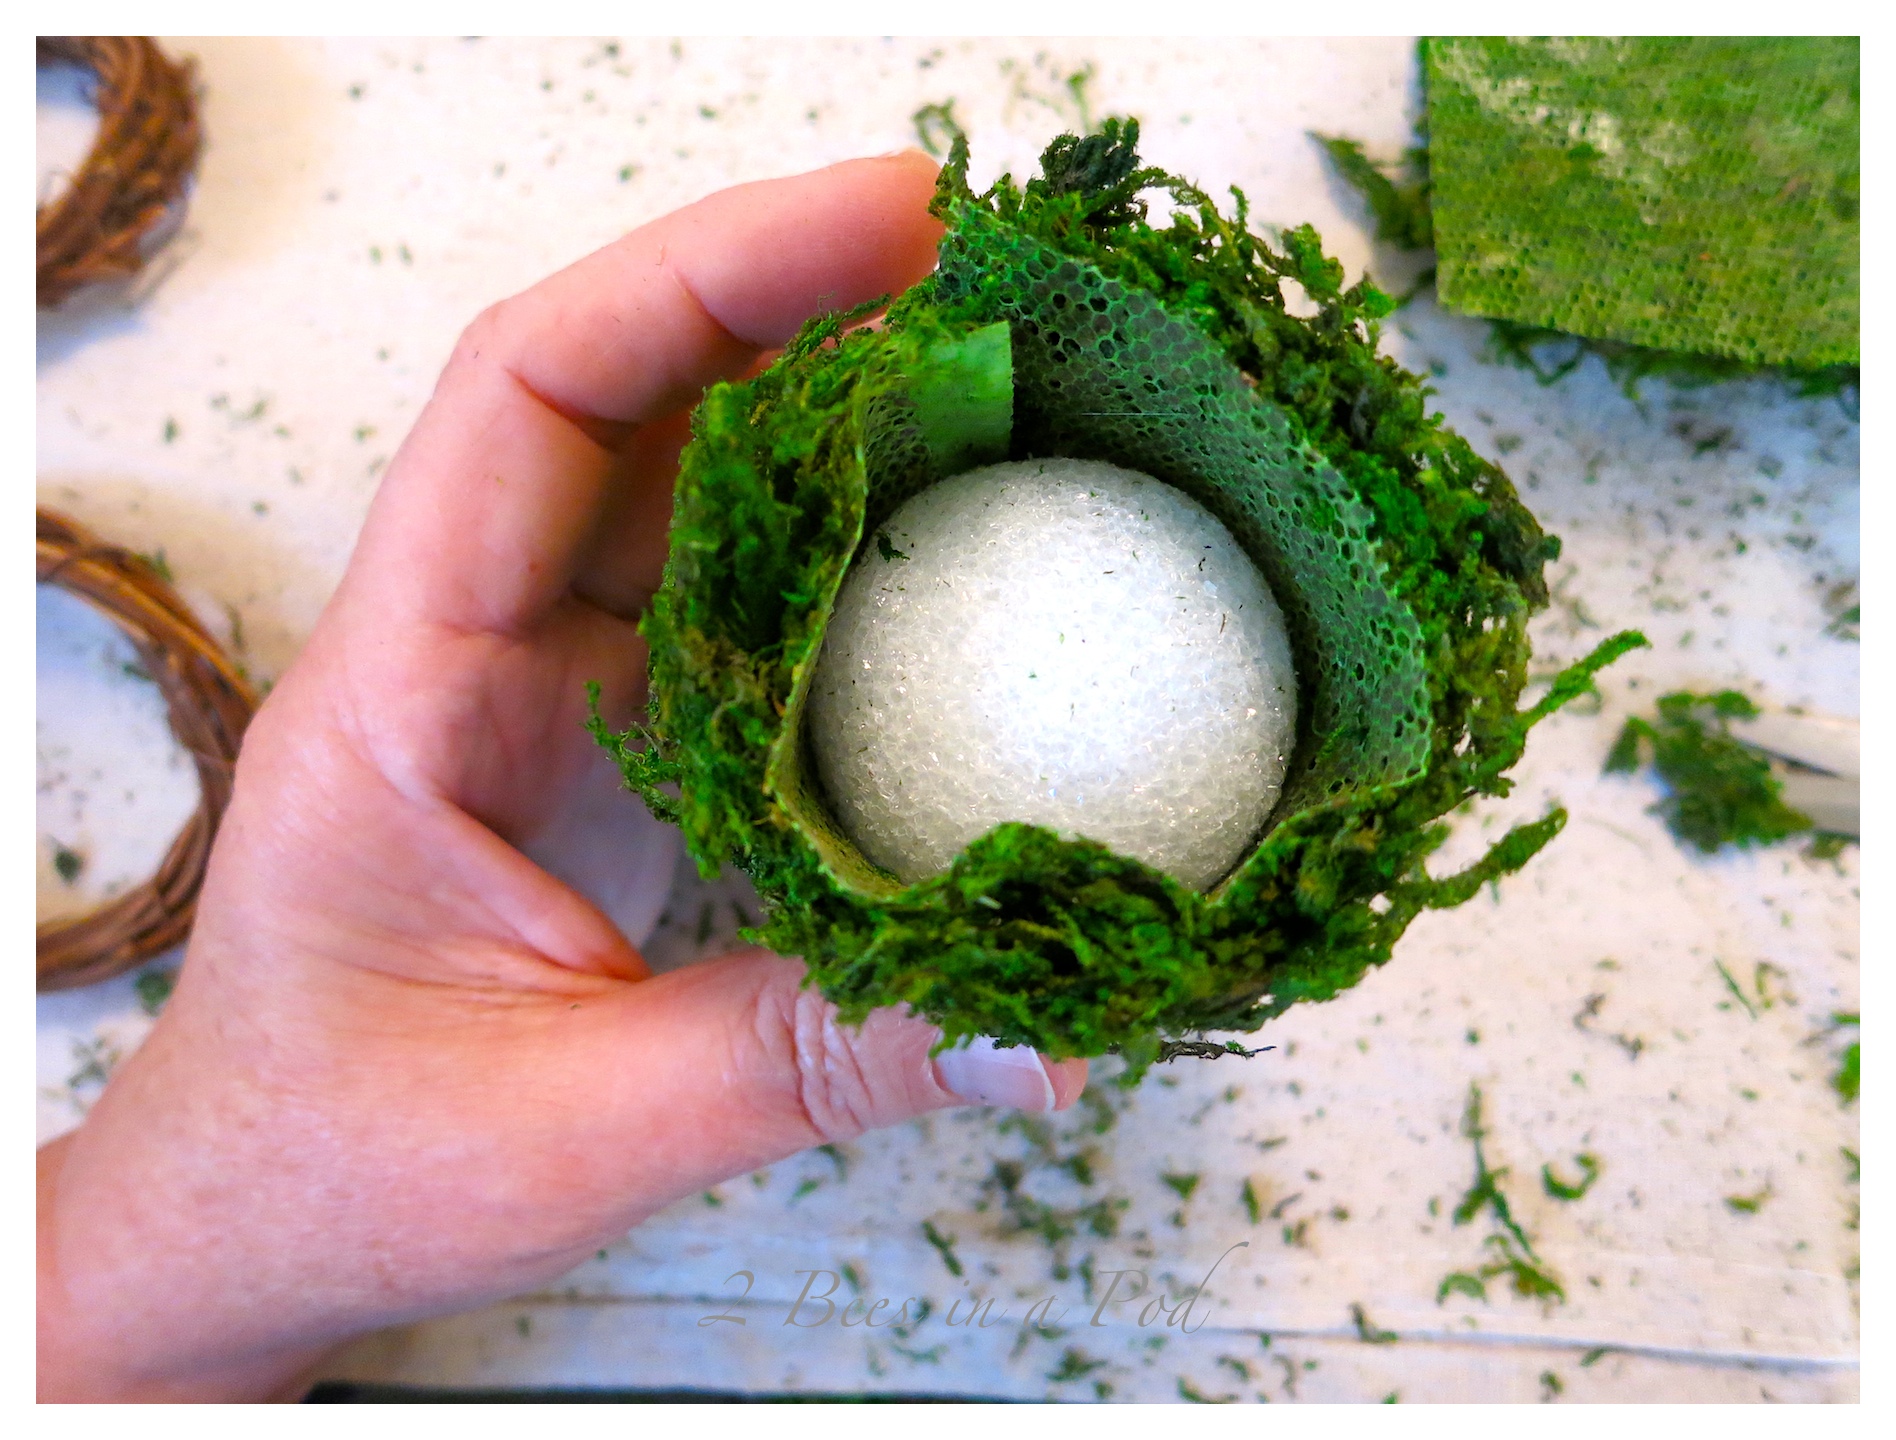 I then added hot glue to the inside of the moss and folded the bottom in place – repeating the same procedure for the top of the egg.
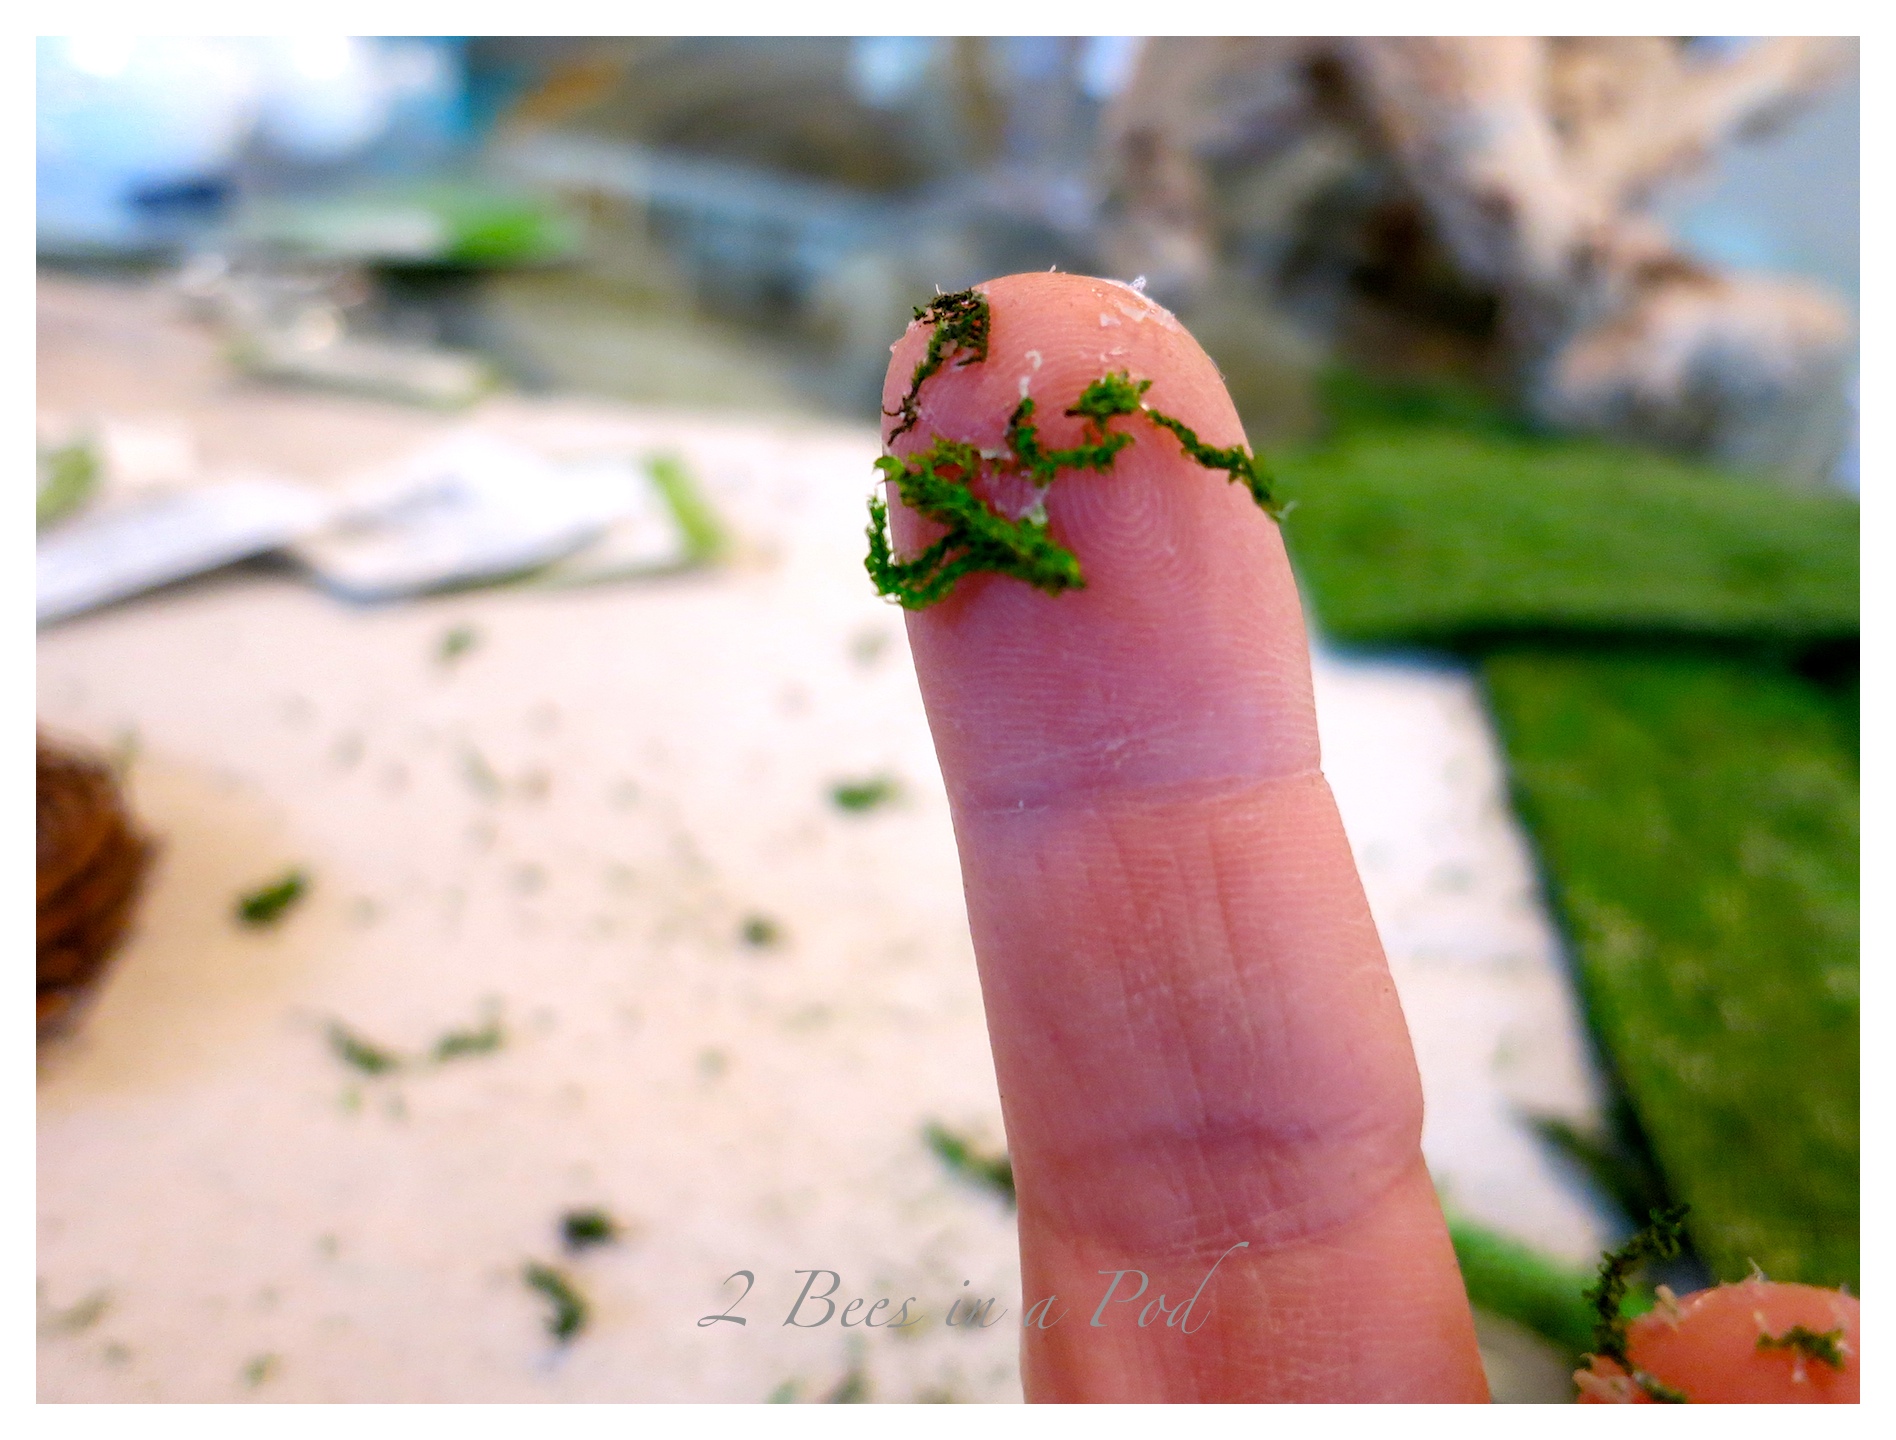
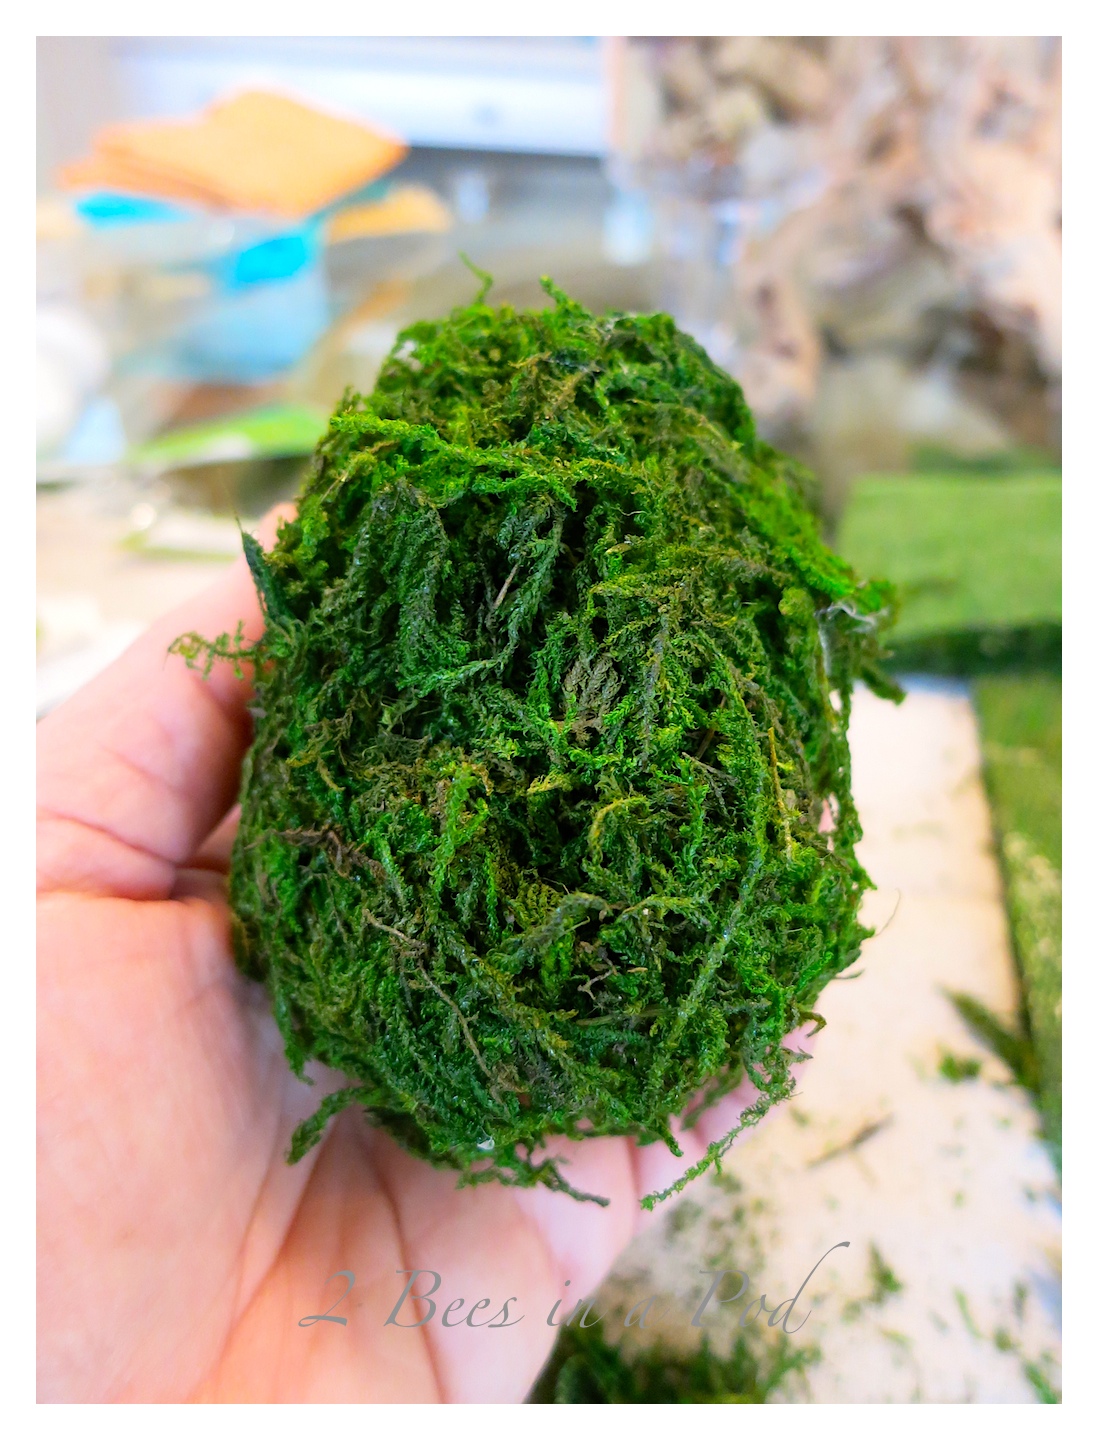 Gentle reminder – especially to myself. Take caution when using your hot glue gun 🙂 Oww…
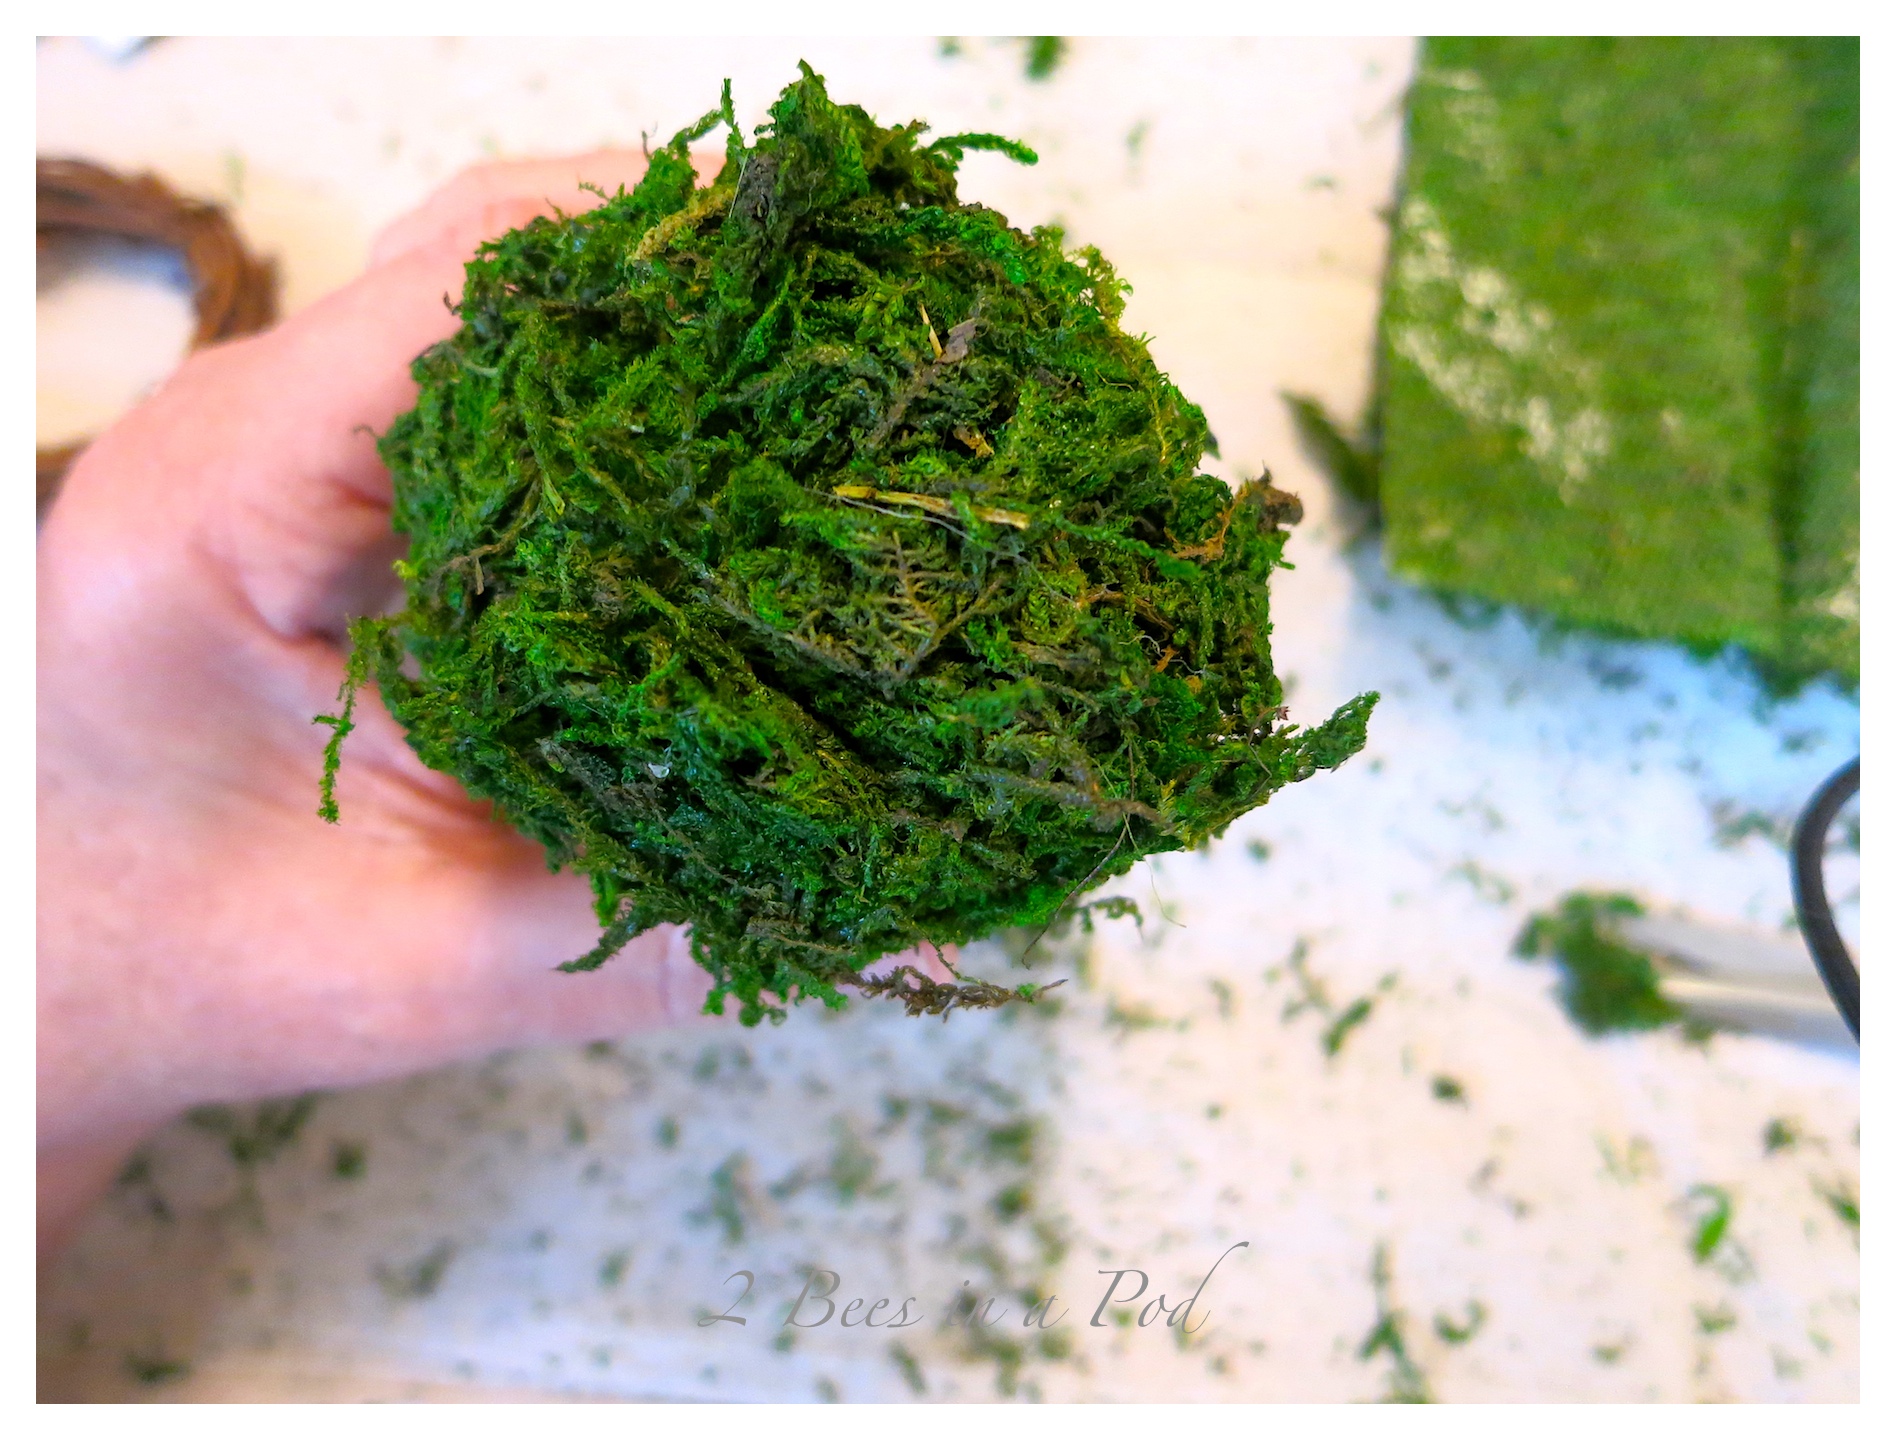
 This finished egg had a bare spot. No worries…
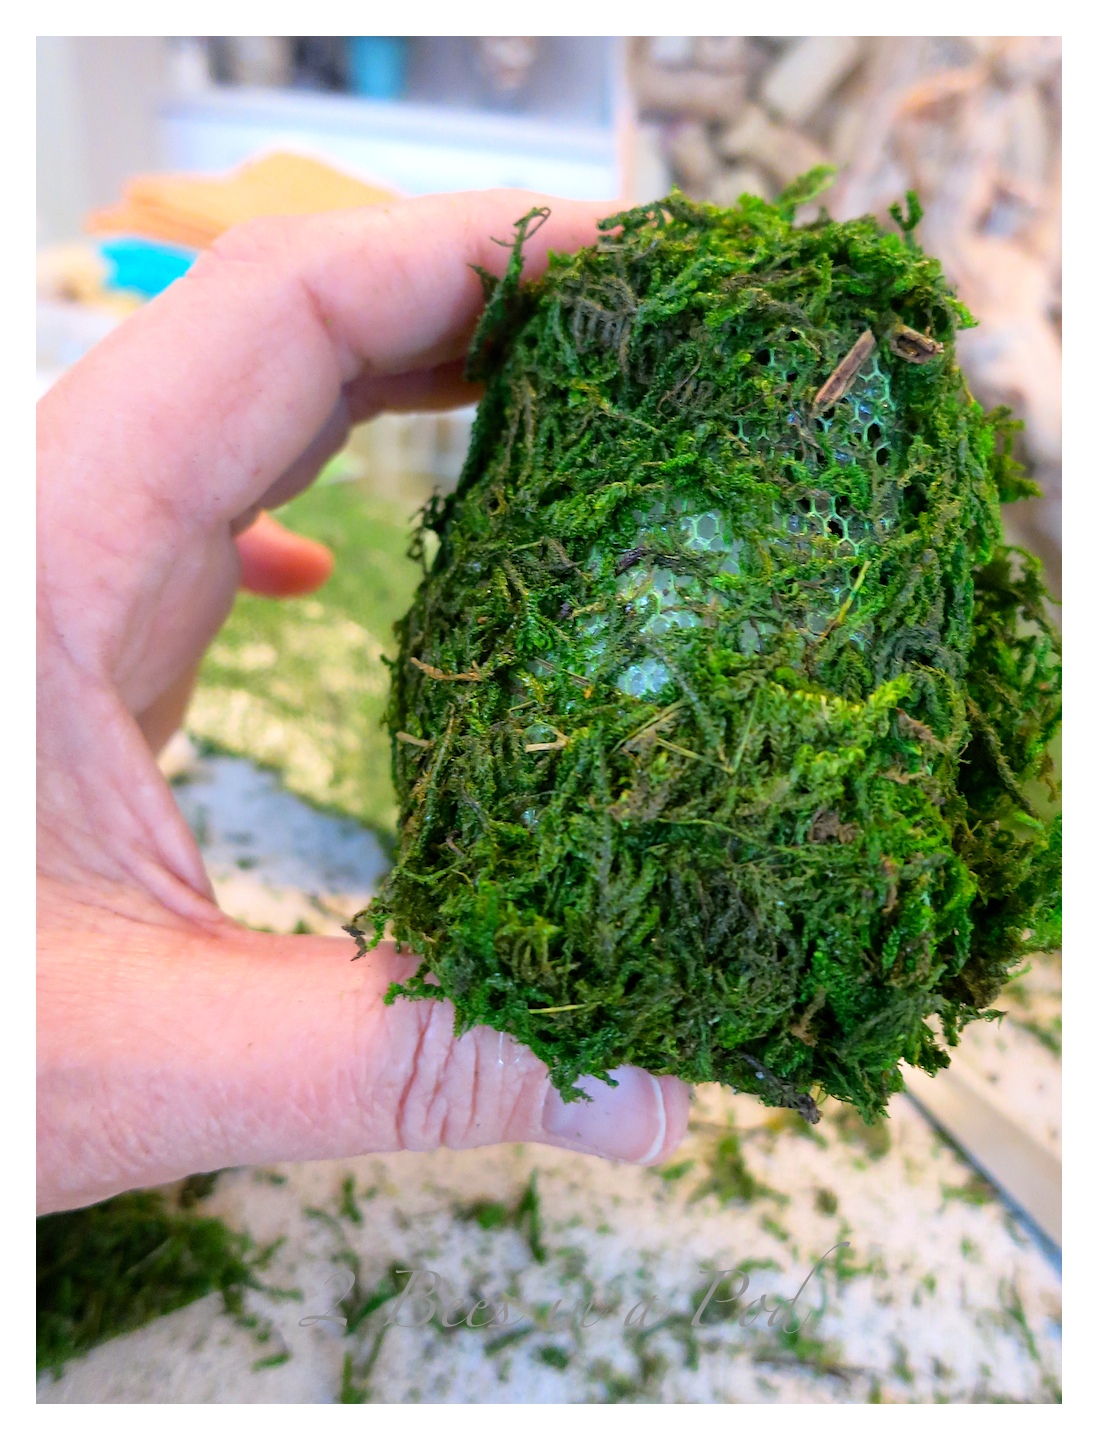 …gather a pinch of excess moss and glue it on top of the bare spot.
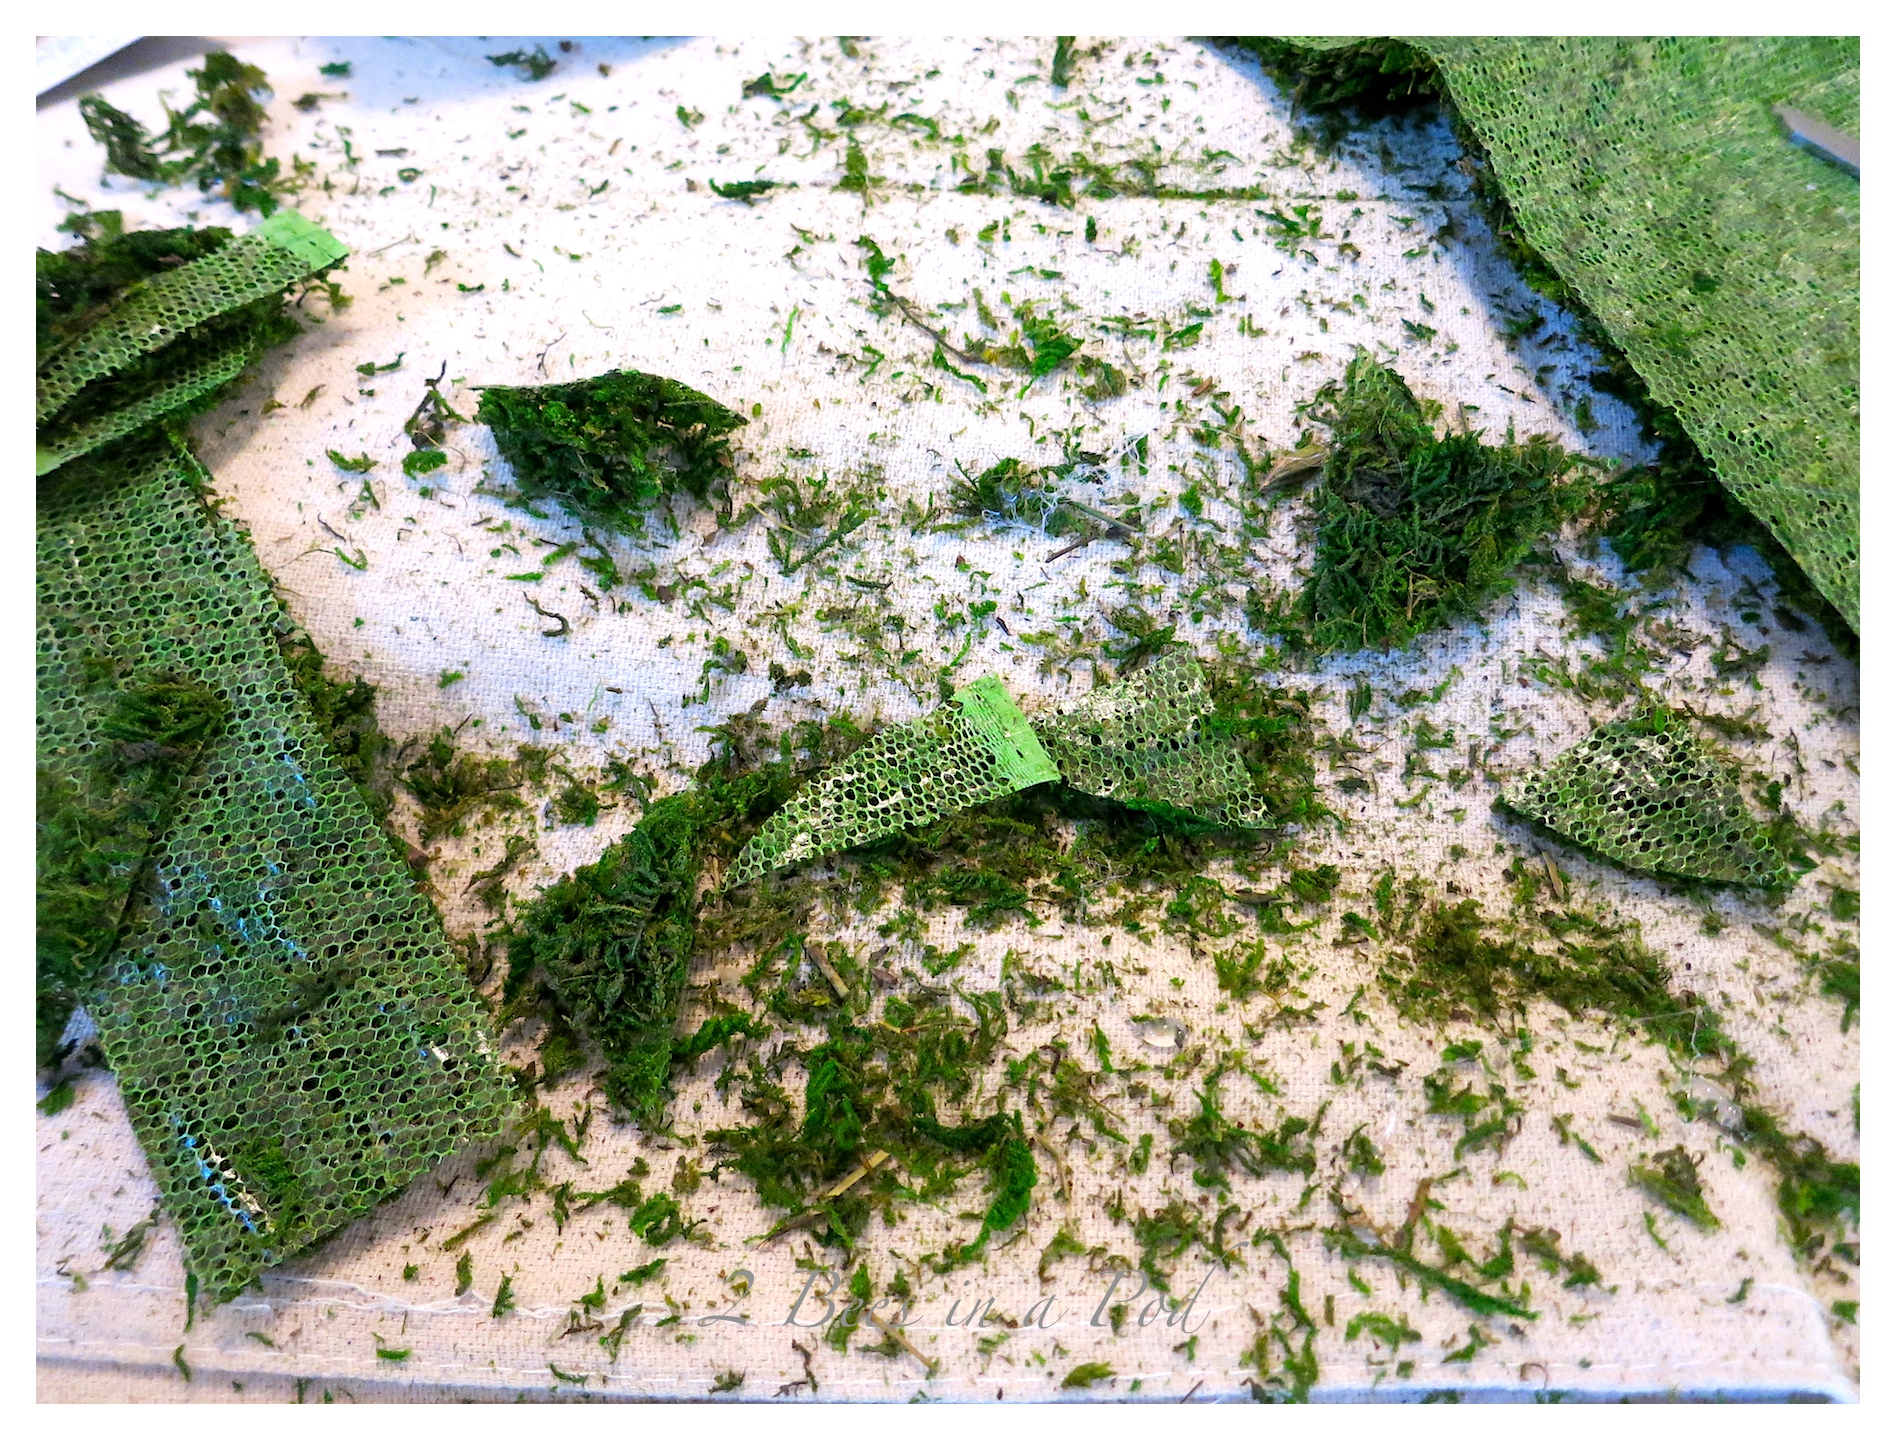
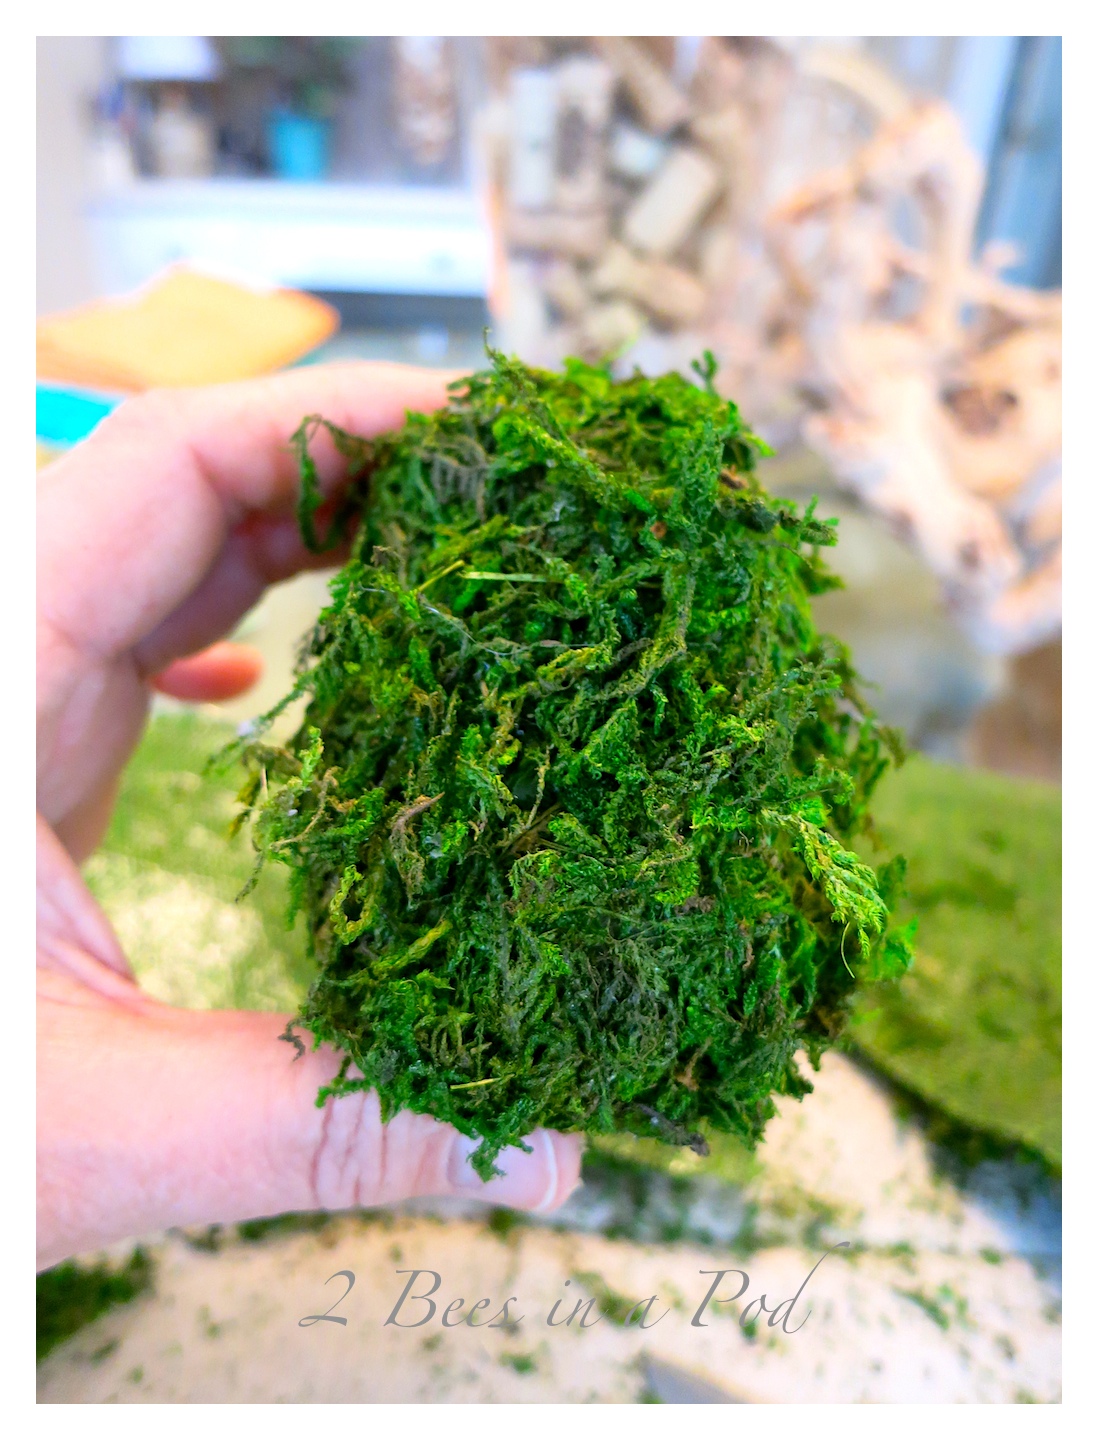 I was surprised that this was a tad messy.
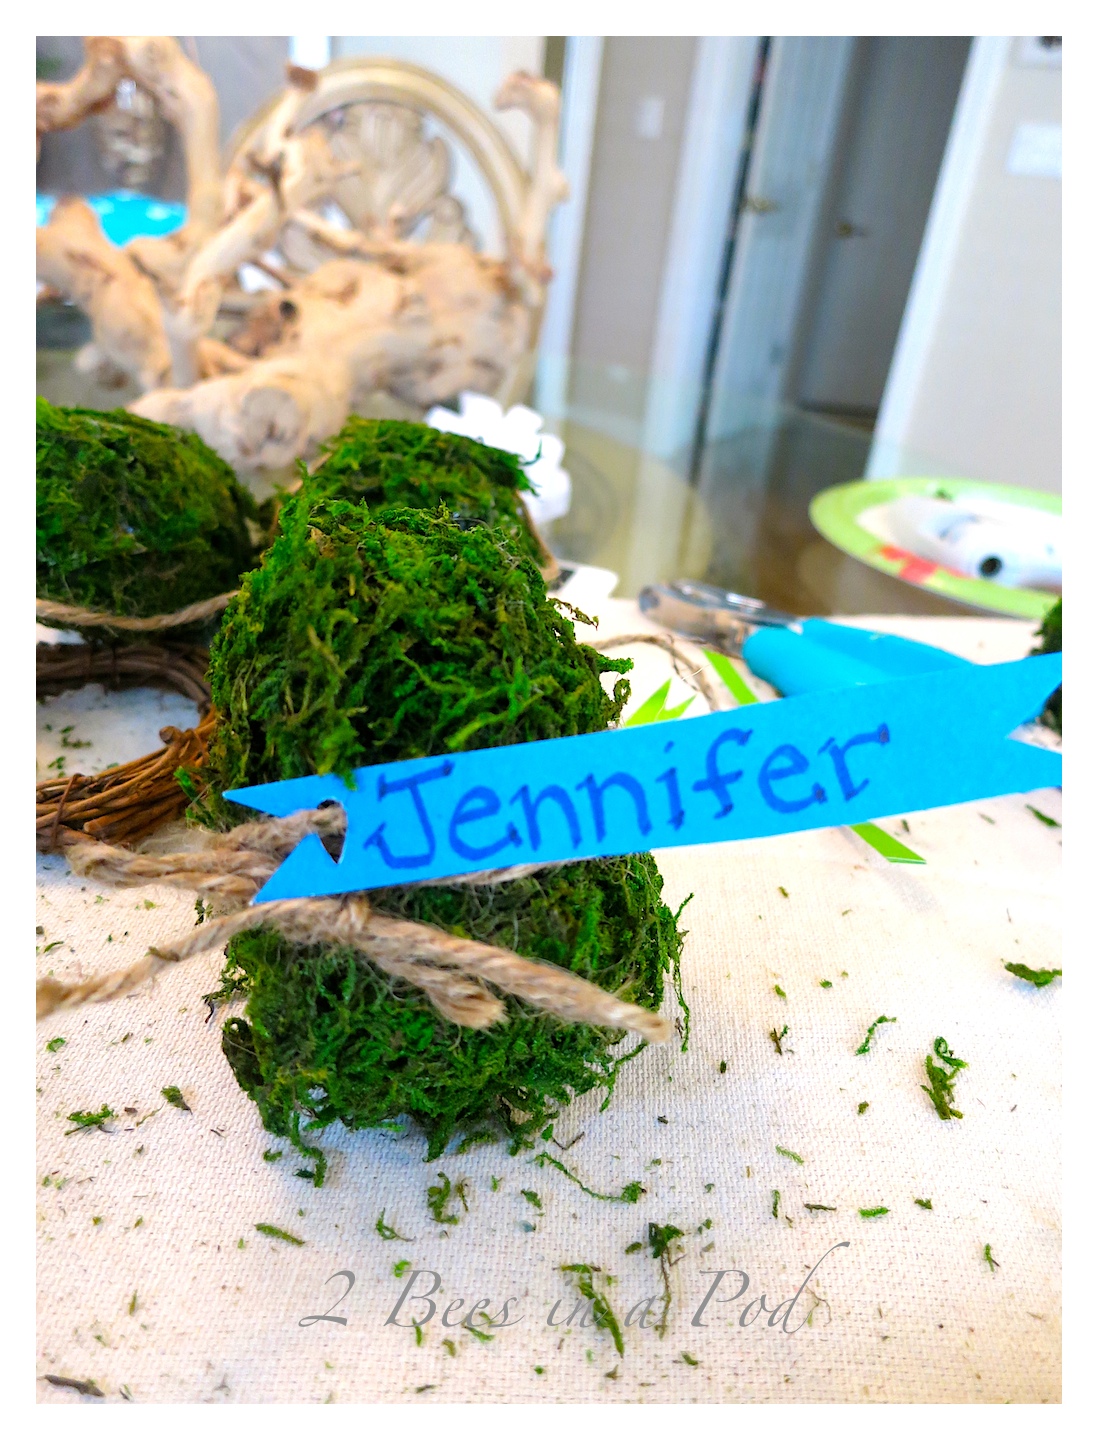
 Completed eggs… It was at this point that I thought the eggs would be cute place cards for the table.
 I used scrap paper for name tags…
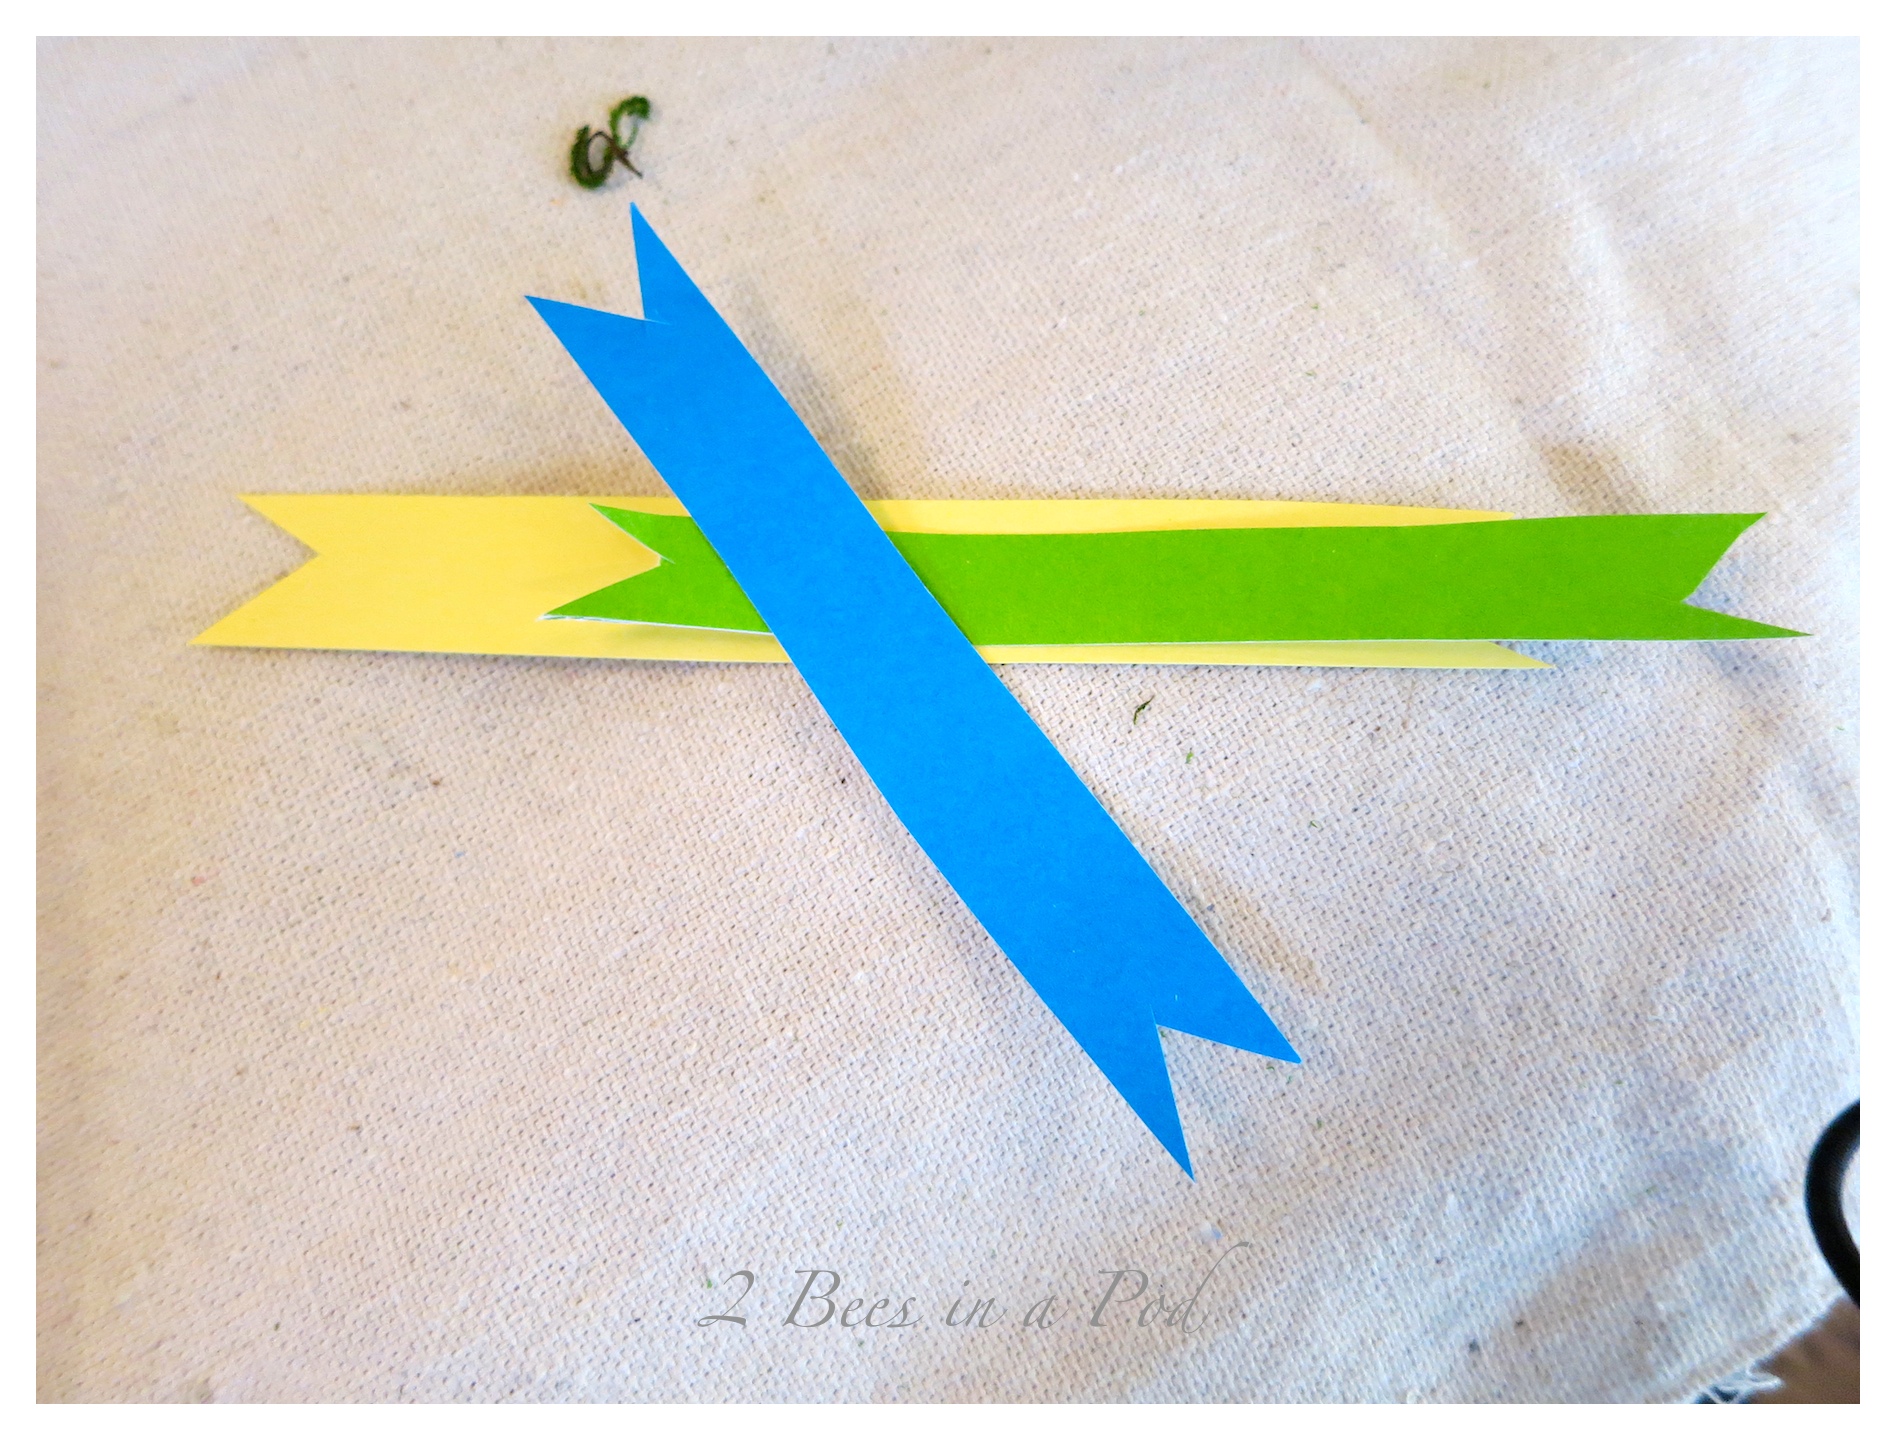 …and twine for wrapping the eggs.
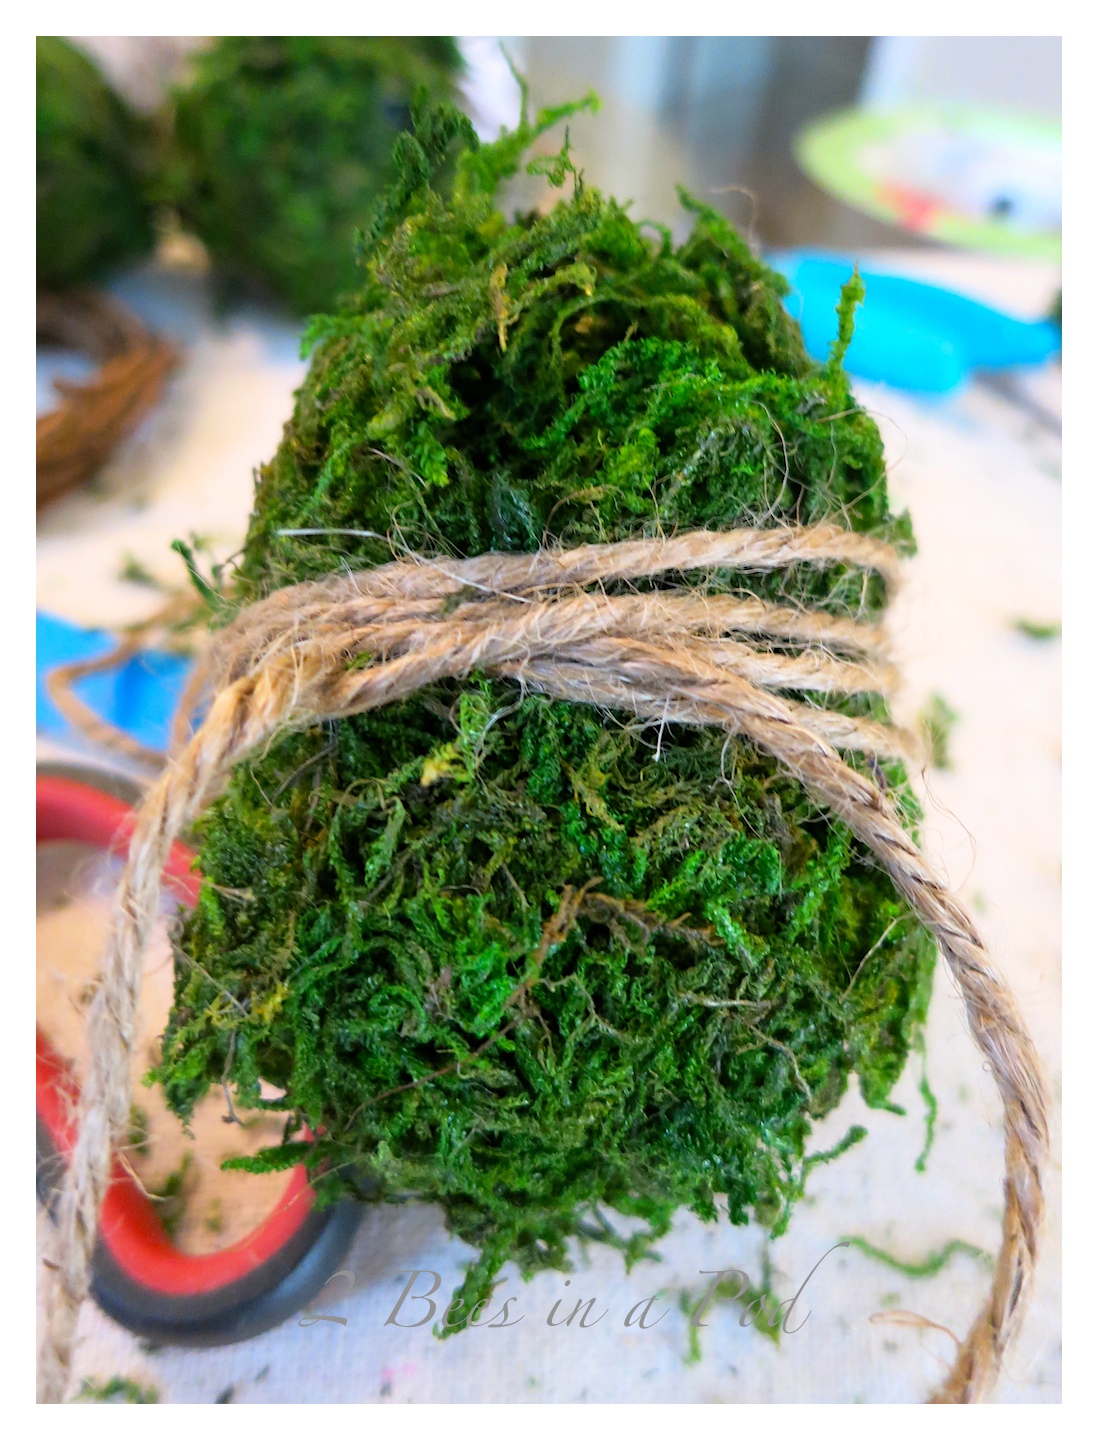 Pretty cute – right? I was going to use the miniature grapevine wreaths as napkin rings, but I may use them as “nests” for the eggs.
 This was a fairly easy and inexpensive DIY craft project. After I collected my materials it took just eight minutes to create six moss covered eggs.
We used Michael’s coupons for the sheet moss and the styrofoam eggs. The mini wreaths were only .29 cents each. Total purchase: $6.79! I have moss leftover for other projects.
Stay tuned for the final table display 🙂





2 Comments