DIY Etched Plant Water Bottle
Please note that this post contains affiliate links. As an Amazon Associate, Rewards Style influencer and Jane Influencer, we earn from qualifying purchases and any sales made through such links will reward us a small commission – at no extra cost for you.
Hey y’all…so excited to see you! Today promises to bring you some wonderful creativity and out-of-the-box imagination decor. Our sweet friend Kim of Hunt & Host is so clever. She came up with the idea of bringing items from Grocery Store to Gorgeous and she invited us and other blogging friends to play along! The idea is that we each take something that we have already purchased at the grocery store and have in our pantry. We then take this item to the next level with an upcycle and reuse in our home decor.
I was so excited and knew right away what I was going to make…DIY Etched Plant Water Bottles. These bottles are a perfect way to keep your plants watered while you are out of town OR if you’re a lazy gardener like me and you might forget to water your thirsty plants.
Have you seen etched bottles or glassware before? Did you wonder “How’d they do that?” Me too! Today I will reveal the mystery and I must say this is a super easy project!
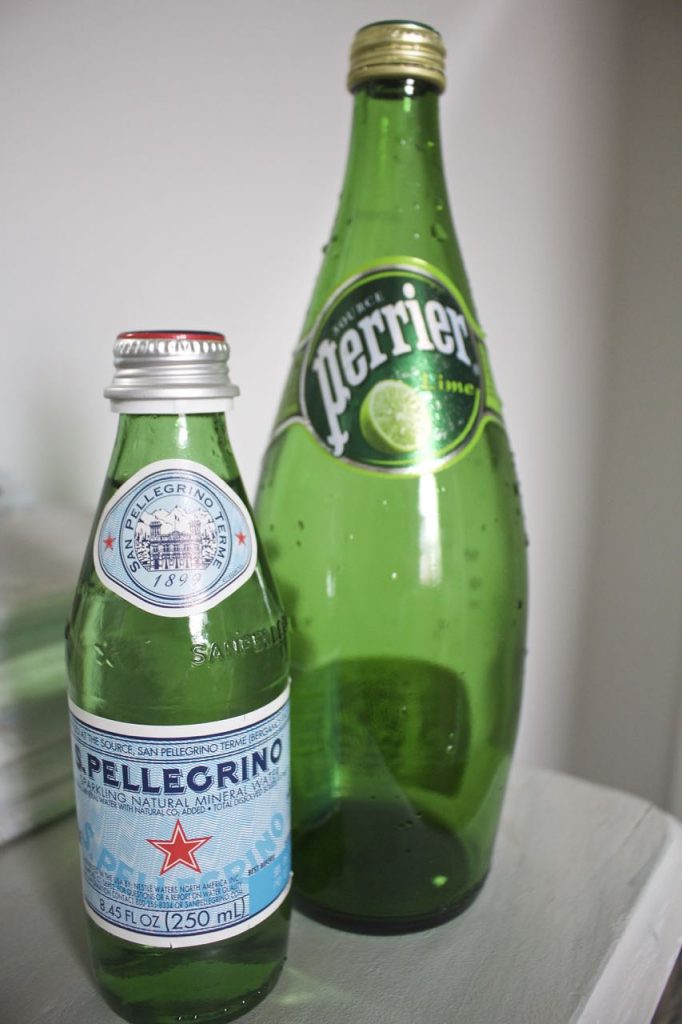
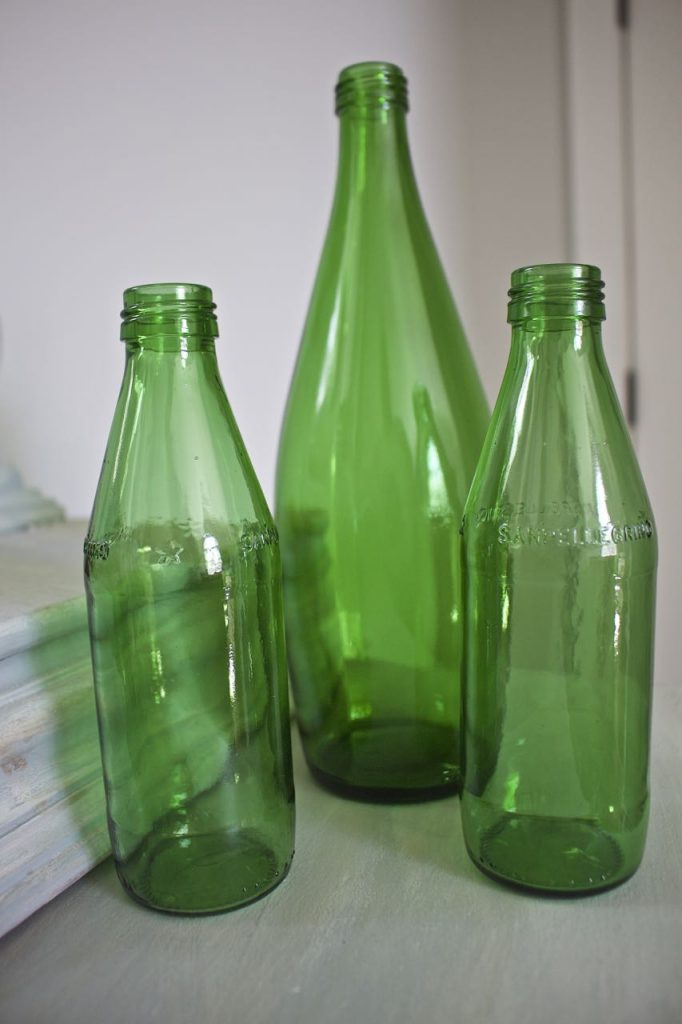
Start with glass bottles. I used these pretty green bottles but you can use any glass bottles. Think of the possibilities – vinegar, wine, sauces – you get the idea.
Remove the labels and clean the bottles inside and out thoroughly to remove any residue or oils. I ran my through the dishwasher.
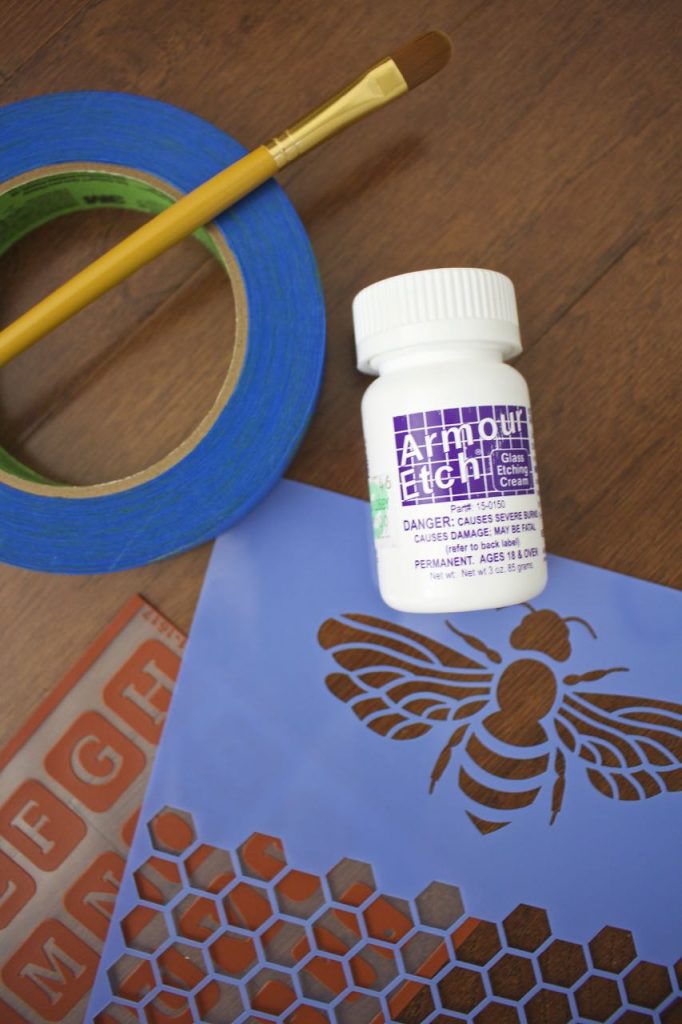
I had all of the materials below except for the “magic powder”.
Materials Used:
- Armour Etch Glass Etching Cream – I purchased mine at Hobby Lobby. Their price is $9.99 minus 40% with store coupon.
- Painters Tape
- Paintbrush
- Stencils
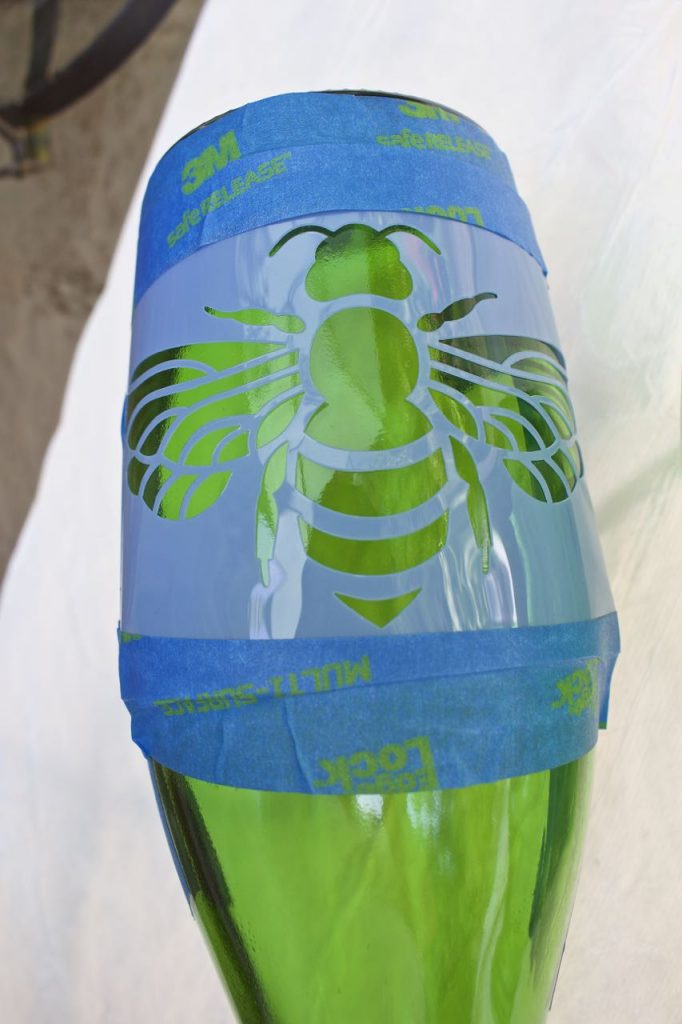
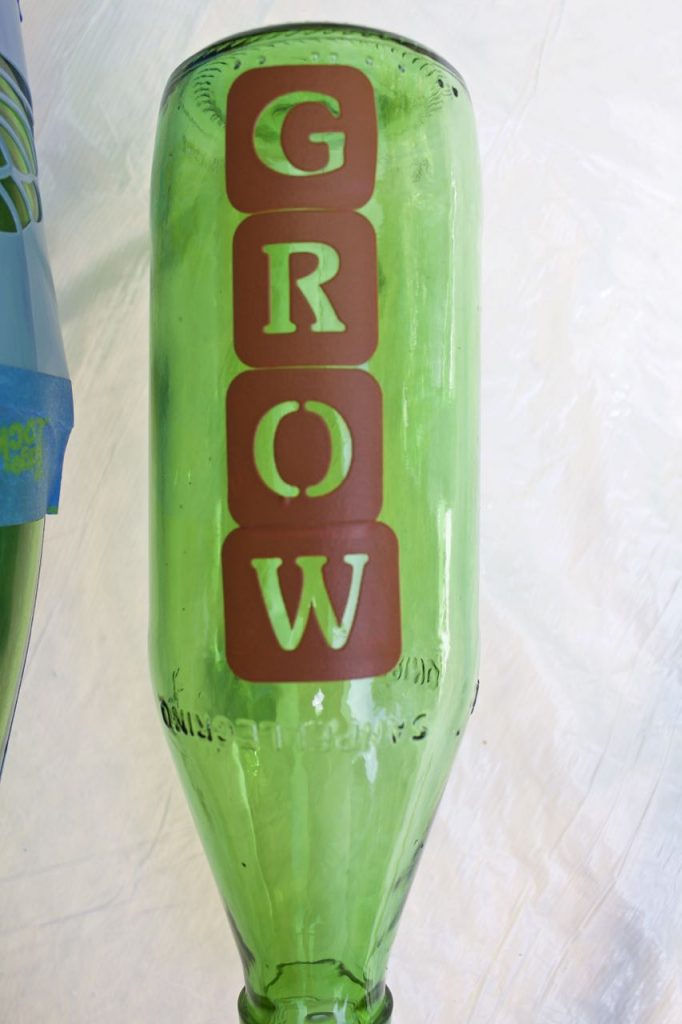
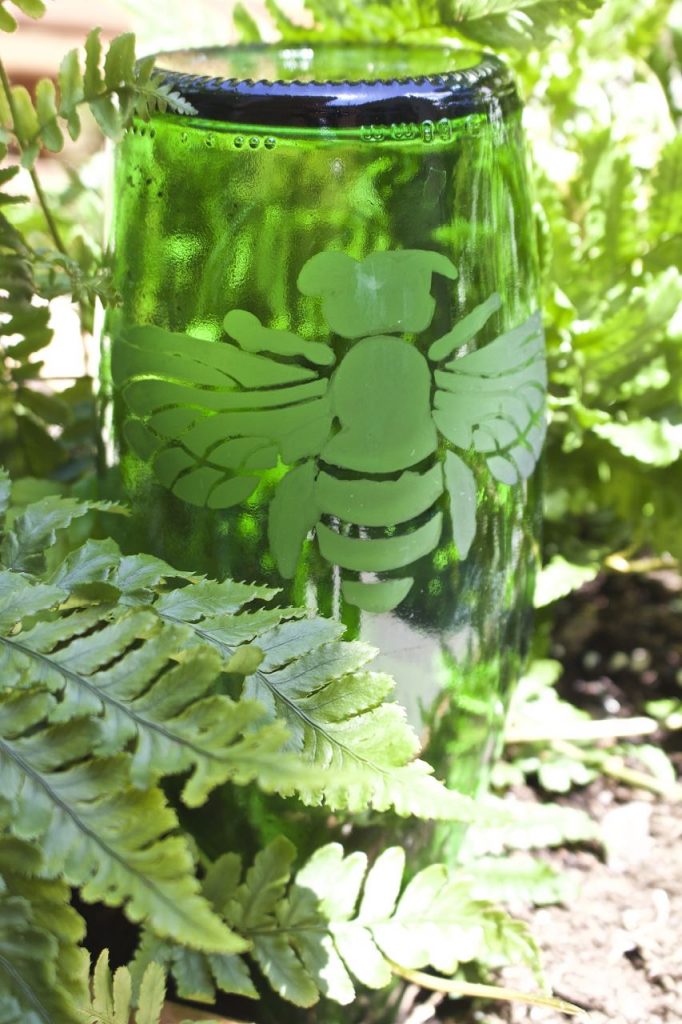
I secured stencils as tightly as possible to the bottles. I applied my design upside down on the bottles because they are going to be spout-down inside flower and plant pots. I want the design to show right side up.
*Follow safety instructions provided by manufacturer of Armour Etch*
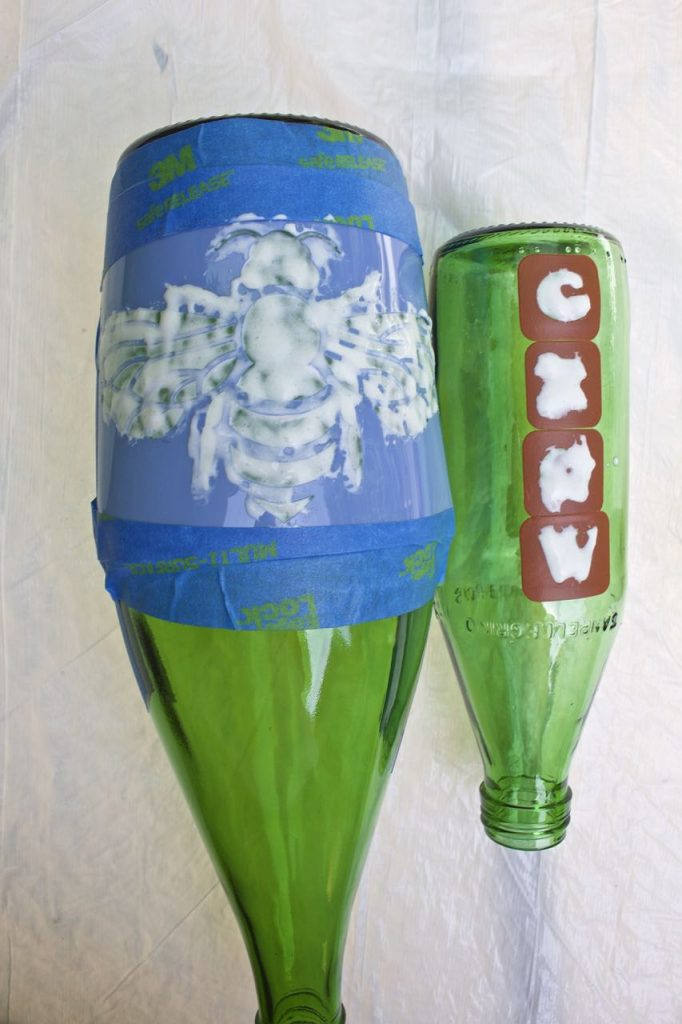
Before I opened the jar I shook it a lot to be certain that it was mixed well. I then dipped my paintbrush into the cream and applied a thick coat to the stencils. As per directions the etching process takes literally one minute! Not kidding. I then rinsed the cream off under lukewarm water.
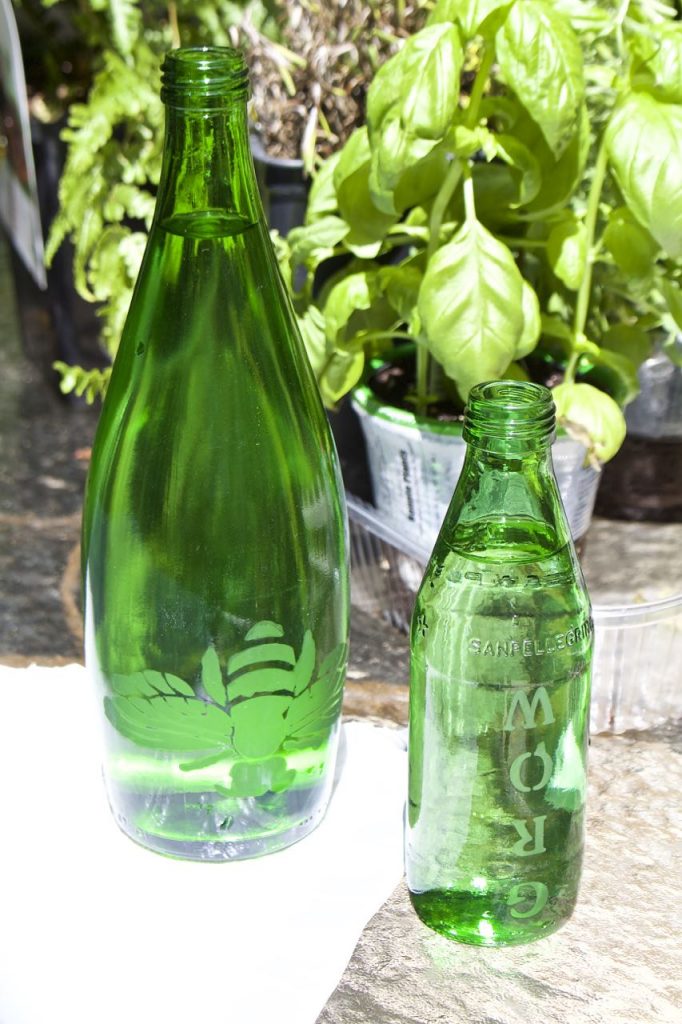
I filled the bottles up with water…
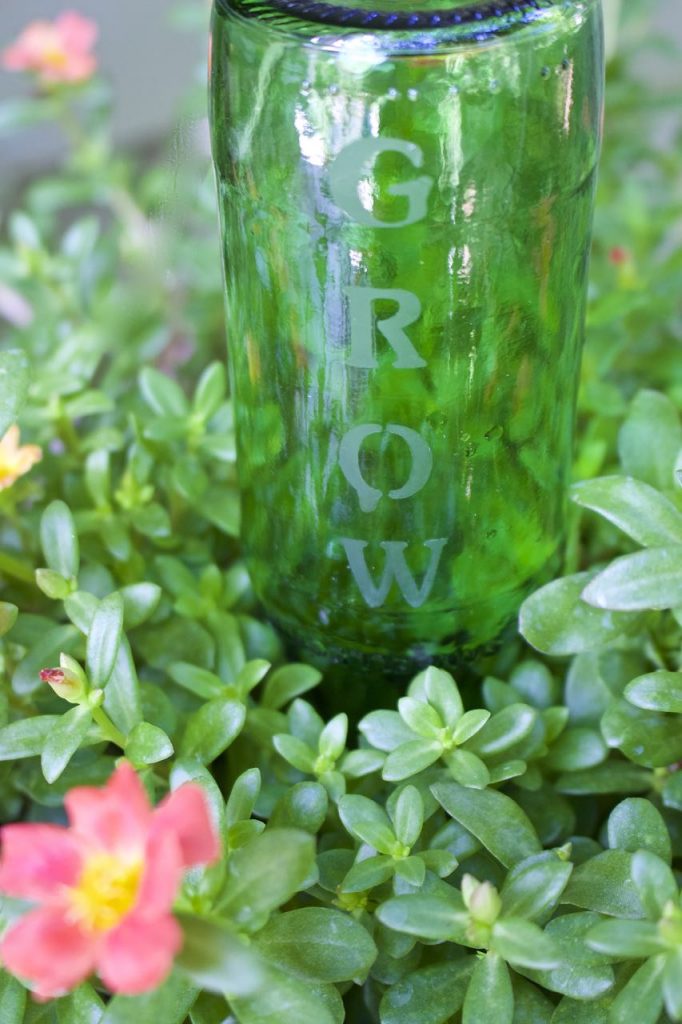
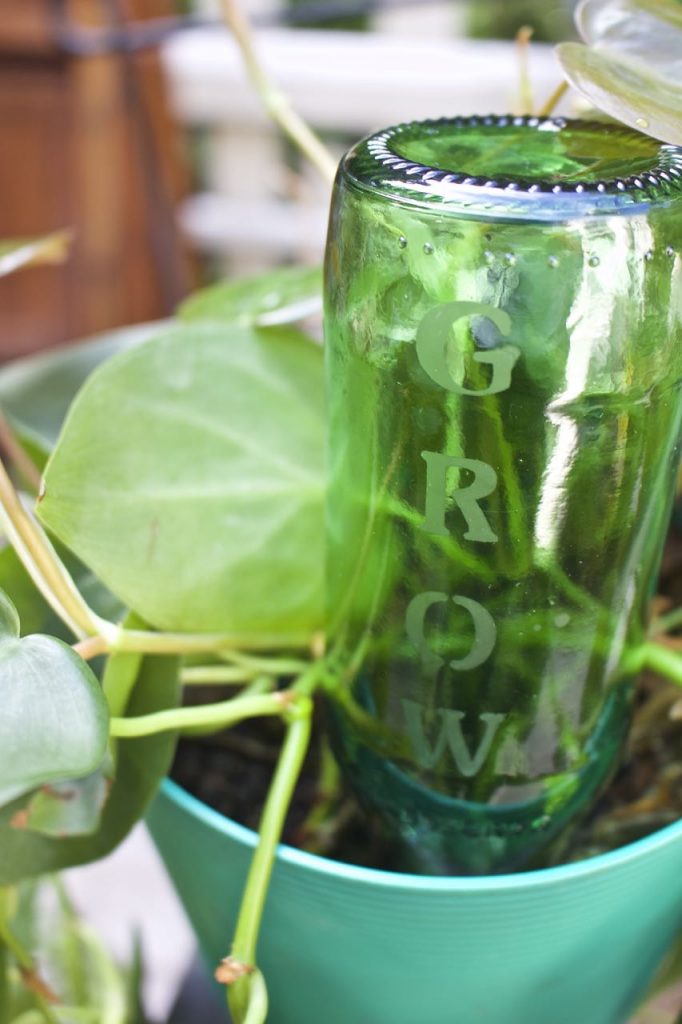
…and placed them in our outdoor and indoor plant pots.
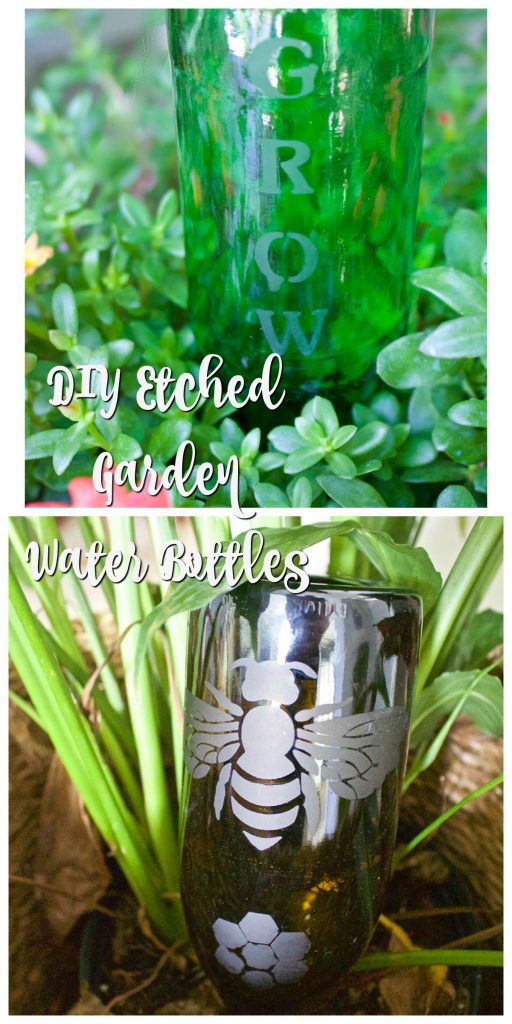
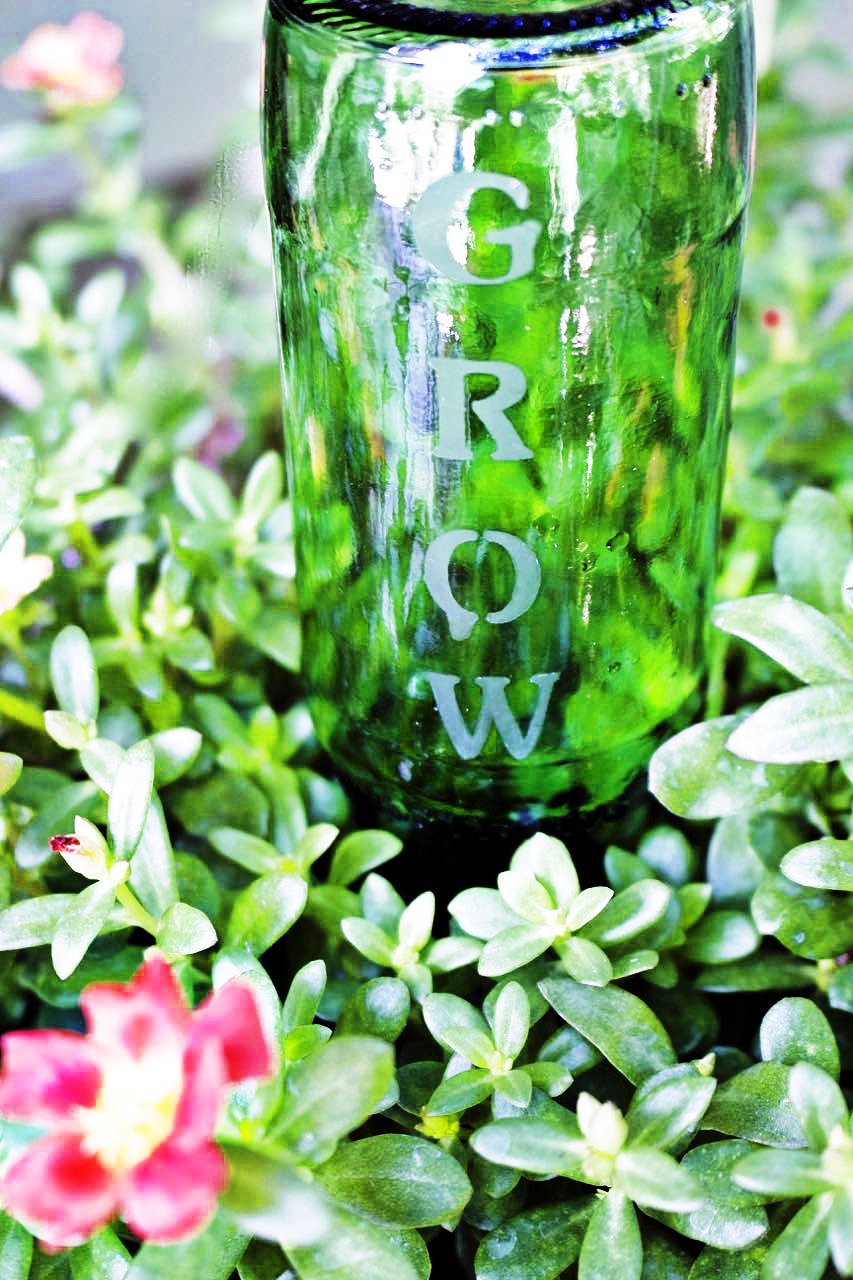
I made two of these cute “grow” bottles.
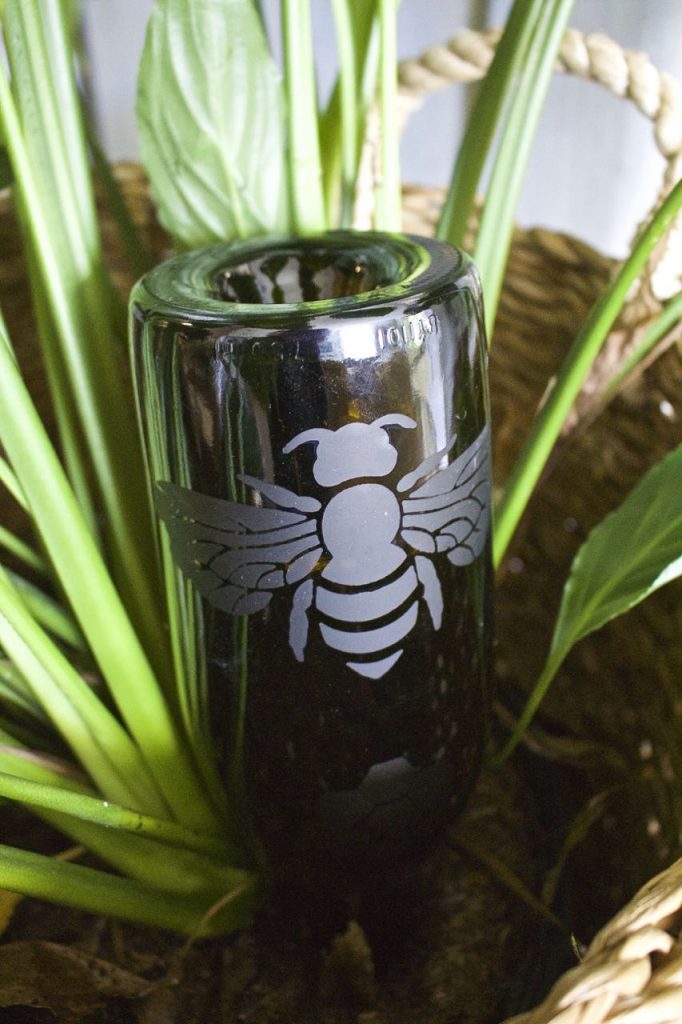
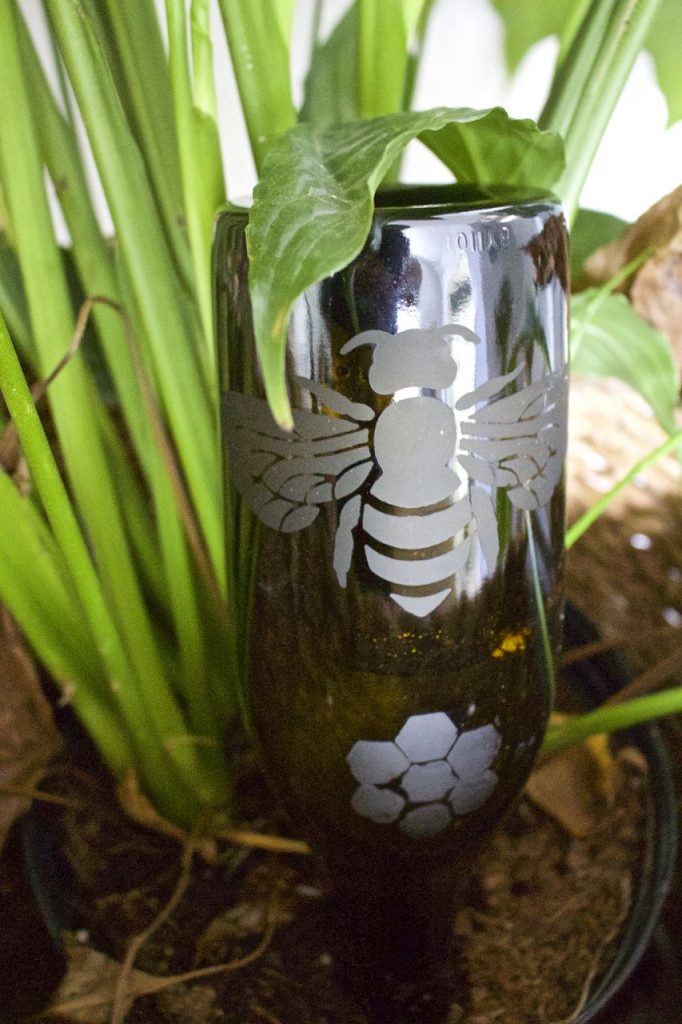
This was such a quick and easy project that I made another water bottle with an empty wine bottle.
You know we love our bees!
These will make perfect gifts for friends…I can’t wait to make more! Plus it’s a great way to upcycle bottles for a greener purpose 🙂
I hope you like my Grocery Store to Gorgeous project. Don’t forget to click the links below to see the creative ideas our friends were inspired to make!
Don’t forget to Pin this to your favorite Pinterest board!
Click each pic below:
XO~Vicki

Seriously! How cute is this. I actually have glass etch cream in my craft room that I haven’t tried yet…and heavens knows I have some empty wine bottles! What a super easy and fun project. Thanks for the great idea!!!
Hey Kim – Thanks so much! It really was a fun and very easy project. We can’t wait to make some more 🙂
Such a cute idea and would make a great gift too! I can’t believe how easy it was to make, super fantastic! Hugs, CoCo
Hey CoCo – we couldn’t believe how easy they were to create either! Now we are kind of addicted LOL!
I’ve used wine bottles to water plants for years, but WOW does this take it up a notch. Can’t help thinking how great these would be to include when you are gifting a plant to someone. I think I’ve just found my project for a practical, personal little Christmas gift for friends and neighbors. Love it! Bambi
Bambi – you aren’t kidding. We were thinking Garden Club too. Sure wish you lived closer so that we could work on fun projects together!
Love it. It looks so easy.
We appreciate it John!
This is so clever. I haven’t etched glass in ages, but now it’s back on my “to-do” list. Love the colored bottles and the cute bee stencil. I definitely need a few of these around here.
Hey Betsy – Thank you so much! We were just so surprised at how quick and easy it was – now we can’t stop. We would love to find some cobalt blue water bottles to work with!
I’m so happy to read this post! I haven’t tried etching, but am so inspired by your tutorial. It looks easier that I thought it would be. Thanks so much for sharing the wonderful idea.
Hey Susie – This was our first etching venture and it was super easy. Hope you give it a try!
I love these! And of course the bee is just perfect. I’ve never used etching cream because I thought it was more complicated. Now it’s definitely on my list of things to try. Thanks so much for the tutorial.
Thanks Angie! We definitely thought etching would be more complicated too…pleasantly surprised at how simple it was. Hope you give it a try!
These look beautiful, and such a great idea to use them to water plants! I tried etching cream once, but didn’t get great results – I need to try it again – pinning yours!
Hey Angie – we found the key was making sure the stencils were well in place and secondly to dab rather than paint the cream on. Hope you give it a second chance!
What a great idea and perfect for when away on vacation. inning to share and definitely doing this for my indoor plants this summer.
Yay – so glad Marie! You’ve made our day. Thank you so much!
Oh my gosh…too stinkin cute and clever!!!
I love this project! I am pinning this to my Crafts board. I am already wondering what I can try etching! Your bottles look great. My mother drinks some wine in a blue bottle and I am asking her to begin saving them for me! I would like to invite you to come and share this great idea at the Celebrate Your Story! link party. If you have the time to join us, here is the link: http://celebrateanddecorate.com/celebrate-story-32/
Love this idea! I’m wondering though, does the etching cream destroy the stencil? I’d like to get more than one use per stencil if possible. If not, do you think cutting your own stencil out of card stock would work? The cream is only on for about one minute so,…maybe it would hold up just long enough. The only real problem I see with this project is finding the glass bottles. Everything is plastic now! Great idea though!