Air Dry Clay Christmas Ornaments – Using Cookie Cutters
Please note that this post contains affiliate links. As an Amazon Associate, Rewards Style influencer and Jane Influencer, we earn from qualifying purchases and any sales made through such links will reward us a small commission – at no extra cost for you.
Air Dry Clay Christmas Ornaments – Using Cookie Cutters
Each Christmas I love to craft and create new ornaments. This year I have made air dry clay Christmas ornaments using cookie cutter cutouts.
Have you ever used air dry clay before? Previously I used it to make hydrangea leaf bowls and DIY Clay Tags. This clay is soft and easy to work with. It is perfect for projects where you want the look of clay or ceramics, but without the expense of special machinery or tools.
Let’s get started!
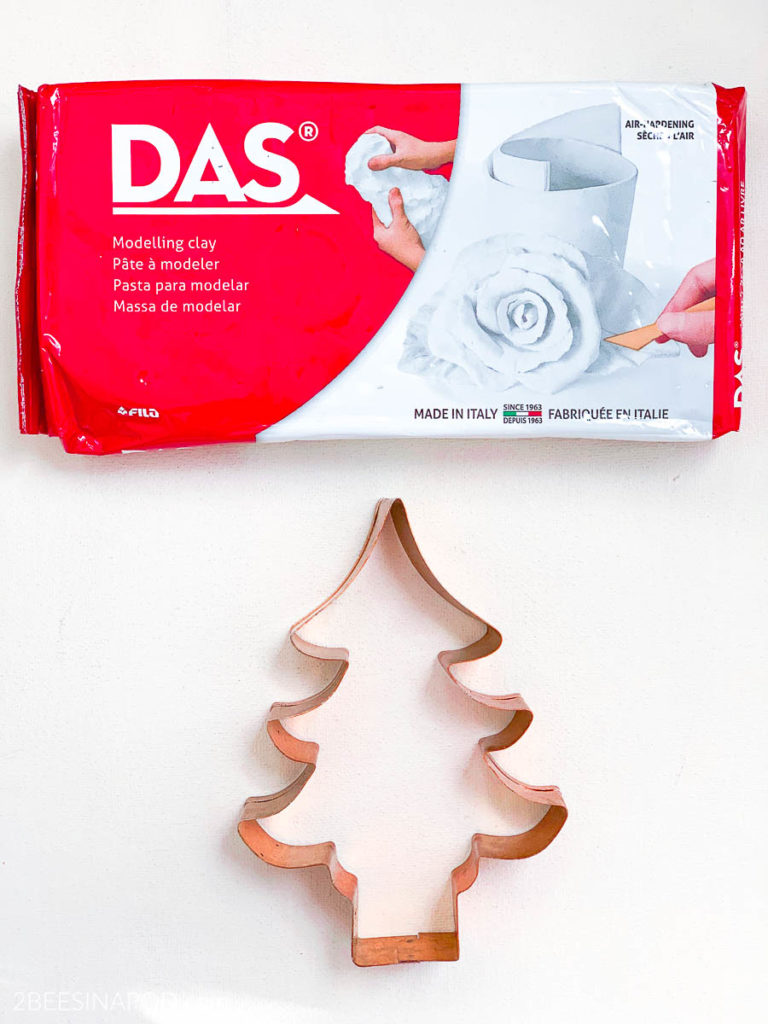
- Our preferred Air dry clay is DAS Clay or Model Air
- Cookie Cutters. I like these woodland cutters and house cookie cutters.
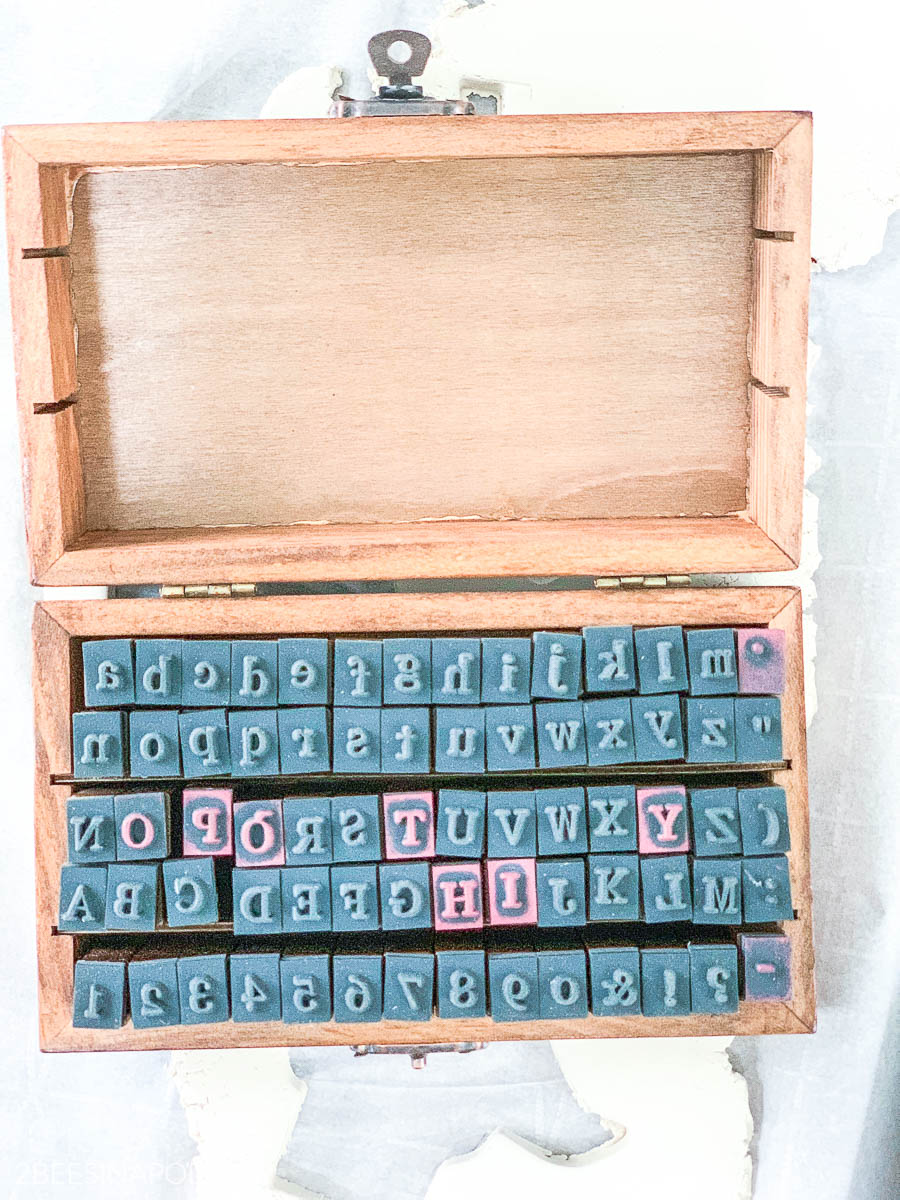
- Letter and number stamps
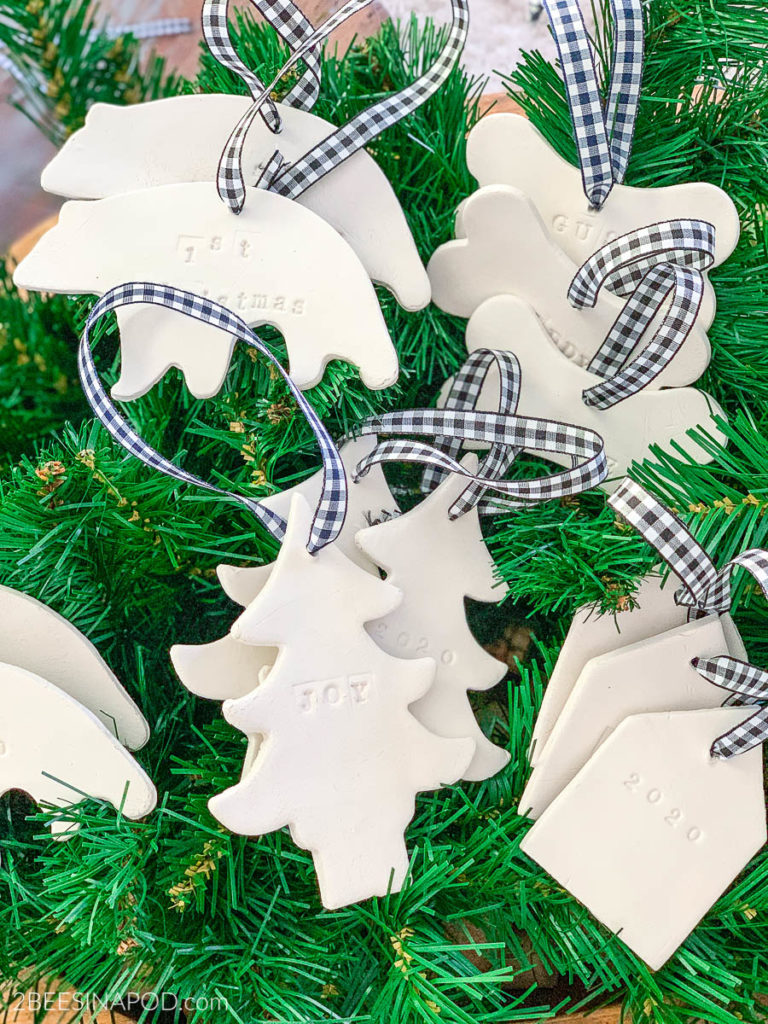
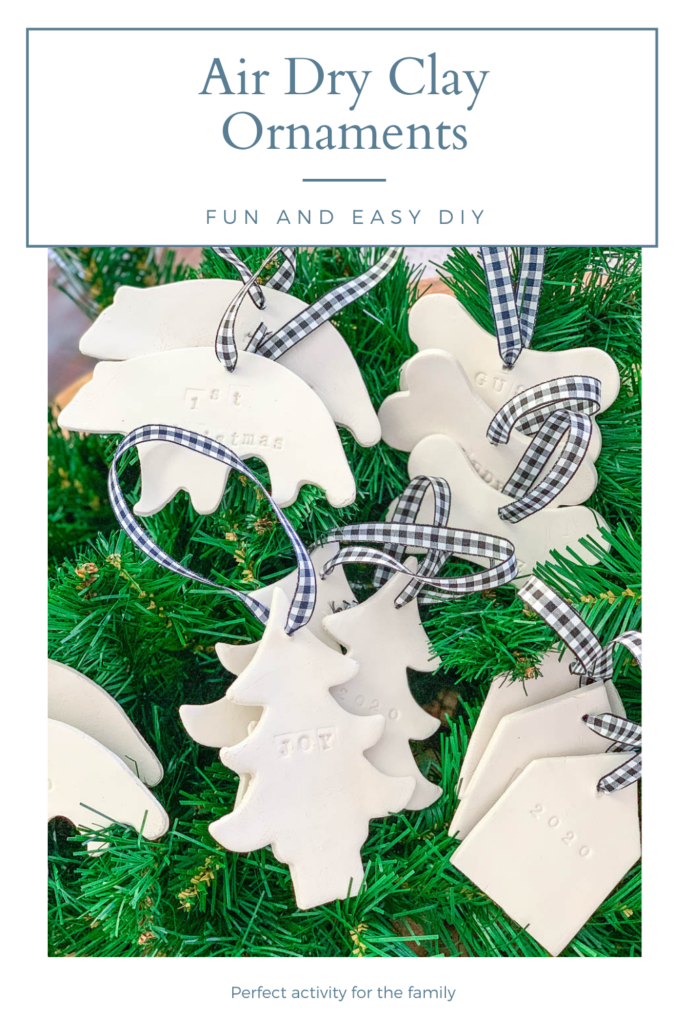
Air Dry Clay Christmas Ornaments - Using Cookie Cutters
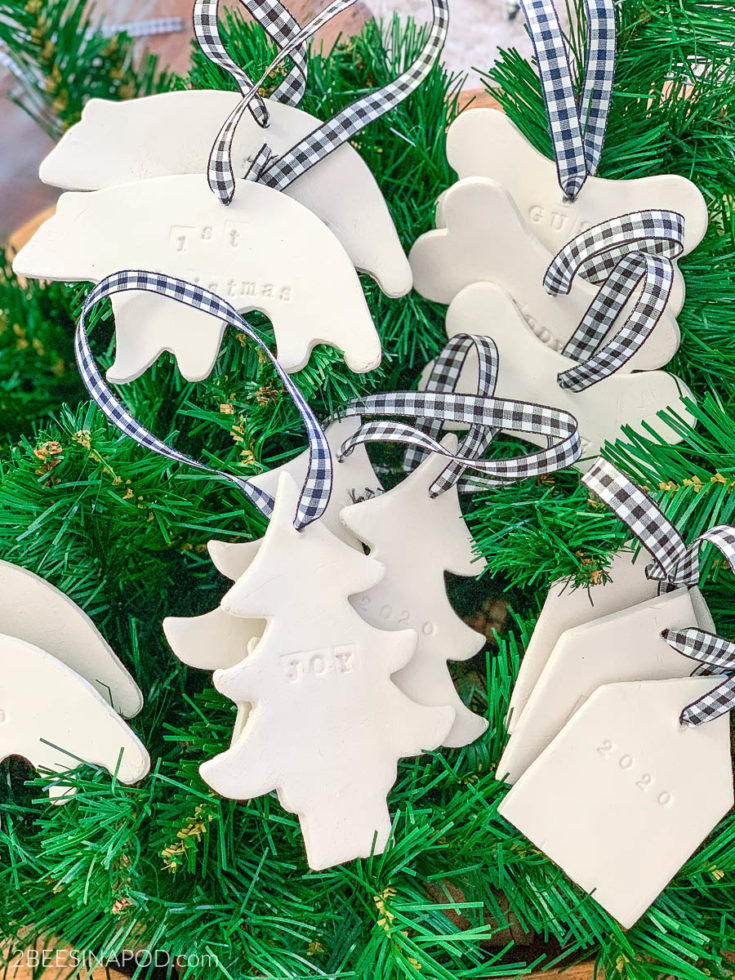
Here's a fun and easy Christmas craft that the whole family can do! Air dry clay christmas ornaments. Use cookie cutters to create desired shapes!
Materials
- Air dry clay. We like DAS Clay and Model Air
- Cookie Cutters
- Letter and number stamps
- Parchment paper
- Painters Tape
- Toothpick
- Ribbon
Instructions
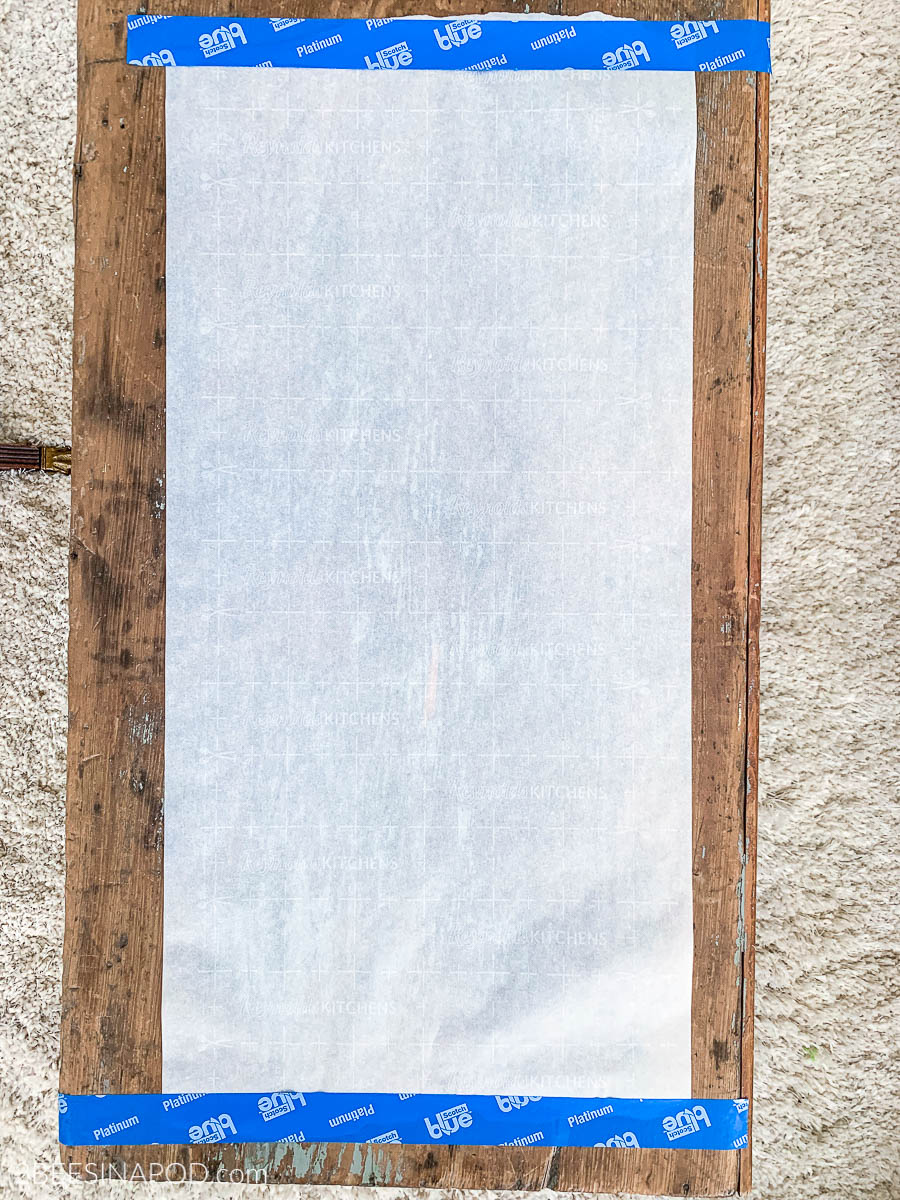
- Lay parchment paper on a flat surface.
- Tape down parchment paper using painters tape.
- Break off a piece of clay about the size of a baseball. Roll it in your hands to warm it up and make more pliable.

- Use a rolling pin to begin rolling clay flat. Try not to roll the pin back and forth too much as this can create ripples in the clay.
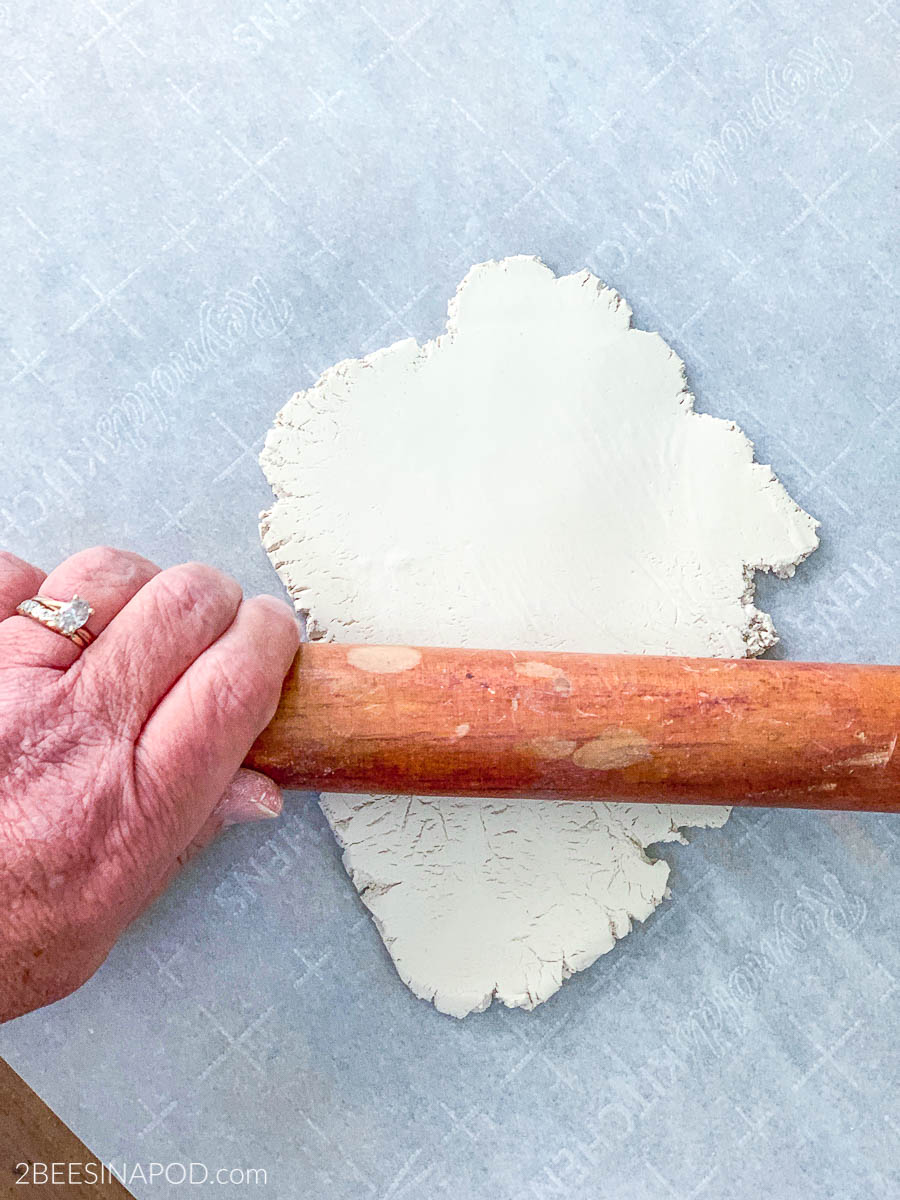
- Roll clay to about a 1/4 inch thickness.
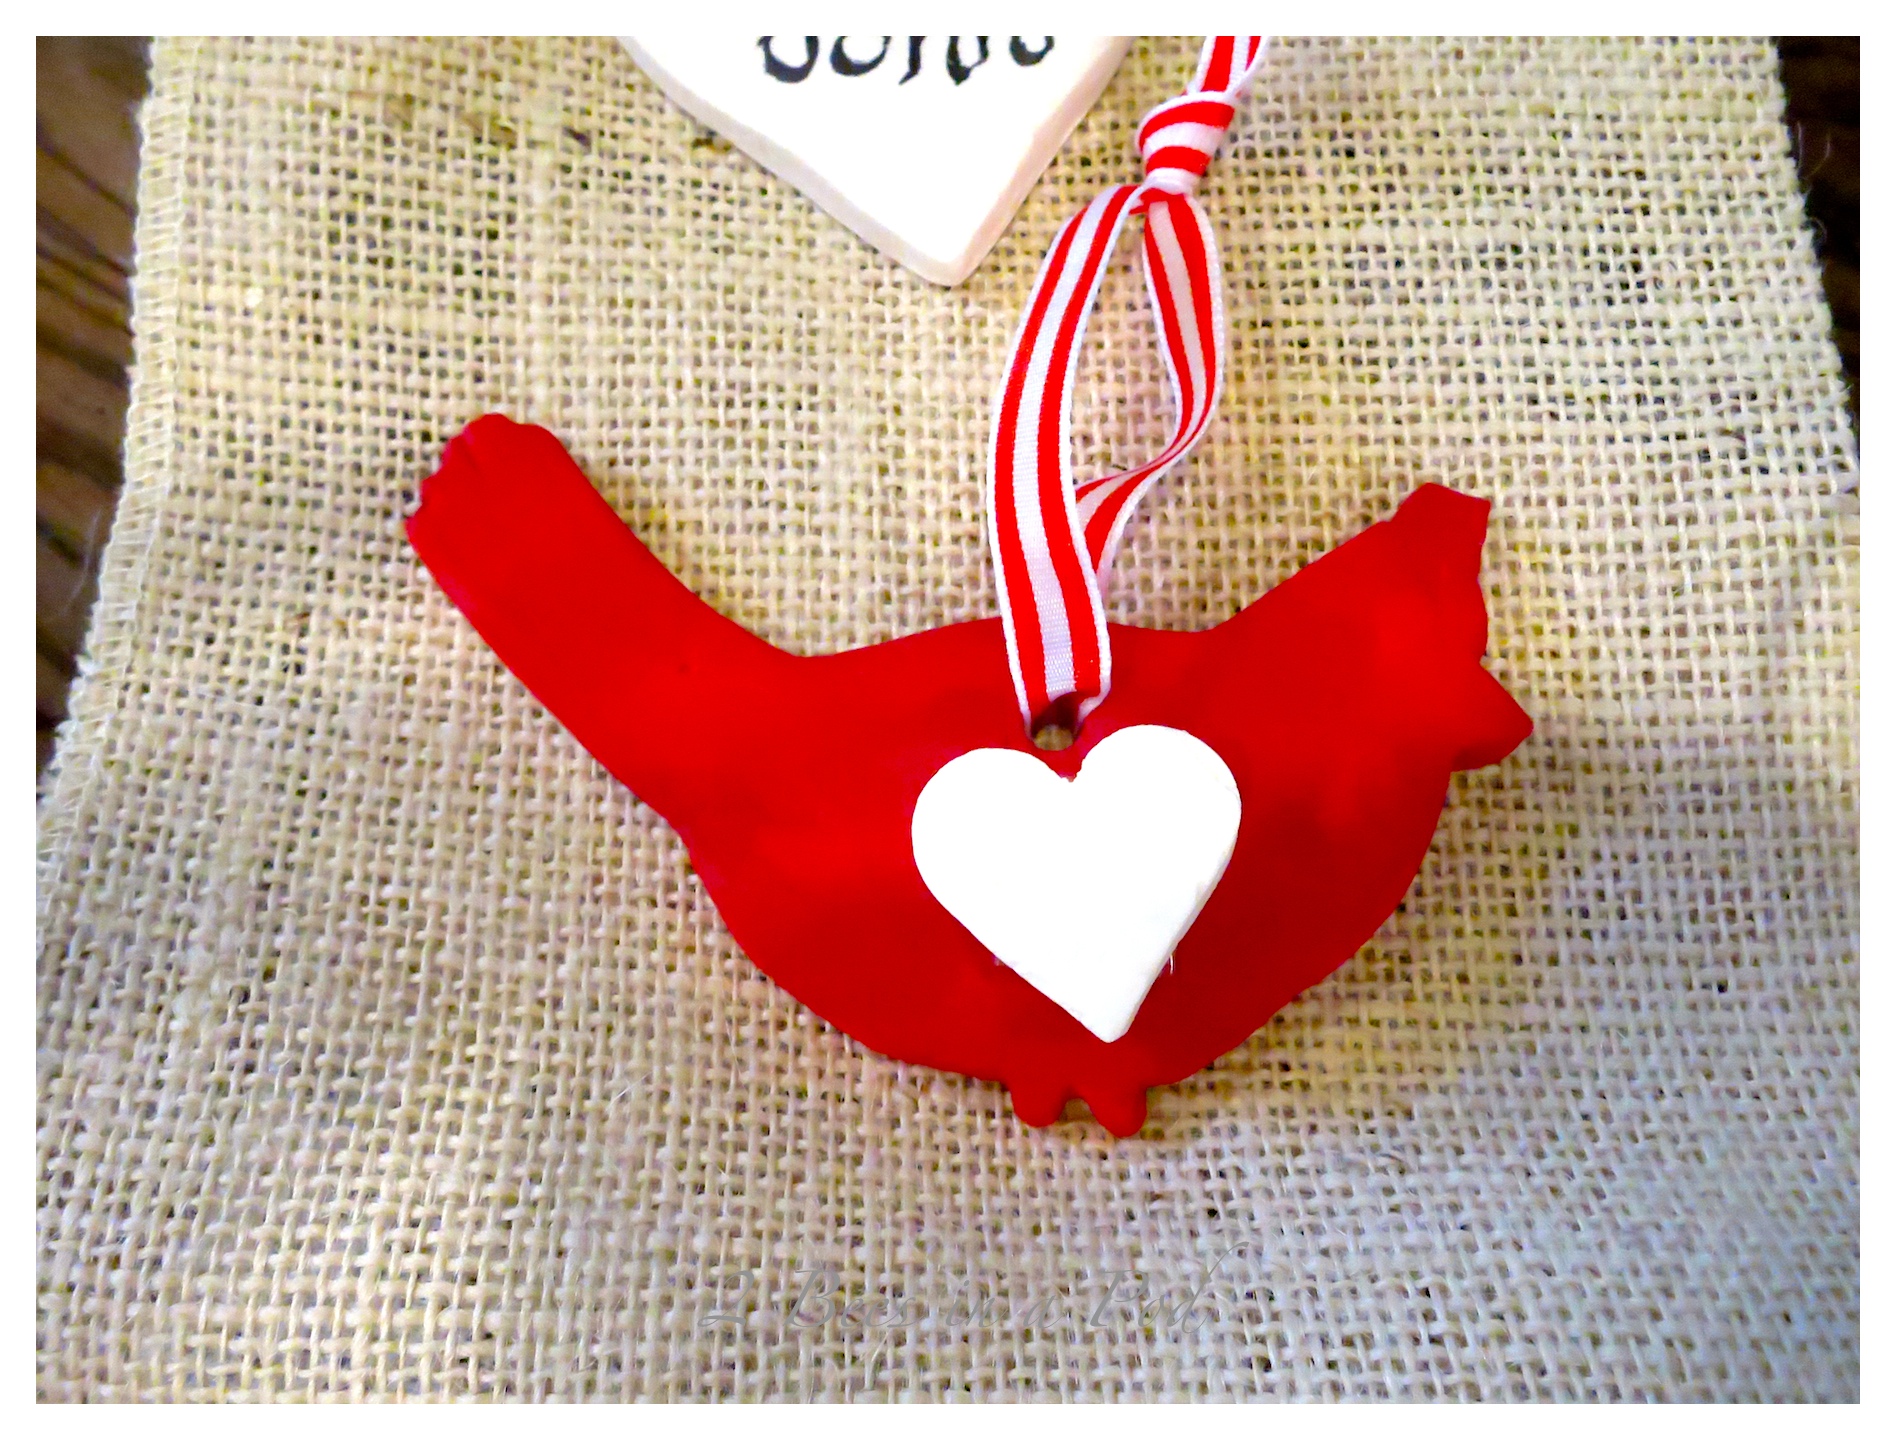
- Cut out shapes using desired cookie cutters. Remove excess clay from around the cutout. Save this clay for more ornament cutouts.
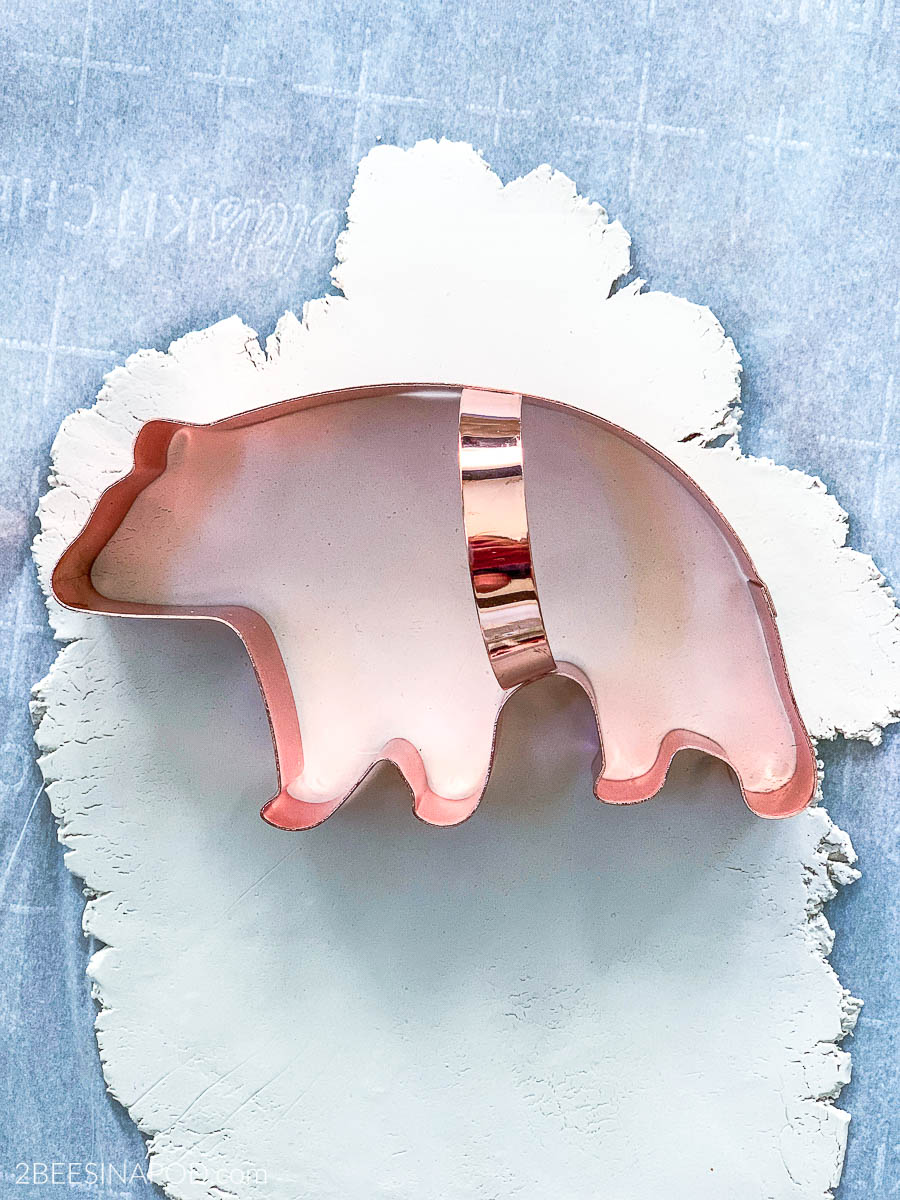
- Release clay from cookie cutter.
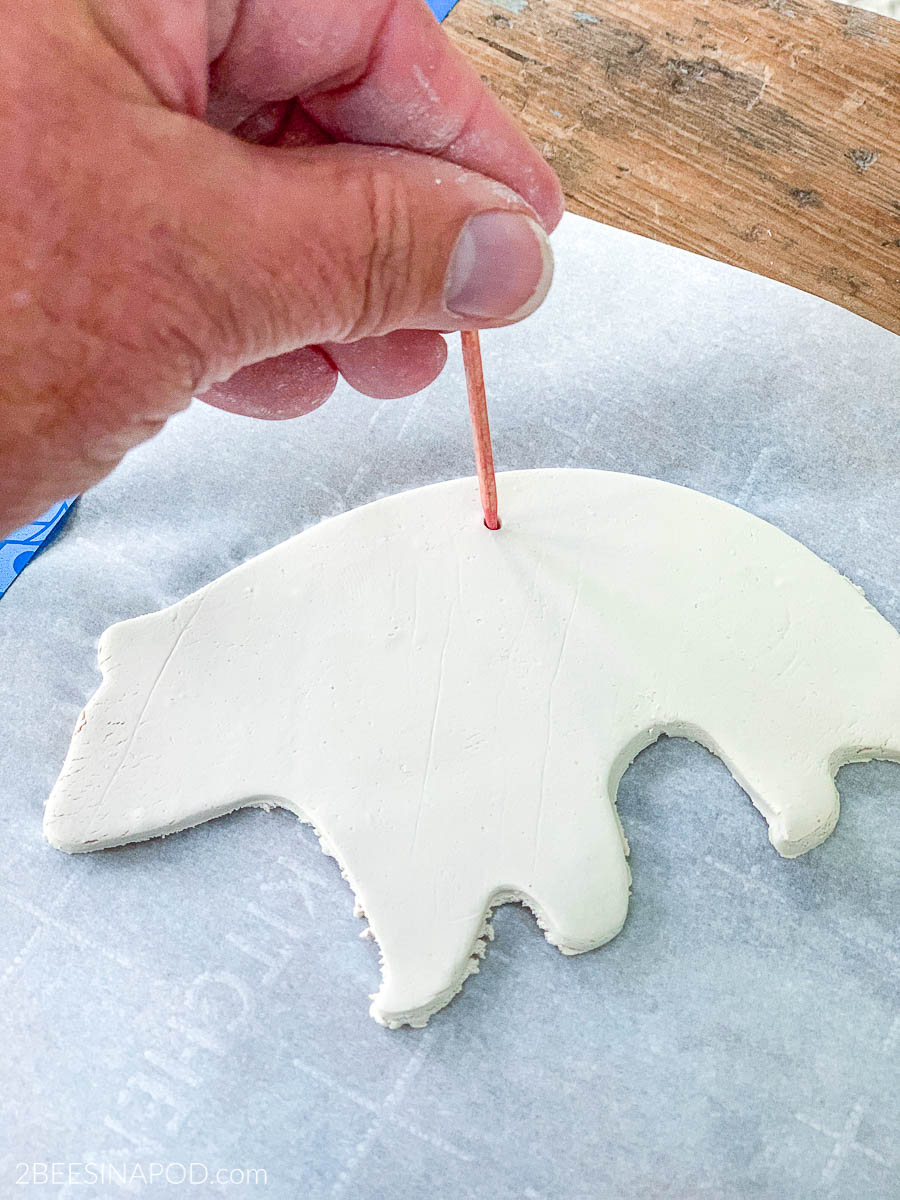
- Immediately use a toothpick to create a hole for a ribbon hanger.
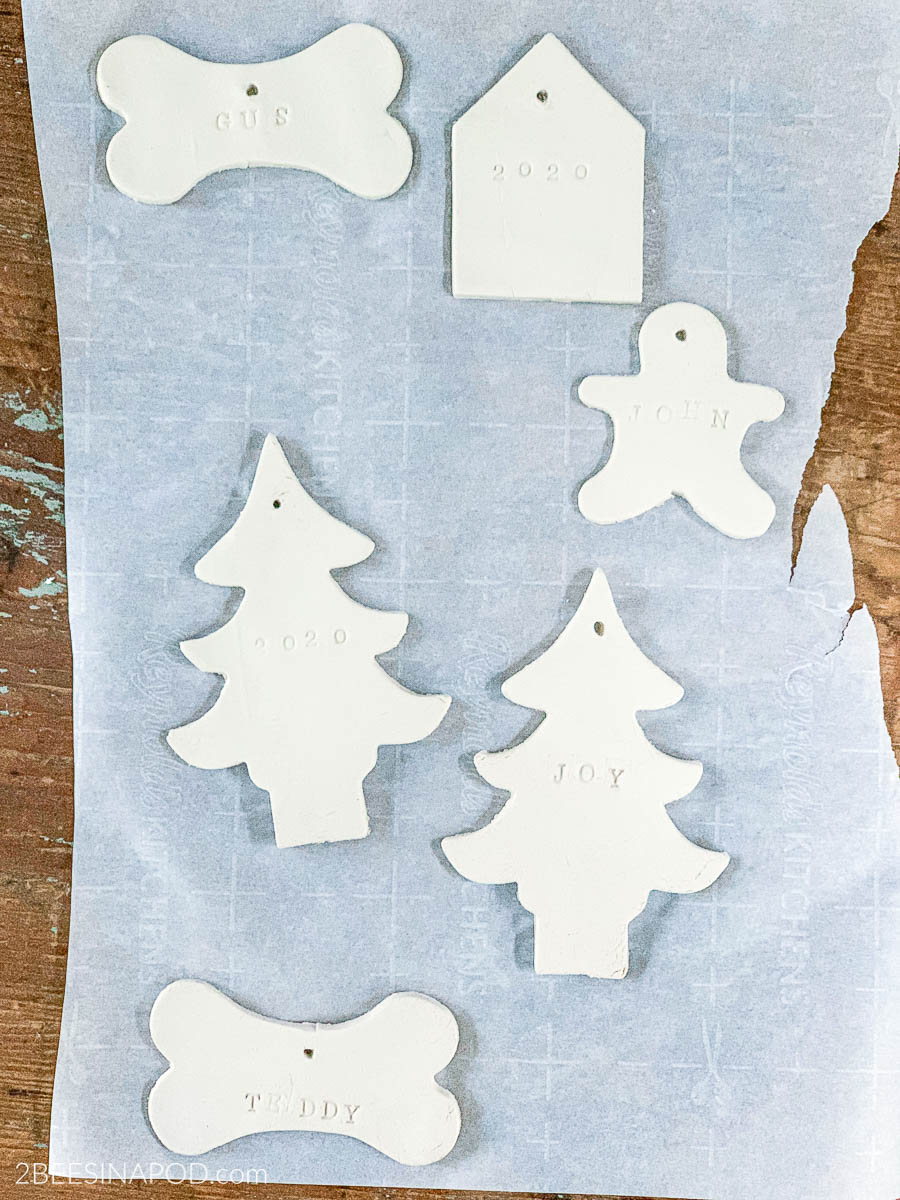
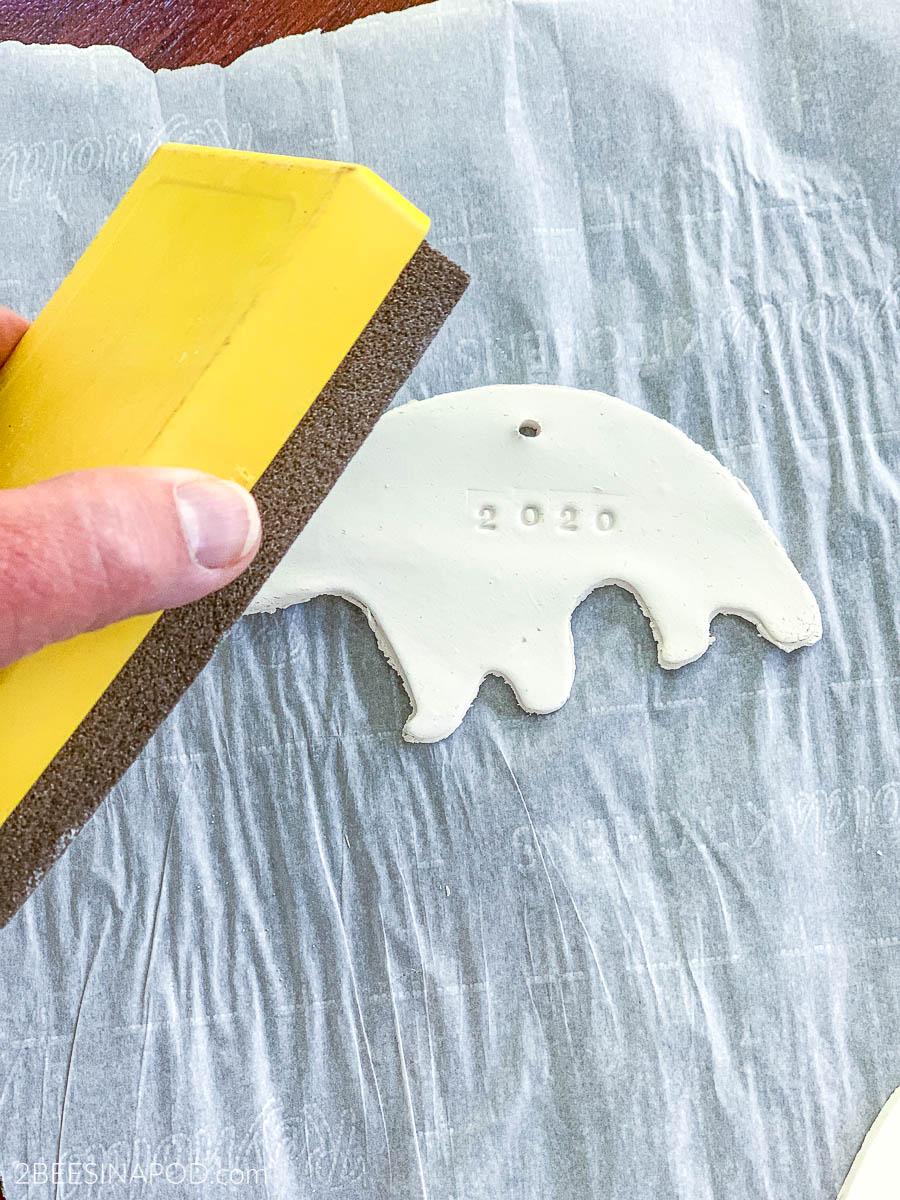
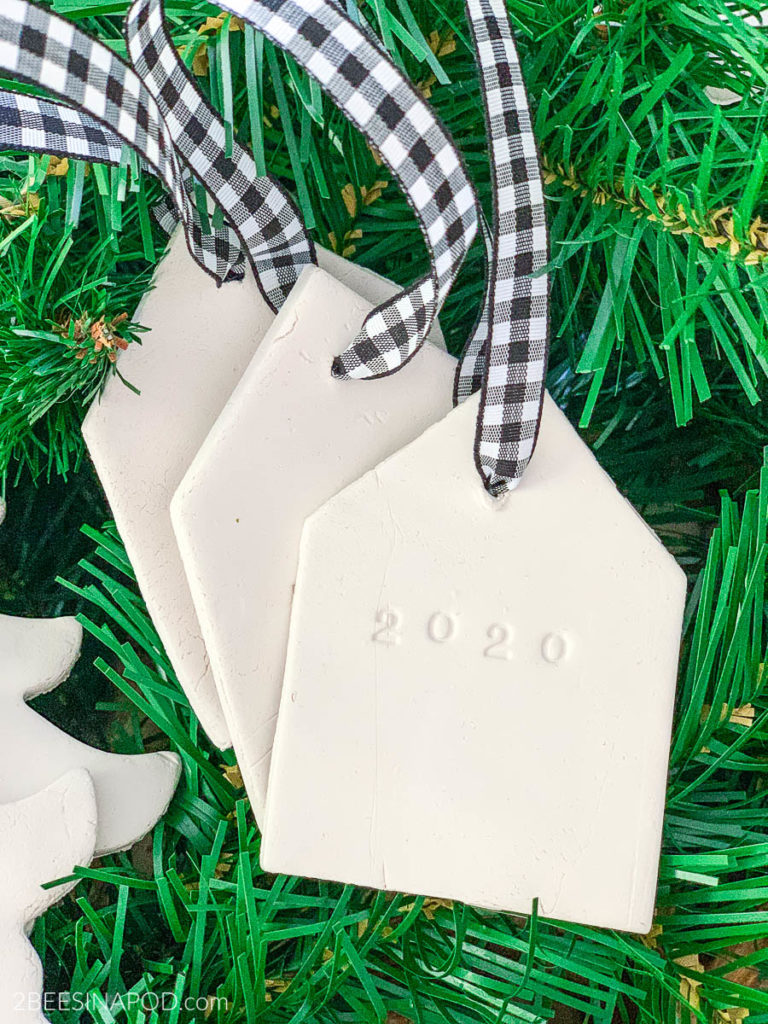
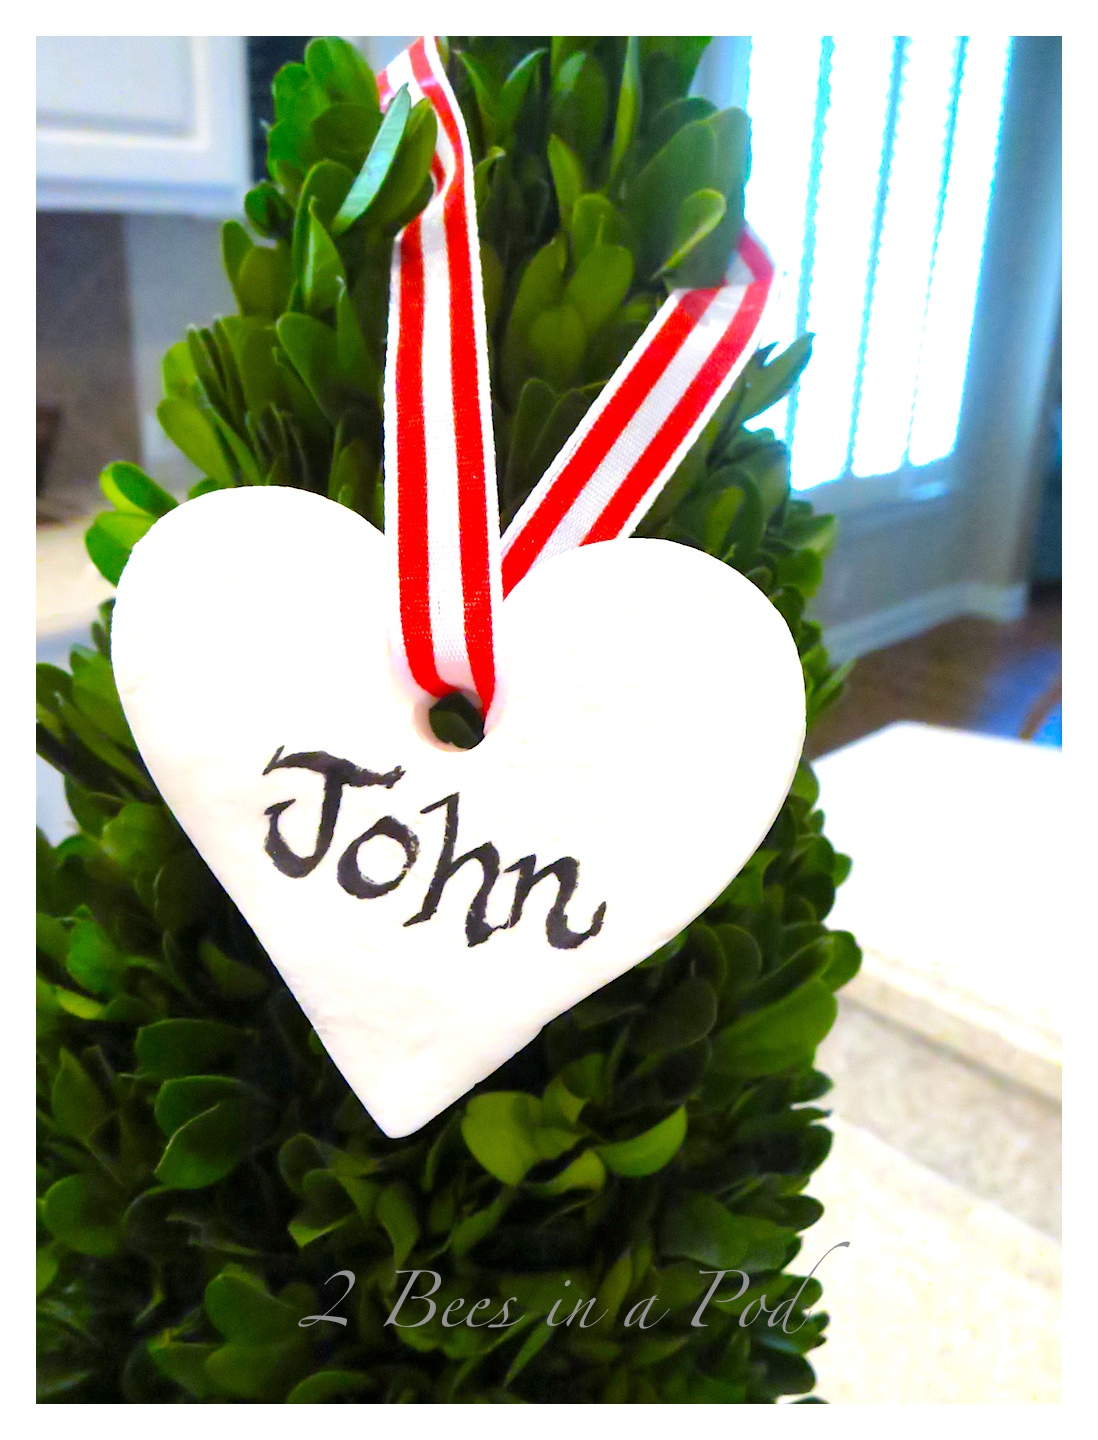
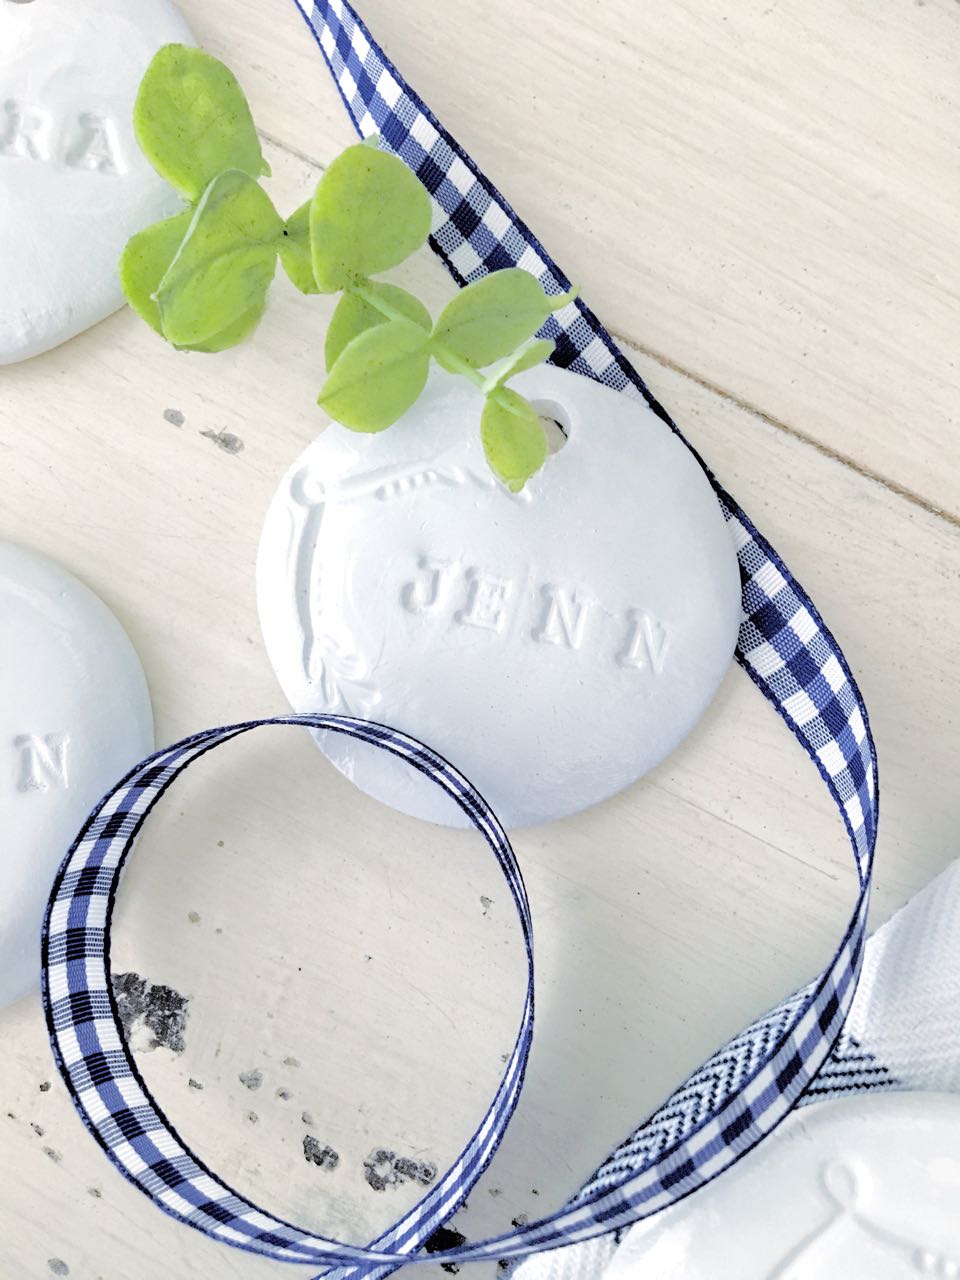
- Immediately use stamps to add year, name or phrase to ornament.
- Allow ornaments to air dry for at least 24-36 hours.
- Once completely dry, gently use a sanding block to smooth out any rough edges or finishes.
- Add ribbon through the hole opening that you created with a toothpick.

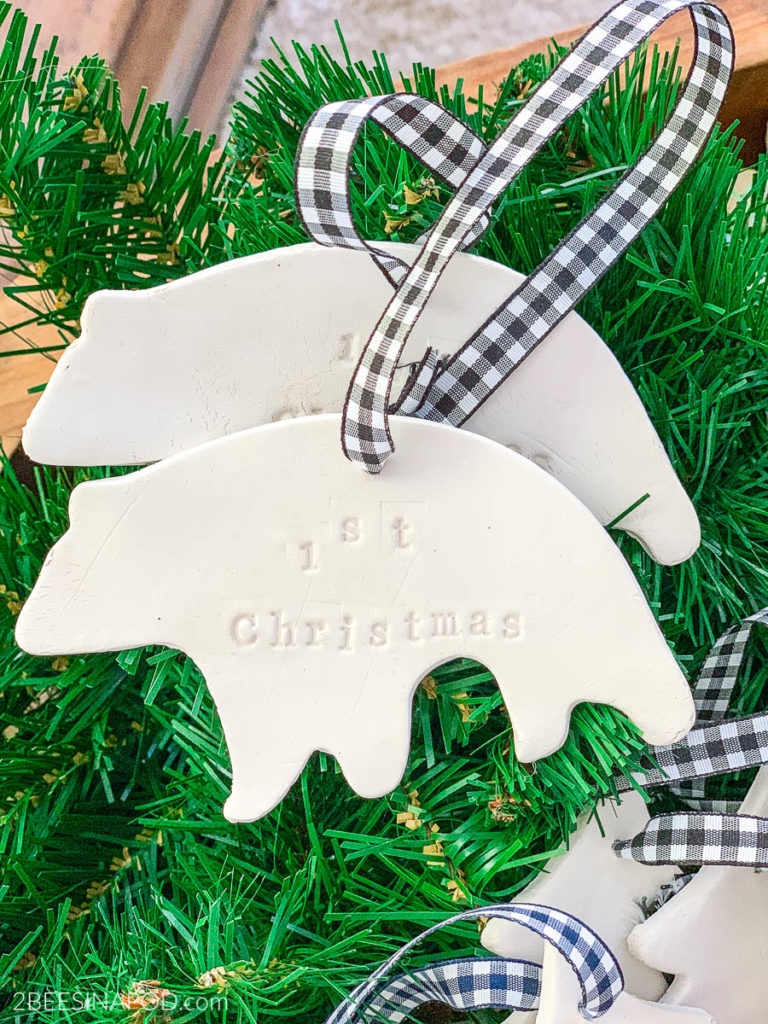
I made this very special one for our Baby Bee.
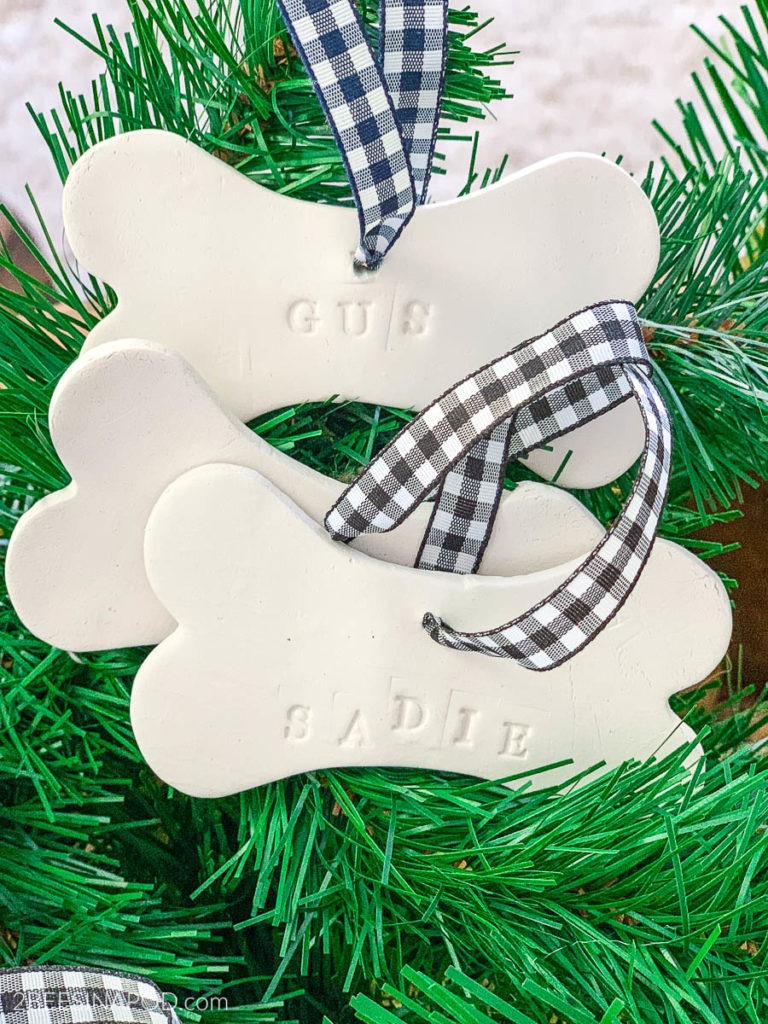
We can’t forget our fur babies either 🐾
These houses are perfect for gift giving. For us the sentiment is “from our house to yours”.
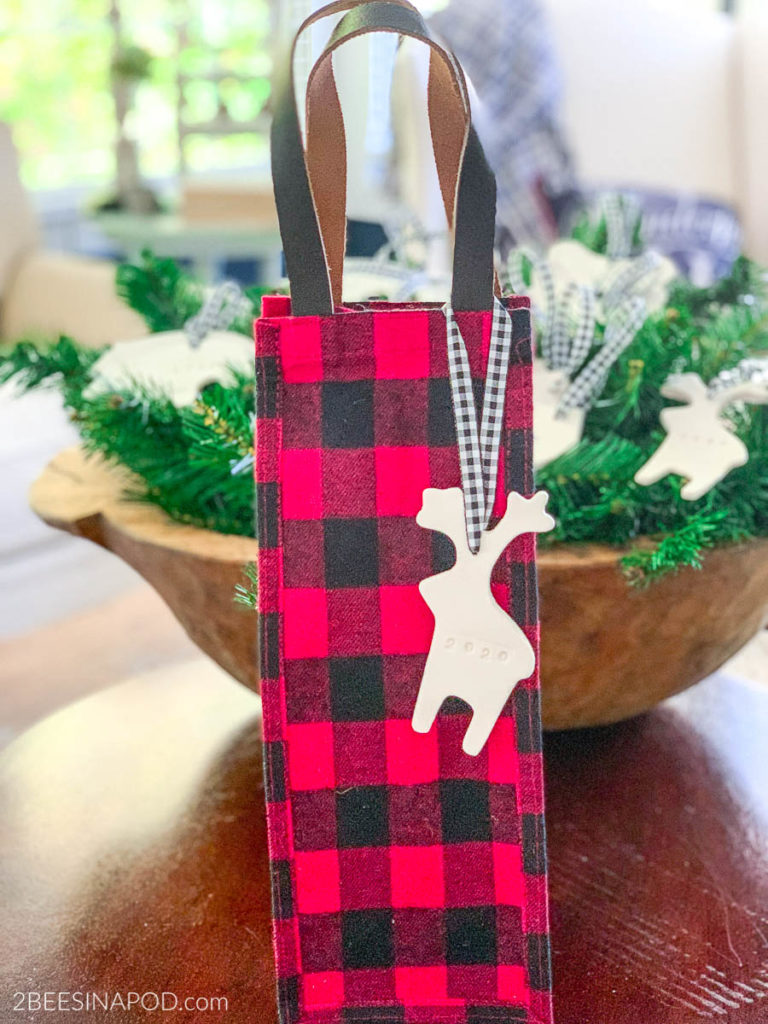
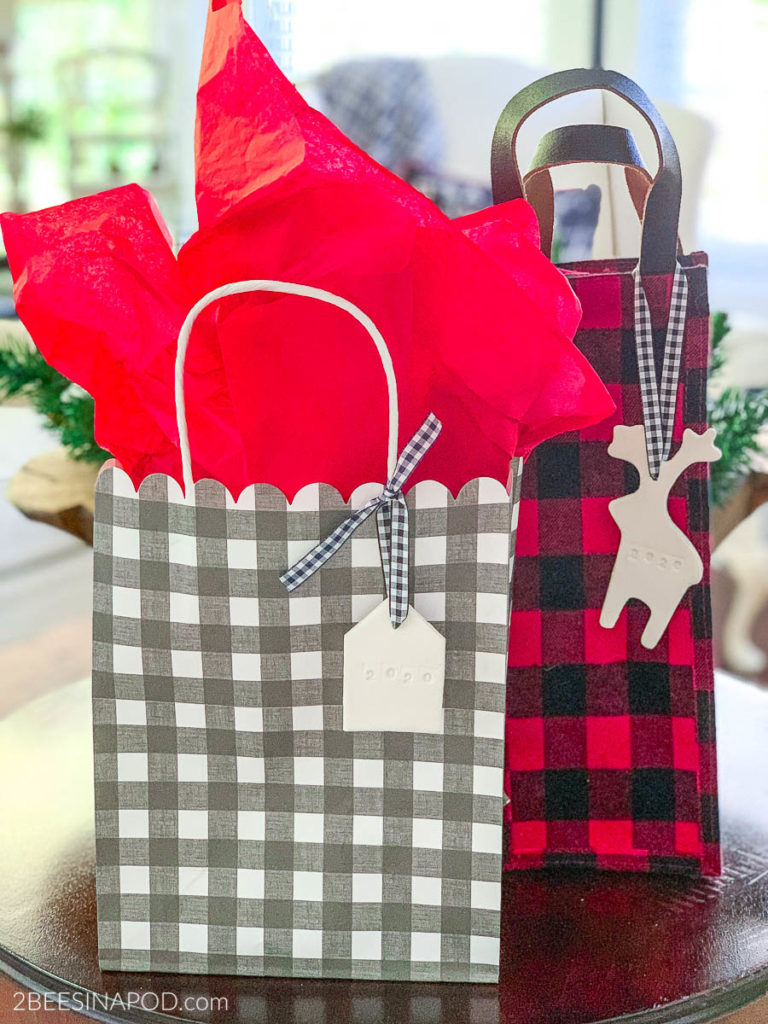
Add one to a festive wine bag, with a bottle of wine of course.
Or, add it to a gift bag.
We hope you love our ornaments! Give this craft a try!
Don’t forget to Pin this to your Favorite Pinterest Board!
AWW, these are just too cute. It is great that you make your own ornaments it makes them more special. I am glad I find this post, I have those stamps in my workshop but had no idea what they were used for. I found them in my husband’s toolbox, I already have ideas. lol
What a cute idea for ornaments. I have always wanted to make something like this for holiday ornaments.
Such a lovely idea. Thank you. I love my Das clay, it’s so easy to work with and you get so much value for your money.
These are absolutely adorable! I didn’t realize how easy this would be. It’s the perfect alternative to make instead of cookies that you don’t want to eat! Lol!
I love the idea of using these as tags! Wonderful!
These are such fun…thanks for the reminder as I haven’t used air clay in years!
I love these!! So simple and sweet. Perfect for gifts! Love that bear! Pinned!
Kim
Thanks for sharing so many options and ideas for using clay as Christmas ornaments. You have some really cute ideas.