DIY Clay Tags
Please note that this post contains affiliate links. As an Amazon Associate, Rewards Style influencer and Jane Influencer, we earn from qualifying purchases and any sales made through such links will reward us a small commission – at no extra cost for you.
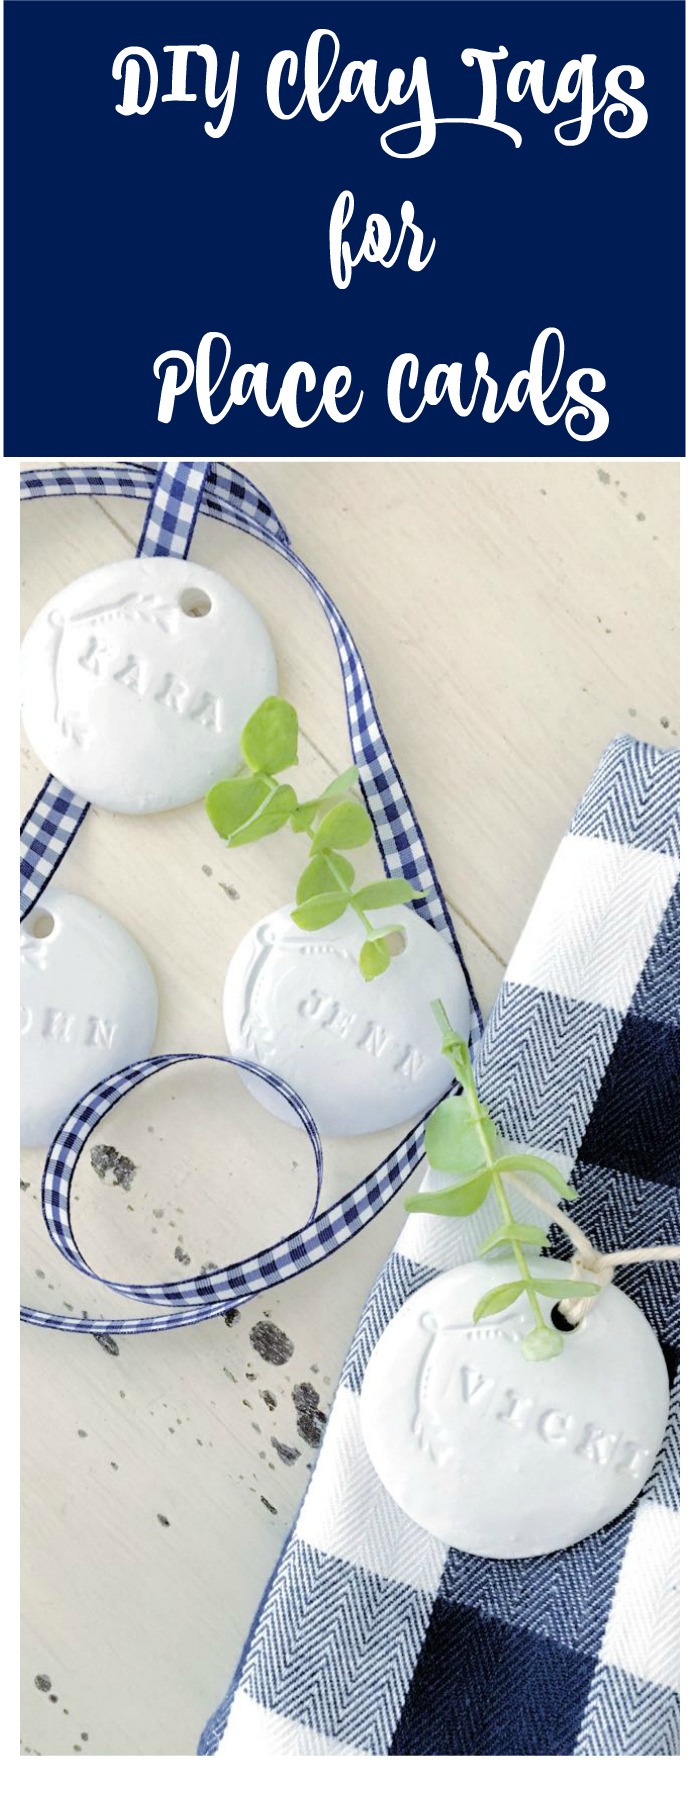
I have been thinking of inexpensive ways to decorate my Thanksgiving table. Our friend Amy of Canary Street shared how easy it is to DIY clay tags. I thought that these clay tags would be perfect as place cards for the table and look great with the copper mercury glass votives that I created last week.
(This post contains affiliate links.)
 Rest assured this is a very easy project. This is how I did it…
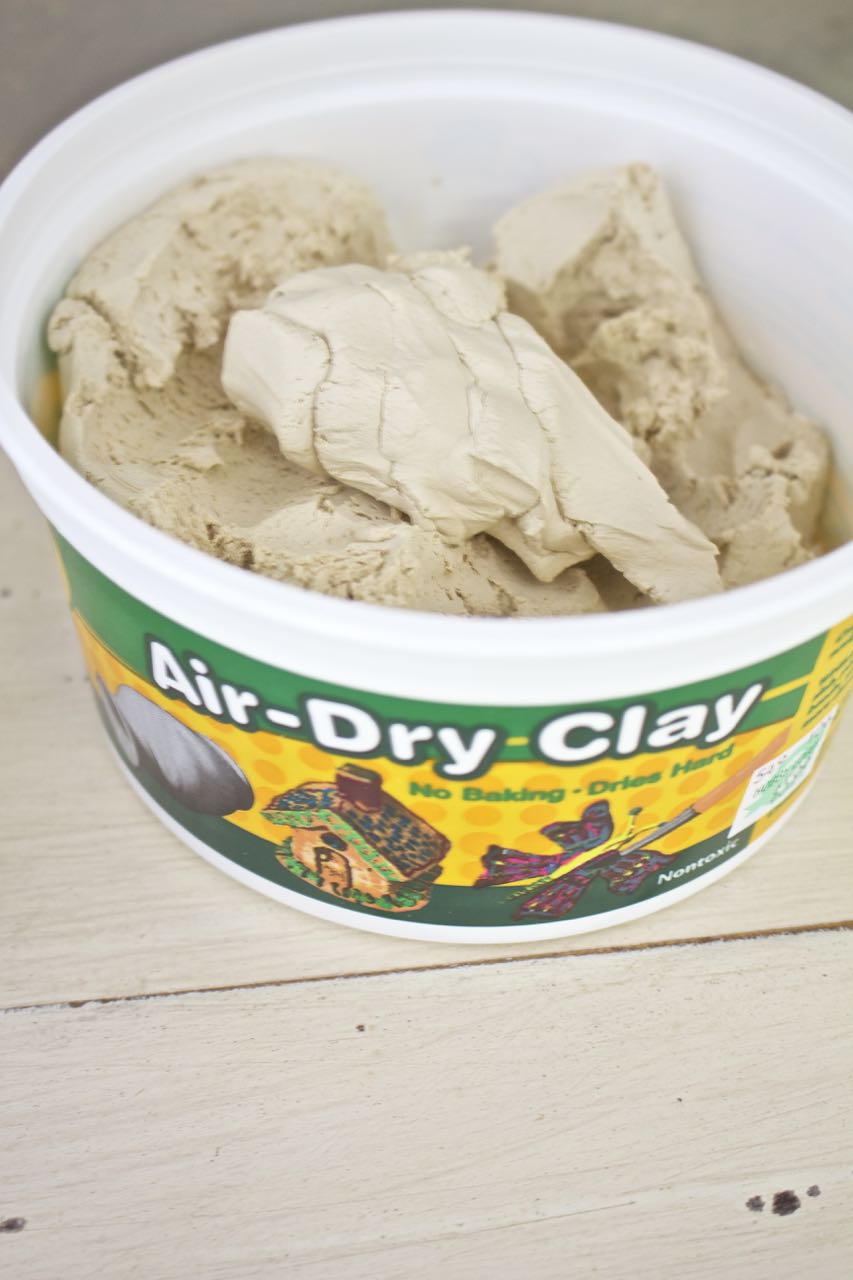
Supplies:
Wax Paper
Embellishment Stamp – optional
Fine Grit Sandpaper
Twine or Ribbon for tying
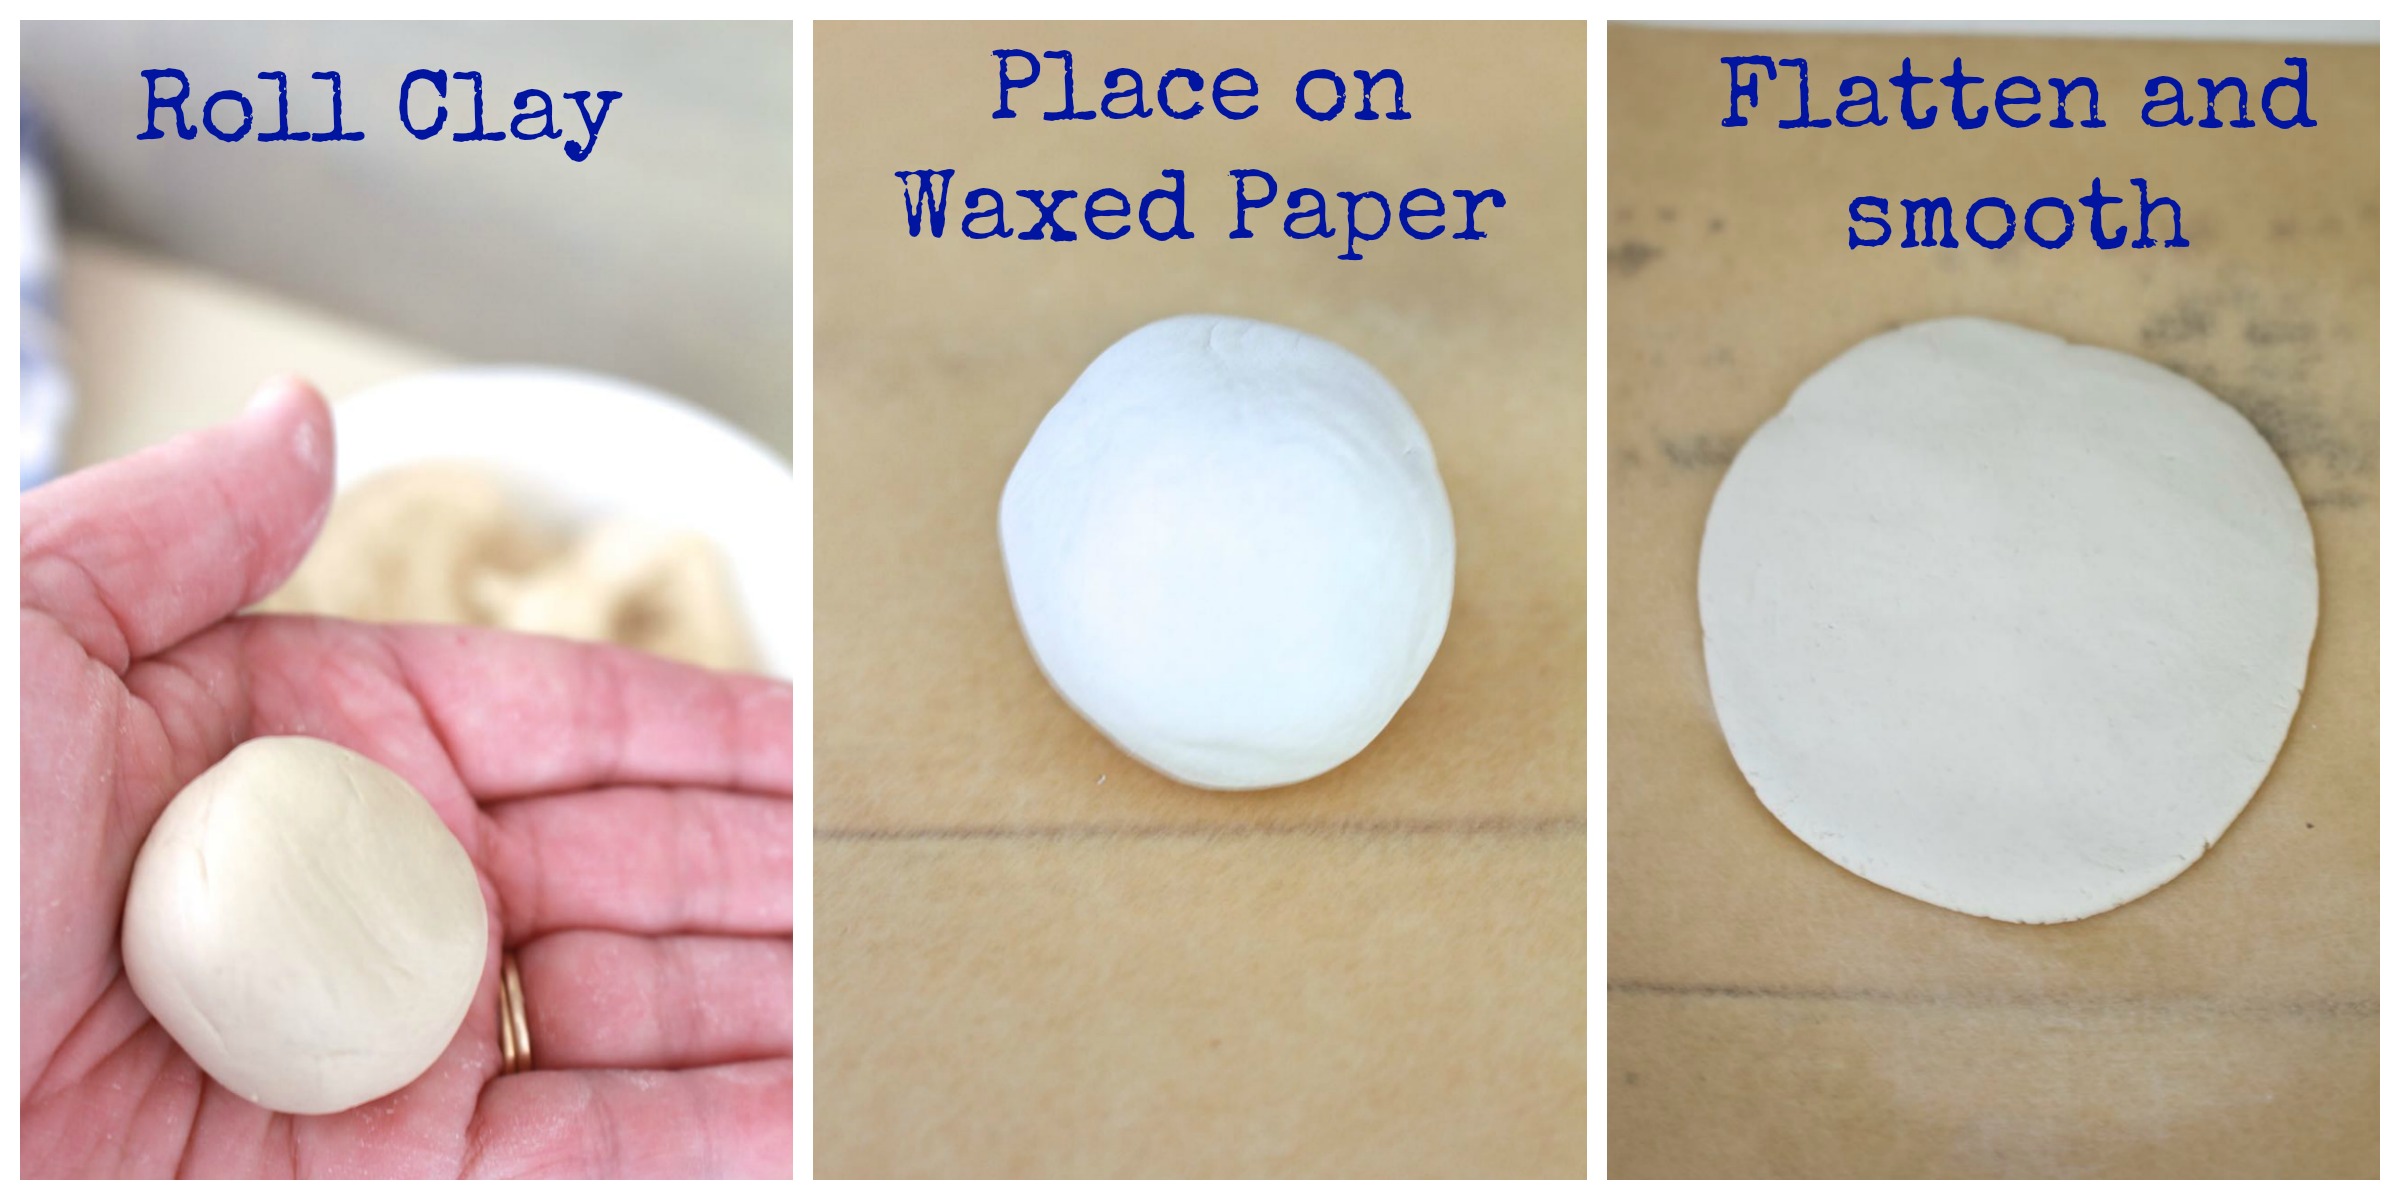
I didn’t have much luck with the rolling pin method. The clay stuck between the sheets of paper. When I tried to use a cookie cutter the clay was very tacky making it impossible to remove from the cutter. So, I resorted to hand rolling the clay. It’s like rolling a meatball 🙂
- Roll the clay and place it on wax paper.
- Flatten the clay with the heel of your hand.
- Take care to smooth the top as best as you can – it doesn’t need to be perfect.
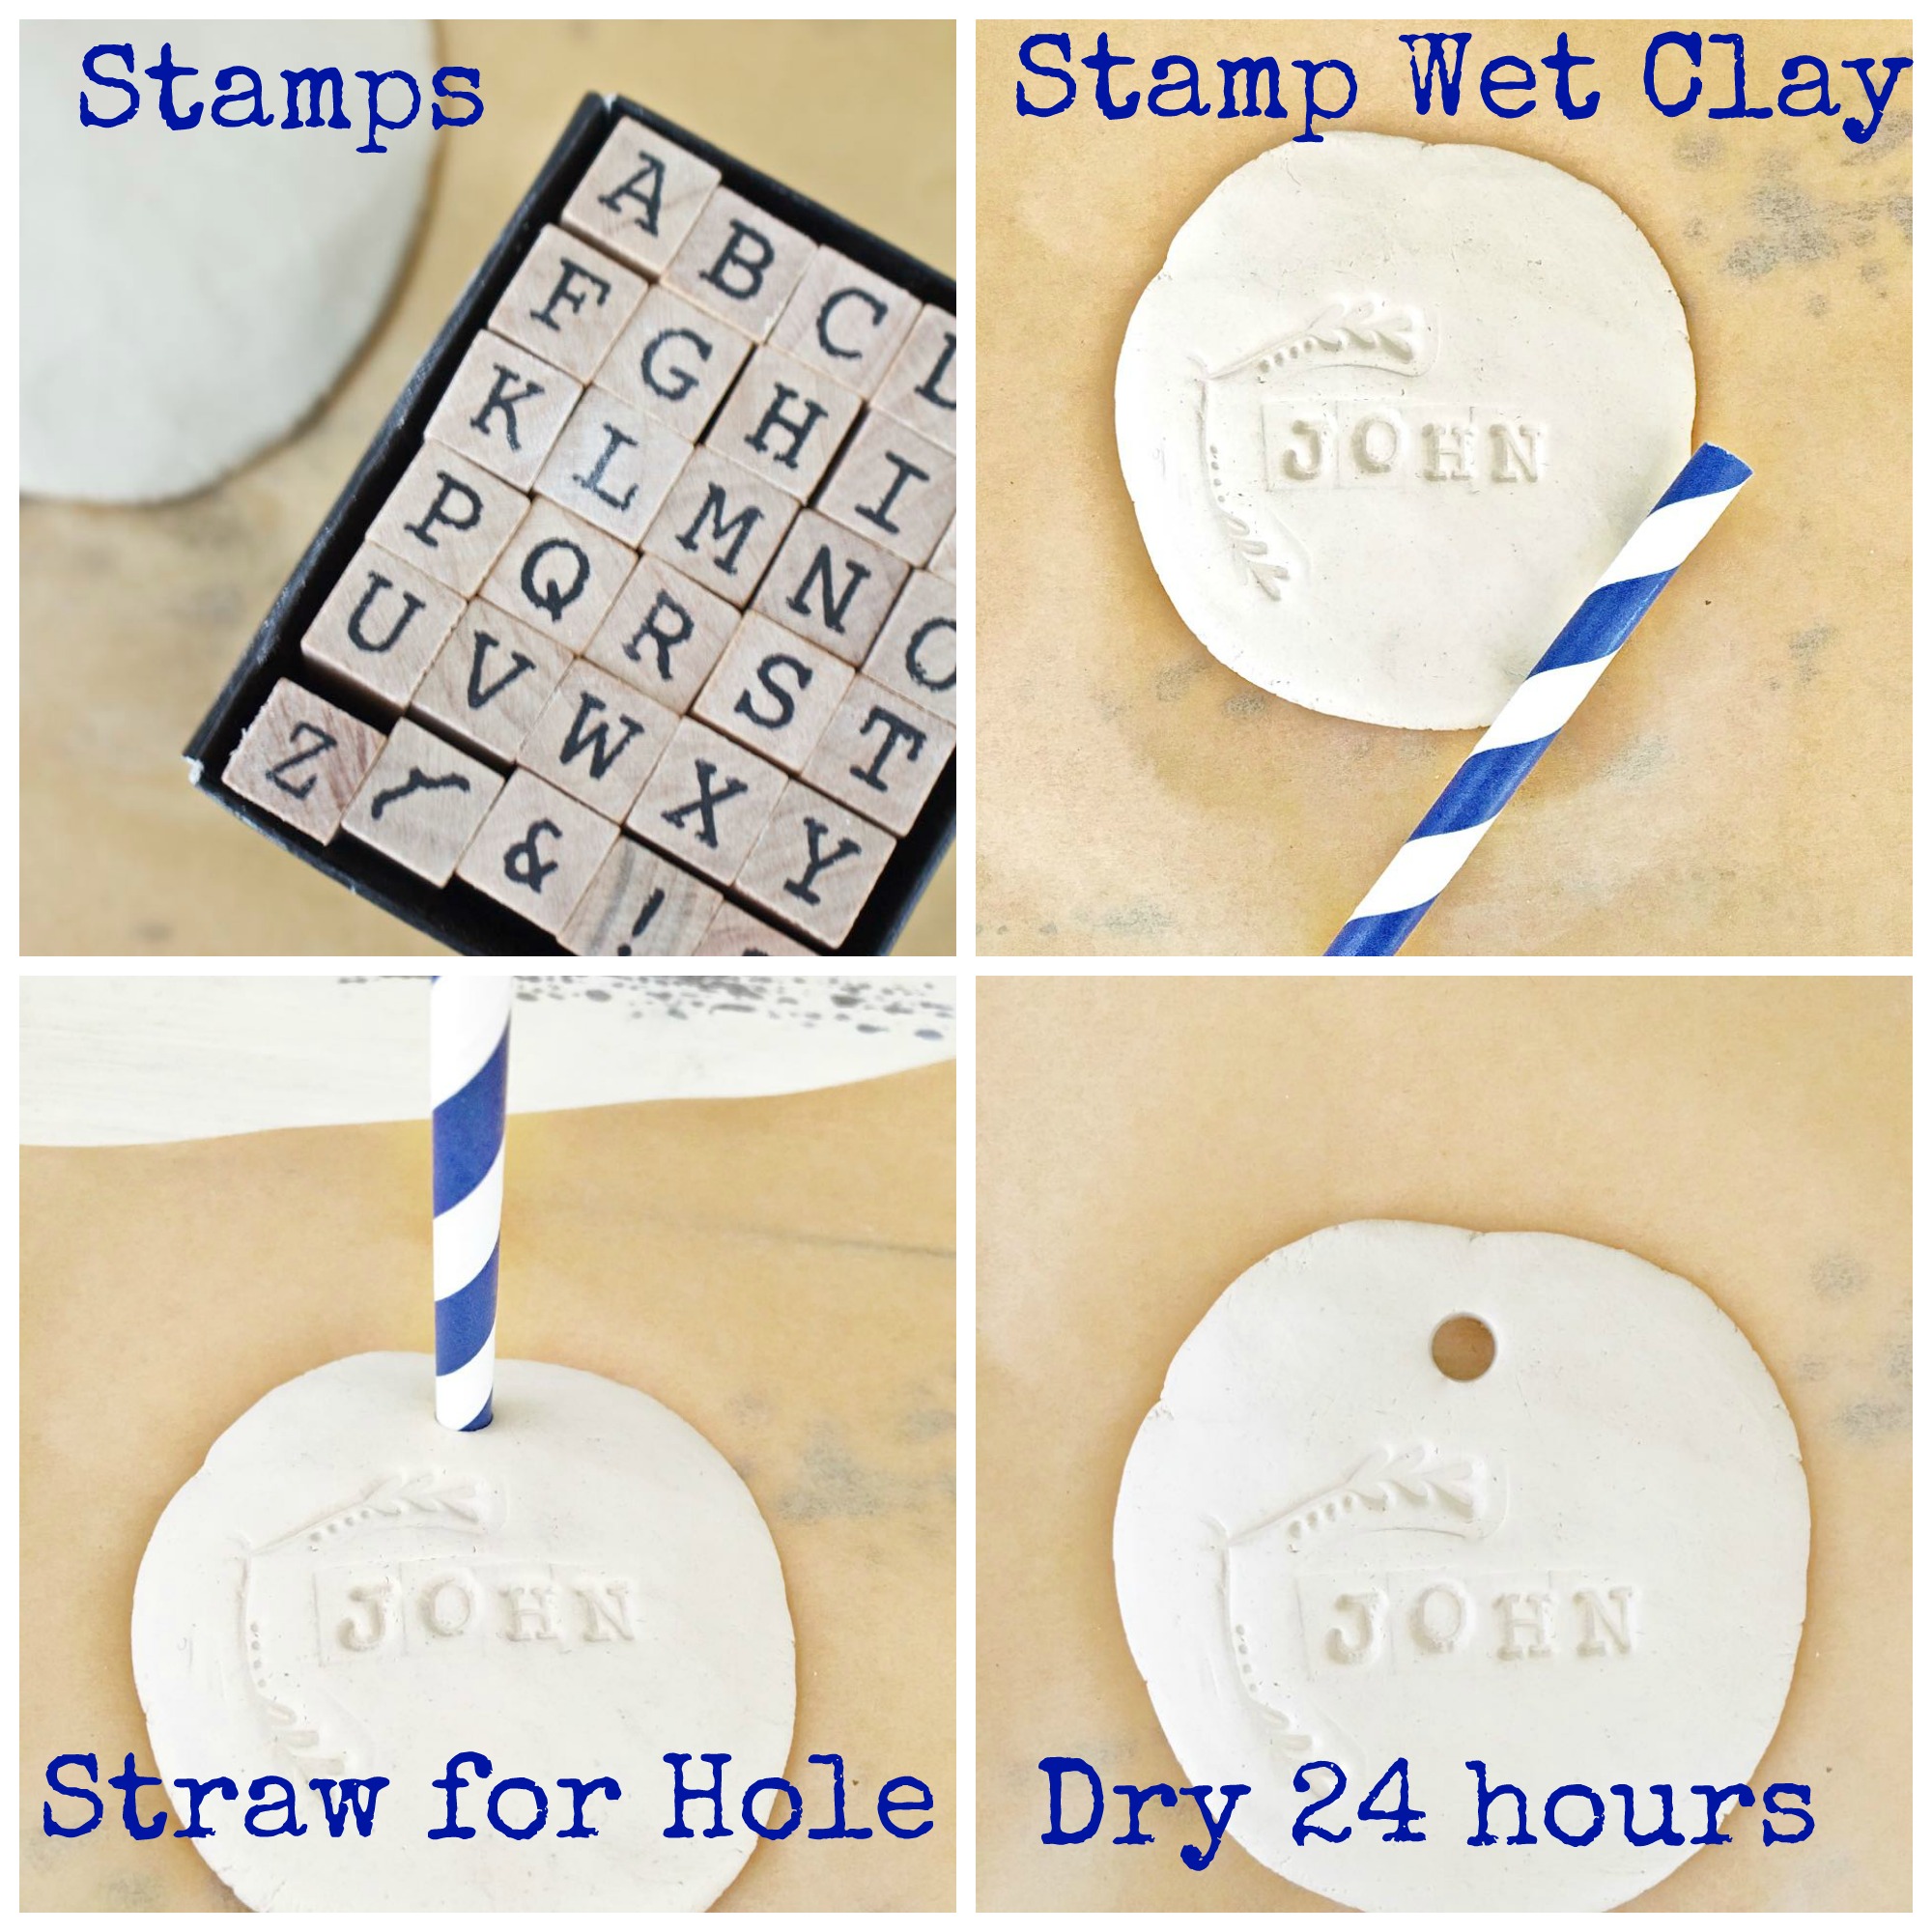
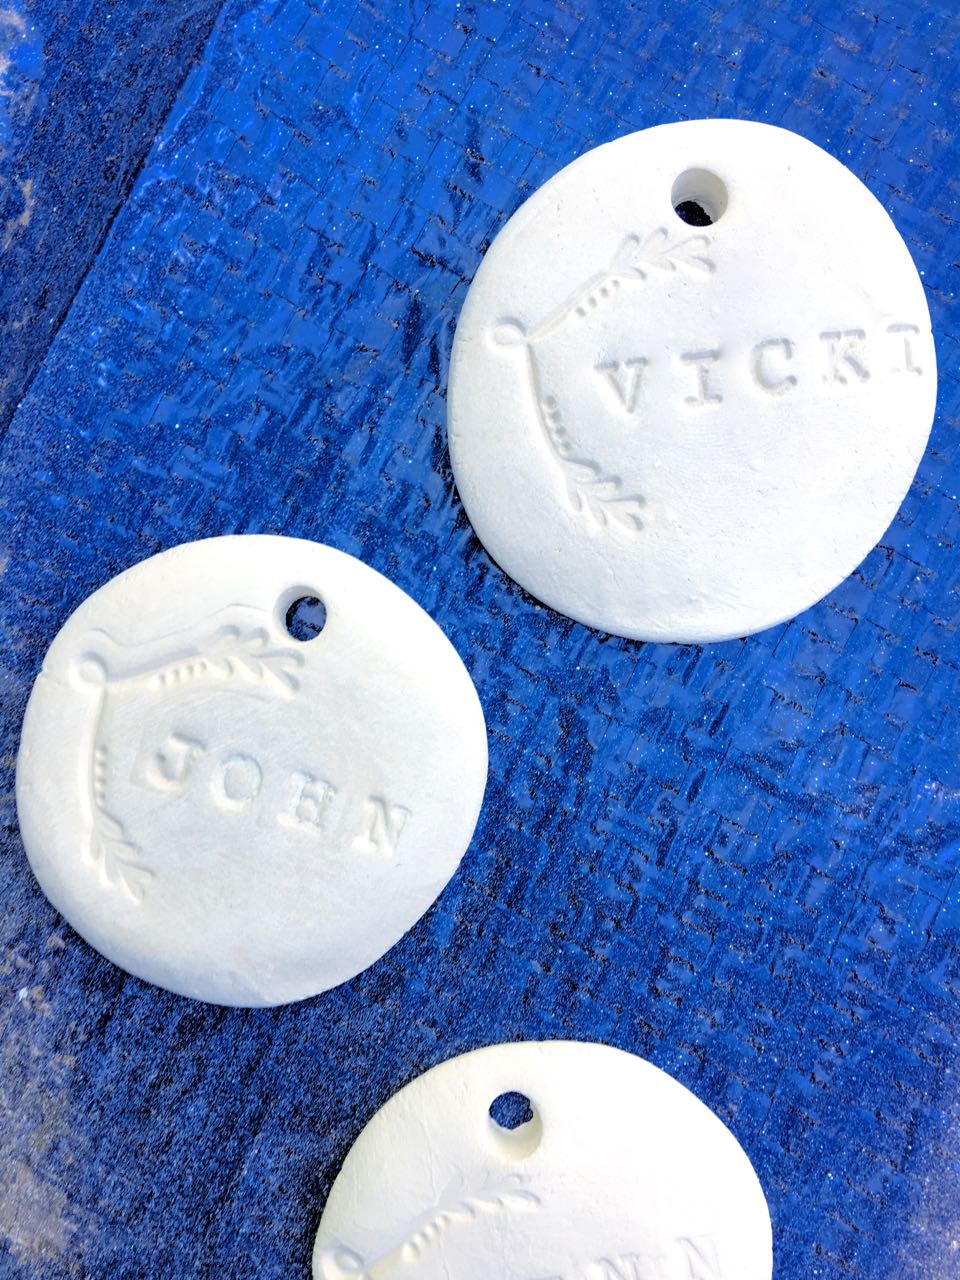
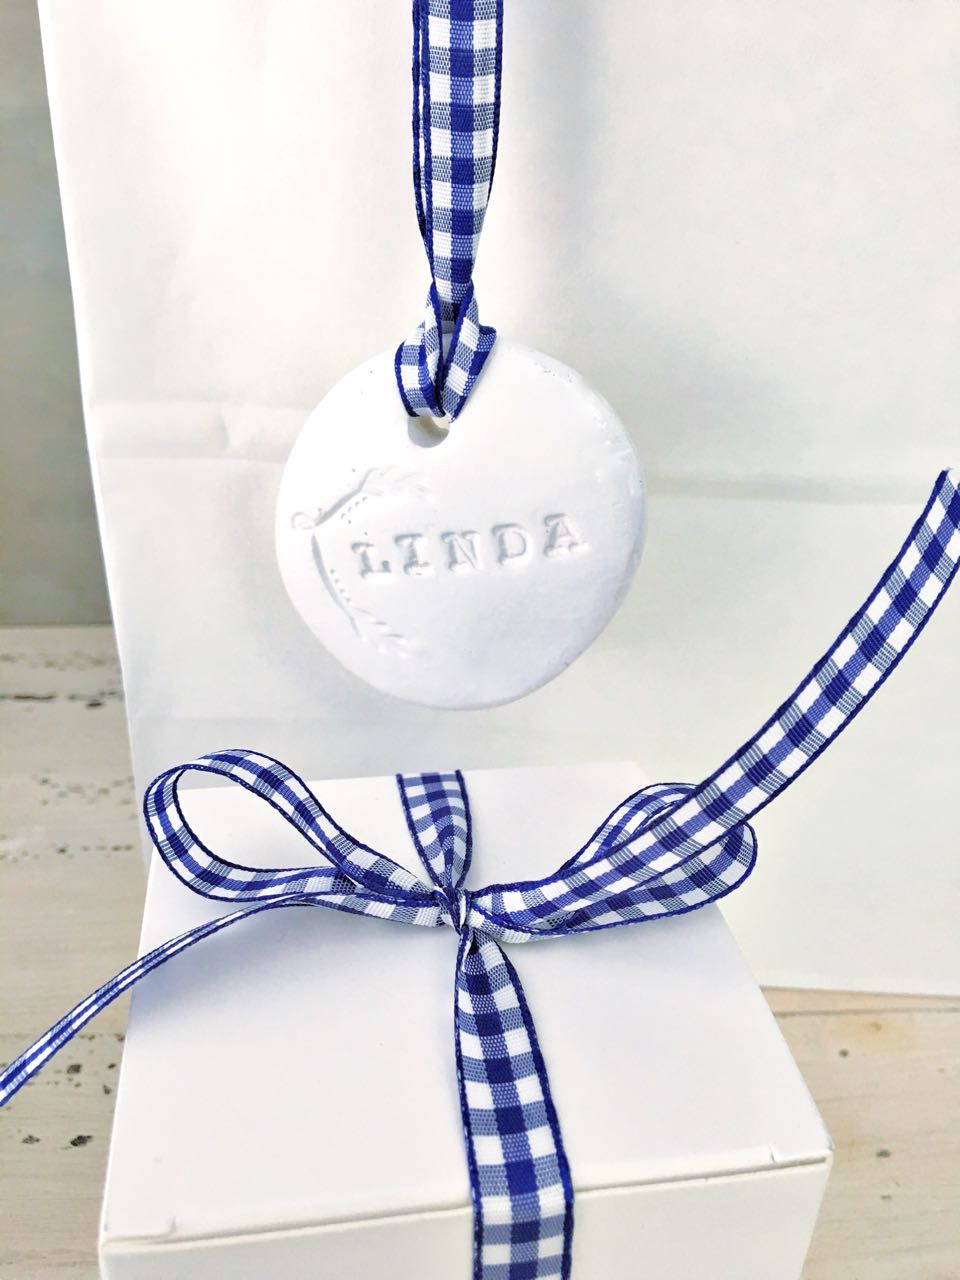
- Immediately stamp the clay with names or phrases of your choosing.
- Use a drinking straw to create a hole for hanging later.
- Don’t touch the clay for 24 hours. Even better, wait 48 hours.
- When the clay is completely dry, use fine grit sandpaper to smooth the edges of your clay tag.
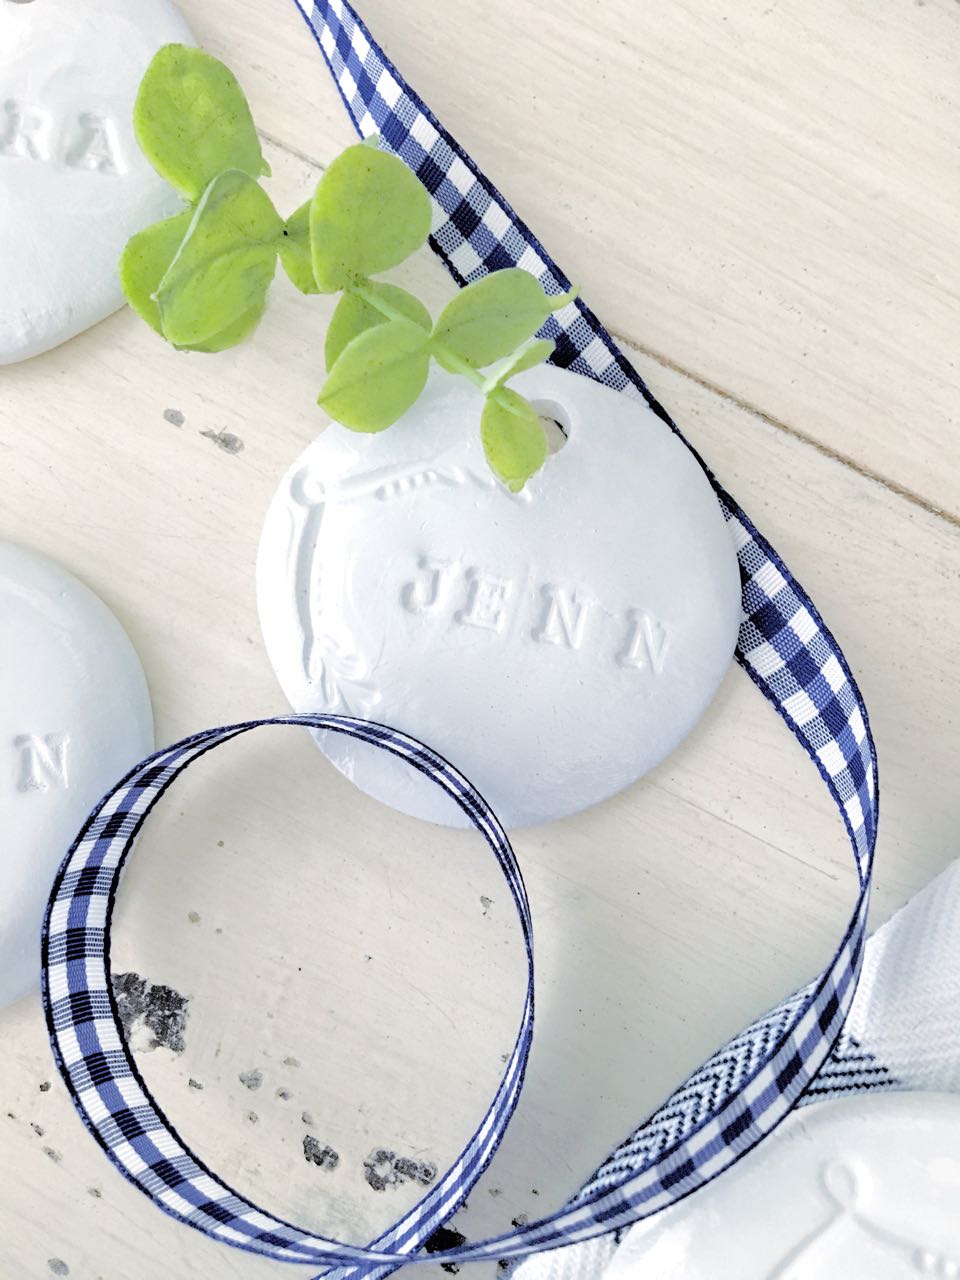
- Spray with a light coat of glossy white paint.

The most difficult part of this project is having patience for the drying time. I promise you, if you touch the clay while it’s wet – your tag will be ruined. You might be tempted to bake these in the oven. DON’T do it – this clay is not meant for the oven and the tags will crack.
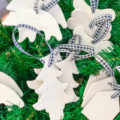
Don’t they look great? I love how bright and glossy they are.
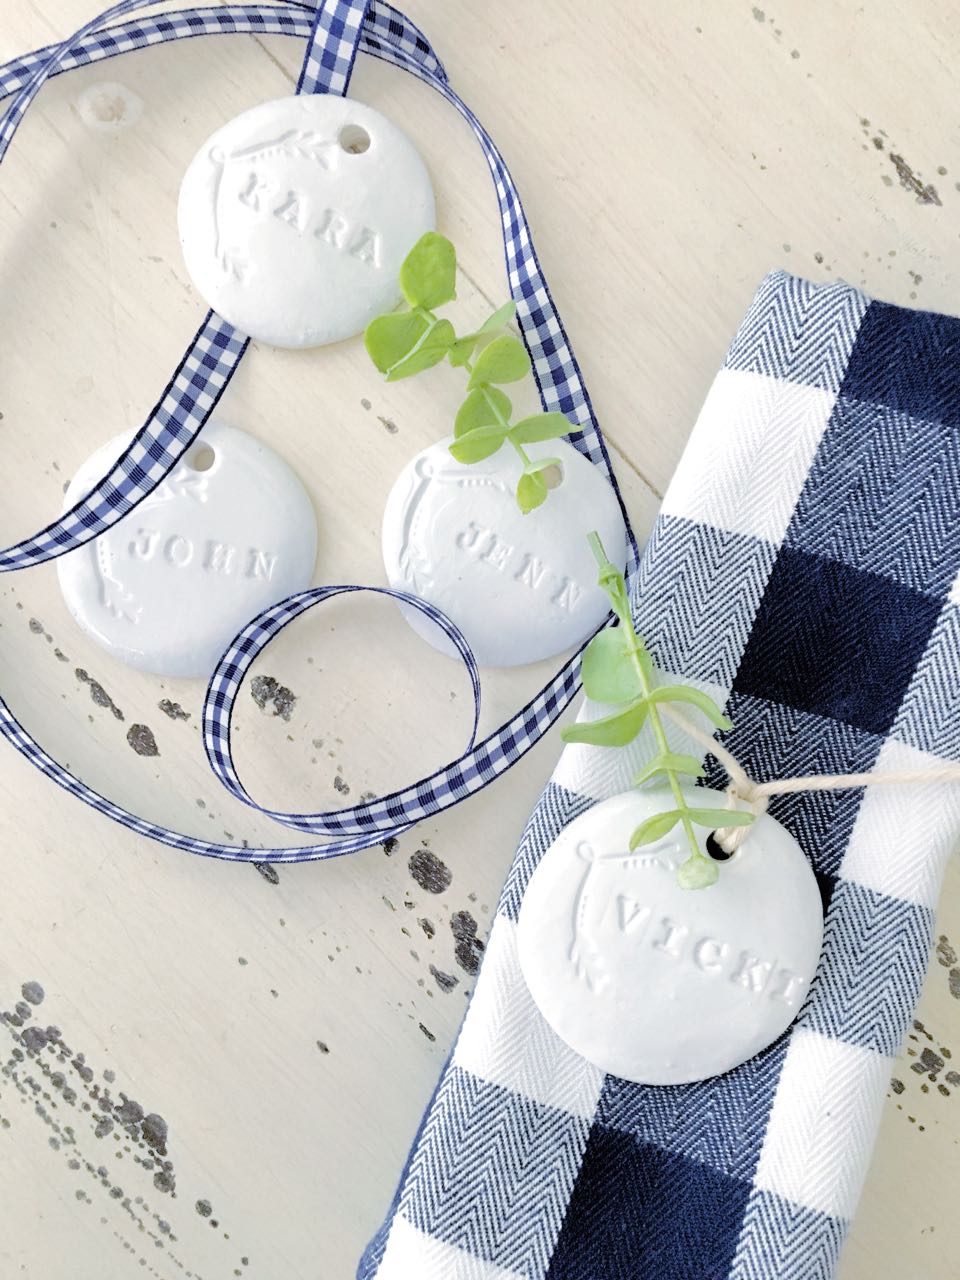
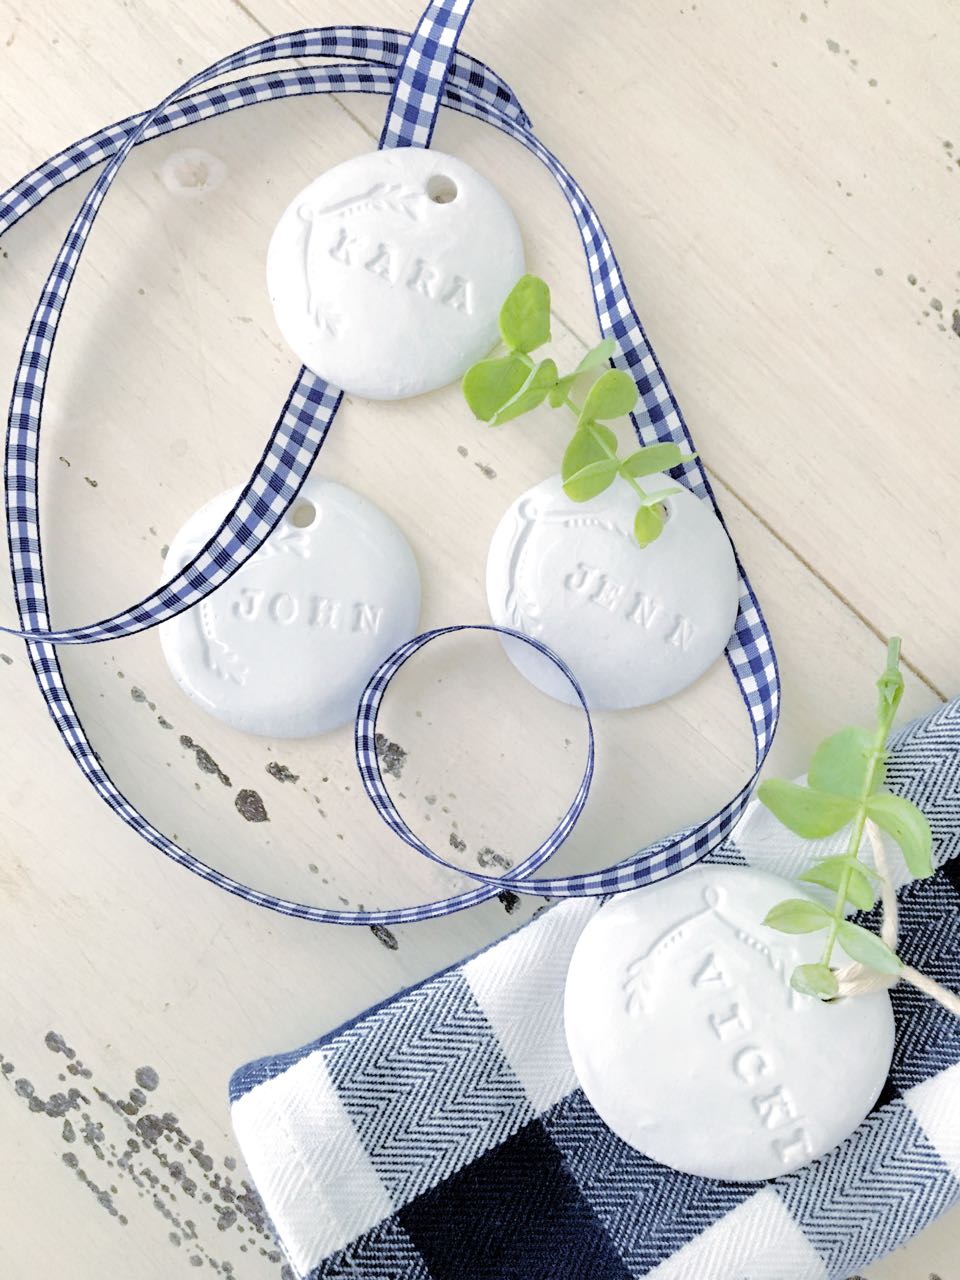
I can’t wait for our dinner guests to see the clay tag place cards. The best part is that they then have a gift to take home and can possibly hang on their Christmas tree.

There is a lot of clay in the container. It is best to make a lot of tags at one time. I even decided to make gift tags for family and friends.
Let me know if you give this project a try! You can do it…I promise!
Until tomorrow…
XO~Vicki
Let’s be Pin Pals…Pin this to your favorite Pinterest board.
I will be trying this for sure…great craft!
Your tags look gorgeous! Love your idea to re-use them as Christmas ornaments. Thank you for linking to my tags too! You girls are the best! 🙂
These are darling!!
I love this idea! So great that your guests have a personalized gift to take home. Love it!
Bambi
Love love love it all ladies! Can’t wait to see more! Hugs, CoCo