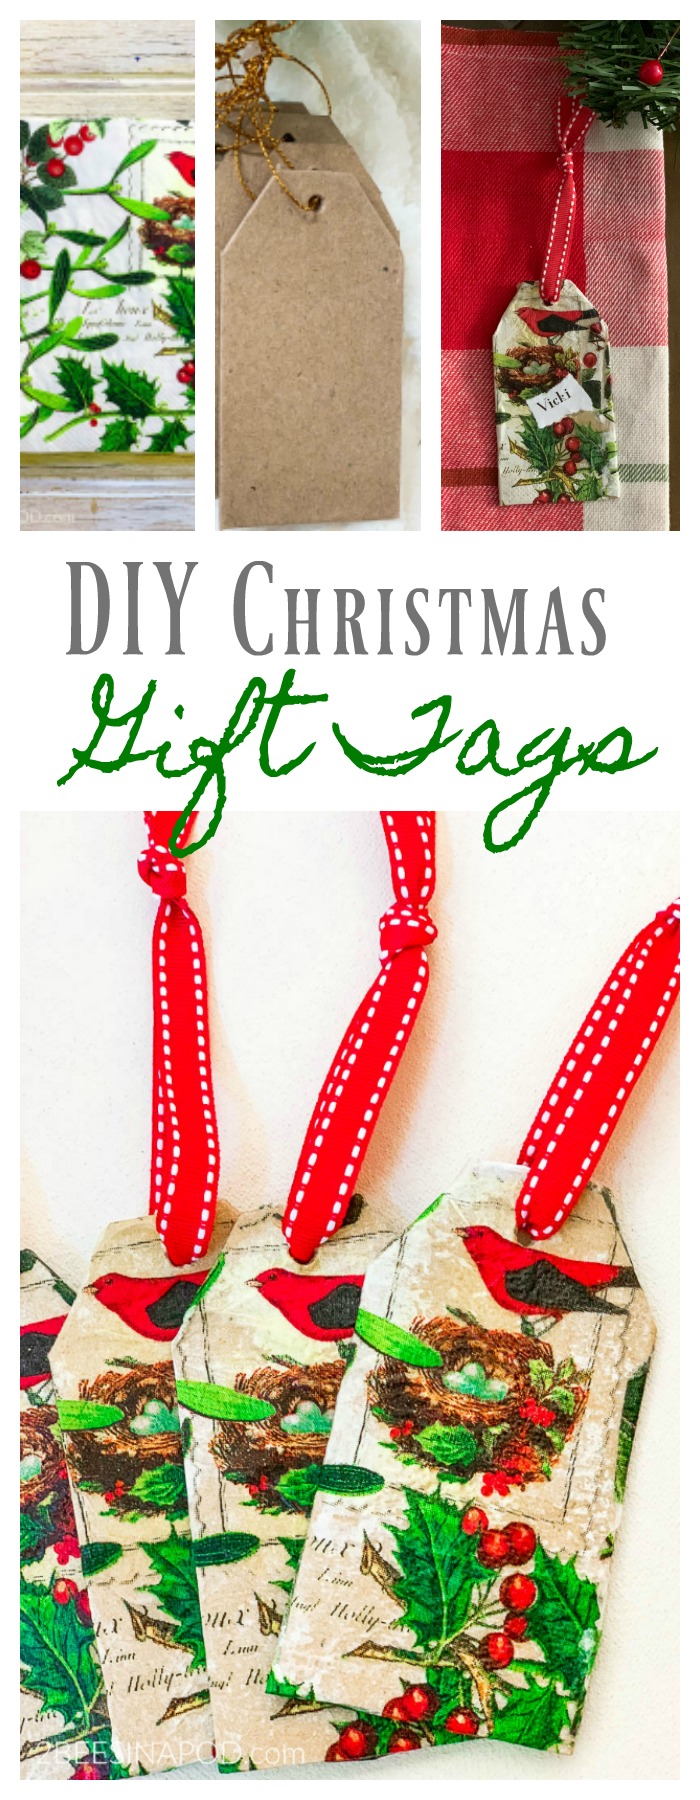
DIY Christmas Gift Tags
Please note that this post contains affiliate links. As an Amazon Associate, Rewards Style influencer and Jane Influencer, we earn from qualifying purchases and any sales made through such links will reward us a small commission – at no extra cost for you.
Okay, y’all asked for it so here it is. The tutorial for DIY Christmas gift tags.
Last week when I shared my Classic Red and Green Christmas Tablescape y’all were overwhelmingly sweet and kind. One of the most asked questions about that post was “how did you make the place cards”? Well today your question is answered in this post. Here is the quick tutorial for DIY Christmas gift tags. Actually these tags can be place cards or name tags too!
Don’t Be Shocked
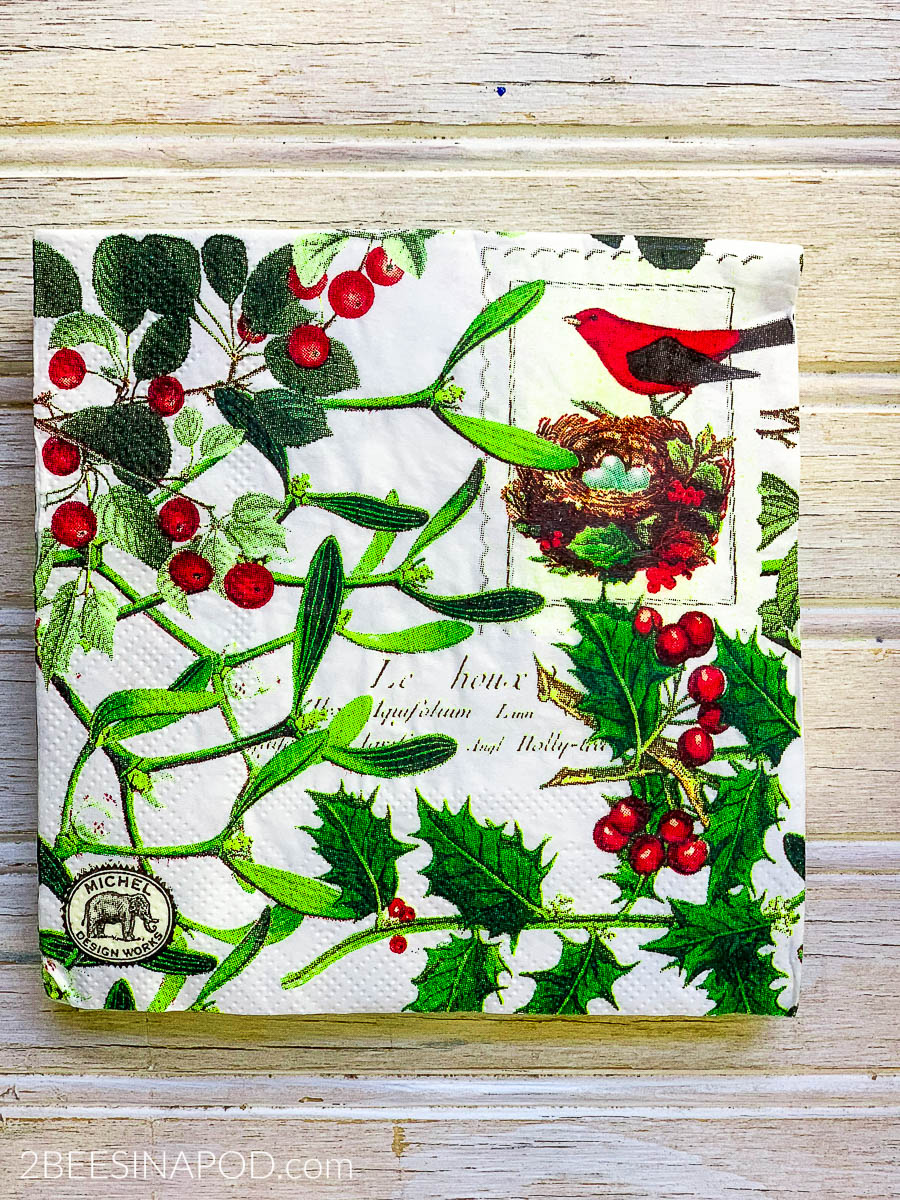
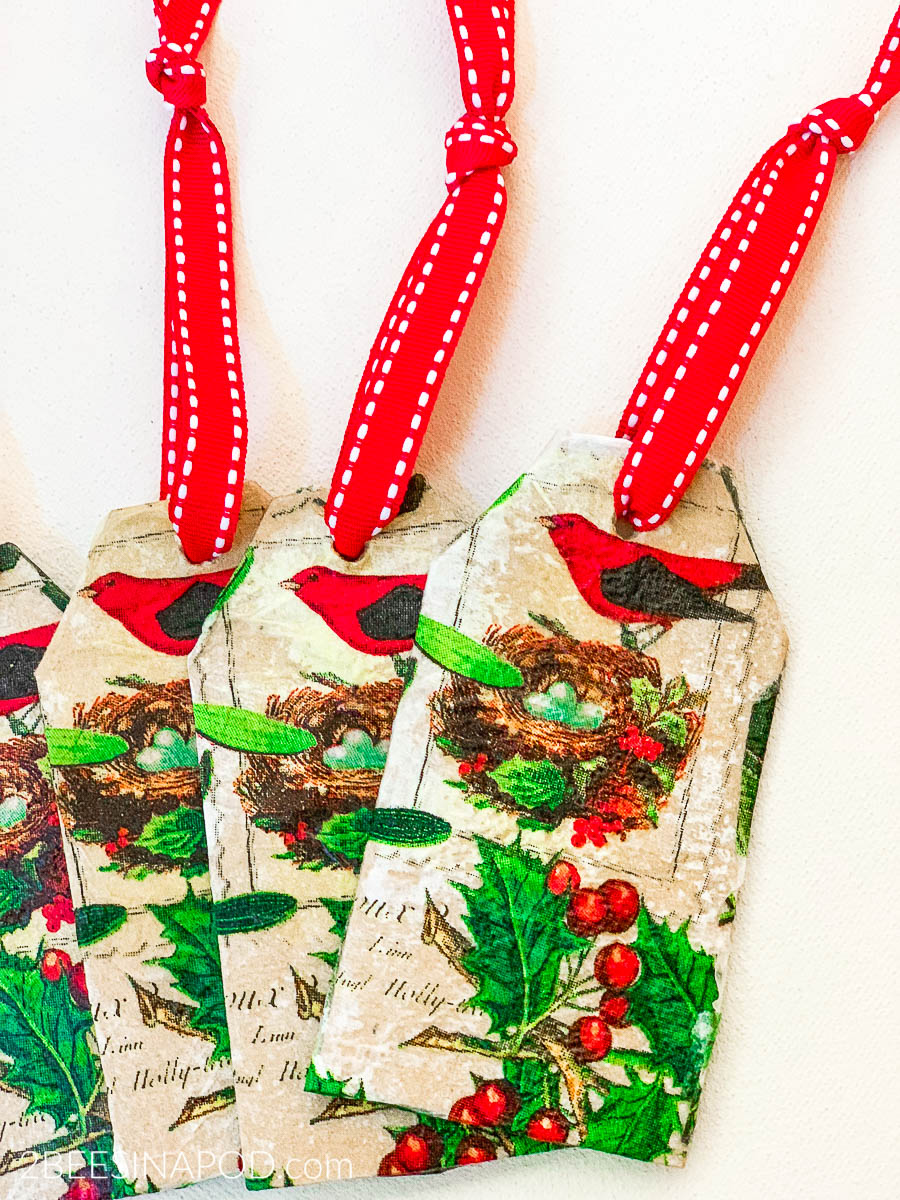
Yes, this is another napkin project. I hope that you aren’t tired of these. The reason why I love them so much is because they are so easy, but more importantly they are so versatile. Think about how many paper napkin patterns there are out in the world. That’s how many projects x 10 that you can create. These sweet Victorian holly berry napkins were part of my Los Angeles score at just .20¢ for the pack.
Materials:
- cocktail napkins
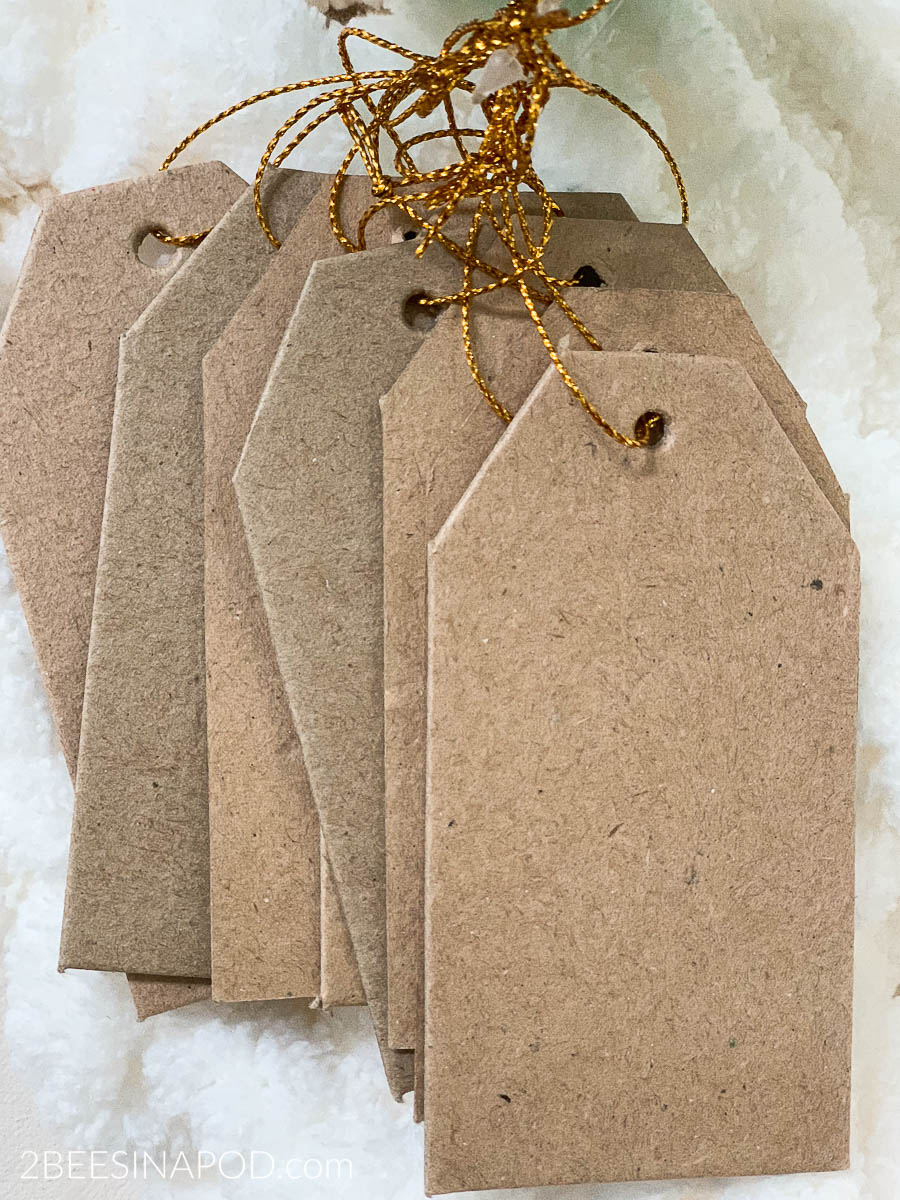
- cardboard tags (mine came in a set from the dollar store)
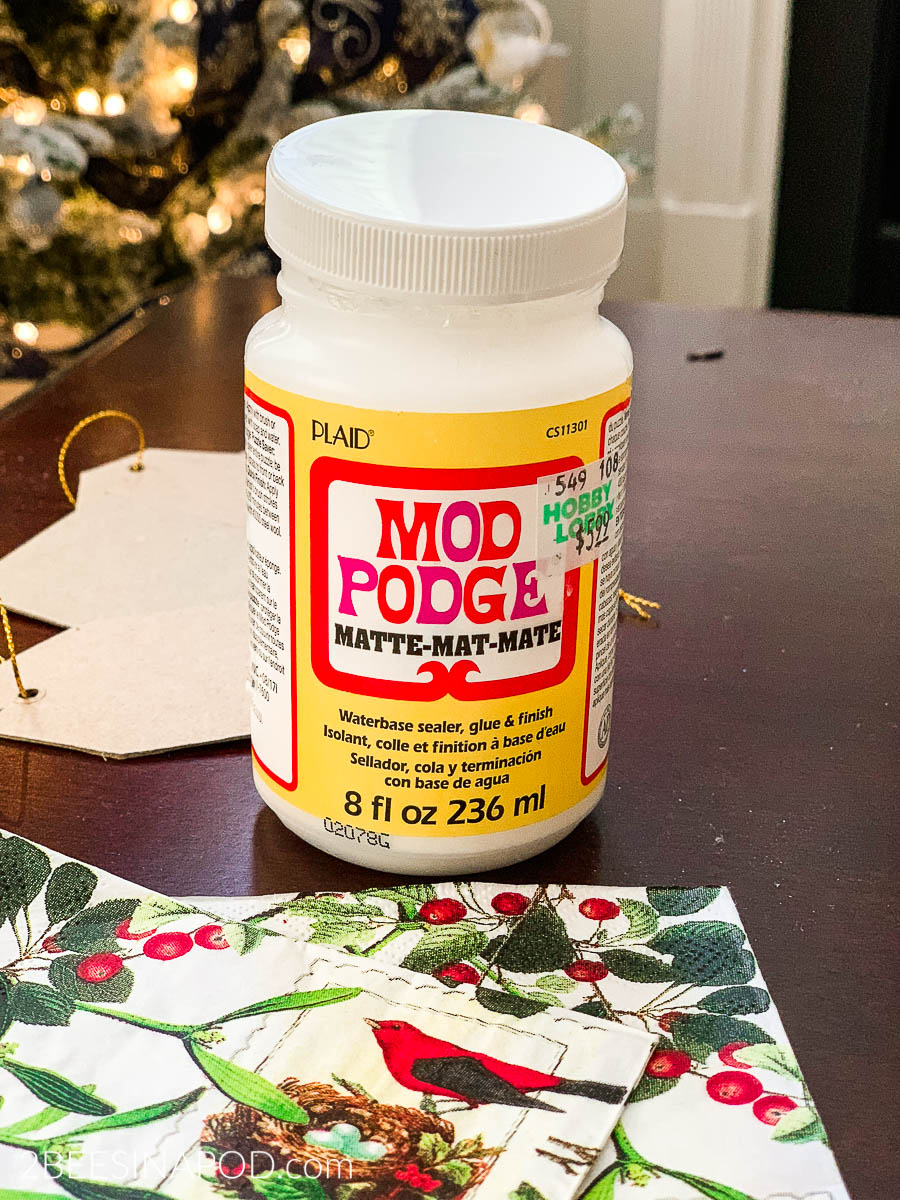
- ModPodge Matte finish adhesive
- sponge brush
- 1/4″ decorative coordinating ribbon
- drying hanger
I lucked out at the dollar store. A 12-pack bundle of these cardboard tags was only $1.00. Have you ever meandered the aisles of the dollar store? They have some unexpected craft items that are great deals.
Anyway…always make sure to have ModPodge handy.
Using a sponge brush, spread on a good layer of ModgPodge..
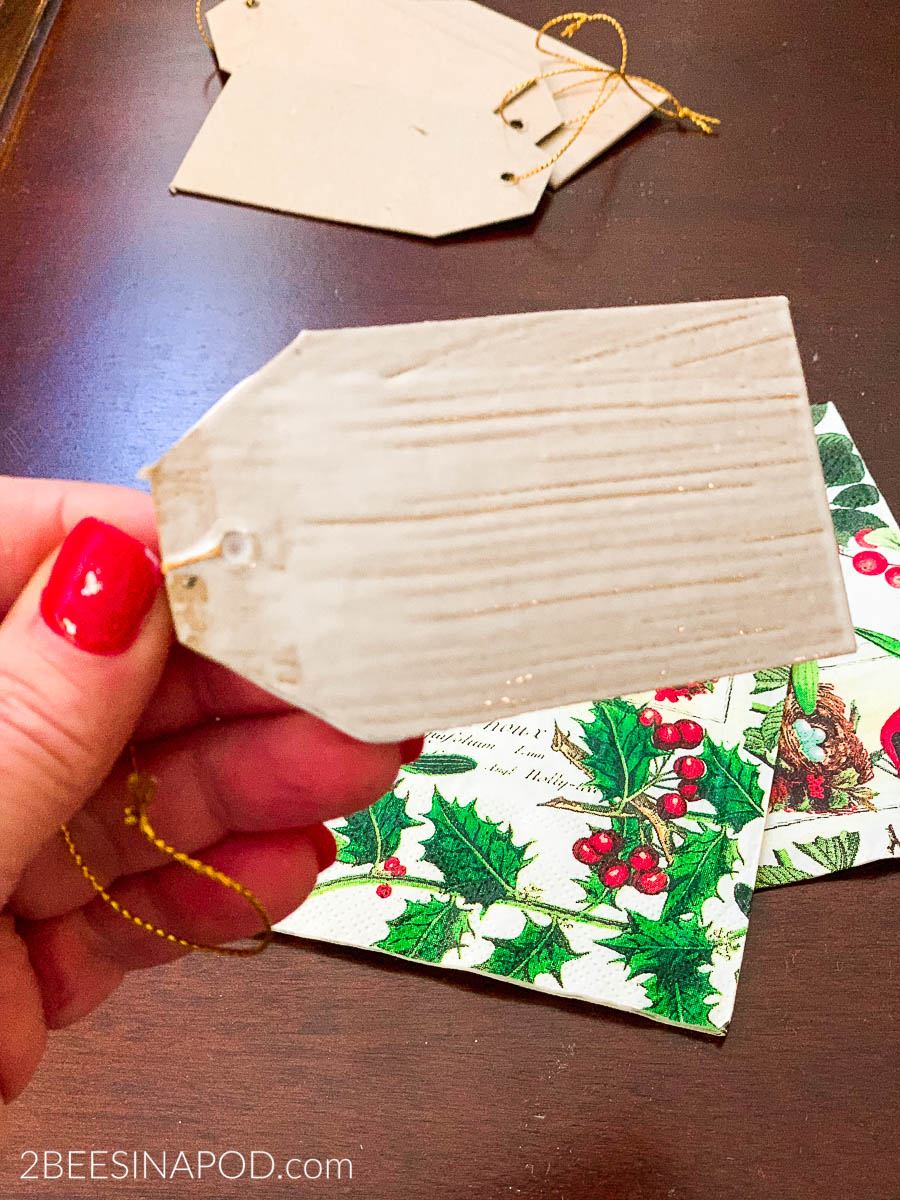
Remember, the napkins are 3-ply sheets and you need to peel away the bottom two layers. You only want to use the top layer. It is very thin, so carefully lay it on top of the ModPodge and begin smoothing out the wrinkles and bubbles. Repeat the process on the back, cutting excess paper.
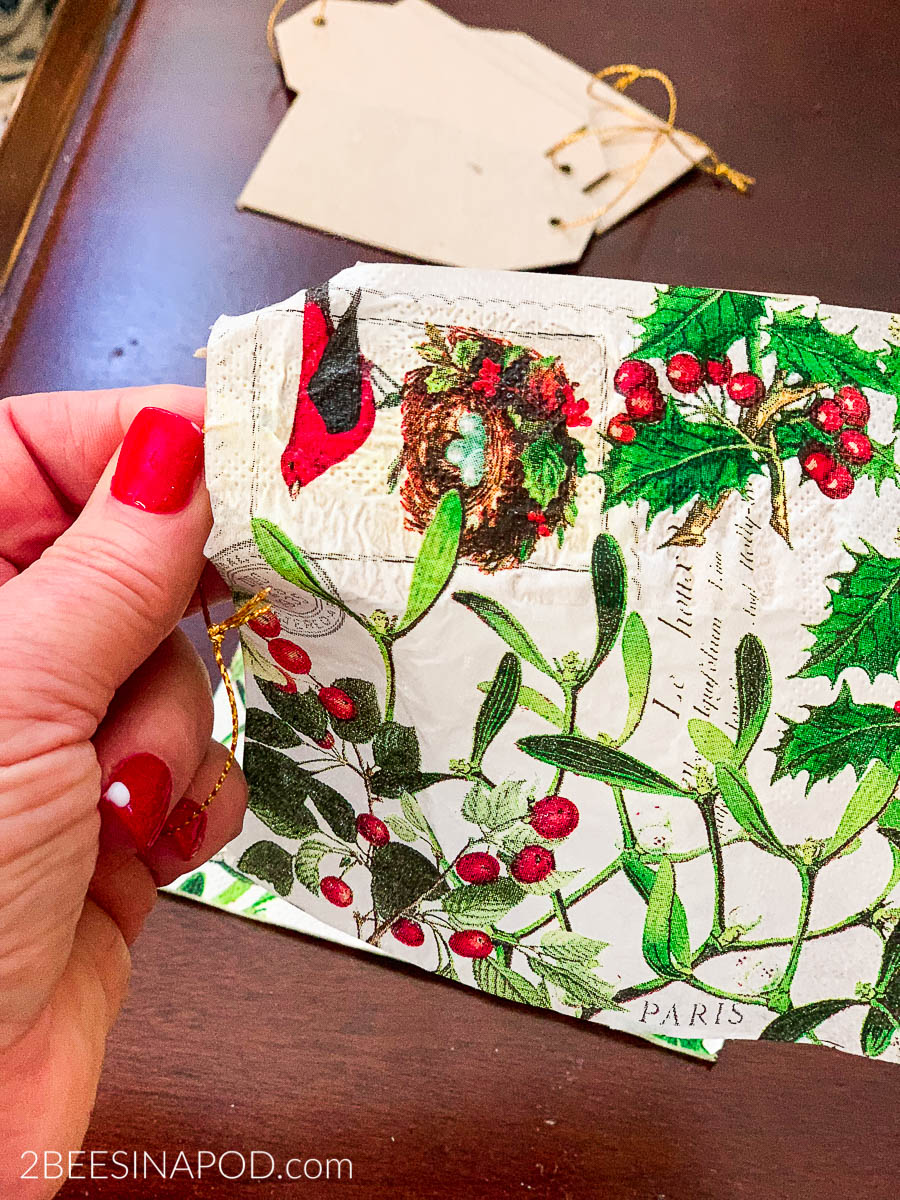
Add more ModPodge to the outer layer.
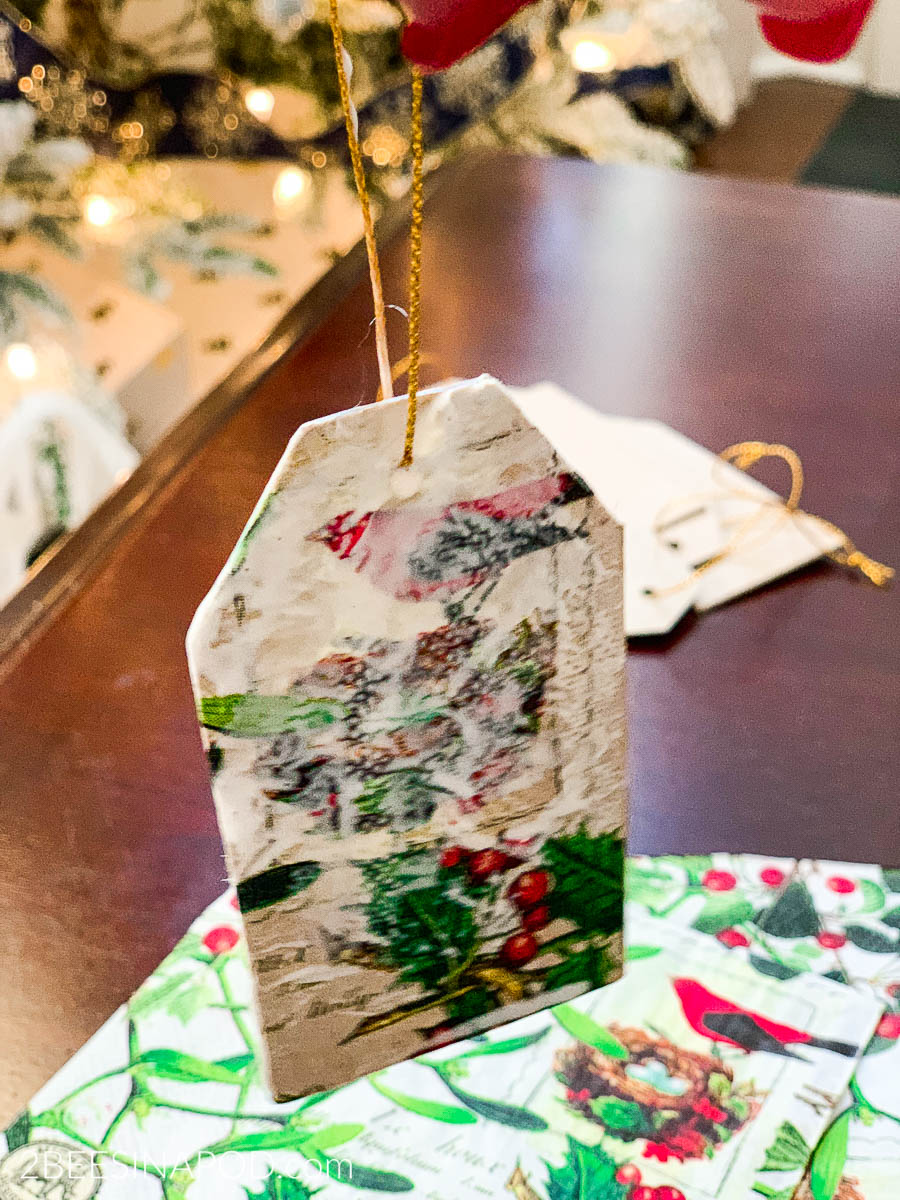
Hang to dry for approximately 2 hours. I used a dry cleaner hanger and just disconnected one end.

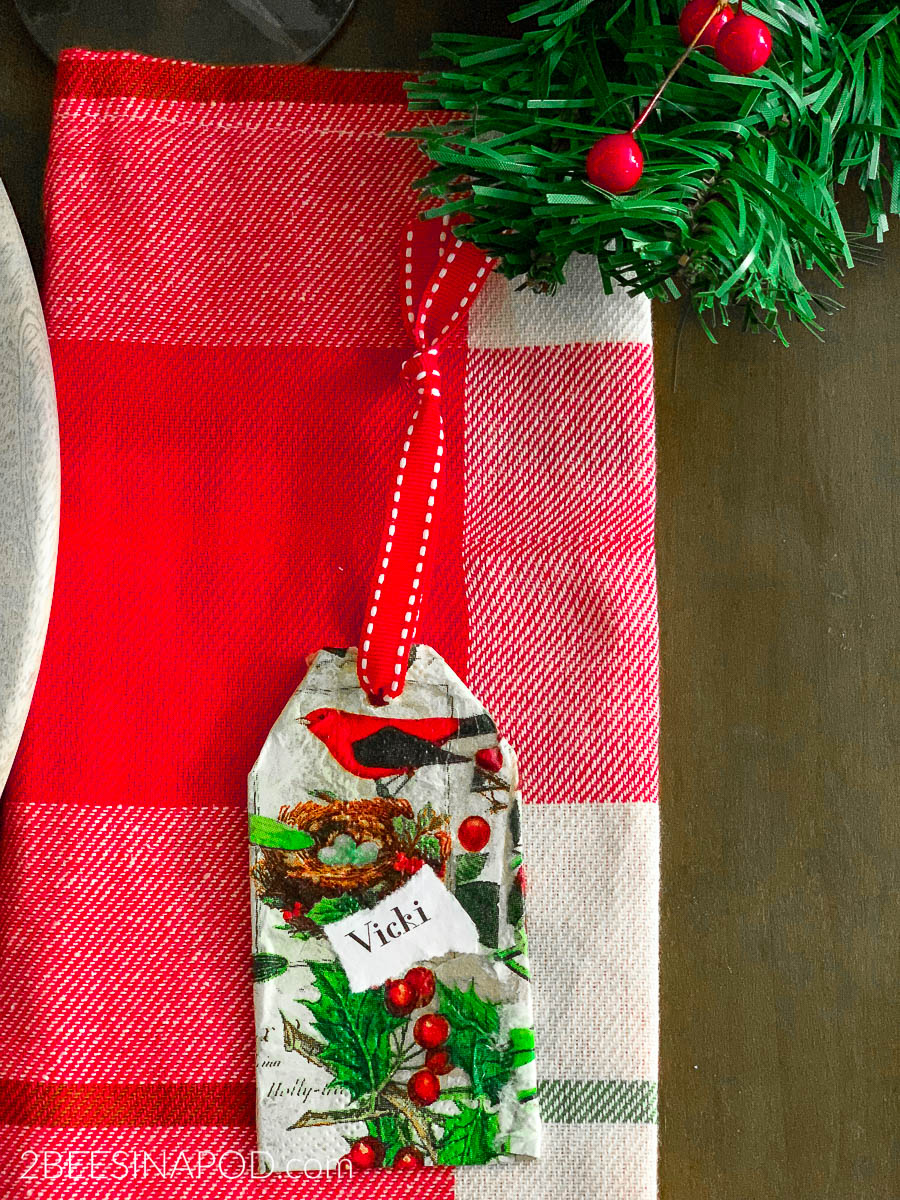
While the tags are drying…find a font that you like on your home computer. I played around with several. Type out names of family and friends for your gift tags or place cards and print.
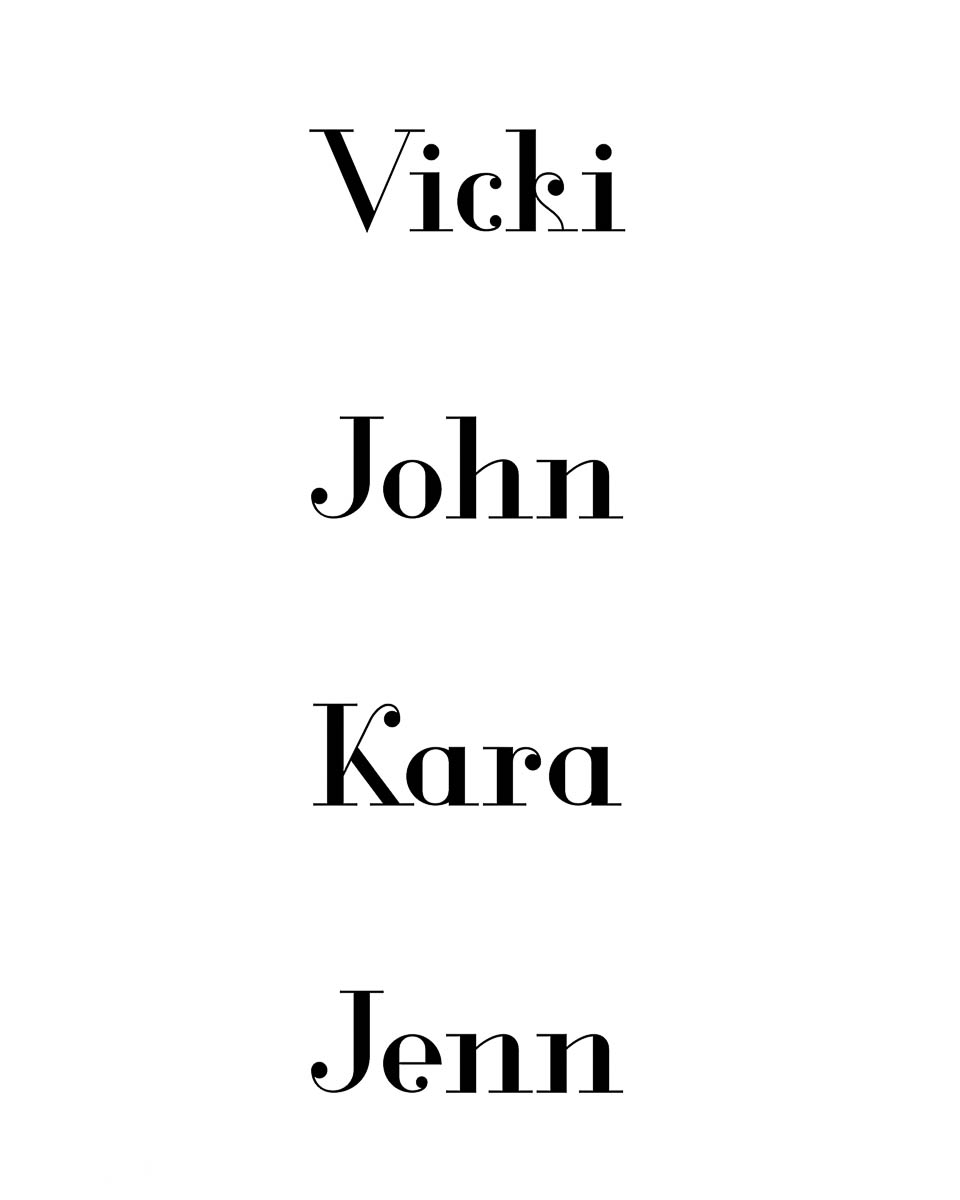
I simply hand ripped my names because this was the look I was going for, You can use scissors if you want a more precise cut. I just just a tiny bit more of the ModPodge to add the names to the tags. The gold hangers were perfectly fine to leave in place. I wanted bright red to be more prominent on the tags. Plus by adding new ribbon it makes the tags look custom made.
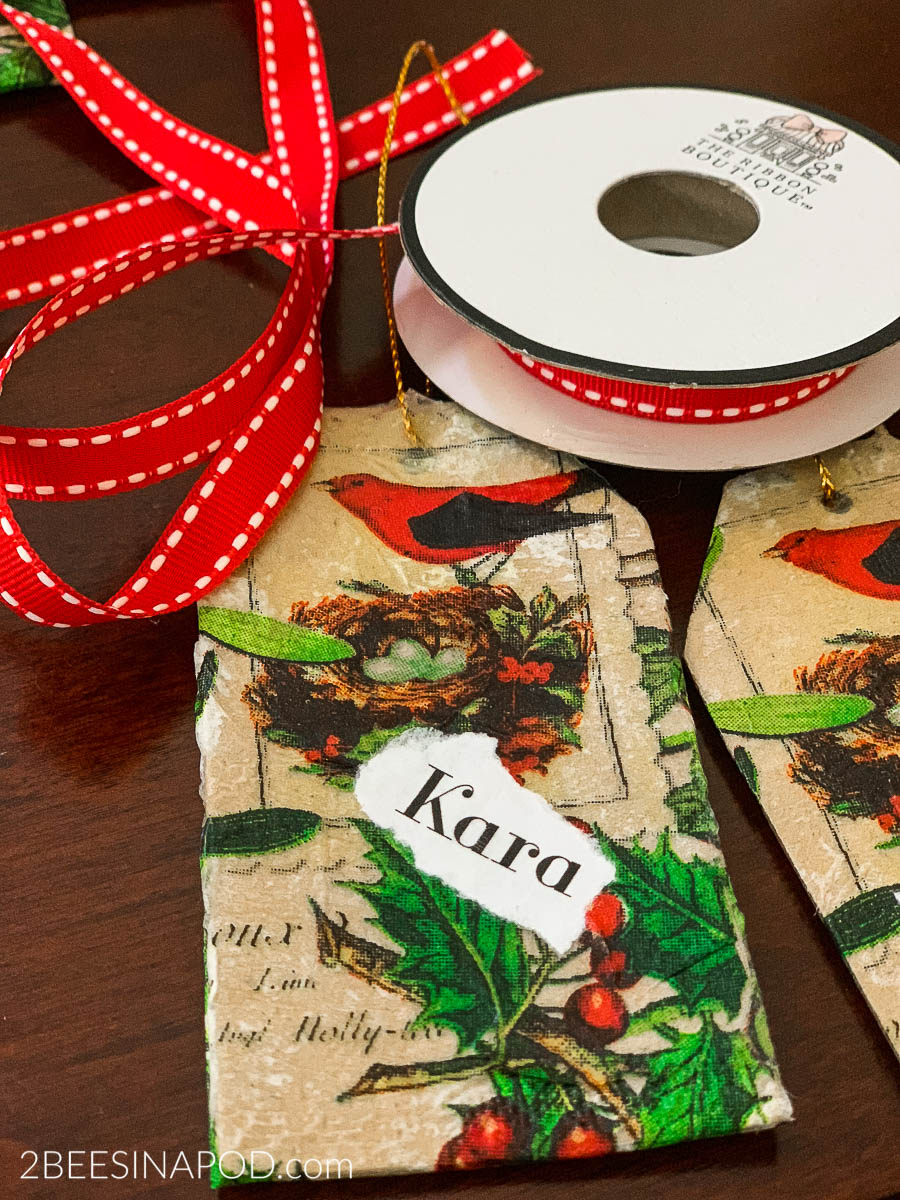
I cut the gold cording and easily removed. Using 1/4″ ribbon I had to push it through the existing hole with scissors and then knot it off. These are ready to add names for when I need them for gifts.
This is a tag that was used for the tablescape.
Thank you so much for asking for this DIY Christmas gift tag tutorial and for reading our blog! It means more to us than you will ever know!
Don’t Forget to Pin This to Your Favorite Pinterest Board!

Getting sick of these napkin tutorials is like getting sick of the book page paper tutorials – that is never going to happen ha ha. They are always so creative no matter how you guys showcase them and I love how simple to make they are too. I mean, you can totally change the look of so many different tablescapes or packages with this easy technique. I love it! Hugs, CoCo