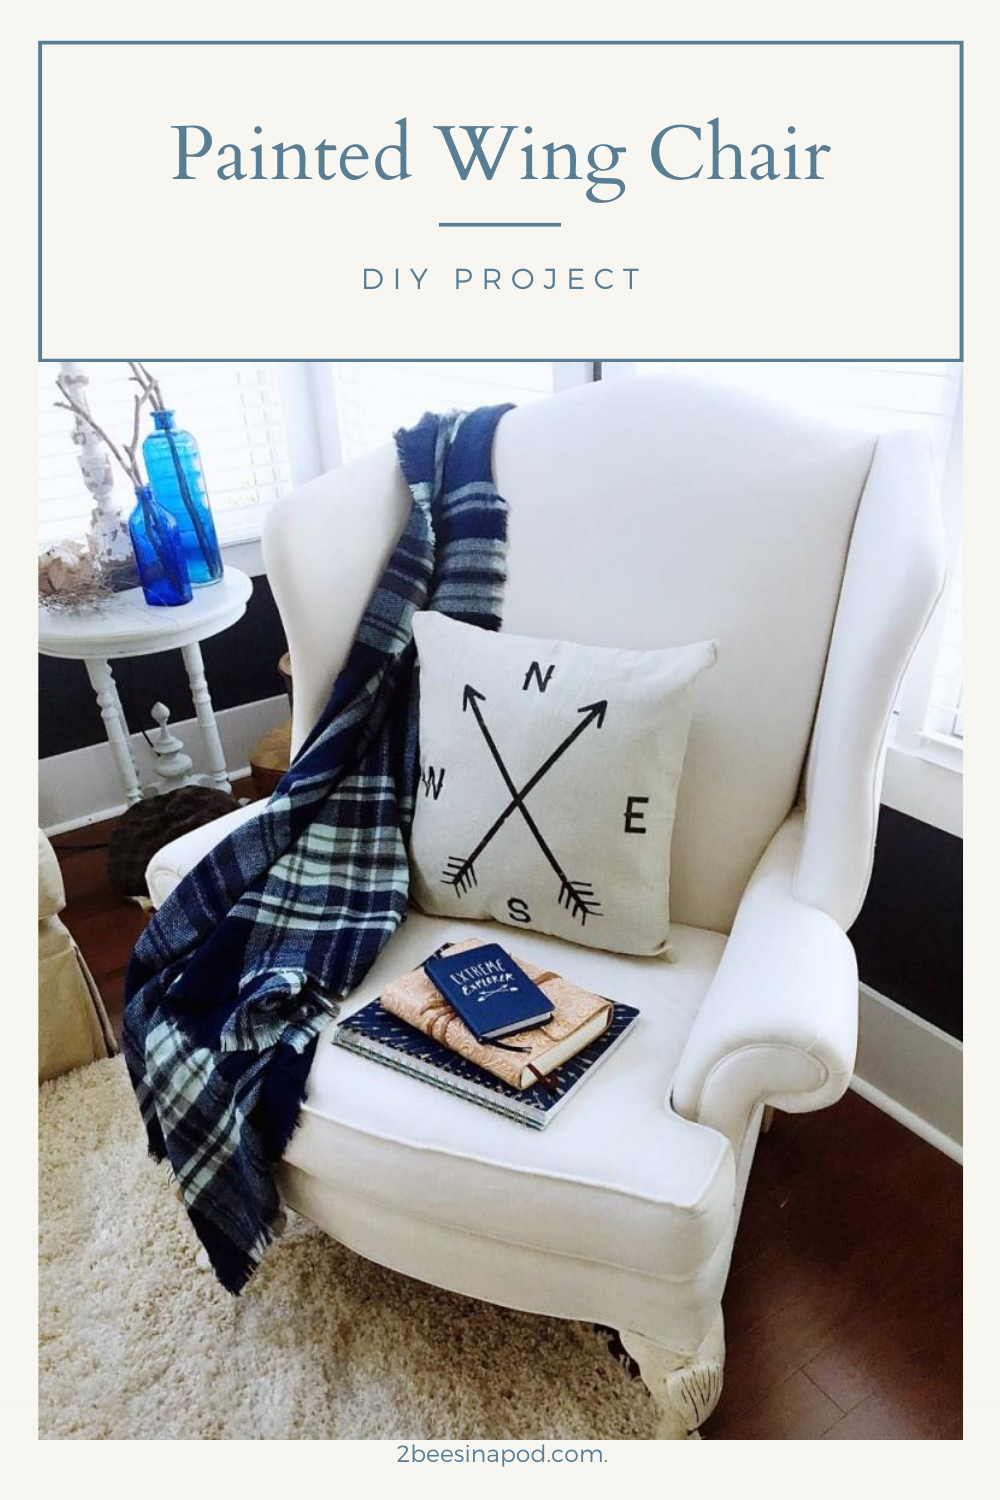
Painted Wing Chair…it worked!
Please note that this post contains affiliate links. As an Amazon Associate, Rewards Style influencer and Jane Influencer, we earn from qualifying purchases and any sales made through such links will reward us a small commission – at no extra cost for you.
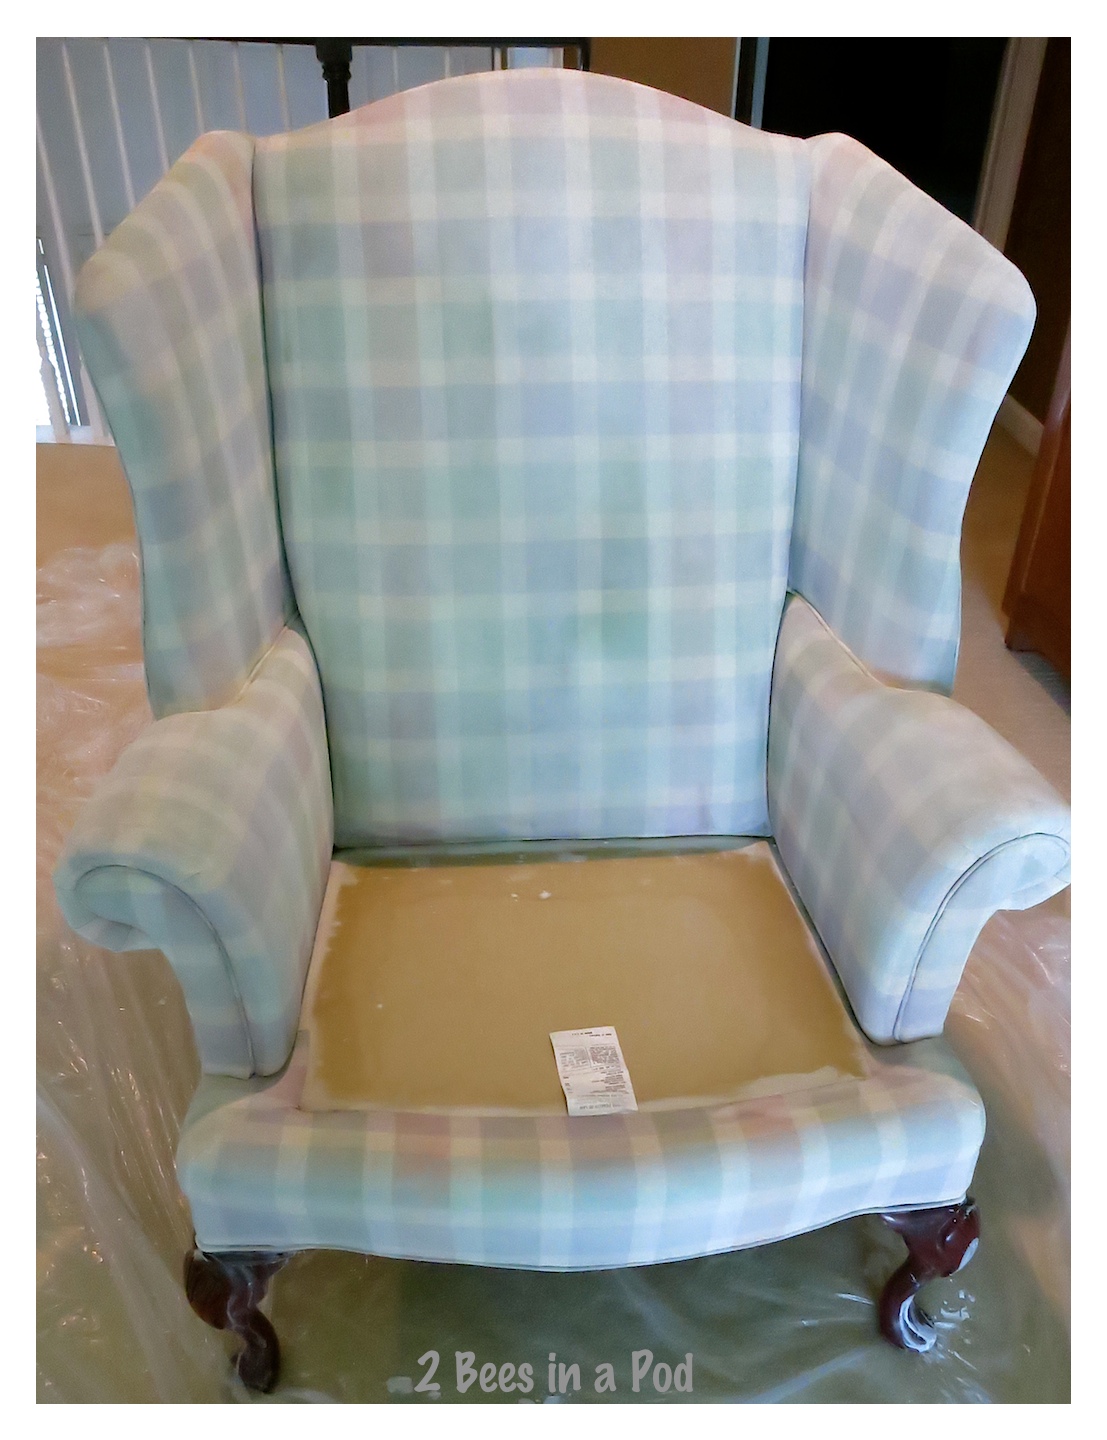
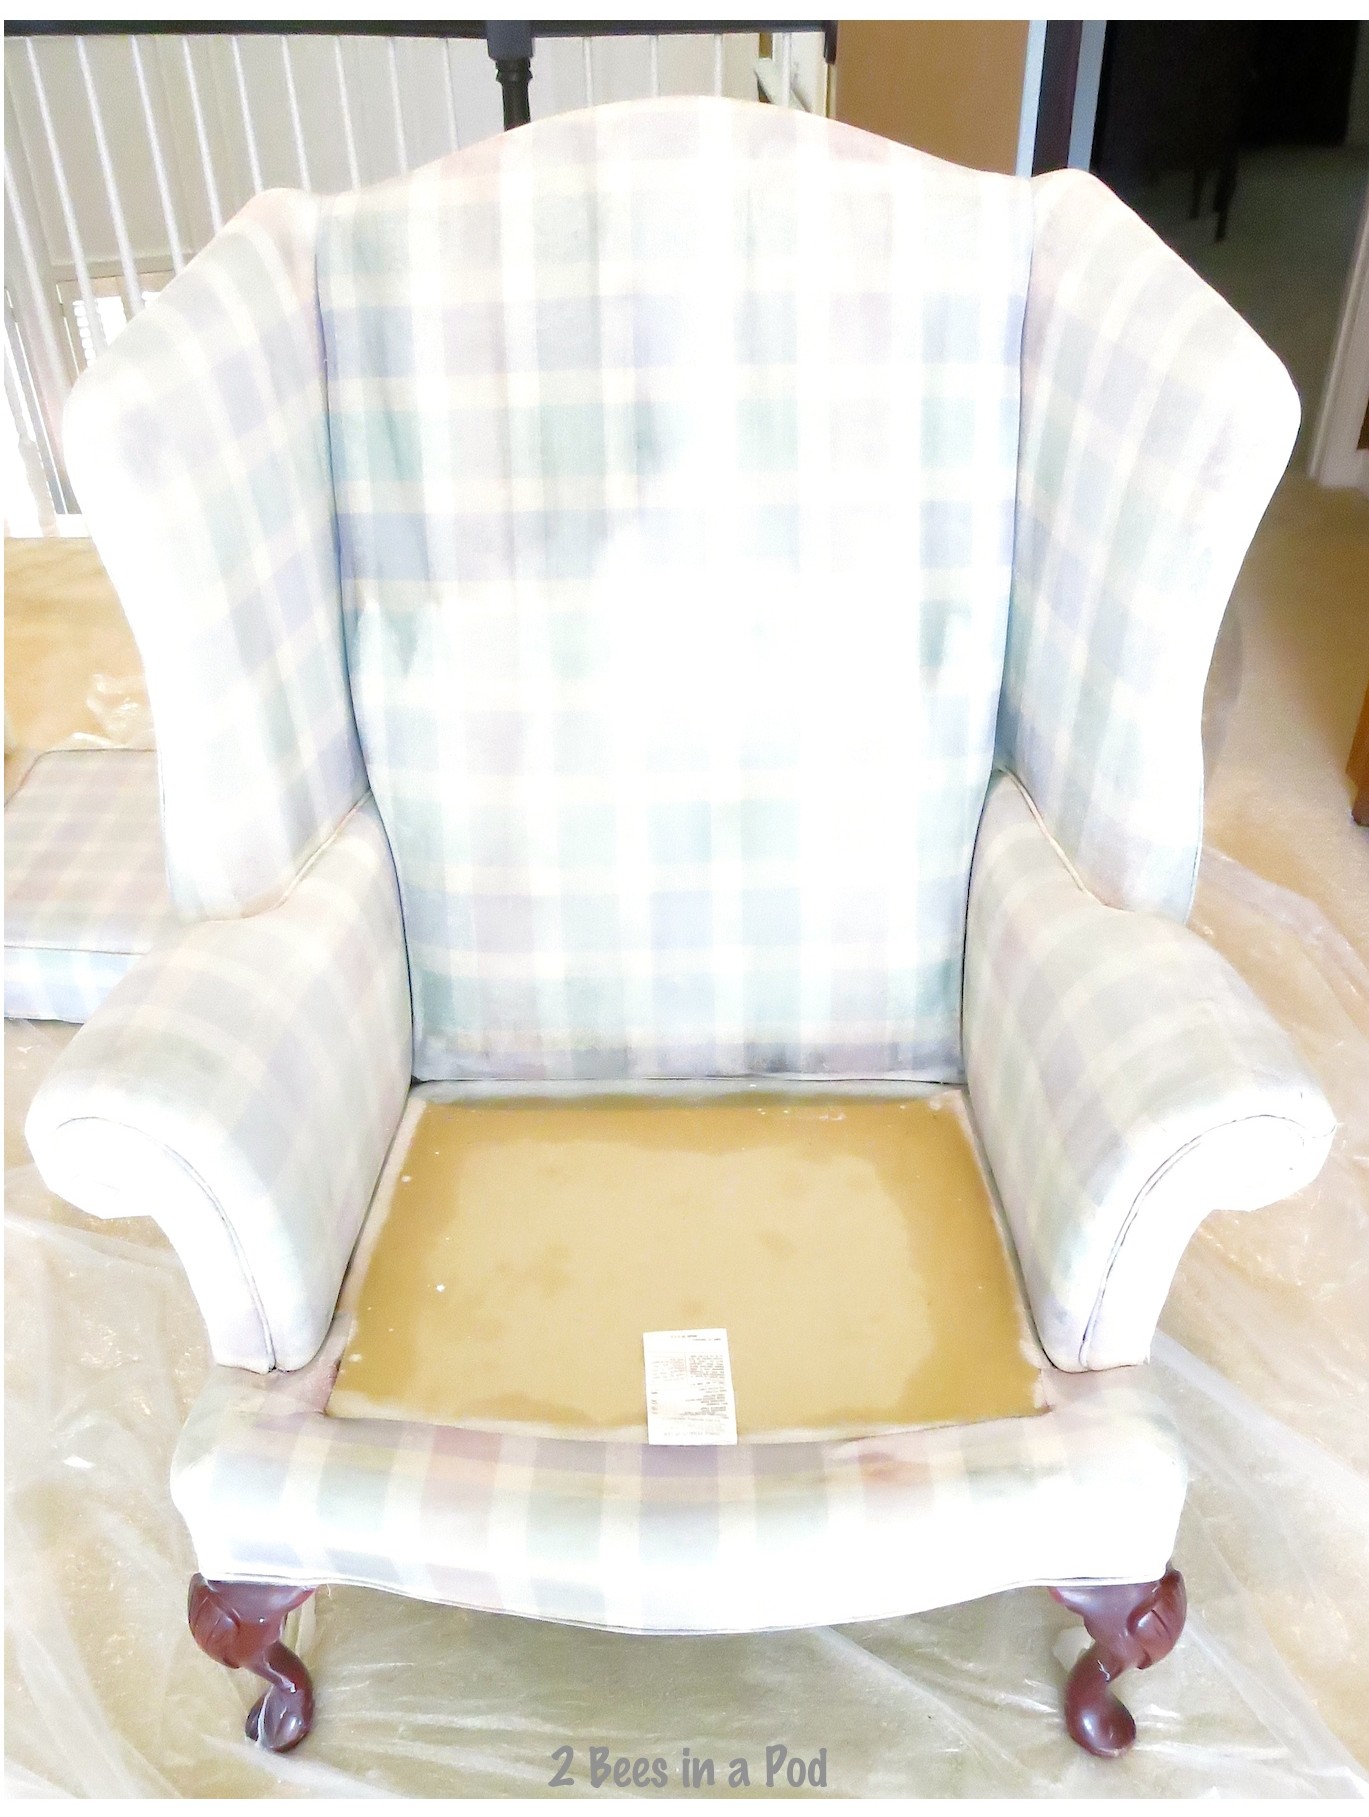
Painted wing chair…it worked! There she is, relegated to the corner of the upstairs landing. Too loud and colorful to be seen in public. I’m talking about this wing chair of course! I won this wing chair as a raffle prize at the High Point Furniture Market many years ago.
This chair is still very comfortable and in excellent condition. I just don’t care for the gemstone colors and checked pattern. At one time I got an estimate from an upholsterer to the tune of $400.00. The 10 yards of fabric needed to cover the chair was another $300.00…this would be a grand total of $700.00. Don’t get me wrong – the chair is great but it is not a prominent piece in my home. After upholstering, this would be the kind of chair that you could freely move from room to room throughout the house.
Let’s get started!

I began my research and Googled “can I paint a fabric chair” into the search engine. A lot of information and sites came up, most with conflicting information. I found one good tutorial and stuck with it. I read and re-read all of the information. I followed most of the instructions, as I so desperately wanted this paint treatment to work, because I was tired of my chair looking like this:

Materials
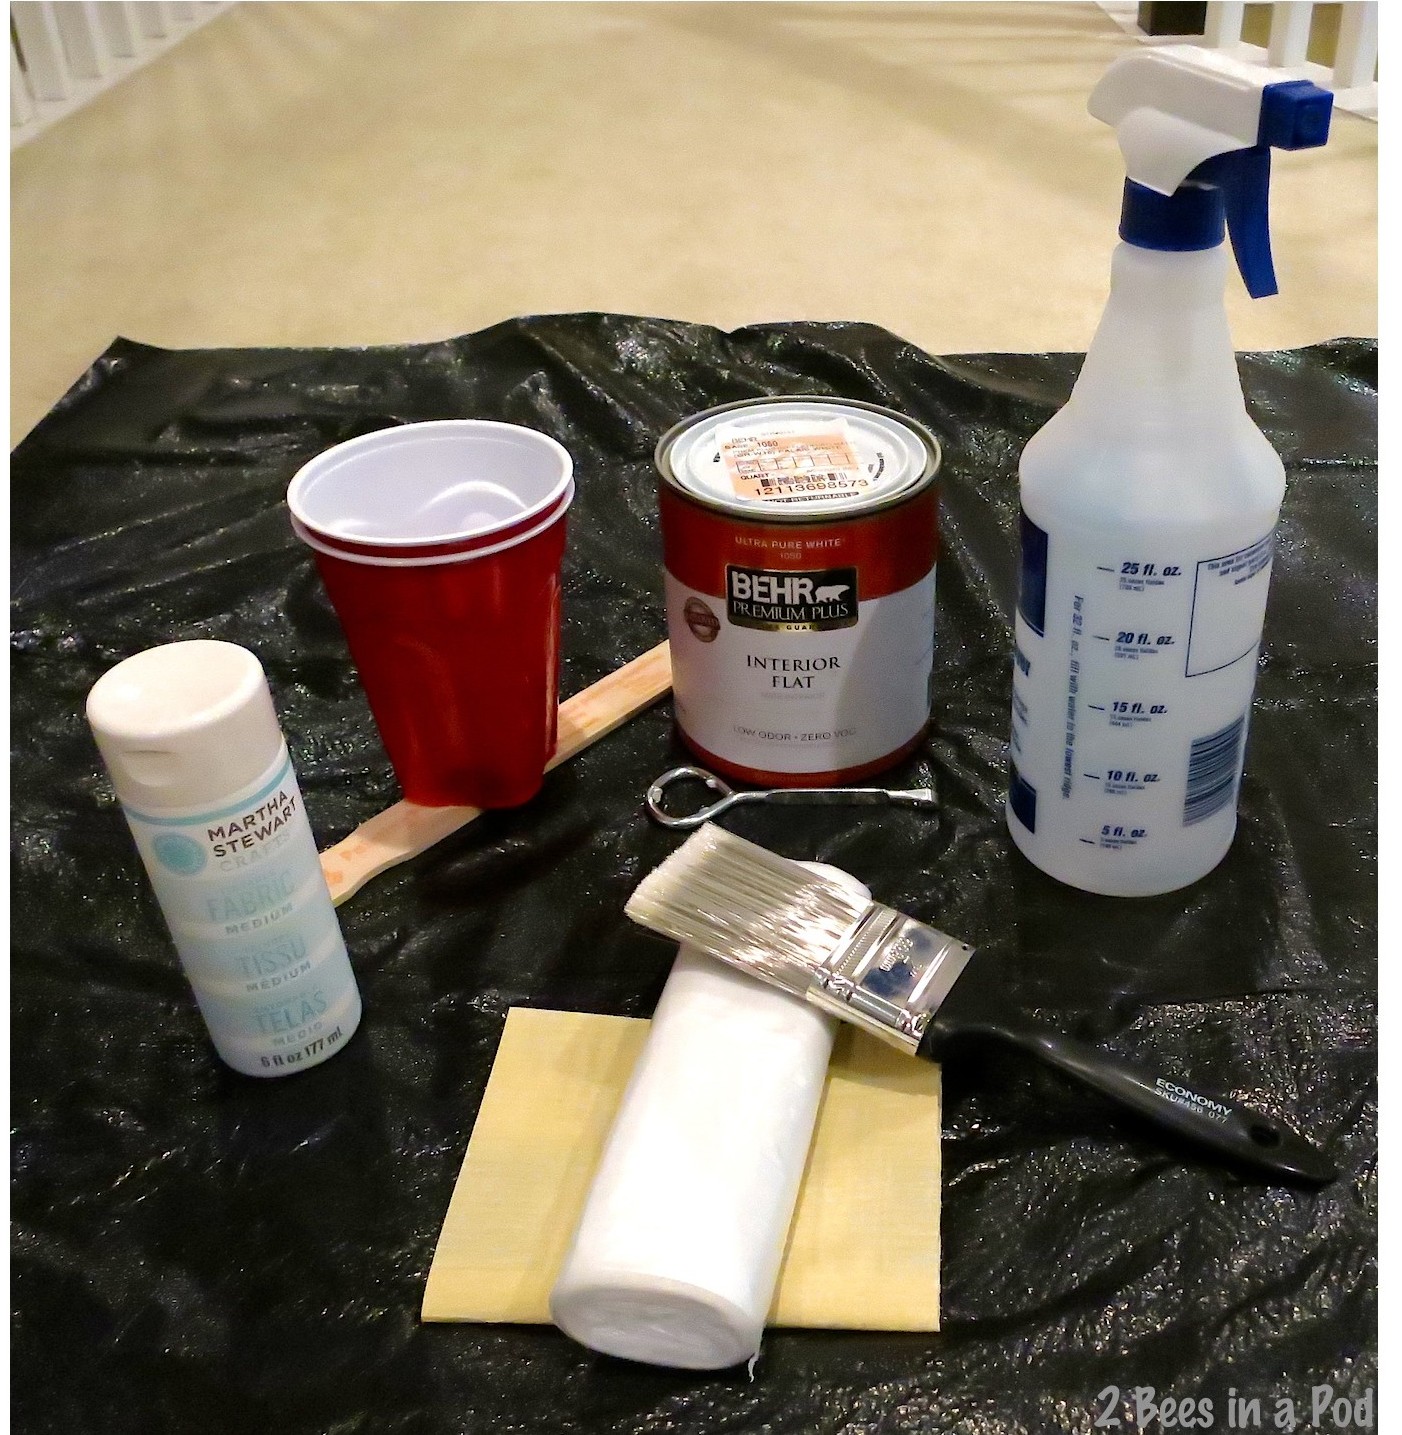
I gathered my materials:
- One quart of paint – I used Behr’s interior flat French Linen **UPDATED** Behr no longer has this paint color, and sadly I no longer have the color codes. I recommend the color Swiss Coffee. I have personally used this paint and it is a beautiful creamy white.
- fabric medium – equal to the amount of paint used – I used Martha Stewart brand
- Spray bottle
- Plastic tarp
- Paint brush
- 220 grit sandpaper
- Red Solo cups for mixing
- Make sure your chair is completely clean and free of dust.
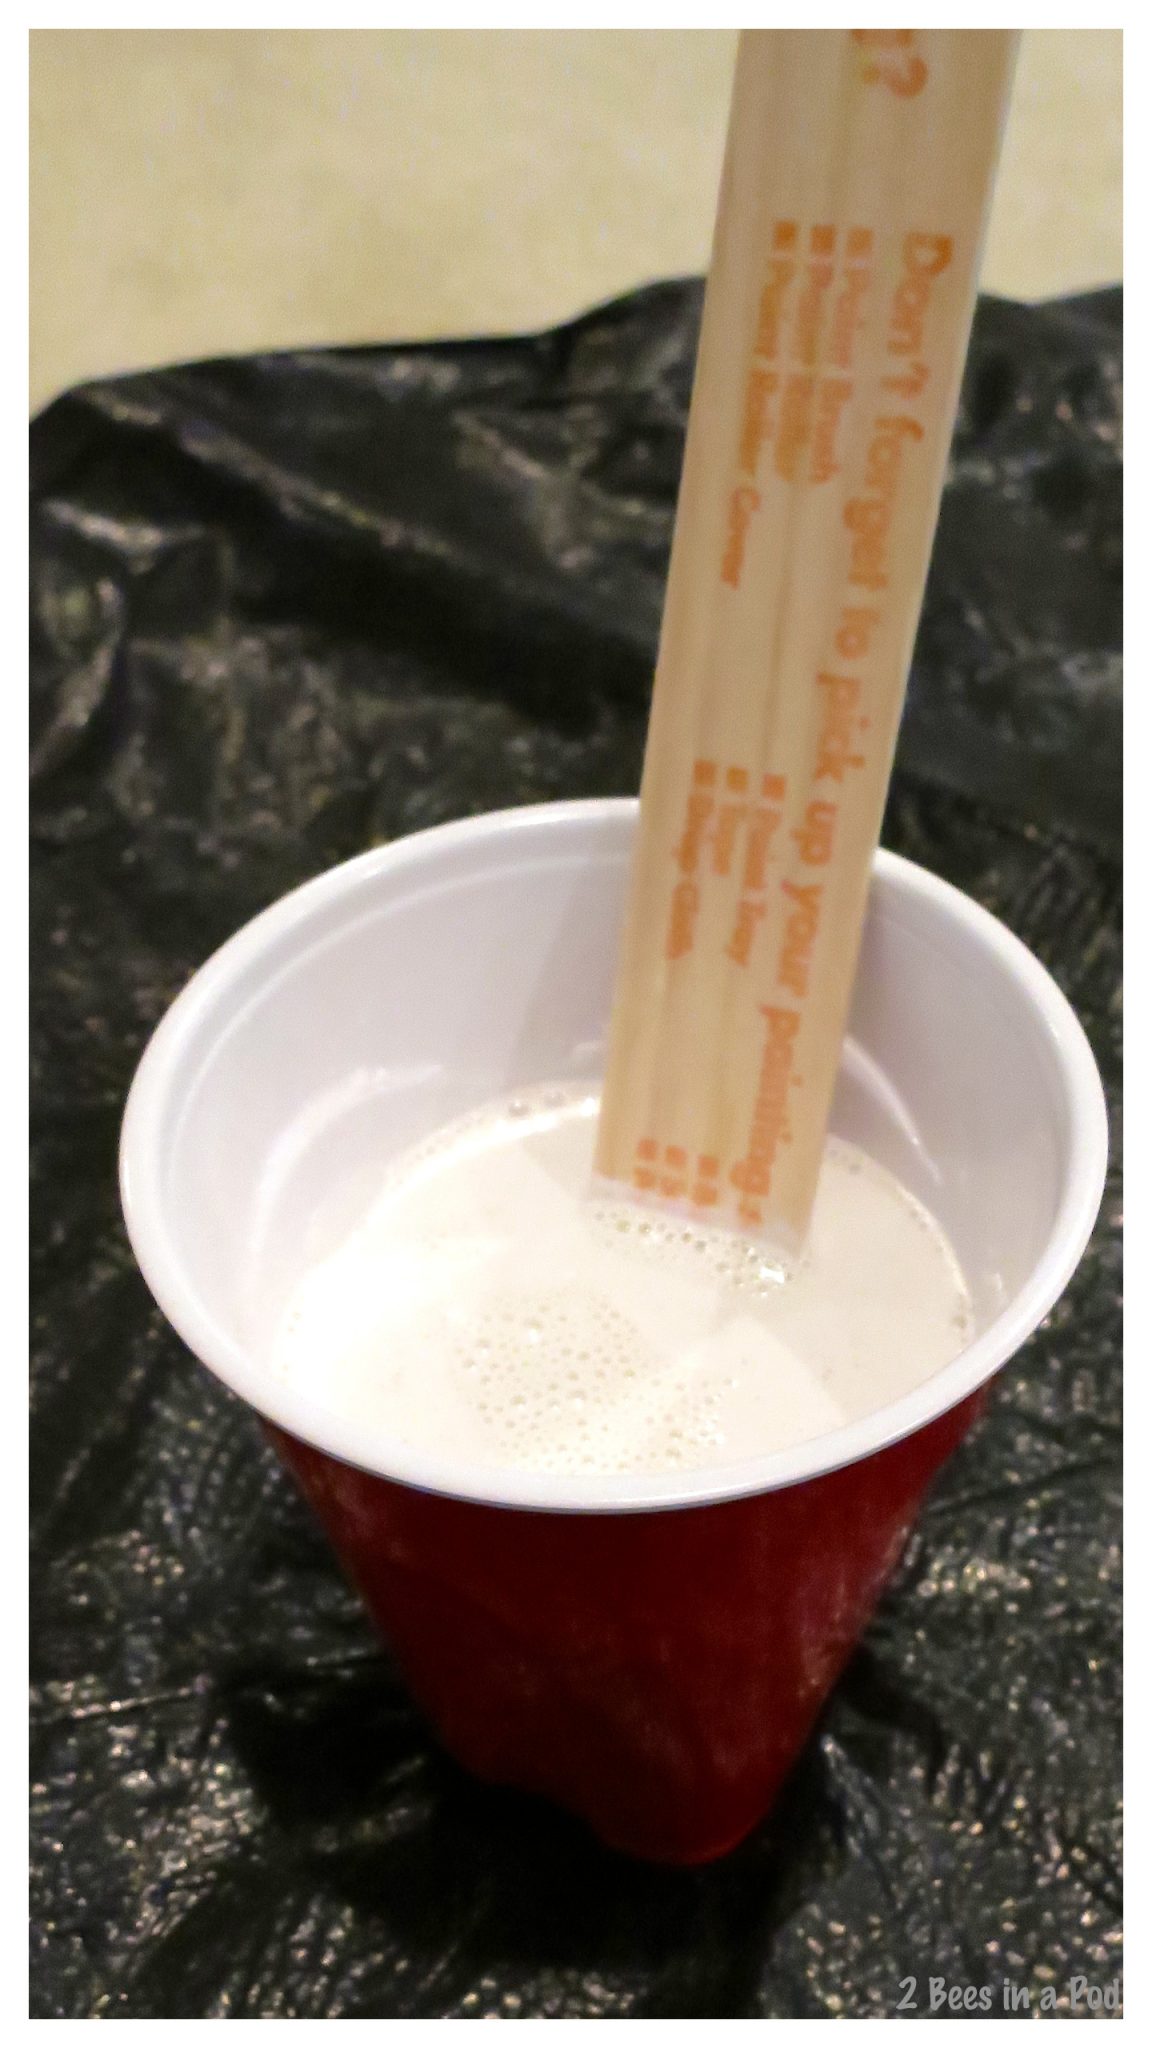
- I didn’t use exact measurements when mixing the paint concoction. Using my Solo cup I mixed in approximately 1/2 cup of paint medium and a 1/2 cup paint. I stirred it very well and then added 1/2 cup of water. This mixture will be very thin and foamy – kinda like a latte 🙂 But don’t worry.
- I removed the seat cushion and set it to the side.
- I filled the spray bottle with water and began spraying the chair with the water, working it into the fabric. A little scary when I started but I kept going with it.
- I grabbed my paint brush and began brushing the paint on slowly and blended the paint into the fabric as I worked. The last stroke should be painted with the grain.

- When the paint mixture is wet, the paint appears thicker/darker but this mixture is more like a stain.
- The first coat dried very light. I let this first coat dry overnight.
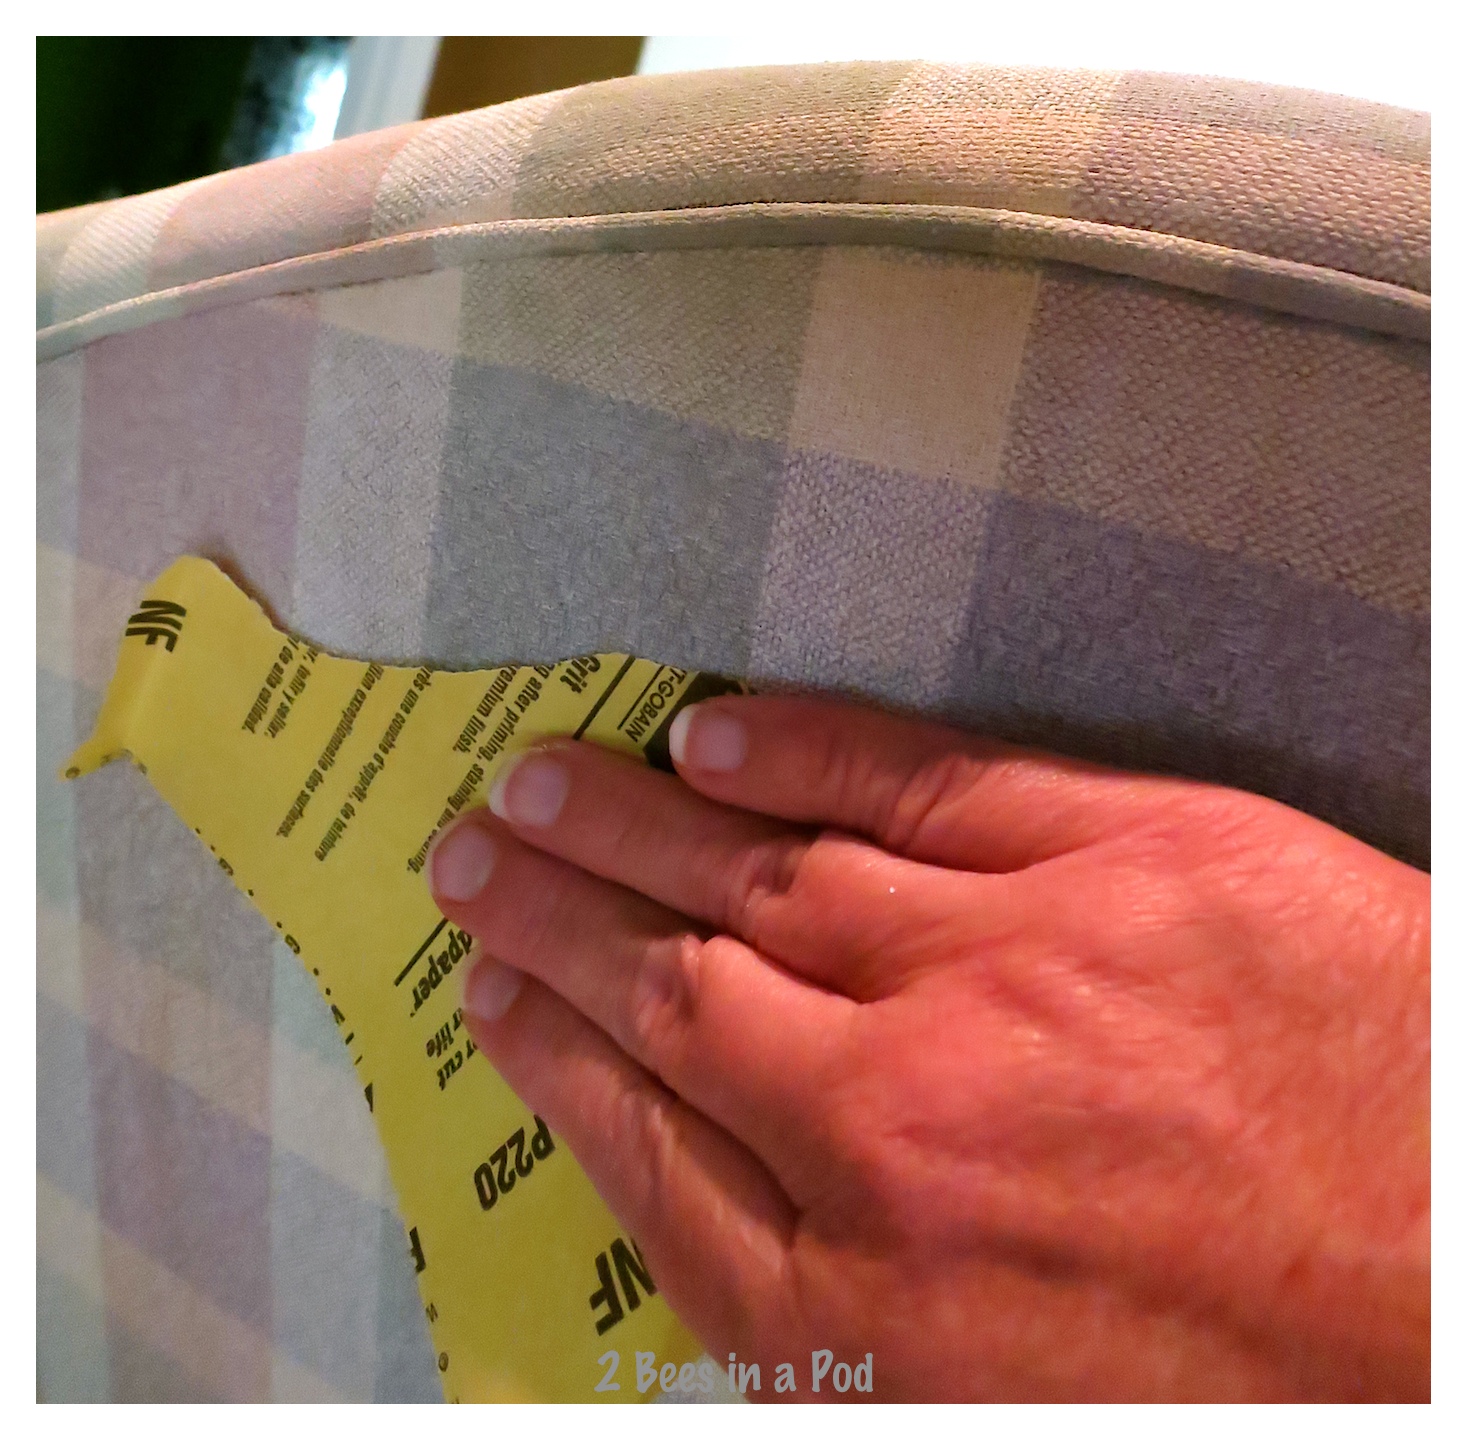
- Before starting the second coat, I used the 220 grit sandpaper and sanded the painted upholstery. This seemed like a crazy idea to me and I was afraid that the paint/stain would come off – but it didn’t. By sanding the fabric it smoothed and softened any stiff areas. Don’t forget this important step.
- Do a second coat the exact same way as the first coat. Again, I let it dry overnight.
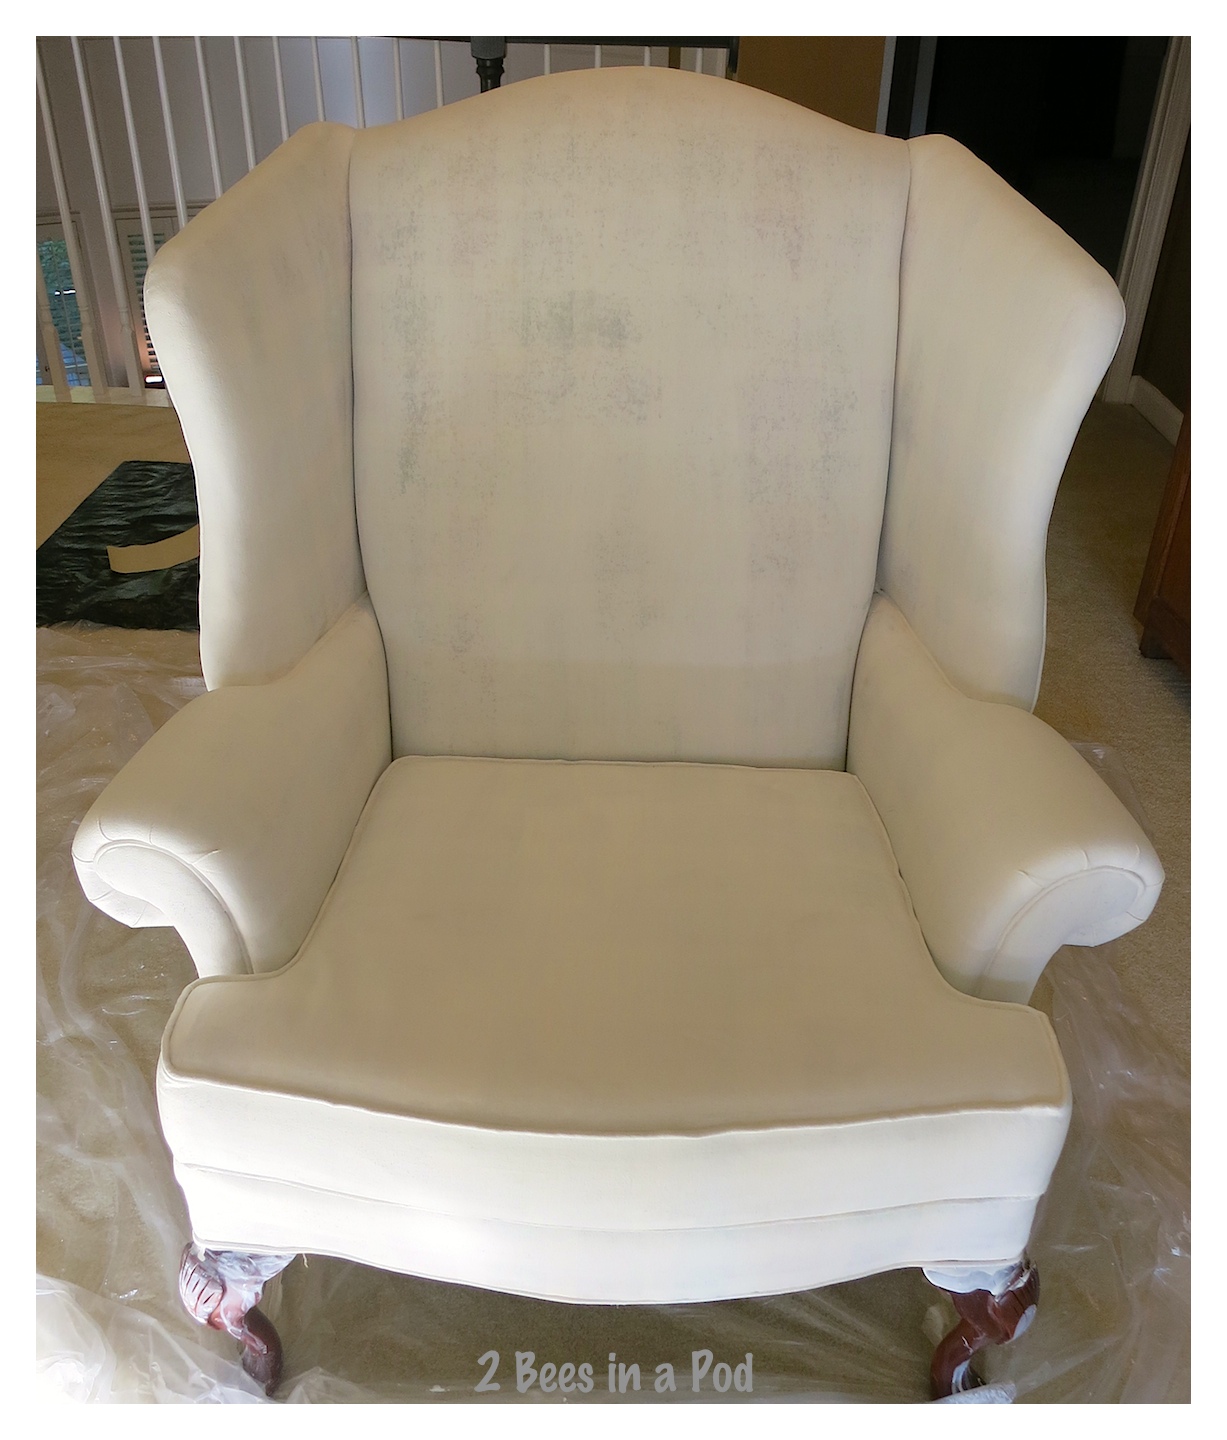
This is how the chair looked after the second coat:
- For the third coat I mixed up the entire Solo cup – half paint, half paint medium and only a drop of water.
- No need to sand or spray with water for the next coats.
- Being that my chair was going from darker color fabric to off-white, I needed to repeat the paint and medium process for a fourth coat.
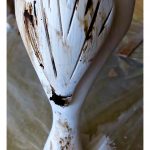
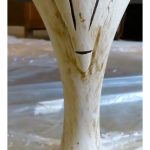
- I painted the chair legs the same color as the chair – good thing being that I slopped paint all over them.
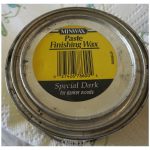
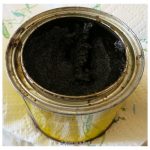
- I then antiqued the legs with stained paste wax

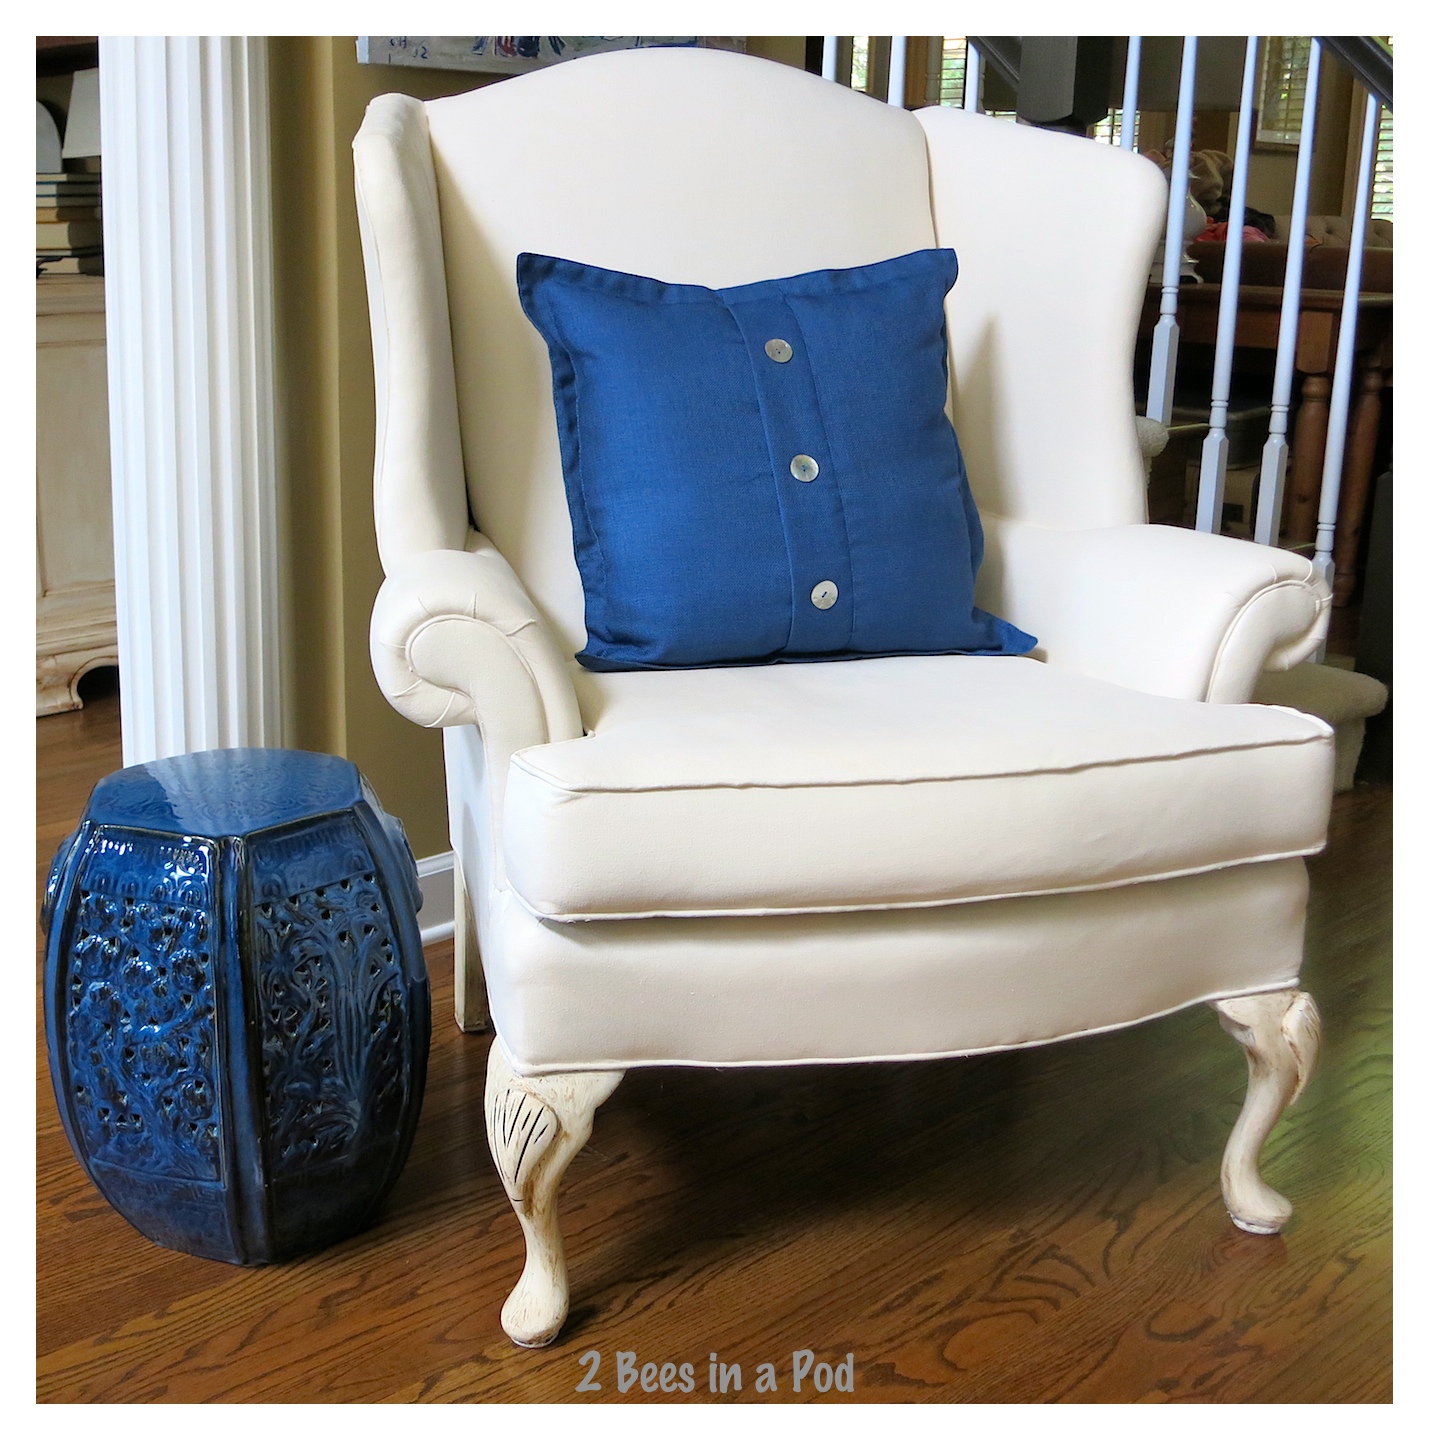
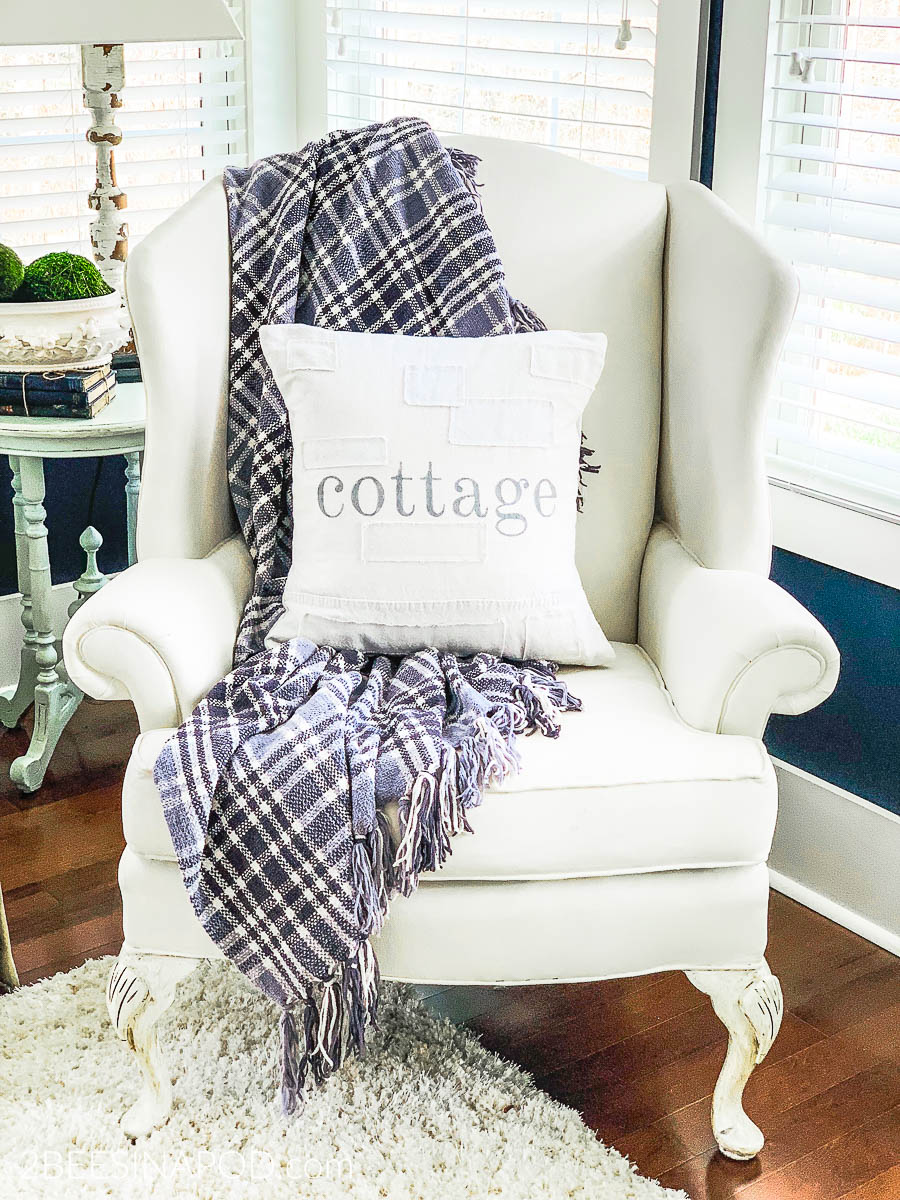
Look at how beautiful this chair is now – I LOVE IT!
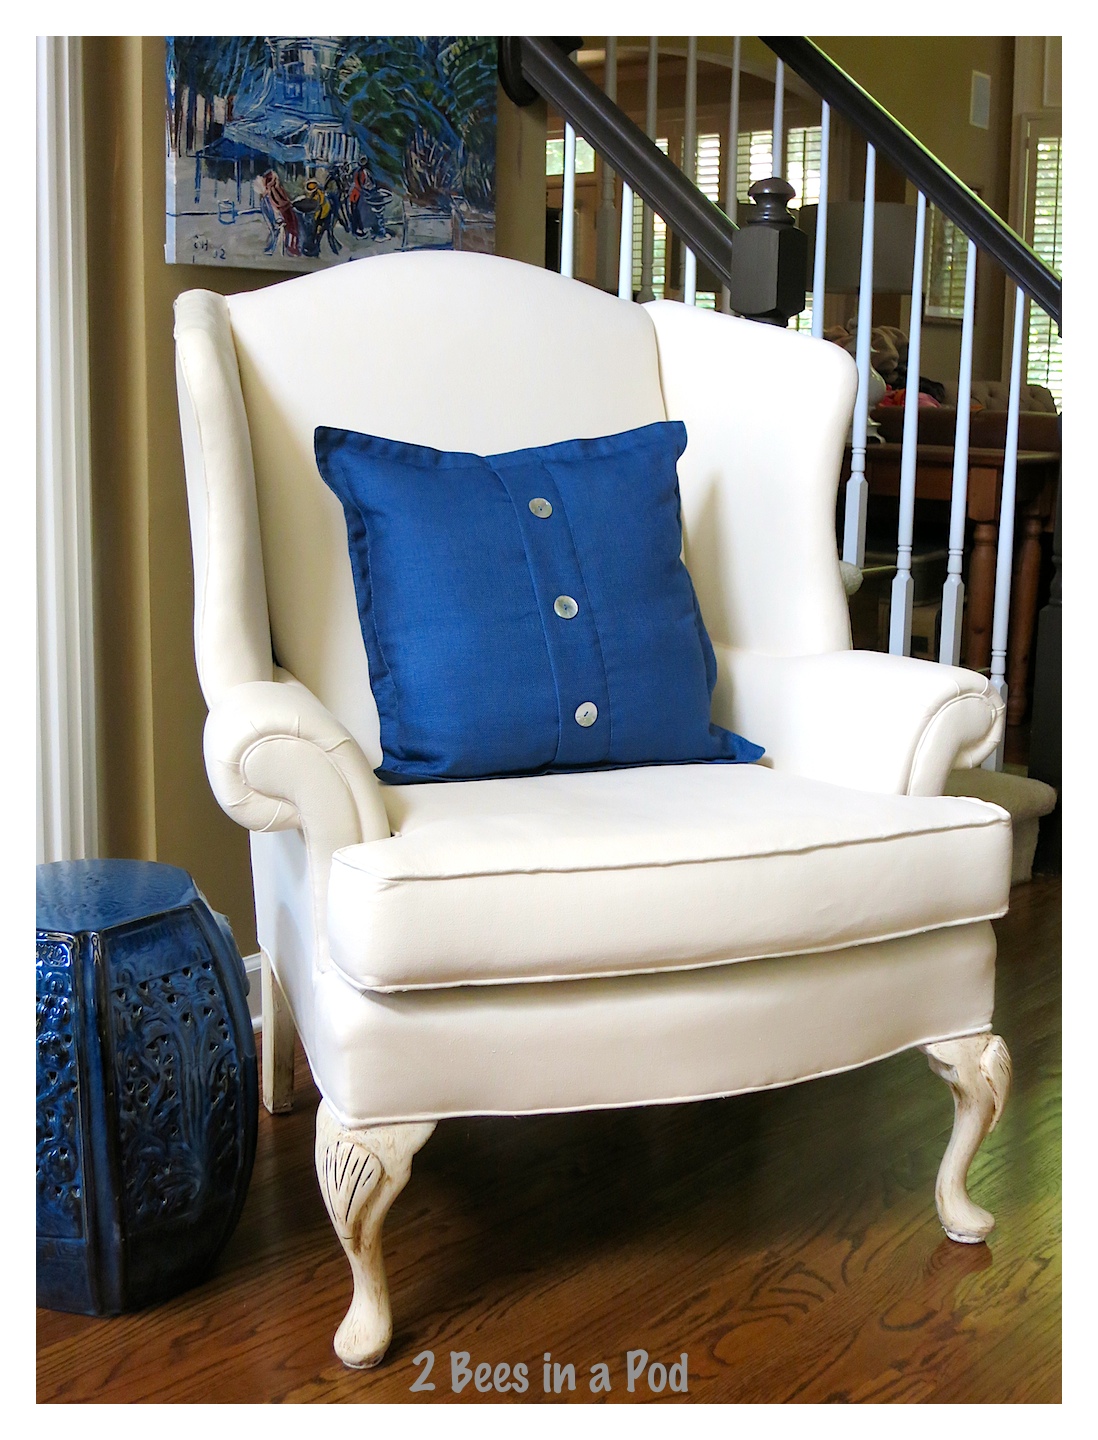
The chair truly is a beauty now. The fabric is stiffer – like a painters canvas. I think over time it will soften up. The most difficult part about this project was using the spray bottle – my hand got a little stiff from all of the spraying. It was also difficult for me to let the chair dry between applications – I wanted the end result ASAP 🙂 – but I toughed it out and was rewarded with a beautifully finished painted wing chair.
The most expensive part of the project is the paint medium. I used 40% off coupons at Michael’s and Hobby Lobby – the Martha Stewart bottles retailed for $5.99 each.
Cost breakdown:
- Chair free
- Paint $6.00
- Medium 4 bottles after discount $3.59 each X 4 = $14.36
- tarp $1.00 from Dollar Tree
- paint brush $1.00 from Dollar Tree
- Sandpaper Had in collection
- Spray bottle Had in collection
Grand Total $22.36
This project was well worth the time and work involved to achieve the look that I wanted. Now my chair is proudly displayed front and center at my downstairs landing – punished no more.


Wow! What a great change. That turned out awesome. Great tips, too. Well written. Thanks for linking to me! I’ll add you to my chairs page where all of the examples are in a bit – http://www.hypheninteriors.com/chairs
Thanks Kristy! When we found your website we were over the moon…it is such a great idea and so cost effective.
The chair is absolutely beautiful! What a great idea. All of my furniture is currently sitting in the drive-way waiting for me to come up with the right colors. Billy boy is not a happy camper
Thanks Aunt Linda! If you need any help just let us know 🙂
I would have never had thought to paint something like that! I will definitely keep that in mind for the future!
I know…it’s such a great idea and saves so much money!
I know that humble wingback chair, and it is now just beautiful! I did not know it was possible to paint fabric furniture. Just amazing!
Thank you Bambi! The transformation is amazing. I will update with a later post as to how the painted wing chair feels in texture and how the paint is holding up. So far, I am extremely happy with the results…
Love it!! Such an improvement over the original fabric, and I love the legs. Question..did you sand between each coat of paint, or just after the 1st one? Also curious if the fabric is less stiff now that it’s been several months since you painted it?
Hey Amy – I did sand between coats of paint. Initially, when the chair was completely dry it felt like soft canvas. Now it feels more like oil cloth. I use the chair daily and there has never been any chipping, scrapes or marring of any kind. I was completely happy with this project. The chair had been long forgotten and unused because I no longer liked the fabric. I figured I didn’t have anything to lose. I am so glad I did.
Hope this helps 🙂 Let me know if you need more info.
Vicki
Thanks! I’ve always been afraid to paint fabric furniture but I think I may give it a go now. This is the best tutorial I’ve seen showing how to do it. I pinned it and I’ll definitely let you know when I try it!!
Love the transformation and seriously thinking about trying this. Just wondering if you or others have had issues with paint coming off on clothing as people sit on the furniture?
Hey Sheila! I, as well as others in my household, have sat on the chair and have not had any issues at all. I love how it turned out and would absolutely paint another chair in the future. If you decide to do it let us know how it turns out!
Oh my! Dying to try this but very nervous! Wondering about the longevity of the paint on the fabric. Want to do a wing chair I’ve had for years and needs a refresher!
I love this!- i just mentioned to a friend that i wished i could paint the fabric on my chairs- she replied, “check Pinterest”. But of course! fantastic ideas!
Here’s a suggestion…How about using a garden sprayer for the water? Might give your hand a break 🙂
I love your results! I see that you sanded in between coats. Did you have to re-wet the material or just painted the next coat?
I am currently doing this exact project and was really losing faith with my choice of an off-white paint on my dark chairs. You’re tutorial has given me hope! I’m going to use more paint and medium than water and see how it goes! Hopefully it looks half as good as yours! I have two to do so it’ll be awhile though!
Sydney – Keep going! It is so worth it in the end…we promise! It’s a;so important to lightly sand between coats. As you can tell from our photos…it was looking like a hot mess, but when you get to the half and half mixture it looks like 100% paint. If we can help you in any way – just holler! Good Luck!
Thanks so much for this tutorial! Question – do you spray the water on before every coat, or just the first and second? Same question with mixing the water in the cup, just the first two coats, right? And then you sand every time?
Wow ! I never thought of white paint before, my chair is white with sharpie stains on it. Do you think it will cover green marker with white paint ?I would be so happy if it did. You really did a nice job on your’s Kathleen
Hi, love the way your chair came out! I’ m currently working on one, testing on the seat cushion. Did you spray water in between coats or just sand?
Do you still use the medium or have you tried the D IY chalk paint recipes? Also did you put any kind of a sealer or wax on as a top coat?
Hey Joyce – Yes, the use of the medium is a key ingredient. It keeps the paint from being hard and cracking once the paint dries on the upholstery. We have used chalk paint on fabric but only on a very small piece.We have not used any wax or sealer on our pieces. This was just our preference. Good luck – we can’t wait to hear your results!
Painting fabric is on my to do list for so long, and yours seems the best tutorial I’ve found. Pinning because I will try it for sure! One question, how do you clean any possible stains?
I’m excited/nervous to try this on a pair of wingback chairs I don’t way to pay to have re-covered. How is the paint holding up since it’s been a few years since you’ve re-done them? Thanks!
Hi Ashley! We completely understand and agree about the expense of reupholstering furniture. Our painted wingback chair is still looking beautiful. It is in the sunroom at Vicki’s home and is sat-on daily. An update post was written awhile back and you can read that here: https://2beesinapod.com/2017/02/03/painted-wing-chair-update/
If you are patient and follow the tutorial directions you should not have any issues with your chairs unless the fabric has a funky weave or has bleed through due to pigment.
Good luck and we would love to see what they look like when you finish!
All the best…Vicki and Jenn
I loved the look and the video. I hope to do the same to two recliners. You have given me the courage to move forward.
Do you actually sit in the painted chair or is it more for looks?
Hello. I would live to try this but have a question. You said that you used Home Depots Acrylic paint but the picture shows Behr Interior Flat. I want to buy the right supplies. Can you please clarify? Thanks!
Hello – great question! Just to clarify, we went straight to Behr’s paint site. This is their definition…”There actually is no difference between latex and acrylic paints because there is no latex in latex paints. All water based paints today are referred to as “latex”, even though there is absolutely no latex rubber in the formula. Latex has become a generic label.”
We hope that this helps. Good luck with your project!
Vicki and Jenn ~ 2 Bees
I tried this about 5 years ago and the color worked great, but it was so stiff, even after a year. I threw it away :(.
Yours looks great.
Hi Dianne – gosh, we hate to hear that your project didn’t work out? Did you use a fabric medium additive to your paint? Or maybe it was the type of paint that you used? Our fabric is like a soft canvas.
Thanks for letting us know!
Much Love,
Vicki and Jenn ~ The Bees
Hi
Do you think it’s possible to paint a crushed velvet bed with tall headboard from black to grey? thanks Nyk
I saw on a make over show they did this but after the layers of paint and drying she used some kind of wax on it. She said it softened it up and it felt like leather. Does anyone have any ideas on this?
After sanding do you need to remove dust it might create?