Easy DIY Wine Charms
Please note that this post contains affiliate links. As an Amazon Associate, Rewards Style influencer and Jane Influencer, we earn from qualifying purchases and any sales made through such links will reward us a small commission – at no extra cost for you.
Whether it be a housewarming or tailgate party – these easy DIY wine charms make the perfect gift.
Are you ready for some football?? We sure are…even though we are a house divided (Roll Tide) we get along very well – as long as our teams win 🙂 Ecstatic doesn’t even begin to describe how happy we are that college football season finally started and both of our teams won! Even better,we were invited to a tailgate party and knew that we were bringing a bottle of wine. In true 2 Bees fashion we wanted to glam up our bottle and decided to make easy DIY wine charms.
Last year I was fortunate enough to participate in a girl’s trip. We were in NYC for two days followed by a seven day cruise to Bermuda. A fabulous trip for sure and cherished memories were created.
My best friend Bambi gifted each of us with this wine bottle charm to commemorate our trip.
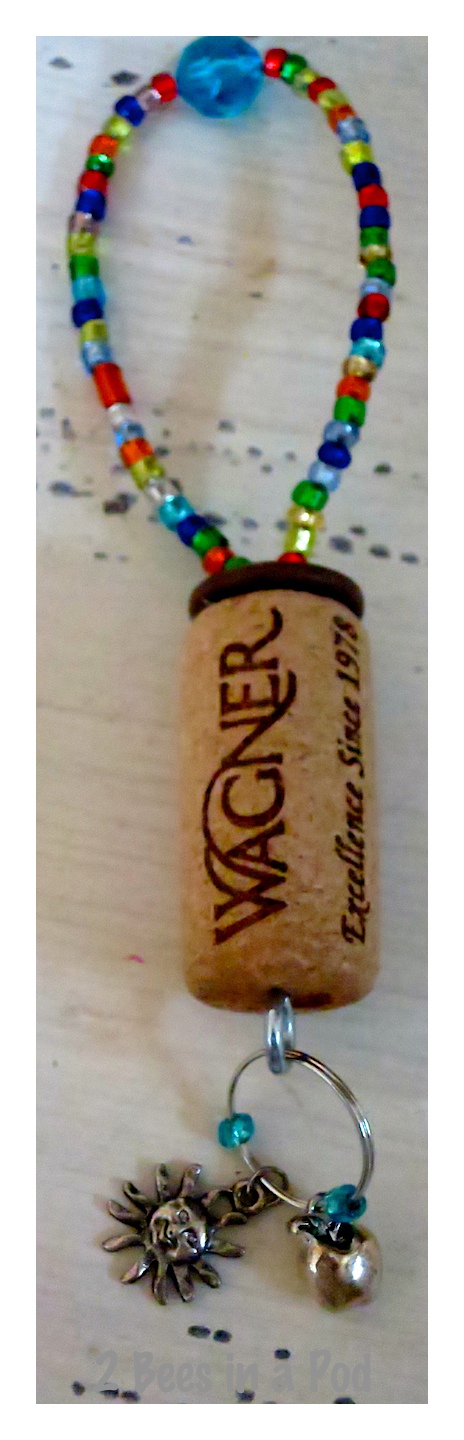
The apple represents New York and the sunburst represents Bermuda – clever, right? I of course did what any best friend would do – I stole the idea and made my own charms – with Bambi’s permission of course.
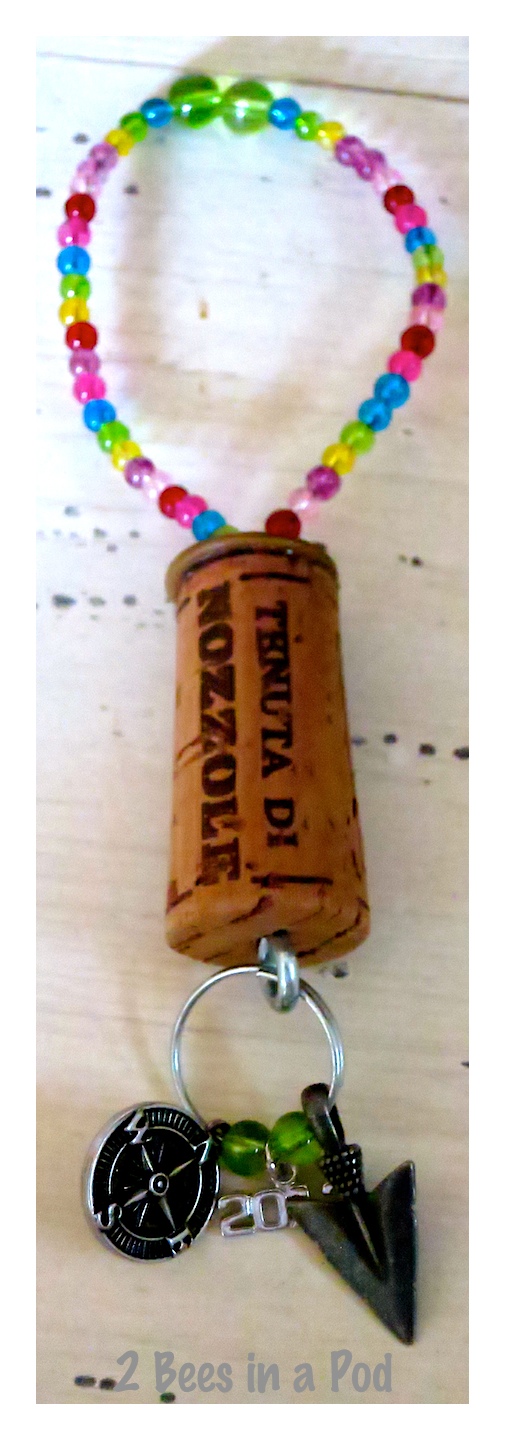
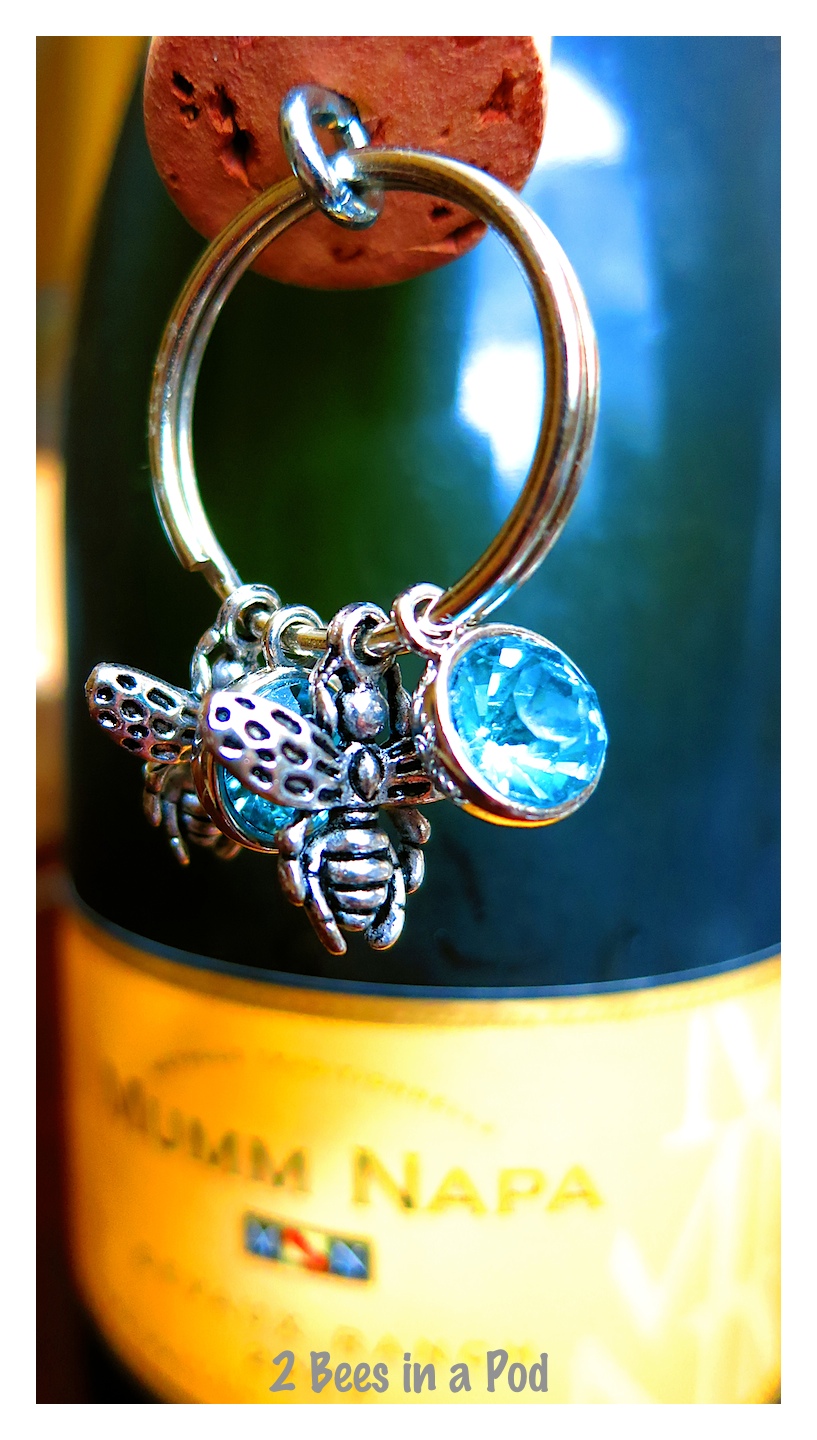
A few weeks later, my entire family went on a camping trip and I made each couple a charm representing this trip. My charms were the year, a compass and an arrowhead – all camping related items. I also gifted each family a bottle of wine.
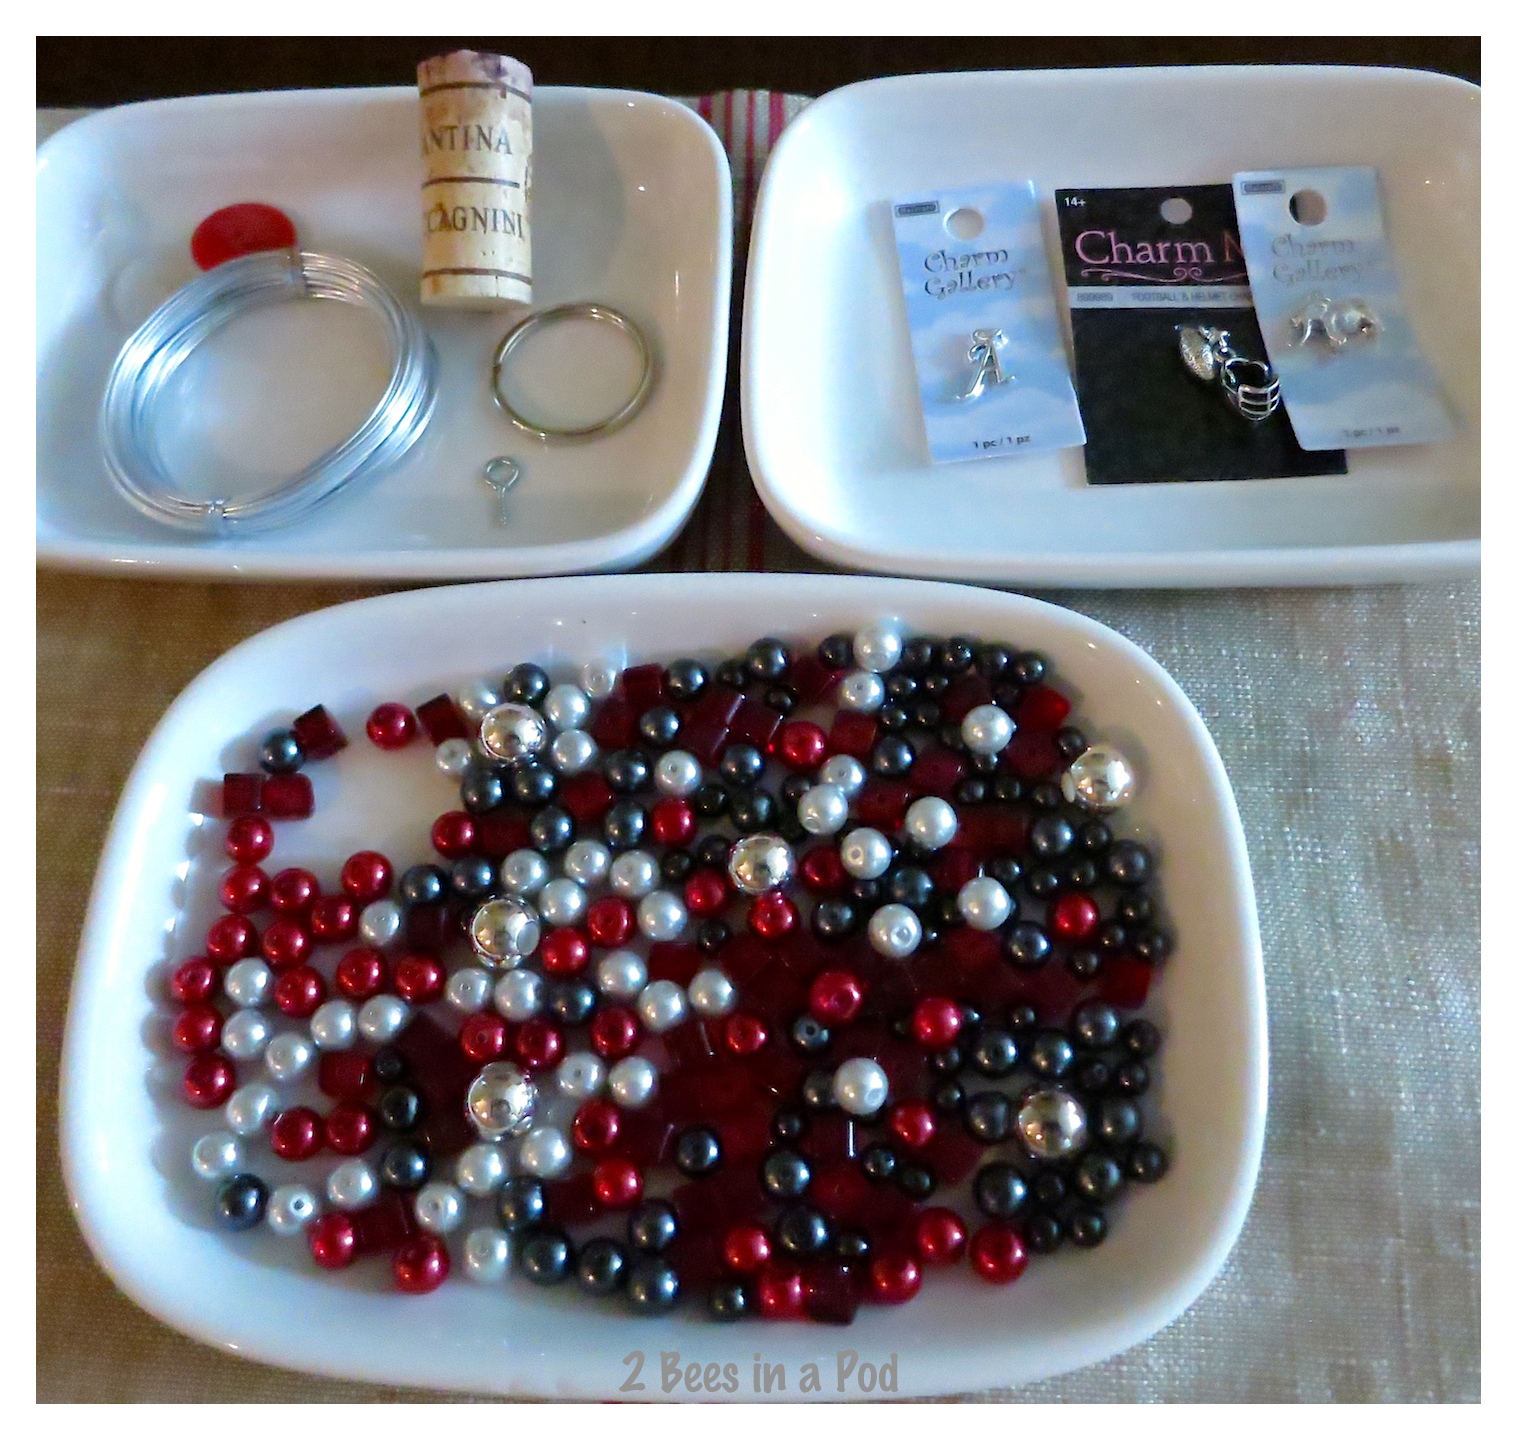
To make a wine bottle charm for the tailgate party, gather all of the materials together:
- Wire
- Button
- Wine cork
- Key ring
- Charms
- Beads
- Eye ring
- Hot glue
This is how you do it
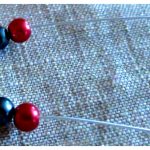
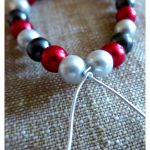
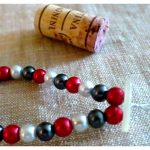
I cut a piece of wire approximately 12 inches long. I placed my center bead first. Then I began adding beads in color sequence on each side of the center bead. I like the two sides to match so that it looks balanced when it hangs on your wine bottle. You will need to gauge the length – it depends on how large your beads are. When you feel that you have enough beads added, twist your wire tightly one time. Now thread the wire through your button. Twist the wire tightly two times. Cut the wire and glue the wine cork underneath the button. Click onto the photos in the gallery below to get a close up:


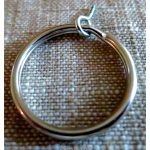

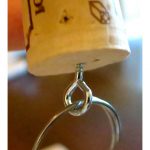
On each key ring begin adding charms in the order that you like. The last “charm” added will be the eye-ring. Begin twisting the eye-ring into the bottom of your wine cork.
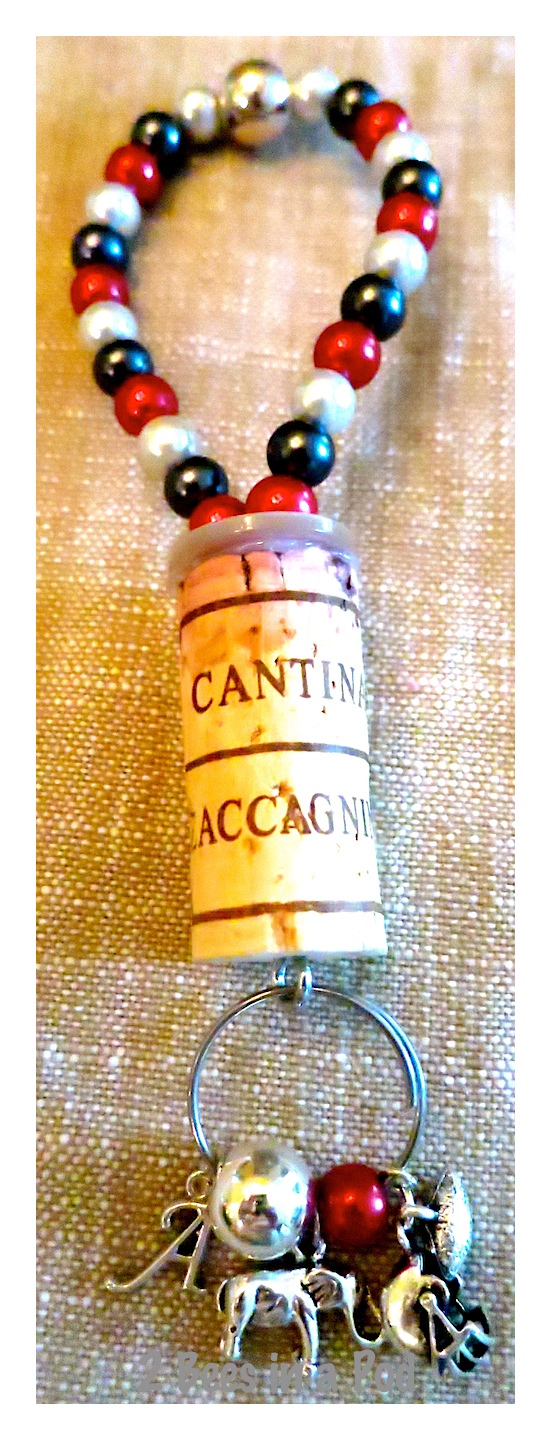
And before you know it… Bottle Bling.

When 2 Bees in a Pod launched this blog just a couple of short weeks ago, we celebrated in style.
A great memento and keepsake…

This would be great to do for the holidays as a hostess gift. Your imagination is endless with color combinations and charm choices for your easy DIY wine charms. Cheers!
Don’t forget to Pin this to your favorite Pinterest board!

Very creative
Thanks JF – you too can make your wine bottles bling by making these charms…give it a try.
Makes a great keepsake tree ornament, too, when using corks from a celebratory or sentimental bottle of wine. Have you found a common retail store to buy the small gauge metal split rings? I’ve tried a couple of places, but the metal is too heavy gauge.
These are so adorable and so easy to make. Thank you for sharing at Dishing it and Digging it link party. We love having you share every week.