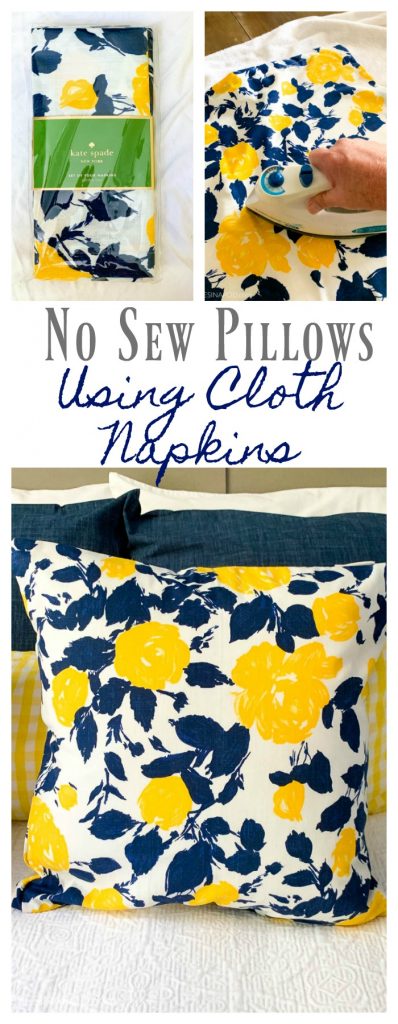
No Sew Cloth Napkin Pillow Covers
Please note that this post contains affiliate links. As an Amazon Associate, Rewards Style influencer and Jane Influencer, we earn from qualifying purchases and any sales made through such links will reward us a small commission – at no extra cost for you.
You do not need a sewing machine to create these designer no sew cloth napkin pillow covers.
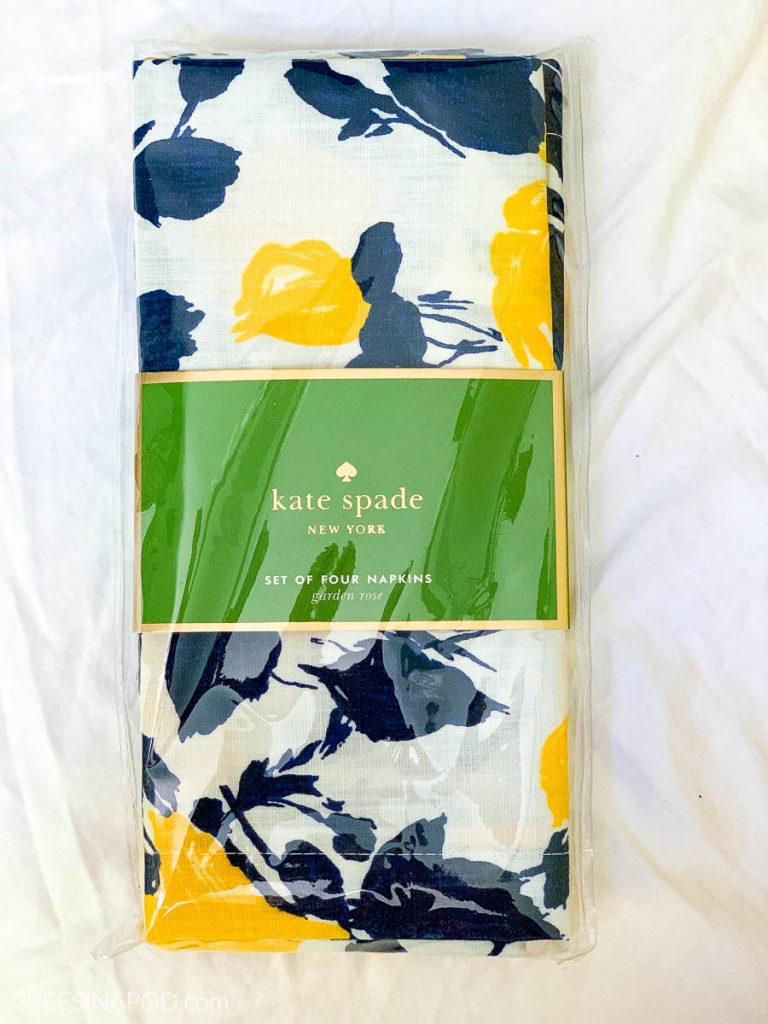
I wasn’t really planning on giving the guest bedroom a makeover. Inspiration has a funny way of striking when least expected. It all started when I spotted these designer, Kate Spade, napkins. Four cloth napkins for just $4.99. Next thing I knew, I had a million design ideas racing through my brain. One idea was to create no sew cloth napkin pillow covers.
Last year, my beloved Singer sewing machine, Big Bertha, died. So far, I have not found a professional repair person. I realize that a lot of people don’t sew anymore, and maybe consider it archaic. With Big Bertha I have always sewed pillow covers, curtains, placemats and more.
A no-sew pillow cover was my only current option.
Iron it Out
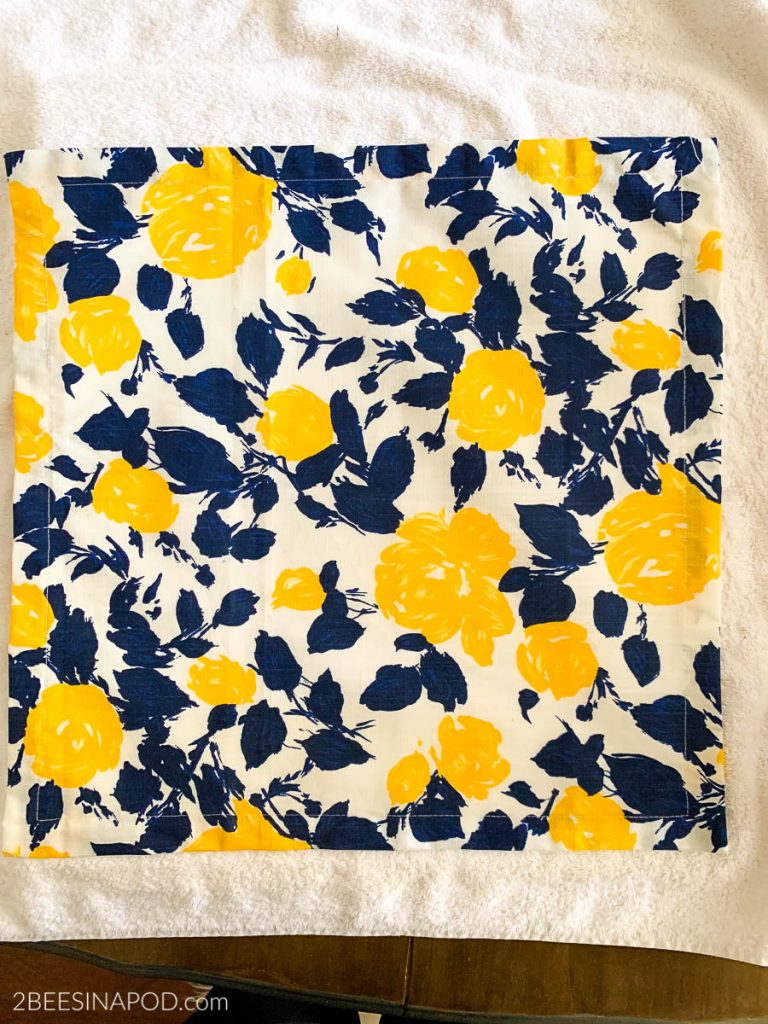
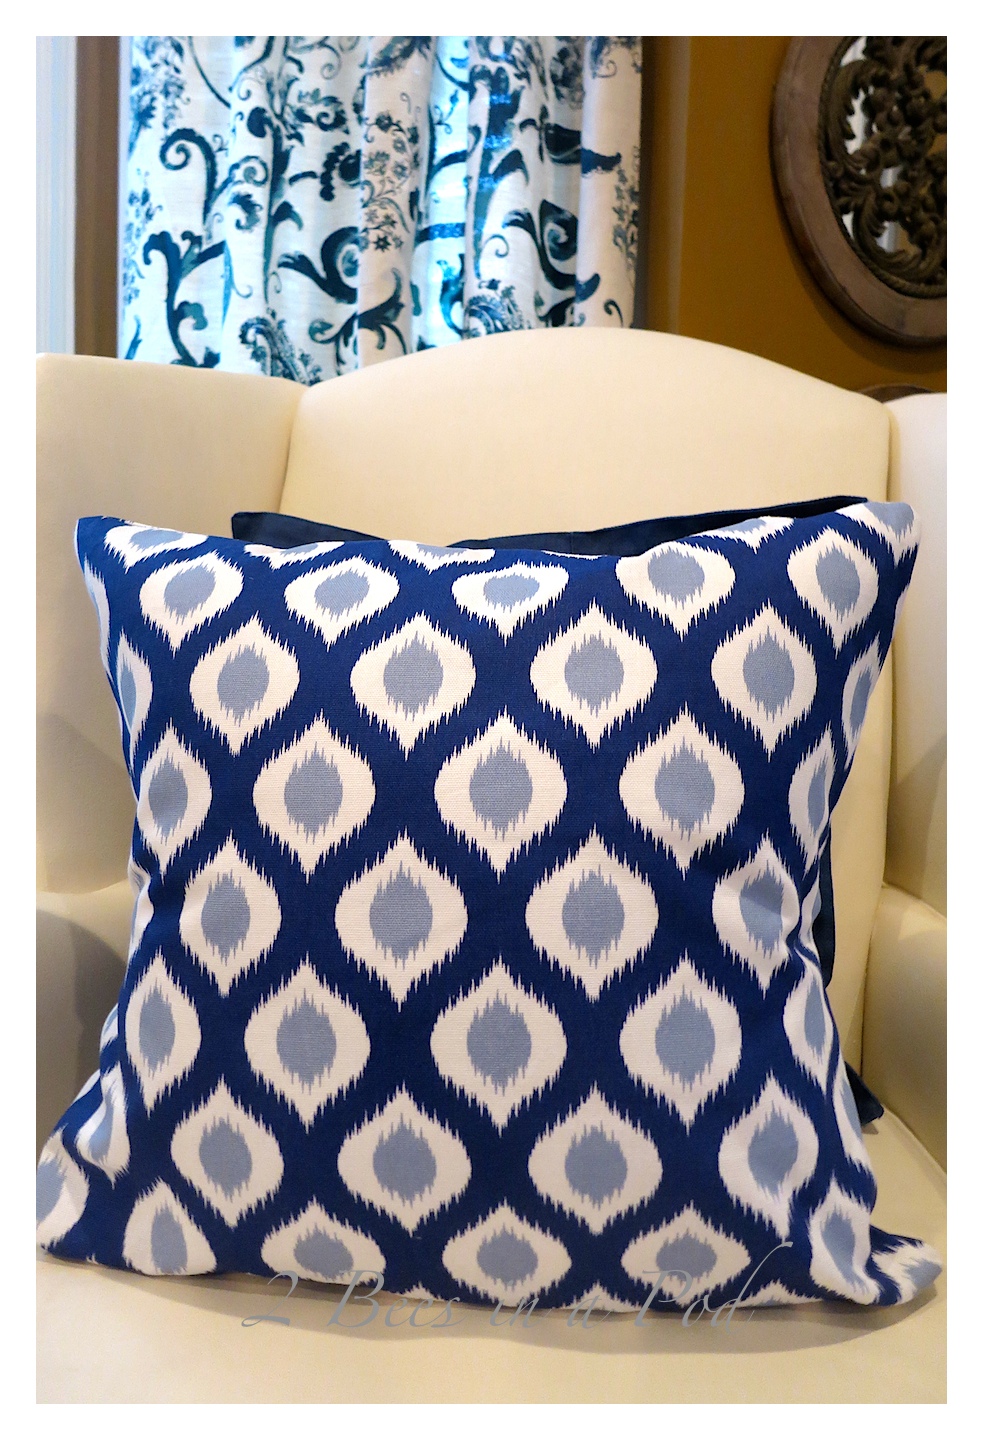
The navy blue and bright yellow are a gorgeous color combination. The first thing I needed to do was iron out the creases. Wrinkles will not disappear, even after stuffed with a pillow form. Take the time to do this step.

There is a Right Side and a Wrong Side
Lay one napkin face up.
Place the second napkin, face down, on top of the other cloth napkin.
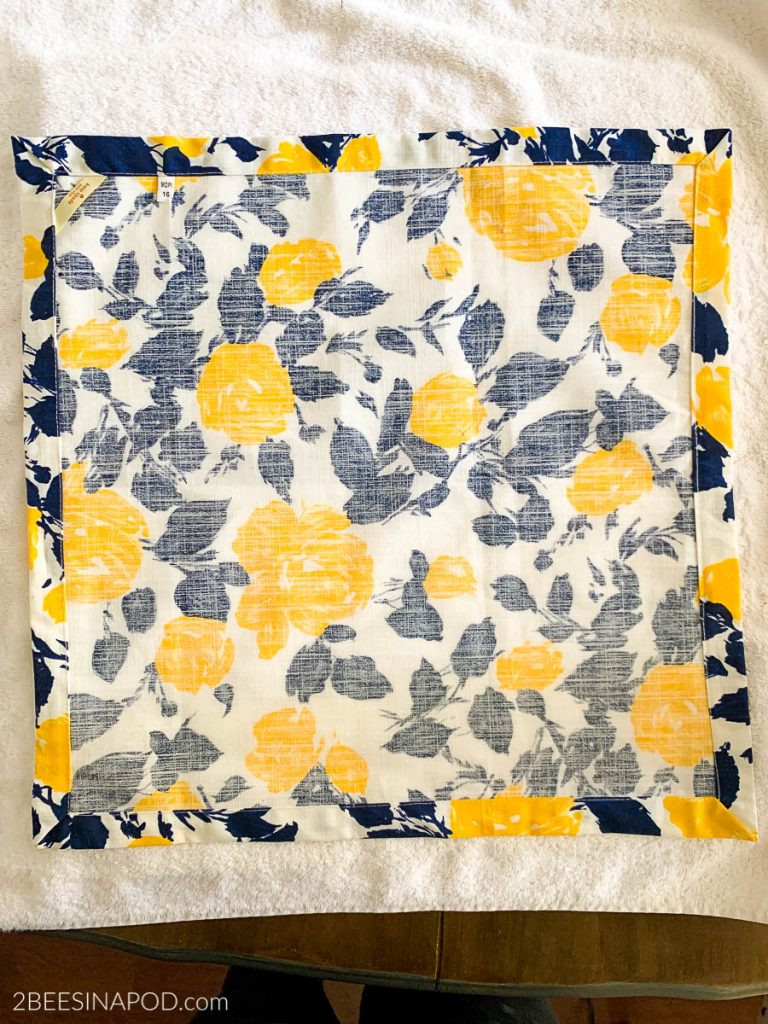
This just means that the pretty sides of the fabric are facing each other.
If you are not familiar with Heat N Bond tape, let me introduce you. This product is basically tape with glue in it. Precisely follow the package instructions and you are on the road to creating decor magic. You can find Heat and Bond tape HERE.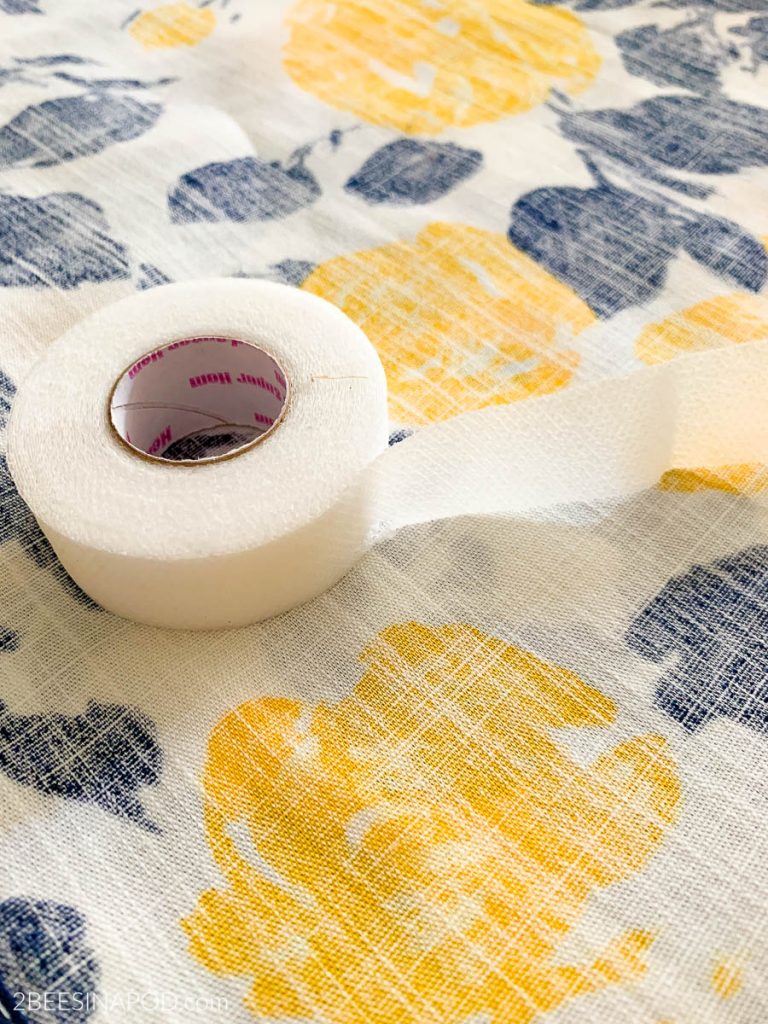
Simply cut strips for all four side of the cloth. Remember to leave a seam allowance.
Only add tape to 3 sides. You need an opening for your pillow insert.
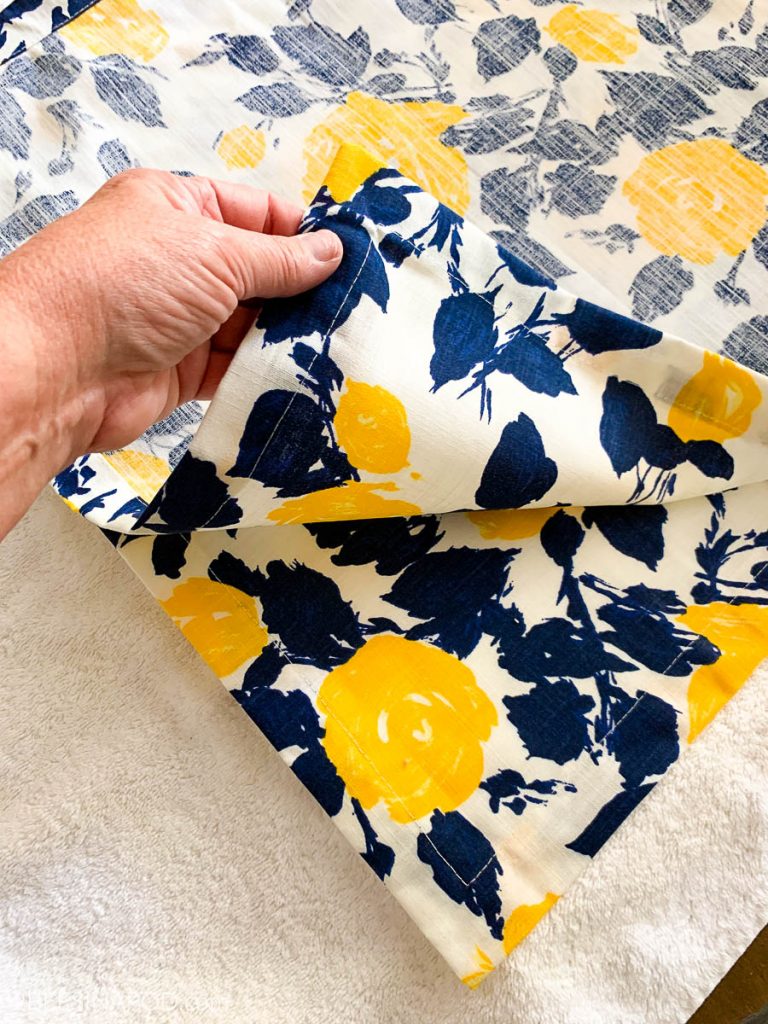
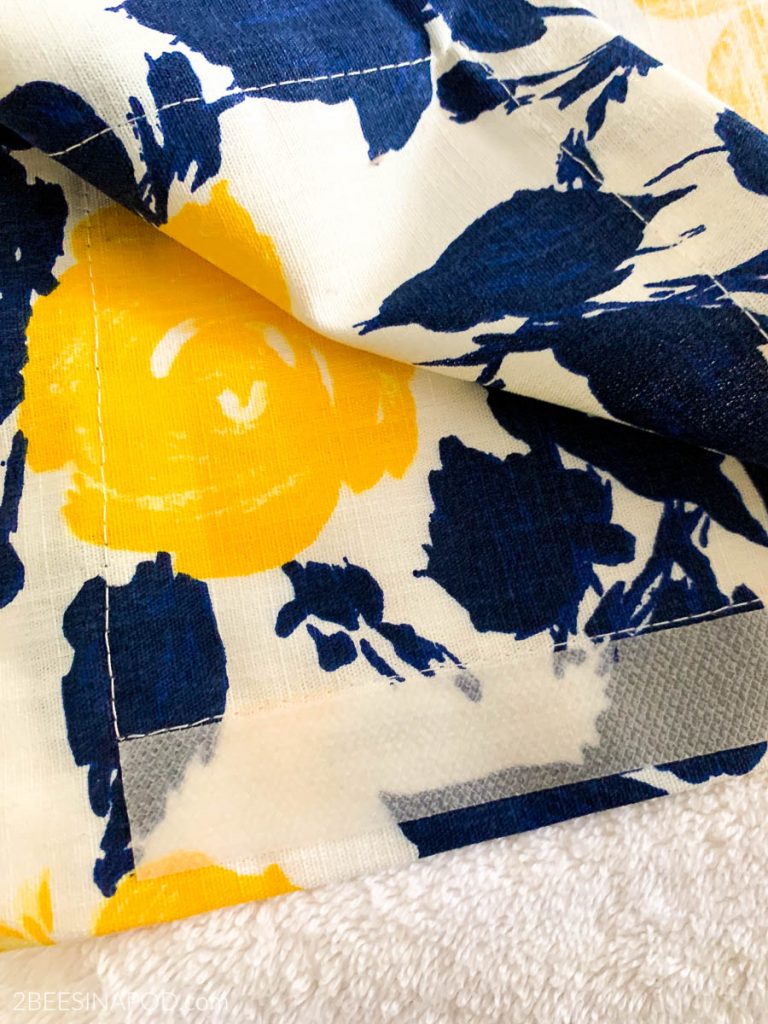
This is my seam after ironing. A very strong hold. Remember do NOT use steam in the iron, or this will not work.
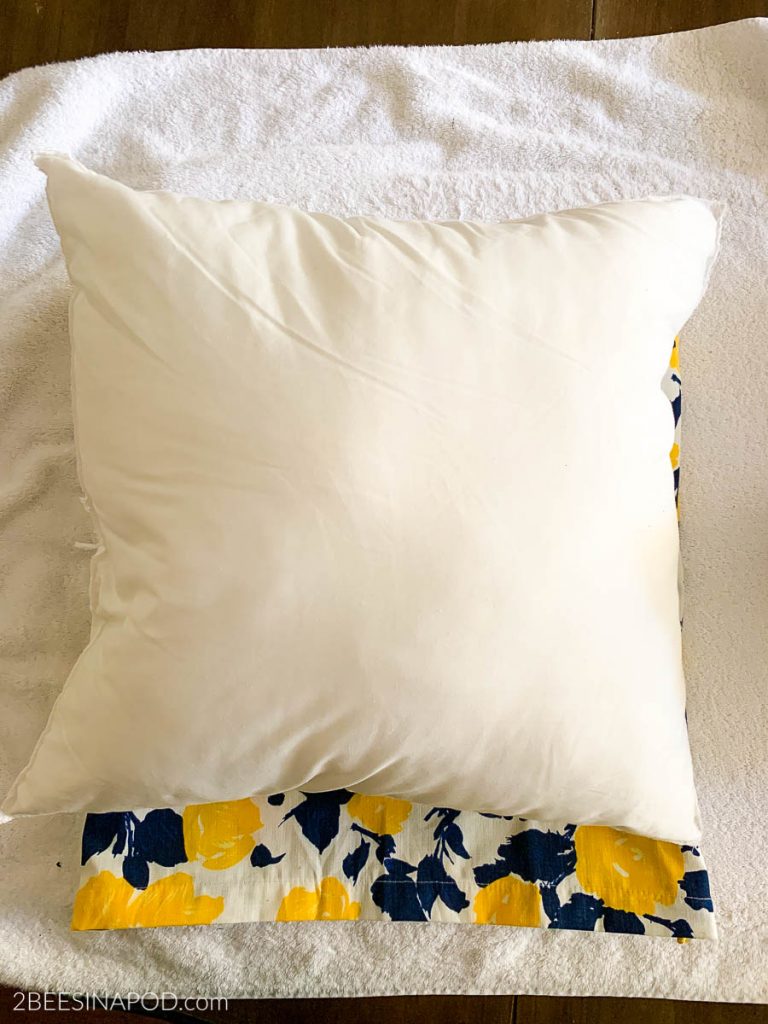
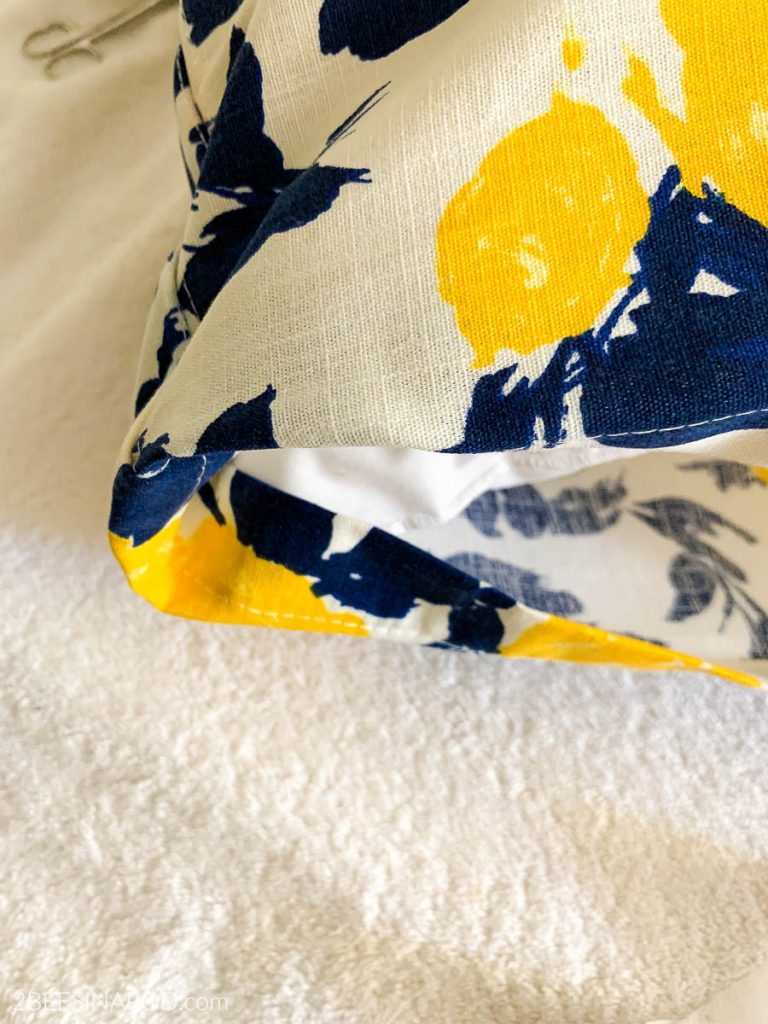
Use an existing pillow form and carefully insert into your pillow pocket.
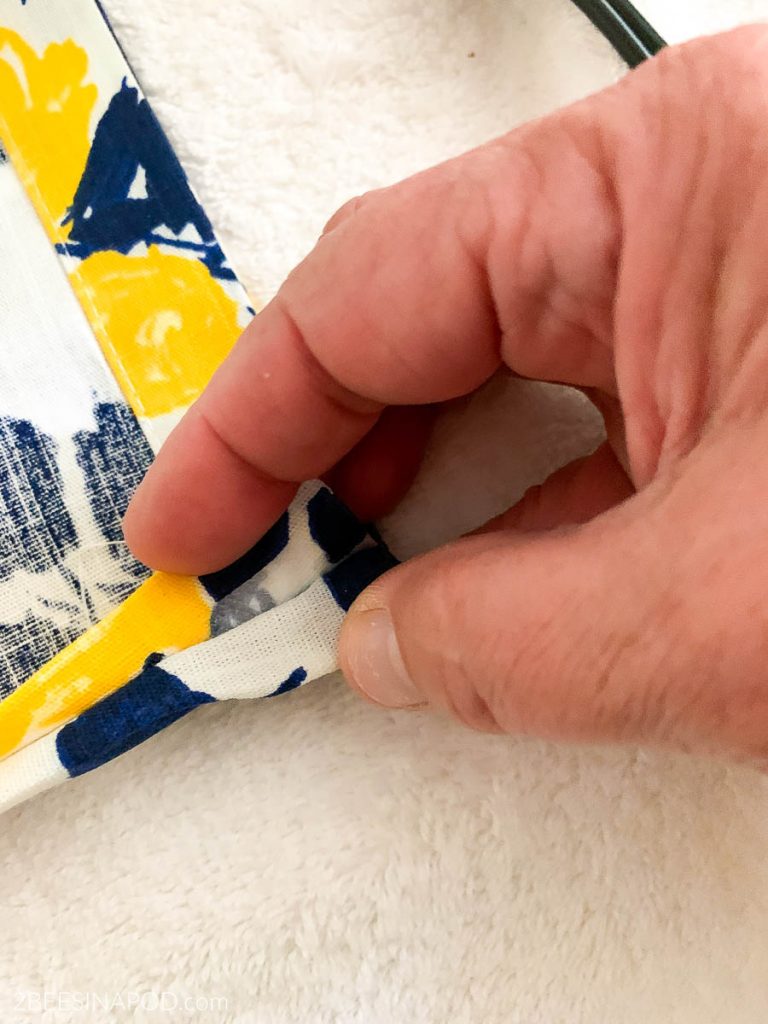
Fold under the opening edge of the 4th side. Add a strip of Heat N Bond and iron shut. This step might be a little difficult depending on how full your pillow insert is. Just be careful and patient.
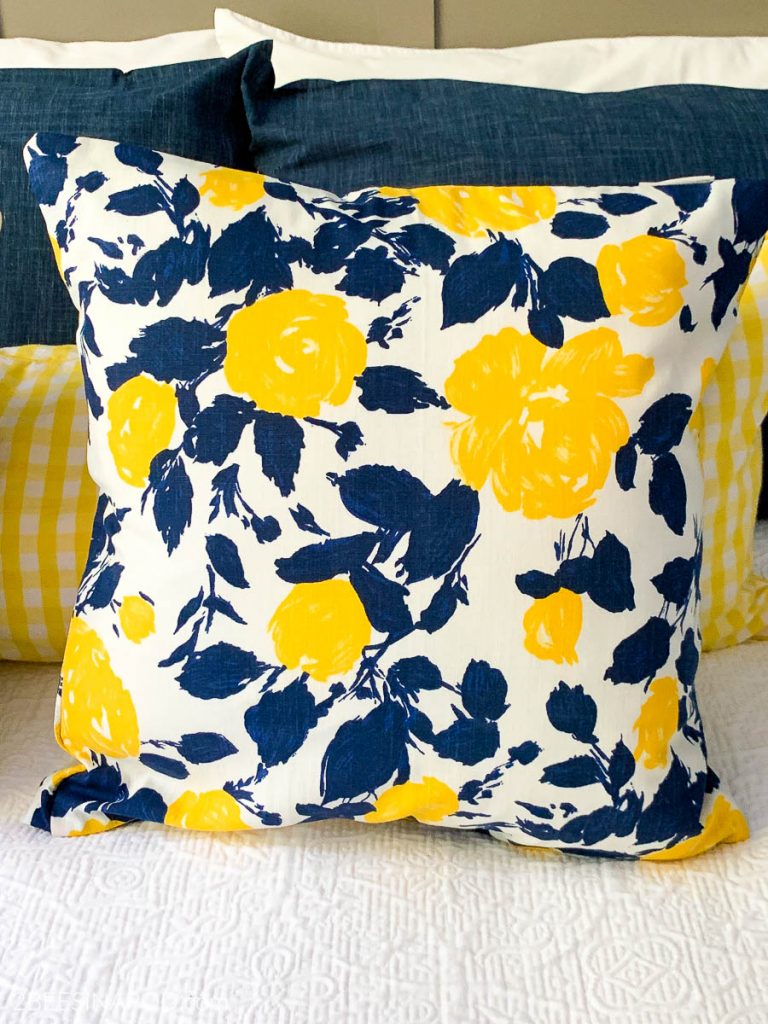
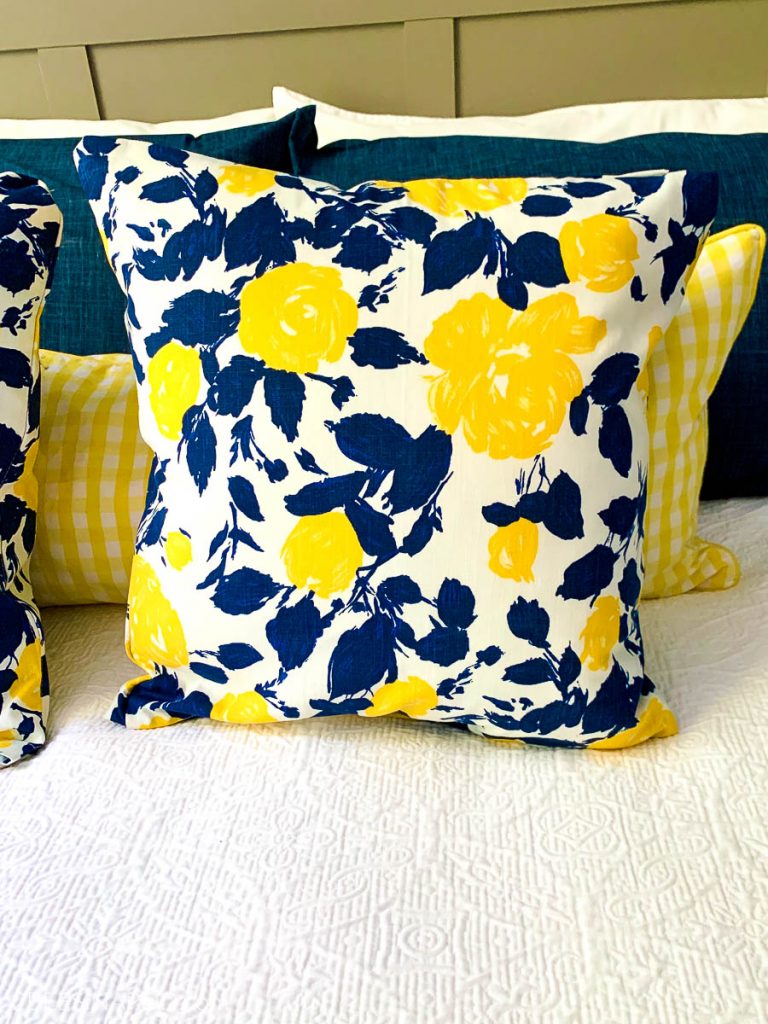
My pillows turned out beautifully. I already had the Heat N Bond and the pillow insert. For the mere cost of $4.99 I was able to create not one, but two designer fabric pillow covers!
The guest bedroom makeover is almost complete. I will share more with you very soon.
Have you made your own decorative pillows before? We would love to see them.
Don’t forget to Pin this to your favorite Pinterest board!
Hello,
I’m wondering how to clean the “no sew” pillows…..
Does the tape desinagrate when washed…and can be reapplied? OR what would you suggest?
Thank you,
Liz
Hi Liz – great questions. The following is taken directly from the Heat N Bond website:
“It is machine washable. For best results use the delicate cycle and warm water. Heat N’ Bond is not recommended for projects or items that require dry cleaning.”
We hope this helps. Best wishes on your project.
Vicki and Jenn
2 Bees in a Pod
Is this permanent or can it be undone?
Hey Robin-
For our pillows we wanted the seal to be permanent. We checked the Heat N Bond website and this is their response for their product
“HeatnBond is a permanent adhesive. In order to remove HeatnBond from fabric, it can either be taken to a drycleaner that uses the chemical carbon tetrachloride (perc) which dissolves the adhesive in the fabric (please note that many states no longer use Perc in the dry cleaning process.”
We hope this is helpful.
All the Best,
Vicki and Jenn
2 Bees in a Pod
Love this cheery pop of yellow and blue! I’m always on the lookout for pretty napkins to turn into pillows but I swear I never find any as good as the ones you show. I’m keeping my eye peeled though because I know they’re out there 🙂 Hugs and thanks for the easy to follow steps, CoCo