How to Quickly Dry Press Flowers in the Microwave
Please note that this post contains affiliate links. As an Amazon Associate, Rewards Style influencer and Jane Influencer, we earn from qualifying purchases and any sales made through such links will reward us a small commission – at no extra cost for you.
Many years ago, I tried my hand at flower pressing. The process took a long time and I didn’t have very good results. Here is how to quickly dry press flowers in the microwave!
I just love this time of year. The mornings are a bit cool, the birds are signing and the garden is in full bloom. Full disclosure, I use the term “garden” a bit loosely. I have plants and flowers that border my long walkway to the front porch. LOL This year, I am struck by the deep purple color of my miniature petunia plants and lavender bushes. Never one to give up, I was determined to find a way to dry press these blooms. After much research, I learned how to quickly dry press flowers in the microwave.

Best flowers for quickly dry pressing in the microwave
- petunias
- pansies
- violets
- daisies
- violas
- geraniums
- cosmos
- zinnias

Worst flowers for dry pressing
- Any white flower as these typically yellow and brown
- Any thick petal flower. They hold too much moisture and never dry.
- Calla lillies
- Roses – unless you use single petals
- Lilies
- Mums
- Chrysanthemums
- Tulips
- Orchids
- Most tropical flowers
How do you Quickly Dry Press Flowers in the Microwave
- Start with dry flowers. Blooms are too soggy after they have been watered or rained upon.
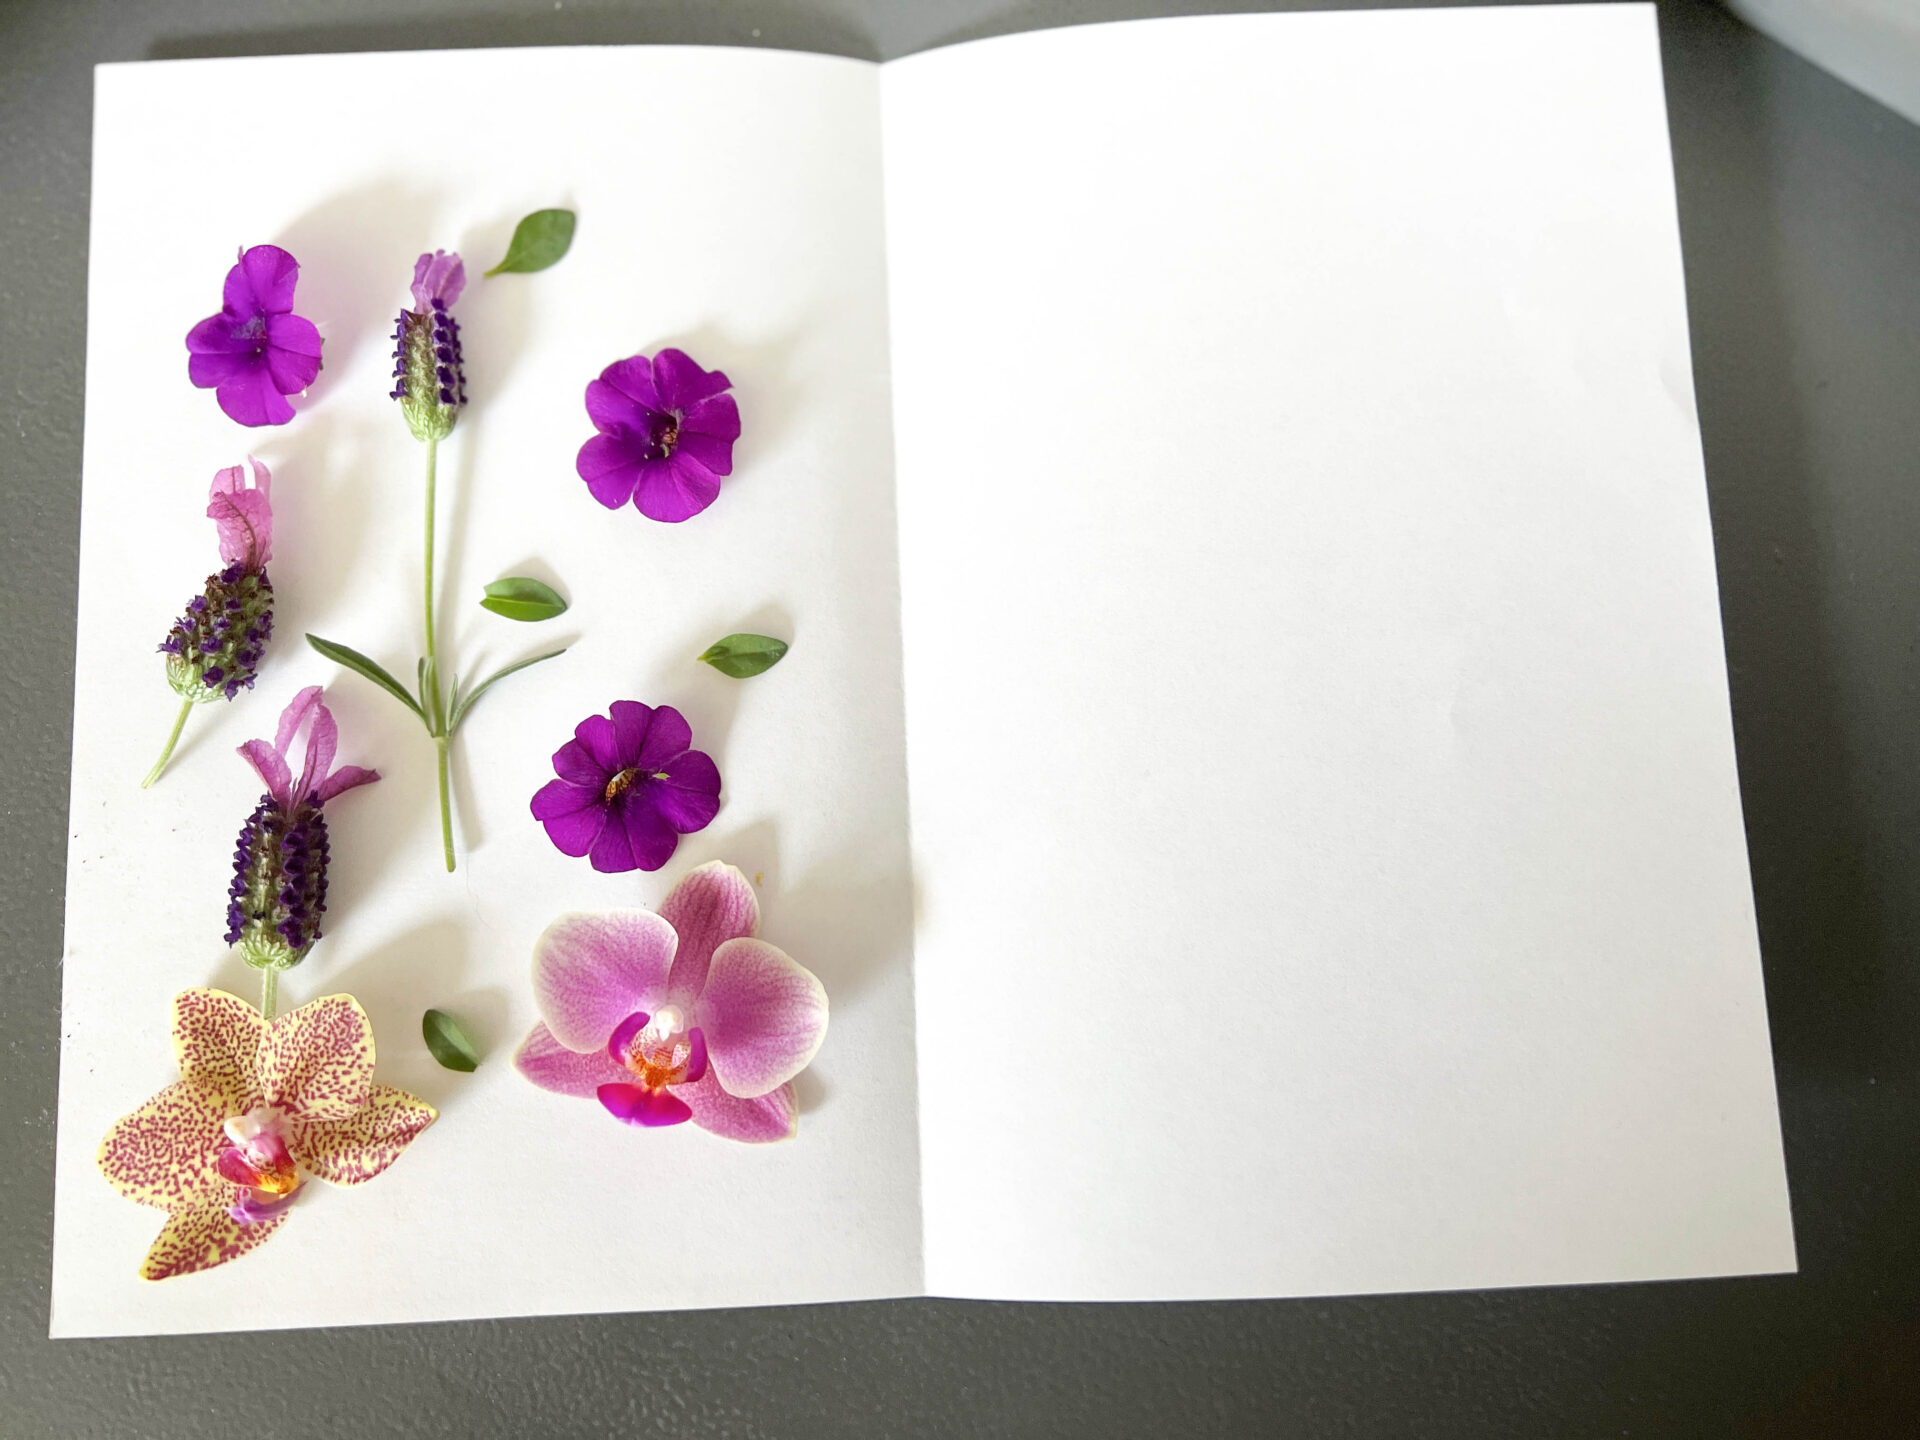
- Cut flowers and leaves. FYI – white flowers do not work for this process.
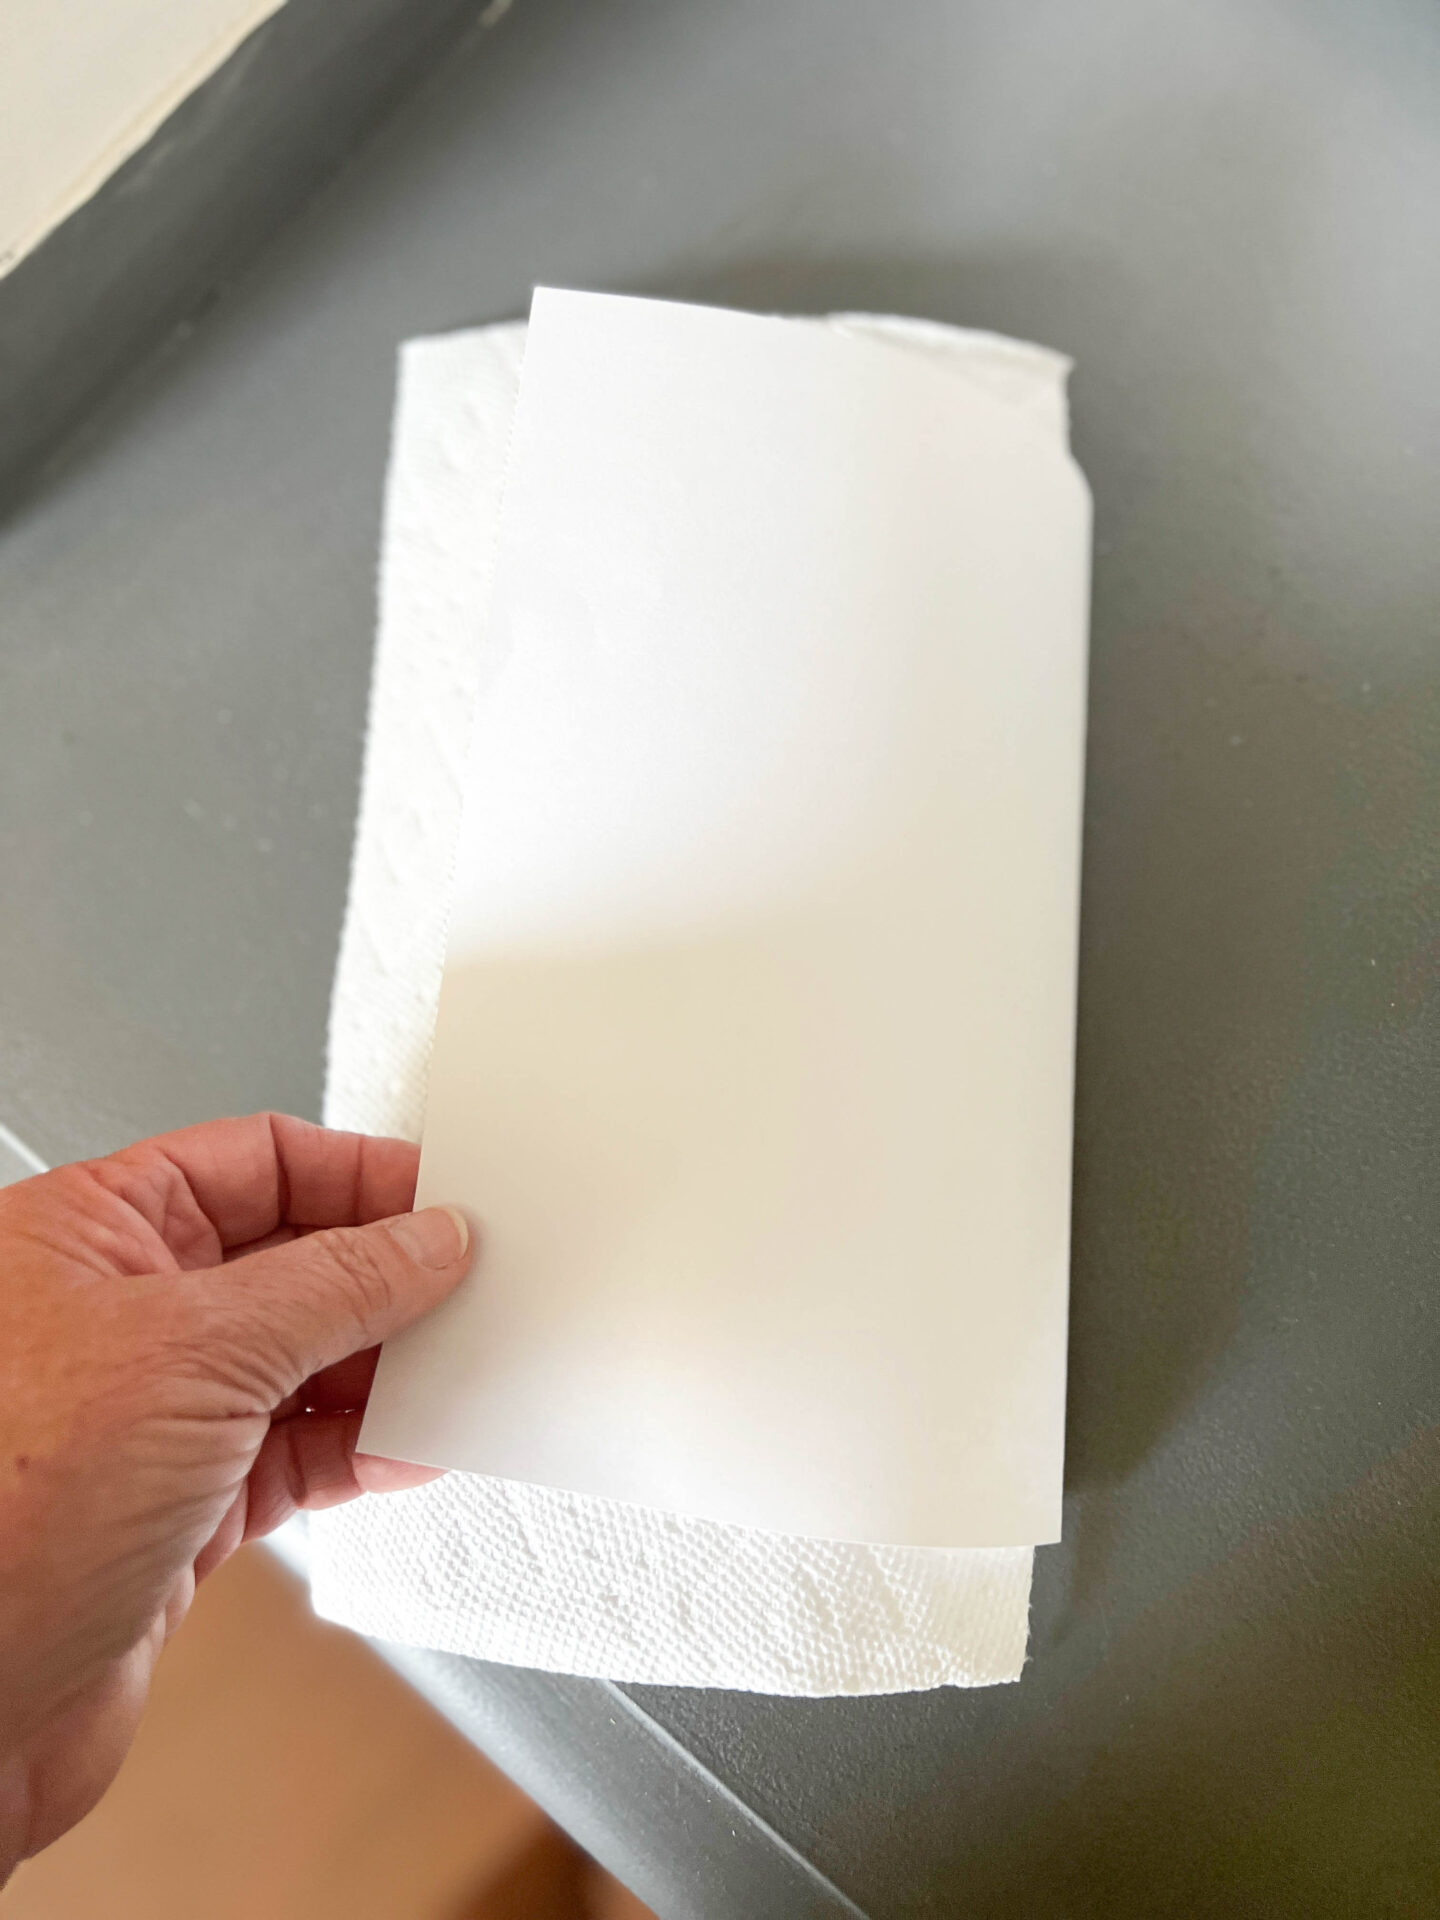
- Fold a piece of printer paper in half, lengthwise.
- Place the cuttings on top of this piece of paper, making sure the pieces do not touch.
- Next, place a paper towel on top of the flowers and leaves. I used a half piece of paper towel.
- Fold the printer paper on top of the paper towel.
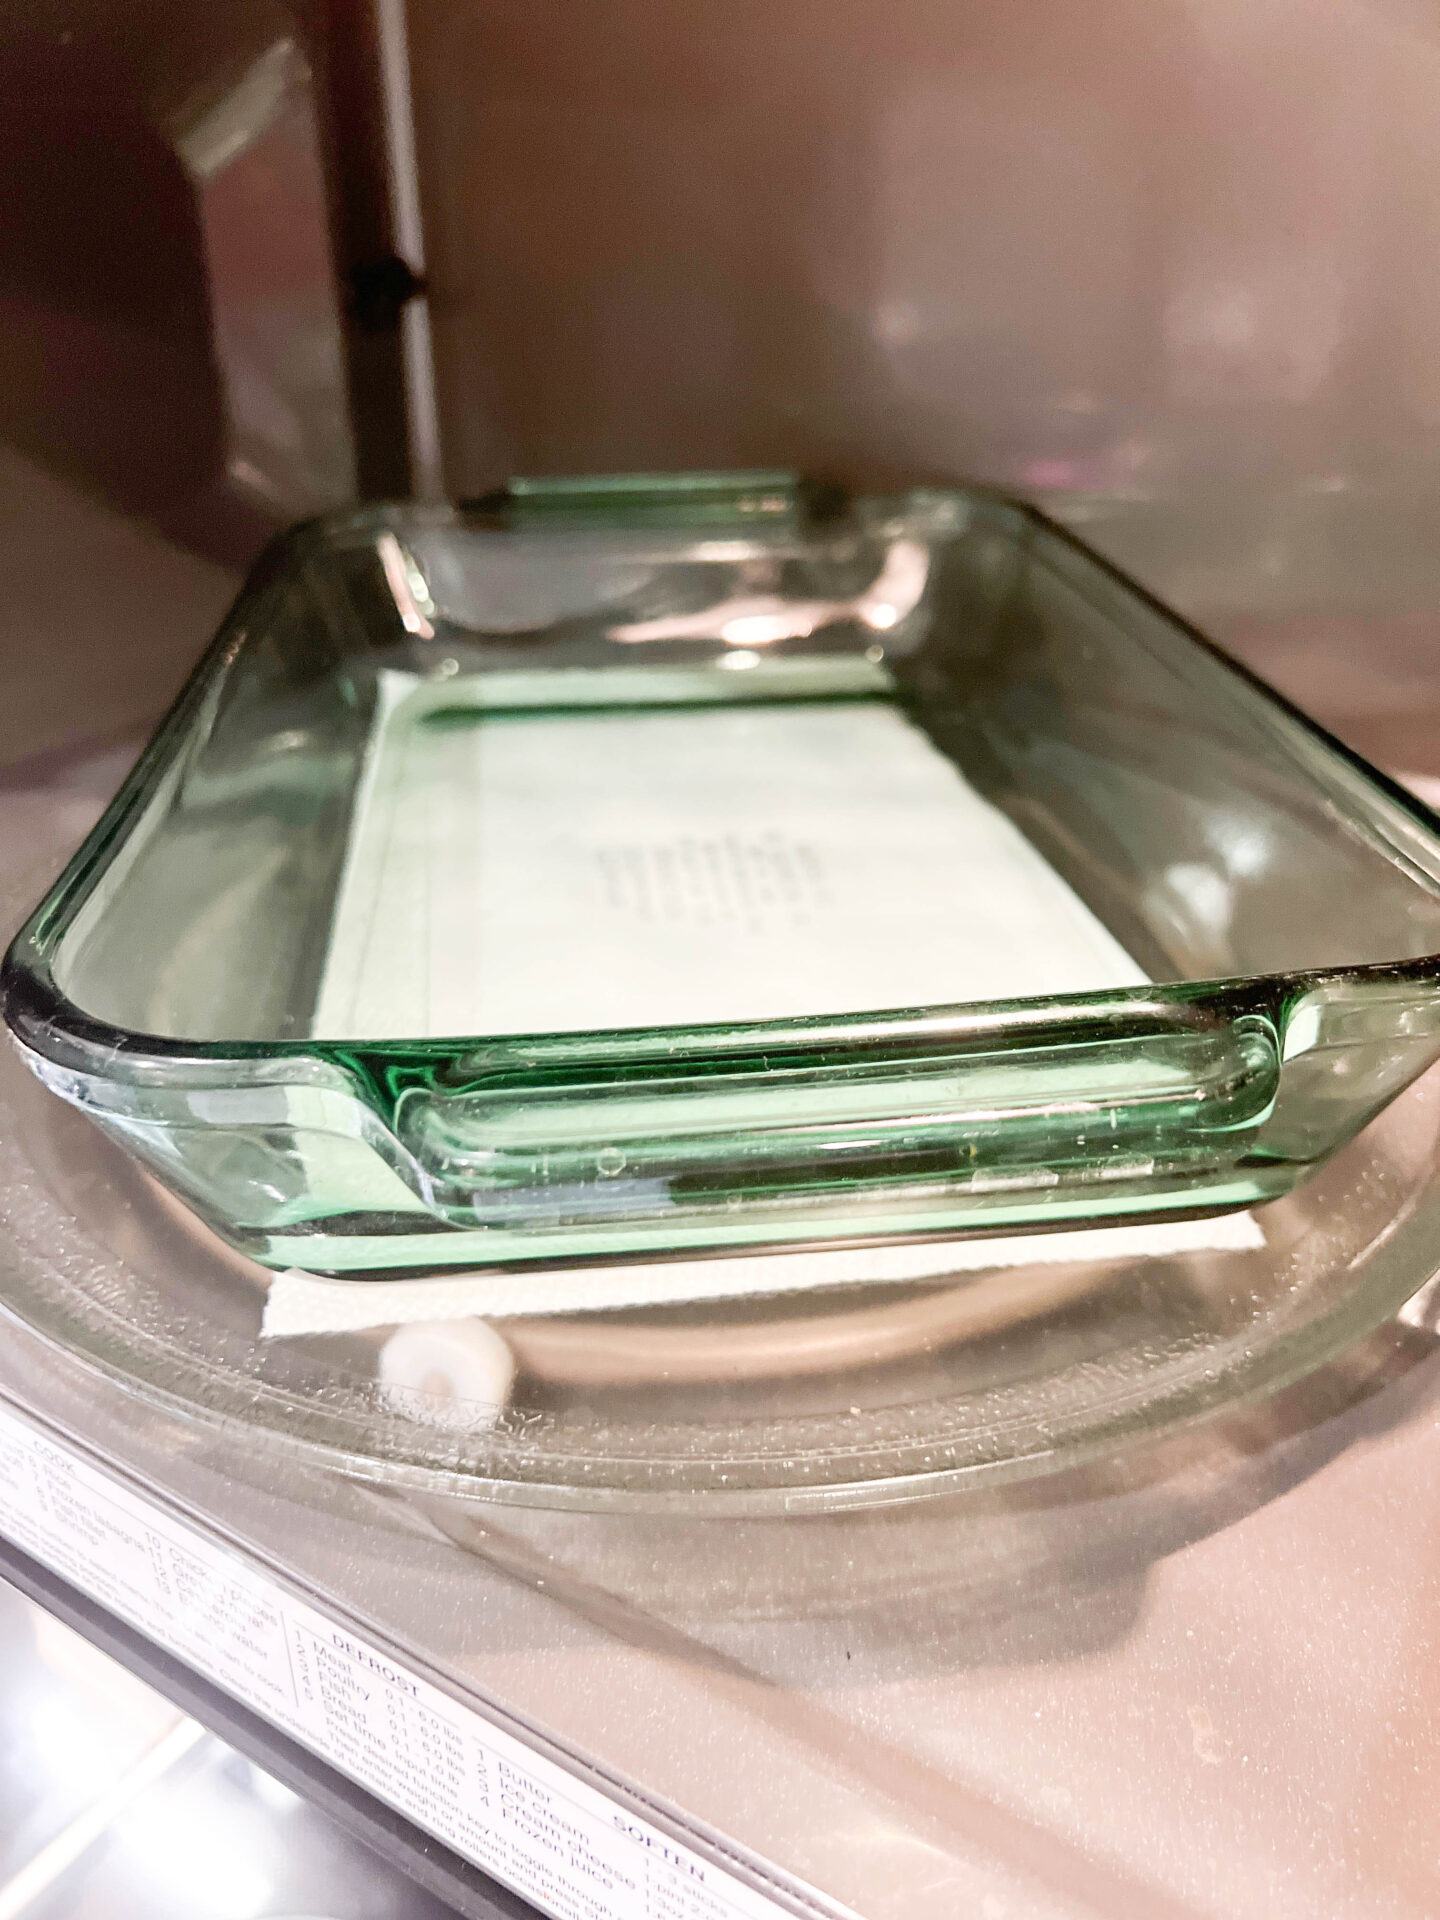
- Place in microwave.
- Put a heavy baking dish or bowl on top. You can add a couple for extra weight if you’d like. Make sure it is a microwave-safe container.
- Microwave in 30 second increments. My flowers were ready at the 45 second mark. This may take a little trial and error.
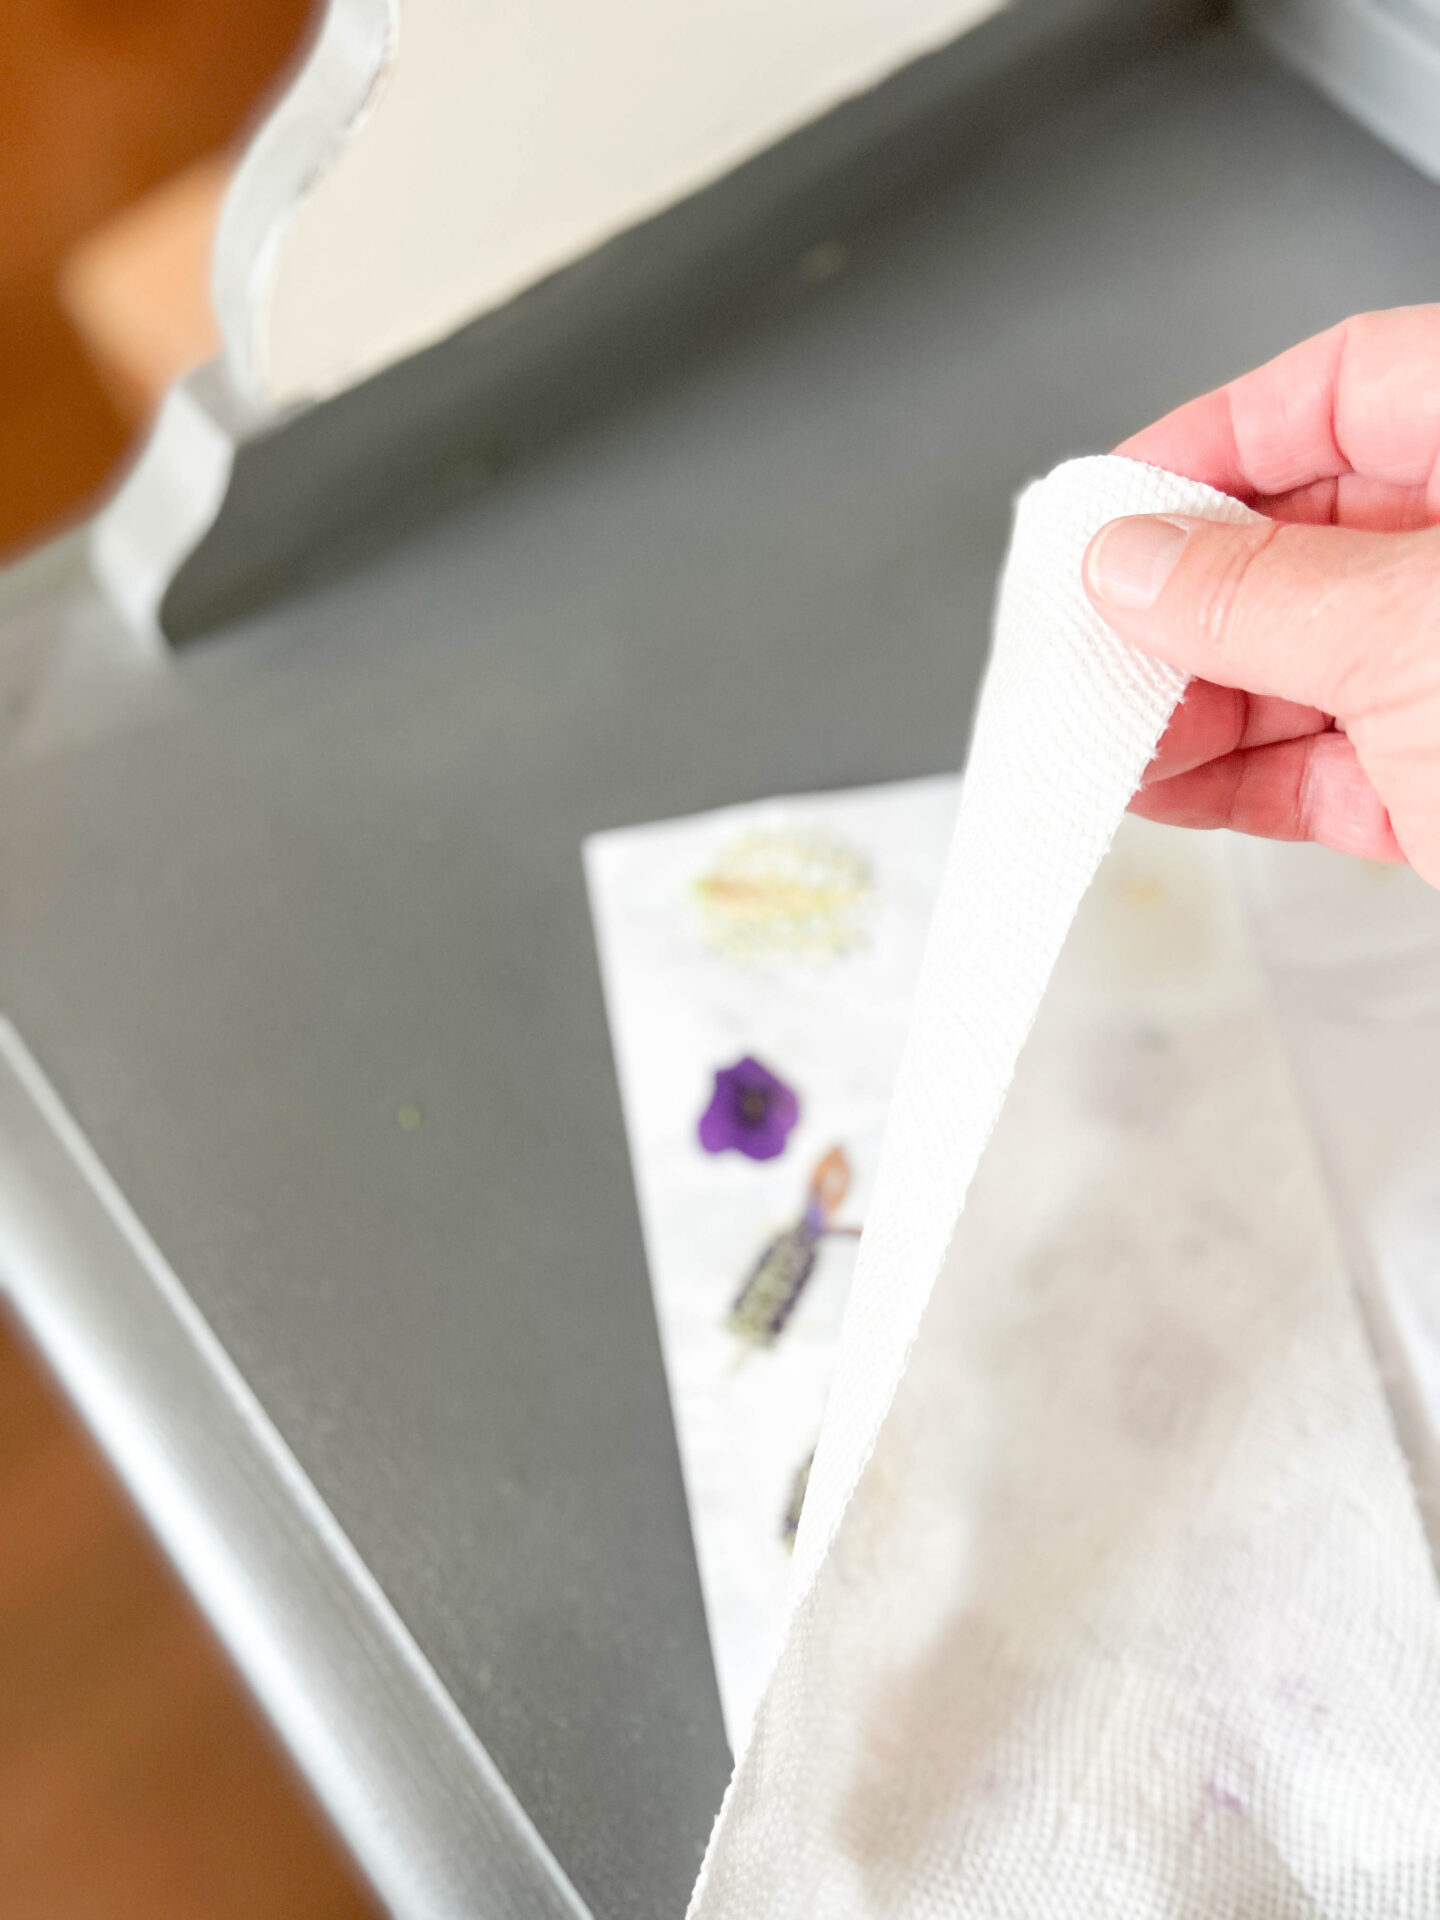
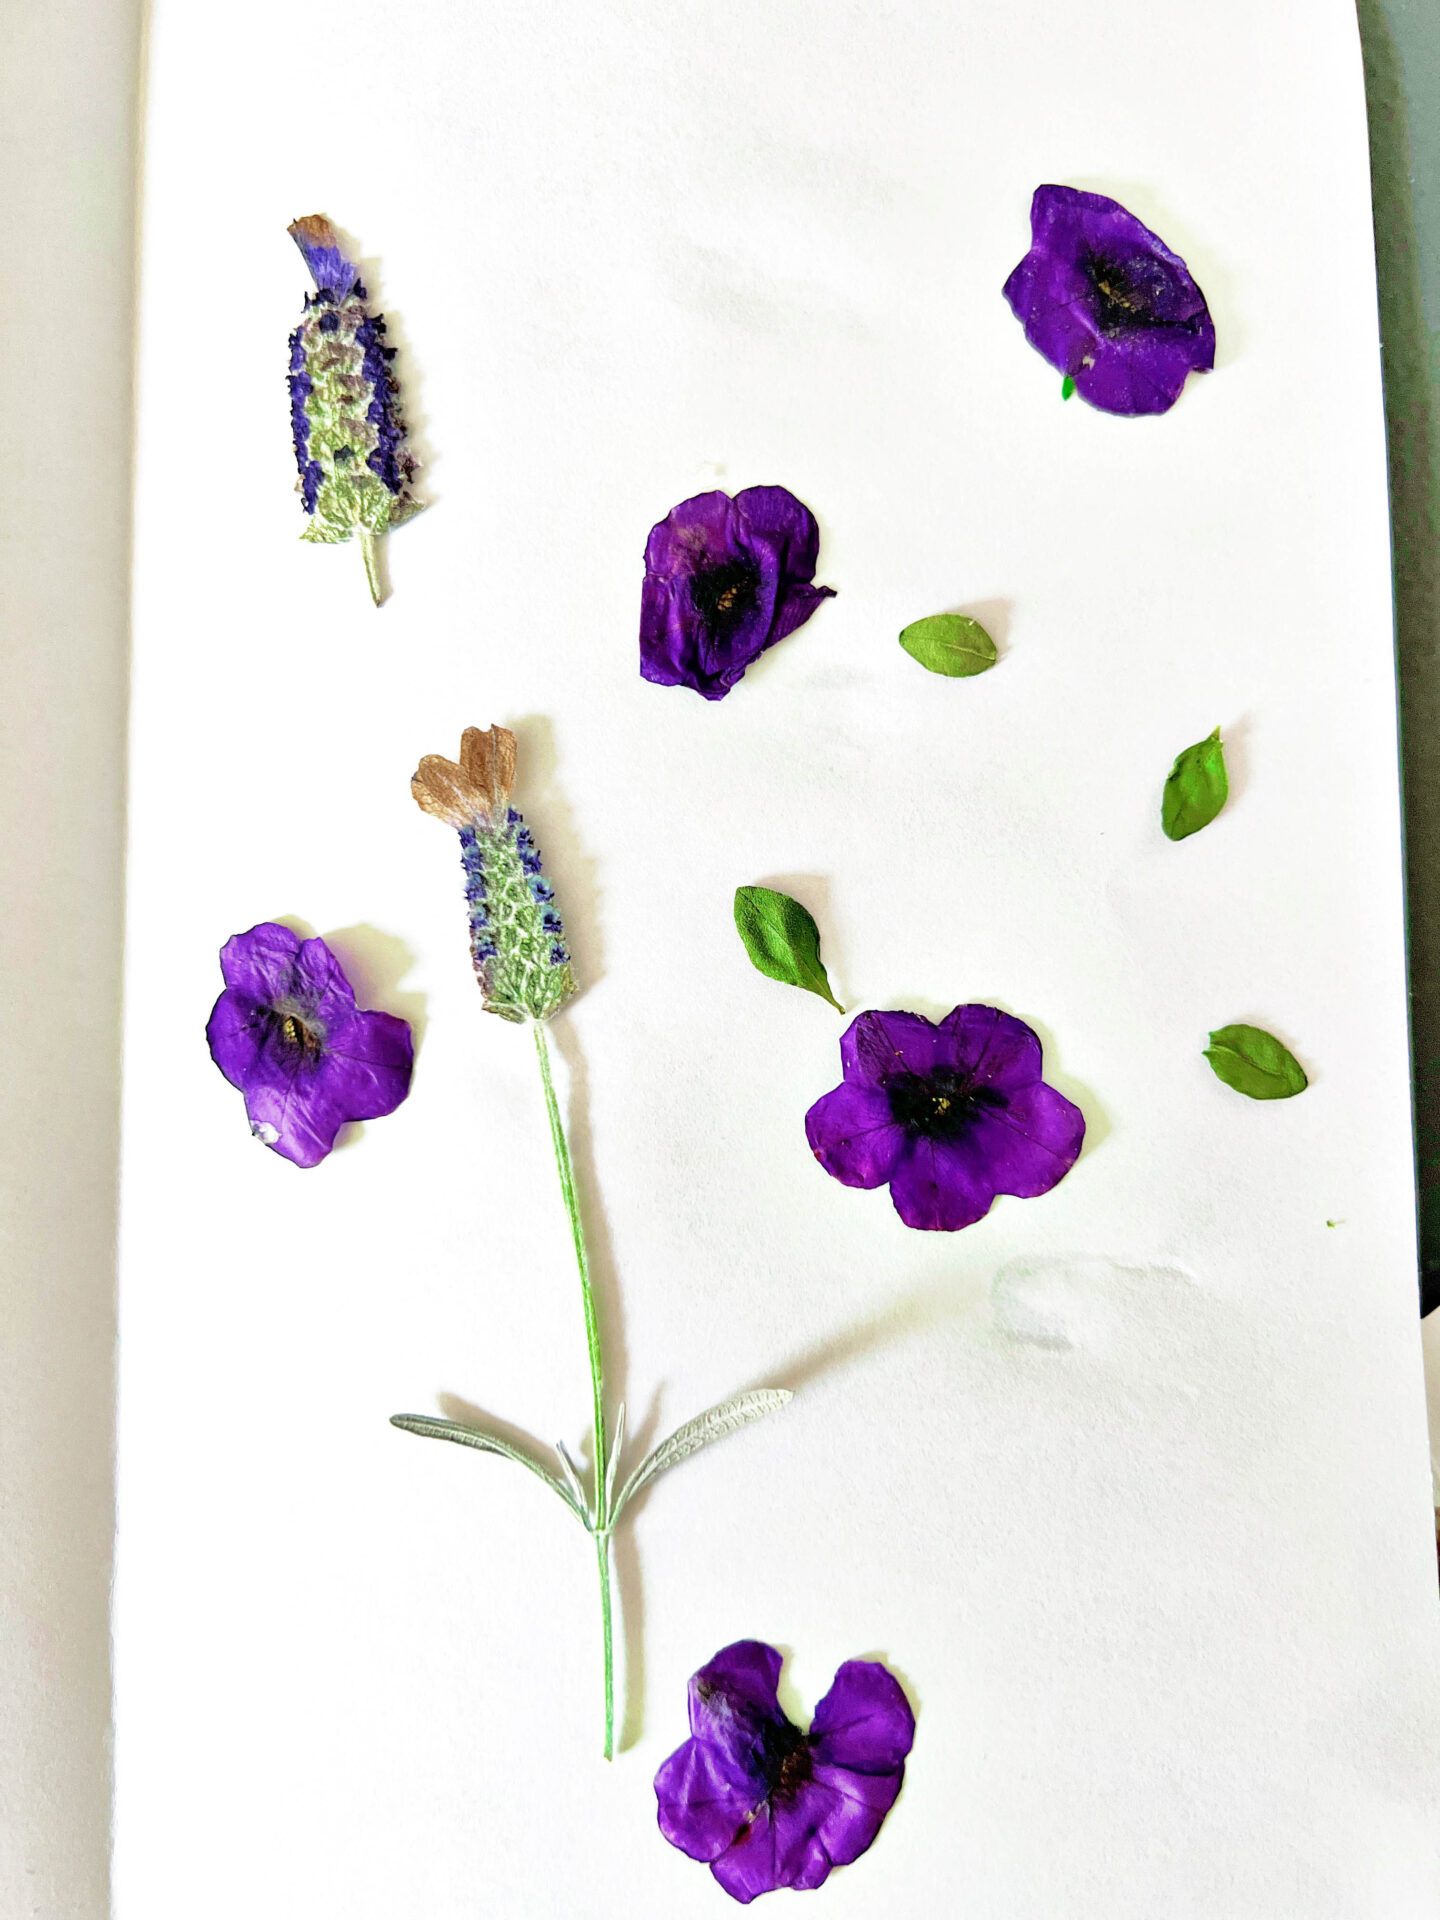
- Carefully open paper and remove paper towel.
- Place blooms on a new, dry paper towel. Take care that the blooms remain very flat.
- Ready to frame or use how you’d like.

I really wanted the tiny orchid blooms to dry. These cuties were full of moisture that I just couldn’t get to dry without scorching the bloom

After drying flowers in the microwave
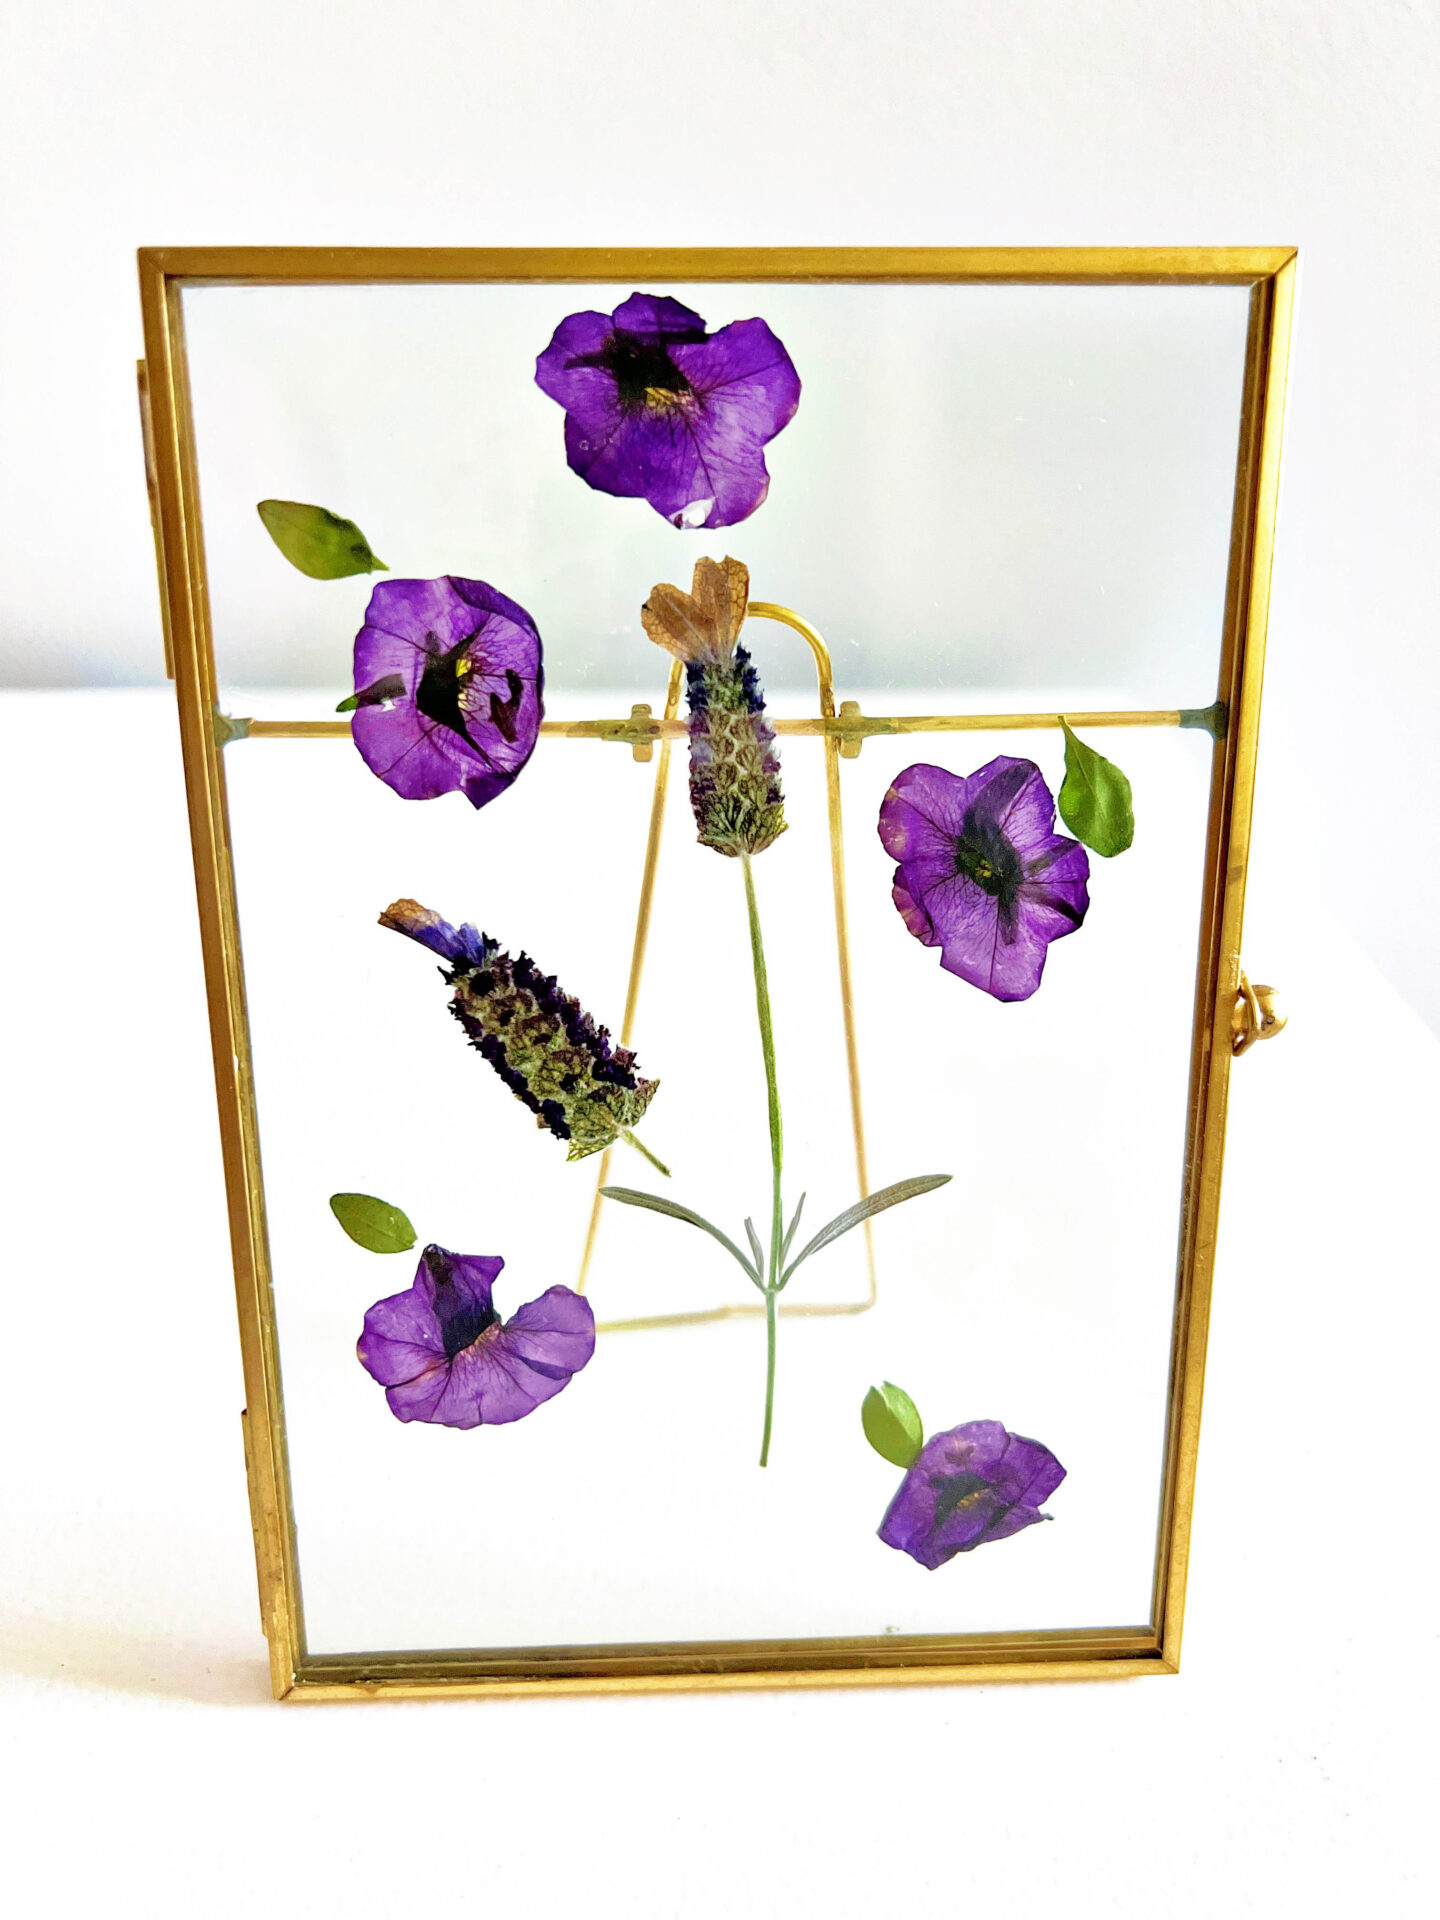
Whenever I am shopping in HomeGoods, I check the photo frame aisle. I always pick up a couple of these double-paned glass frames in various sizes. I like how they hinge open like a door.
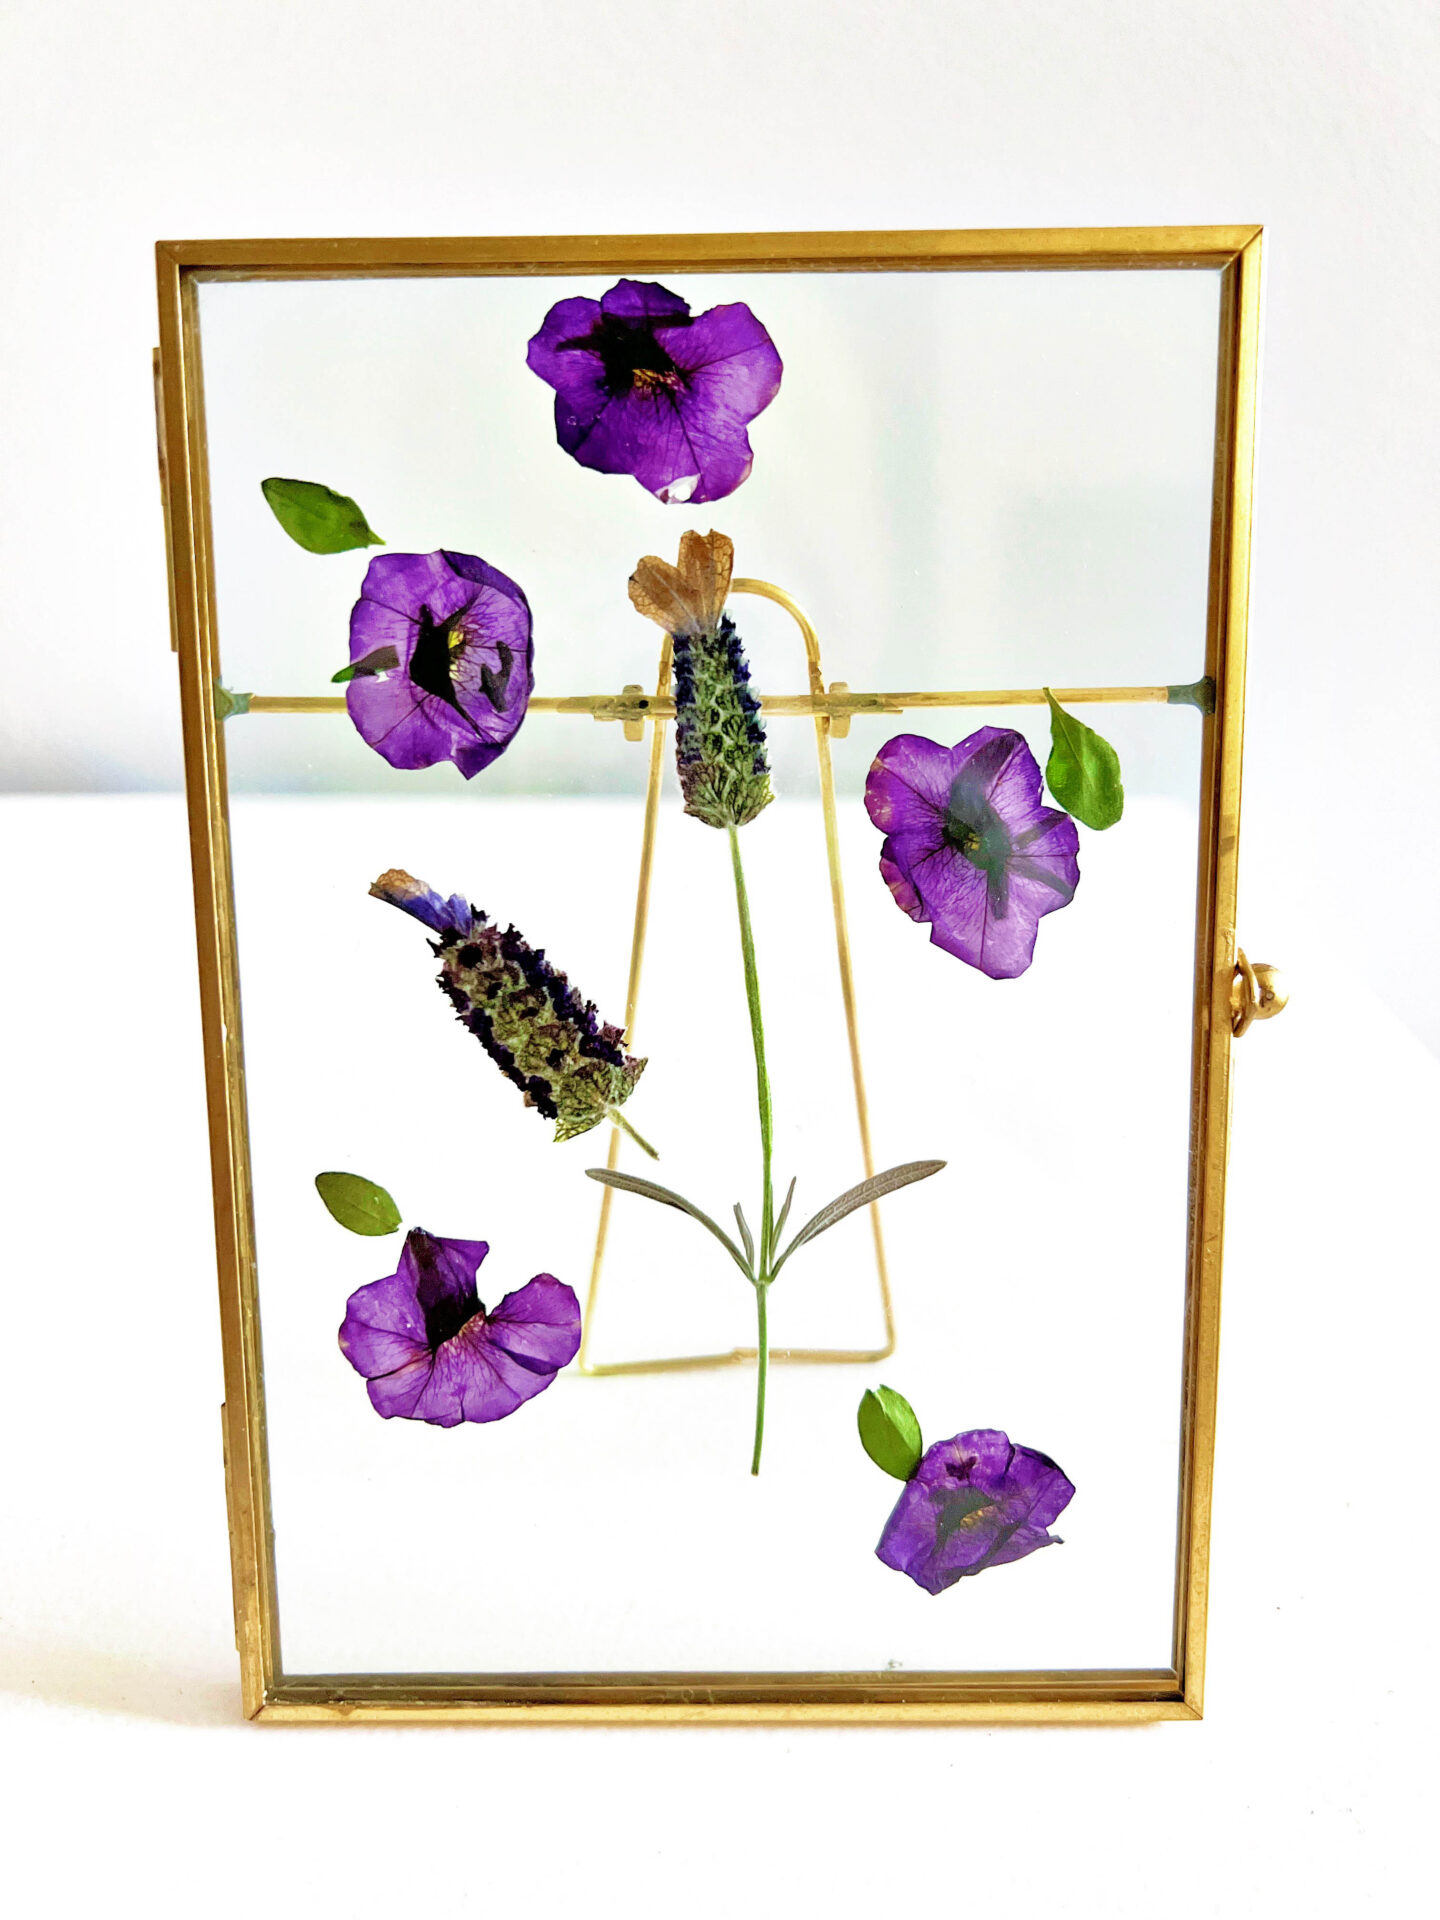
They are perfect for dried flowers. I simply placed my dried blooms on the glass until I was happy with the look.
For demonstration purposes, I placed a piece of paper in the frame so that you could see how this would look in other frames.

I hope that you have been inspired in some small way today! Have you ever dry pressed flowers before?
Don’t forget to Pin this to your favorite Pinterest board!