DIY Burlap Bulletin Board…
Please note that this post contains affiliate links. As an Amazon Associate, Rewards Style influencer and Jane Influencer, we earn from qualifying purchases and any sales made through such links will reward us a small commission – at no extra cost for you.
I just love bulletin boards! I have showed you some of my past creations. Today I am showing you a DIY board that took me literally 15 minutes to make…no kidding. I had materials leftover from several other projects so this creation was free 🙂
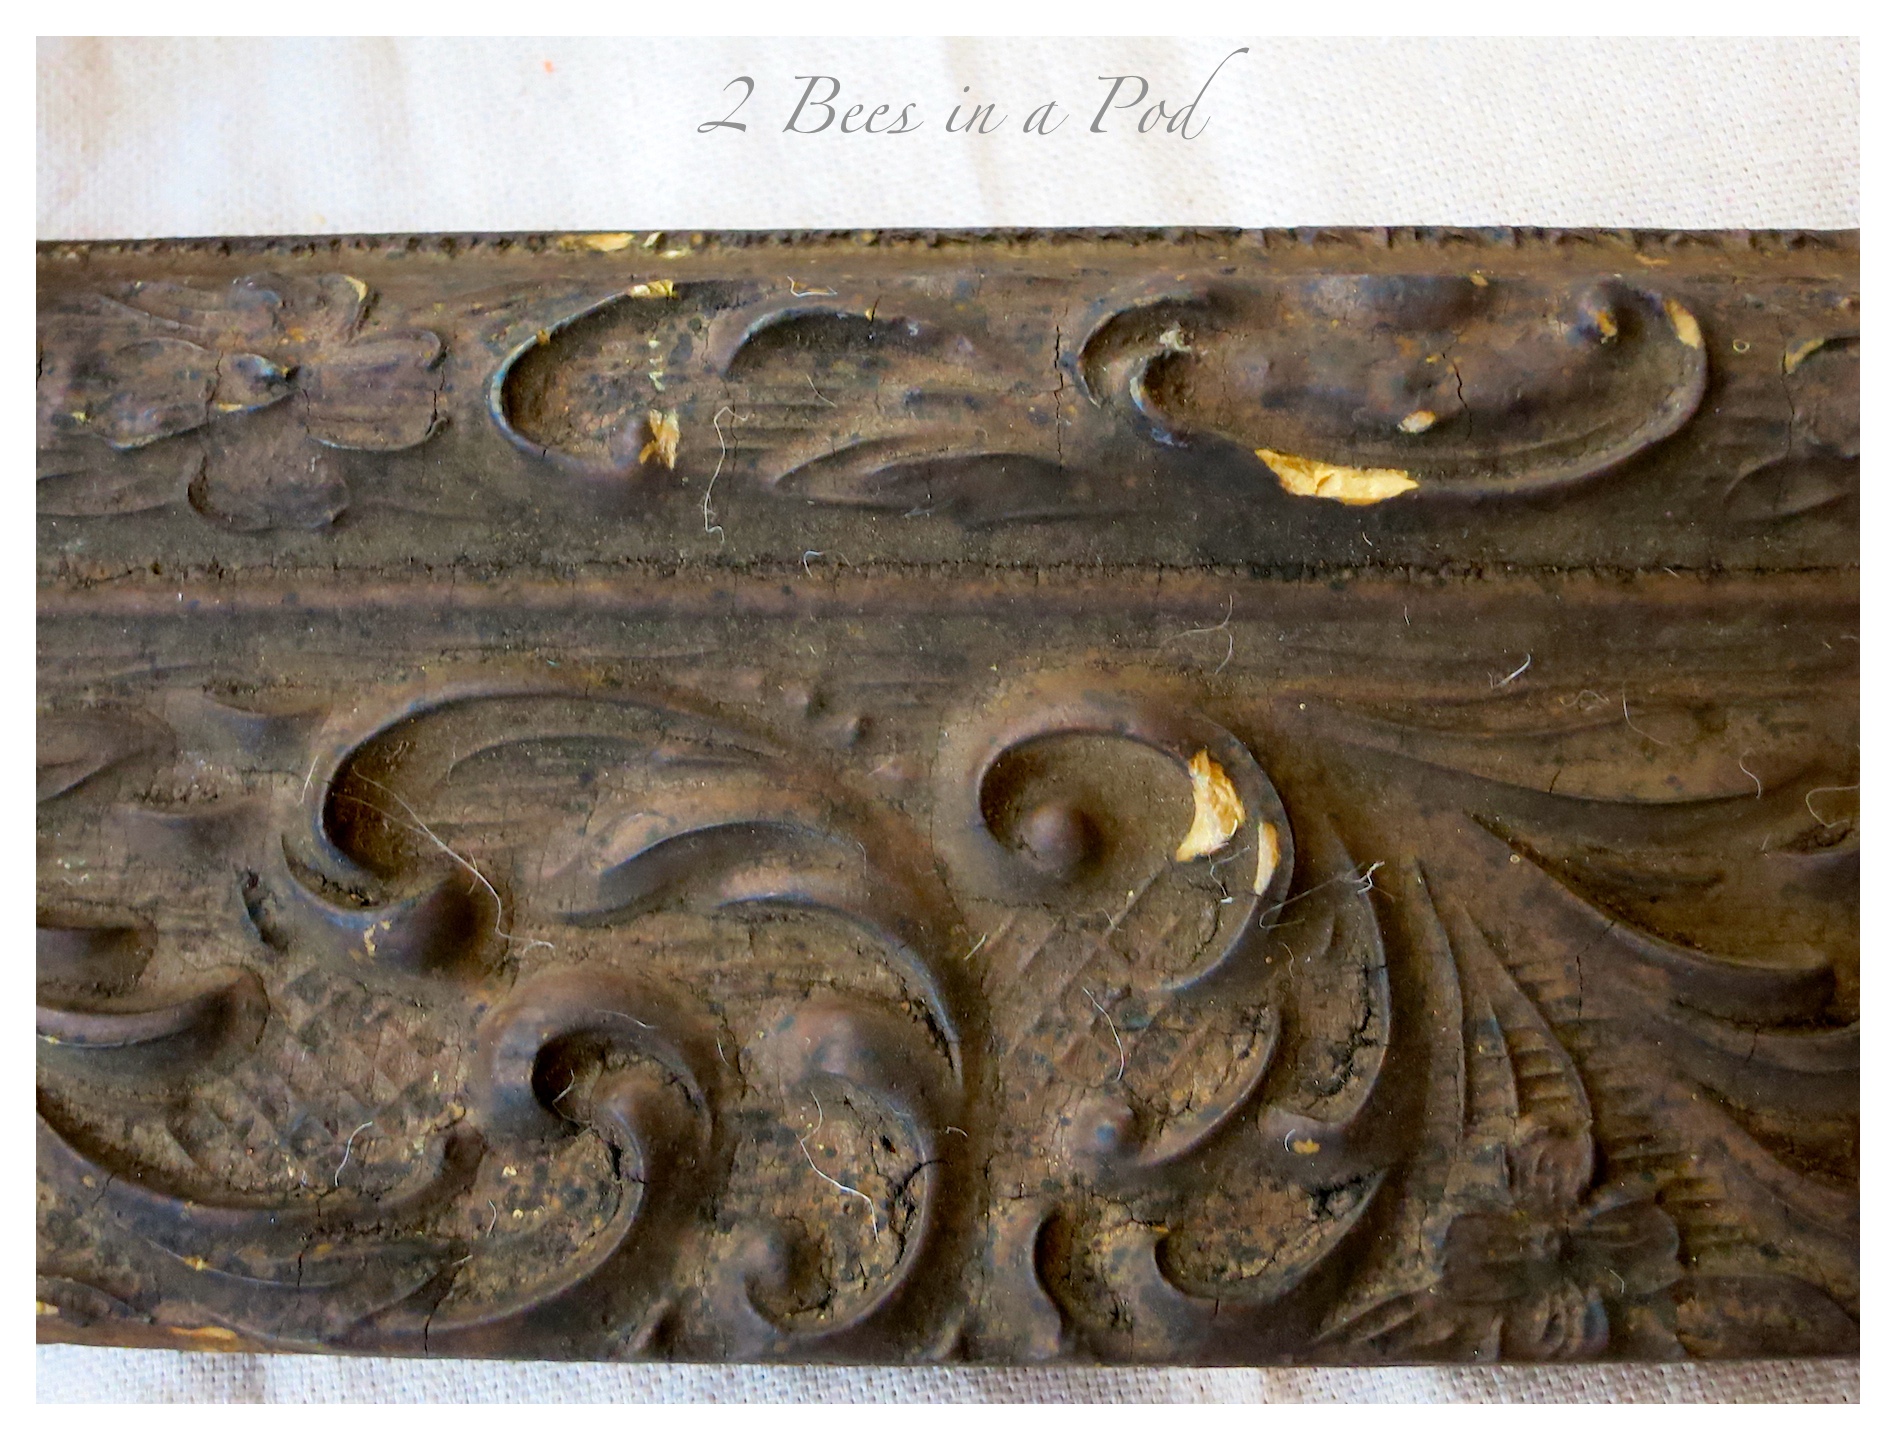
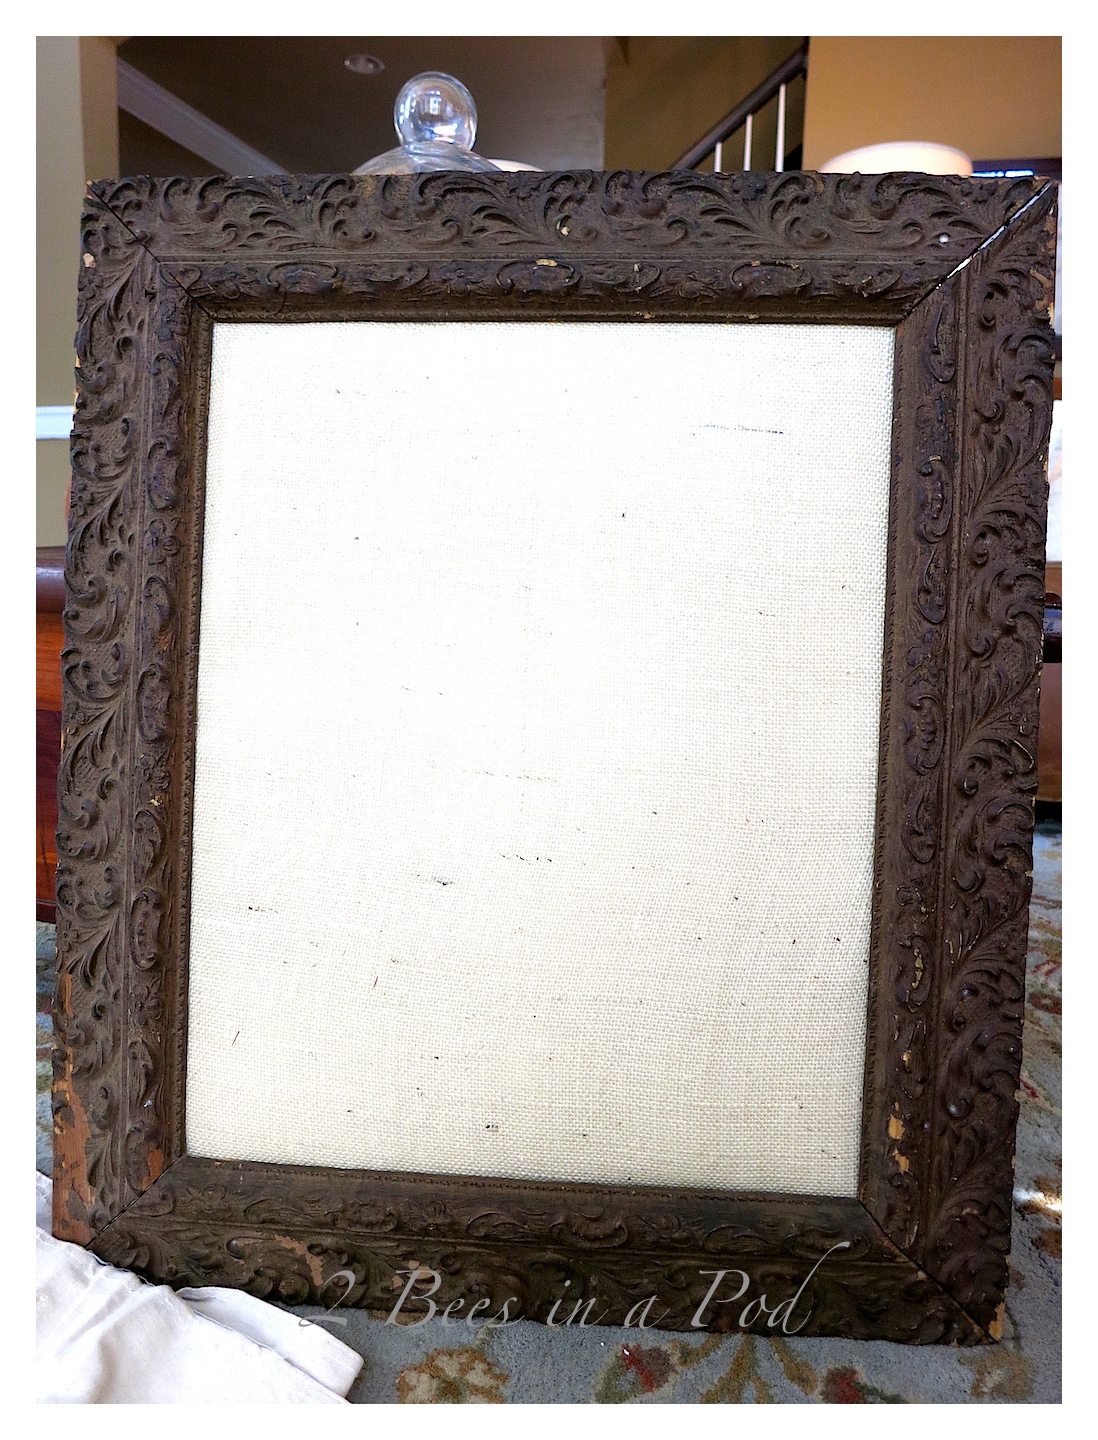
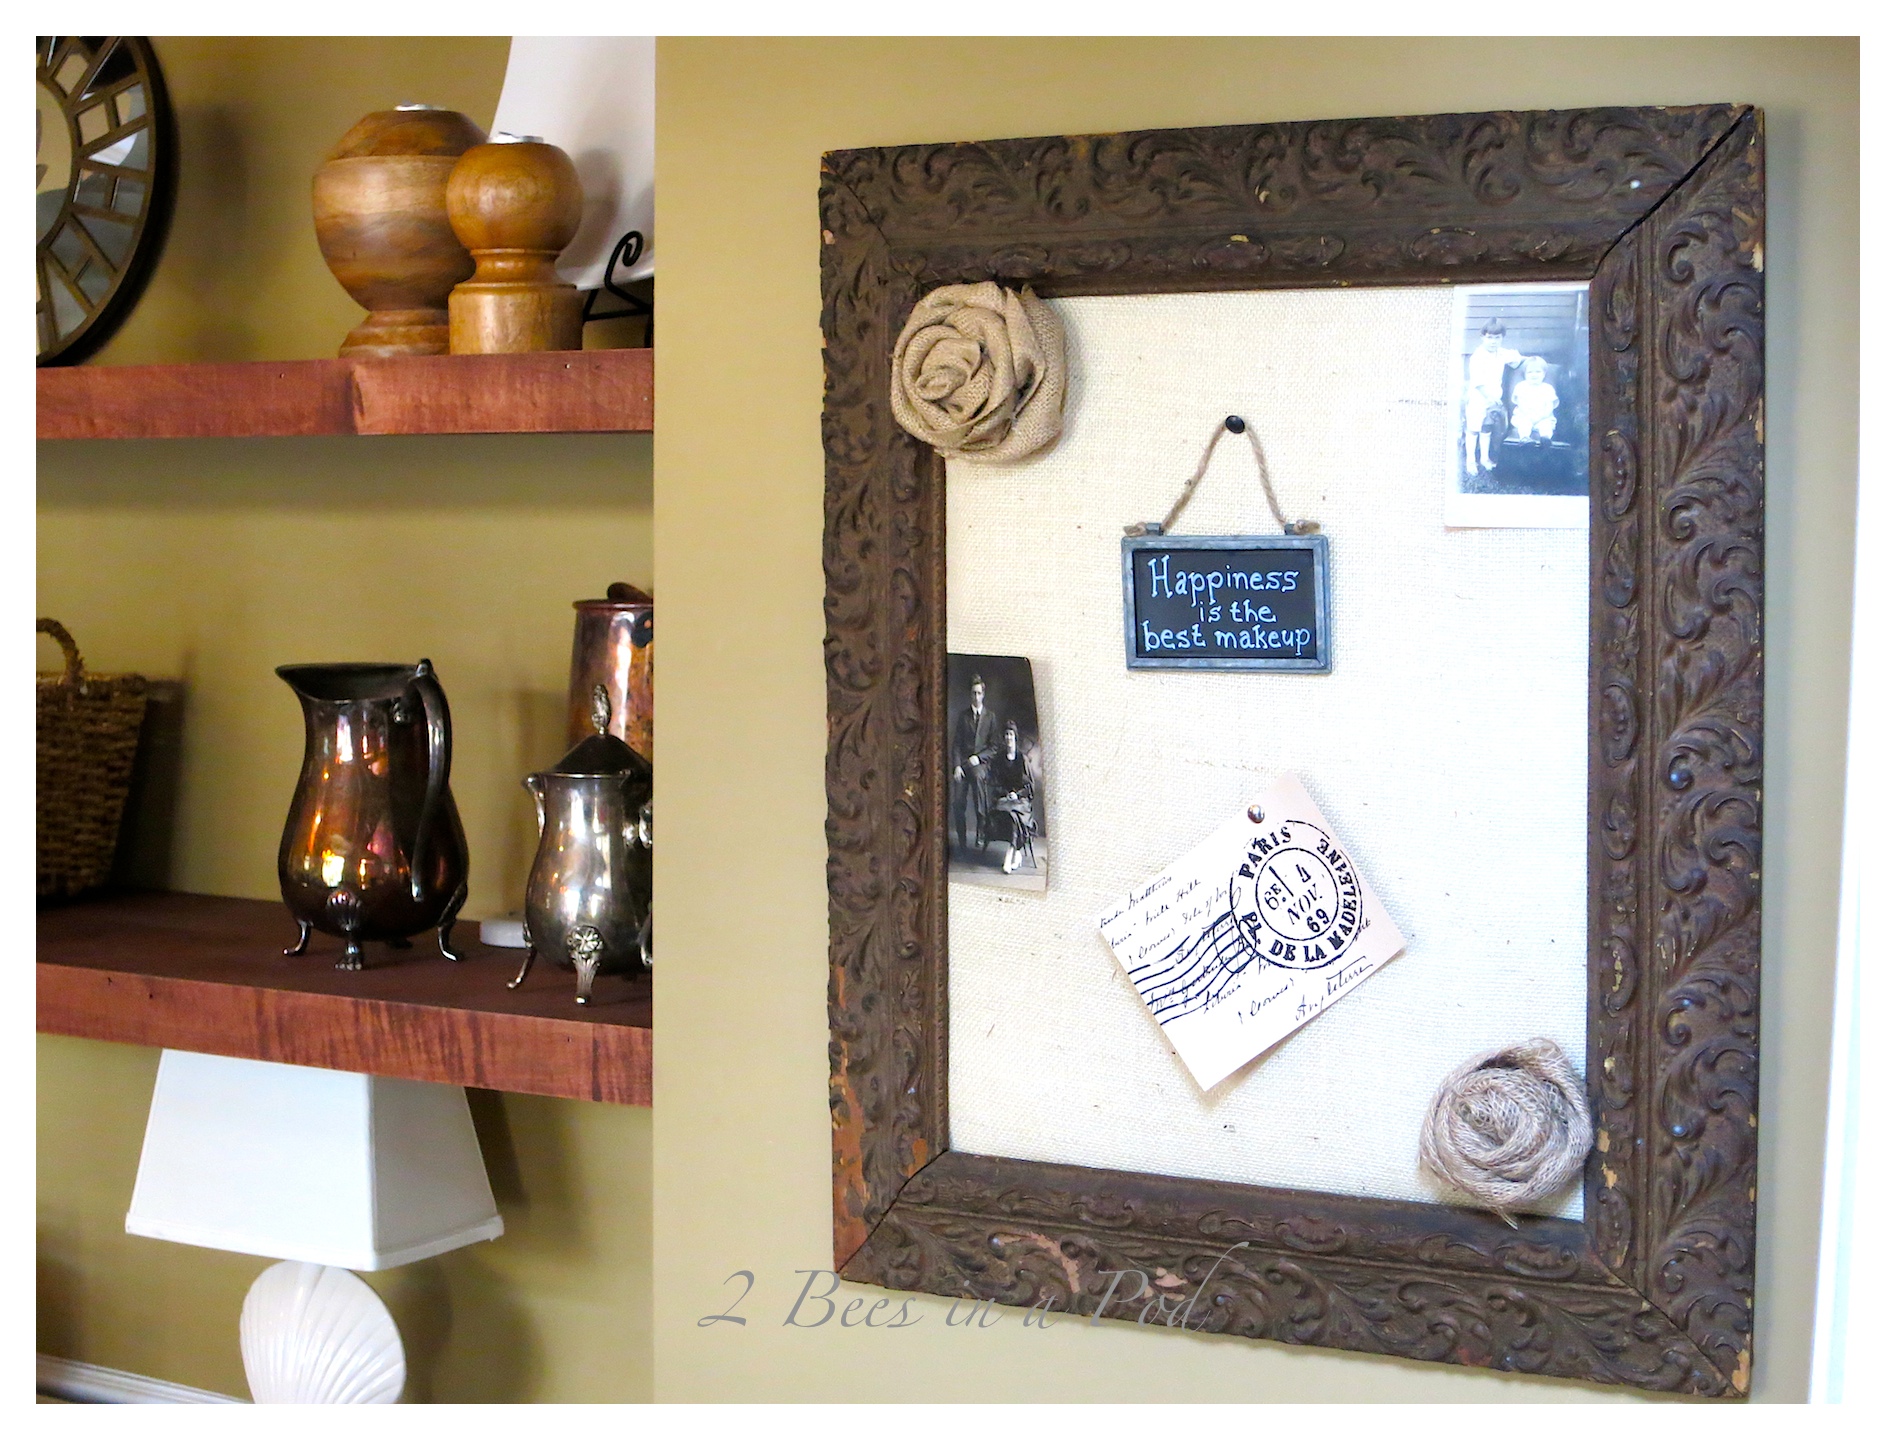
This large frame is a trash pile pick. Can you believe that someone discarded it? The frame appears to be hand carved on the front and hand planed on the back. There are some chippy bits – but that is the part that I really like. I decided to not paint the frame and showcase its natural age and beauty.
I gathered together my supplies:
- Frame
- Foam board
- Burlap
- Batting
- Scissors
- Exacto knife
 Isn’t the wood carving gorgeous?
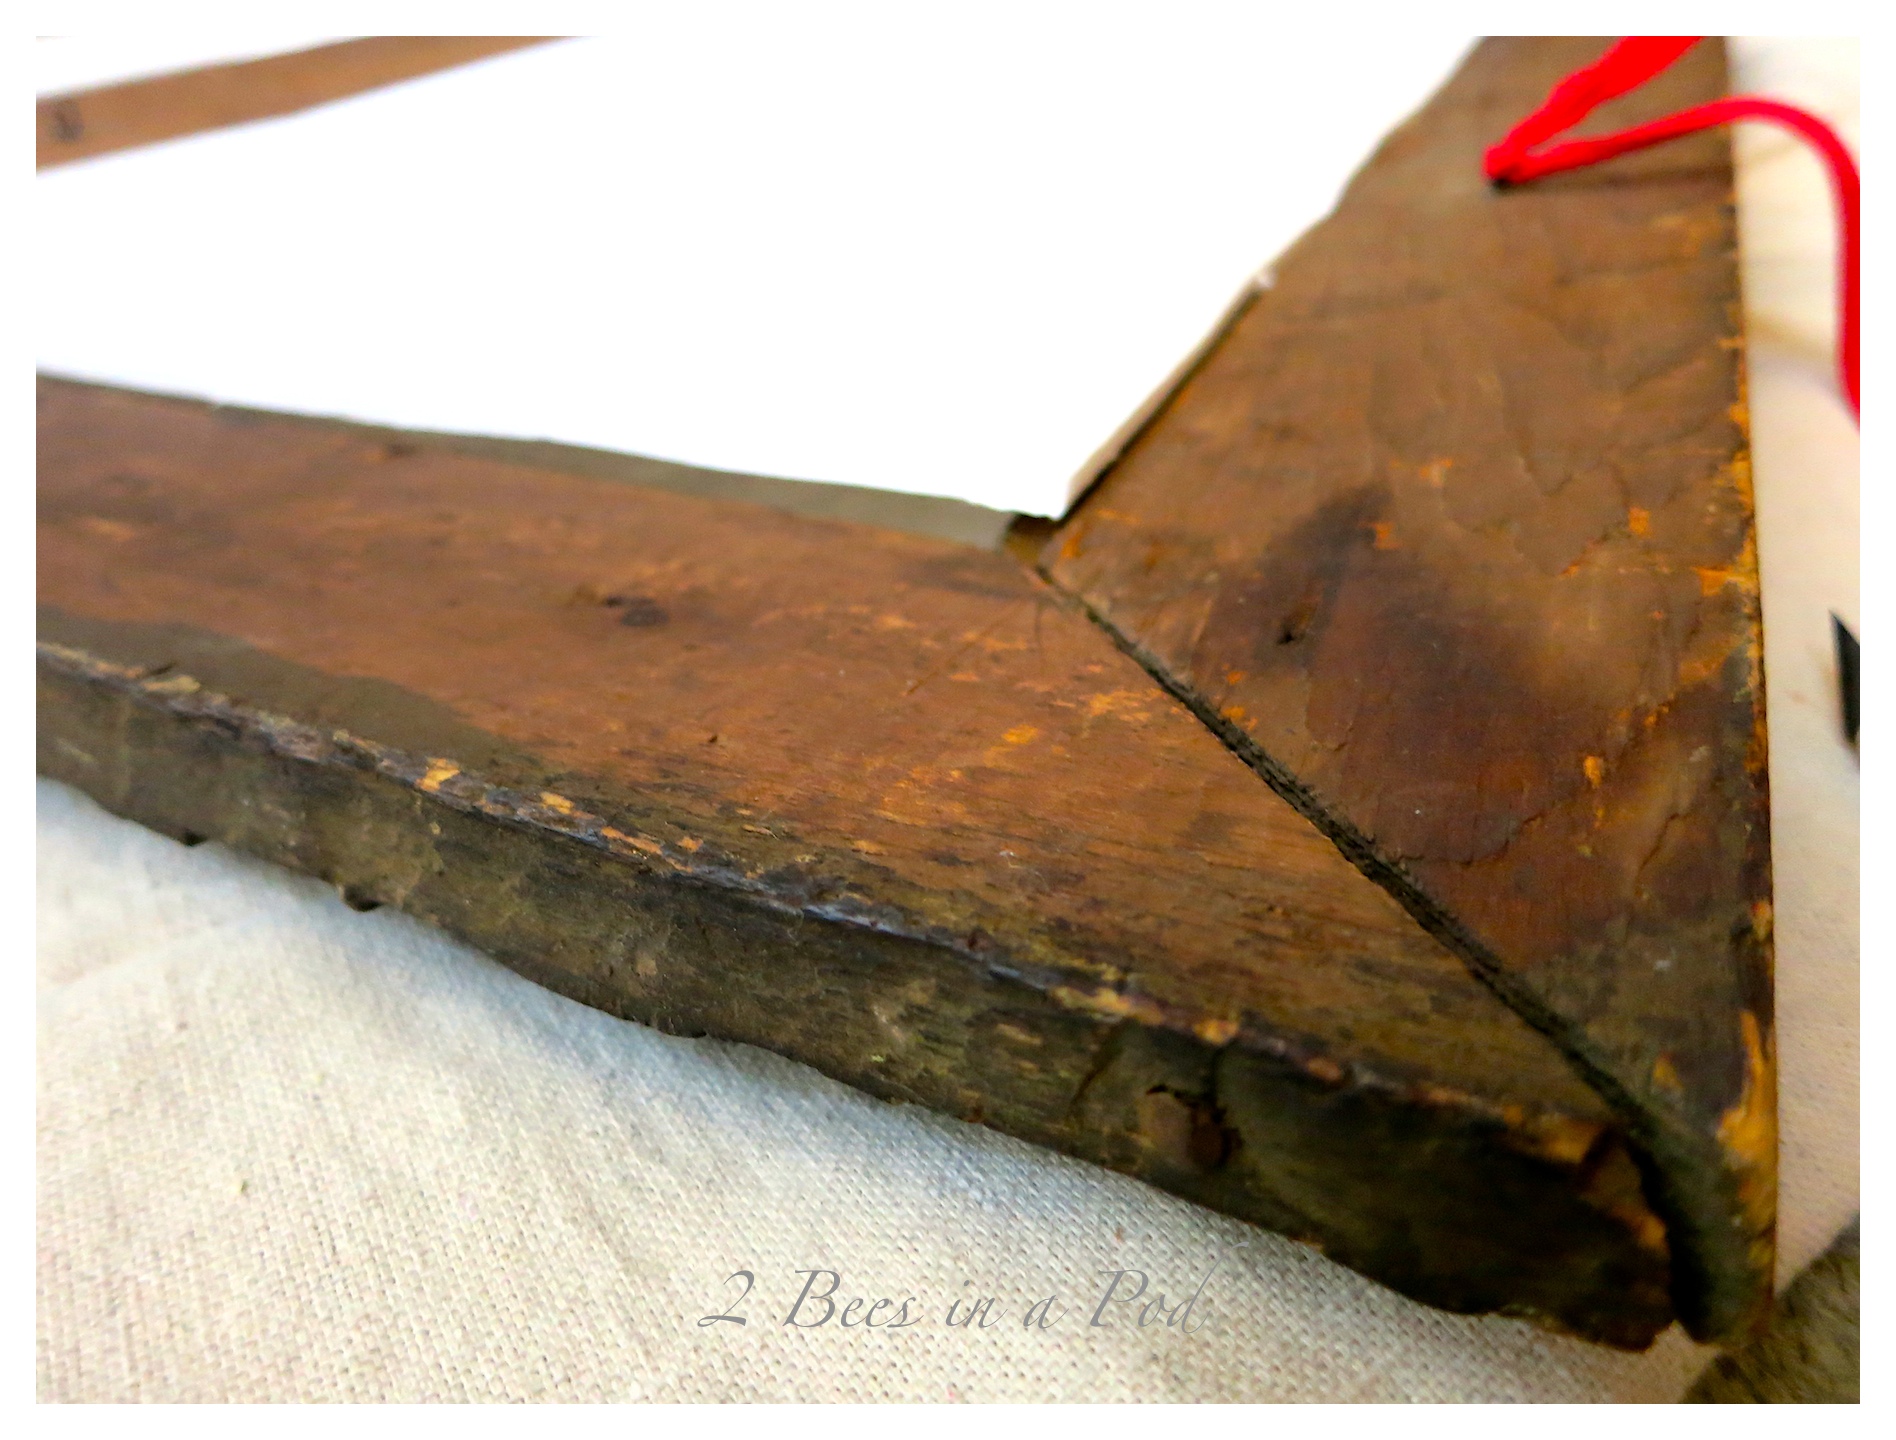
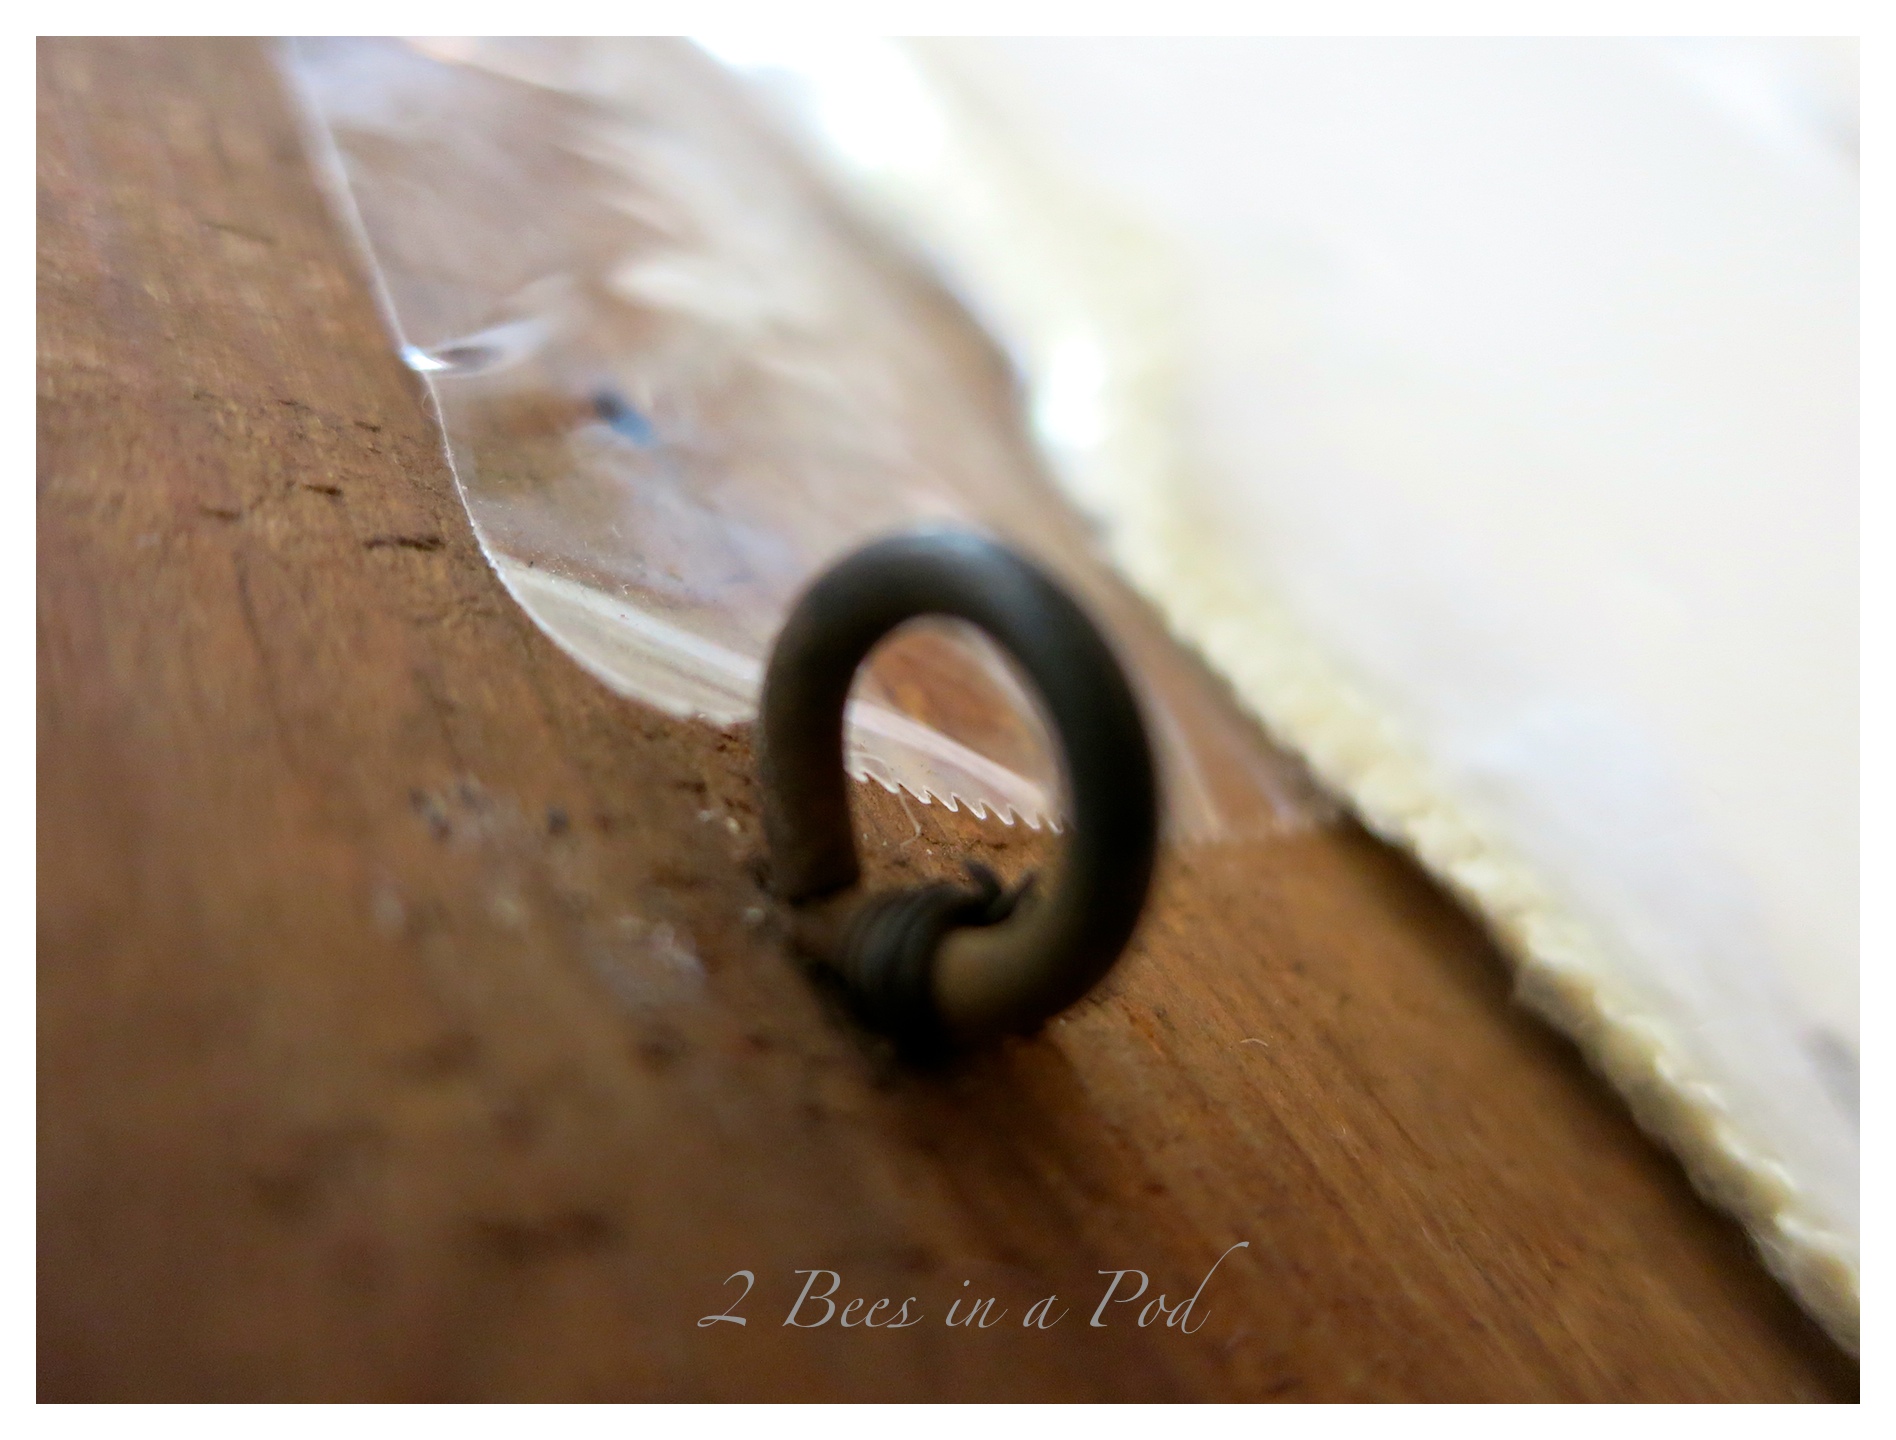
 You can really appreciate the age of the wood by looking at the backside of the frame…
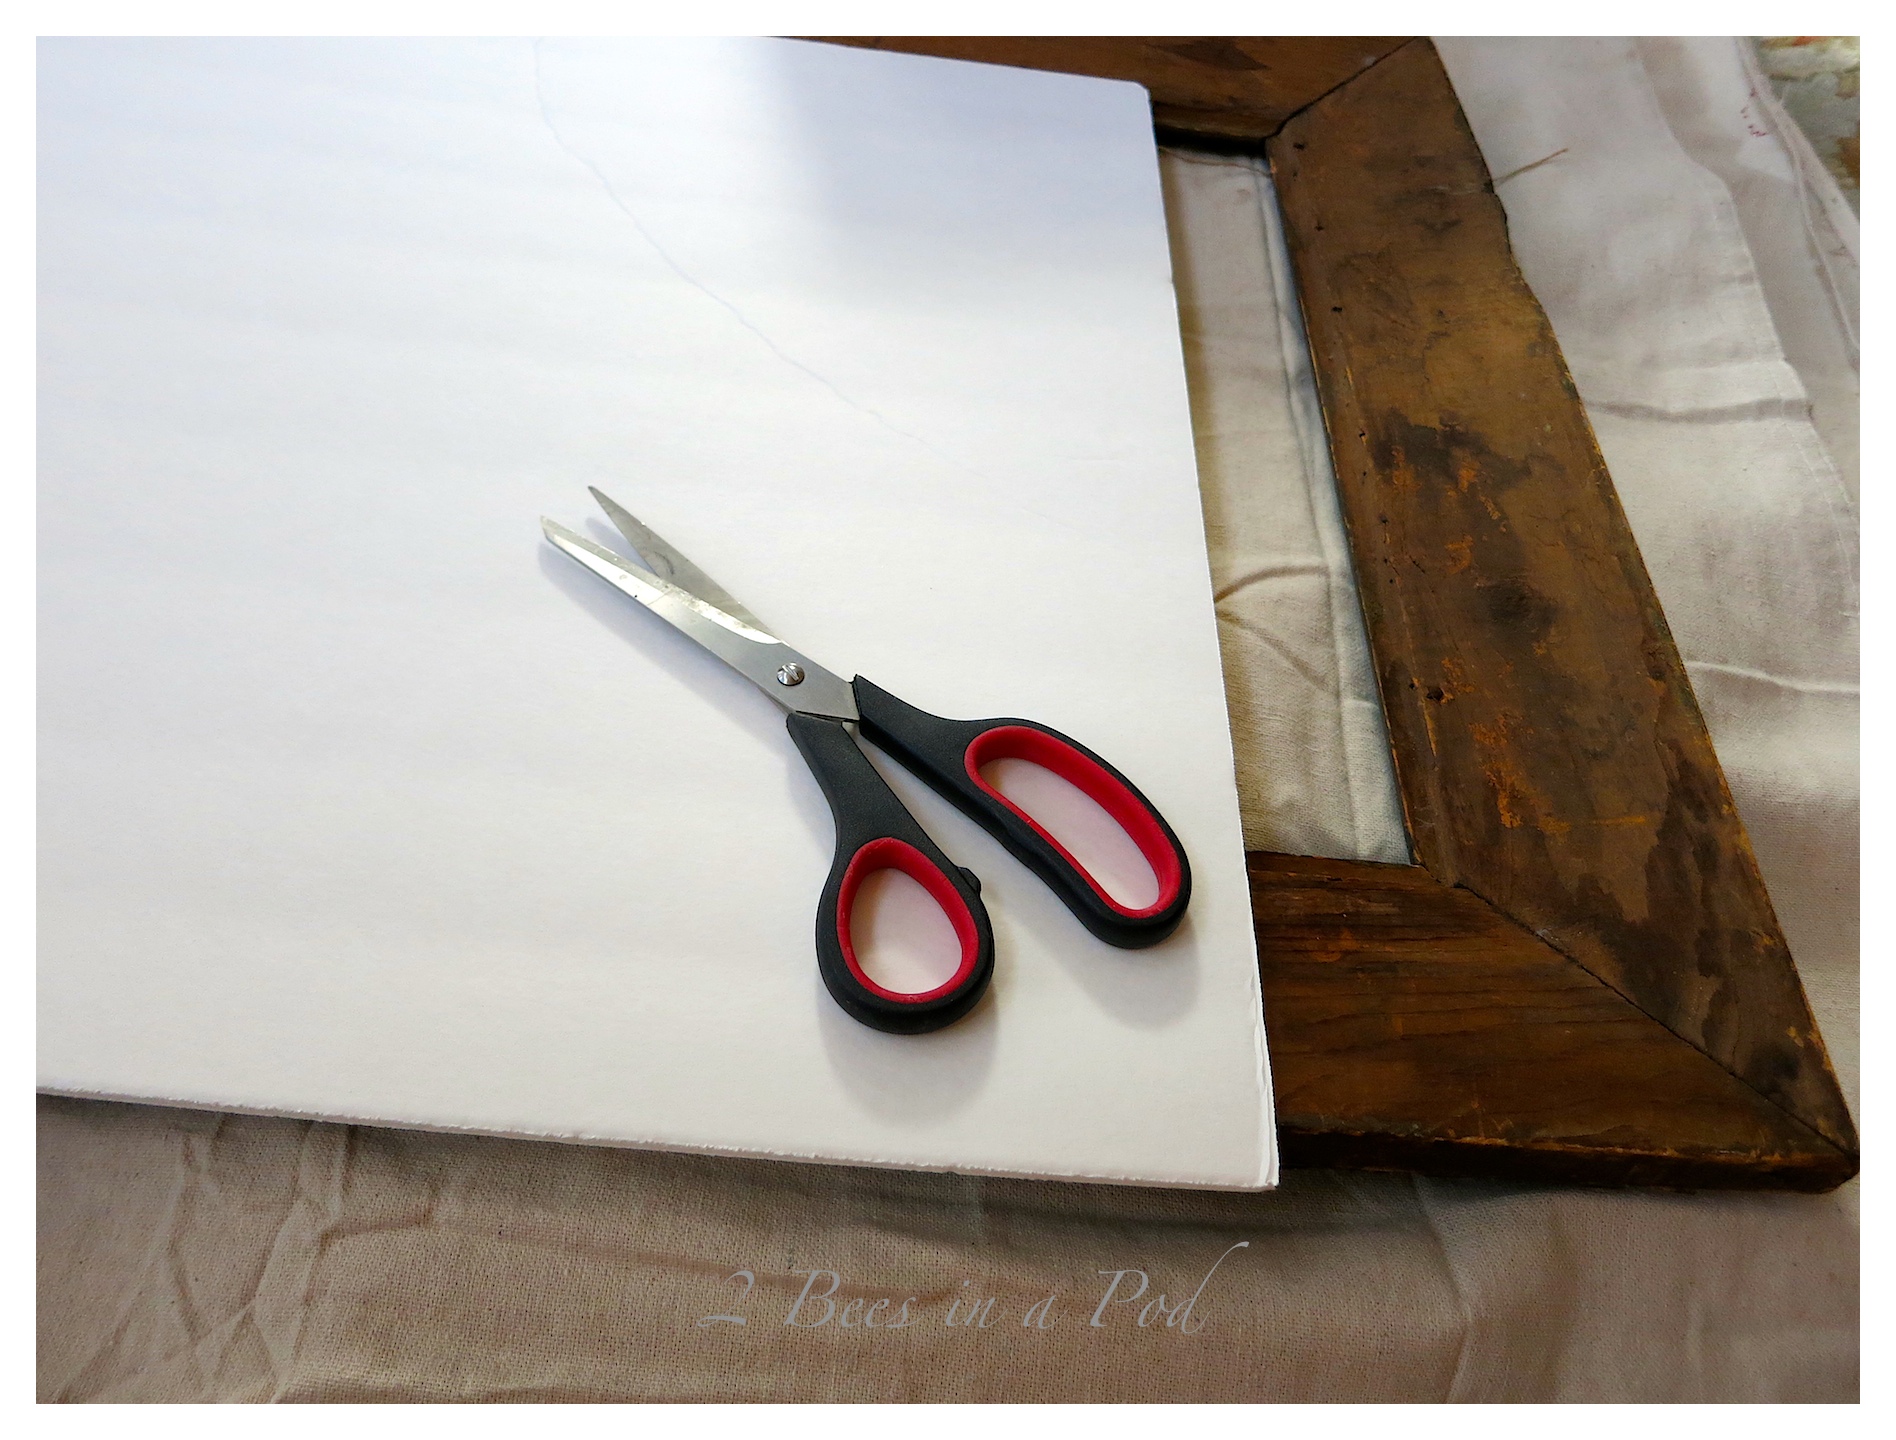 I did a rough cut of the foam board to insert into the frame…
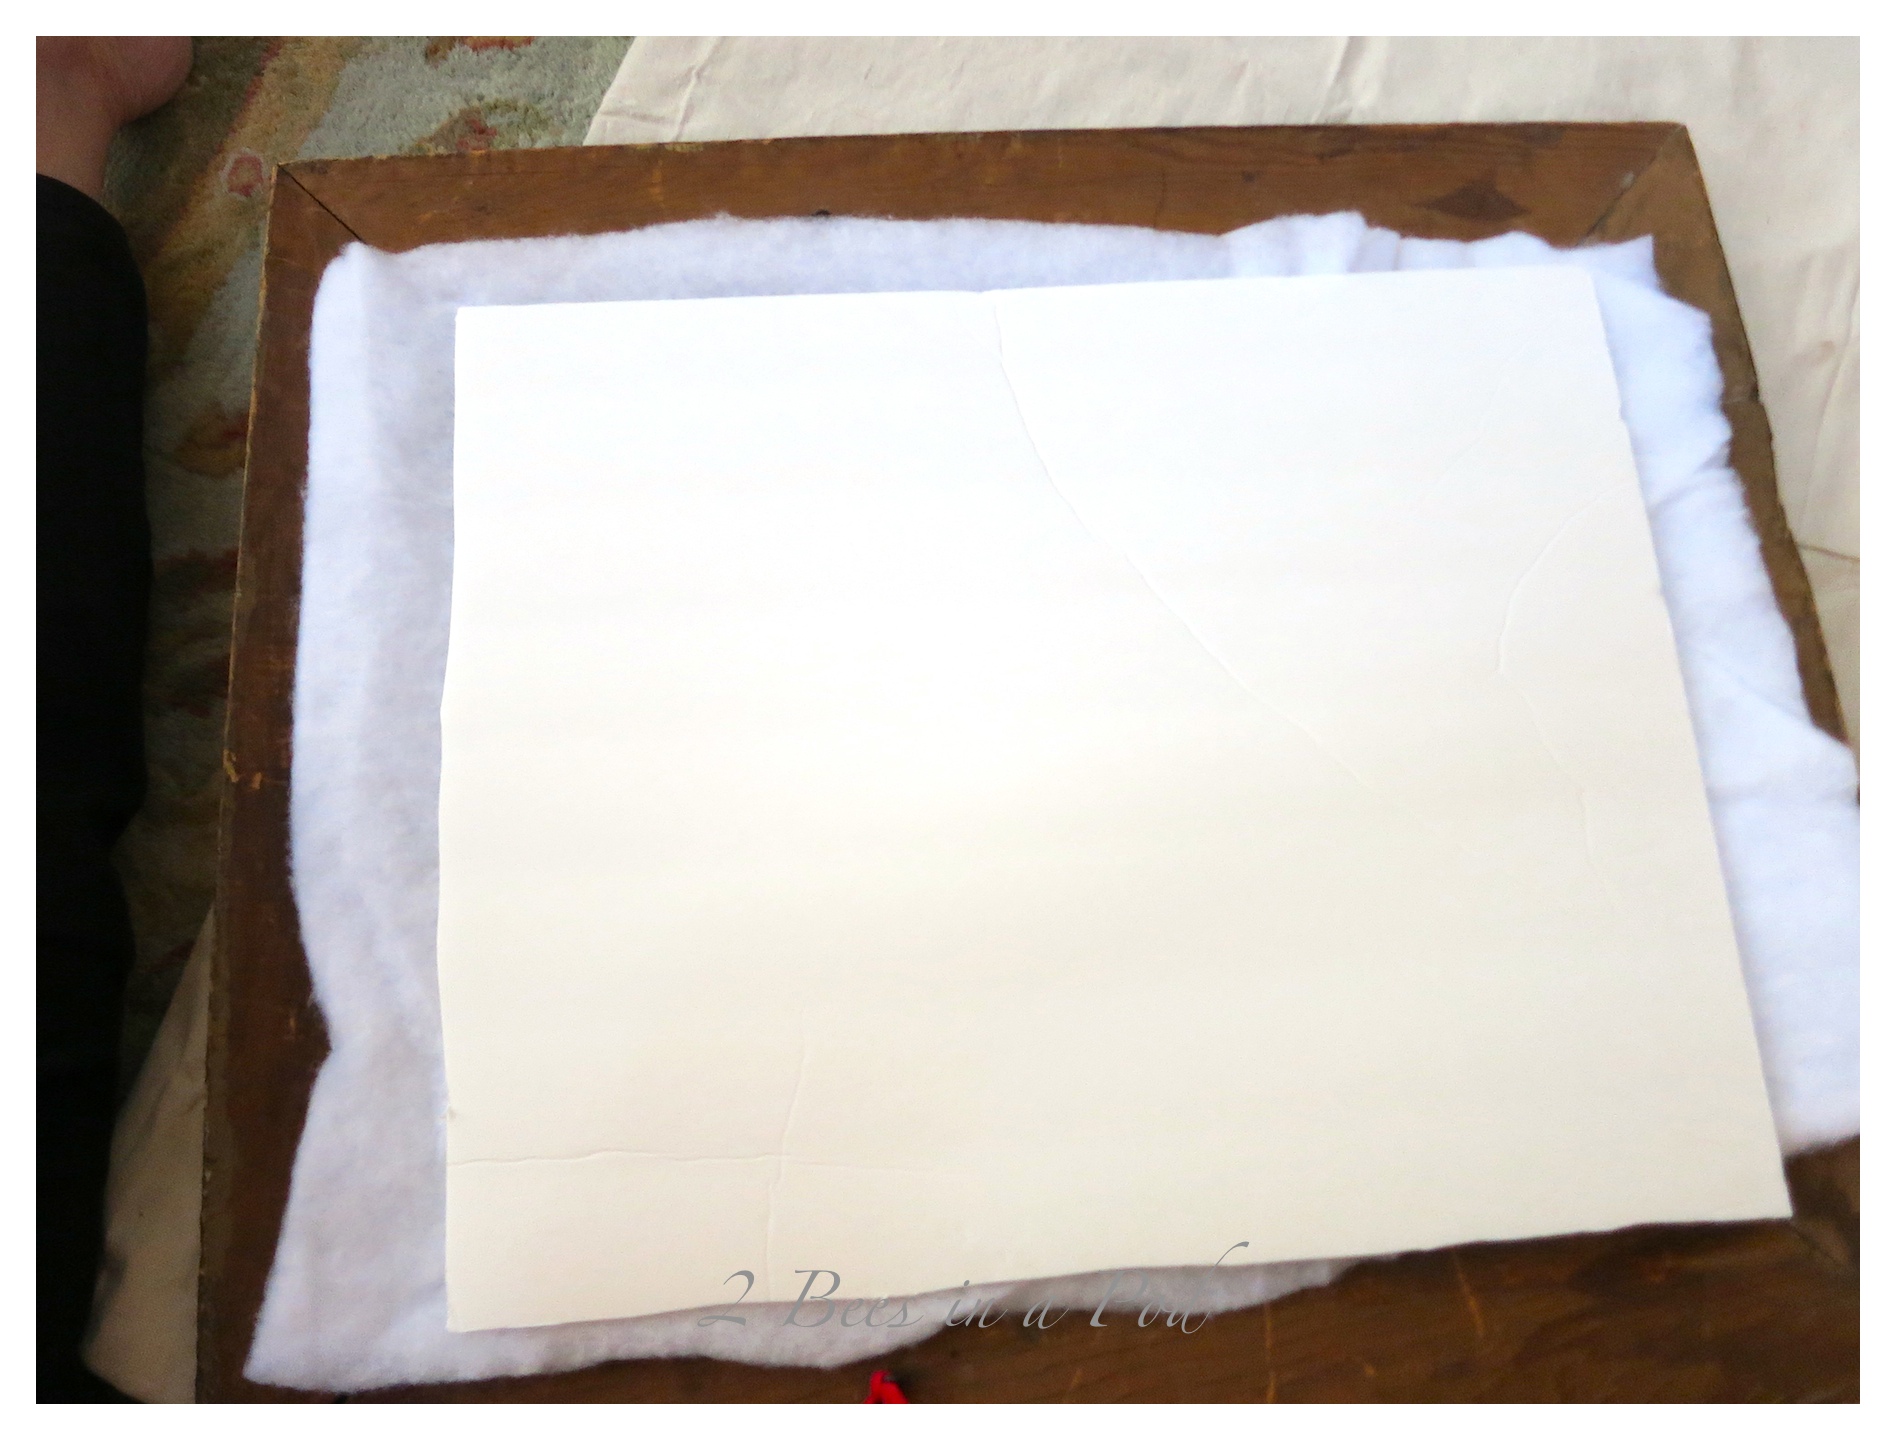
 I wrapped the foam board with a layer of batting, and then a layer of burlap.
 Being that this is for my use and not a client, I taped everything in place on the back of the frame. You can again detect the age of the frame by the heavy-duty eye ring.
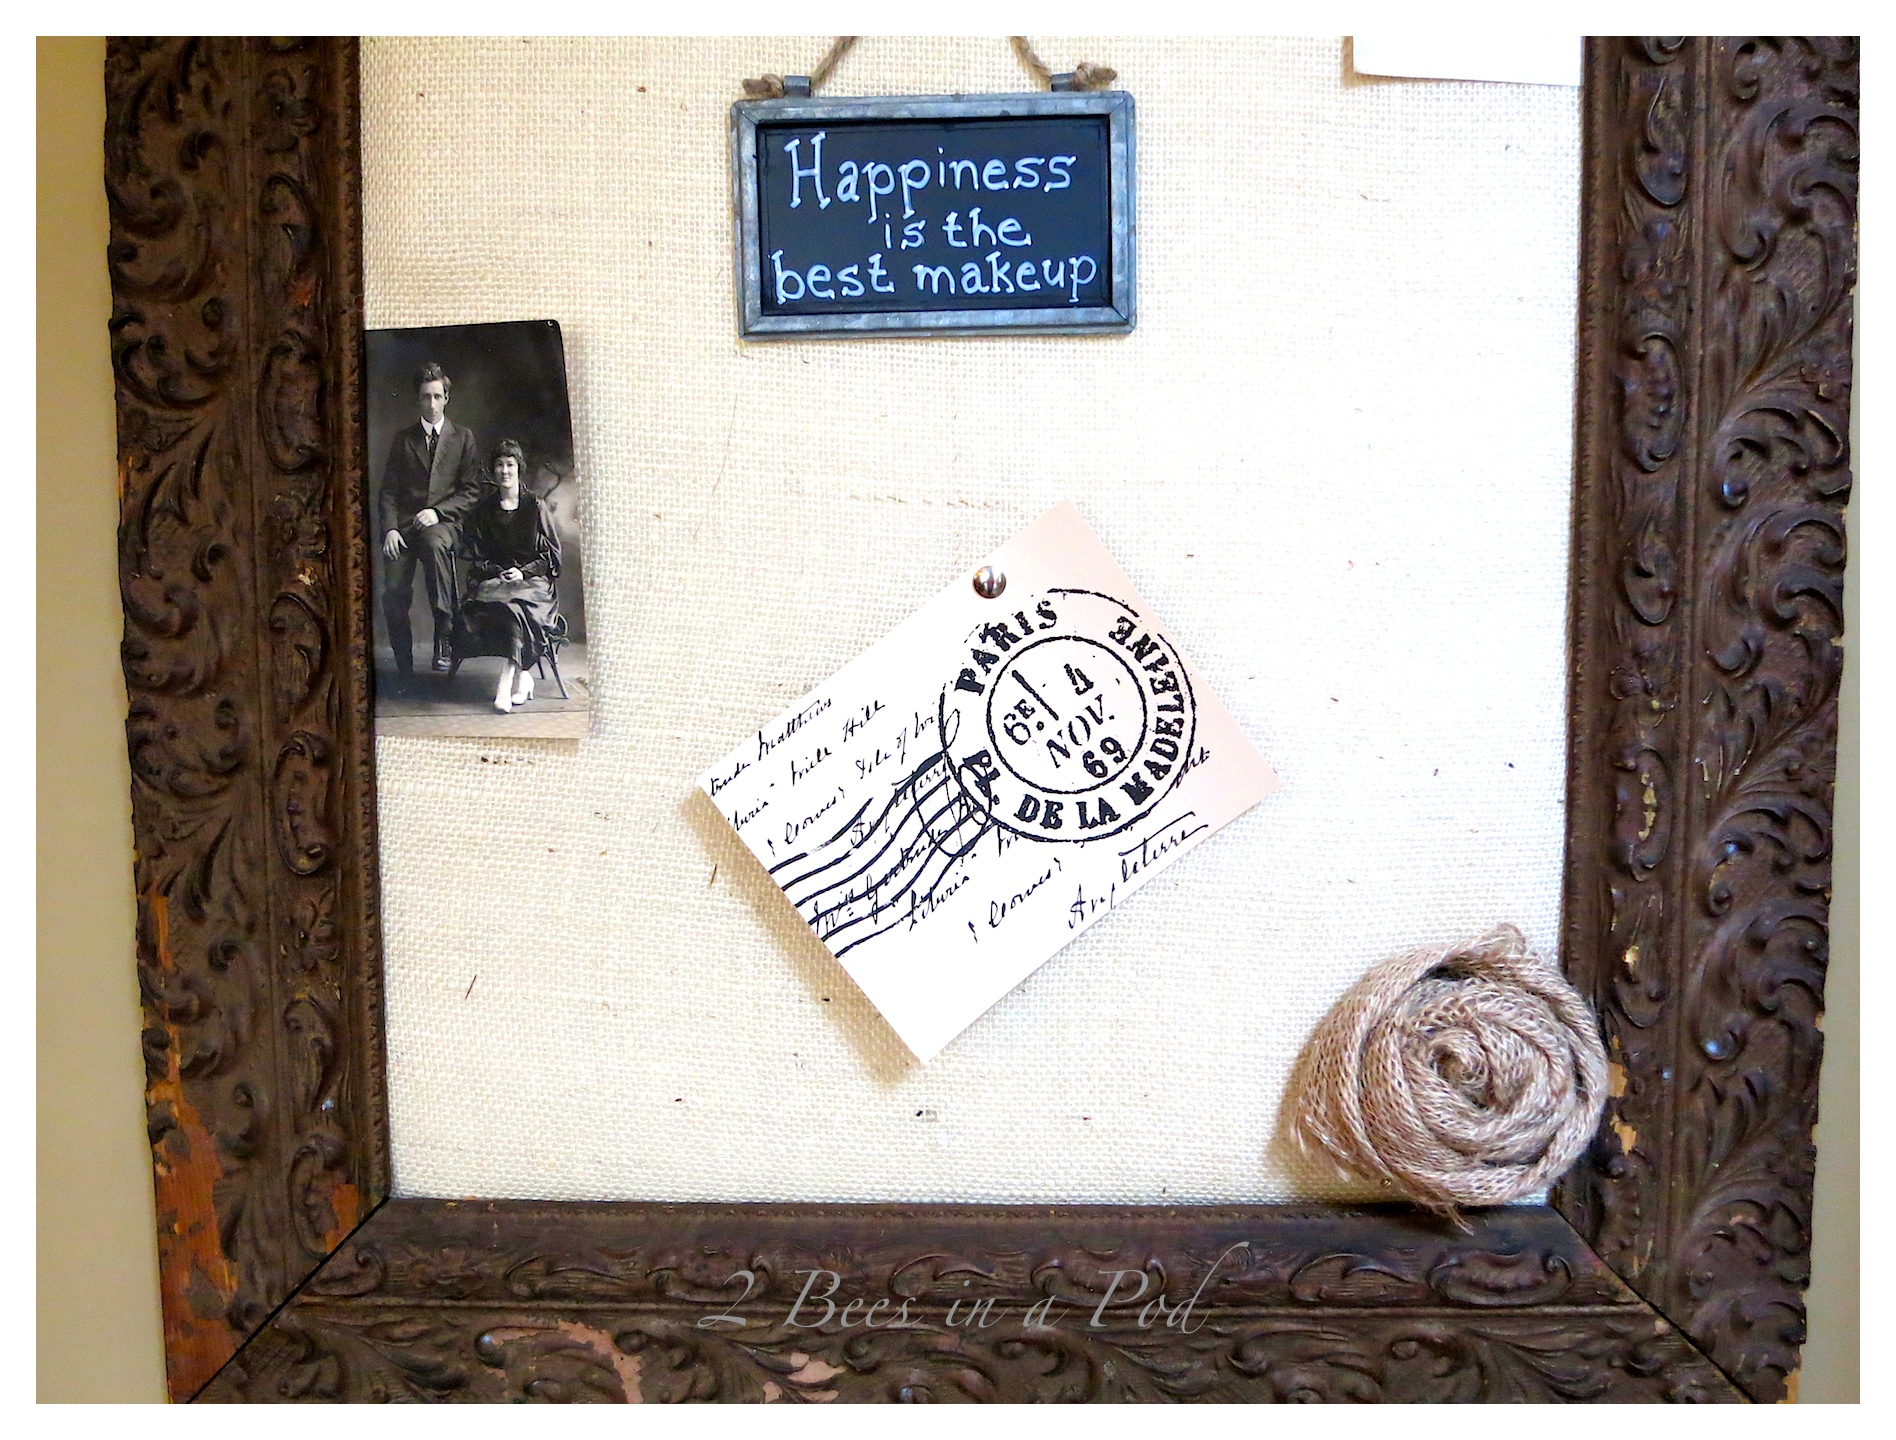
 The frame is complete – ready to be hung and decorated.
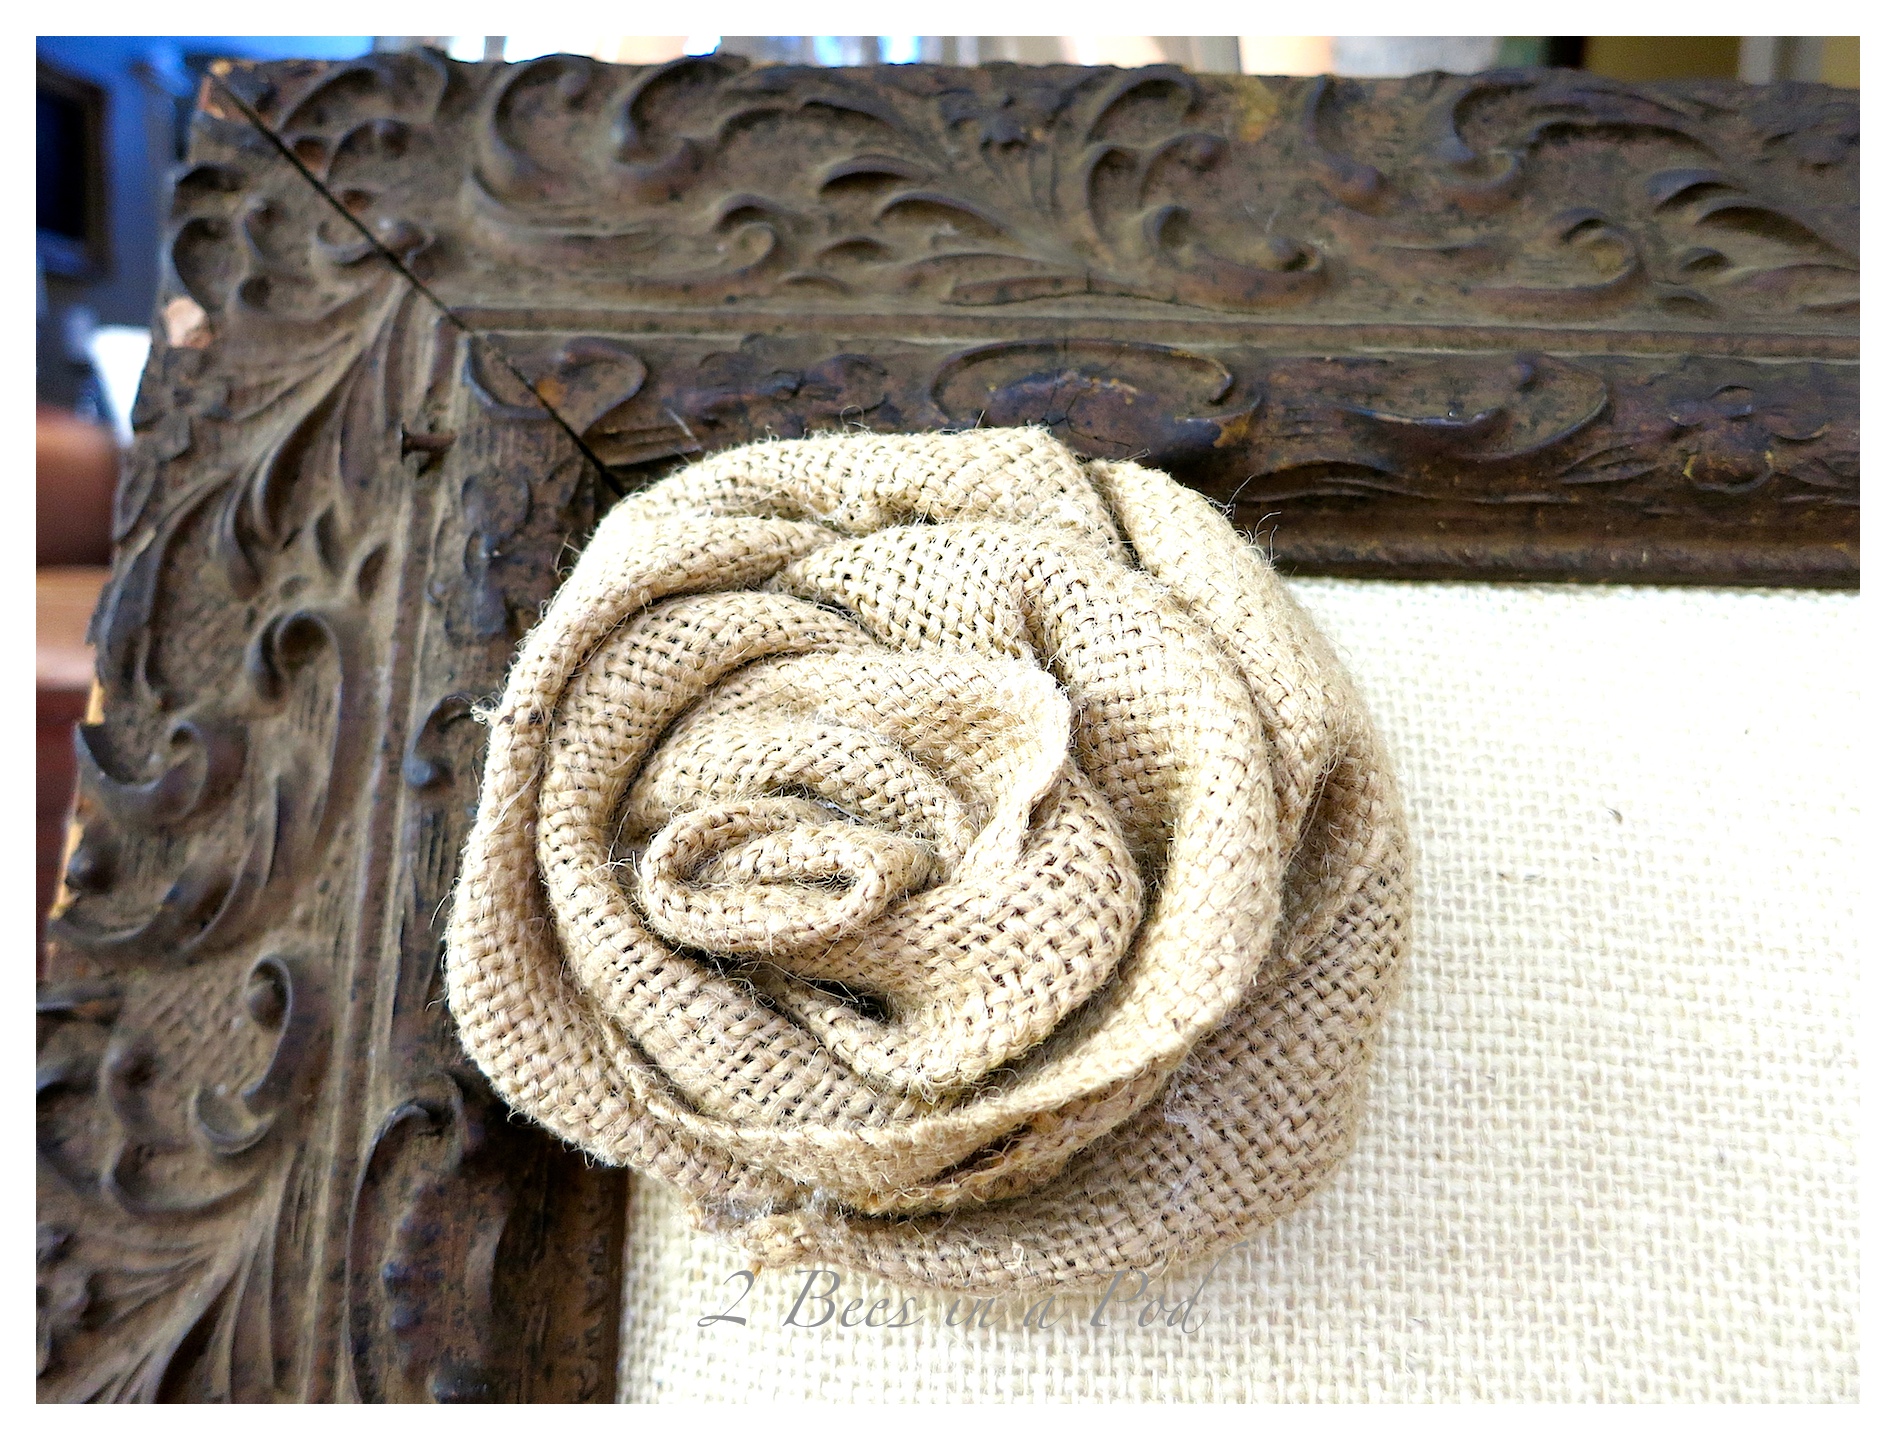
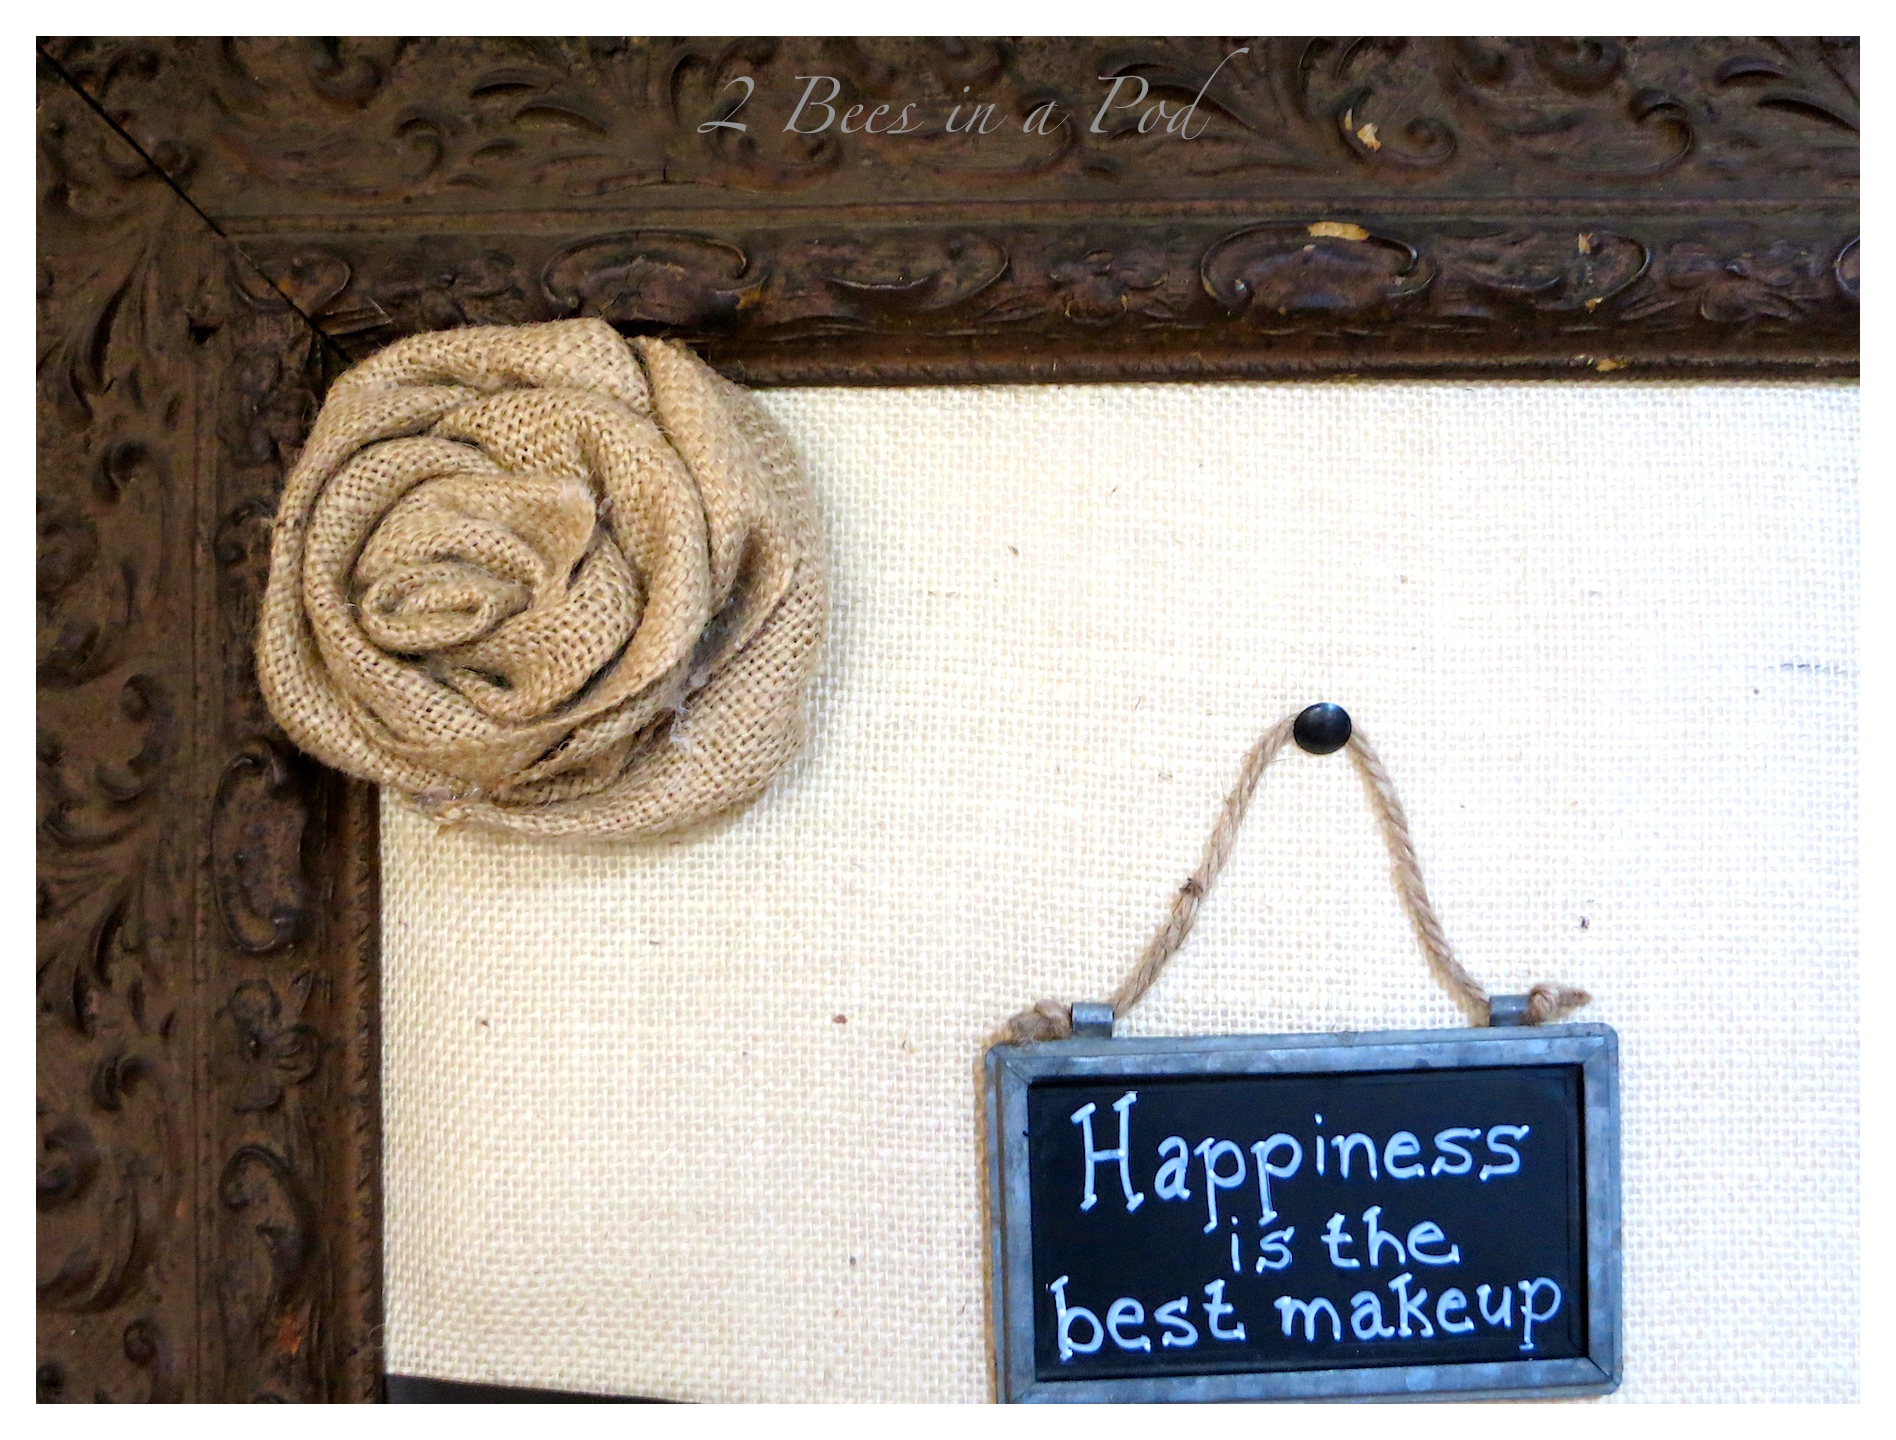
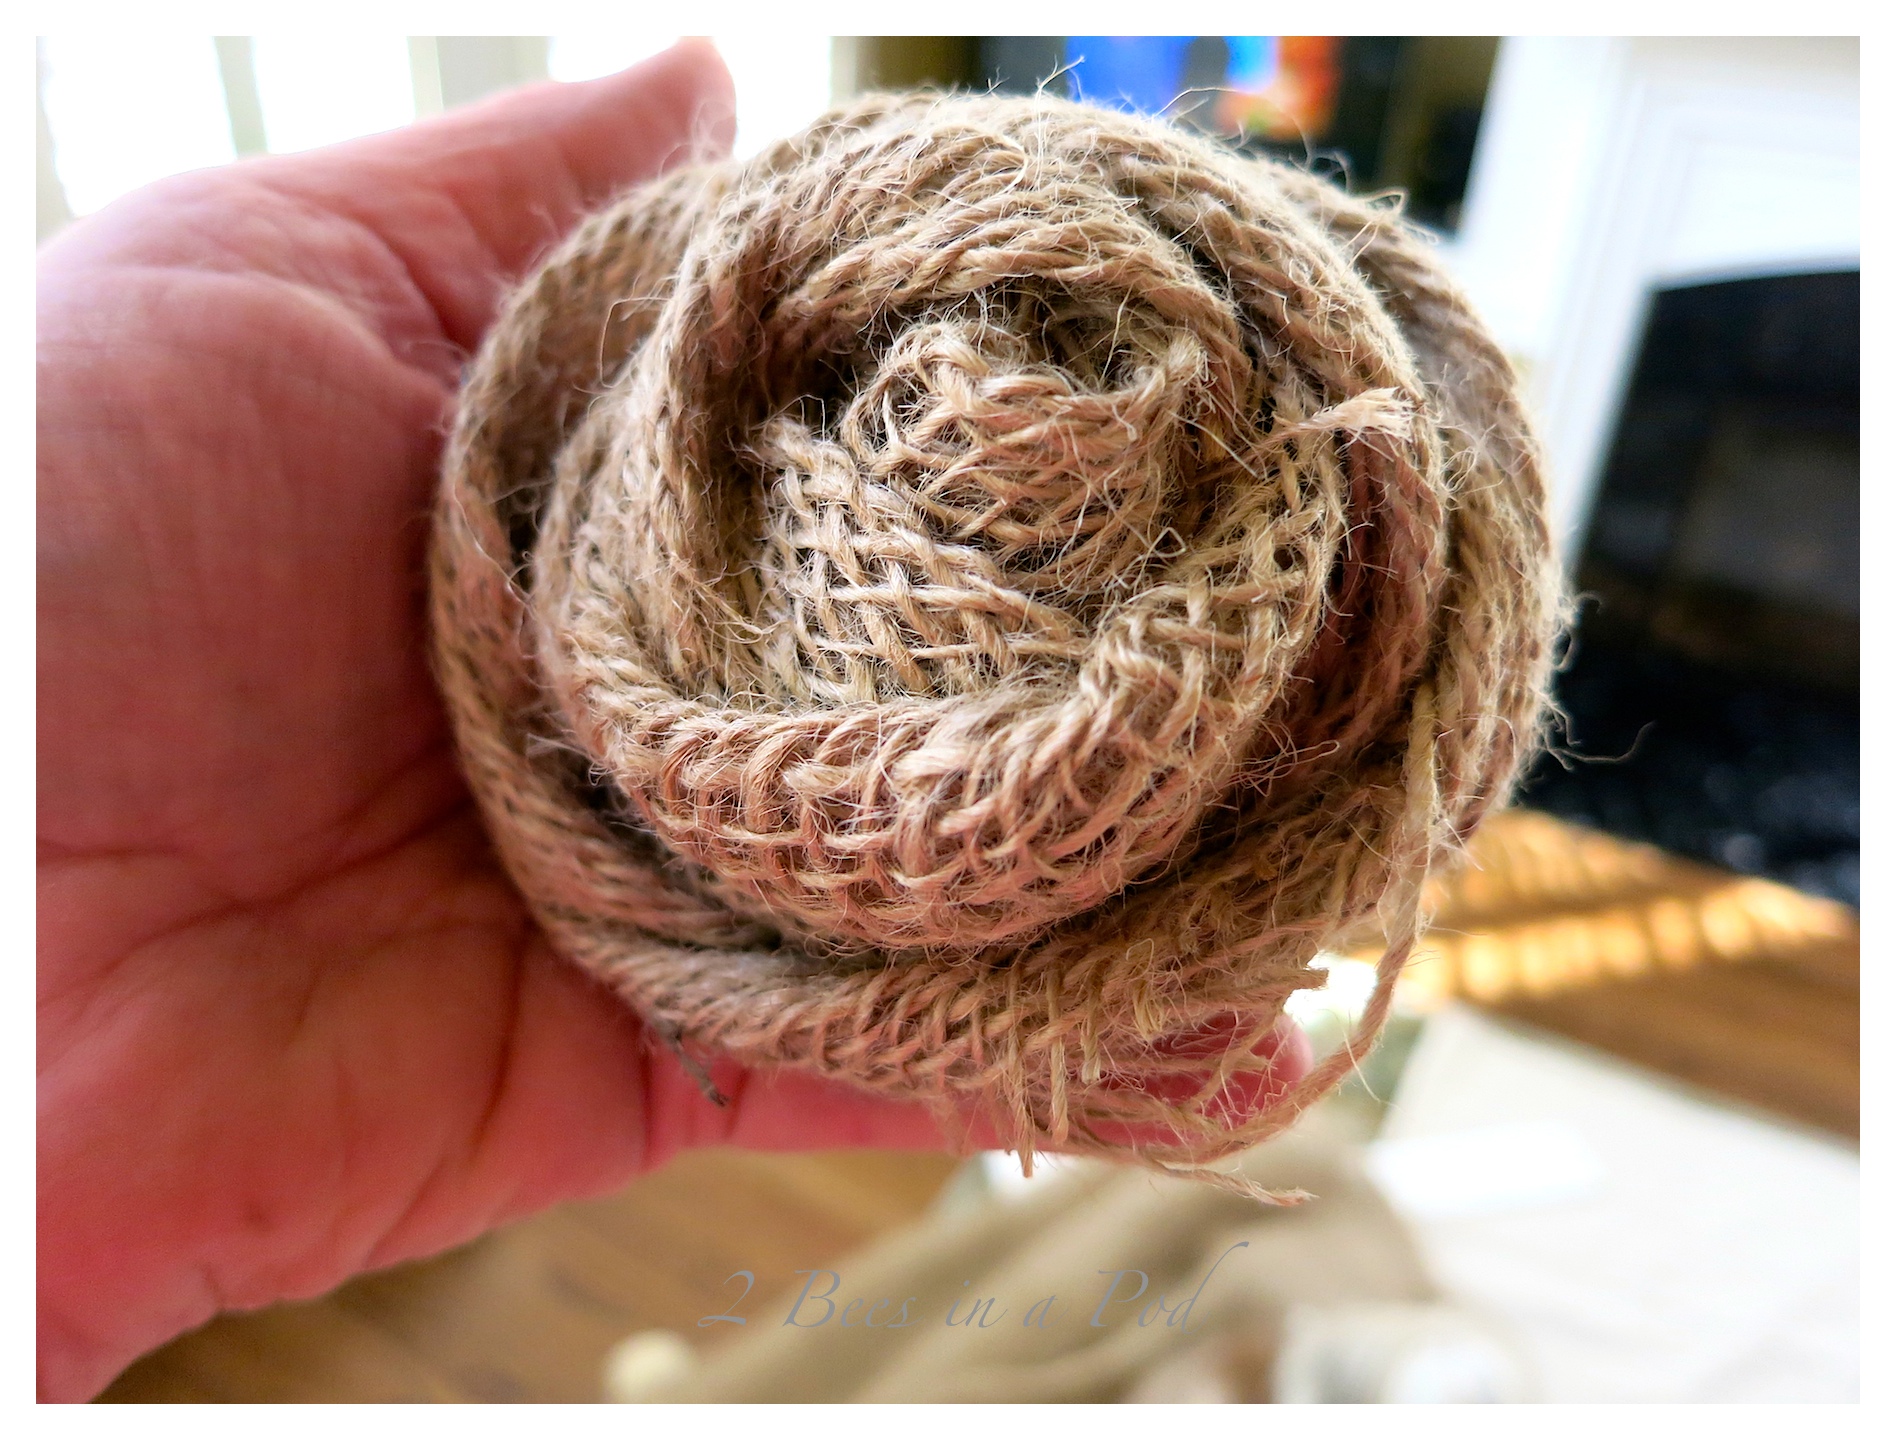
 I made burlap roses to enhance the frame.
 I hung this beautiful frame in my dining room. I decided to keep with the neutral, vintage vibe already in this room.
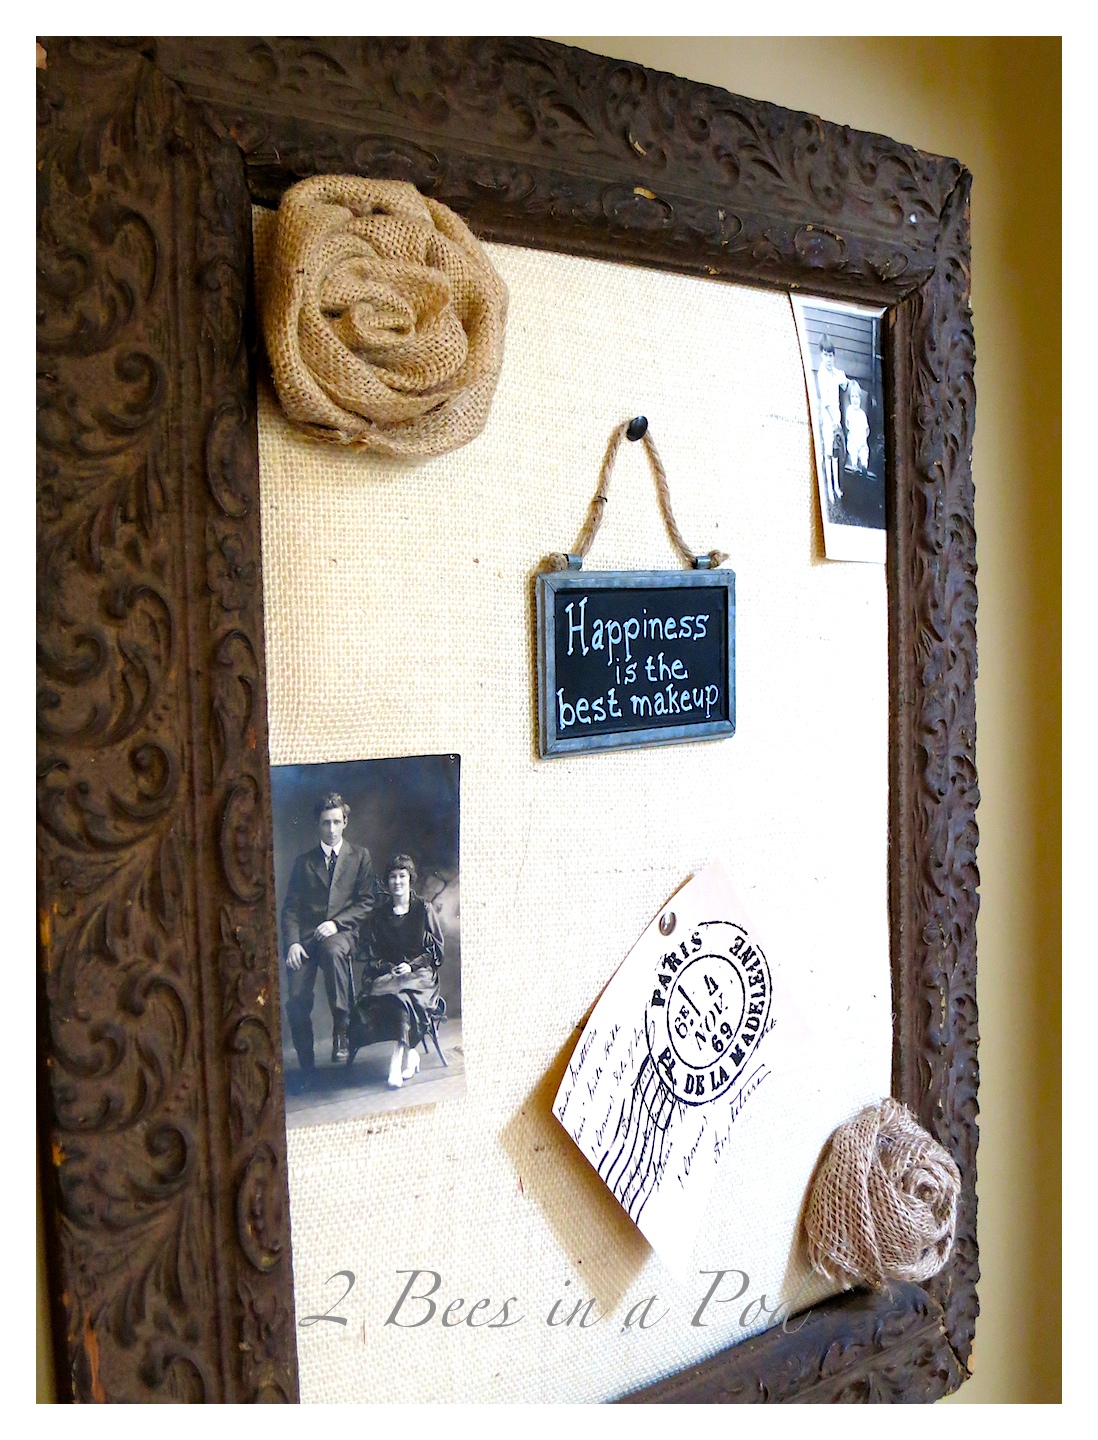 “Happiness is the best makeup.” – Drew Barrymore
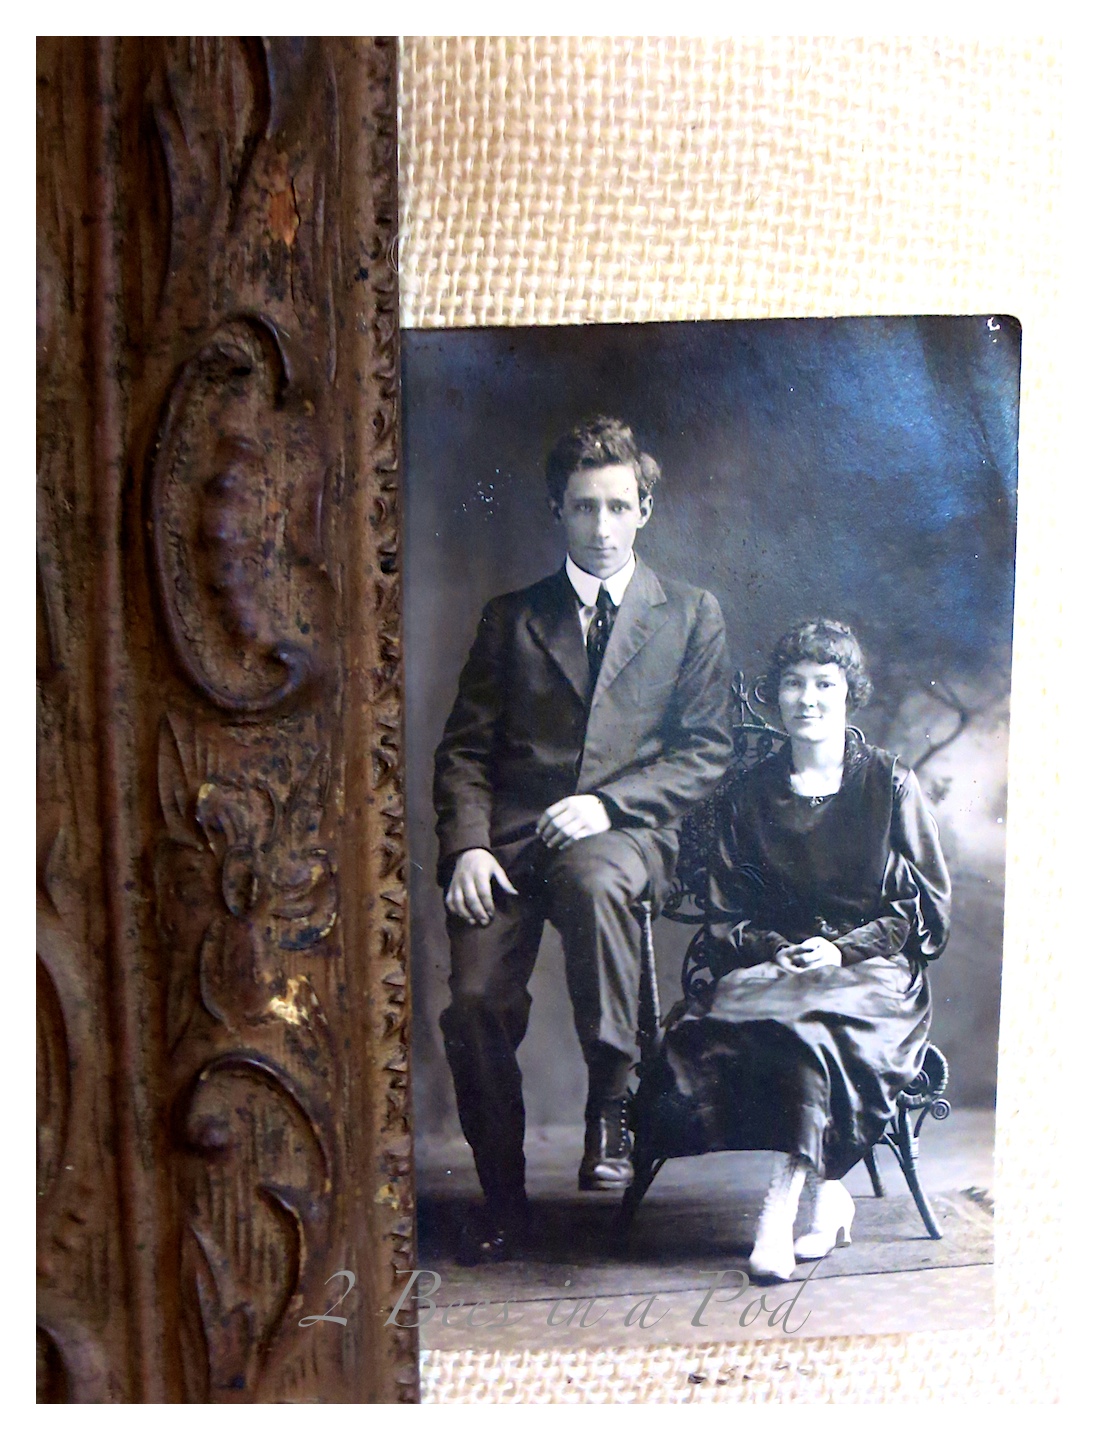
 These are my ancestors of centuries ago…
 I can’t wait to entertain in our dining room and create a menu to hang onto the board.
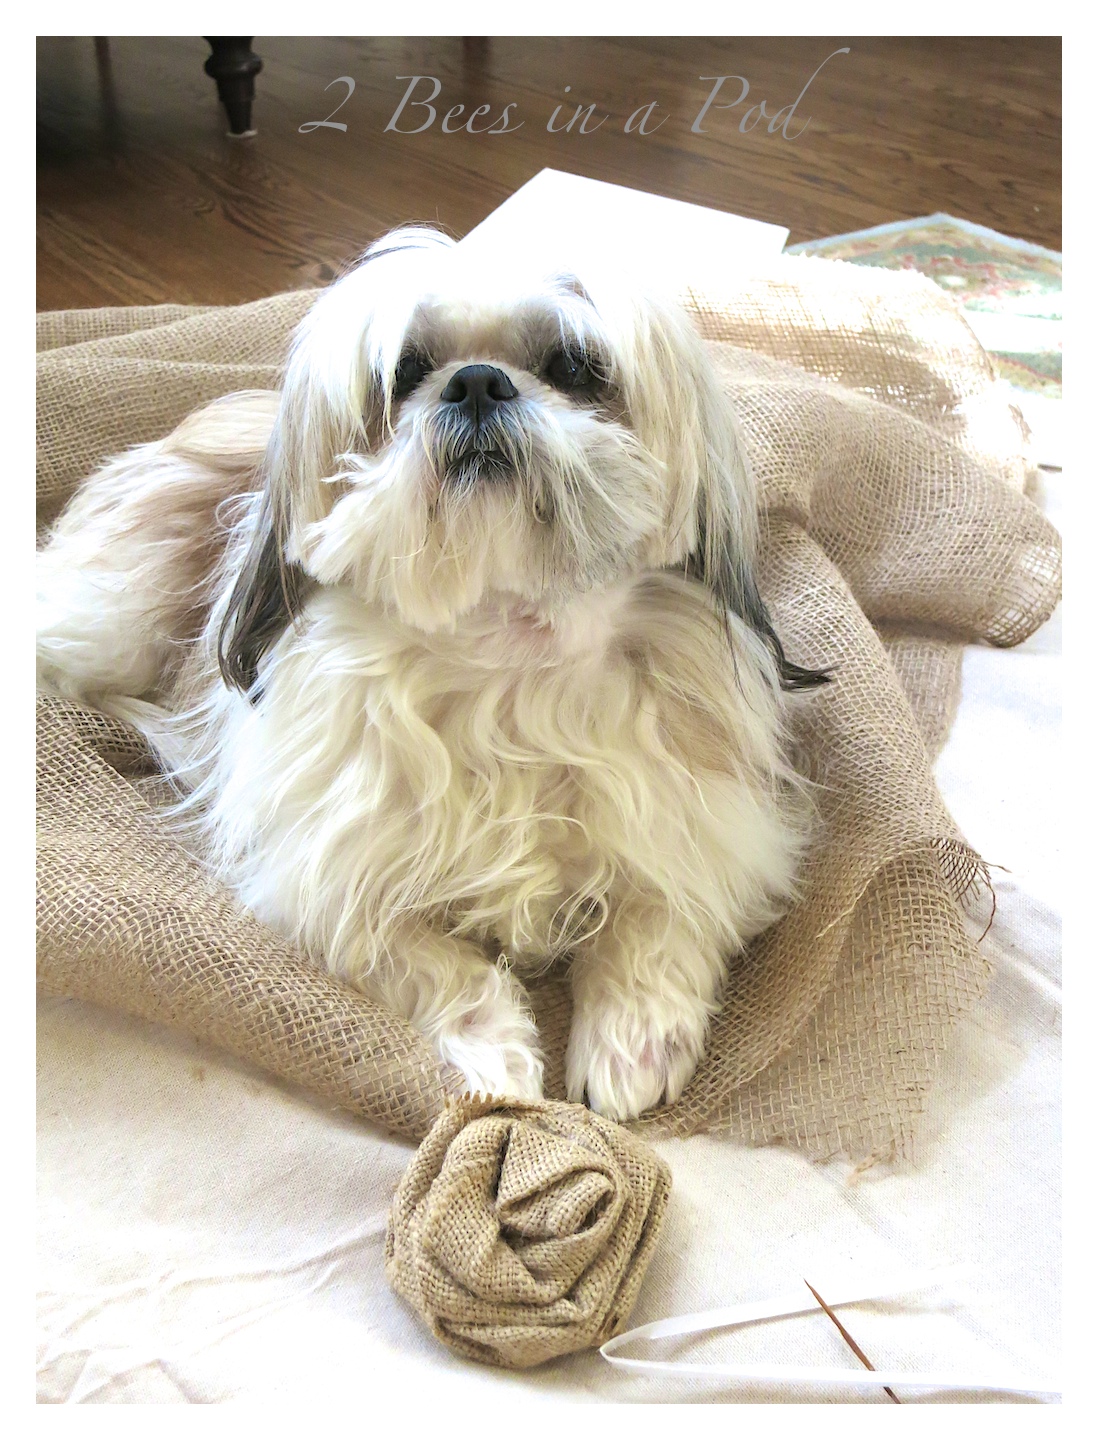
 As I finished this burlap board, I found my dog Starbuck nestled in the project remnants. (I swear – this is NOT a staged pose). My sweet shih tzu Starbuck is always at the ready when I am doing a project 🙂 When I was creating this board, I happened to look up and captured this lovely shot. Perfectly positioned don’t you think?
Do you have a frame lying around and you don’t know what to do with it? It can be any size – large or small. Give this a try. You will be surprised by the transformation!





your projects are always well explained and creative…thank you and keep up the great blog!
Heading to the attic today to pull down a frame that I knew I was saving for something. This project is it!
Yes…go for it!!! Let us know how it goes 🙂 Remember the fabric frames we made in our youth? Thinking about reviving that idea 🙂