Easy Chalkboard Graphics…
Please note that this post contains affiliate links. As an Amazon Associate, Rewards Style influencer and Jane Influencer, we earn from qualifying purchases and any sales made through such links will reward us a small commission – at no extra cost for you.
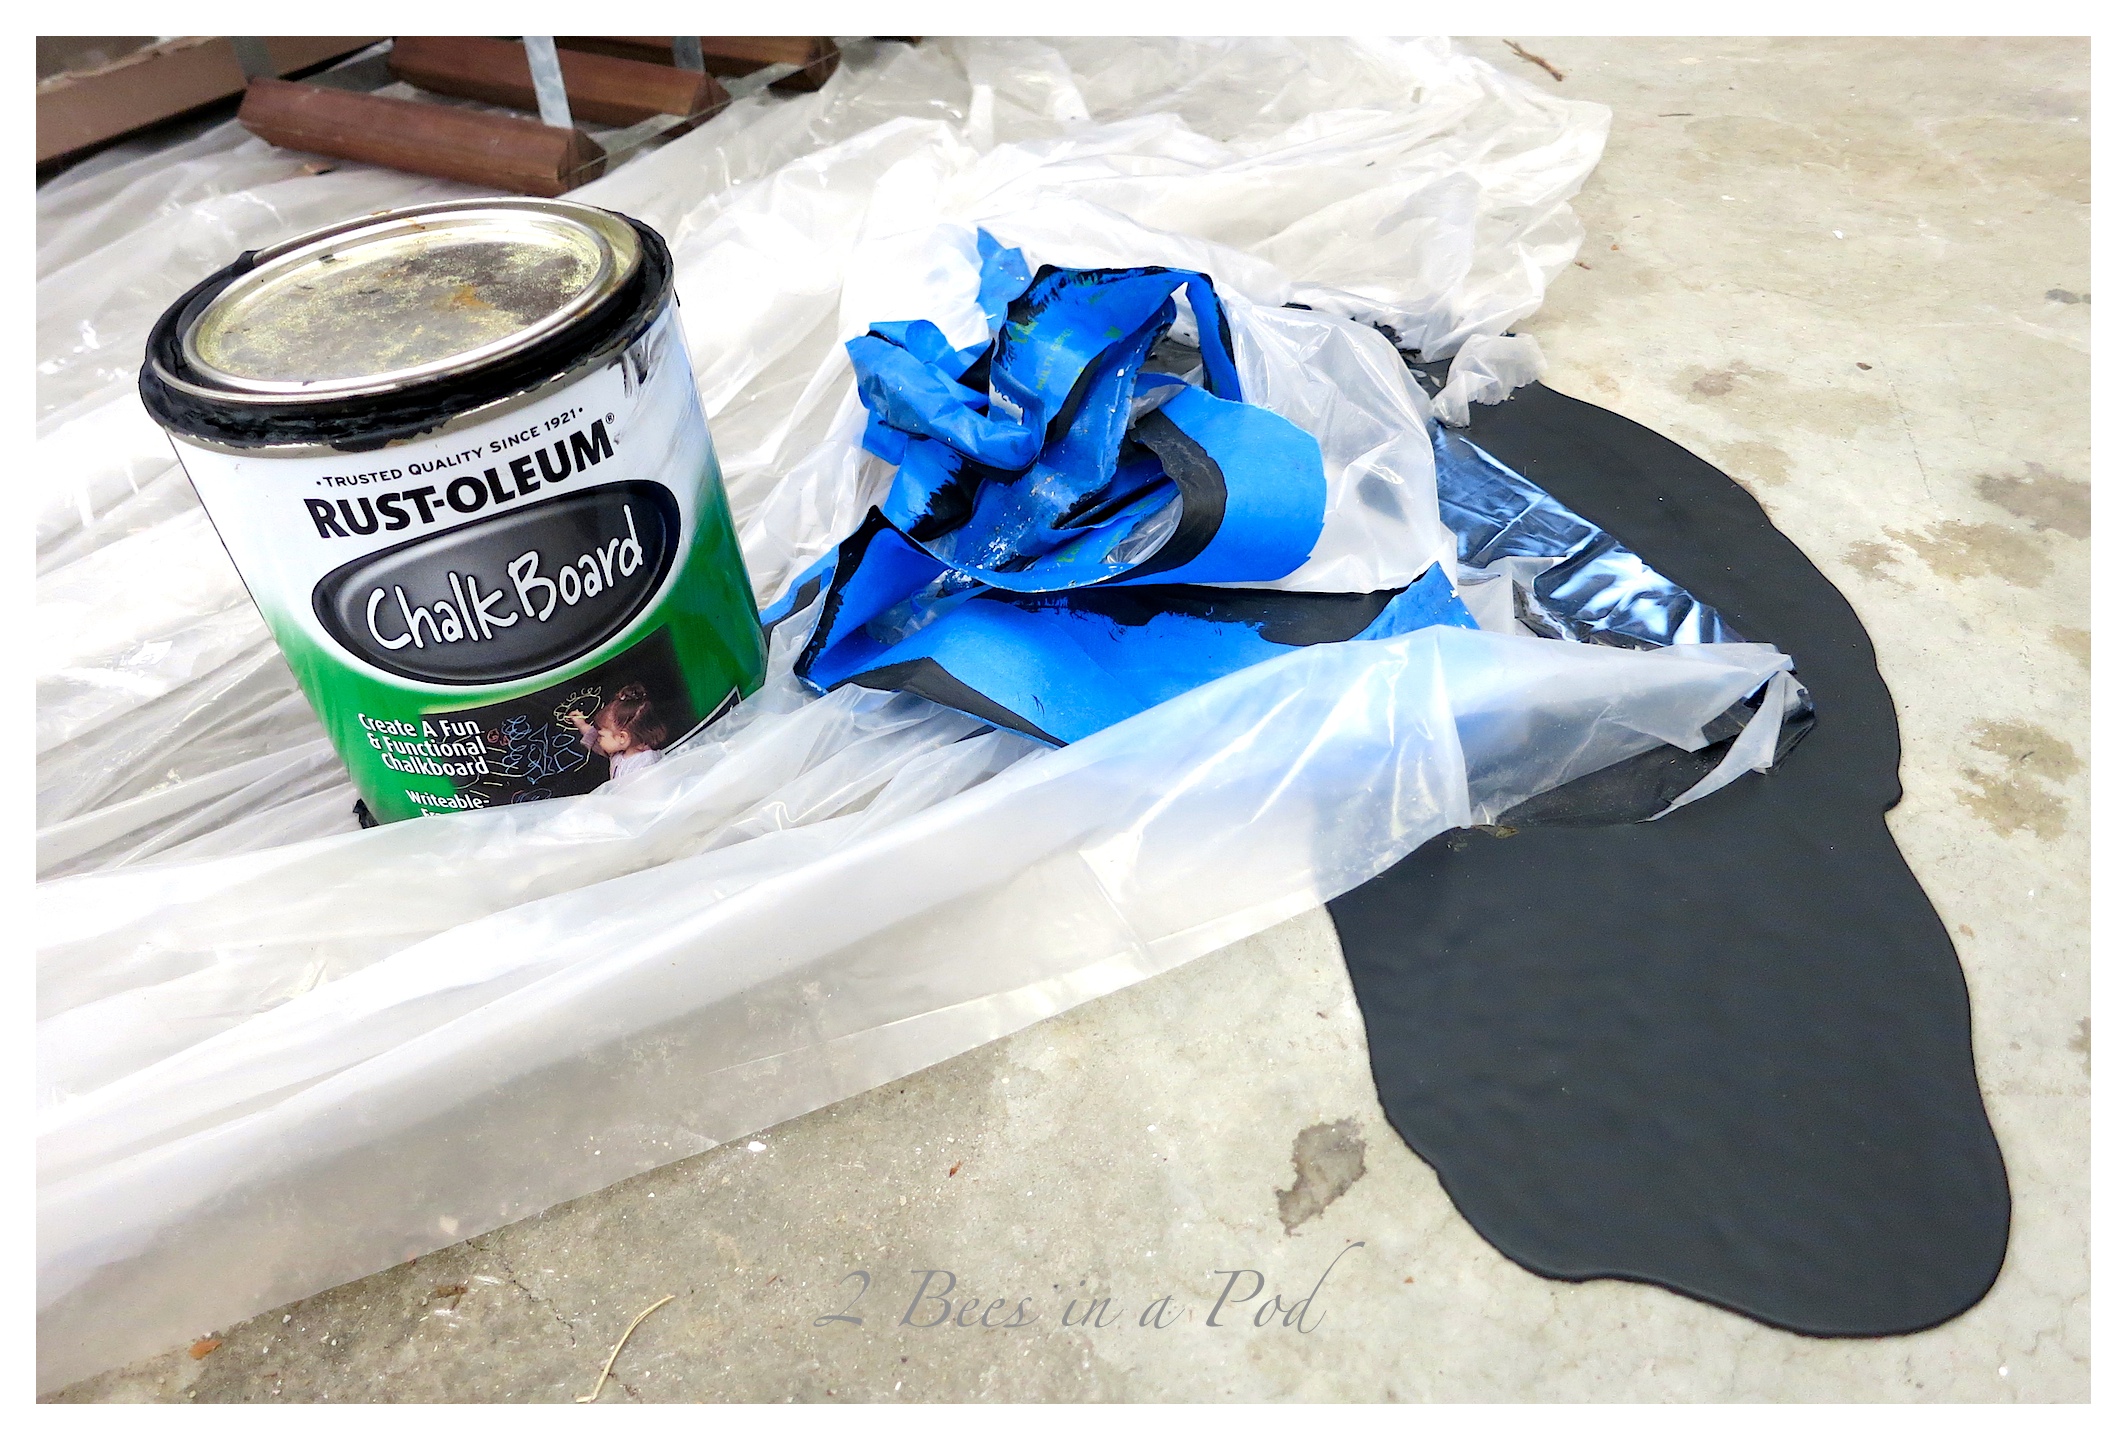
Last week I shared with you my new Custom Color Chalkboard Paint and Wall…you can see that post HERE.
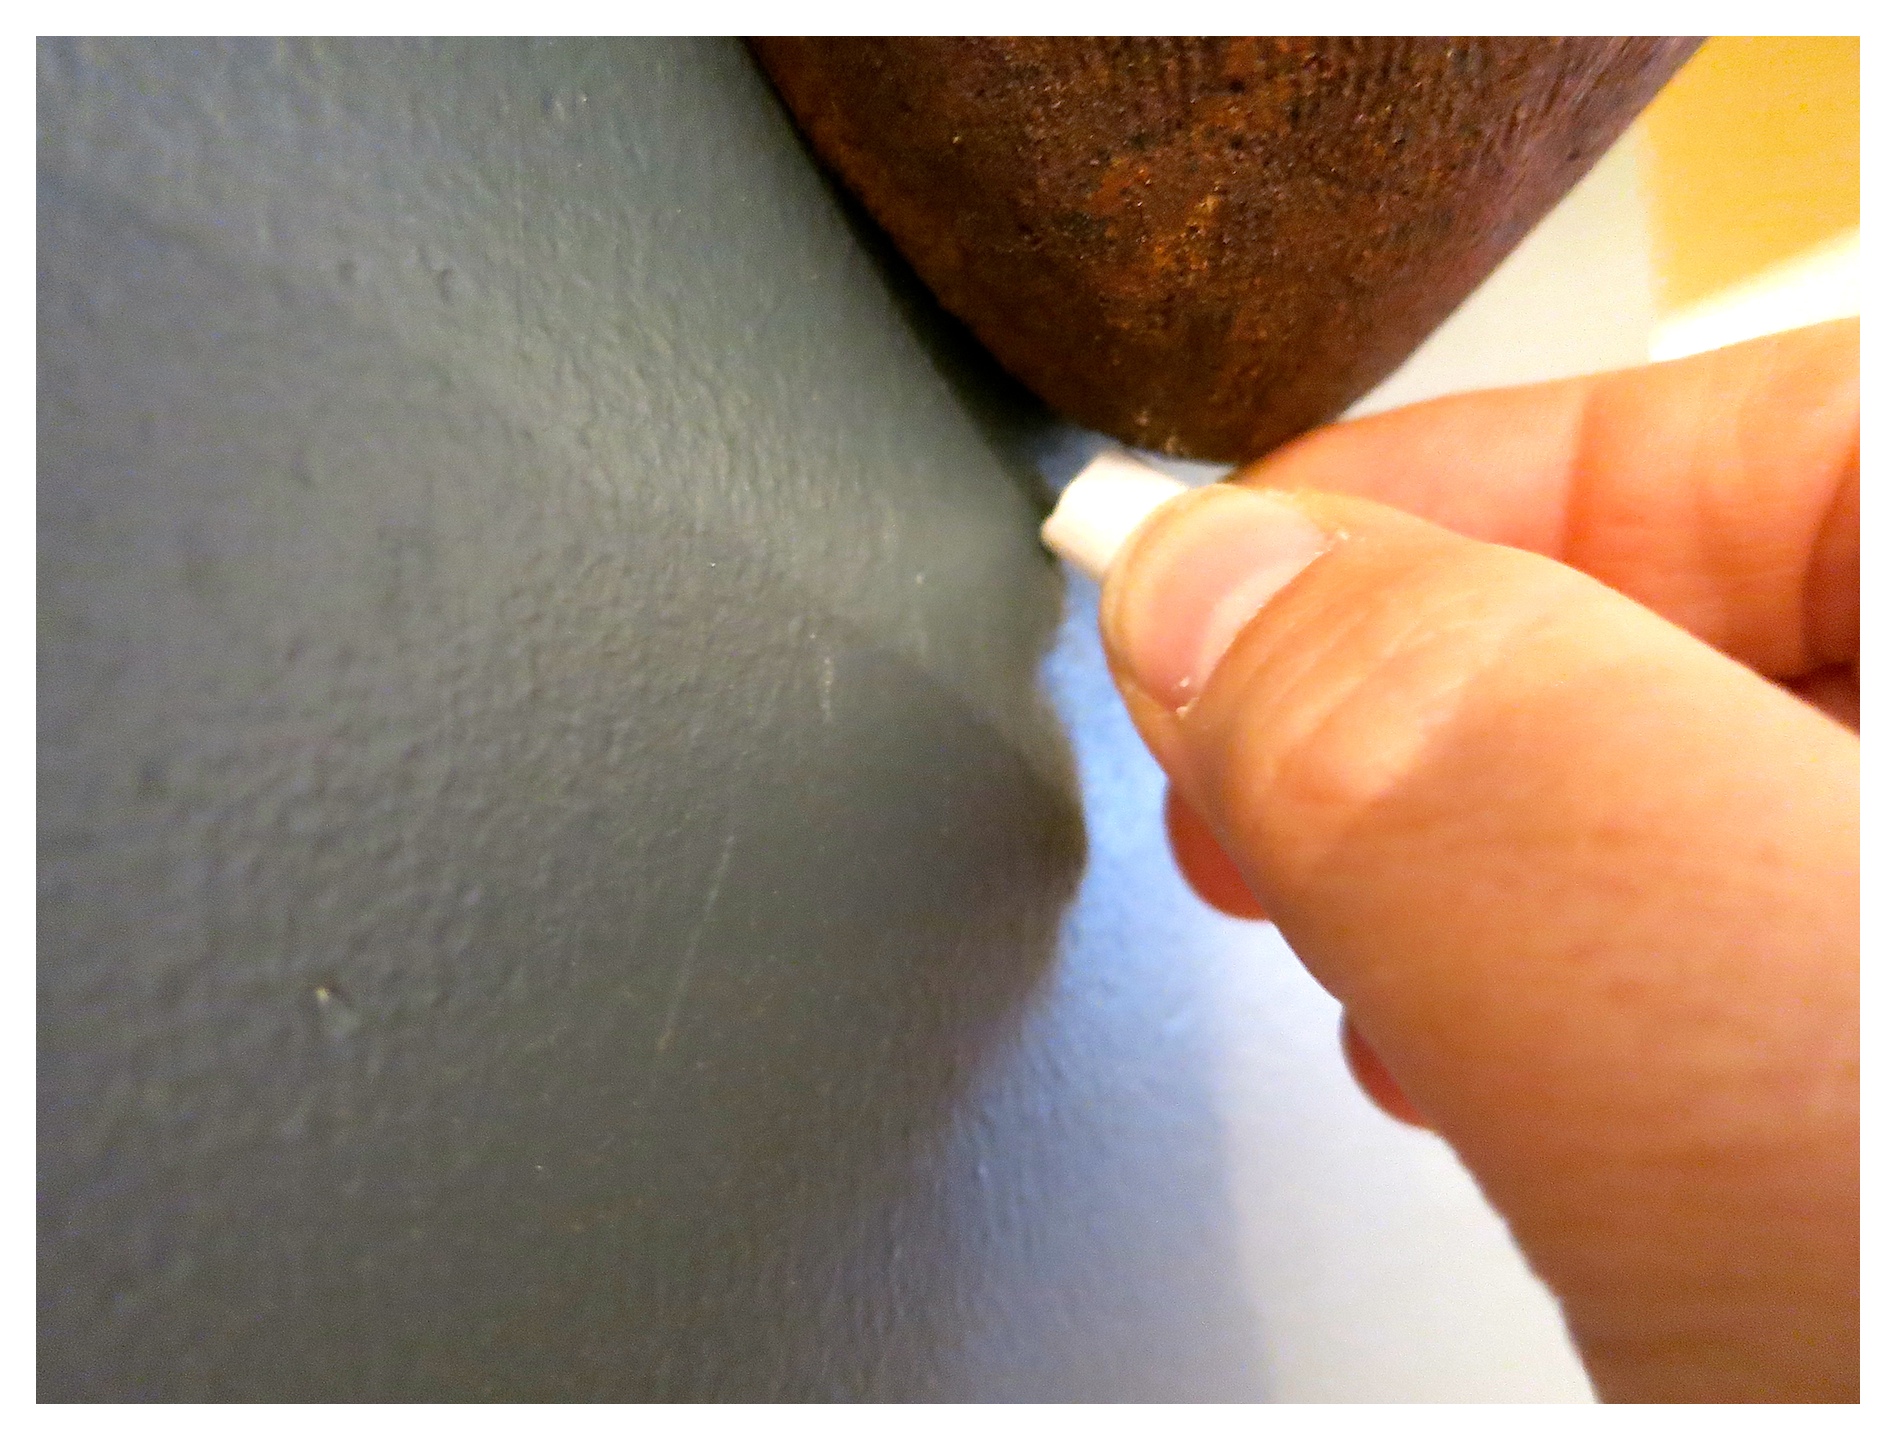
Today, I am sharing with you “Easy Chalkboard Graphics”. Many of you emailed to ask how I decorated my chalkboard. Most times I can free-hand fairly well. When I want a more polished, professional look I use the following methods. Remember, with chalk your design doesn’t have to be perfect. Using a dab of water and a cotton swab as your eraser you can fix almost any design. Or erase your whole wall and start over.
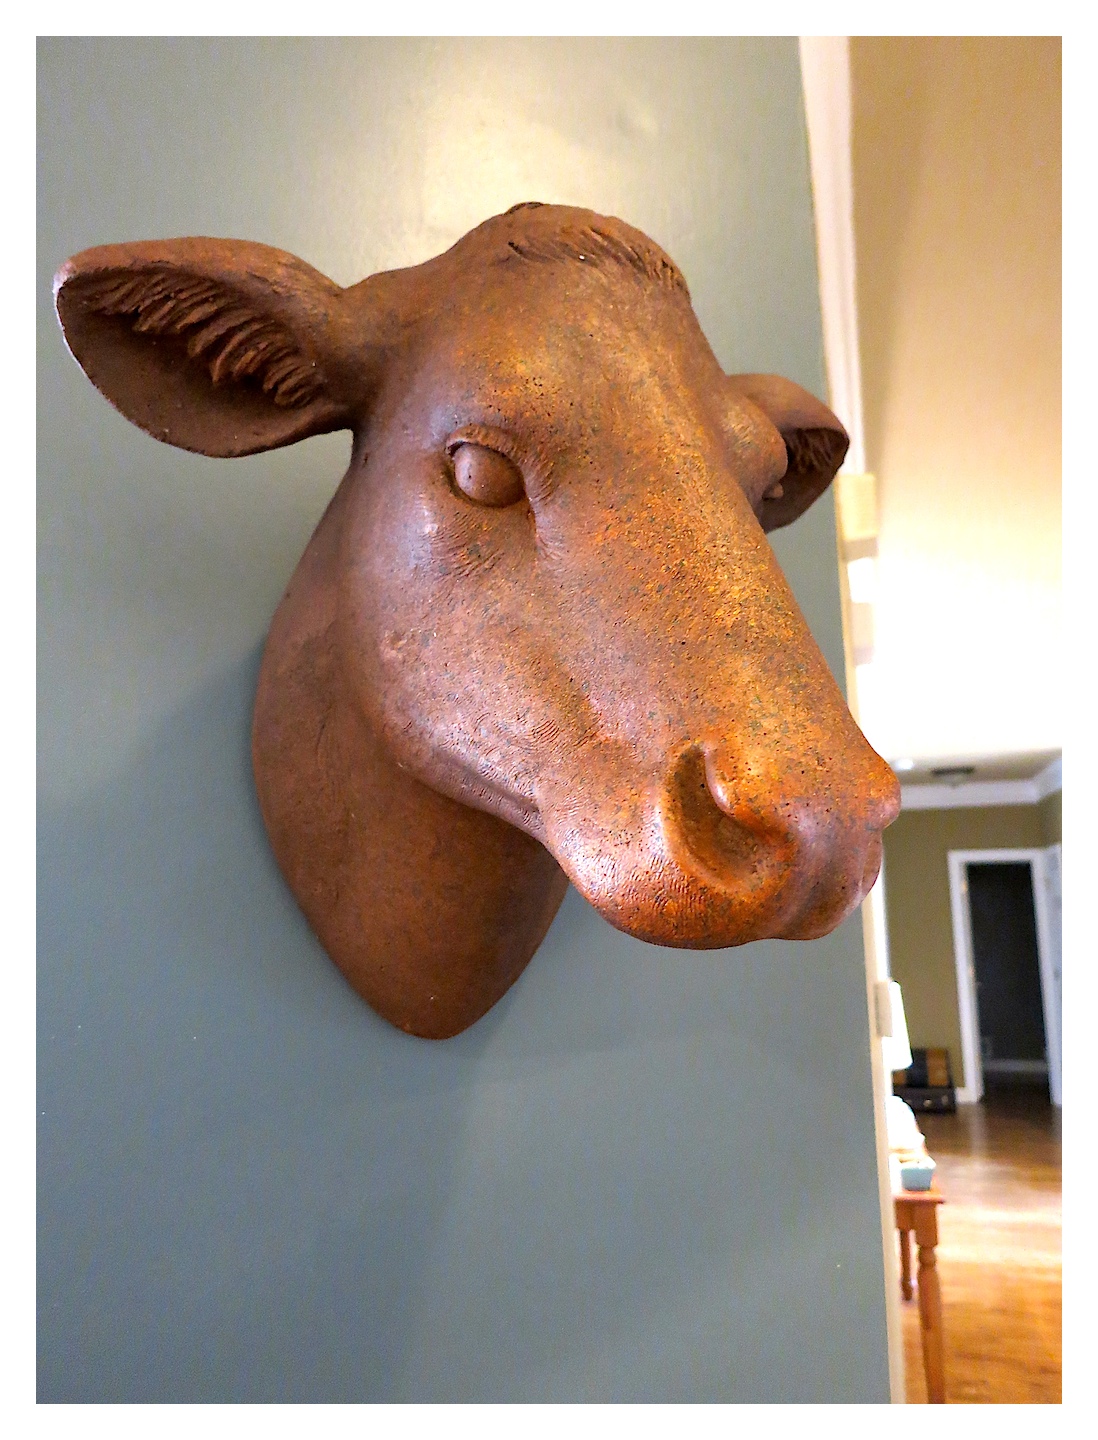
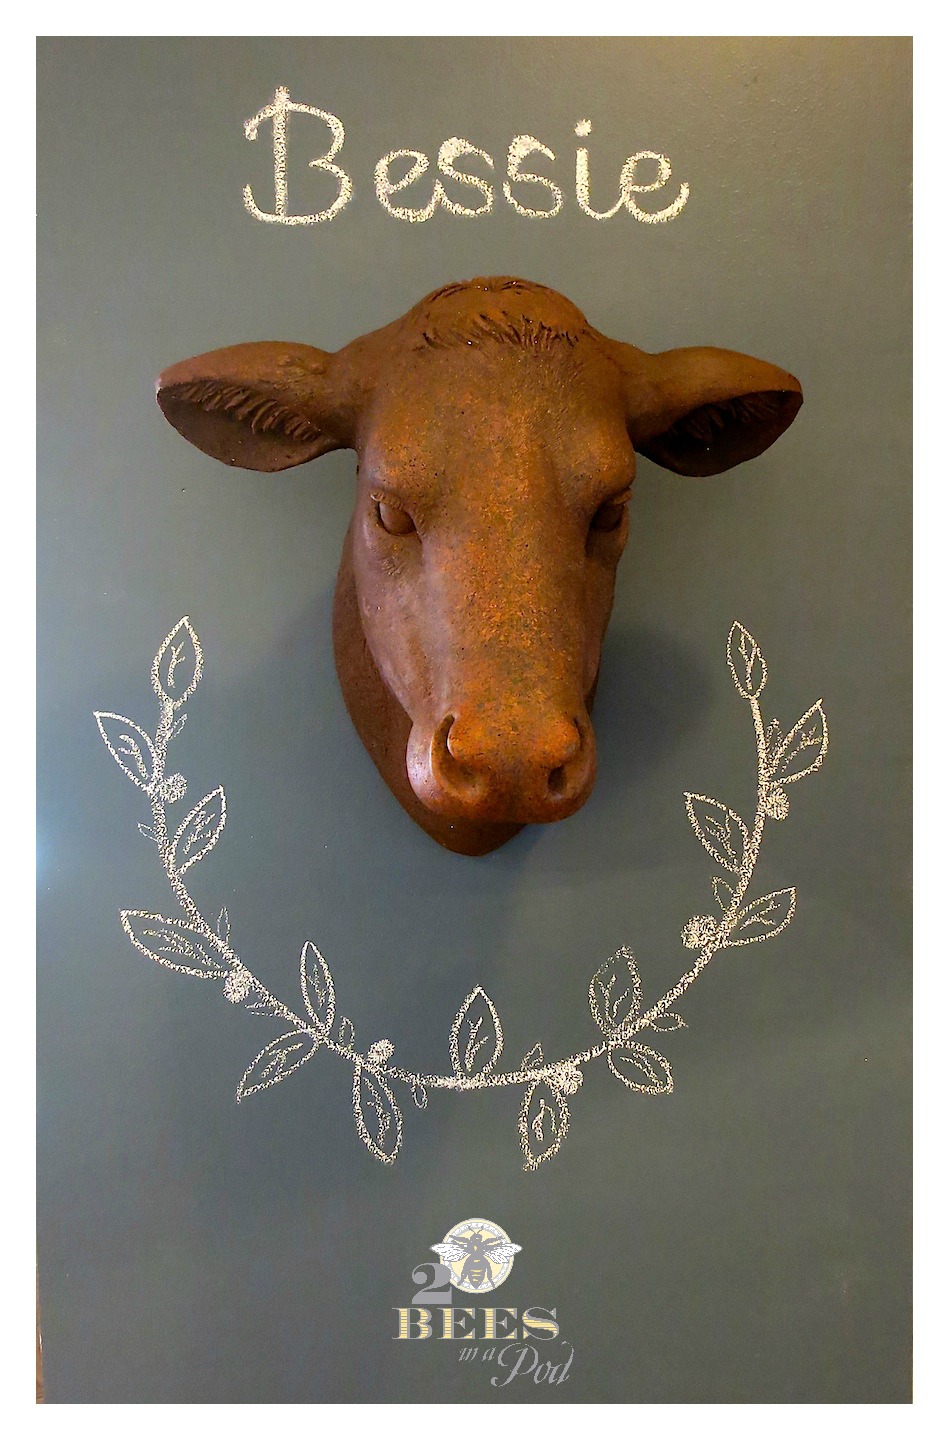
I started with a clean chalkboard wall with my beloved Bessie 🙂
 I knew I wanted a laurel wreath design under her neck. Using chalk, I marked the bottom of her neck and then removed her from the wall.
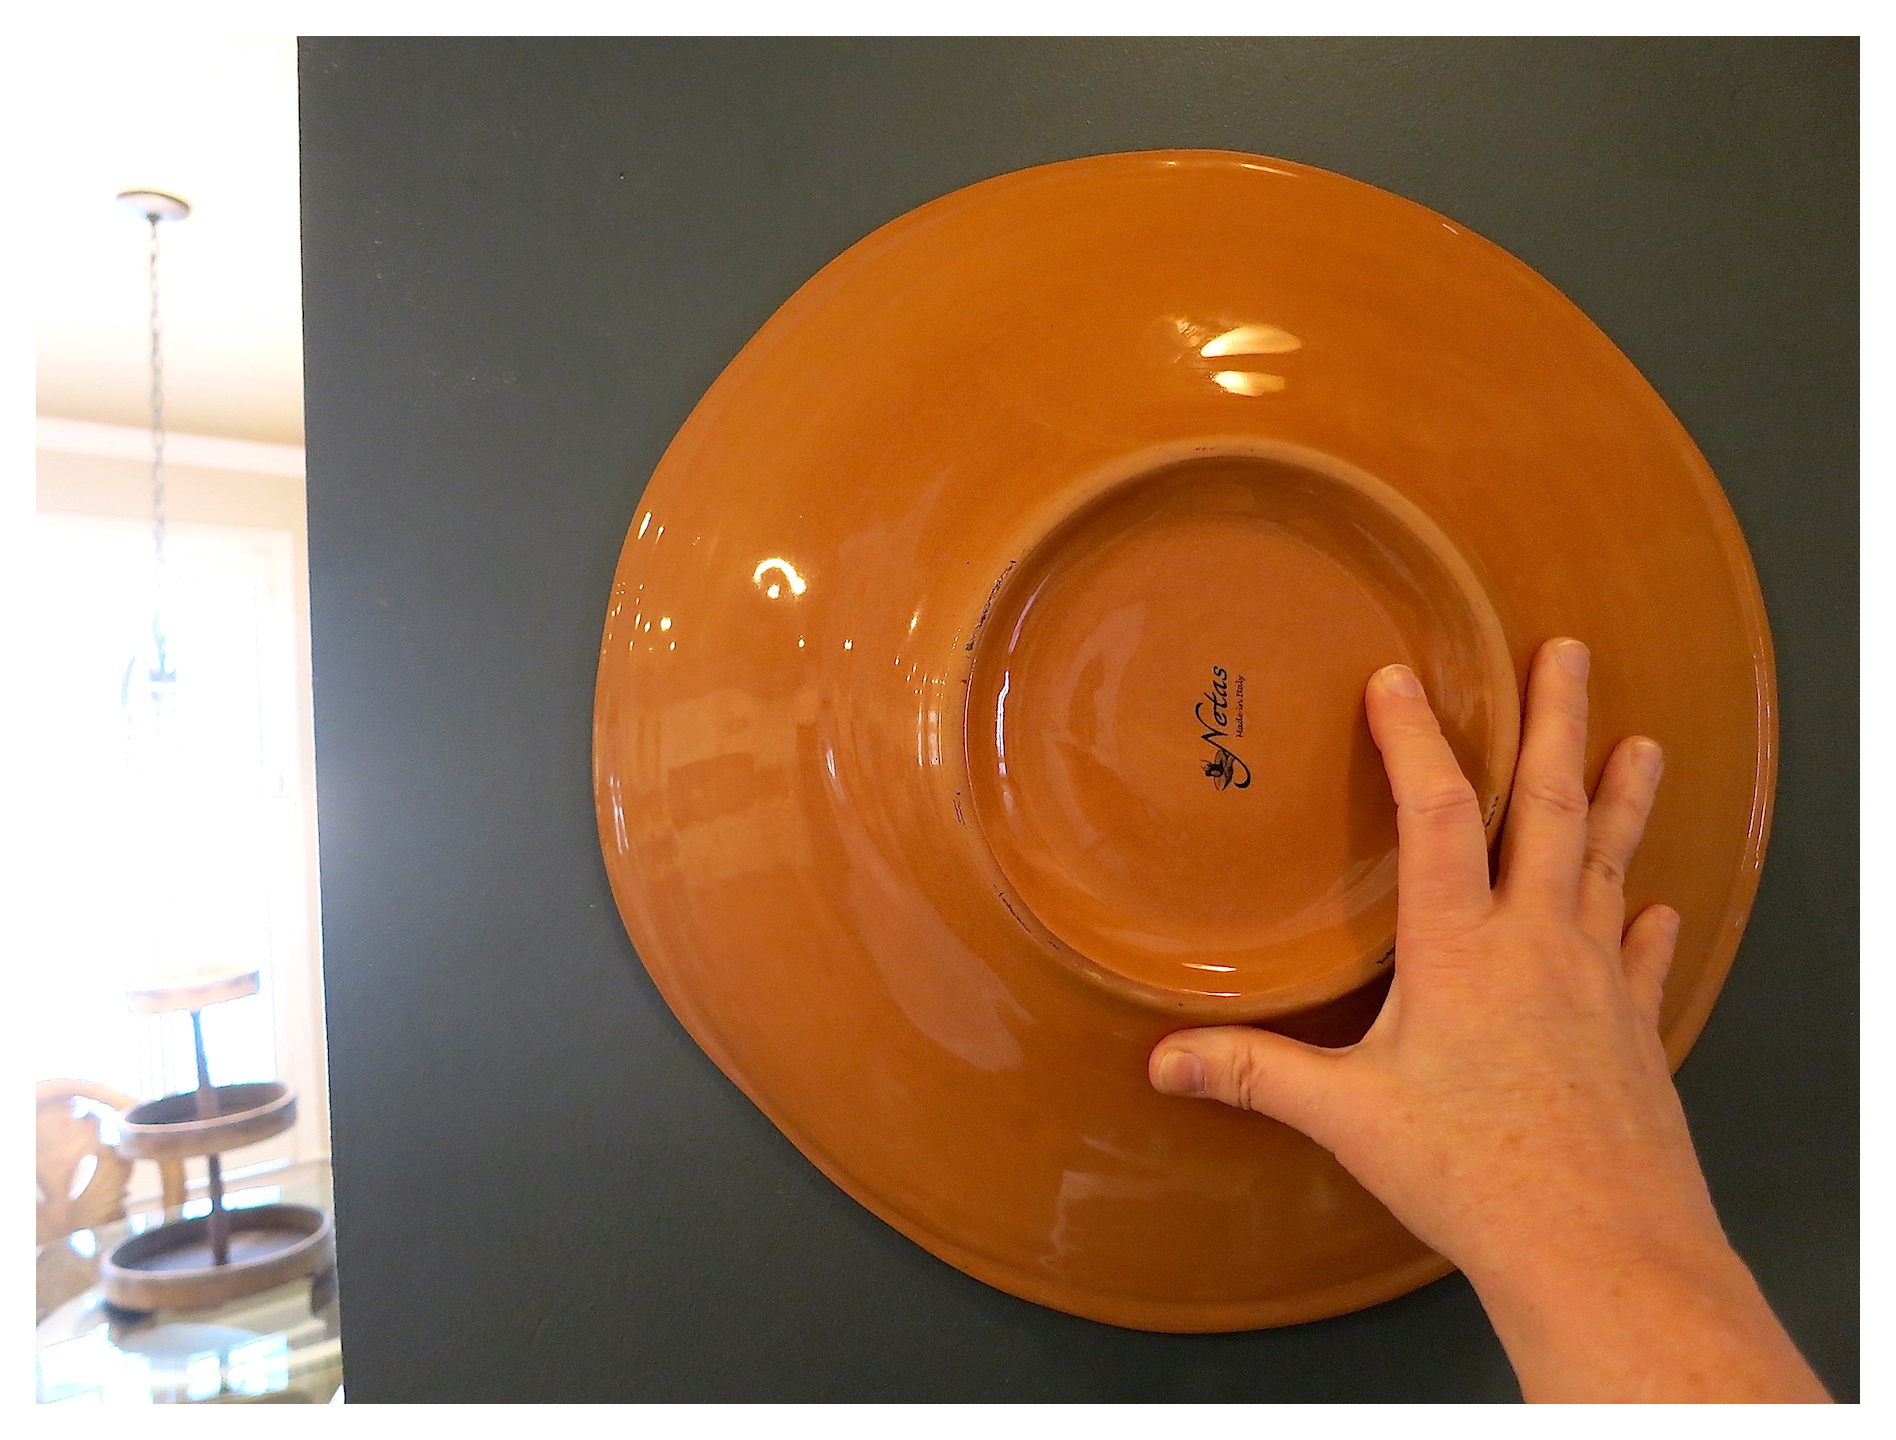
 I used a very large pasta platter to trace out a half-circle pattern.
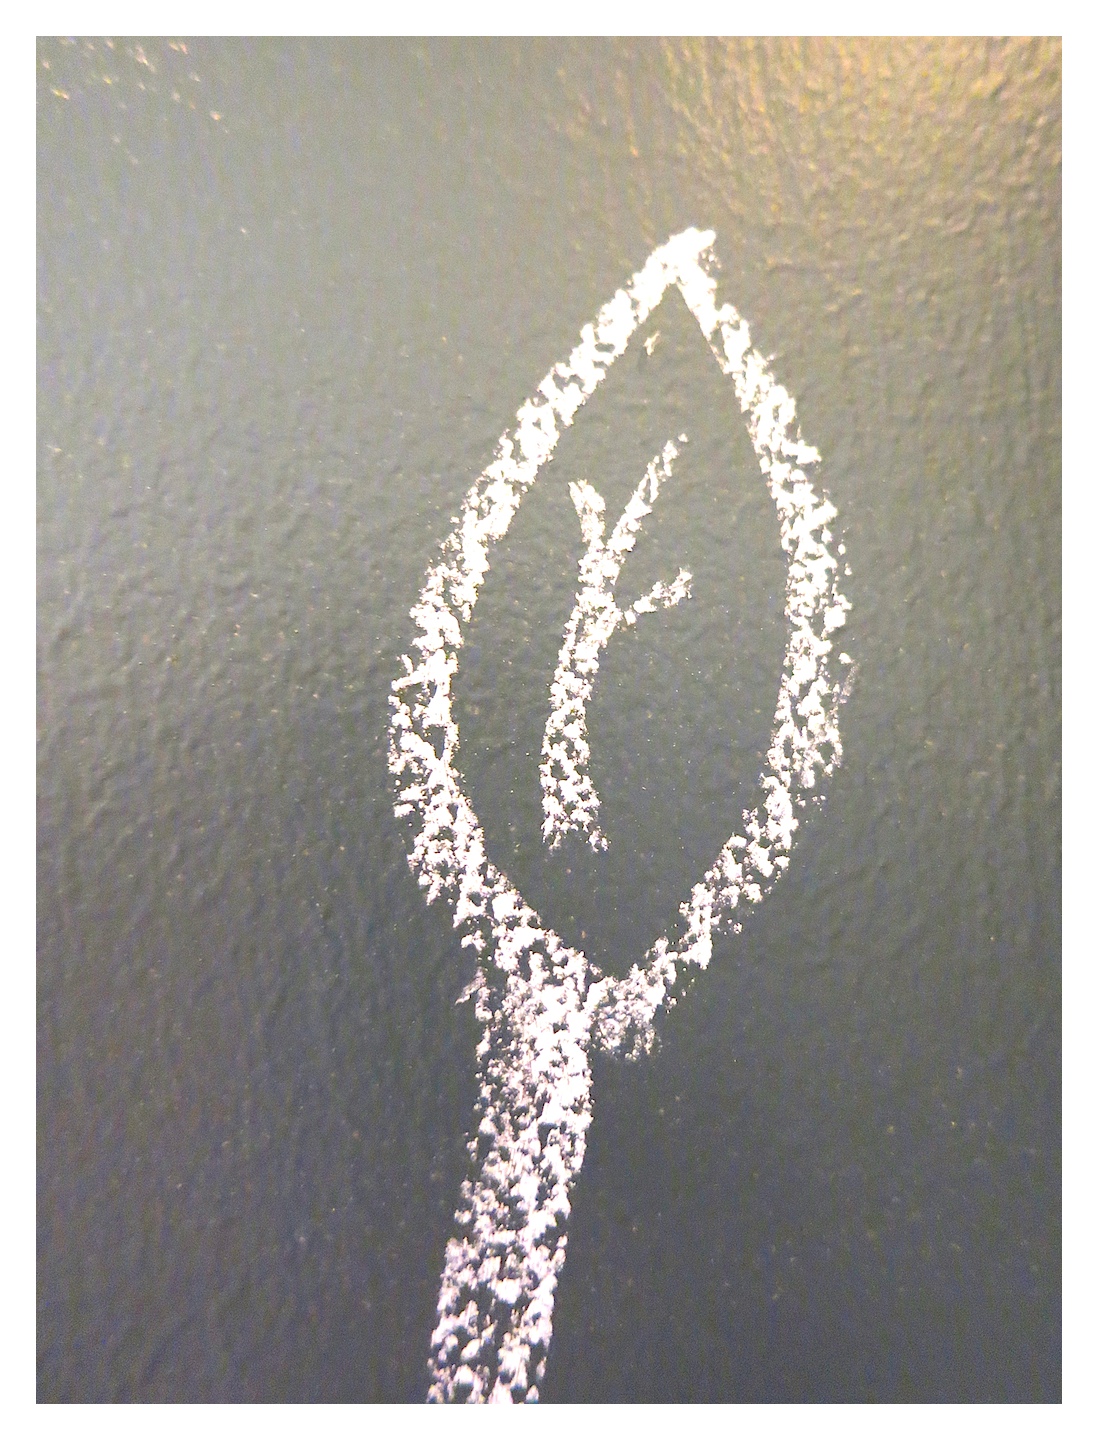
 I then began drawing leaves around the entire half-circle alternately each leaf drawing – right side then left side…
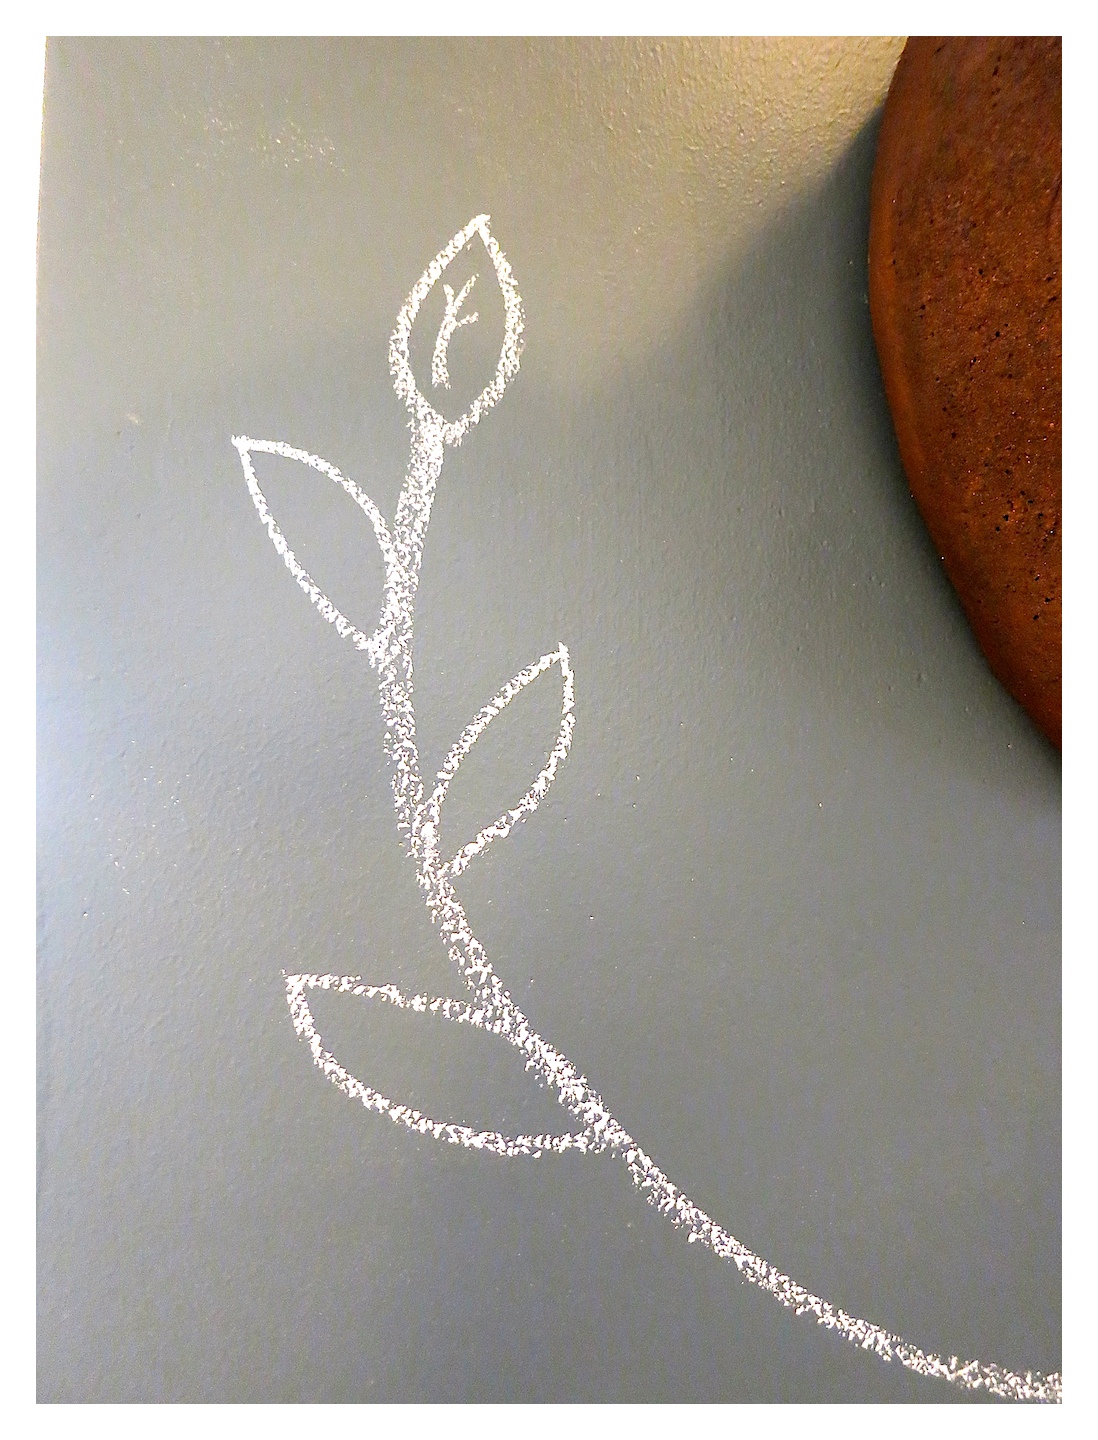 …and adding veining for each leaf.
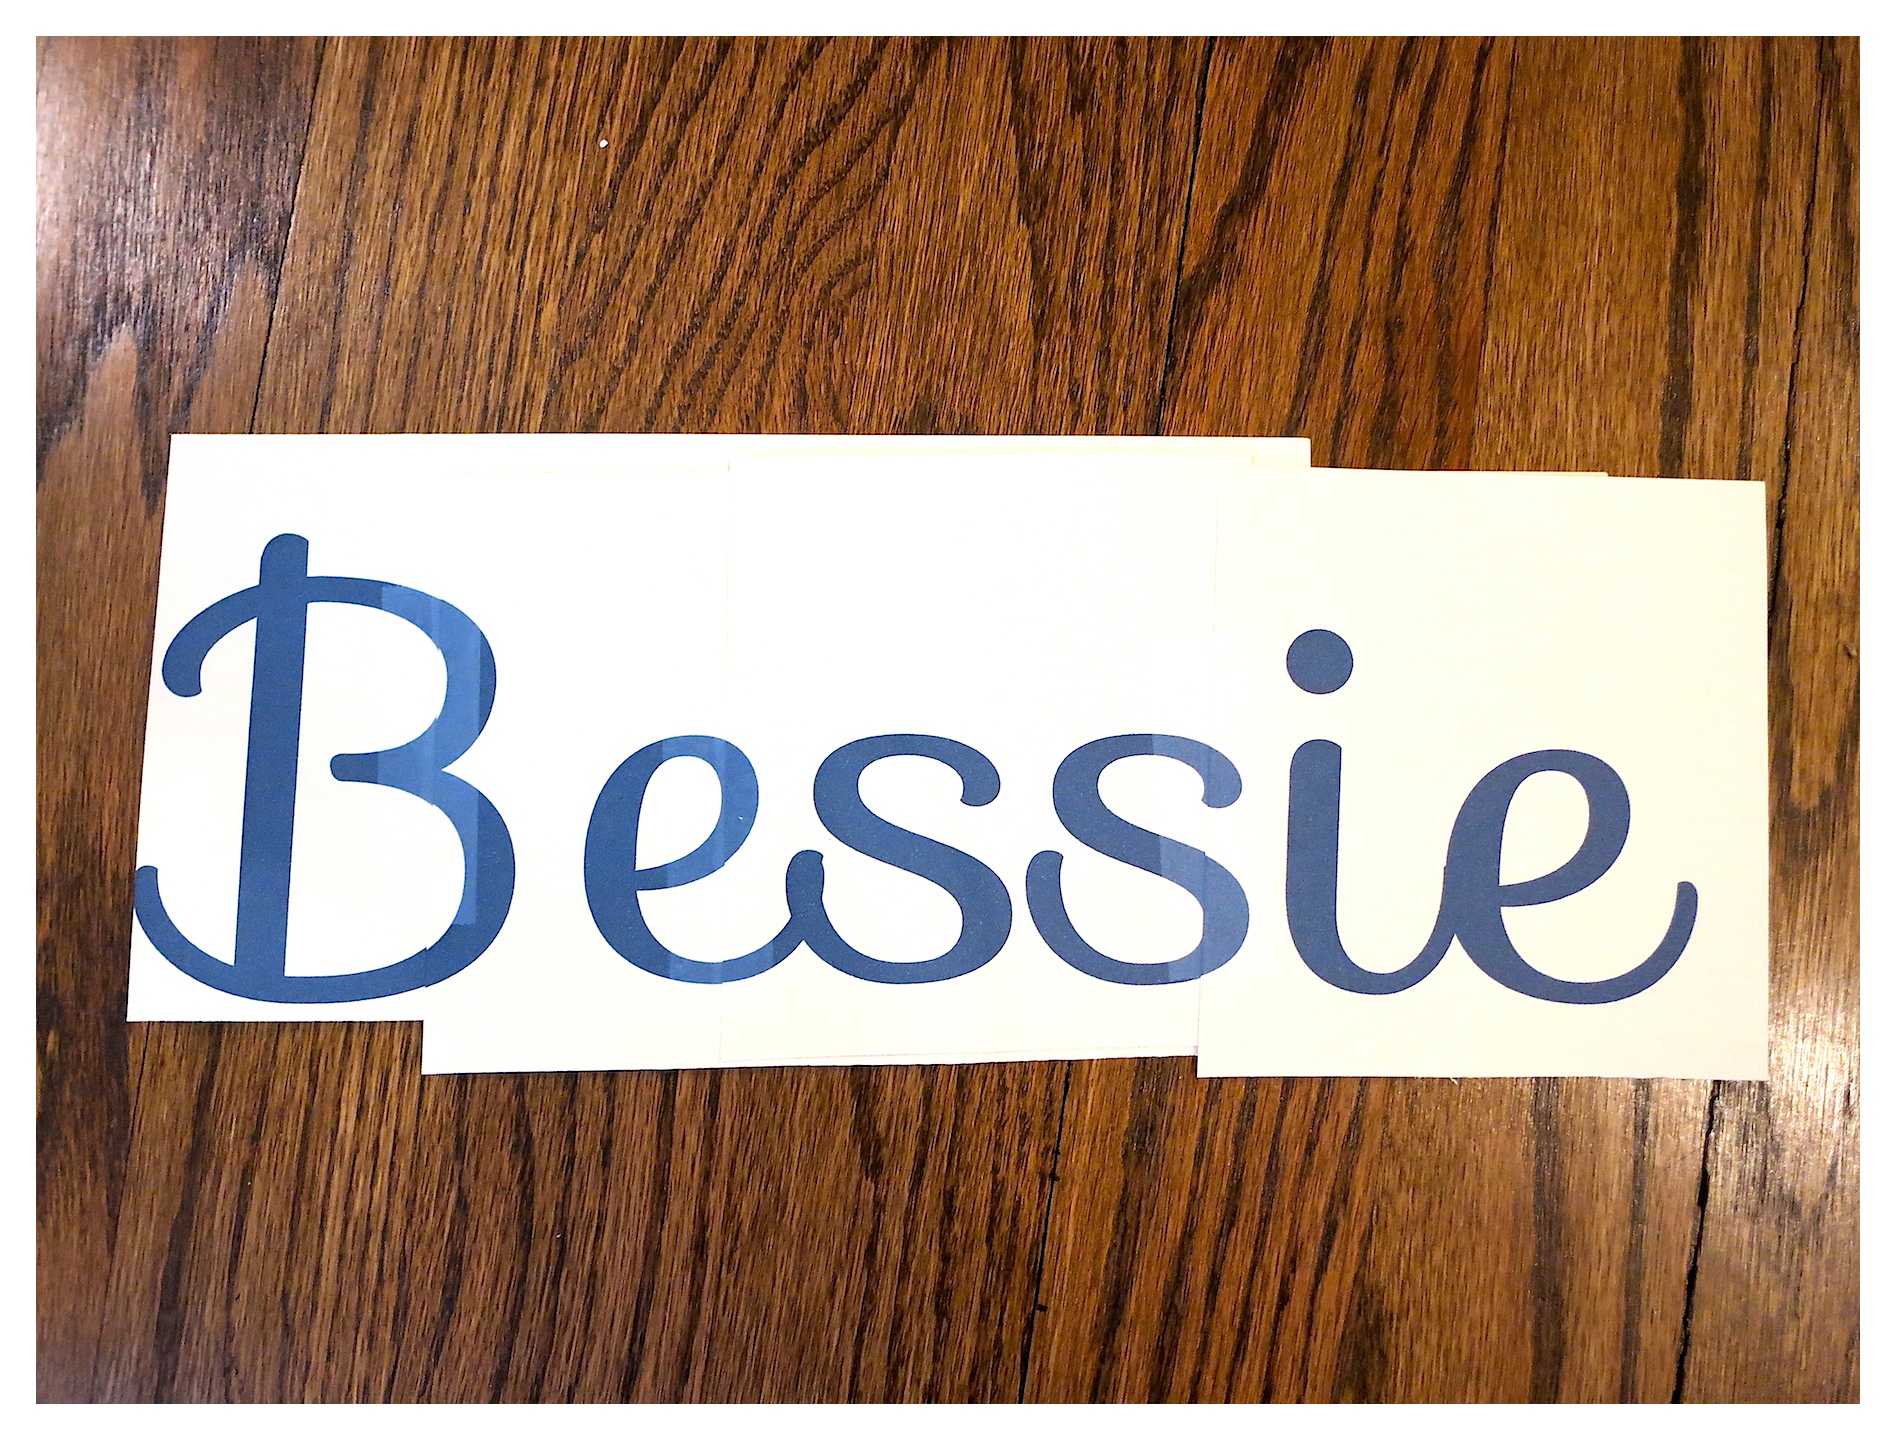
 I wanted to add Bessie’s name to the top of her head. I selected a font I like and enlarged the size to 98. After printing I needed to piece the letters together a bit to fit in one continuous piece.
 I then taped the graphics to a window so that the graphics were backwards and so that I could see through all of the letters. Pressing very hard, I traced out each letter in chalk.
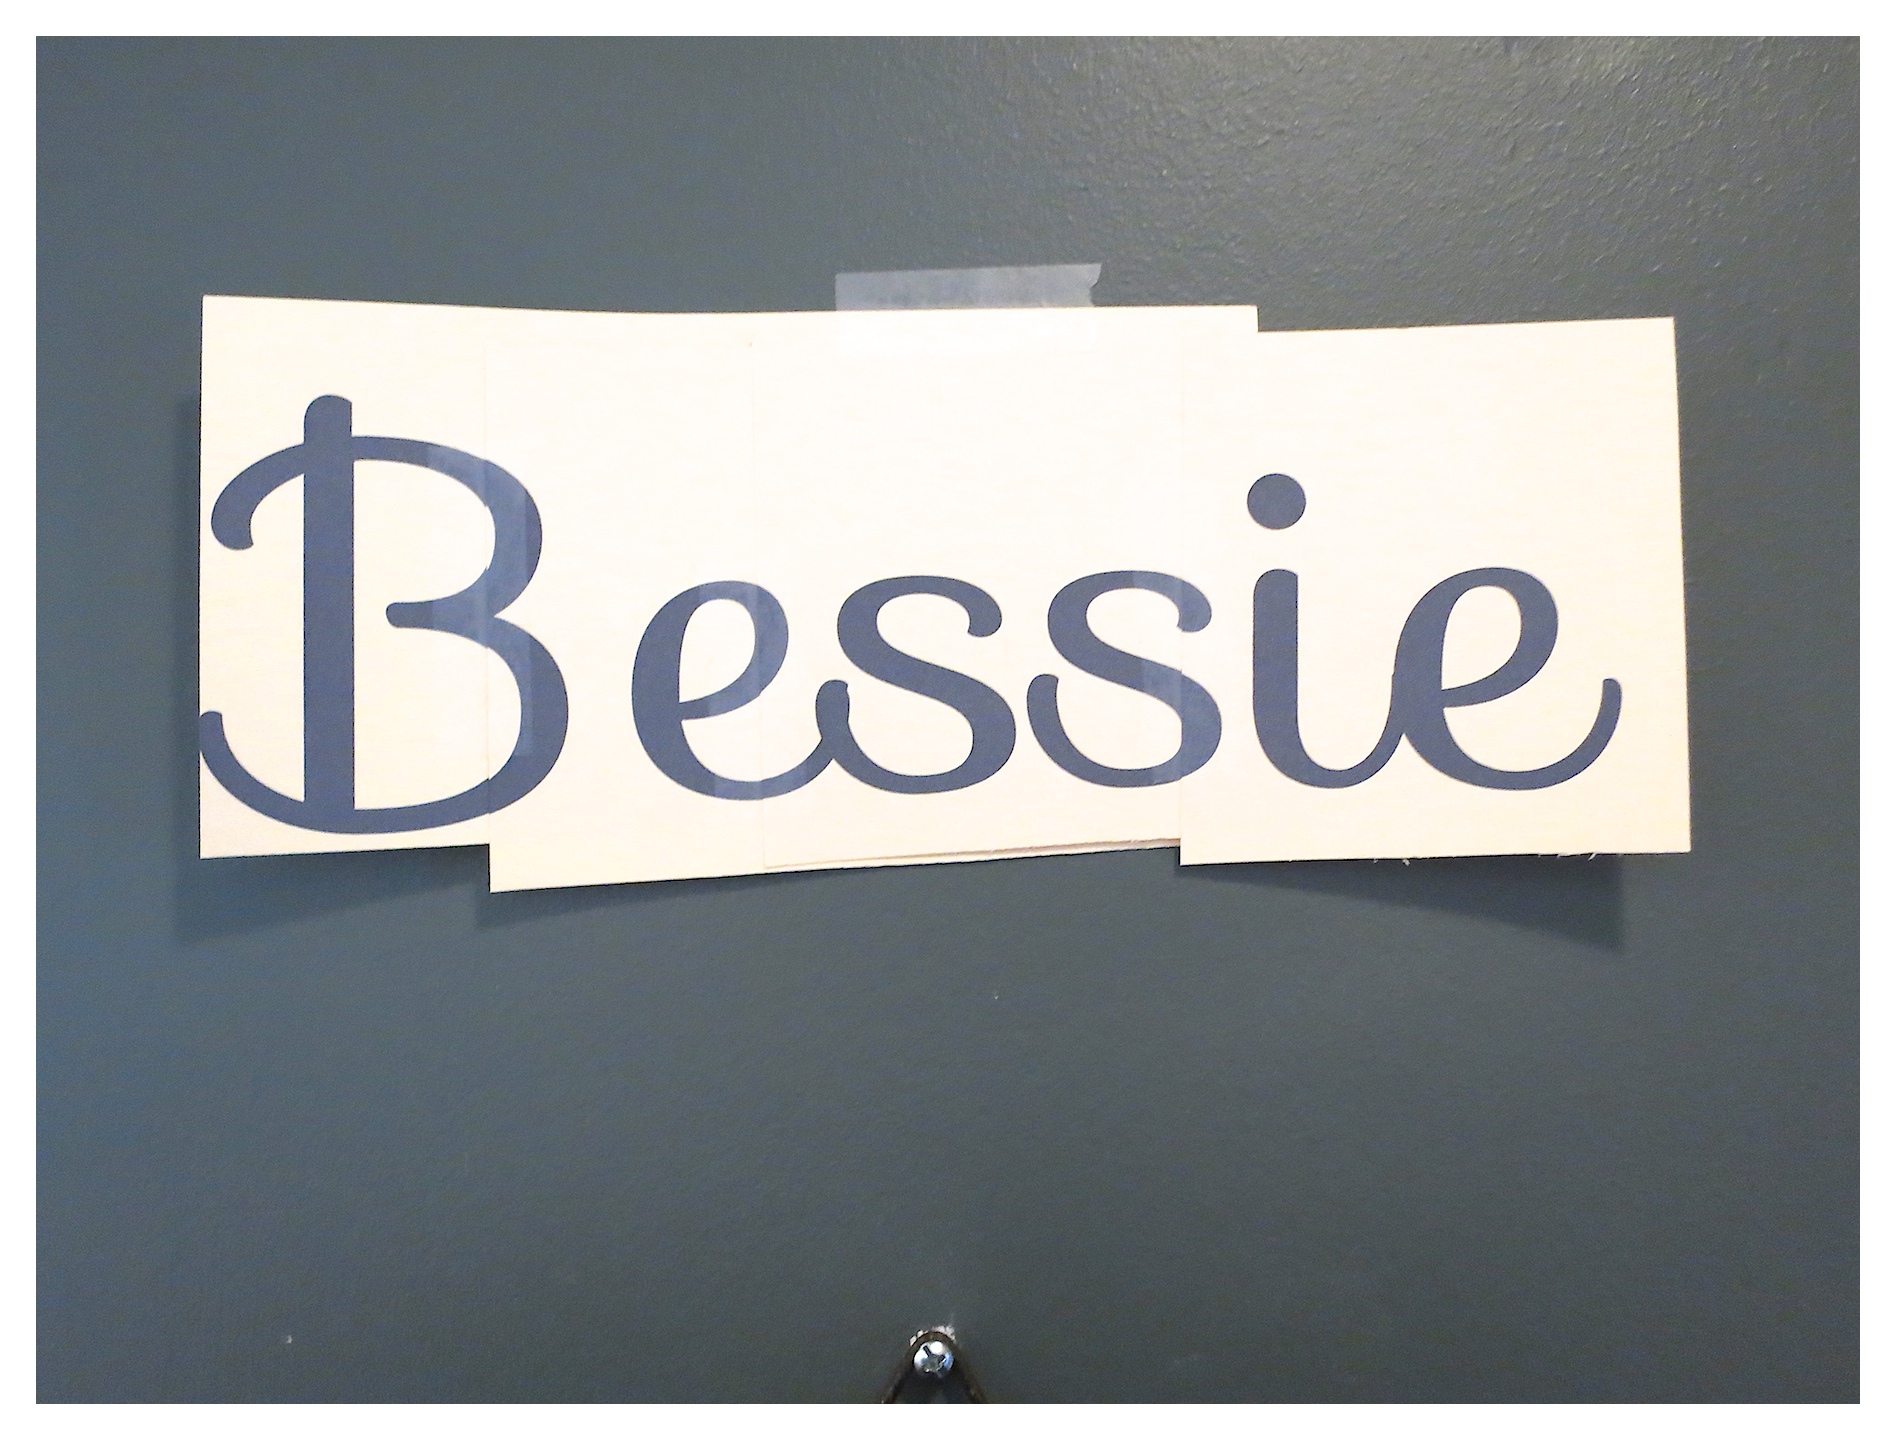
 I then carefully placed the graphics into place, being sure not to rub it on the wall.
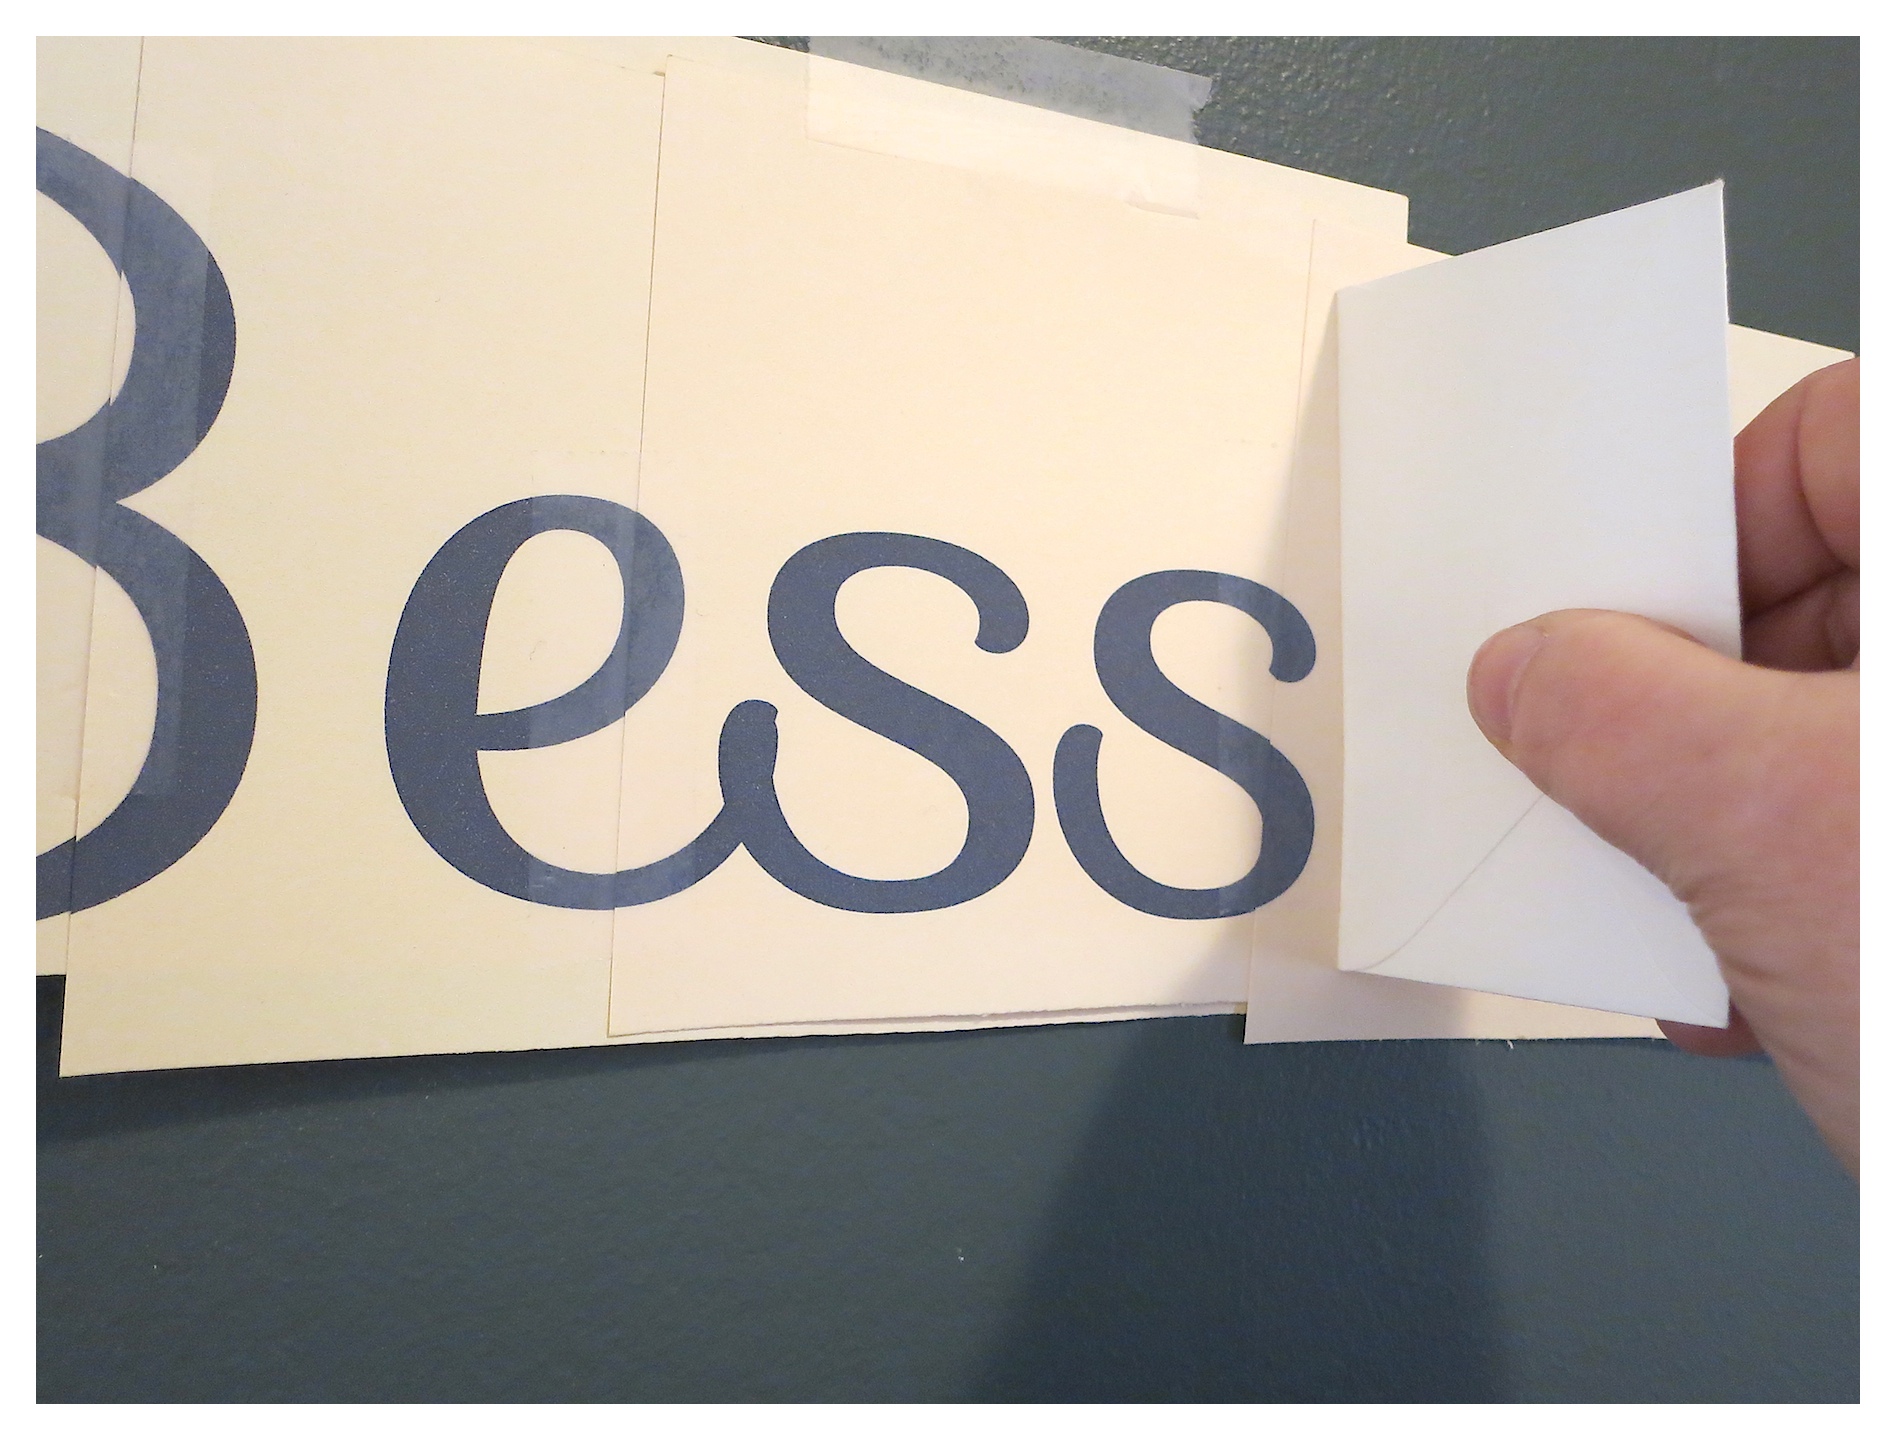
 I used a debit card inside of an envelope and began rubbing each letter onto the wall – transferring the chalk design to the wall.
 And it looked like this…
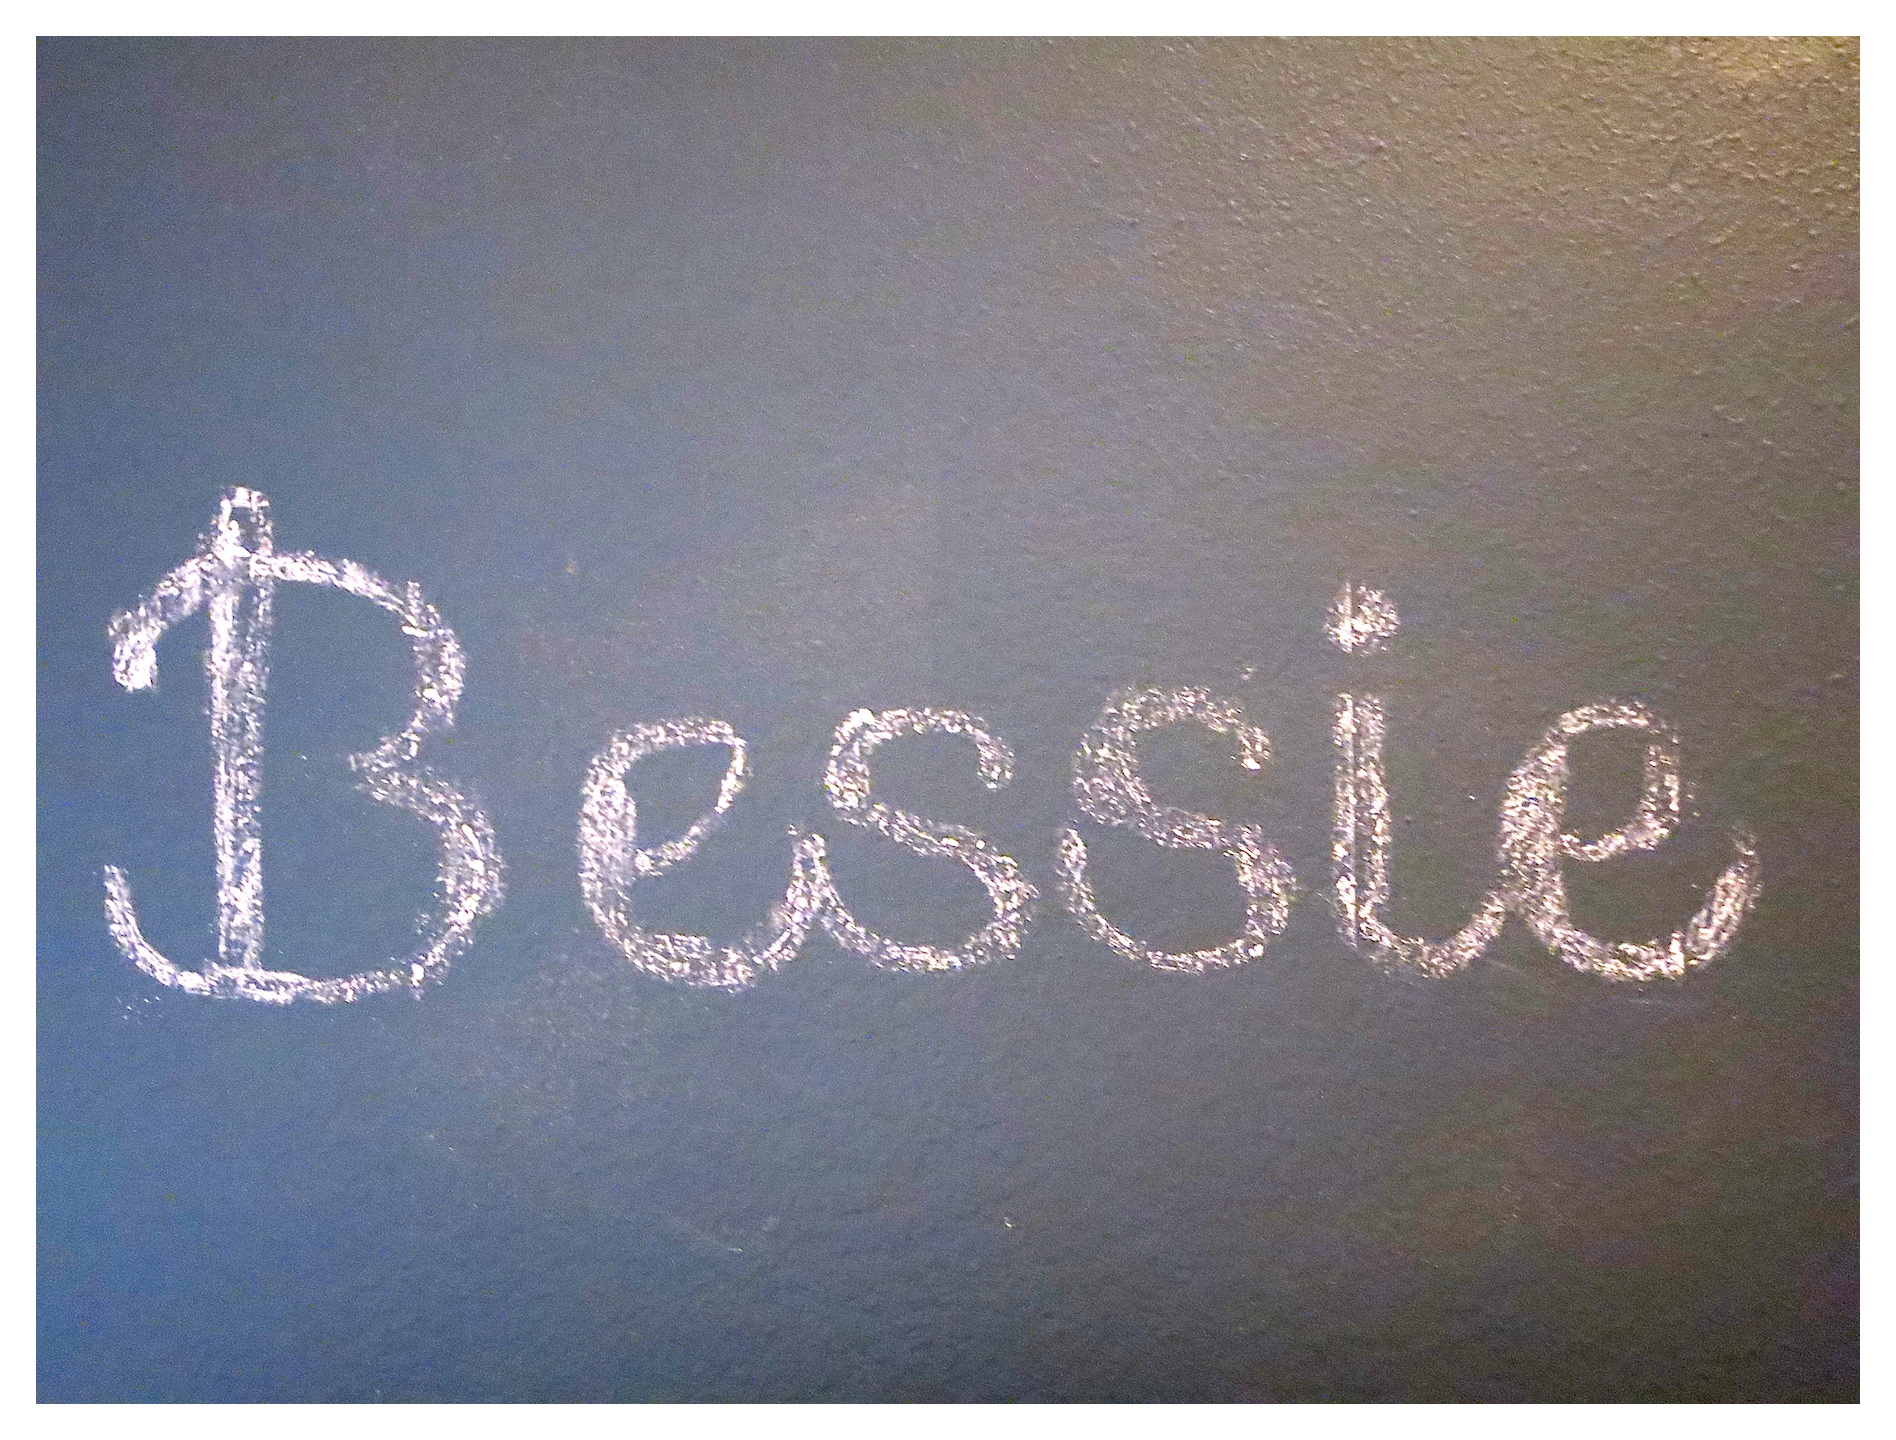 I always prefer to use small pieces of chalk. I think designing is more manageable and the chalk doesn’t break in mid-design. I pressed the chalk into the transferred design and make the chalk lettering darker and more filled in.

 Here’s how the graphics look totally complete. I love how it turned out…and have you heard how much I love Bessie?
 Do you have a chalkboard wall? How do you create your graphics? I hope you give this easy method a try.
Vicki, wow this is such a great tutorial and I love how you shared how to do the leaf pattern and graphic. That Bessie is one lucky gal hanging on the chalkboard wall of honor. Great job, Lisa
I love the transfer method you used to create the wording Vicki, I would have never thought to use a debit card in an envelop like that. You are one clever lady 🙂 I’m totally going to do this with the chalkboard in my laundry room.
Great idea using the bowl to get the half circle drawn! You make it all look so easy.
I like your Bessie where did you get her? thanks
Love this project! The reverse window transfer idea is genius for chalk graphics. It’s so hard to get a clean look with chalk, and this works beautifully! Thanks so much for sharing 🙂 Bwg ~~~
I’m loving a Bessie head as opposed to the deer antlers or other really trendy things (although, I also love deer antlers!). Your chalk accent gives it a nice touch, too.
Such great tips; it’s not easy to make writing look pretty on a chalkboard! Thanks so much for sharing with us at Talented Tuesdays; I’m featuring this post tomorrow! Hope to see you there!