Transform Greeting Cards into Wall Art – Thrifty Style Team
Please note that this post contains affiliate links. As an Amazon Associate, Rewards Style influencer and Jane Influencer, we earn from qualifying purchases and any sales made through such links will reward us a small commission – at no extra cost for you.
Here’s a great way to create free or inexpensive artwork for your home. You can transform greeting cards into wall art.
There is nothing that we love more than creating and making beautiful things for our homes. We are very proud of how our individual houses look and even more proud that we achieved our aesthetic on a budget. Today’s project was accomplished with just a $3.00 investment – we had everything else on hand. Did you know that you can transform greeting cards into wall art? We will show you how!
Welcome to this months edition from the Thrifty Style Team. This is where we each get to showcase a thrifty home decor idea. Each month we are amazed by the creativity of this fabulous group. Please, don’t forget to visit all of the other designers at the end of this post.
Last week I had the luxury of meeting a friend for lunch and an afternoon of shopping. Don’t you just love those fun days? It’s a great way to clear the cobwebs and energize the soul. There is a super cute shop inside of an antique mall that we love to frequent. If you saw our Instagram Stories I shared a lot of my favorite finds that day. Like this gorgeous greeting card for just $3.00. Also this is an oversized card at 6″x9″.
![]()
You know how much I love watercolor art and these colors just spoke to me.
![]()
The only negative for me was that the yellow colors were too harsh for my taste. This is how I chose to transform greeting cards into wall art.
Supplies:
- Greeting card of choice
- Watercolor paint set (optional)
- Cup of water for watercolor paints (optional)
- Picture frame of choice
- Photo mat or thick paper to create a mat
- Scotch tape
- Scissors (if making your own mat)
- Pen for tracing purposes
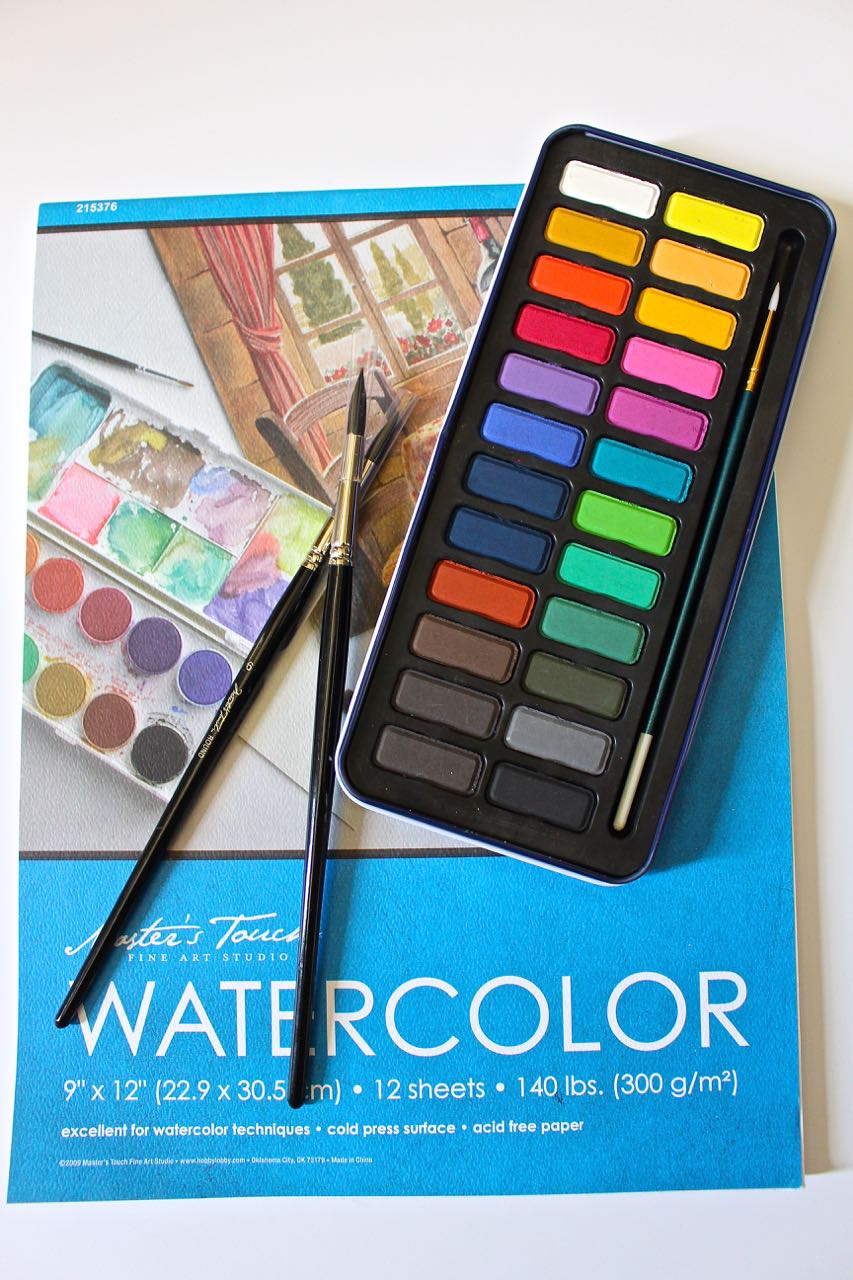
Hopefully your greeting card will not need to be painted. You can skip ahead to the framing portion of the directions.Using my trusty watercolor set, I used only the blue palettes to alter the yellow parts of the card.
![]()
Directions:
- If you want to change the colors on the front of your greeting card, now is the time to paint it using a watercolor kit. Let the paint dry completely.
- I used an 11″x15″ piece of watercolor paper as my photo mat.
- Lay the paper facedown on a hard surface.
- Place the greeting card in the center of the paper and outline the card.
- Using scissors cut inside the trace line by 1/8″ all the way around. This way your cutout will not be too large.
- Position the greeting card facedown on the center of the photo mat.
- Tape into place.
- Put the backing of the frame back on and secure the clips.
- Proudly display your masterpiece.
![]()
Be sure to cut inside the trace line – NOT on the line or outside of the line.
![]()

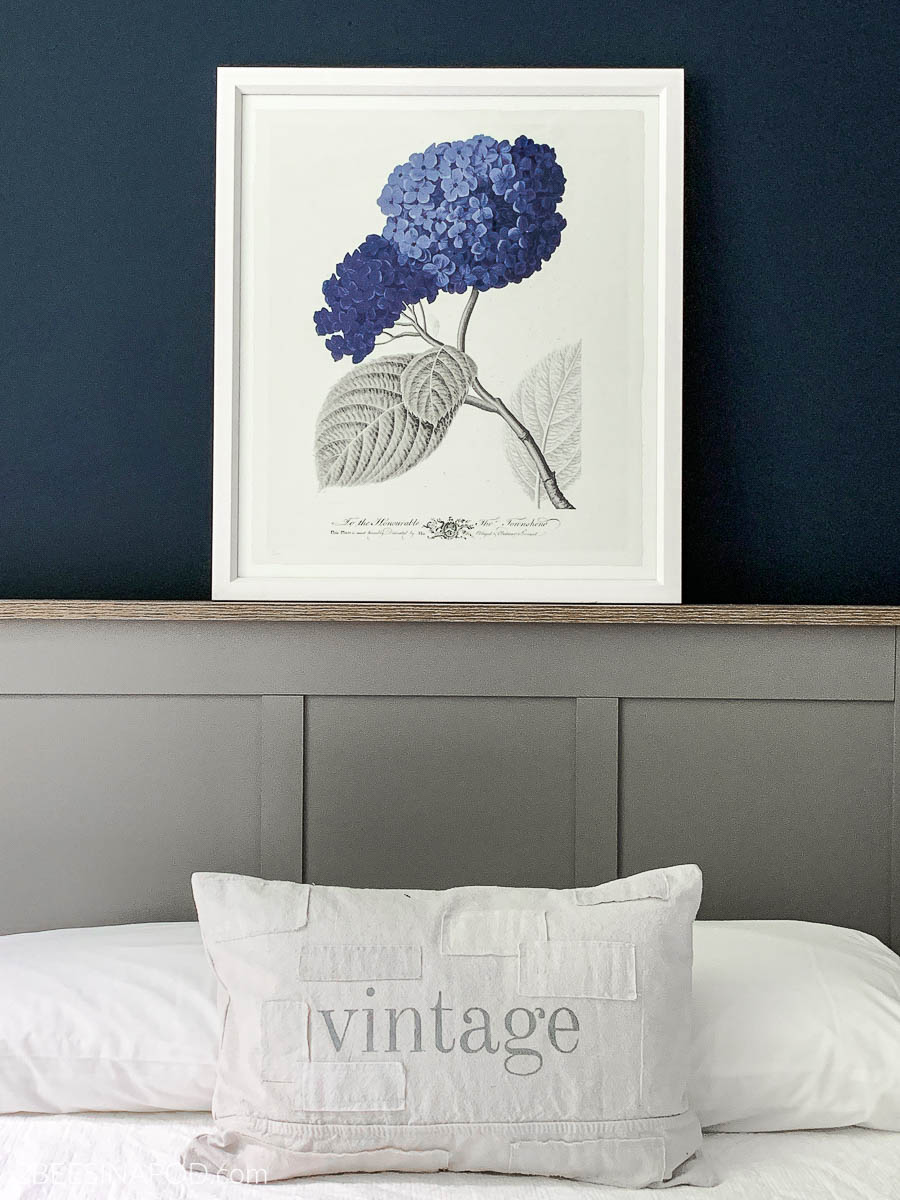
My gold frame was from my personal stash. The glass broke a long time ago – and the new artwork looks great without it.
![]()
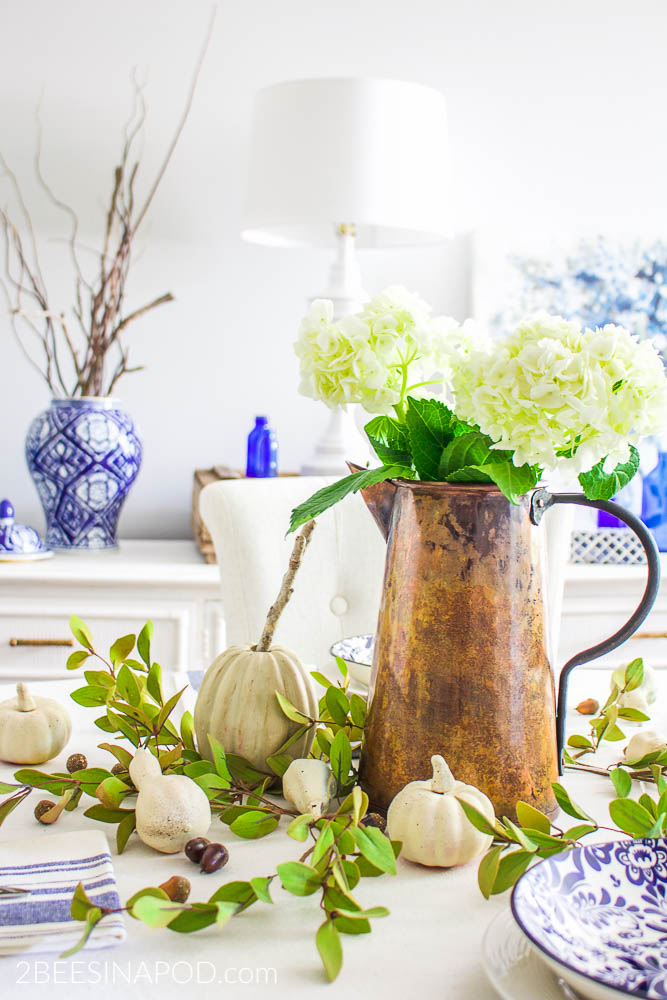
It also pairs well with this treasured oil painting, also a thrift store score!
![]()
Hopefully you are inspired today to transform greeting cards into wall art. This is an easy and fun project with endless possibilities.
Here’s a favorite quote that we found on a greeting card. Framing was easier because the card fit perfectly in this frame.
![]()
You can also created framed wall art with scrapbook paper.
![]() Cute, right?
Cute, right?![]()
Don’t forget to Pin this to your favorite Pinterest board!
![]()
Now let’s see what the rest of the Thrifty Style Team has created!
Hmmm, I never thought of doing something like that! So you turned the art into art by using the watercolors. Pretty clever!
What a smart little trick… the whole idea as well as the the color! I love it 😉
I adore the card into wall hanging project!!!!! Will be trying to emulate you two creative gals.
I have done one before, and a magazine pic, but this is GORGEOUS!!! Fantastic job!
Sooooo clever!
Love it. Bambi
This is such a great idea! And I love how you whipped out your watercolors to give the card a little touch-up!
Your new piece turned out so pretty! And I love, love, love your chinoiserie-esque coffee canister…so pretty!
I can’t even believe this was a greeting card, it looks totally fabulous as a piece of art. I’m super glad you showed us how to do the map too because I feel like I can’t ever get mind to look right. Now I know it’s because I was cutting right at the line! As always, you guys nailed it. Lots of hugs, CoCo
You are so clever! I would never have known that this was a greeting card. It looks like a beautiful piece of artwork.
What a fun way to create fresh art for your home.
Great idea and SO pretty.