Clay Leaf Bowls – Easy DIY Project
Please note that this post contains affiliate links. As an Amazon Associate, Rewards Style influencer and Jane Influencer, we earn from qualifying purchases and any sales made through such links will reward us a small commission – at no extra cost for you.
Creating clay leaf bowls are fun to do. Plus it’s a super easy DIY project.
After taking a couple of weeks off, I was feeling the need to be creative. There is hardly anything that I love more than an easy DIY project. Especially when it turns out so graceful and pretty. I have been wanting to make clay leaf bowls for quite some time. Now I am kicking myself that I didn’t try this project sooner.
 Leaf collecting
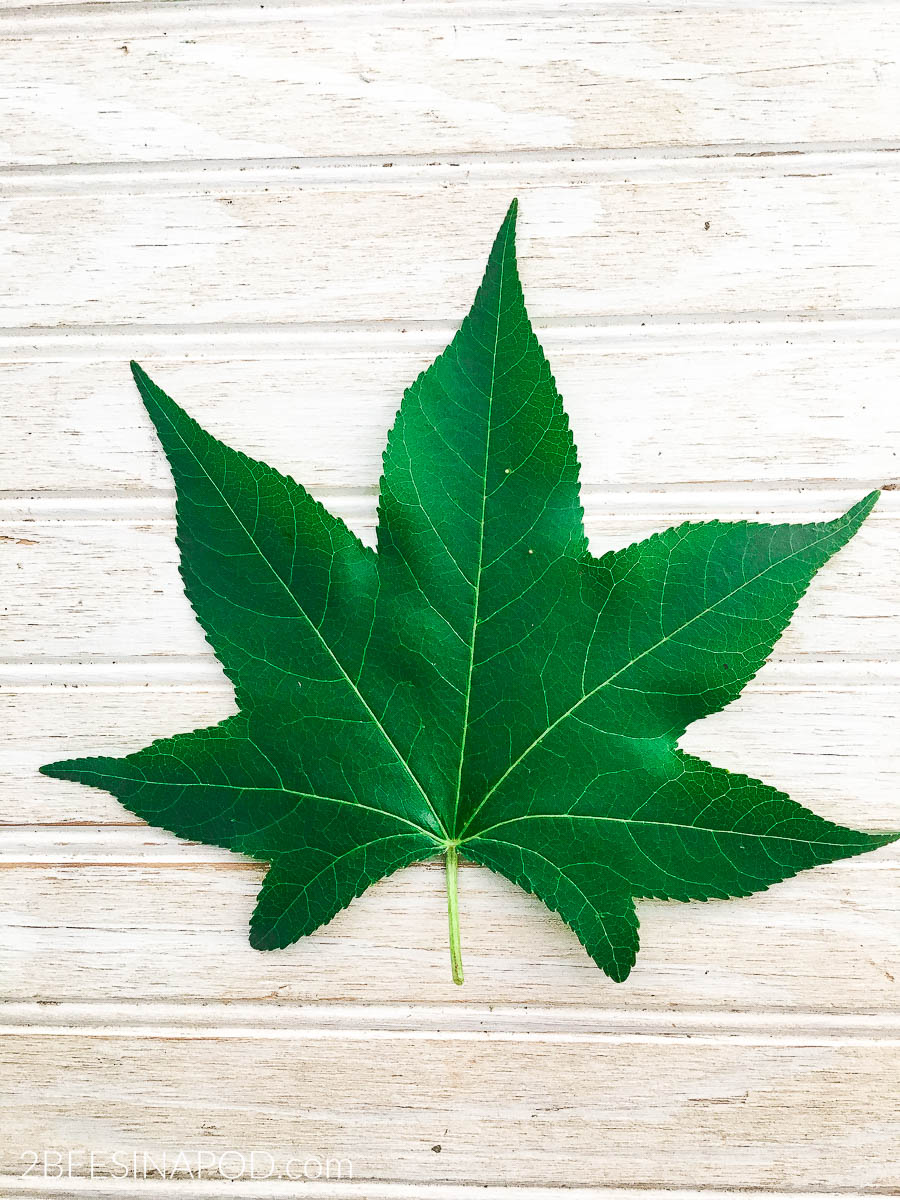
Large leaves with heavy veining work best for this project. The leaves also need to be as fresh as possible to ensure that they don’t fall apart. You don’t want to ruin your project before you even get started 🙂
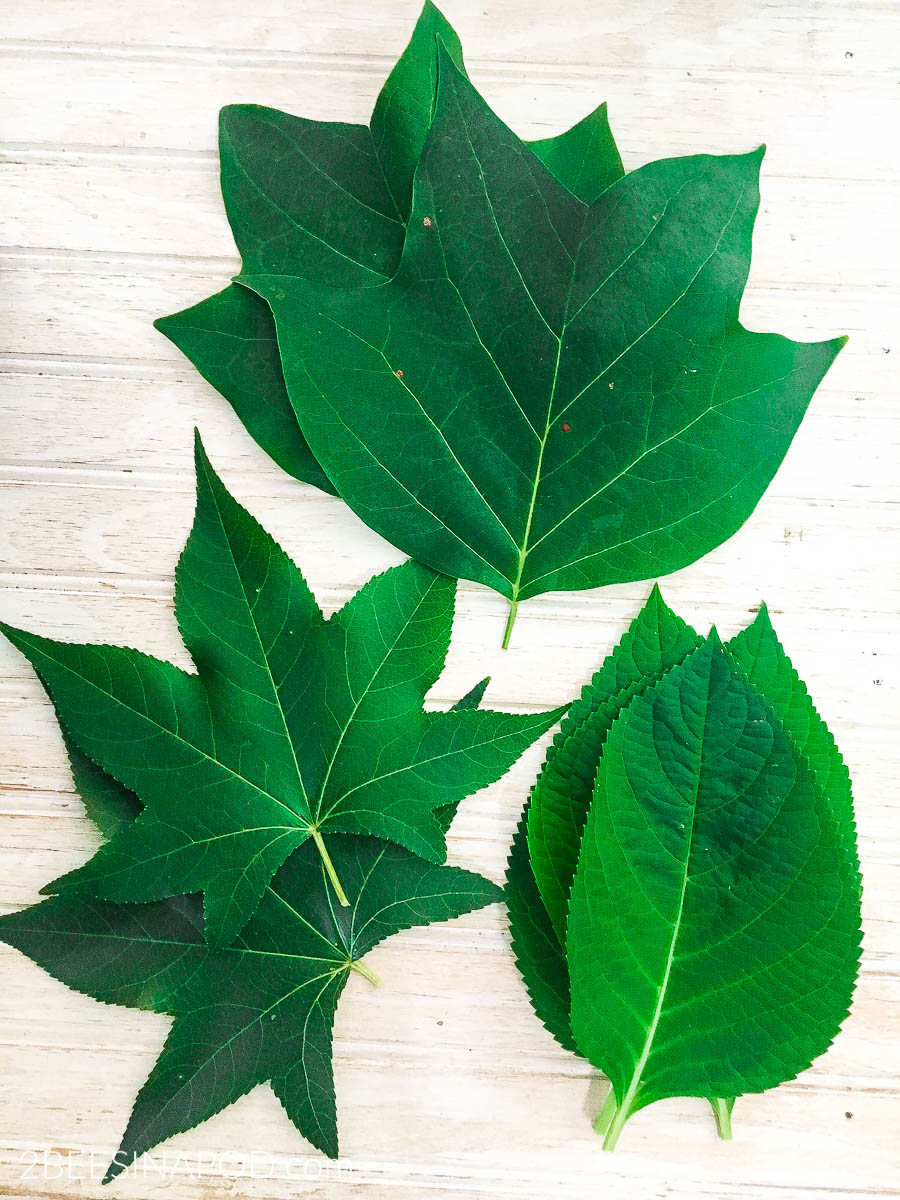
From my own yard I collected a variety of leaves.
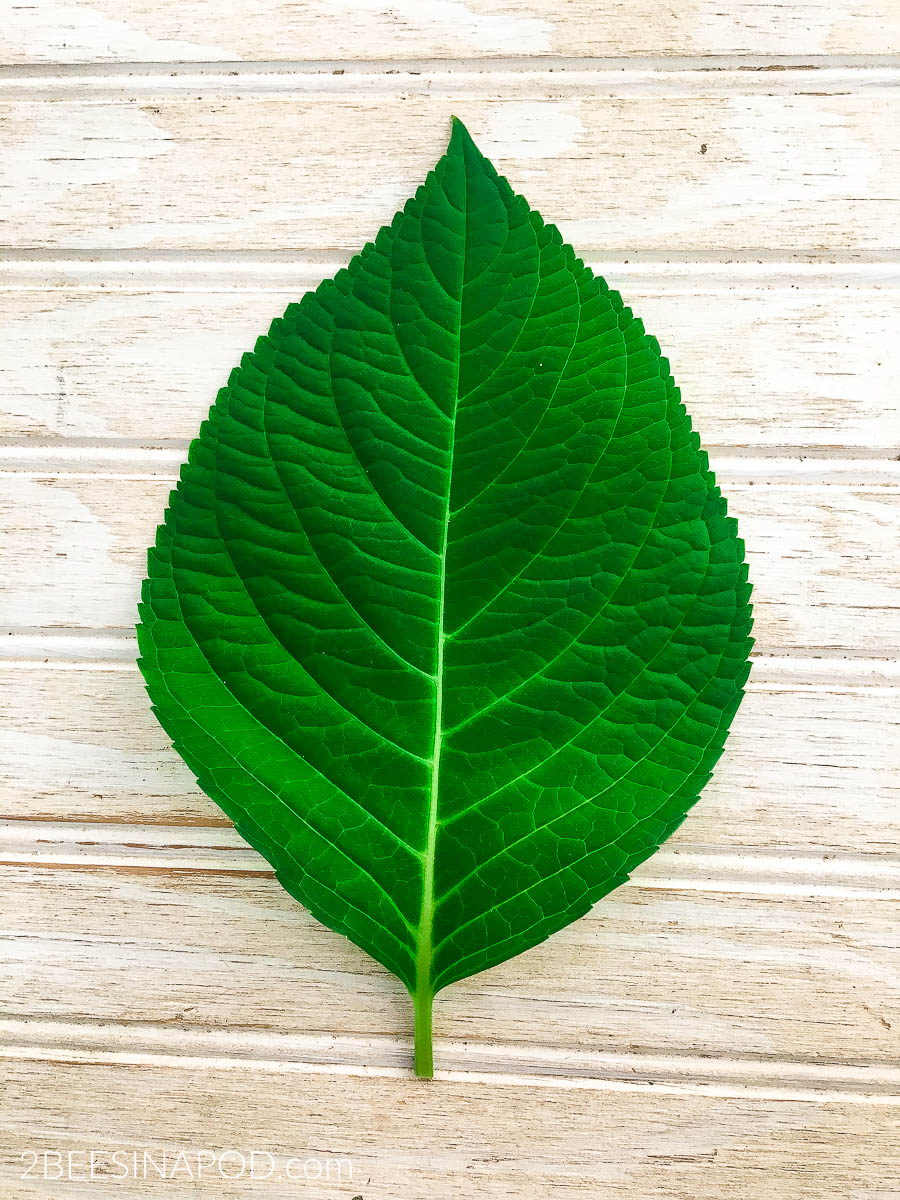

Personally, I love hydrangea leaves. They have the best veining of all.

Supplies Needed:
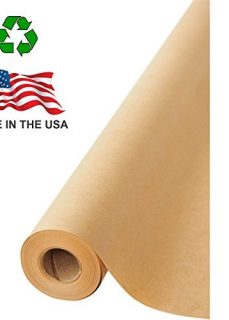
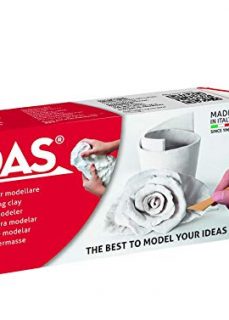
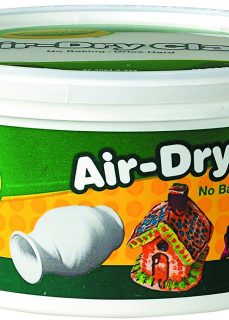
- DAS air dry clay. You can get it HERE. We’ve used THIS one too.
- Kraft paper or other table cover. THIS is a good roll of paper.
- Rolling pin
- Collected leaves – the heavier the veining the better.
- Aluminum foil
- Small knife
- Small, sharp scissors

How to Make Clay Bowls:
- Collect materials together.
- Pinch off a piece of air dry clay, approximately the size of your palm.
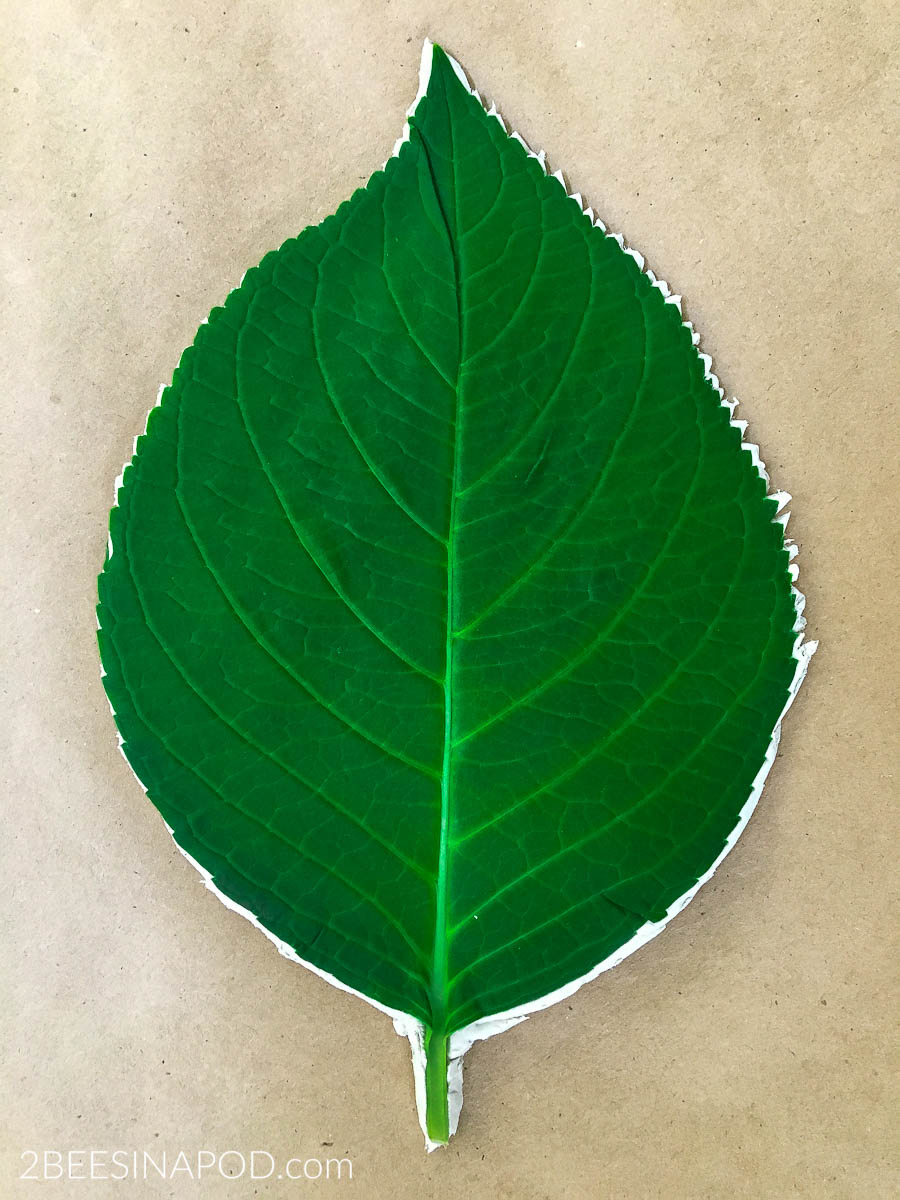
- Use a large leaf with heavy veining.
- Roll out the clay to approximately ¼ inch thickness. Lay the leaf,vein side down on top of the rolled clay.
- Using the rolling pin, press the leaf into the clay. Use caution so that the leaf does not shift.
- Using a small knife, trim away excess clay.
- Use small, sharp scissors to trim the leaf edge pattern. Most leaves will NOT need this step.
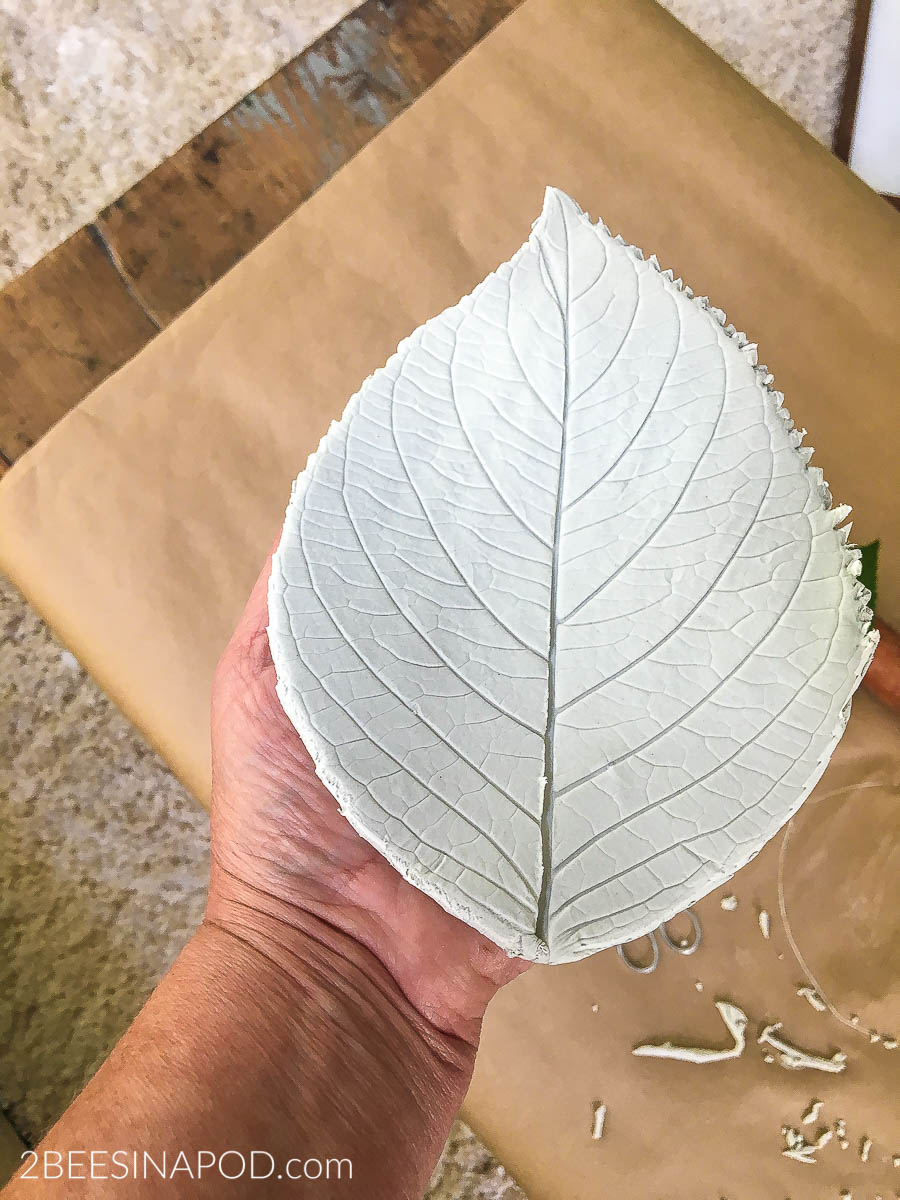
- This hydrangea leaf has an intricate pattern.
- Carefully remove the leaf from the clay and discard the green leaf. Use aluminum foil to create an oval shaped bowl effect. Lay the clay leaf on top of the foil. Let clay dry completely. Typically drying overnight is best. On a nice day you can let this dry outside to speed up drying time. Do NOT let the clay get wet. You may need to turn the leaf over to completely dry underside.
After trimming is complete, carefully remove the leaf from the clay. Also, at this point I decided to remove the leaf stem.
Now this clay leaf is ready to dry.
Isn’t She Lovely?
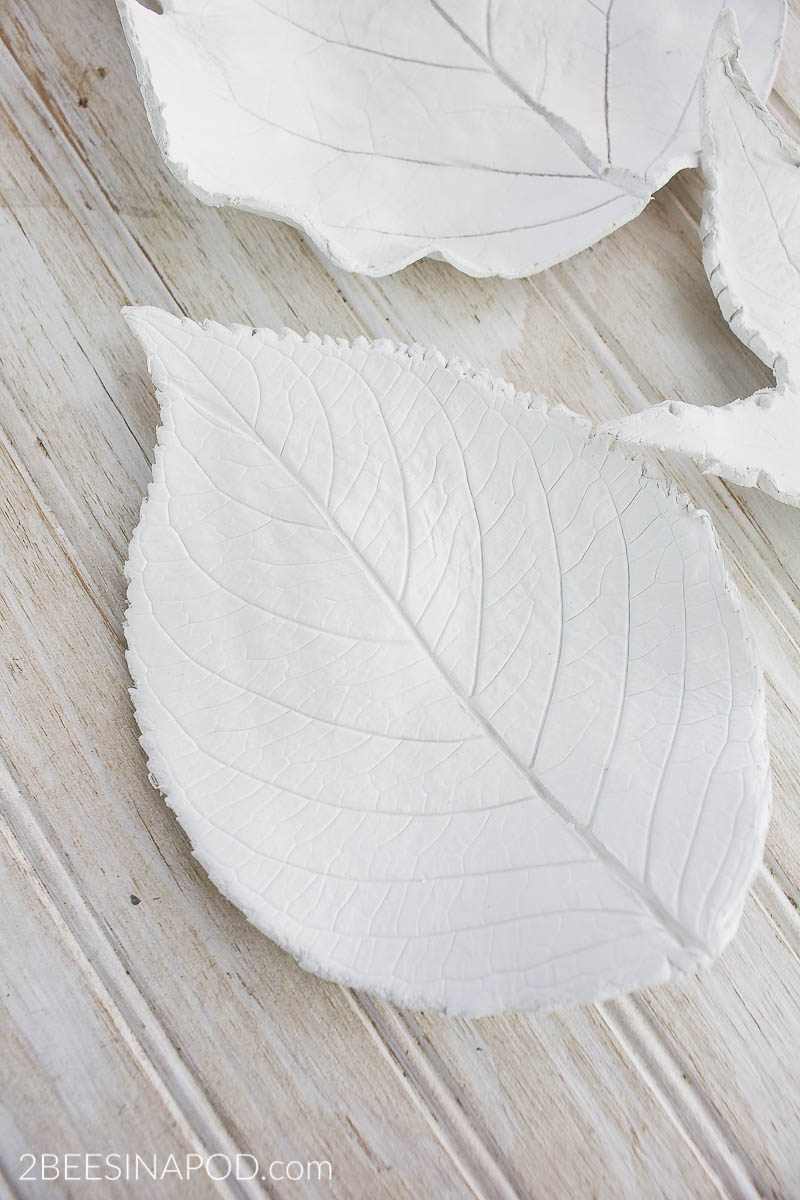
Once the clay leaf bowls are dry, they are as hard as ceramic. Just remember to treat your bowls somewhat delicately. 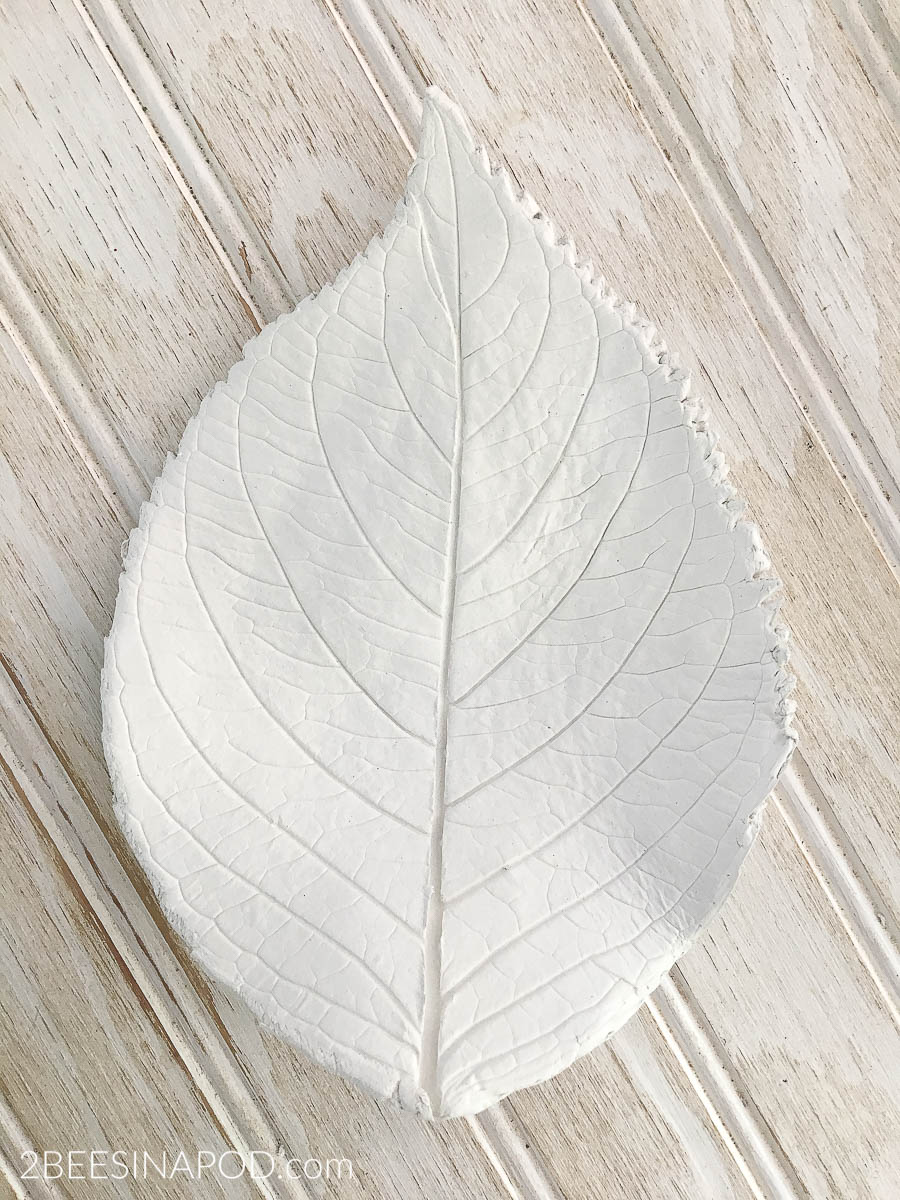
At this point you may choose to paint your leaves with acrylic paint. Since this brand of clay dried to a bright white color, I left them as-is.
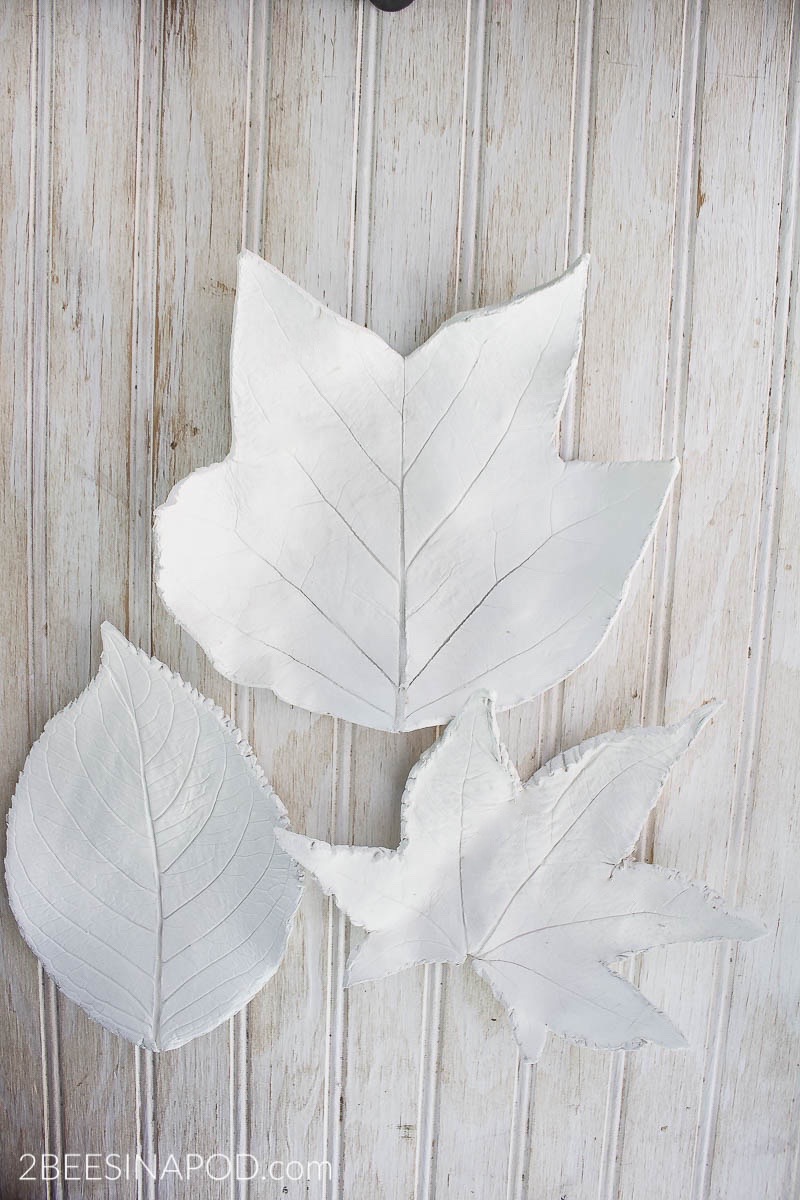
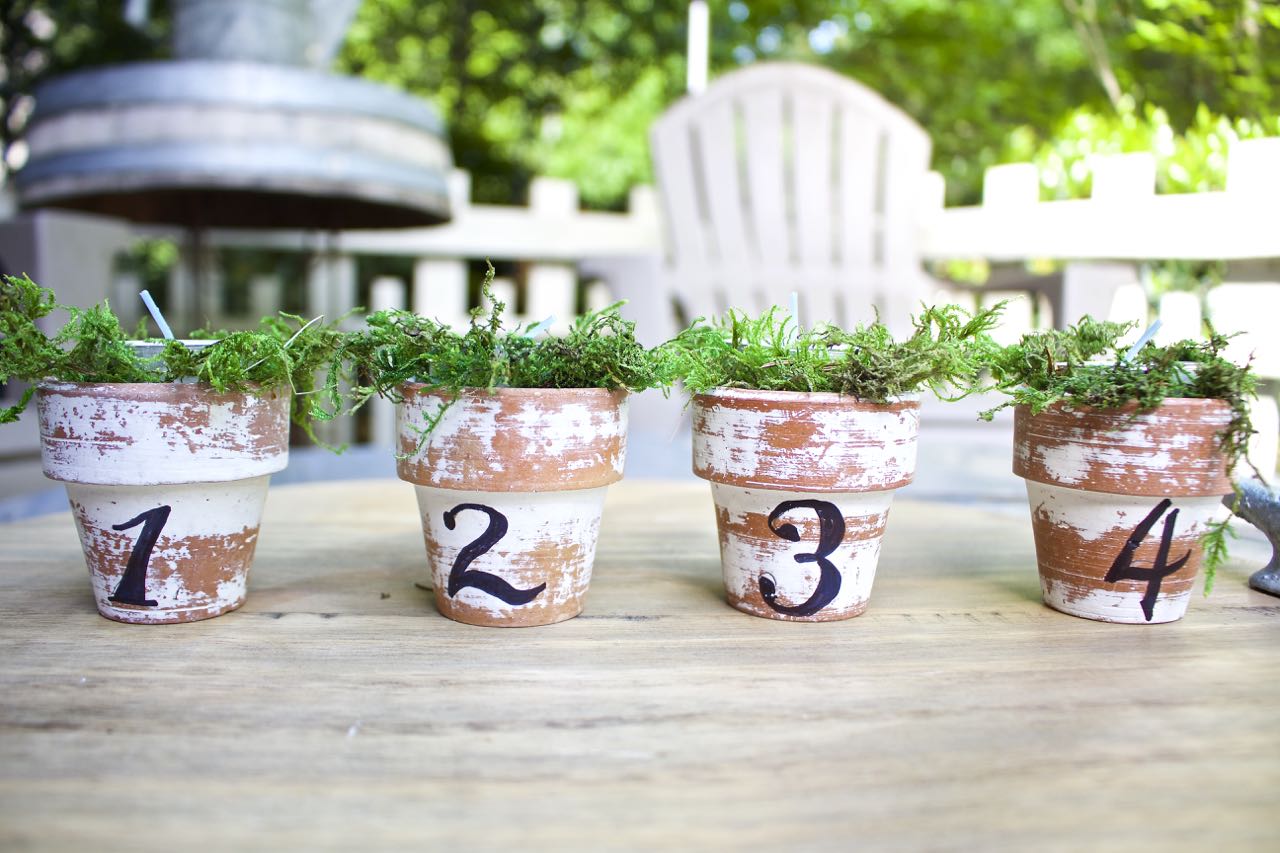
You will be seeing a lot of these clay leaf bowls in my home decor. I can’t wait to create more!
They will make great gifts too!

Nice project that looks so easy to do!
These are totally fabulous and oh my word SO many possibilities too! Love, love, love this great idea. I can’t wait to try my own and start making some fun gifts. Hugs, CoCo
is this ok to leave outdoors?
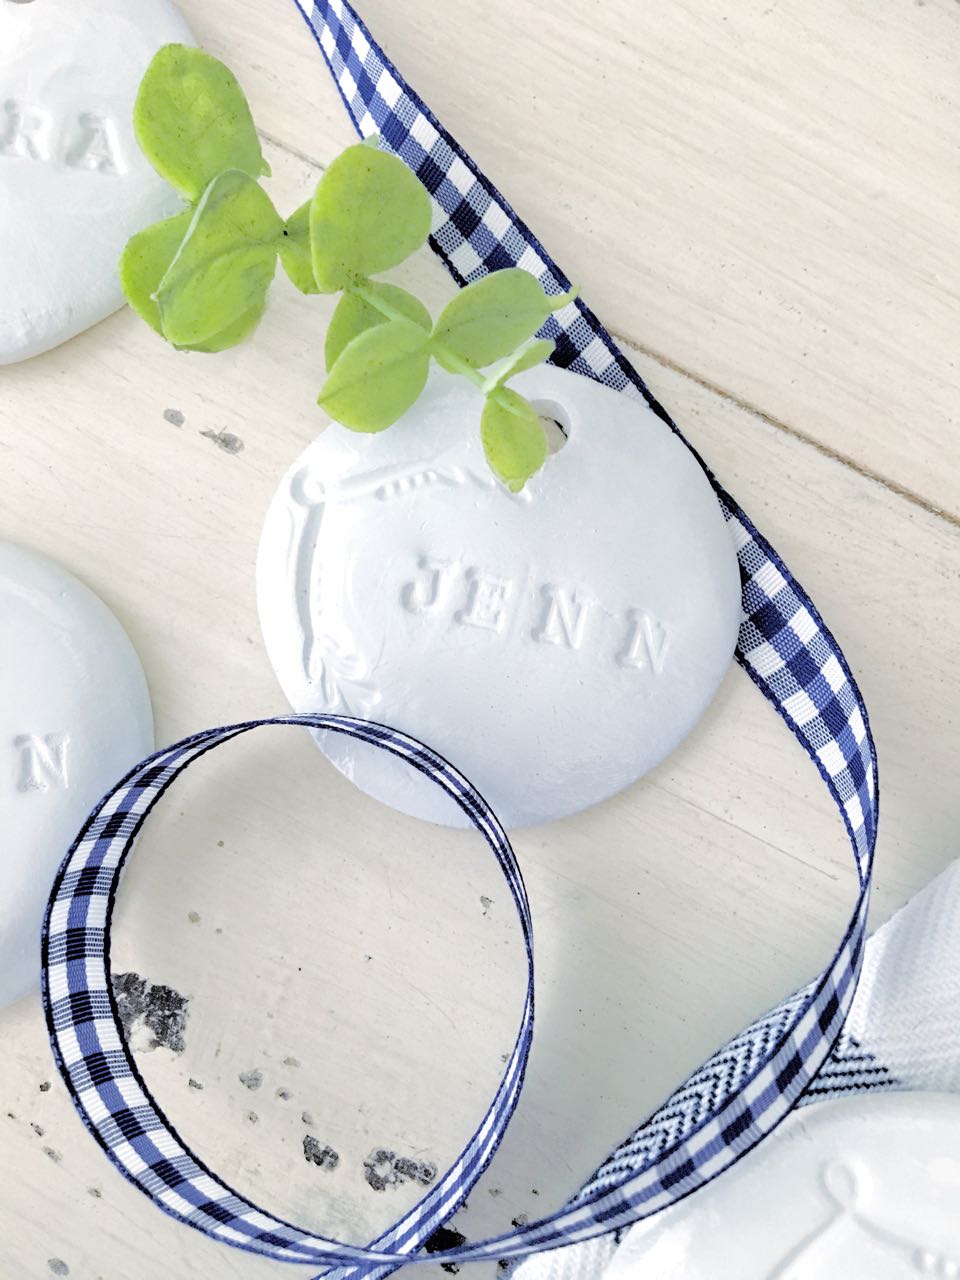
Jenn and Vicki
LOVE this project !
Once they are dried, can they be left outside in the rain?
If I wanted to paint, then seal…..how would I go about doing that?