How to Hang Plates on a Wall – And Make it Look Good
Please note that this post contains affiliate links. As an Amazon Associate, Rewards Style influencer and Jane Influencer, we earn from qualifying purchases and any sales made through such links will reward us a small commission – at no extra cost for you.
This tutorial will teach you how to hang plates on a wall.
Have you ever wanted to hang plates on a wall but didn’t know where to begin? There is definitely a right way and a wrong way of doing this. Even though it may seem or look like an effortless job, you need a plan of action before you begin. So, the wrong way is no plan of action at all. There is more than one right way. Here is my tried and proven tutorial for how to hang plates on a wall.
How to Hang Plates on a Wall

Step One
- Select the plates you want to hang on the wall. Plates should vary in size and/or shape for interest.
Step Two
- Lay white paper on a flat surface.
- Turn each plate upside down onto paper.
- Using a pencil trace outline of each plate.
- Carefully using scissors, cut out each plate circle.
Step Three
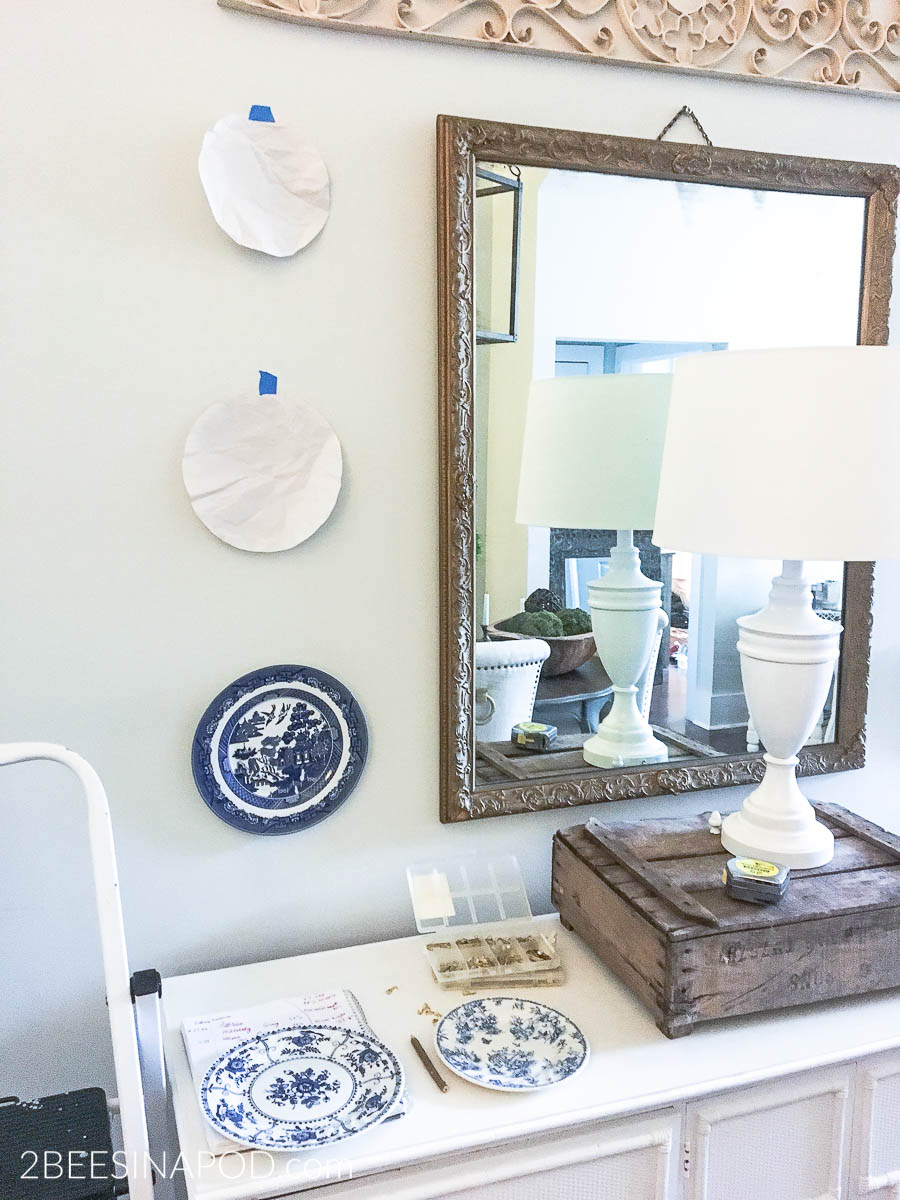
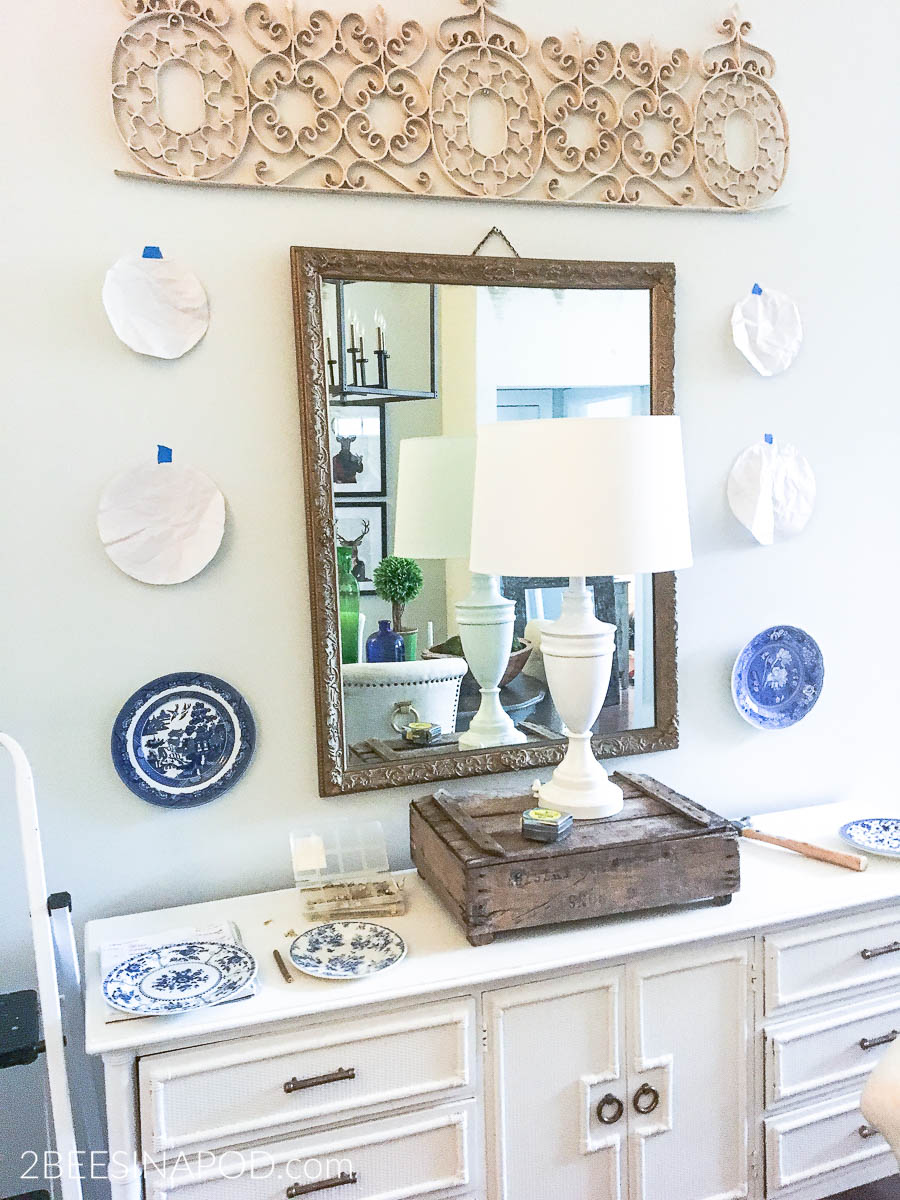
- Using painters tape (so as not to damage your walls) place the paper “plates” where you want them to hang. The painters tape also allows you to move the cutouts multiple times. This is also a very important step if you are hanging your plates in a specific, measured pattern like I did on my dining room wall.
- Make sure you measure the size of your plates, then the exact distance between your plates. In my dining room example my plate sizes are 6 inches, 10 inches and 12 inches.

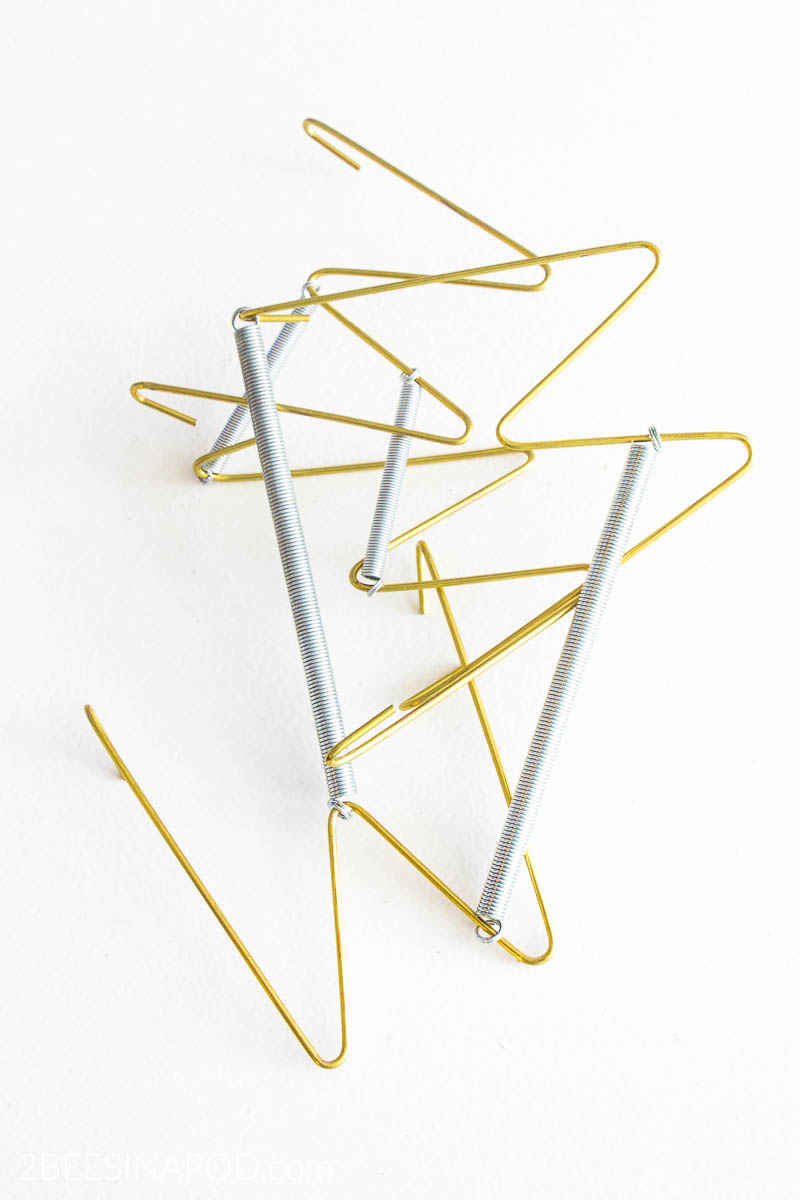
I’m sure that we have all used these particular plate hangers at one time or another. Needless to say, they can be very damaging to china plates.
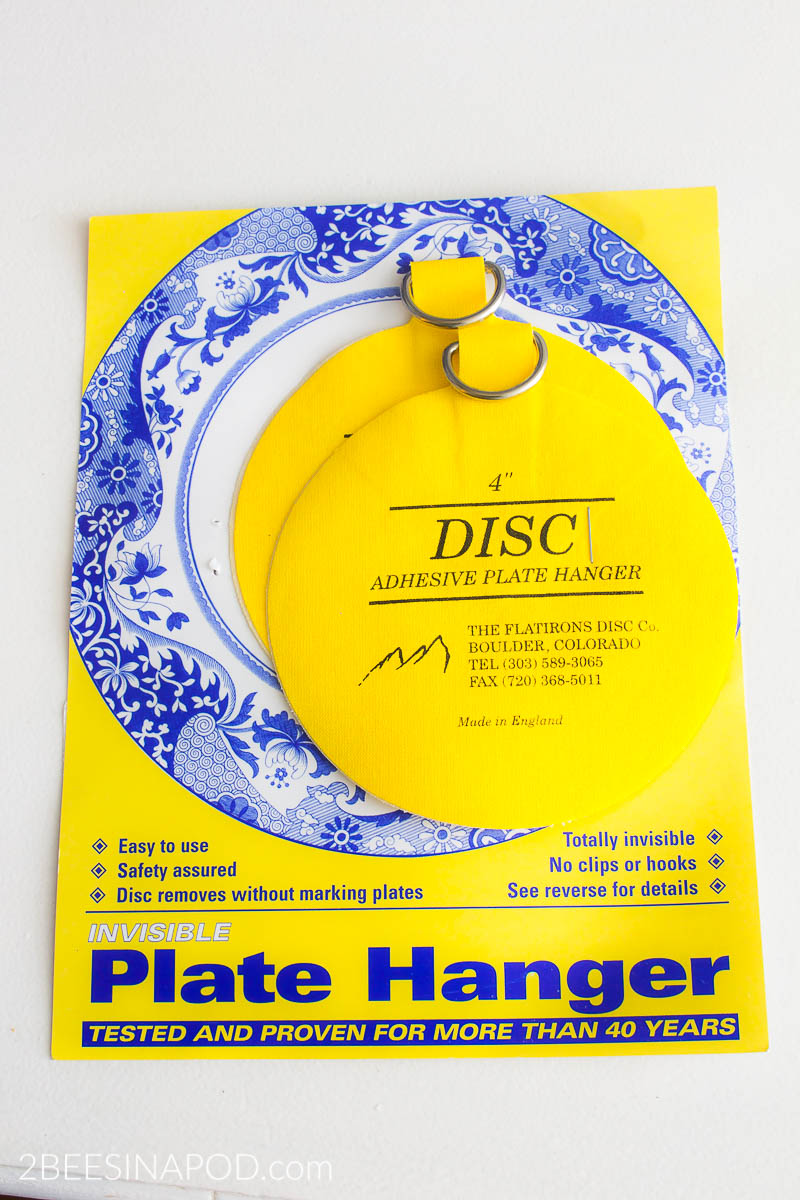
The very best alternative that I have found are these wonderful adhesive plate hanger discs from England. They are more expensive, but definitely worth the price. There is absolutely no damage to the plates at all – even vintage china! Also, the discs are removable with absolutely no damage at all to your plates.
Step Four
- Make sure that the back of the plate is very clean – free of dust and lint. Otherwise this will prevent the disc from adhering as it should.
Step Five
- With your fingers, mix a little water into the glue on the disc. Let it activate for 3-7 minutes until the glue is sticky.
Step Six
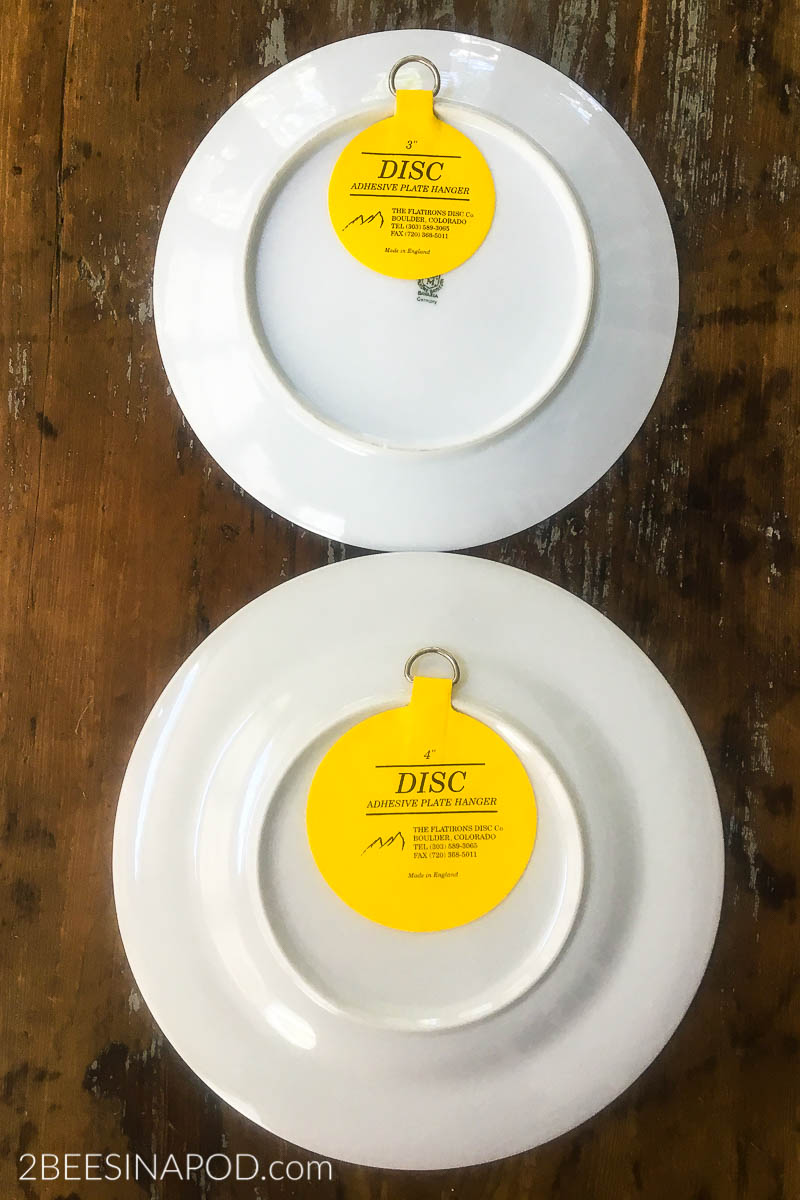
- Apply the disc to the back of the plate. Add it to the center making sure that the hanging ring is in the correct position for your plate design. Press firmly, removing all air bubbles. Let it dry for 24 hours.
Step Seven
- Before hanging the plate, test the adhesion of your disc to make sure that your glue is holding well.
Step Eight
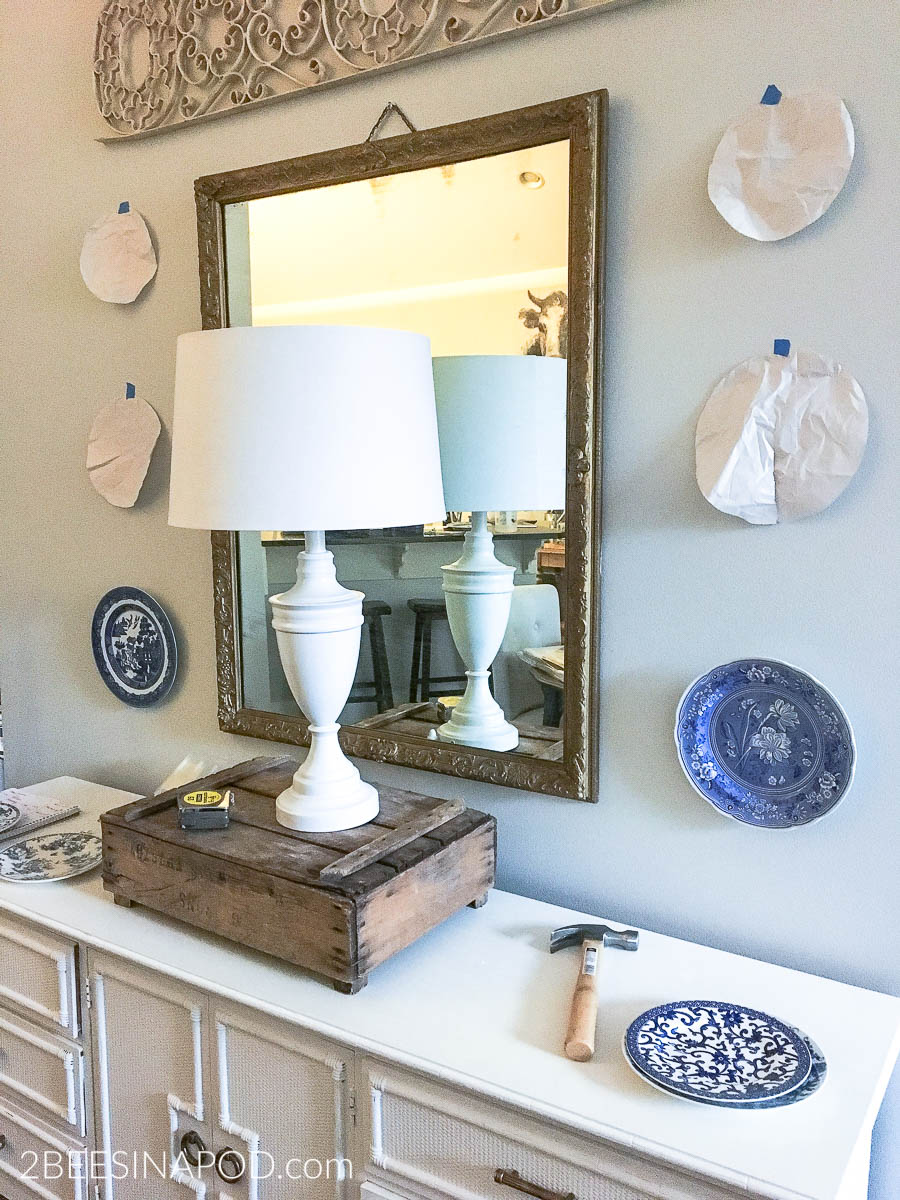
- Depending on the weight of your plates, you can hang them with simple picture hooks like these. If you want the reassurance of more secure hanging you can use anchor bolts like these. You can read our tutorial post on How to Hang Something Heavy.
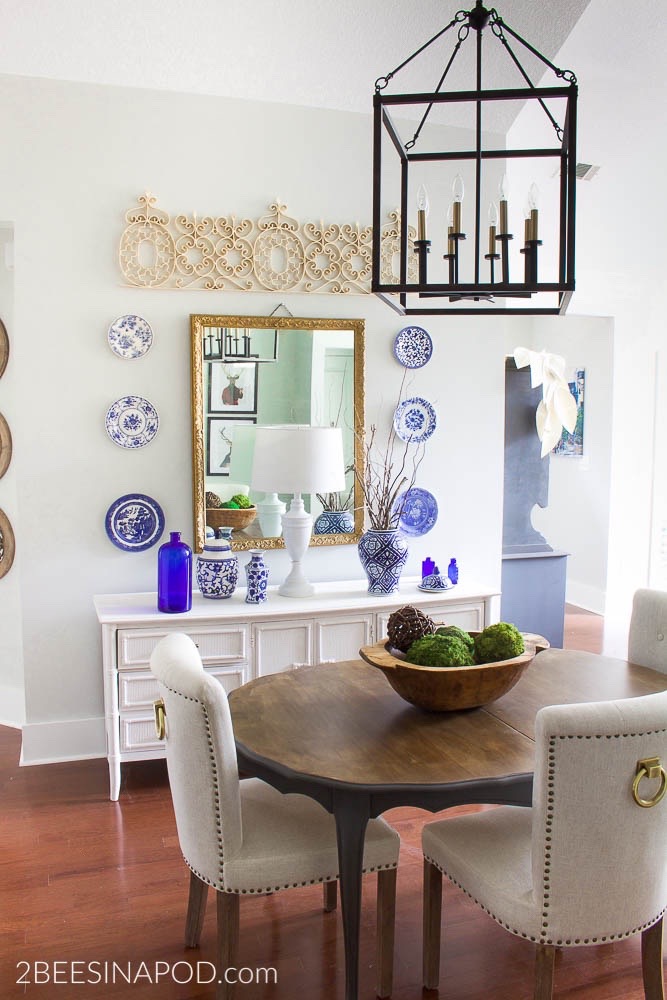
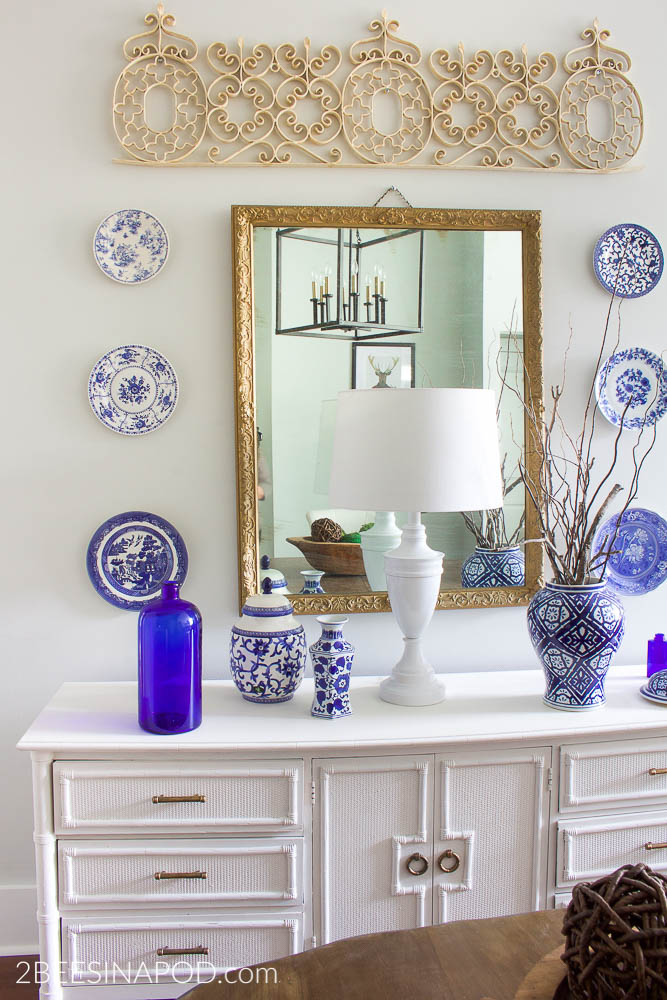
Doesn’t this look so much better than the wire plate hangers? The plates appear to be floating on the wall.

What size hanging discs do you need for your plates?
-
1 1/4″ for plates up to 4 in diameter
2″ for plates up to 6 in diameter
3″ for plates up to 8 in diameter
4″ for plates up to 12 in diameter
5 1/2″ for plates up to 6.5 lbs in weight
- This info is straight from the manufacturer.
So the mystery of how to hang plates on a wall is solved. Hopefully you found this information helpful and you can create a gallery wall of plates in your own home. We would love to see a photo!
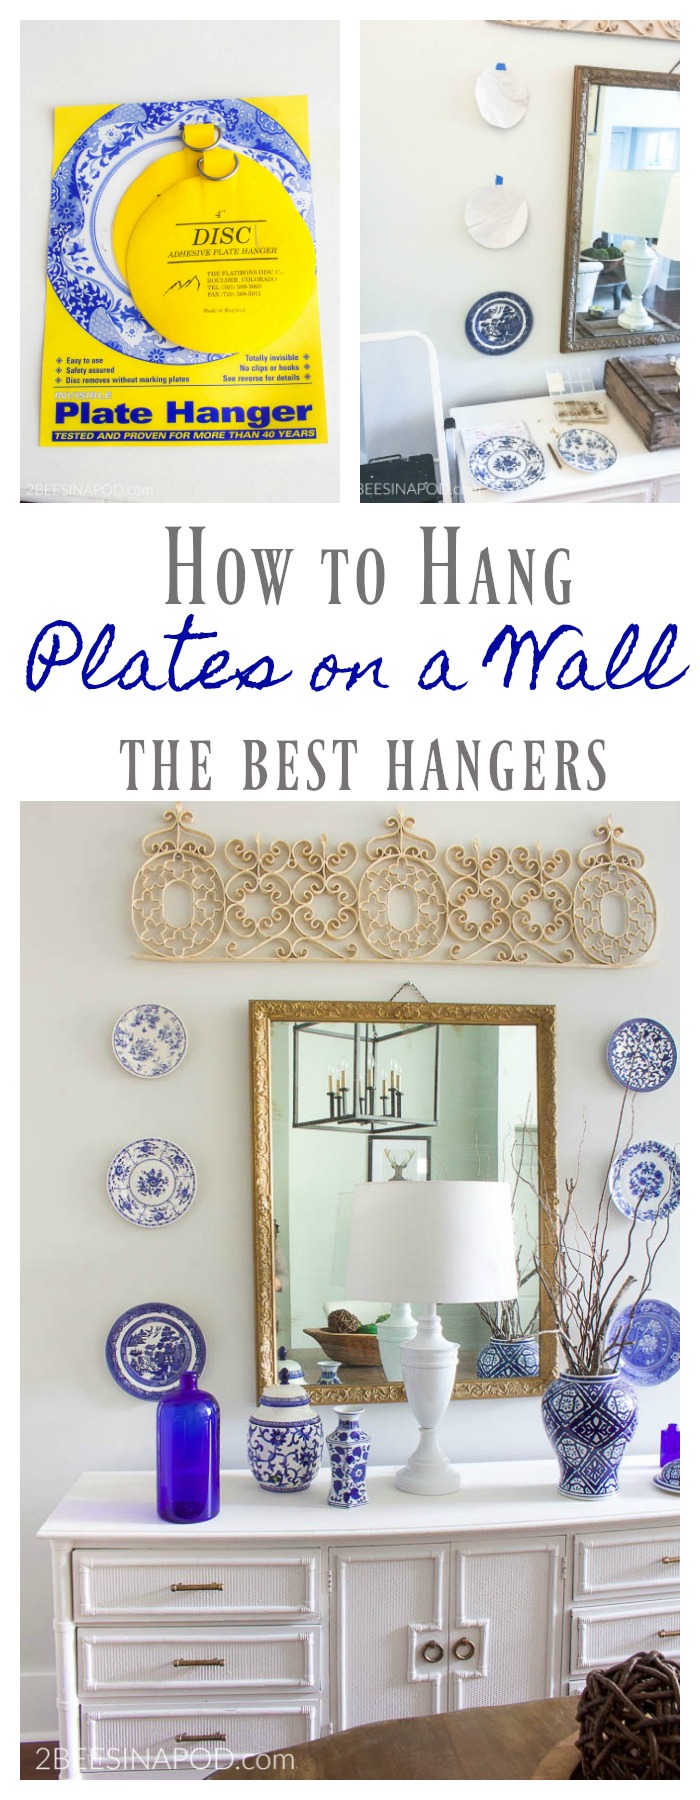
Don’t forget to Pin this to your favorite Pinterest Board!

Now, THIS was full of useful information. I have a wonderful plate collection and this new (to me) product to hang them is genius! I really, really enjoyed this precise, informative post. Thanks for a great job! (As usual!)
Love this awesome step by step ladies! You are so right trying to create a plate wall without a solid plan can leave a lot of unnecessary holes in the wall. I love the way you added your blue and white plates to the dining room. It’s totally fabulous. Hugs, CoCo