Tissue Paper Photo Canvas
Please note that this post contains affiliate links. As an Amazon Associate, Rewards Style influencer and Jane Influencer, we earn from qualifying purchases and any sales made through such links will reward us a small commission – at no extra cost for you.
Hey y’all…
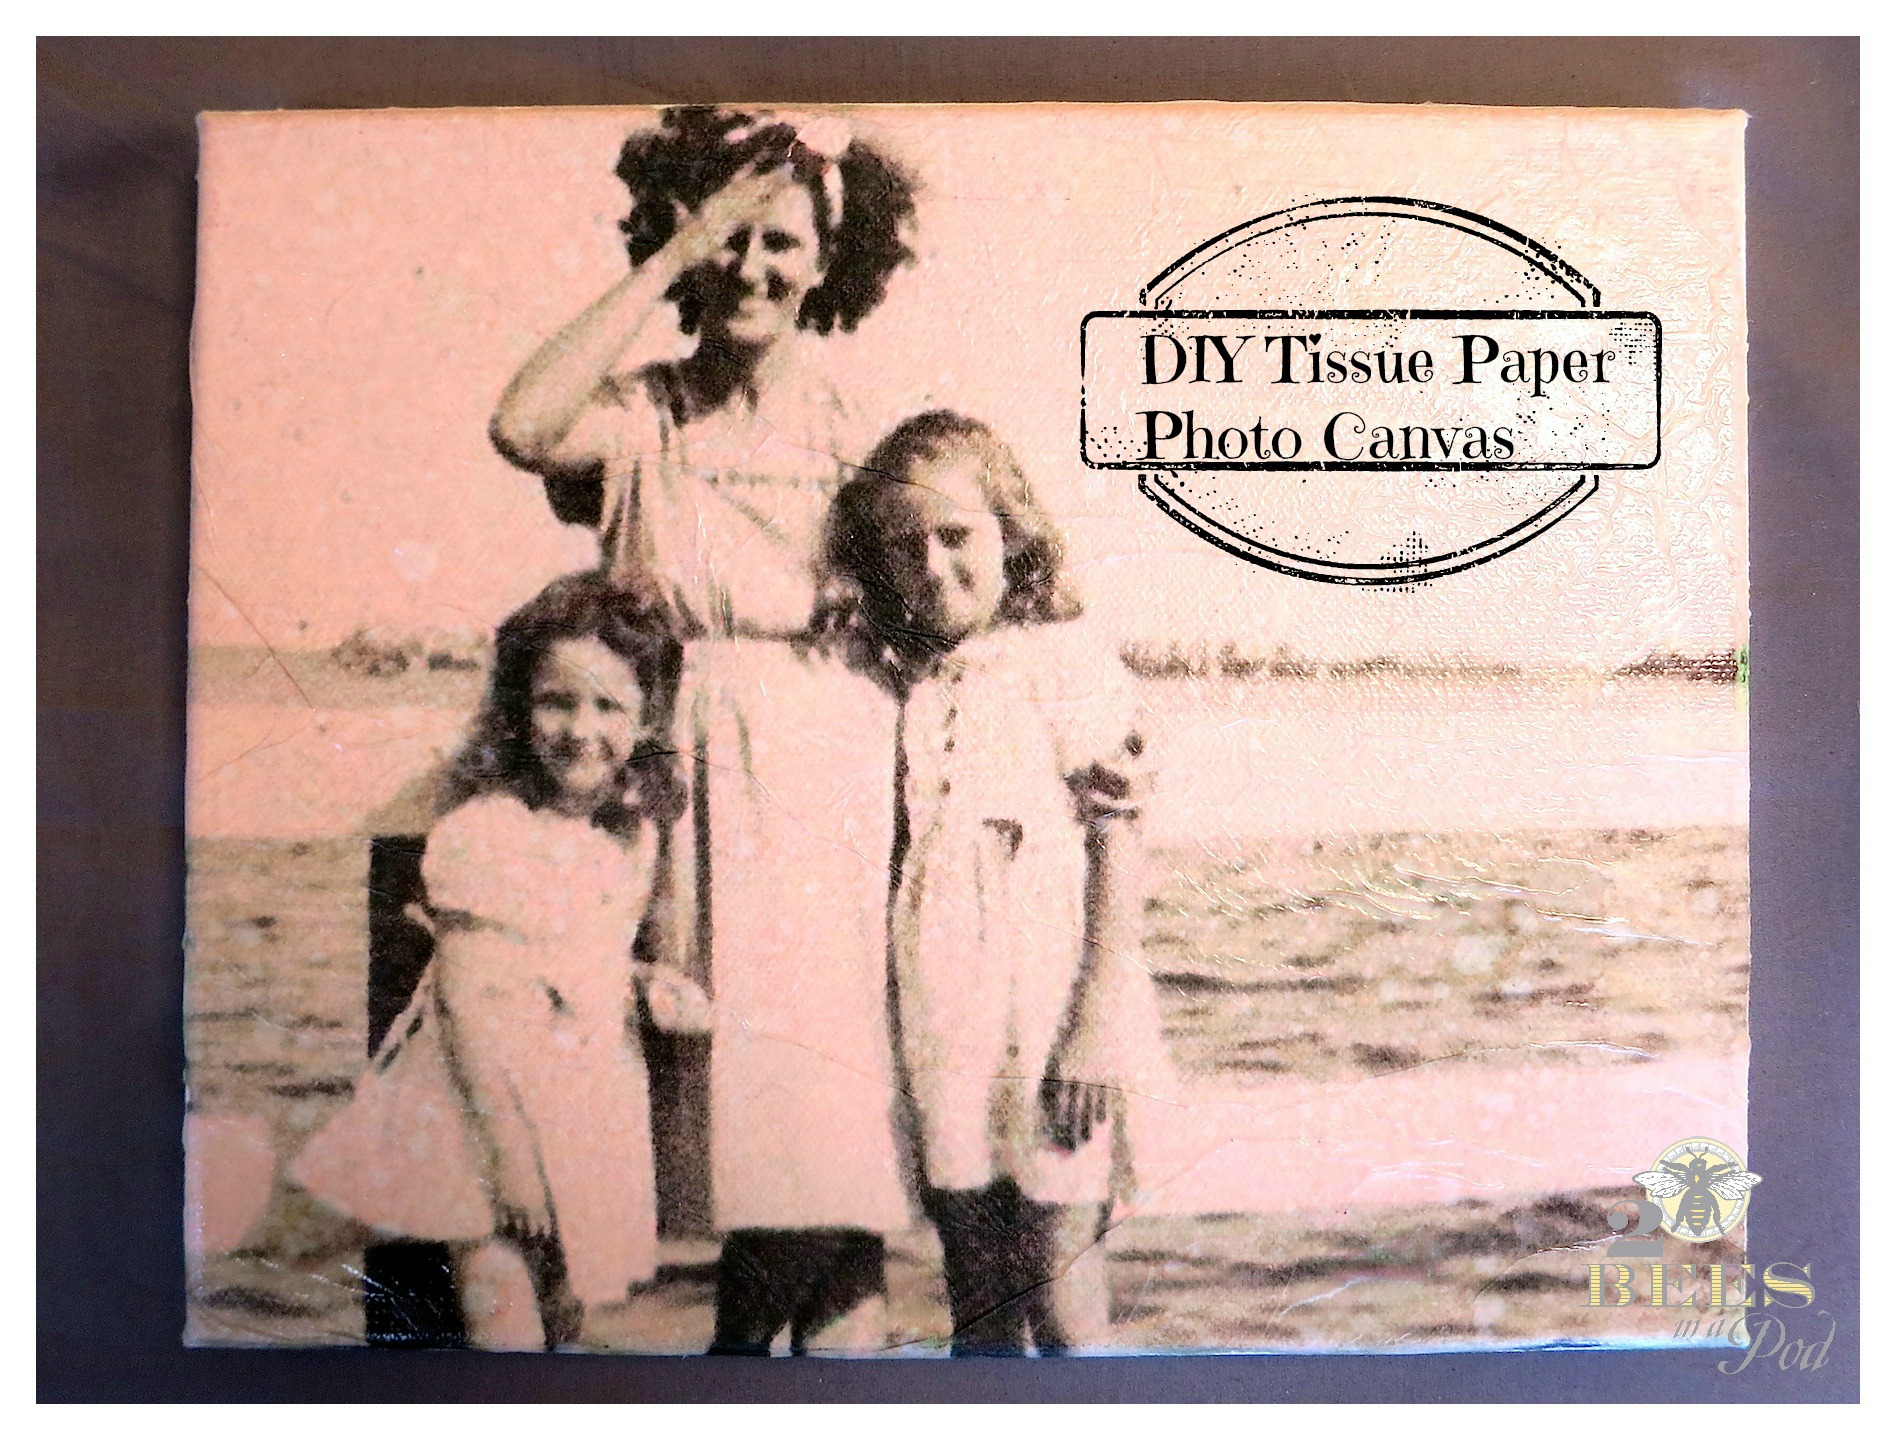
It’s no big secret that I love my family and all things vintage. Today’s project is a combination of the two and near and dear to my heart…DIY Tissue Paper Photo Canvas. I am in the beginning stages of creating a small photo gallery wall at the new house and using mainly vintage family photographs. I first learned how to do this craft over 12 years ago in a craft class. I was thrilled to find the original directions.
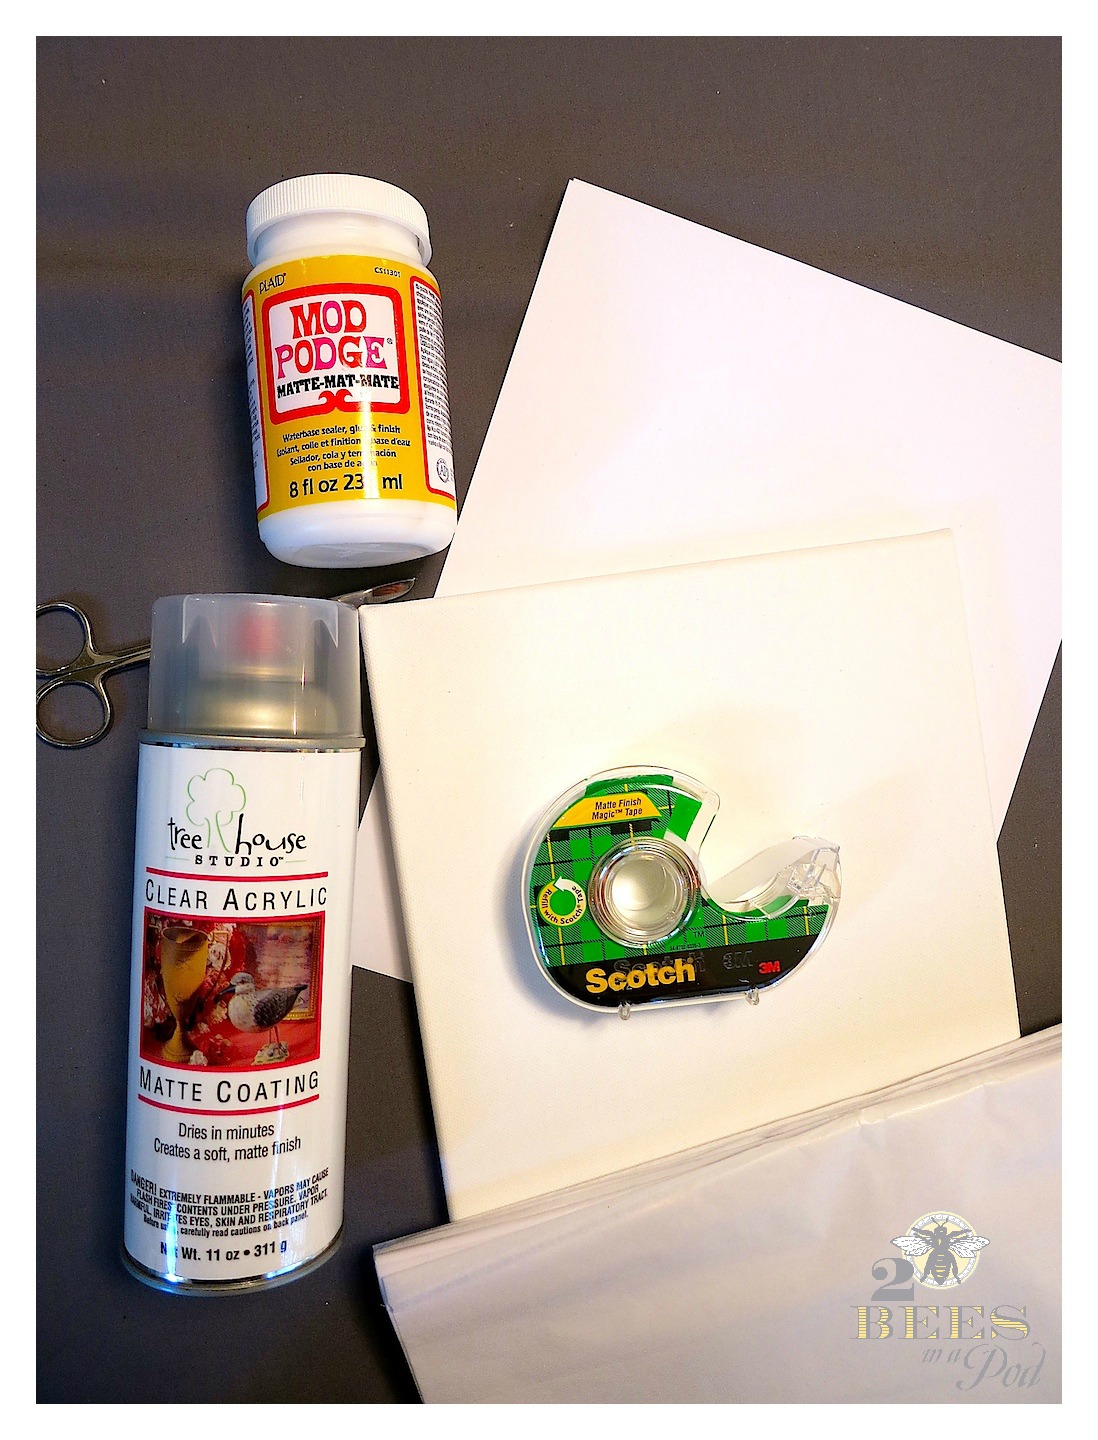
This is what I used:
- White tissue paper for gift wrapping
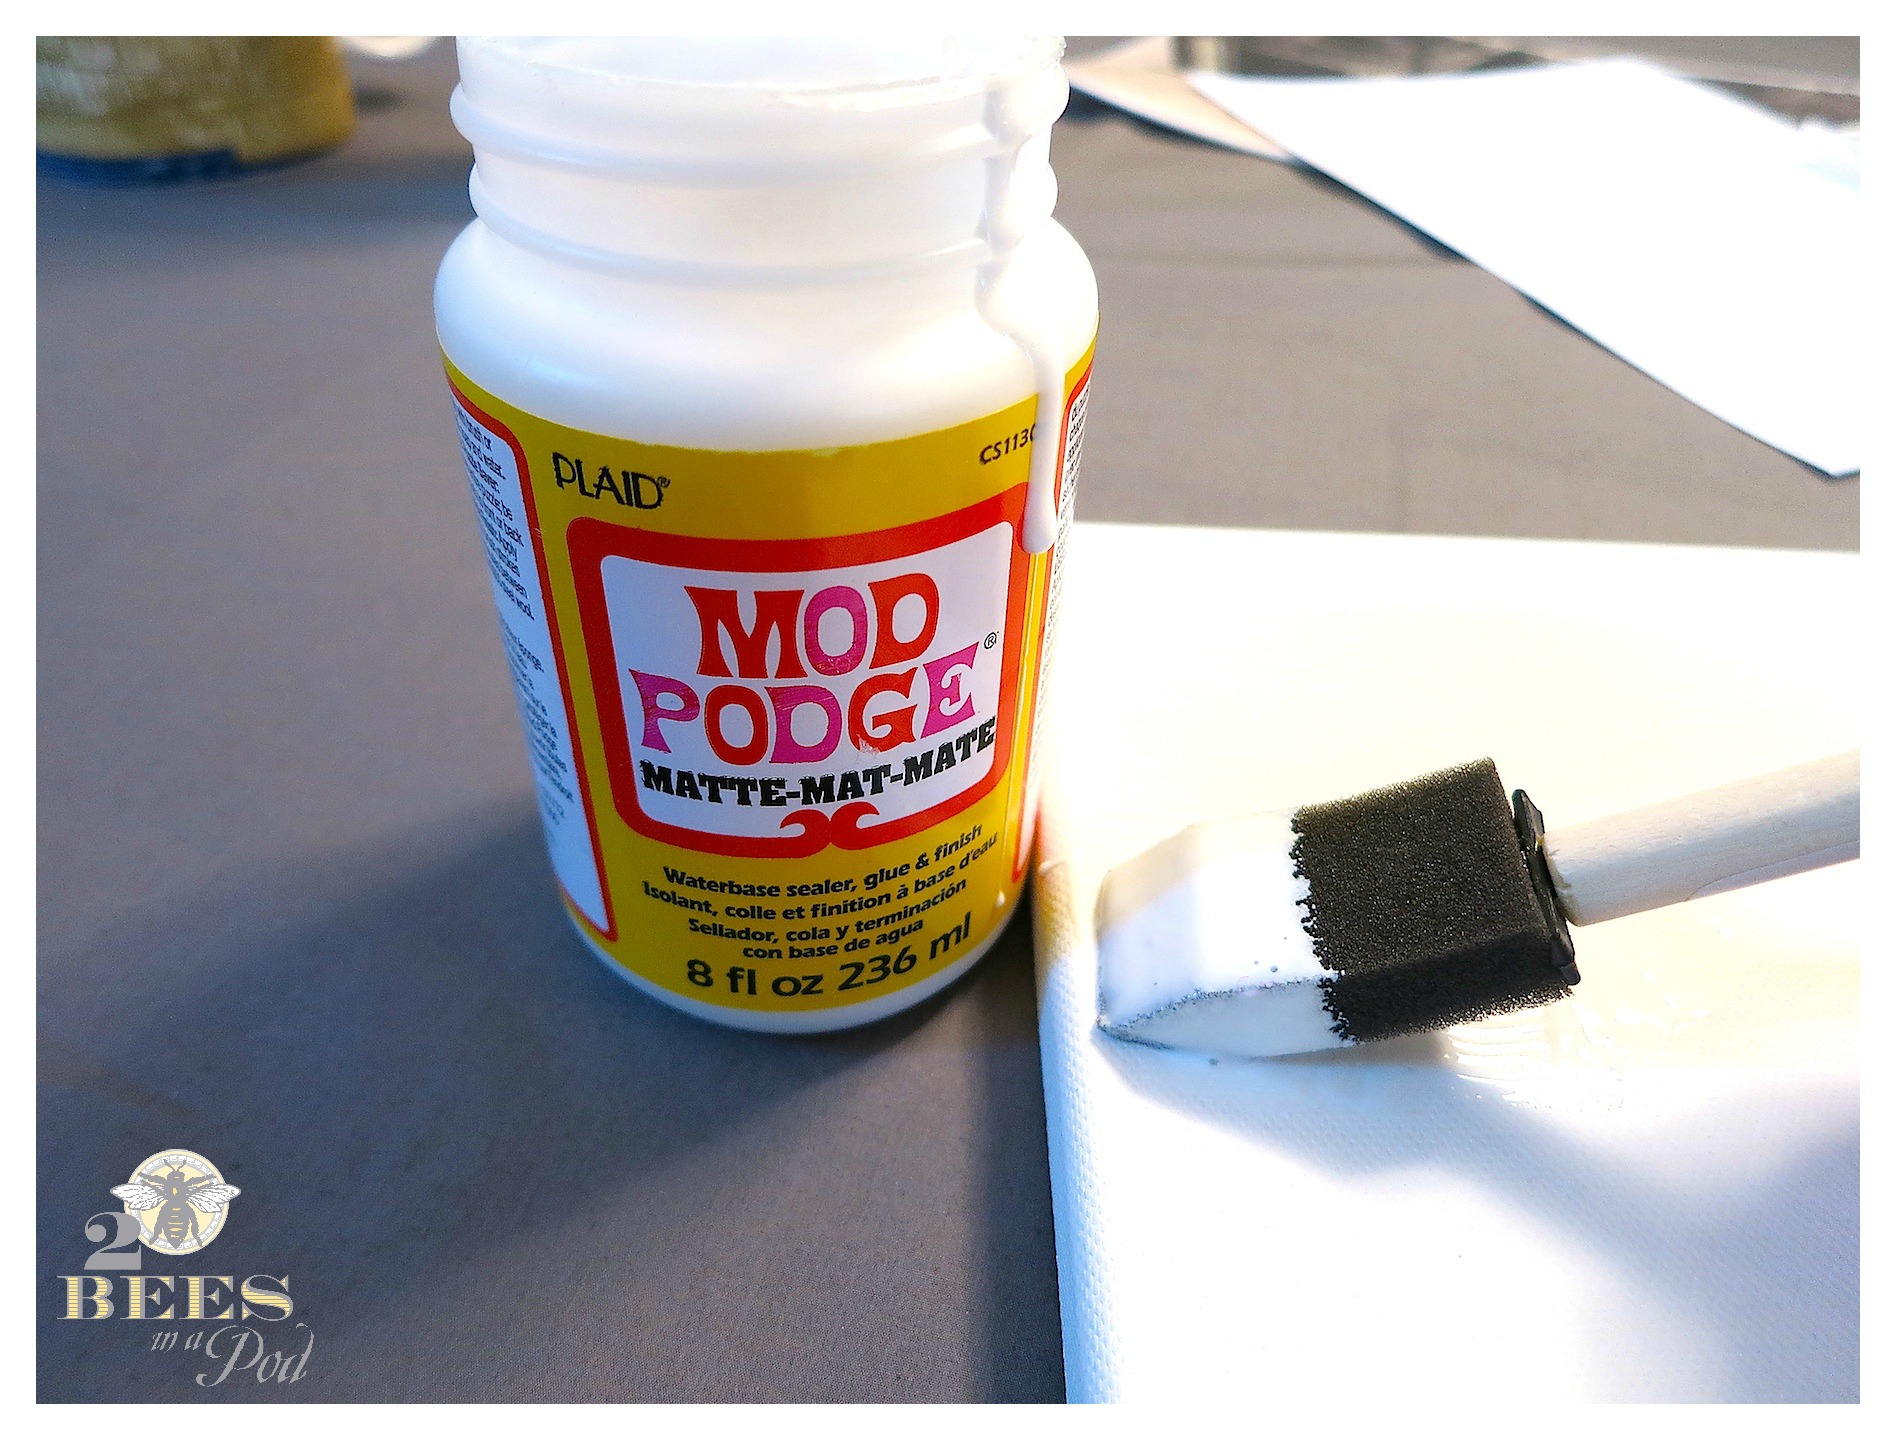
- Mod Podge in matte finish
- Card stock paper
- Foam brush
- Tape
- Scissors
- Clear acrylic matte finishing spray
- 8″x10″ canvas
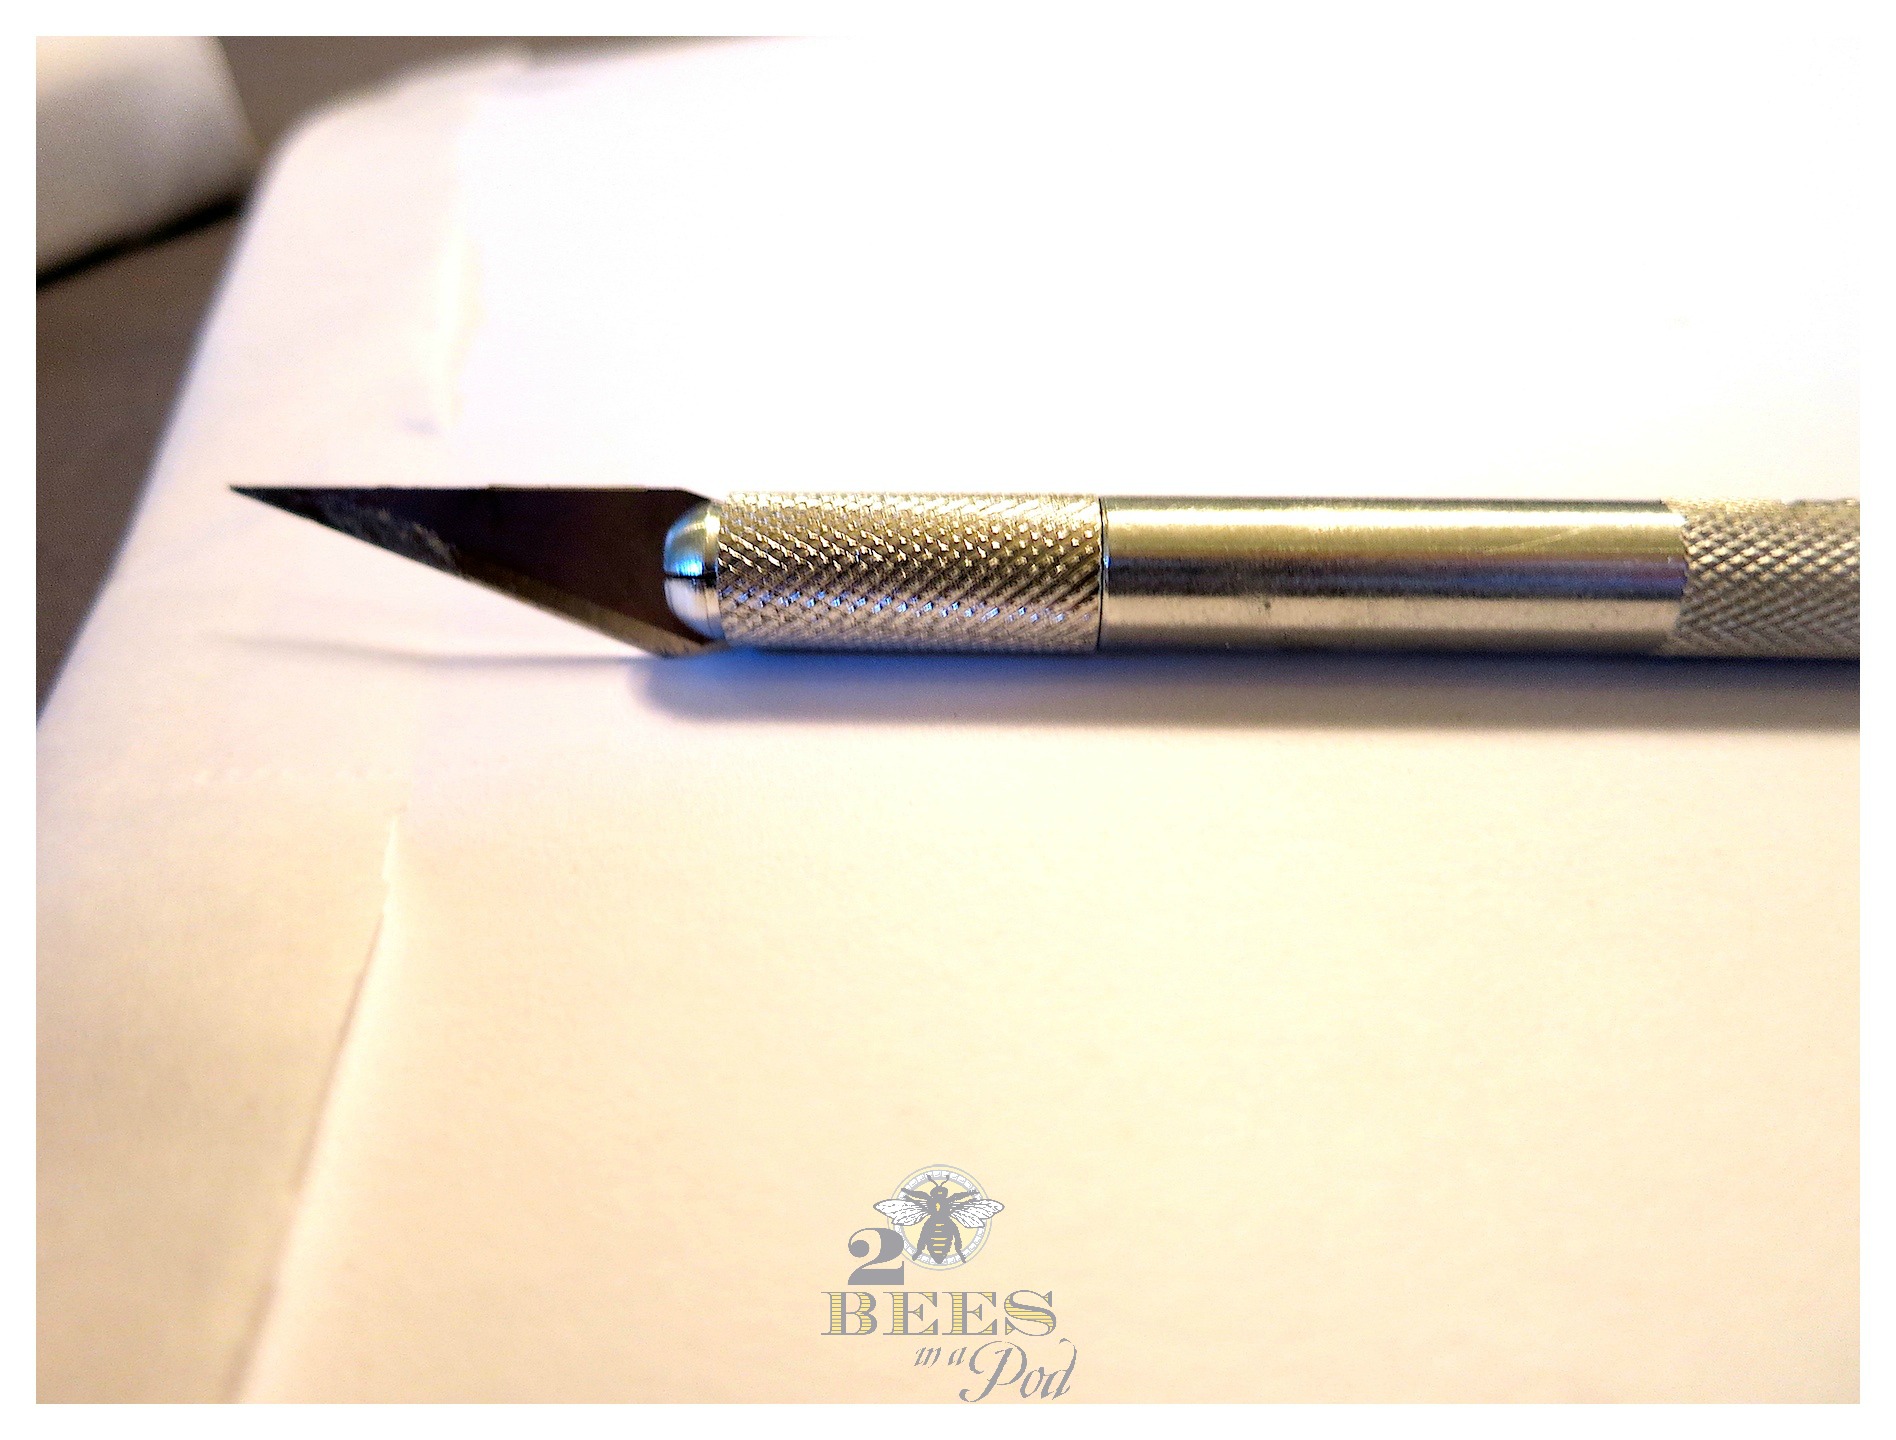
- Exacto knife
- Photograph of you choice
- Home printer
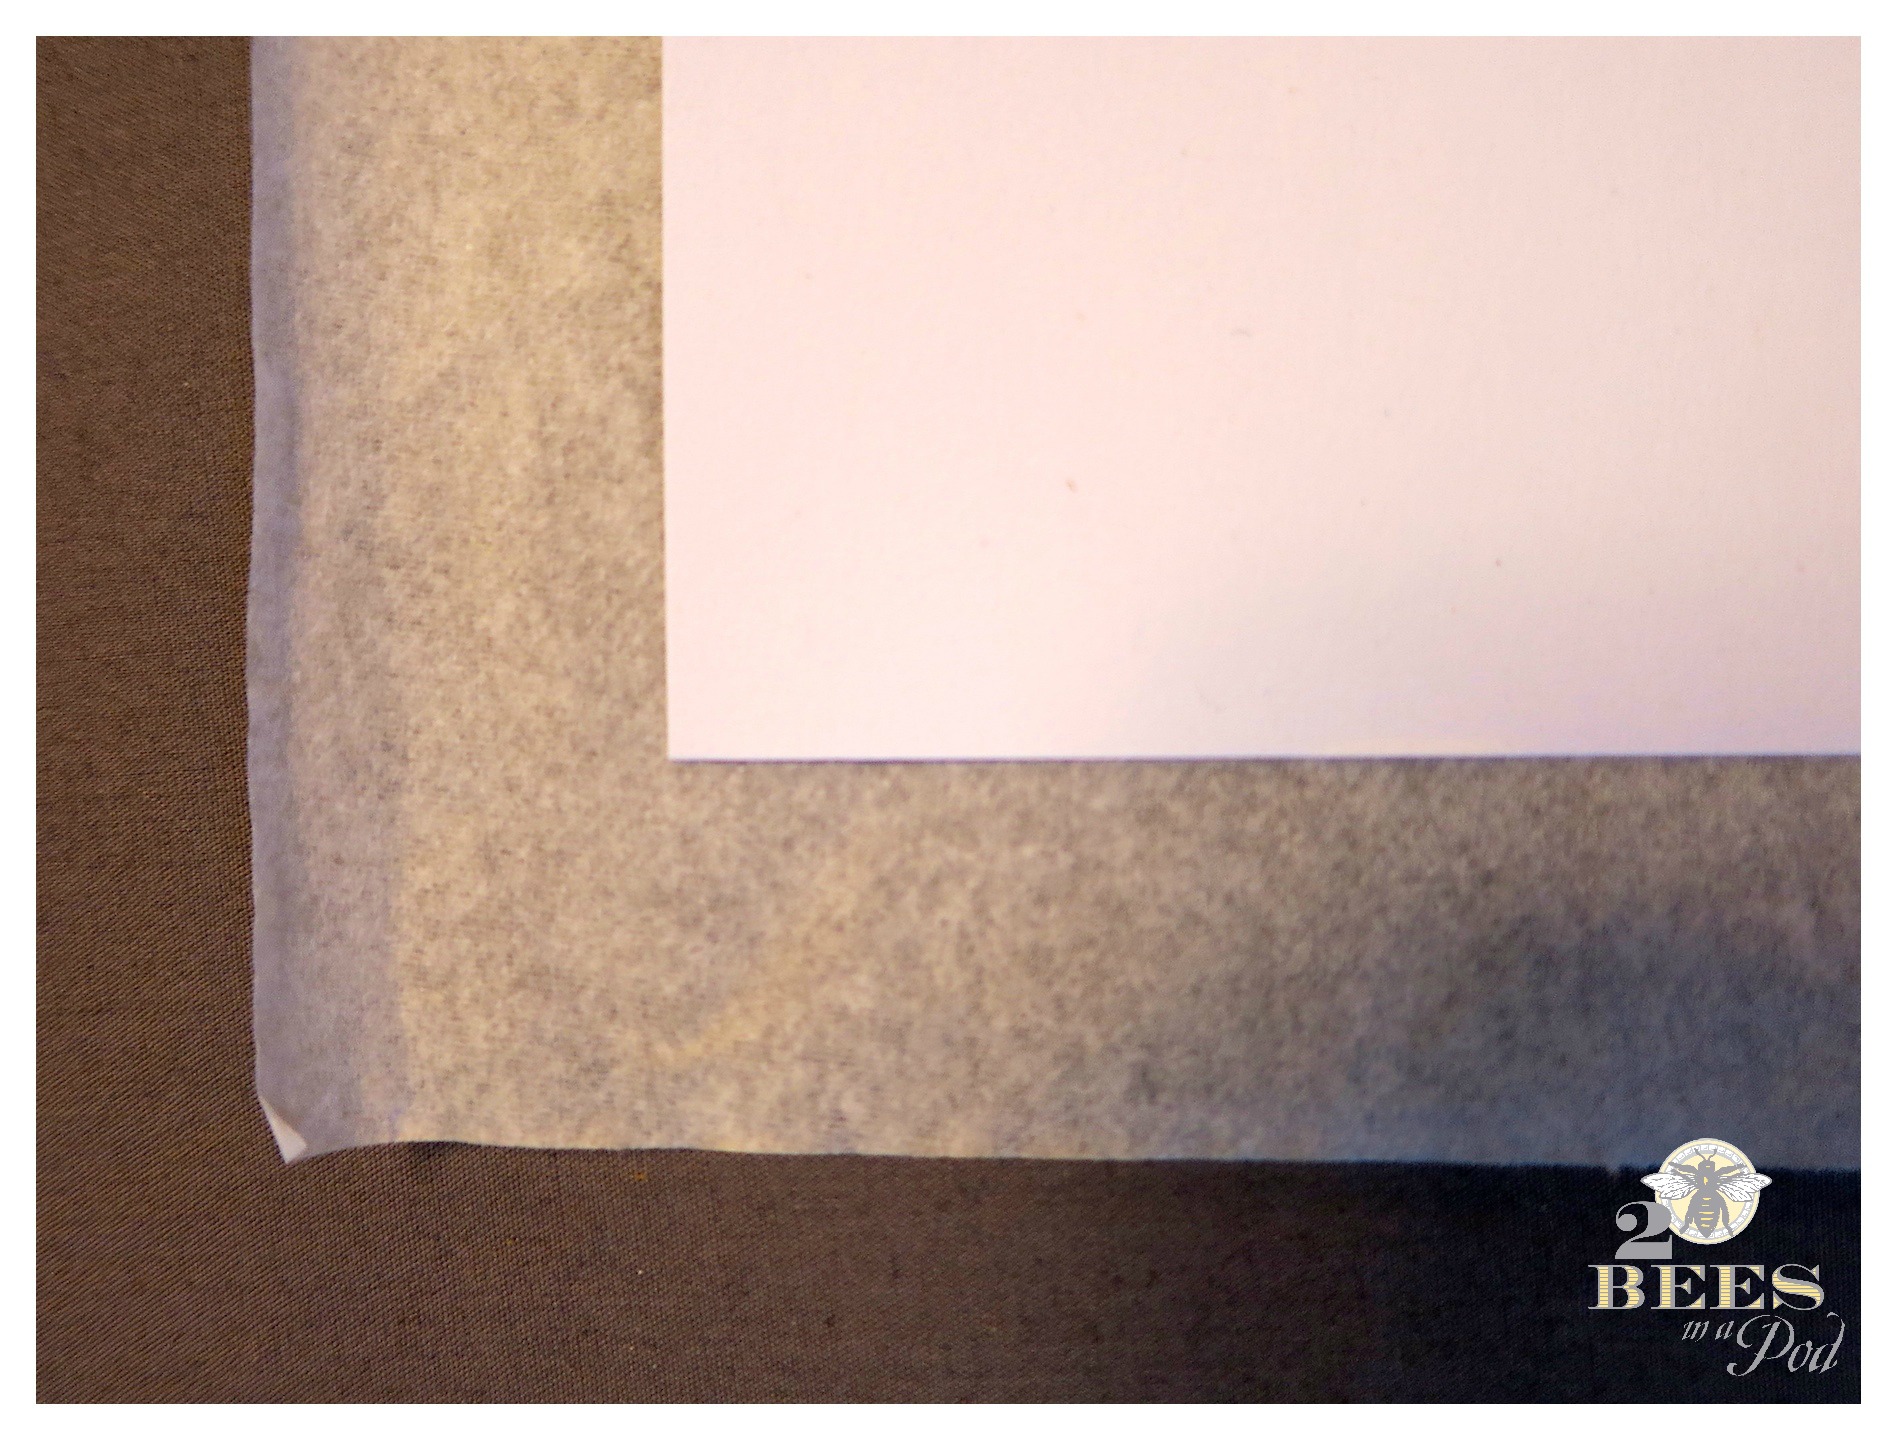
 I used an 8 1/2″x11″ piece of card stock paper. The thickness of the card stock is what helps feed the tissue paper into your home printer. I laid out a single piece of tissue paper and cut it slightly larger than the card stock – adding about an extra inch to all four sides..
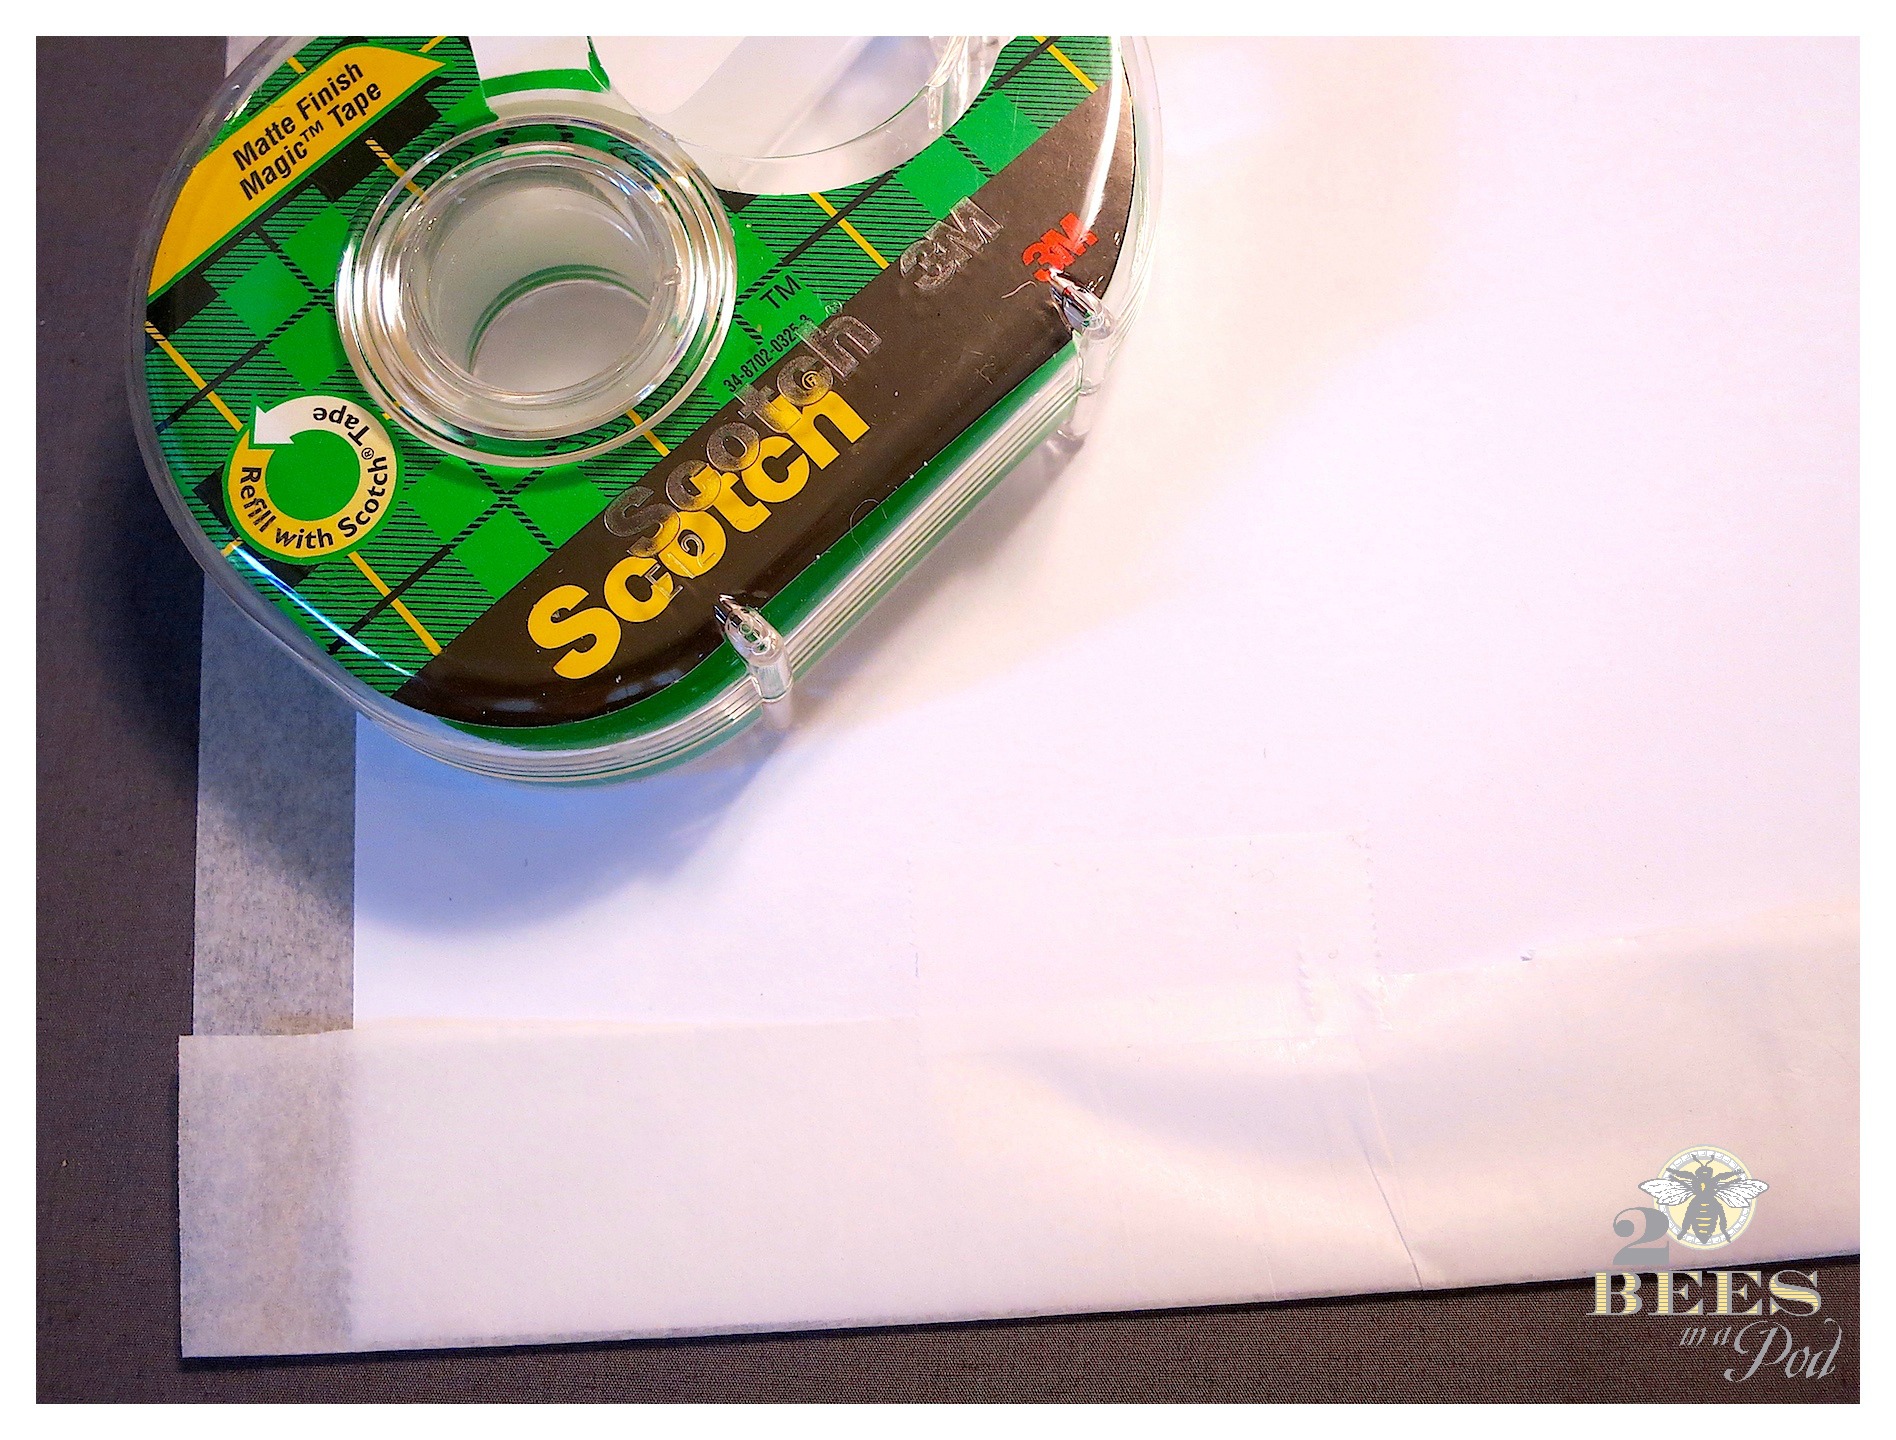
 Using tape, wrap each side of the tissue paper onto the card stock. You do not need to use a lot of tape – just enough to hold it into place..
Choose the photo that you want printed on the tissue and sized according to your canvas. Mine is 8″x10″.
Place this card stock and tissue into your paper feed tray according to how your printer prints paper, typically tissue paper side faced down.
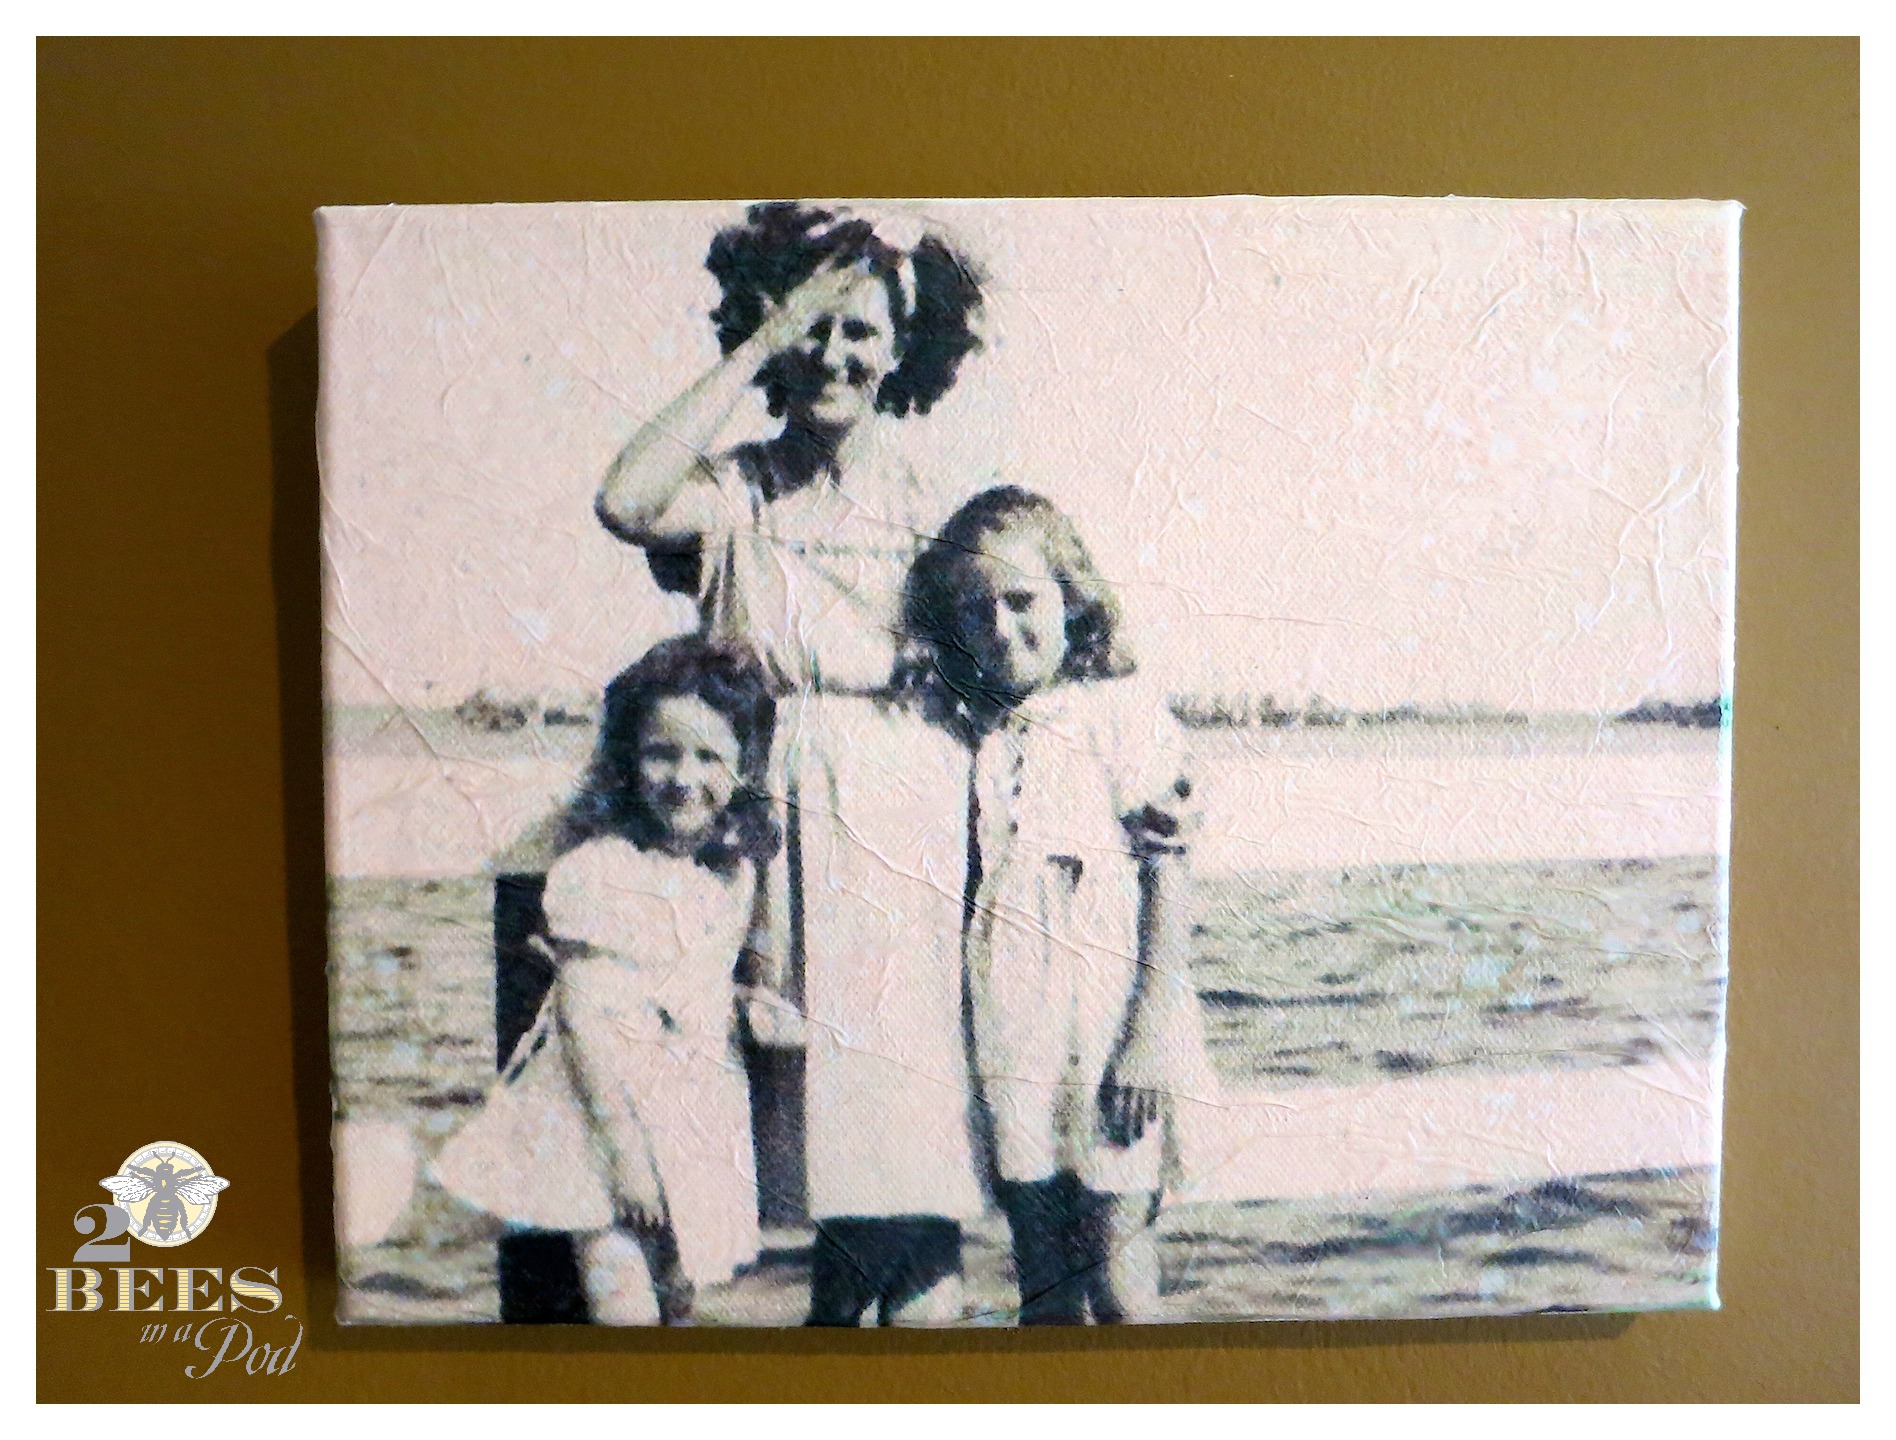
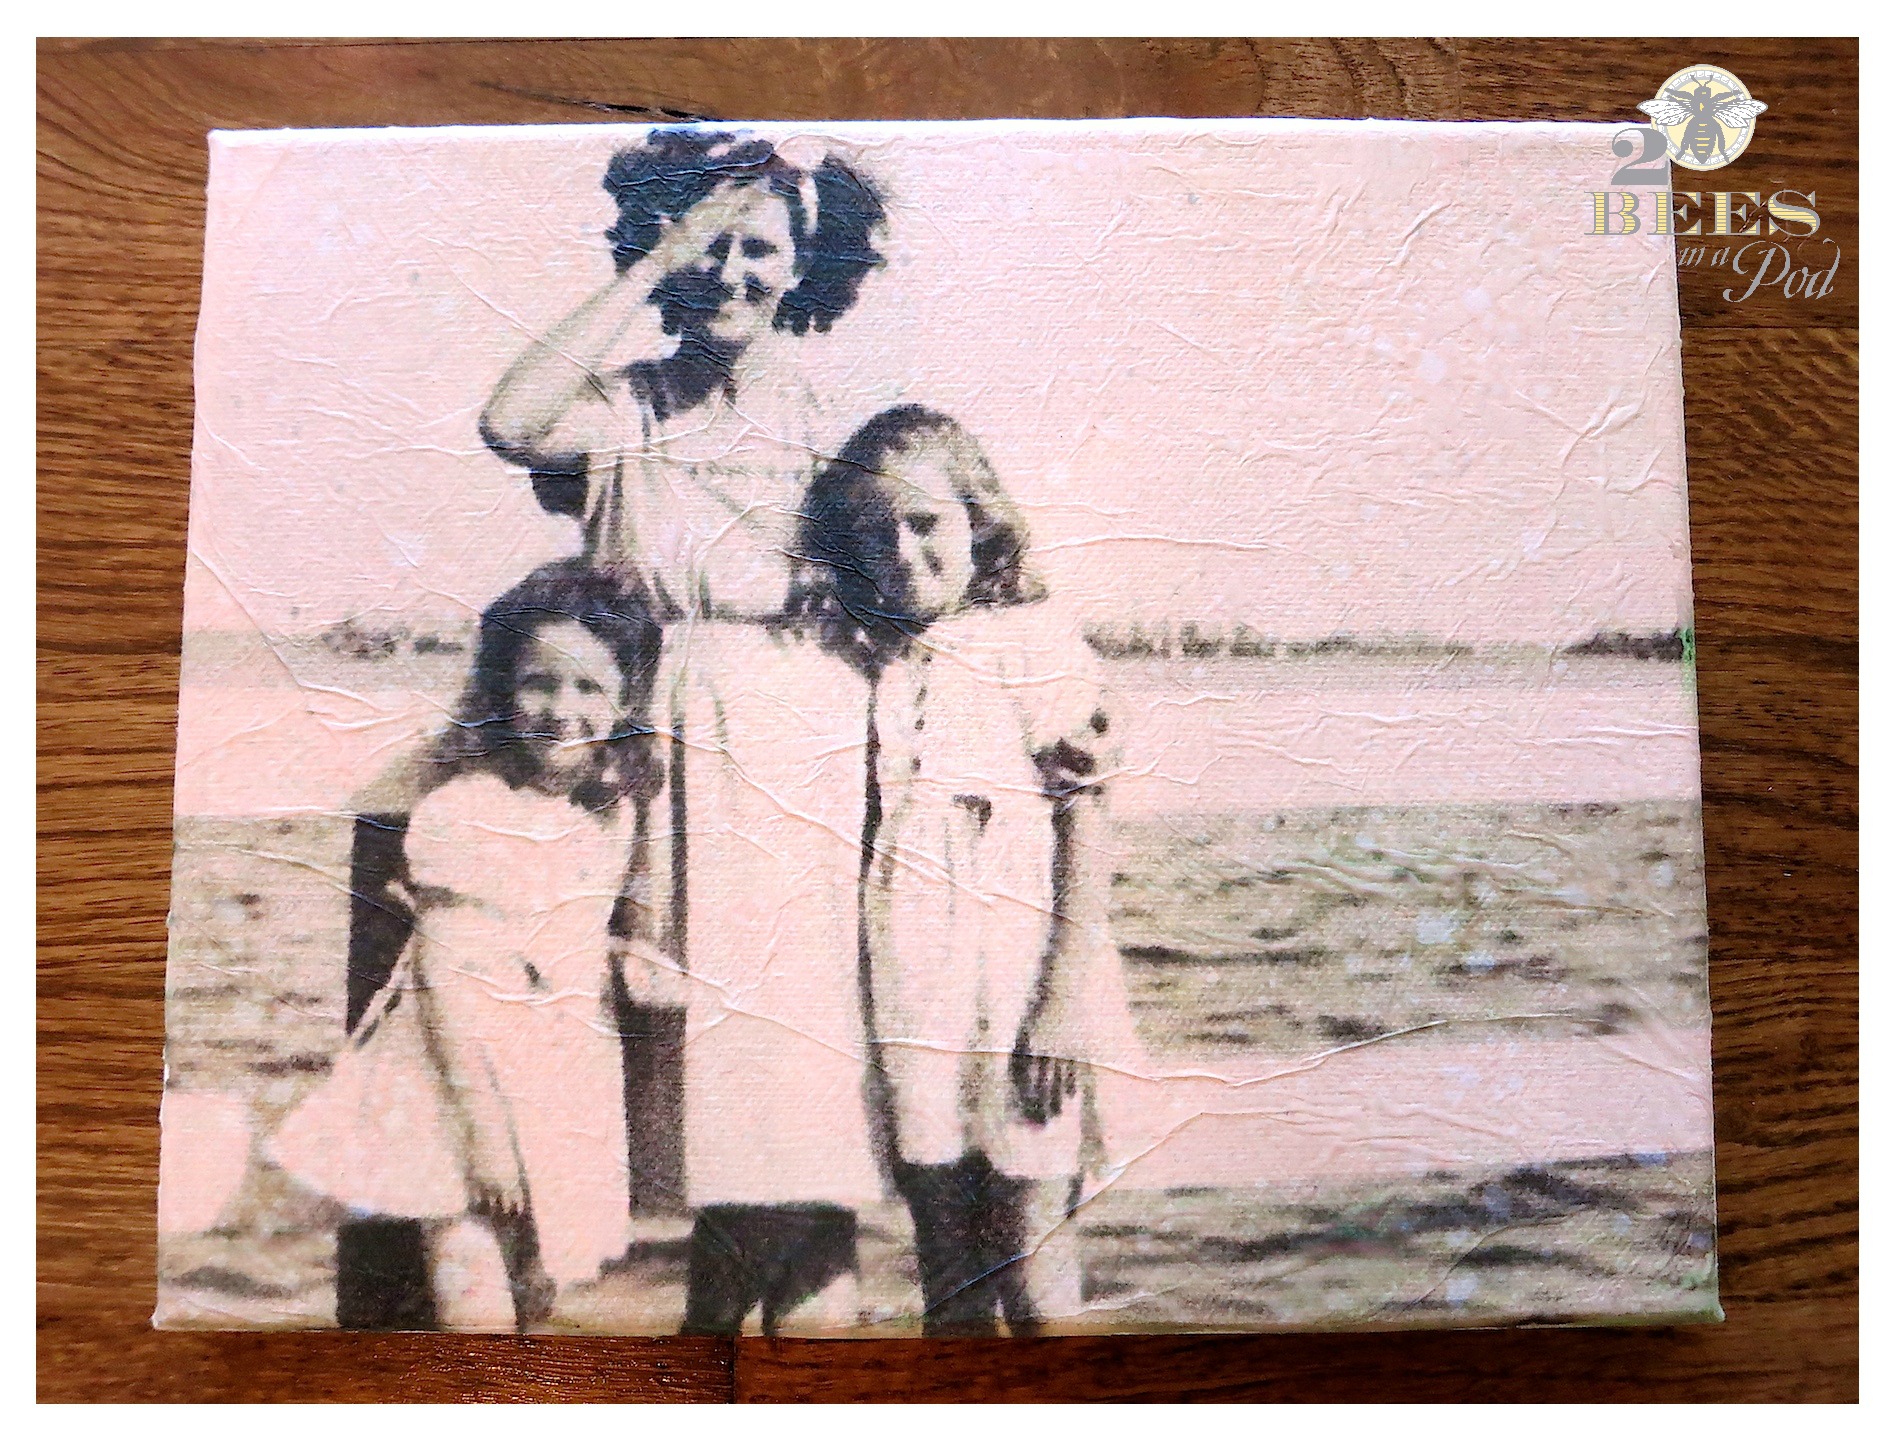
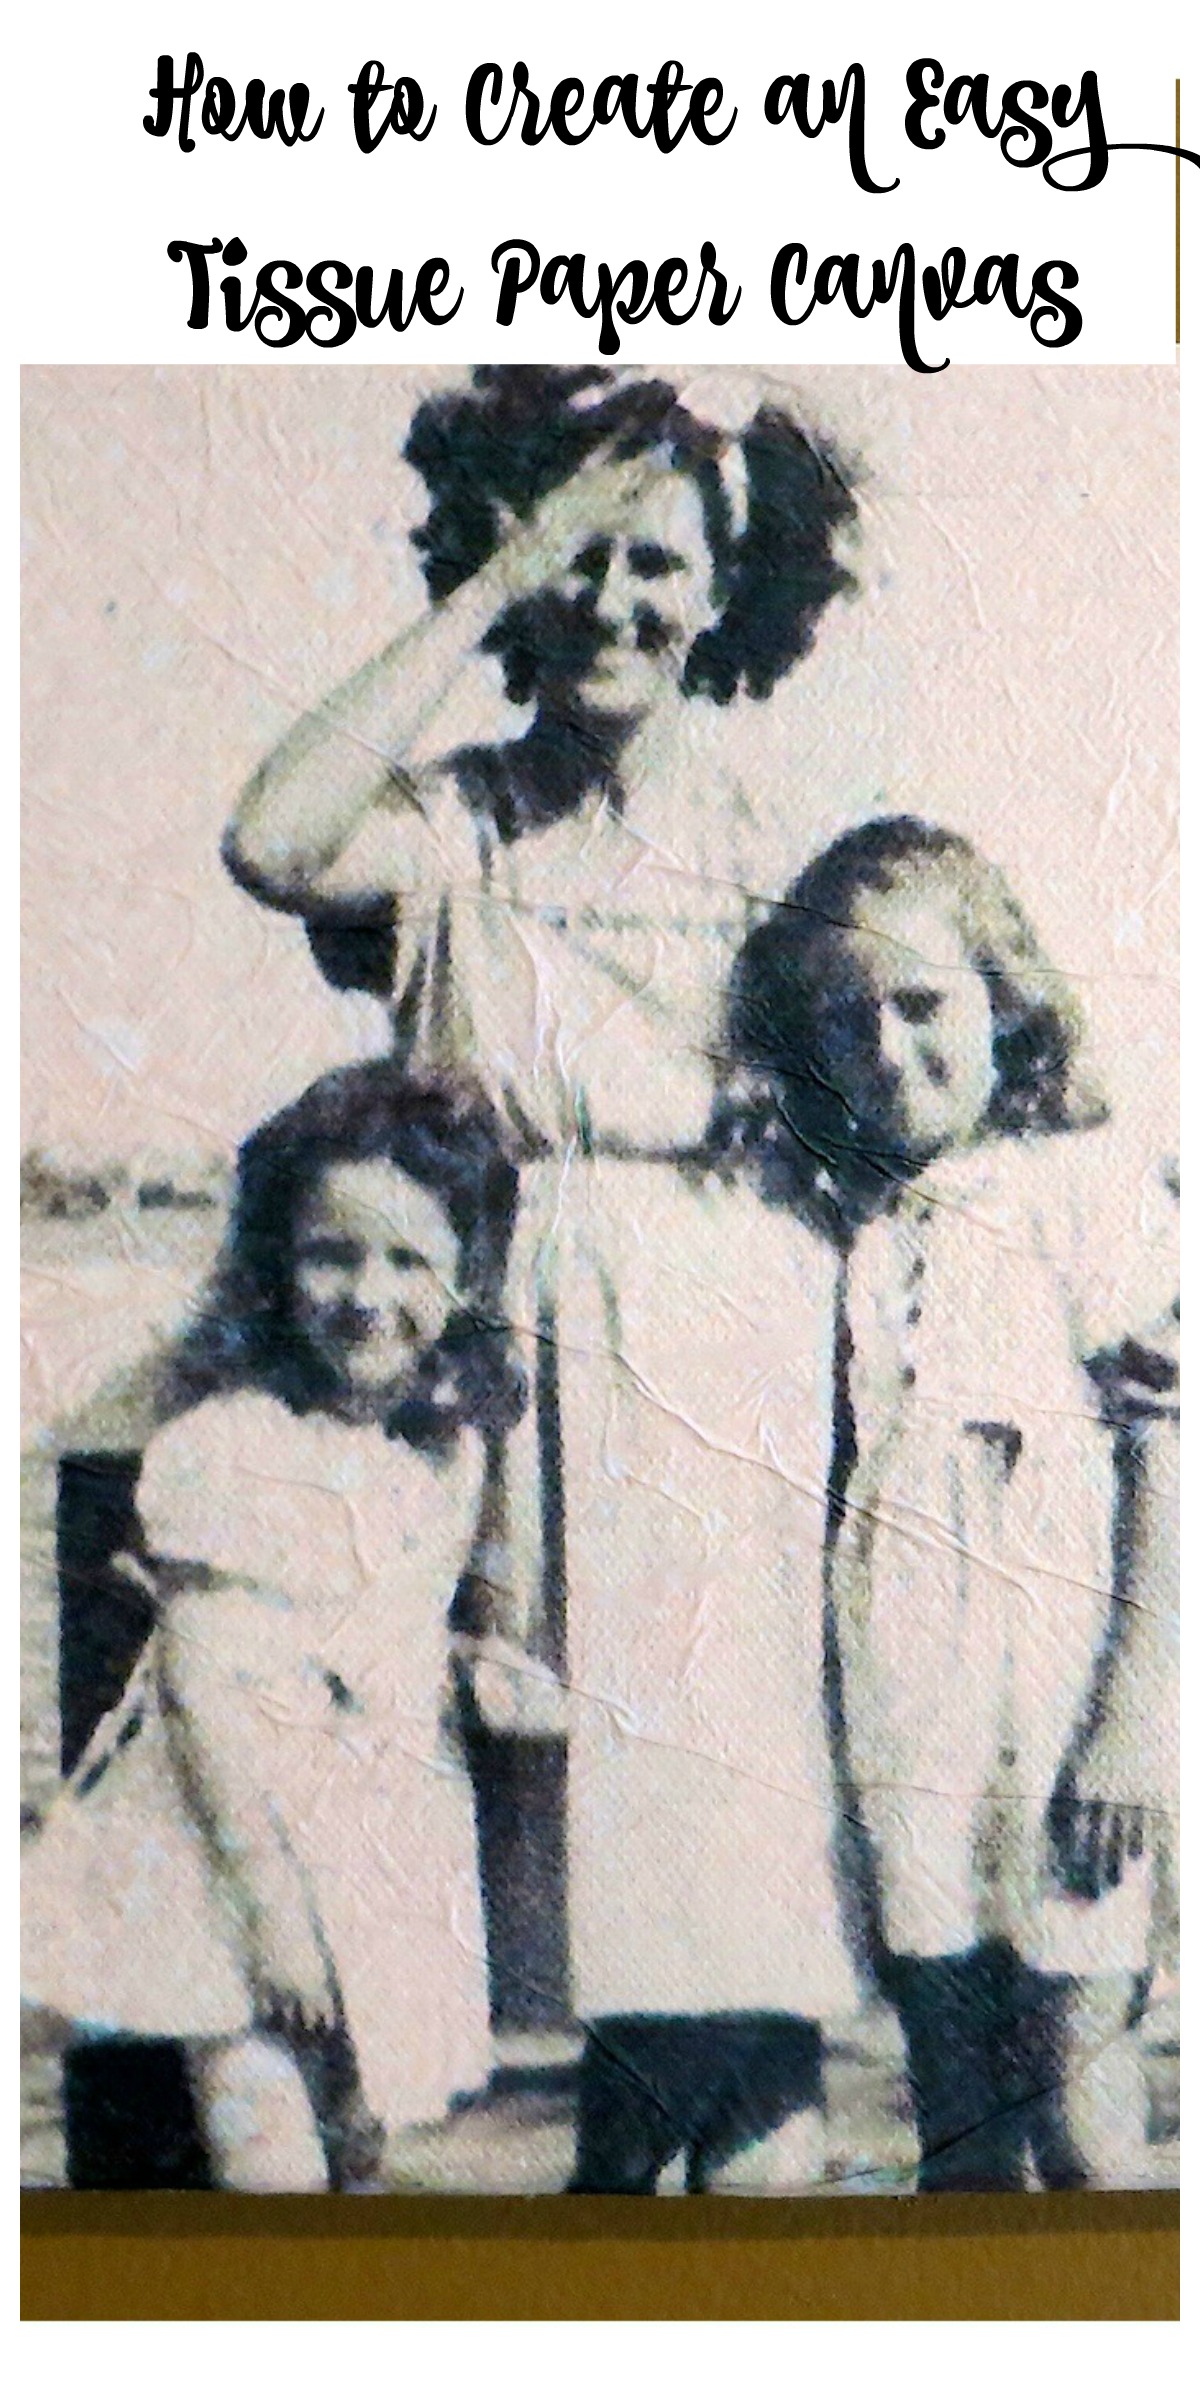
I am using a few different photos for different canvases but this one is one of my absolute favorites. This is my mother (on the right), grandmother and aunt standing on a bridge over the St. Johns River in Florida.
This is what it looks like right off the printer…

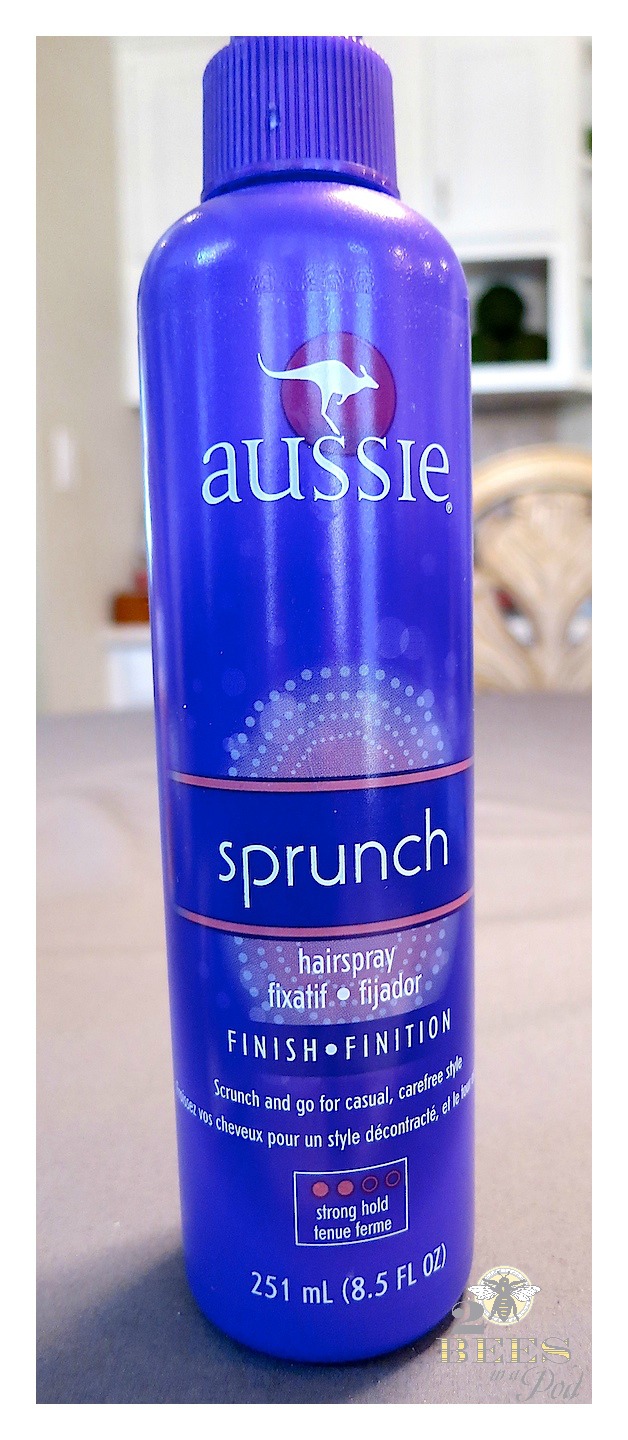
Using hairspray, lightly spray the entire tissue photo. This sets the ink and keeps it from bleeding and running.
***Full disclosure…you should use aerosol hairspray. Nothing expensive – it can be from the dollar store. I only had misting hairspray on hand. My project turned out great but I had to be super careful with the spray***
This is what it looks like right after spraying. Let it dry completely, approximately 5-7 minutes.
 Using an exacto knife carefully cut the tape off the back of the card stock.
 Using a foam brush I lightly painted a thin layer of Mod Podge directly onto the canvas…
 …I then very carefully placed the tissue paper photo onto the canvas. I used a dry foam brush to apply the tiise to the canvas being very careful not to rip the delicate paper.
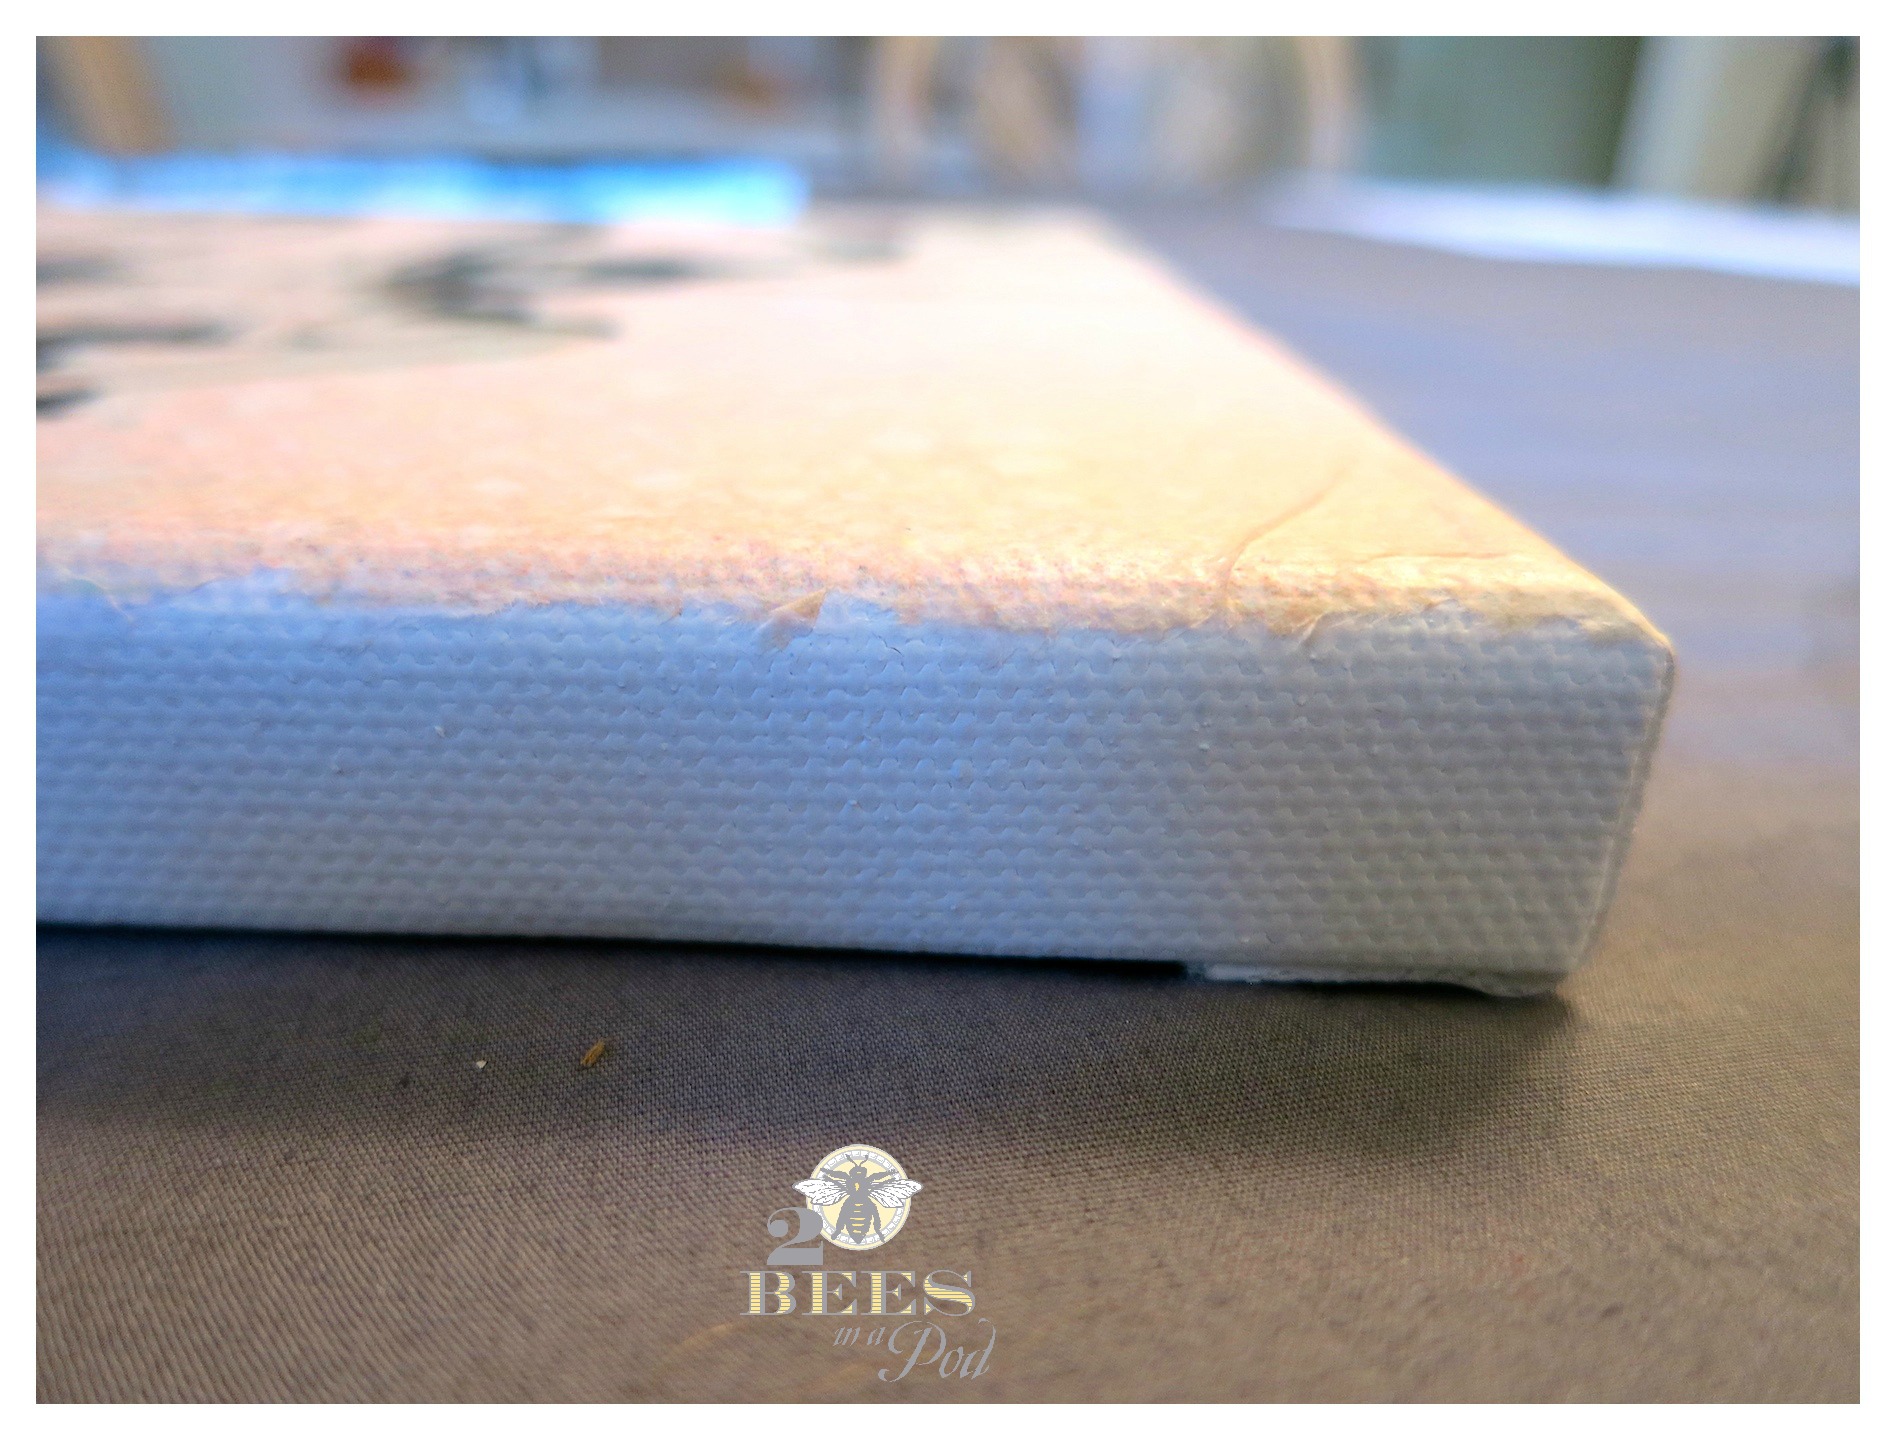
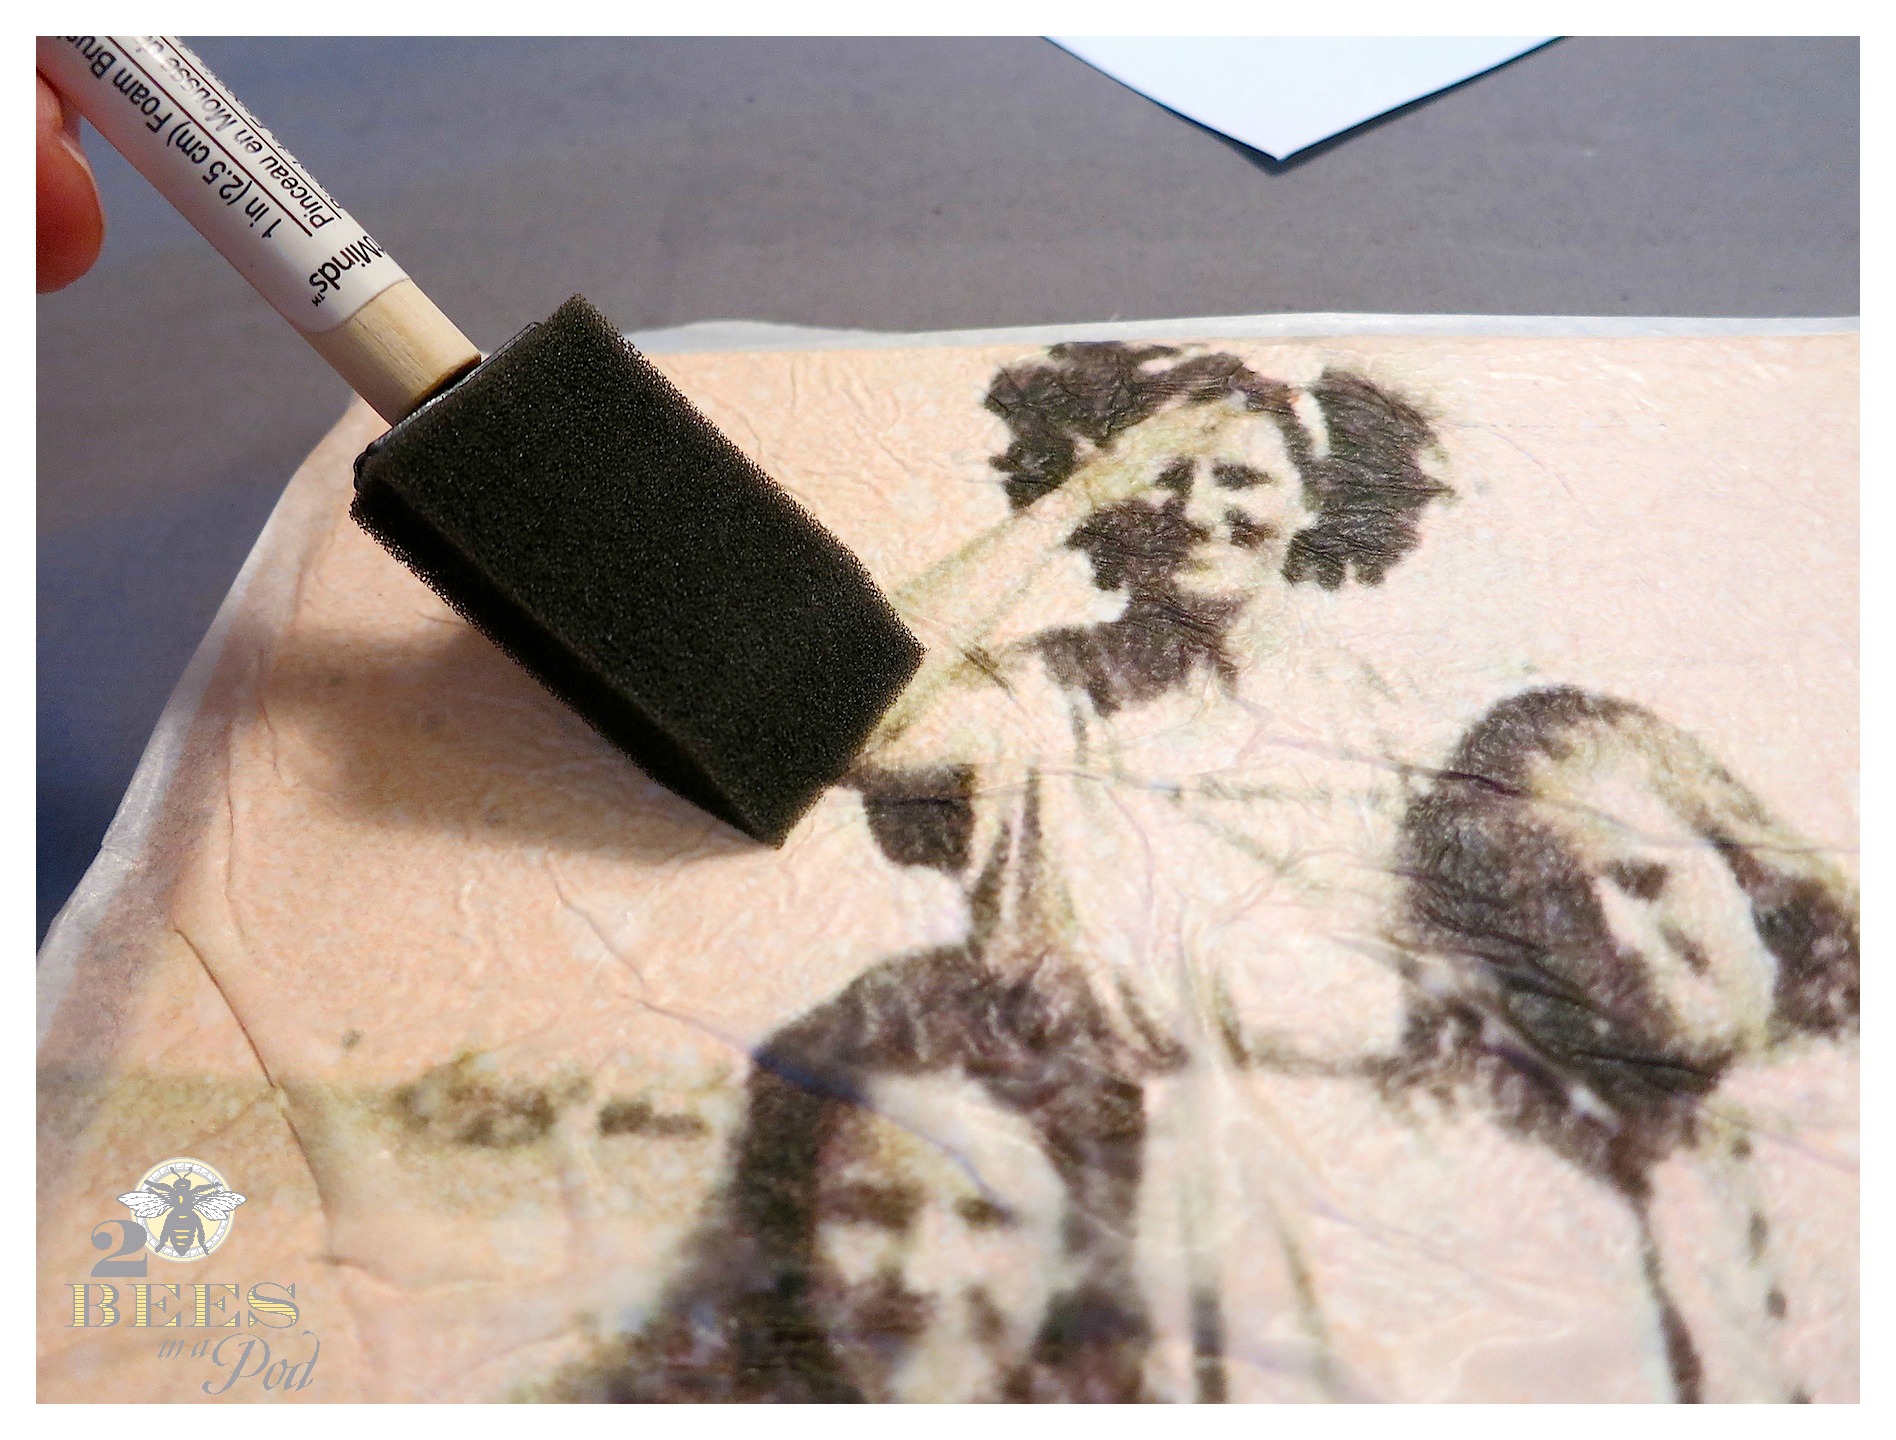 The most important thing is to remove the bubbles. There will be some creases in the paper but I think this adds to the character of the 70 year old photograph. Allow to dry completely – approximately 2 hours.
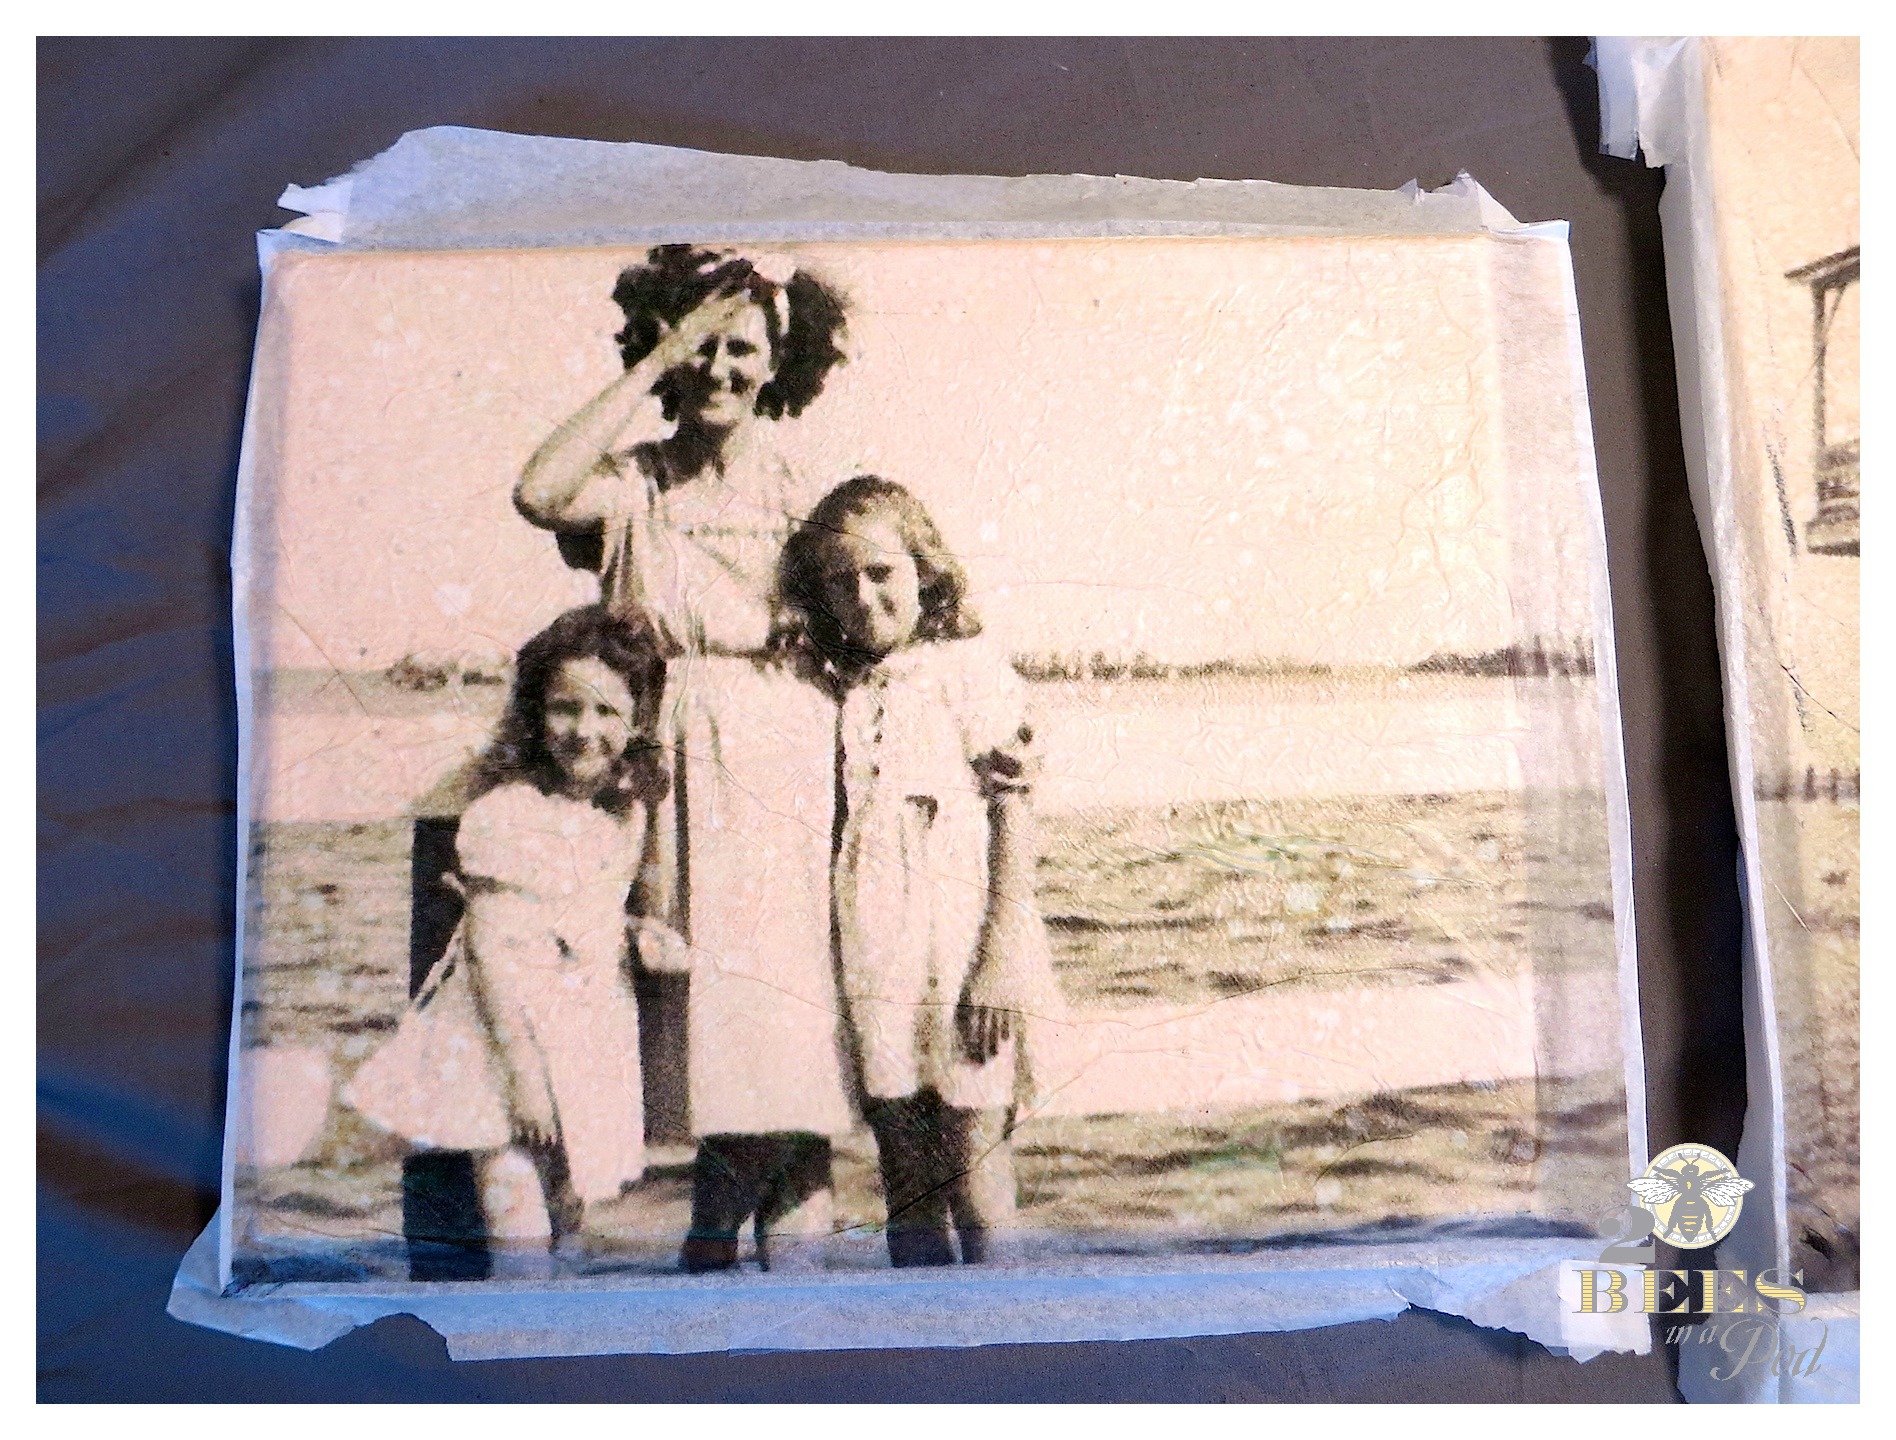 To remove the unused paper edges I lightly wet my finger with water and ran my finger down the edge of the canvas. The edge easily came off – just be sure not to use too much water.

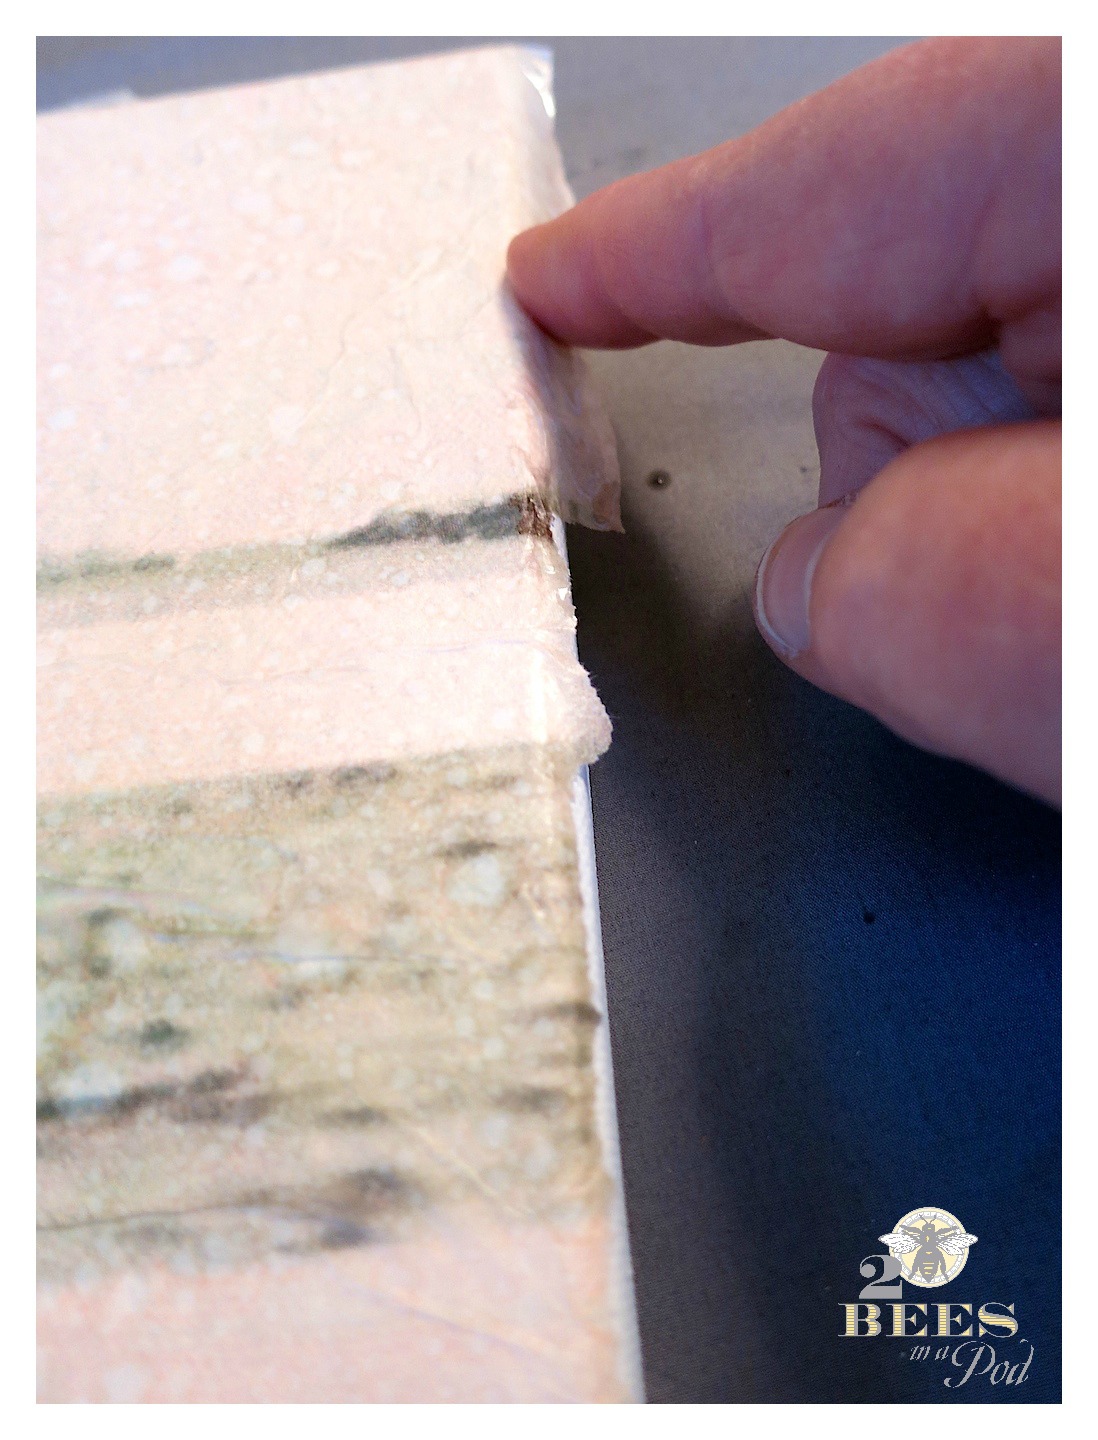 The edge isn’t perfect but looks really great – I promise 🙂
 Here’s my completed art piece hanging on the wall. It’s funny how different backgrounds make the photo look completely different.
 I can’t wait to work on more photographs for my gallery wall. Stay tuned as I hope to have the wall complete within the next couple of weeks. Do you have a gallery wall?
xo-Vicki
Don’t forget to Pin this to your favorite Pinterest board…

This turned out great, ladies. I can’t wait to see your gallery wall. The St. John’s river is less than 15 minutes from us. So pretty.
Love love love this project! It’s hands down one of my favorites. Can’t wait to make a gallery wall of my own with this genius idea. Hugs, CoCo
This is exactly what I’ve been looking for! I’ve wanted to do a large college of family photos for a big blank wall. Key was not to spend a lot of $$. I definitely will be doing this. Thanks so much for the idea!
What an amazing project – you are so talented – can’t wait to try it!
Stunning and you’re right the crinkles are perfect fit for an old photo. It’s beautiful!