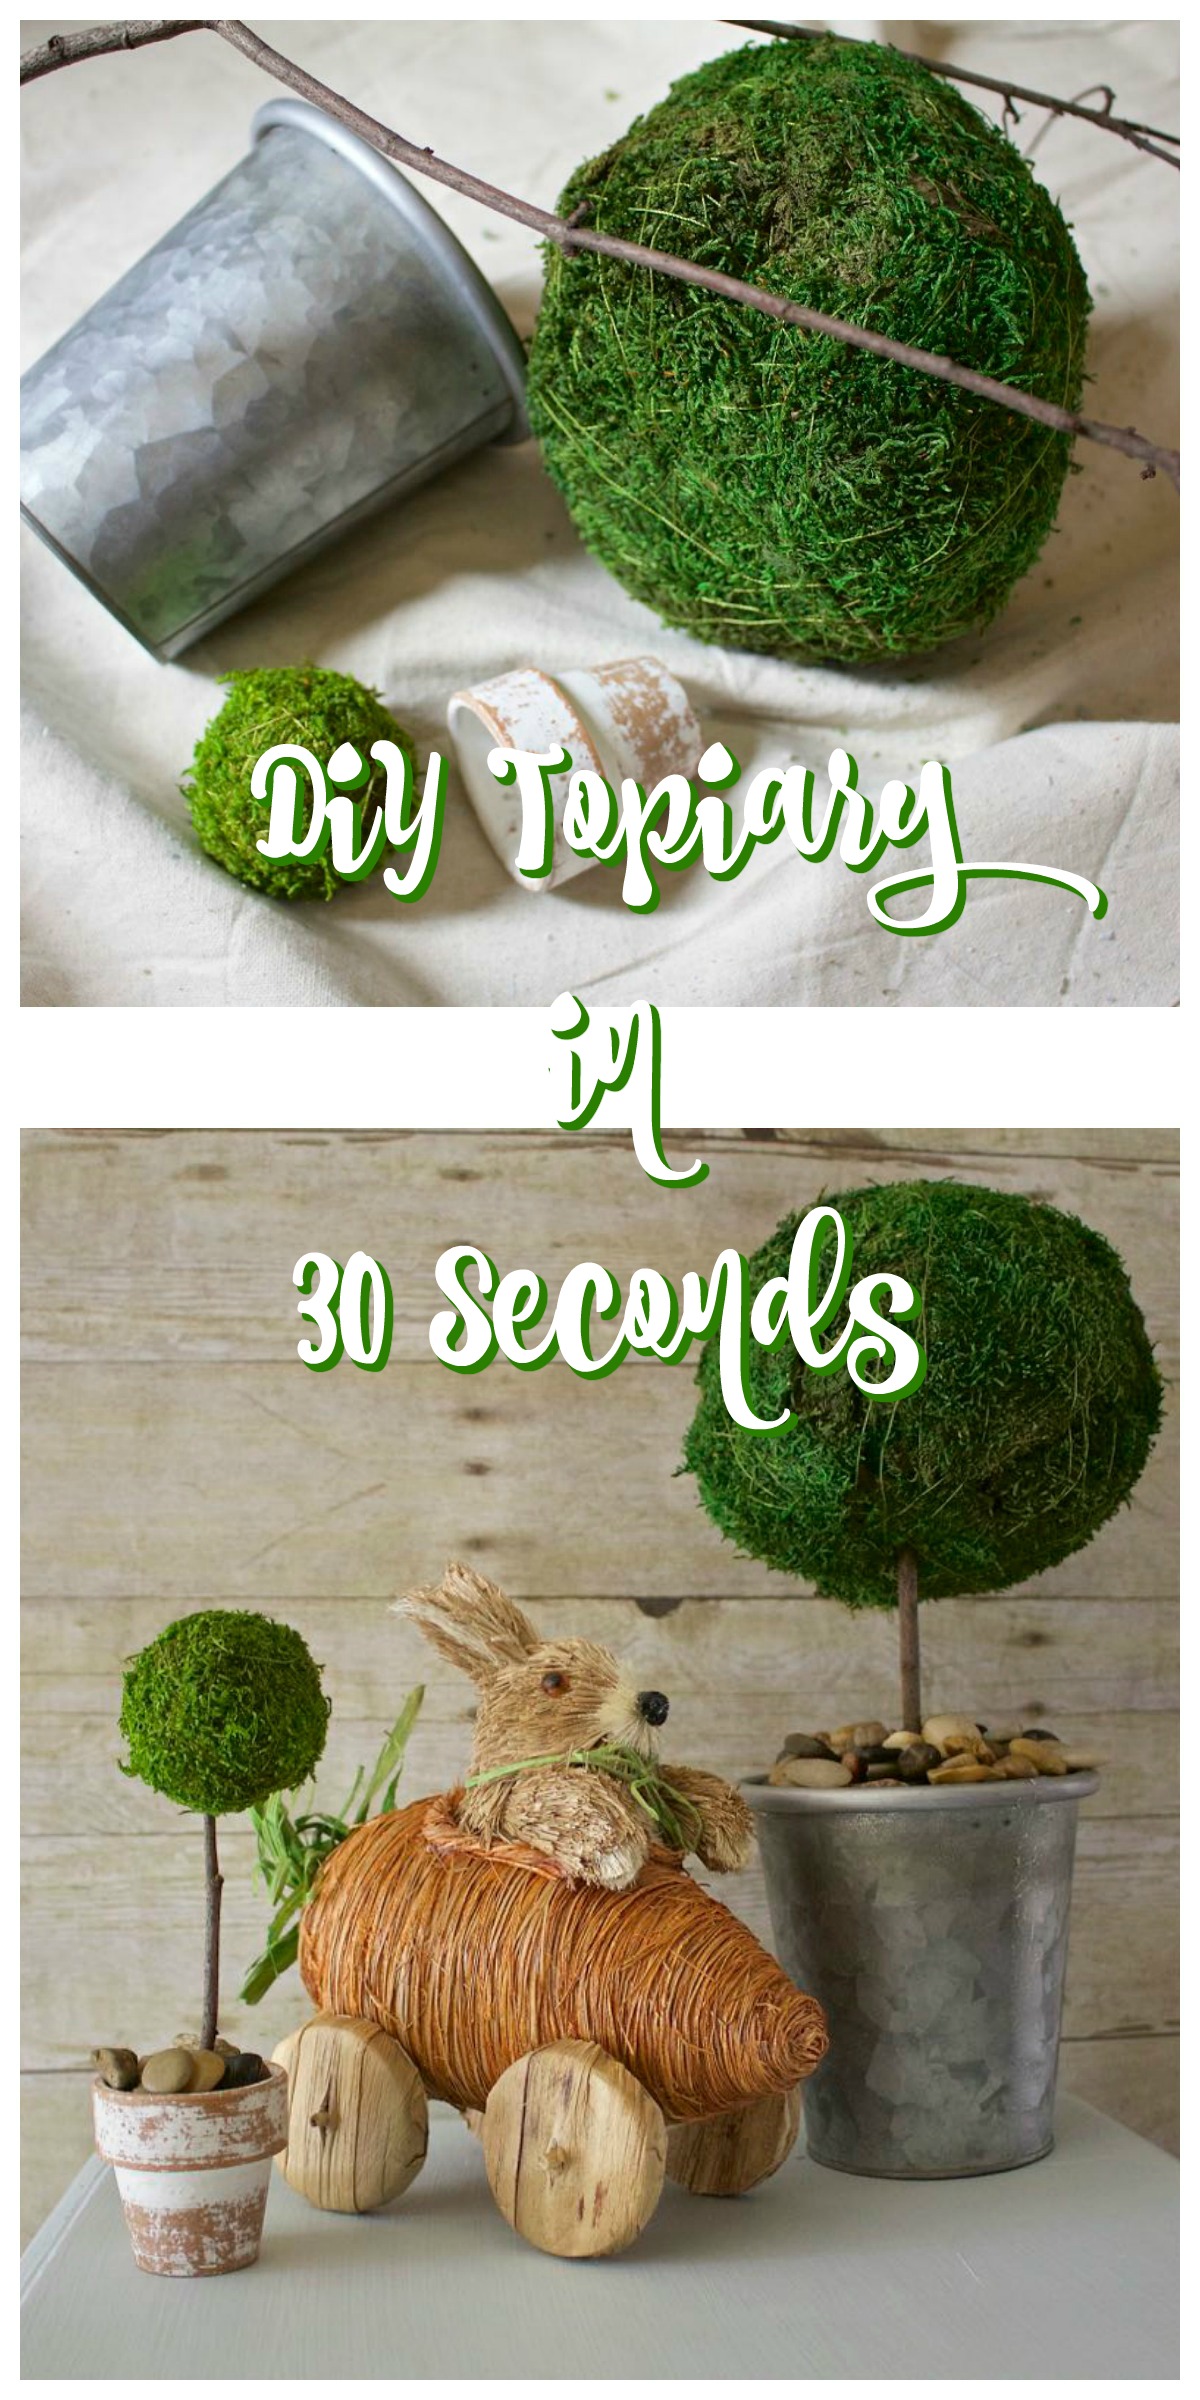
DIY Moss Topiaries in 30 Seconds
Please note that this post contains affiliate links. As an Amazon Associate, Rewards Style influencer and Jane Influencer, we earn from qualifying purchases and any sales made through such links will reward us a small commission – at no extra cost for you.
Hey y’all…I am super excited about today’s project! It marries together a lot of my favorite things…moss, galvanized metal and items found in nature. But the very best part…it takes just 30 seconds to create. This is of course after I collected all of my materials together. I know it seems too good to be true, but I promise you that’s all it takes. I timed myself 🙂 So, do you want to know how you can create DIY moss topiaries in 30 seconds? Good!
You know, sometimes I just don’t feel like dragging out all of my craft supplies. I wanted to create something that didn’t require glue, adhesives, power tools or any other type of equipment. Lazy, right? I’m okay with that 🙂
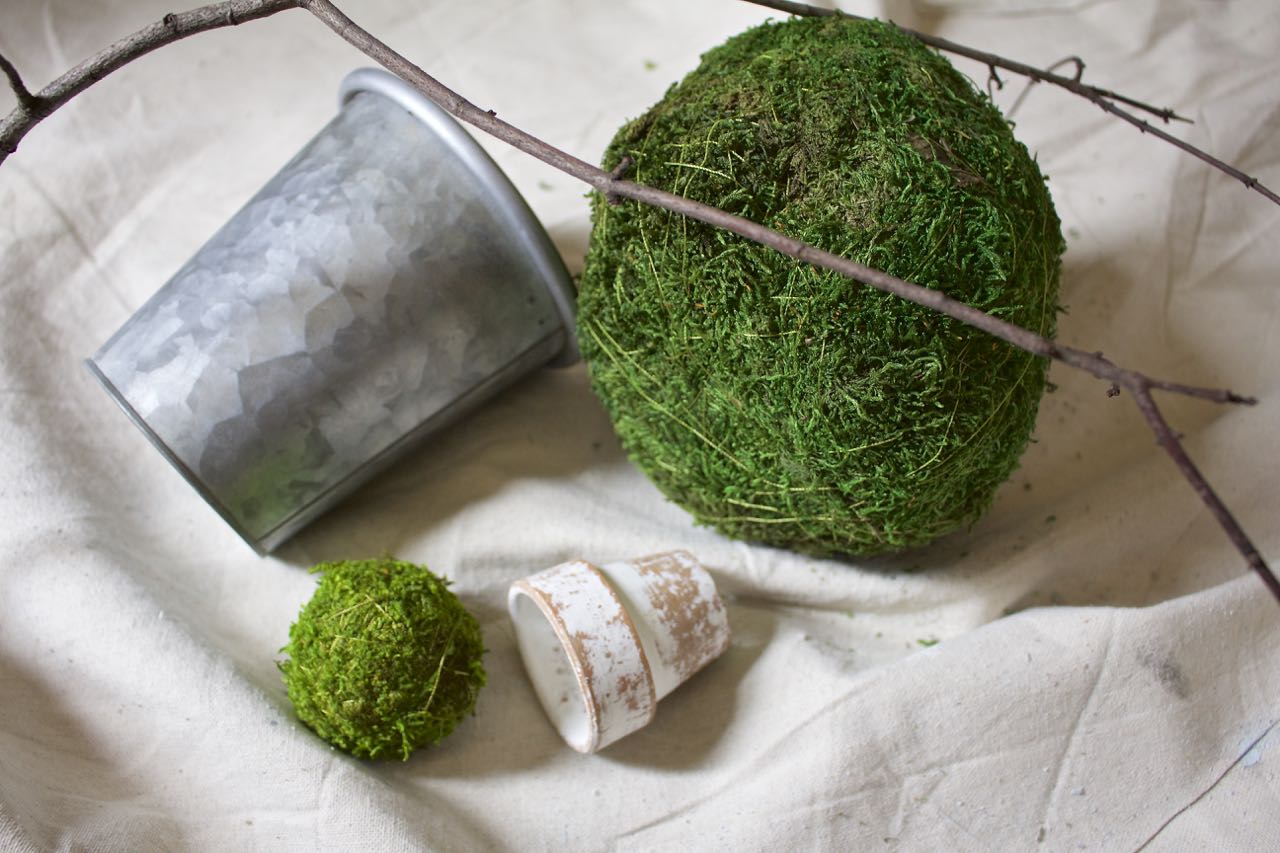
Here’s the materials I used:
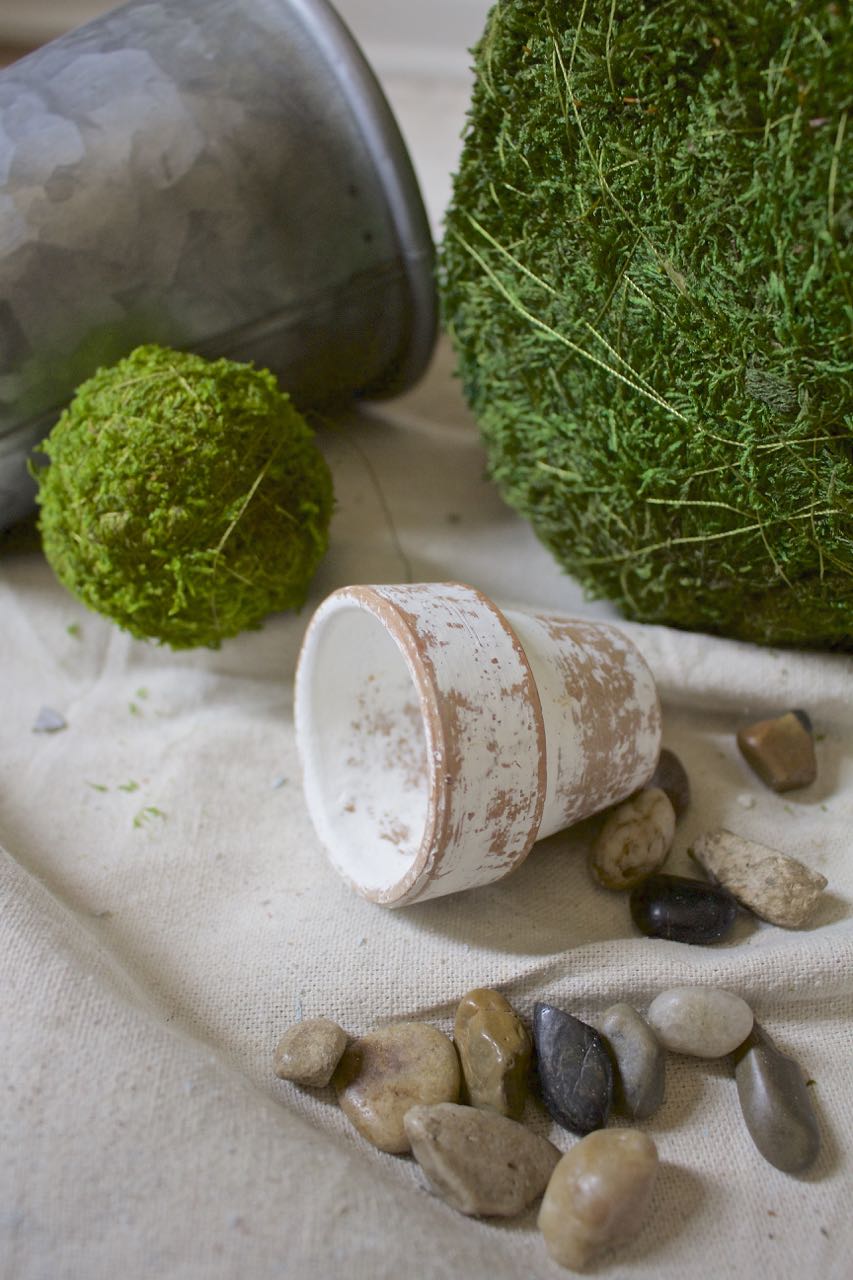
- Moss balls.I already had the little one. The large one was purchased at Hobby Lobby. The price was $5.99 and I used a 40% coupon for a total of $3.60.
- Straight sticks from my yard. Make sure they are substantial enough so that they don’t bend or break.
- Containers of your choosing. The galvanized metal was leftover from a floral arrangement. The mini clay pot is from my collection.
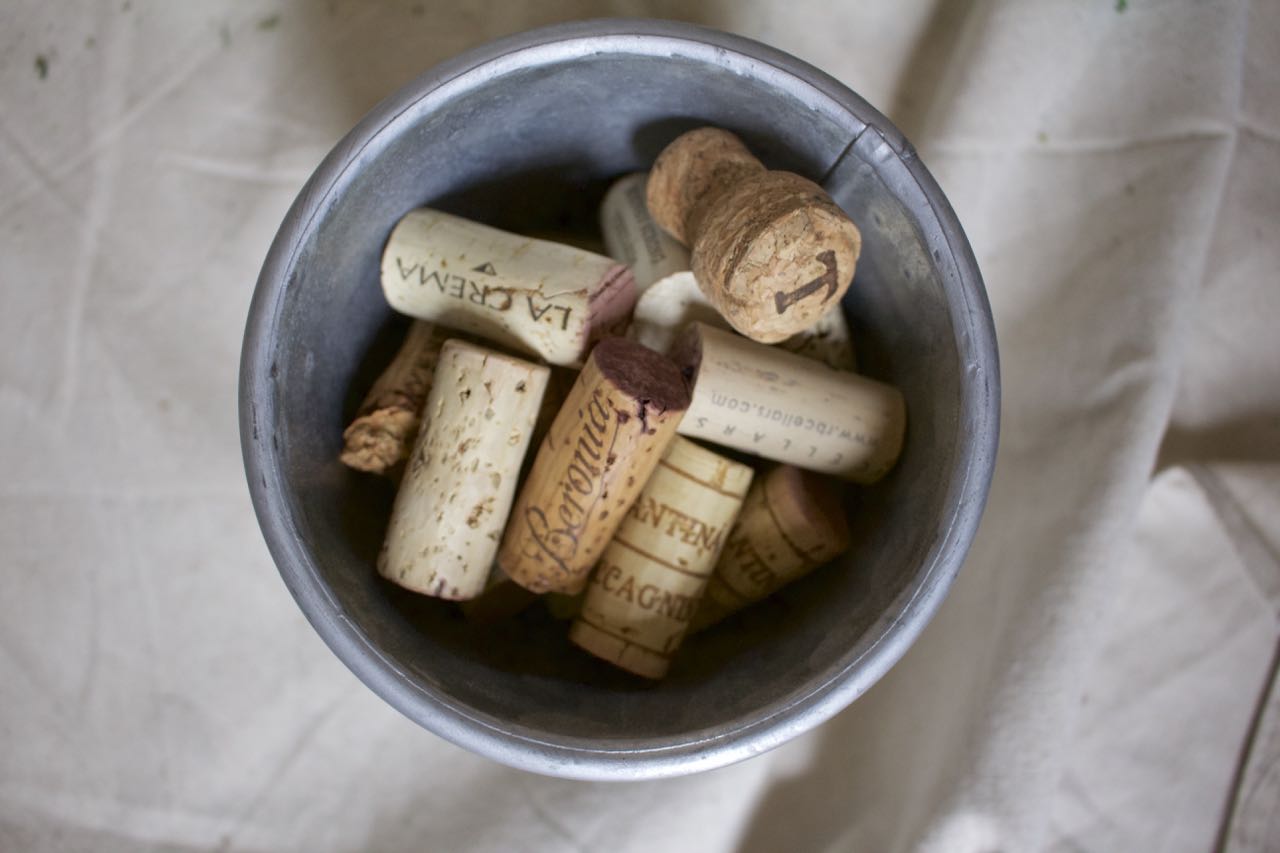
- Wine corks from my stash for stability.
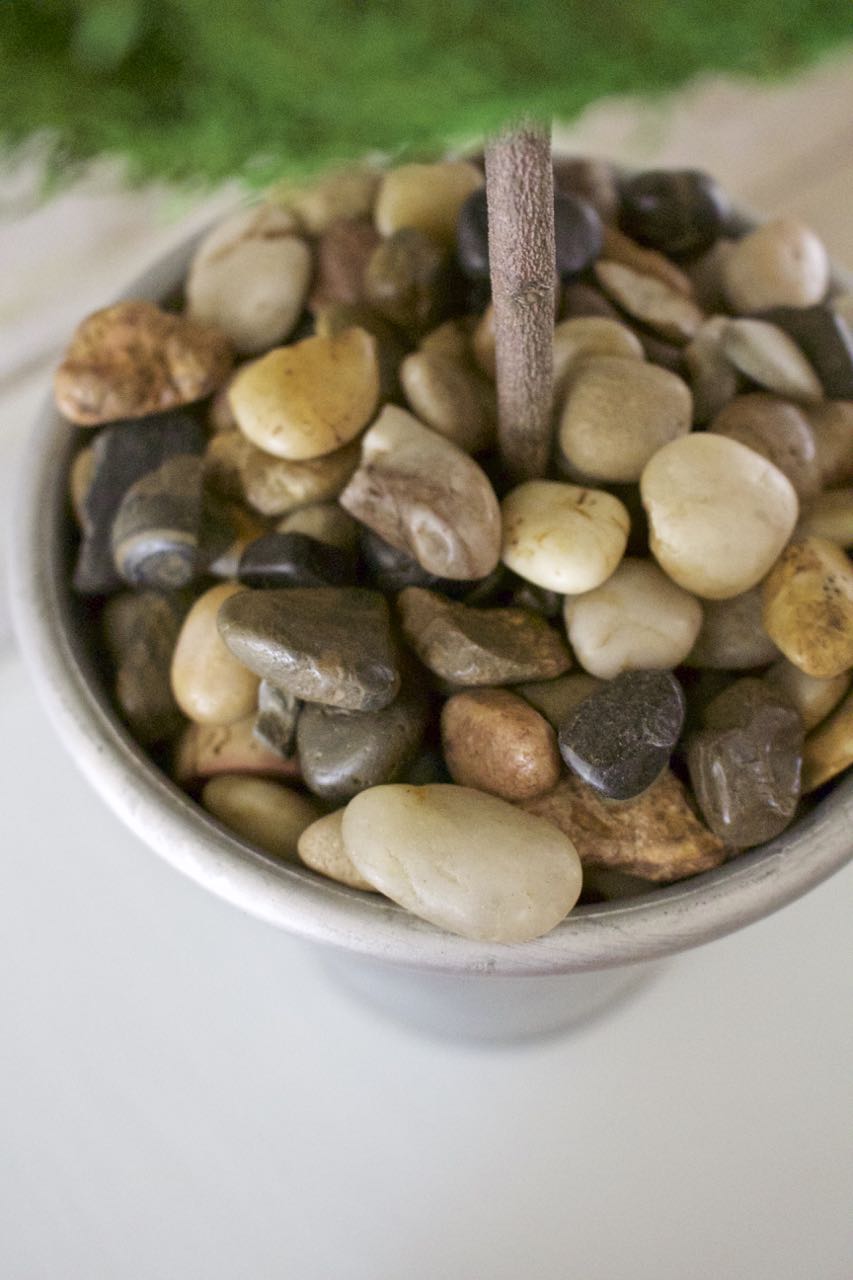
- Pebbles from the Dollar Tree. One bag was more than enough. $1.00
I carefully inserted the larger stick inside the moss ball. You want to be sure to do this part carefully so as not to tear the opening that you create. With this method there is no need for glue or adhesives.

Since I only have two hands I couldn’t photograph this exactly as I did it. Grab your empty container and add hold the stick with moss ball into the container. Add the wine corks around the stick until the stick does not shift out of place. There was no need to add corks to the smaller topiary.
Next, add the pebbles all the way around the stick for even more stability.
Literally 30 seconds later I had made a large and a small topiary!

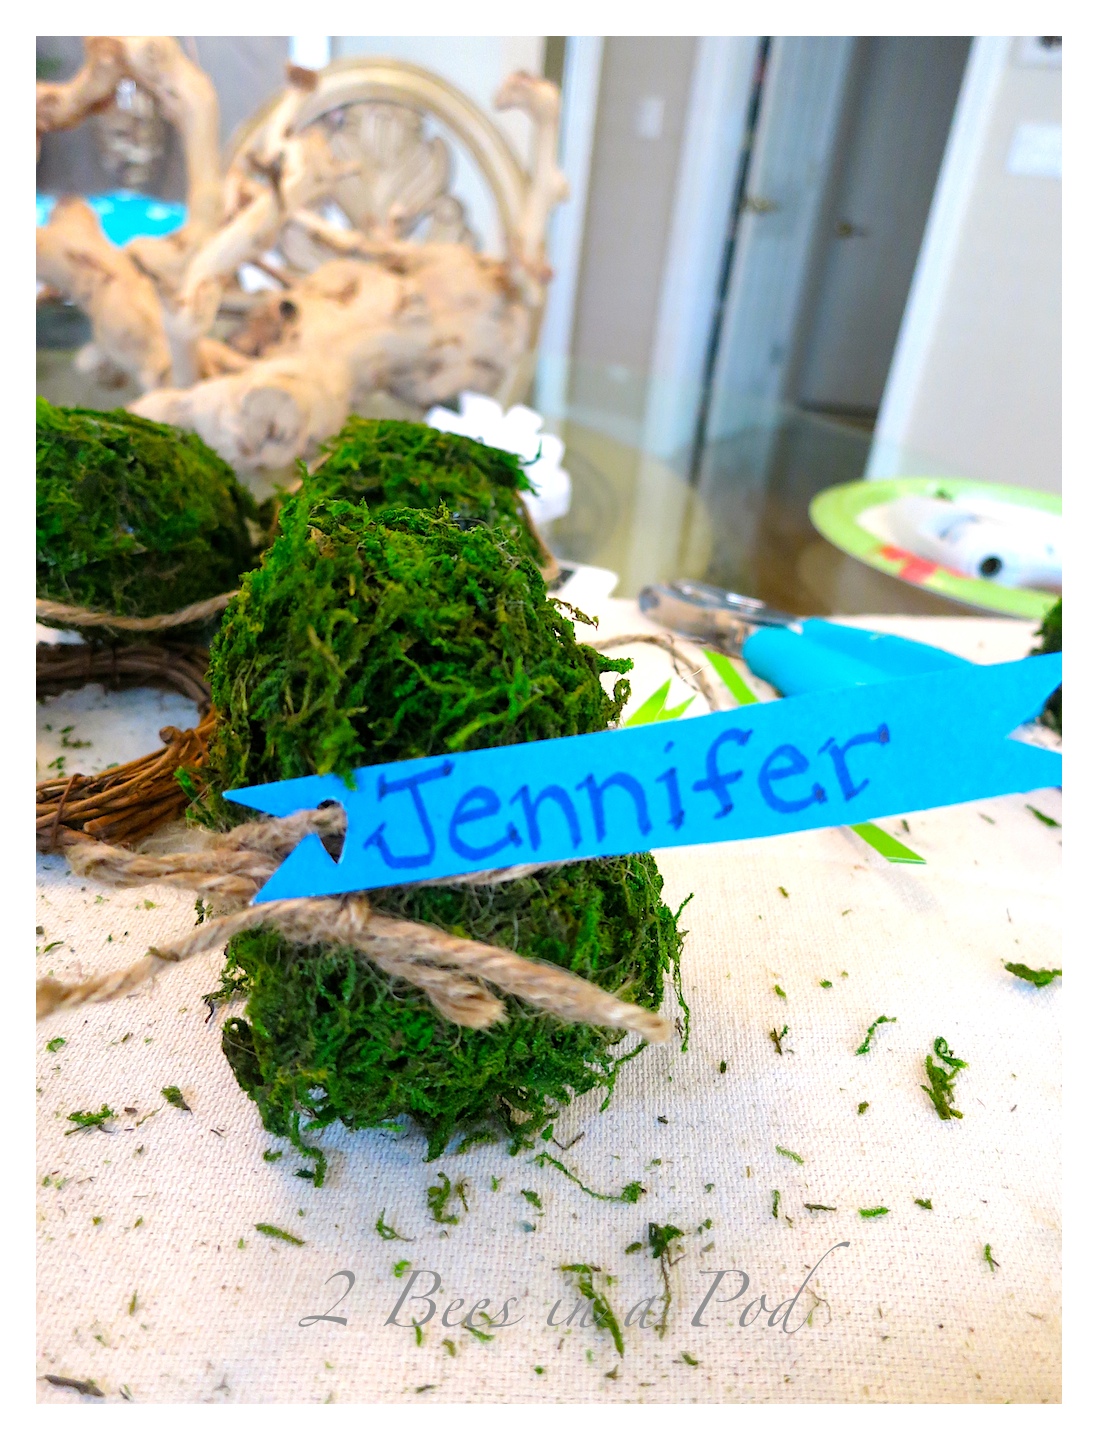
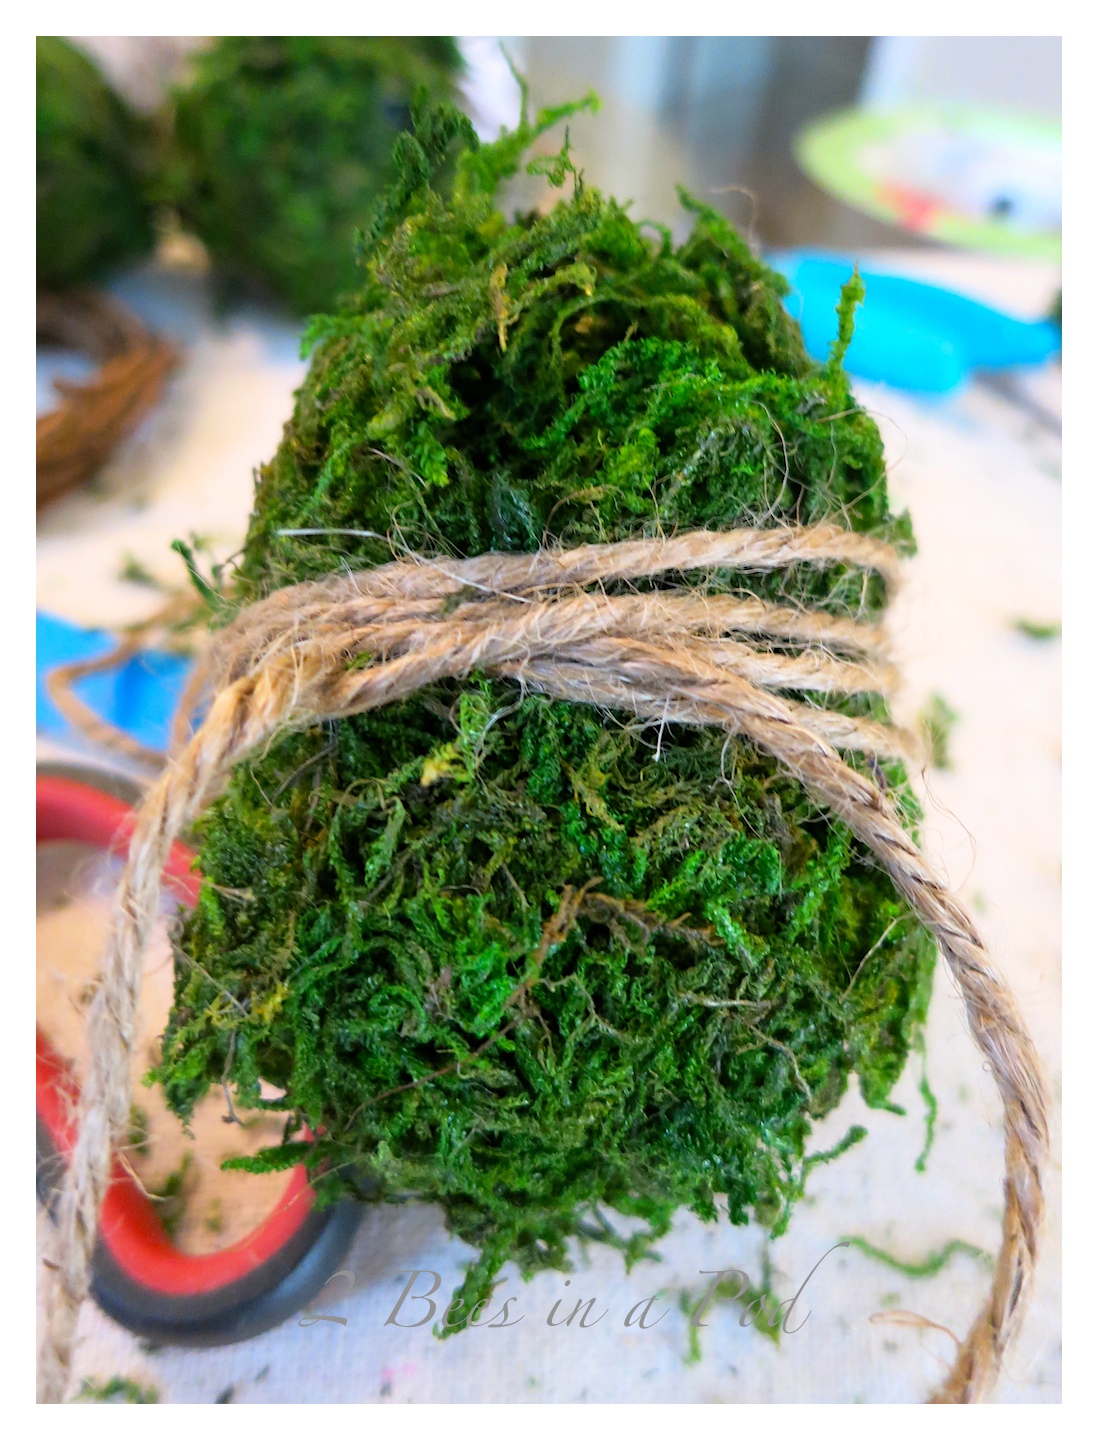
I already have visions of creating more of the smaller ones for my Easter table as place settings.
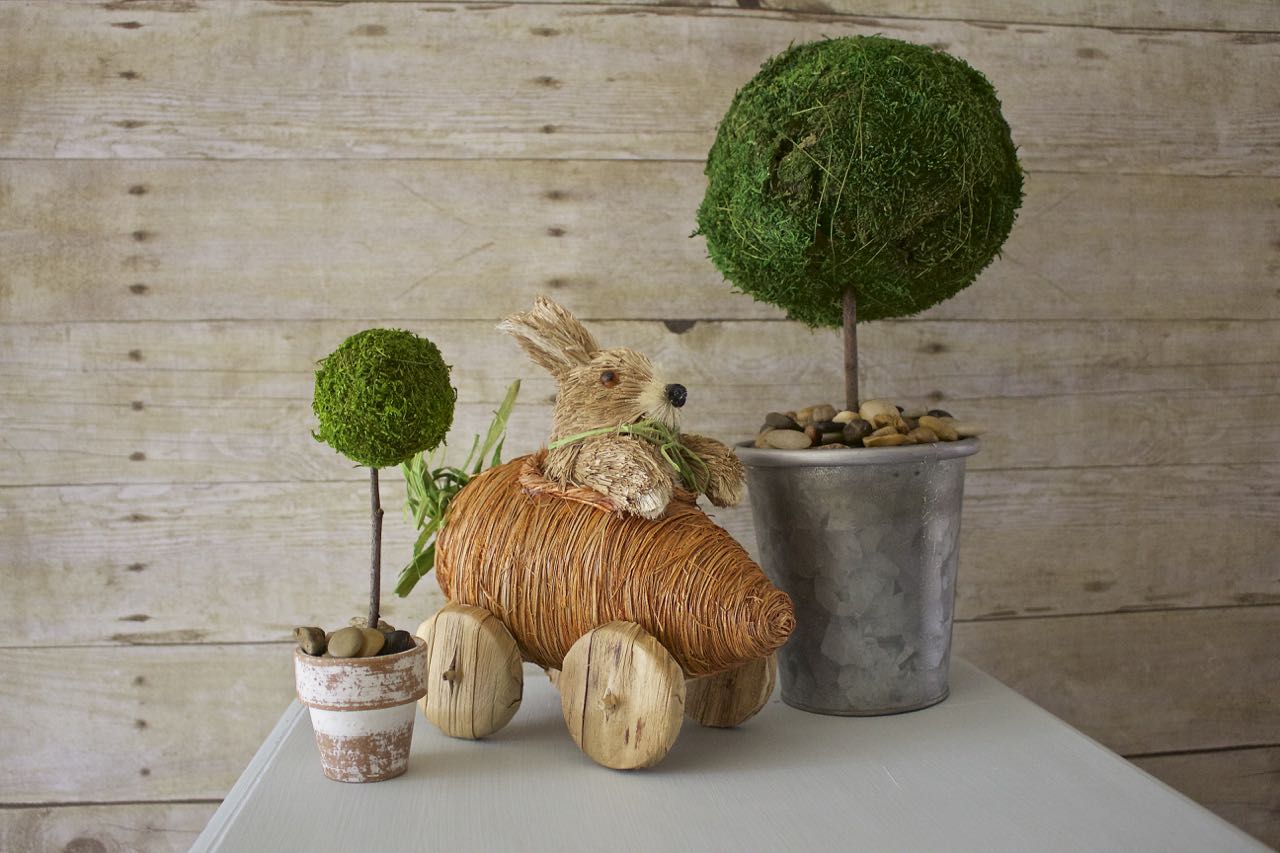
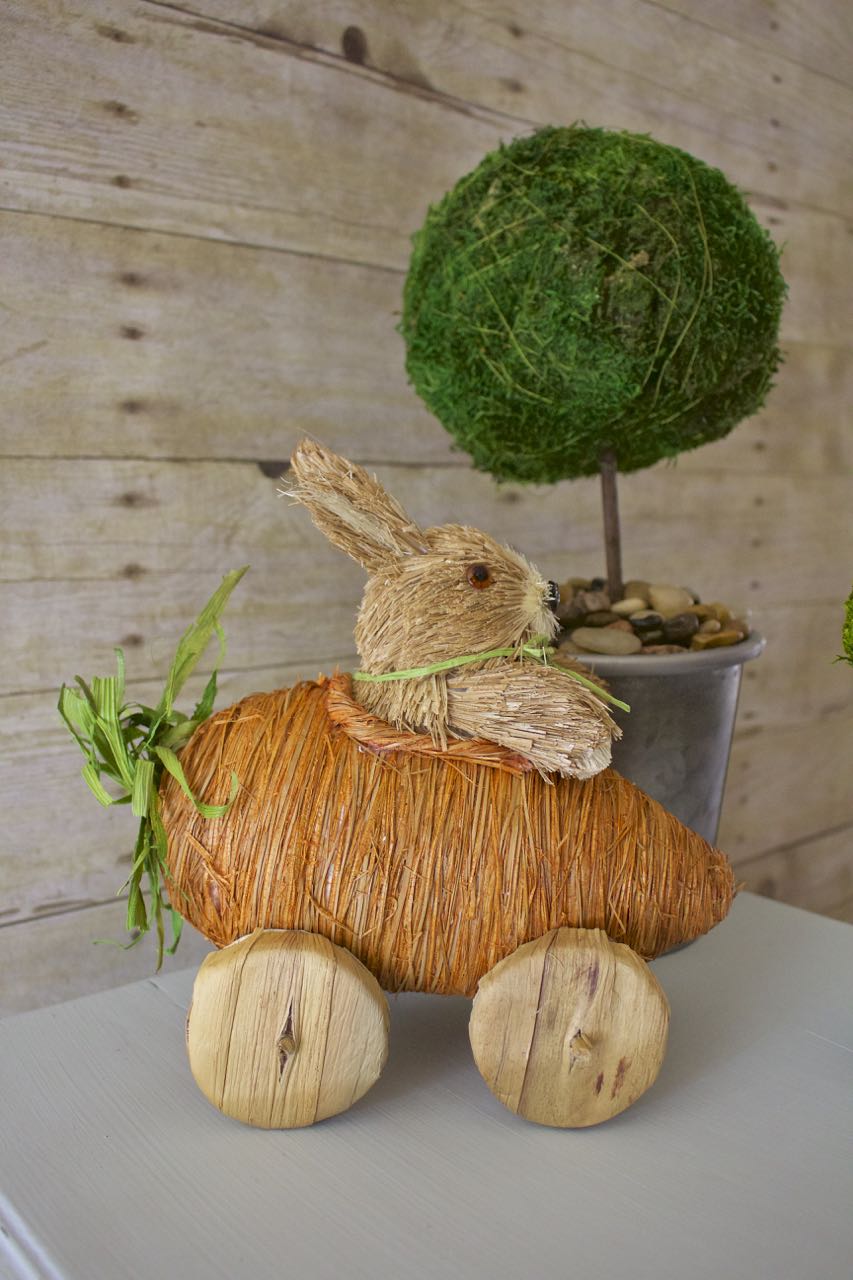
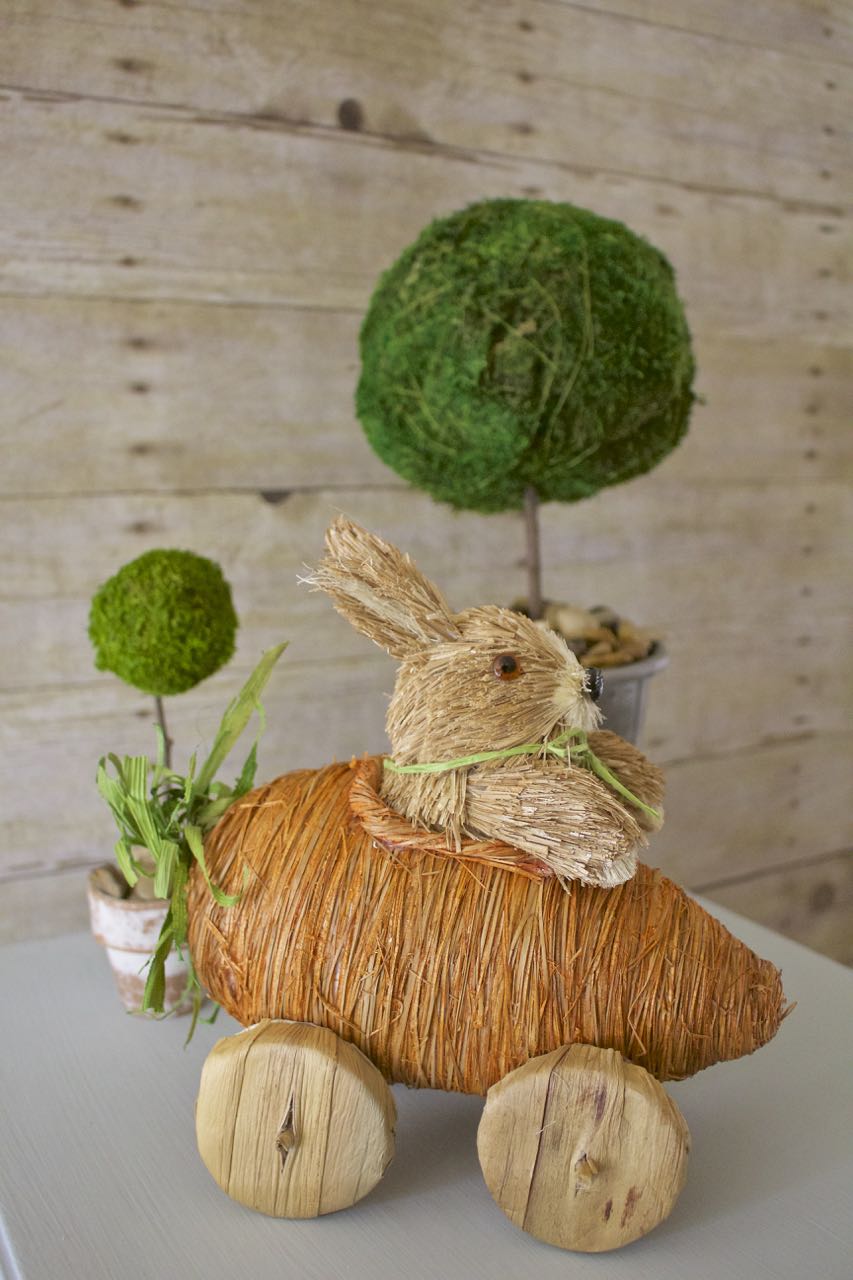
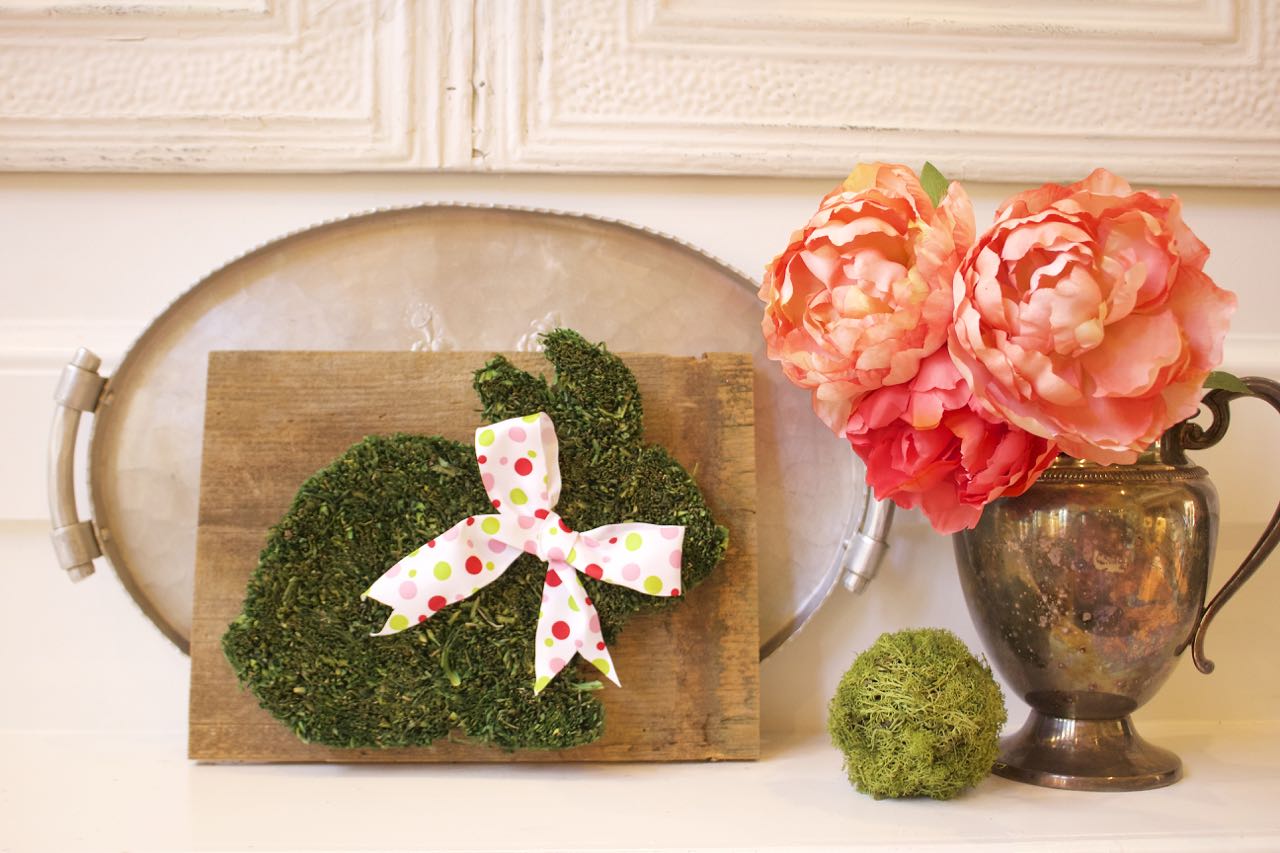
Isn’t this bunny adorable?
I am thinking of other ways in use moss in my Spring decor.
Stay tuned to next week. If the projects turn out I will be sharing them here with y’all.
Until then…
XO~Vicki
\\\ Pin to Pinterest \\\
I really like this idea, Vicki! They’re so pretty. Also loving your idea to make place settings with the little ones!
Cute!! I’m going to make 1 or 3. 🙂
I witnessed you doing this and still amazed how quickly you did it.
So cute!!! Can’t believe it’s that quick! Loving the bunny too 🙂
How cute! I will give this a try! Have a great weekend!!
This is a very cute idea. And it looks fast and easy to put together.
These are too cute! I love how easy they are to make yet offer a big decorating impact. Heading to pick up sticks now! Hugs, CoCo
This project is perfect for our spring decor at the spa!!