Vintage Tin Ceiling Art Makeover
Please note that this post contains affiliate links. As an Amazon Associate, Rewards Style influencer and Jane Influencer, we earn from qualifying purchases and any sales made through such links will reward us a small commission – at no extra cost for you.
Hey y’all…about 13 years ago Honey Bee and I moved to Atlanta and our home. At the time, jewel tone decor was all the rage along with shiny brass and paisley fabric. My, how the times and decor styles have changed.
I’ve never really been one to follow the trends too much and I have always incorporated vintage style into my homes. I don’t want my home to stick out like a design sore thumb, but at the same time I don’t want it to look like anyone else’s.
Our home has a pretty fireplace mantel and the wall above it reaches 22 feet high. Needless to say, I needed something large to fill that tall space.
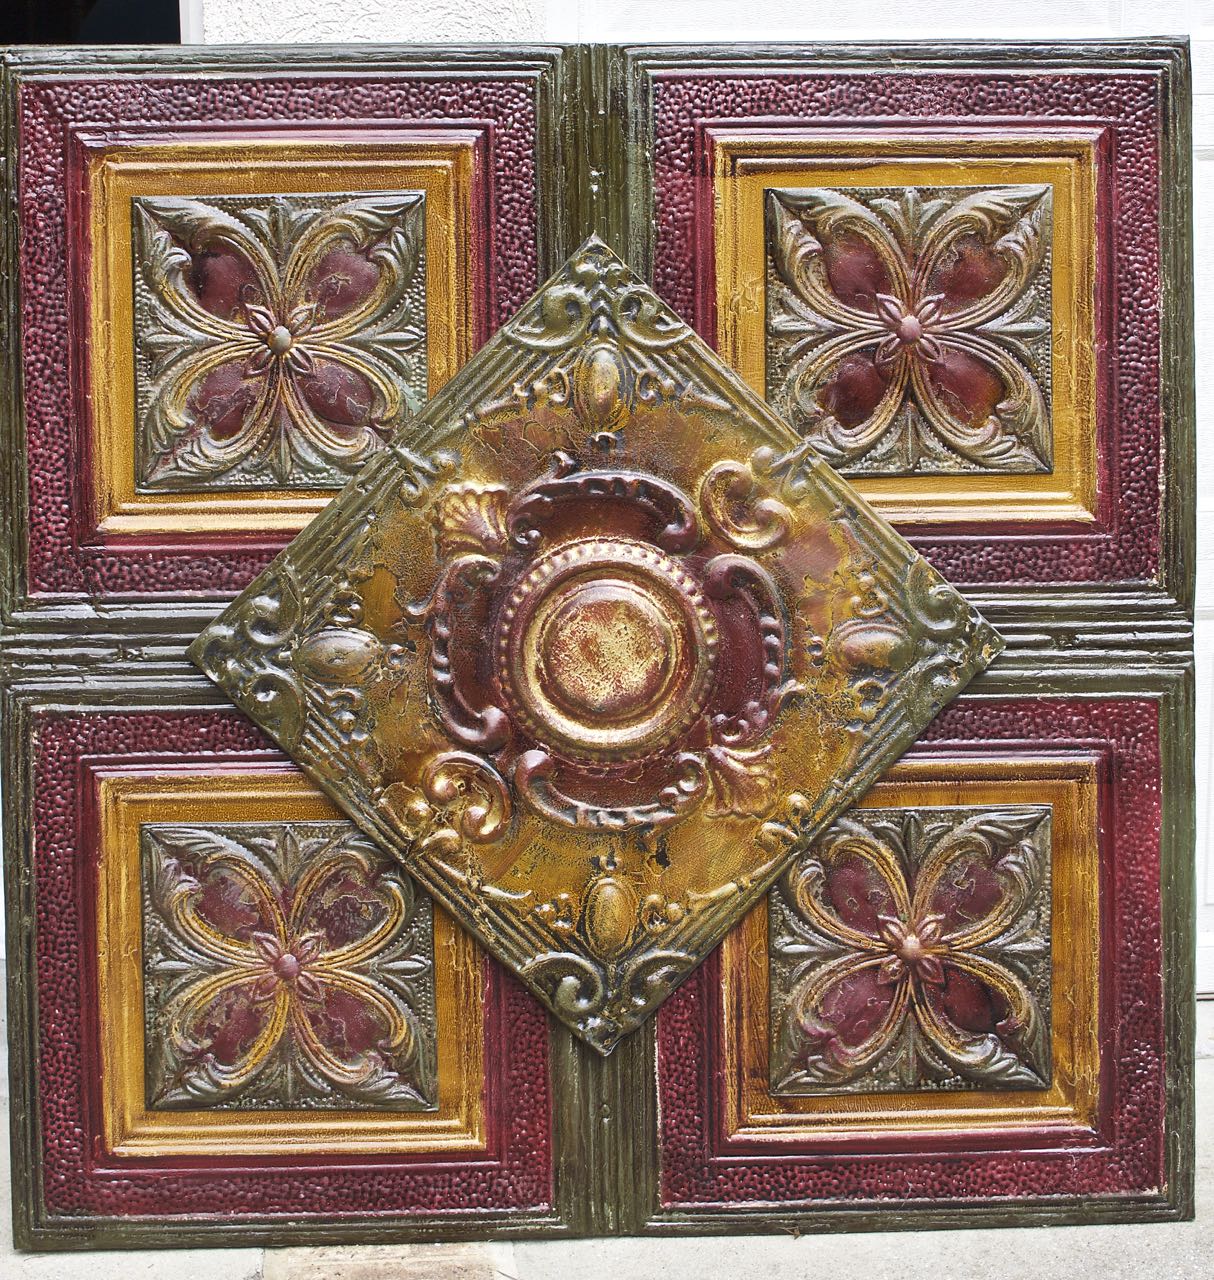
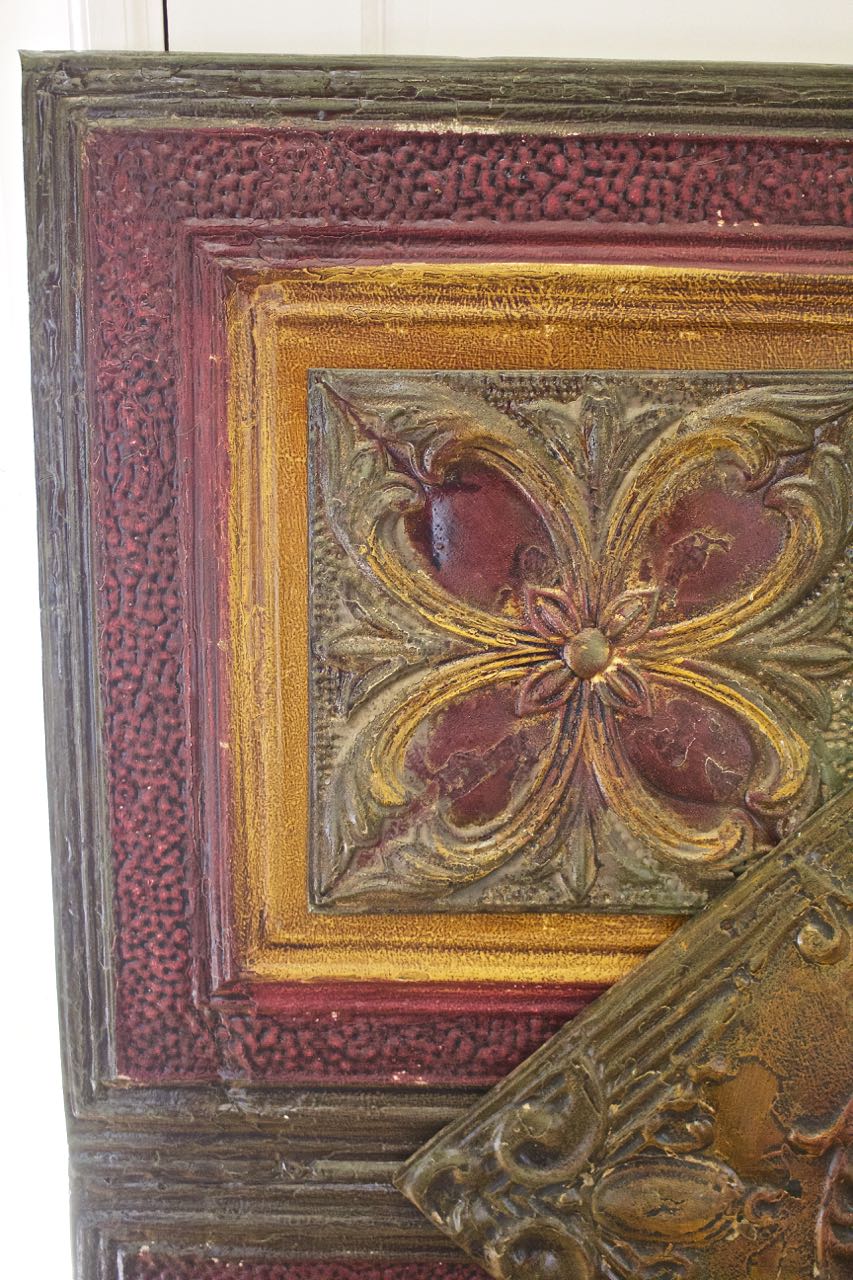
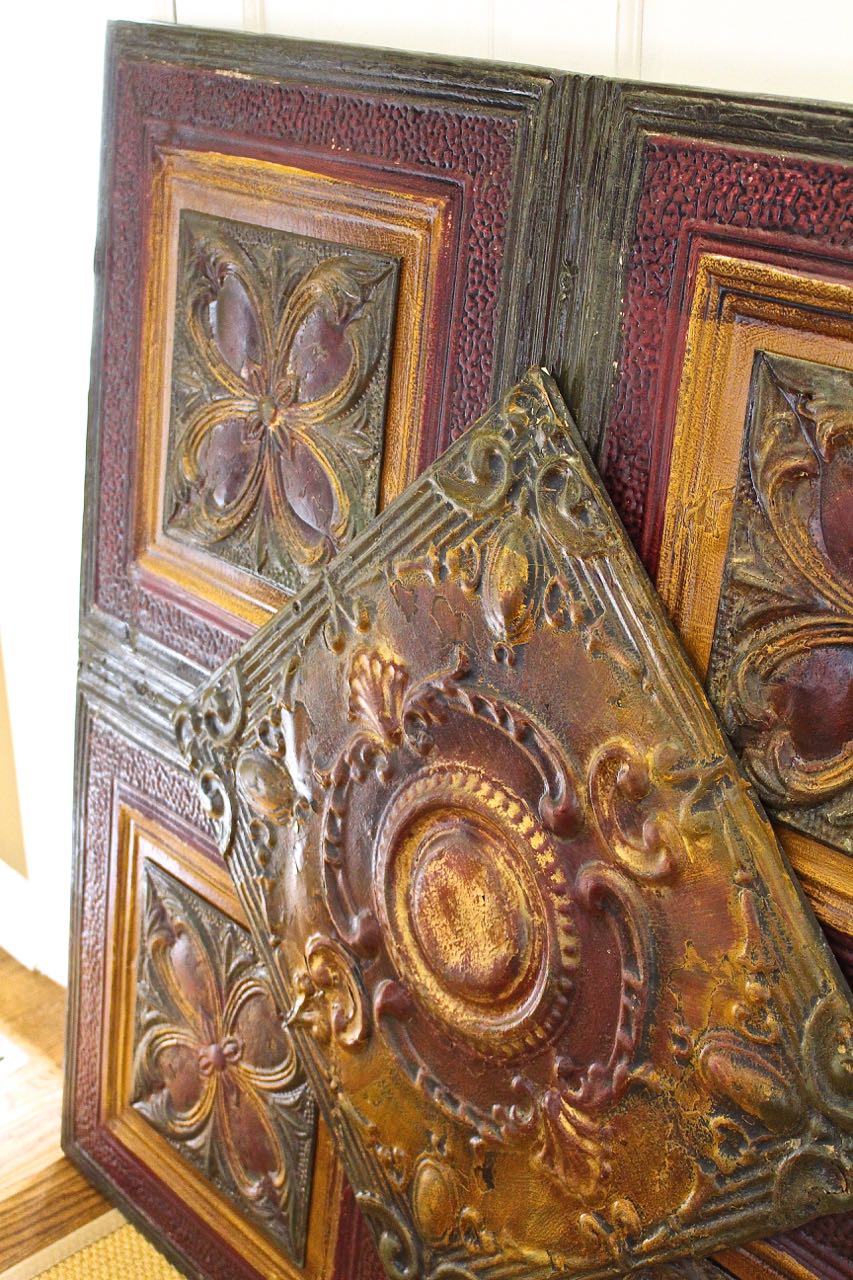
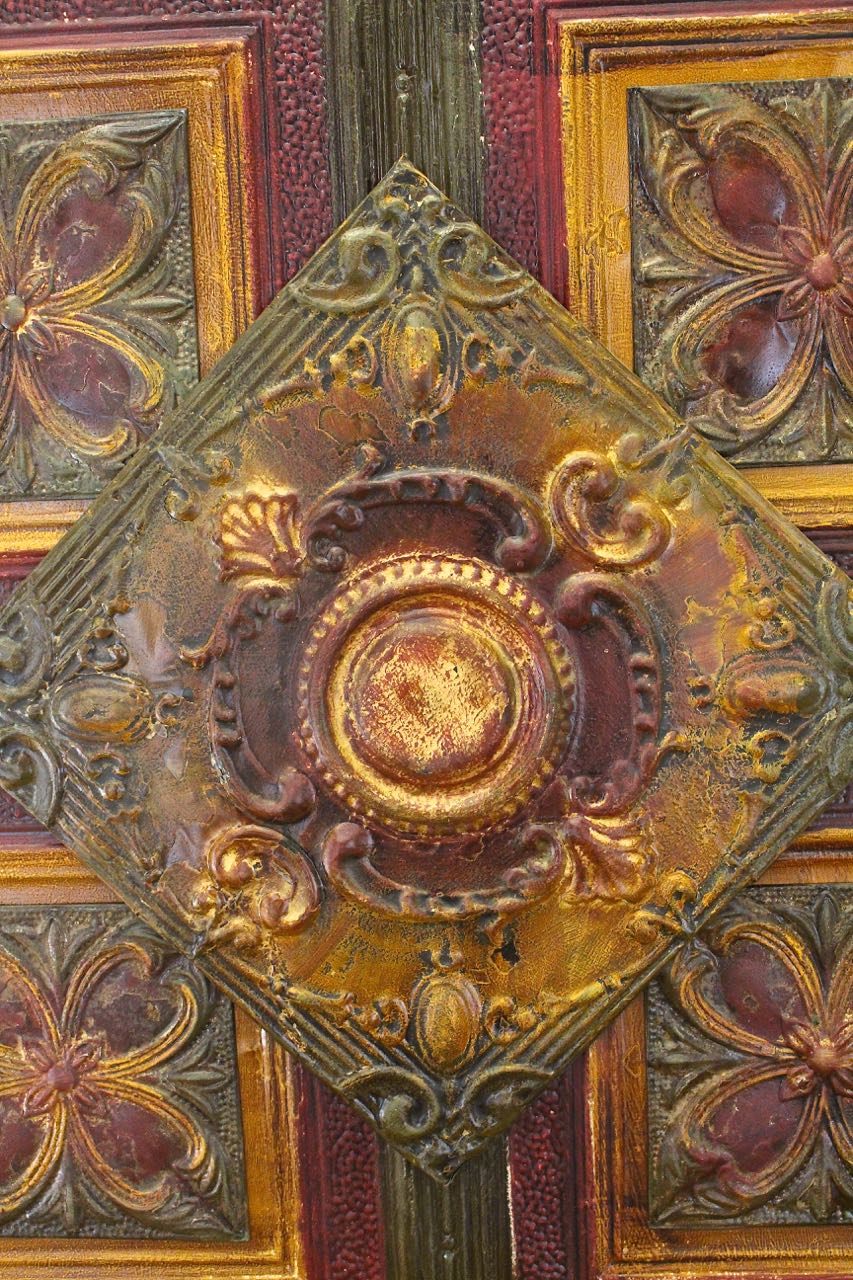
Right after moving in, I went to a local antique fair and found what I thought to be a perfect piece of handmade art. It was a creation of antique ceiling tin squares that were pieced together, painted and shellacked. And it was painted in the then popular jewel tone colors.
And it was perfect. But as time marches on and decor trends change, so does my design mood. After about 5 years I took this piece off the mantel. I wanted lighter colors…beige, creamy whites and pops of turquoise. The artwork just didn’t fit in anymore and it was relegated to the basement.
Ever since that piece came down, I typically switch out the decor there all of the time. depending on the season I will hang a painting, a mirror or chalkboard art. As I was getting ready to decorate the mantel for Fall, I went down to our basement looking for something “new” and saw the tin art…and right then and there I decided I was going to paint it and bring it back above the mantel.
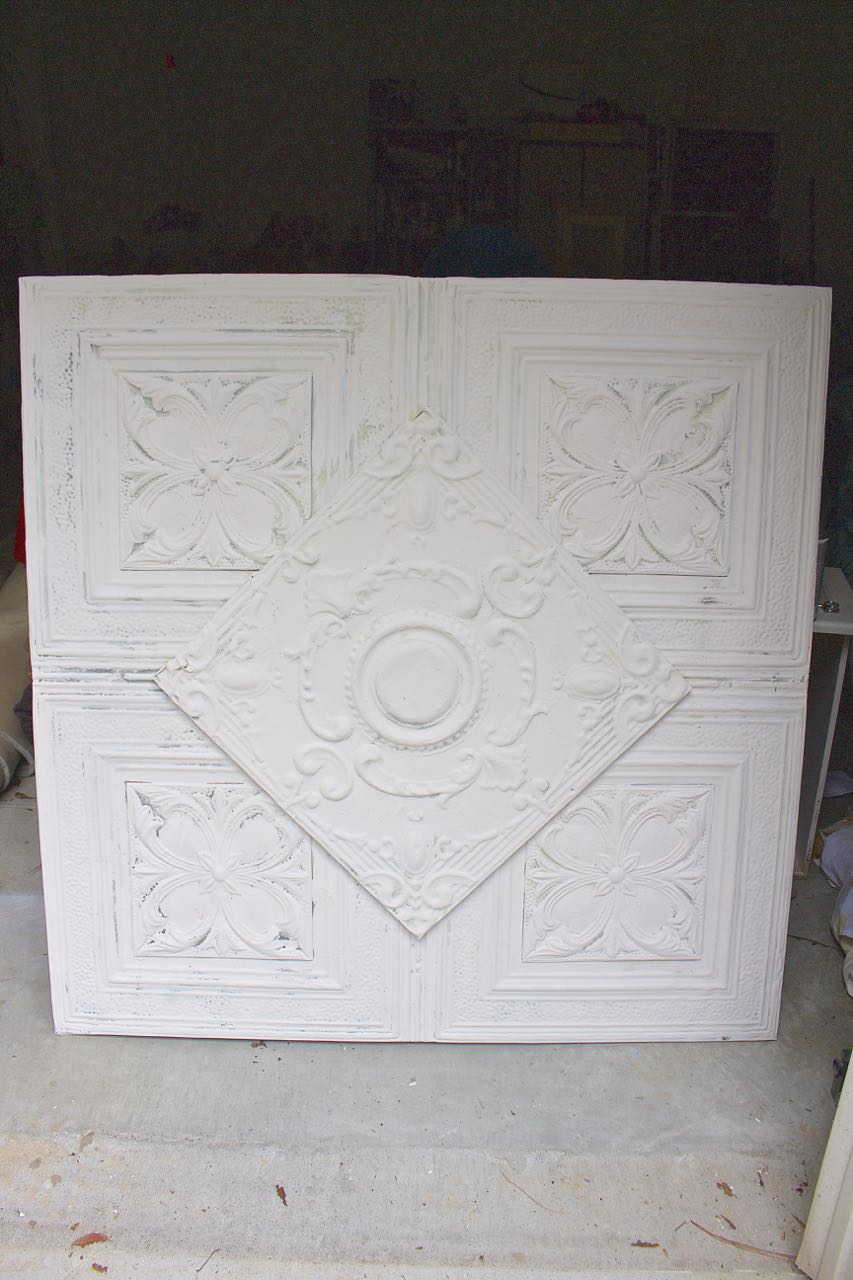
First, I needed Honey Bee’s help in getting it upstairs. This sucker is big and heavy…it’s 30 inches square. He brought it out to the garage and I got to work. I collected some of my bottom-of-the-can chalk paints and create my own color. I knew I wanted the finished look to be a vintage aged creamy white. I mixed together some white, grey and a bit of brown paint. I thinned the paint mixture with water until it was like pancake batter. I used a sponge roller to apply the paint and I got the coverage I wanted in just one coat.
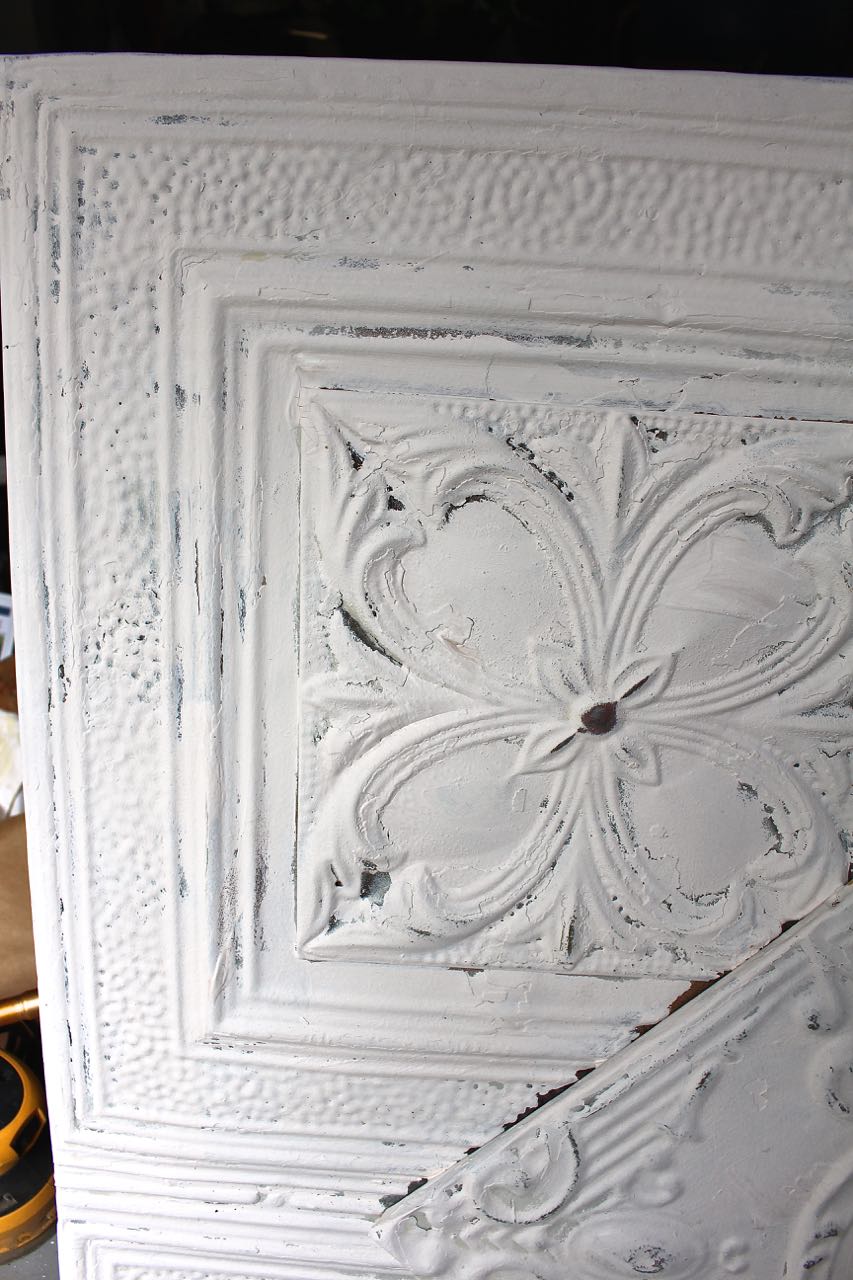
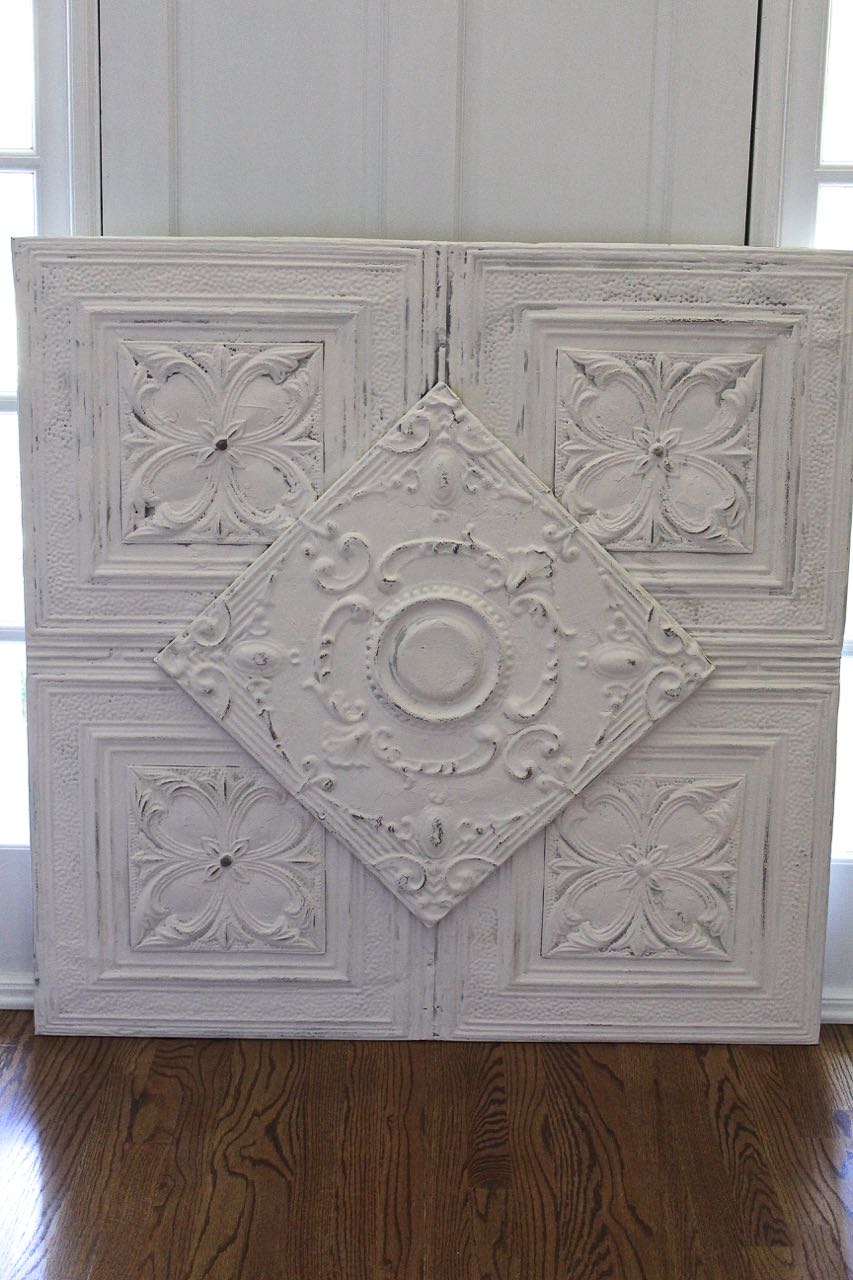
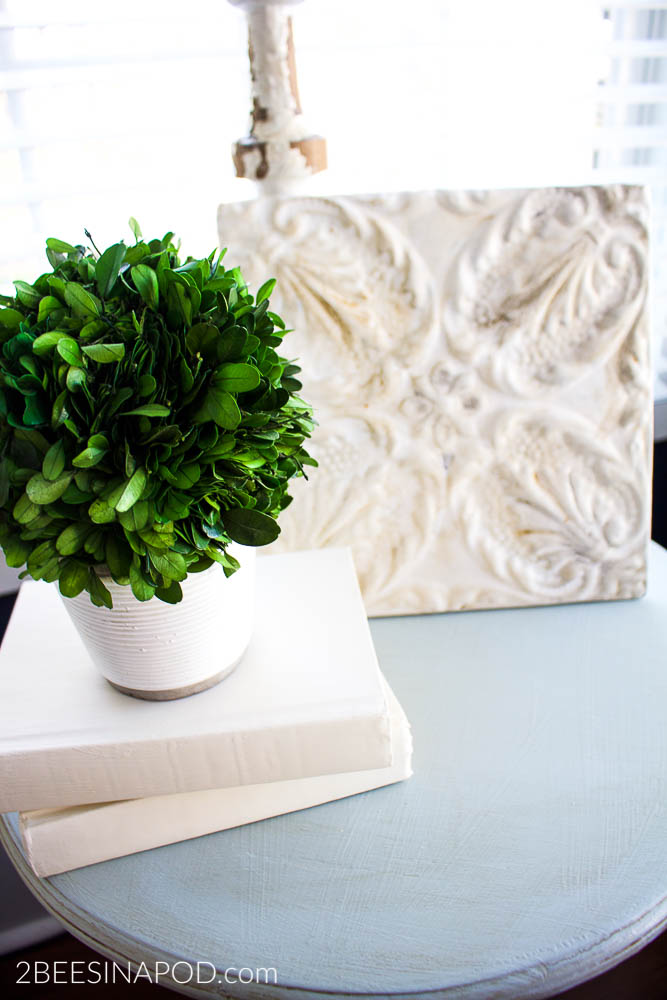
When the paint dried, I used a 220 grit sanding block to lightly distress the tin. I love how it turned out…
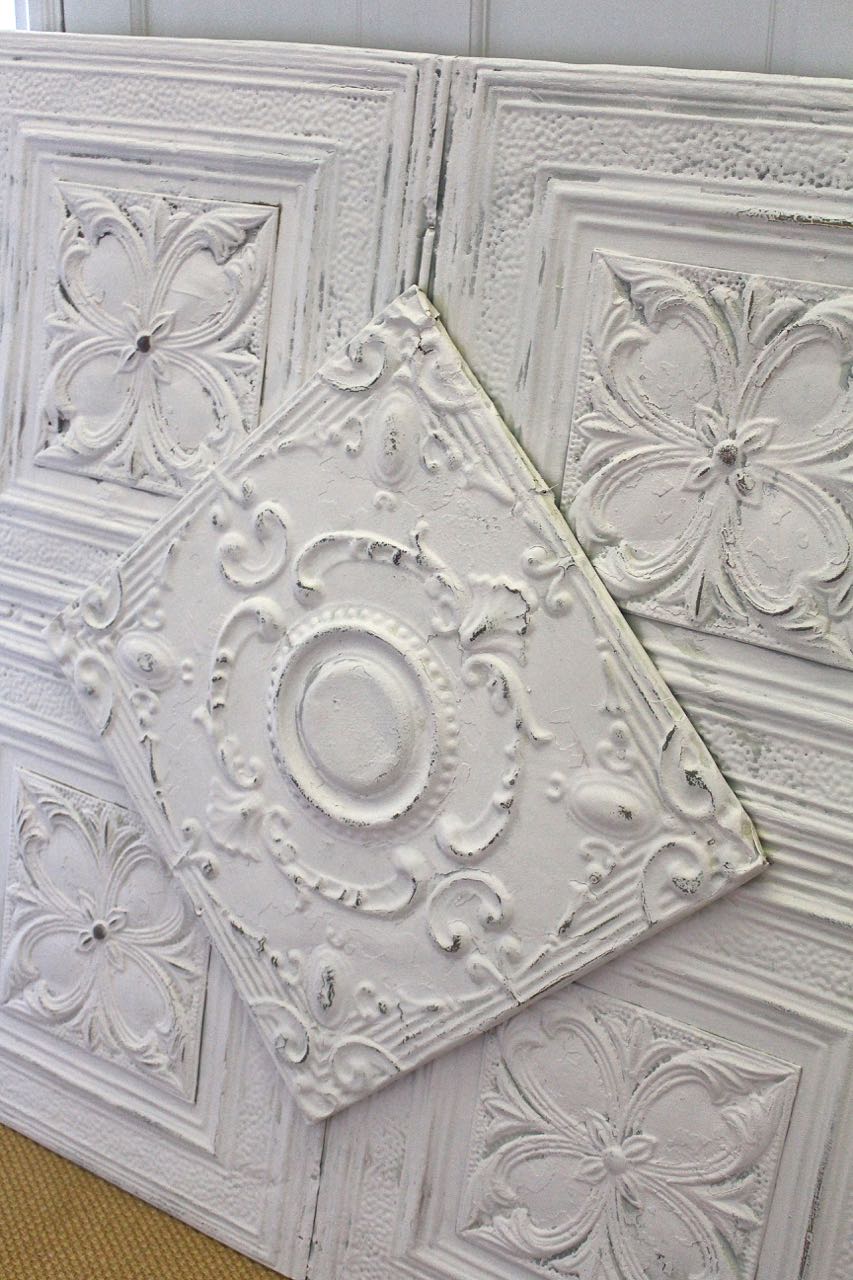
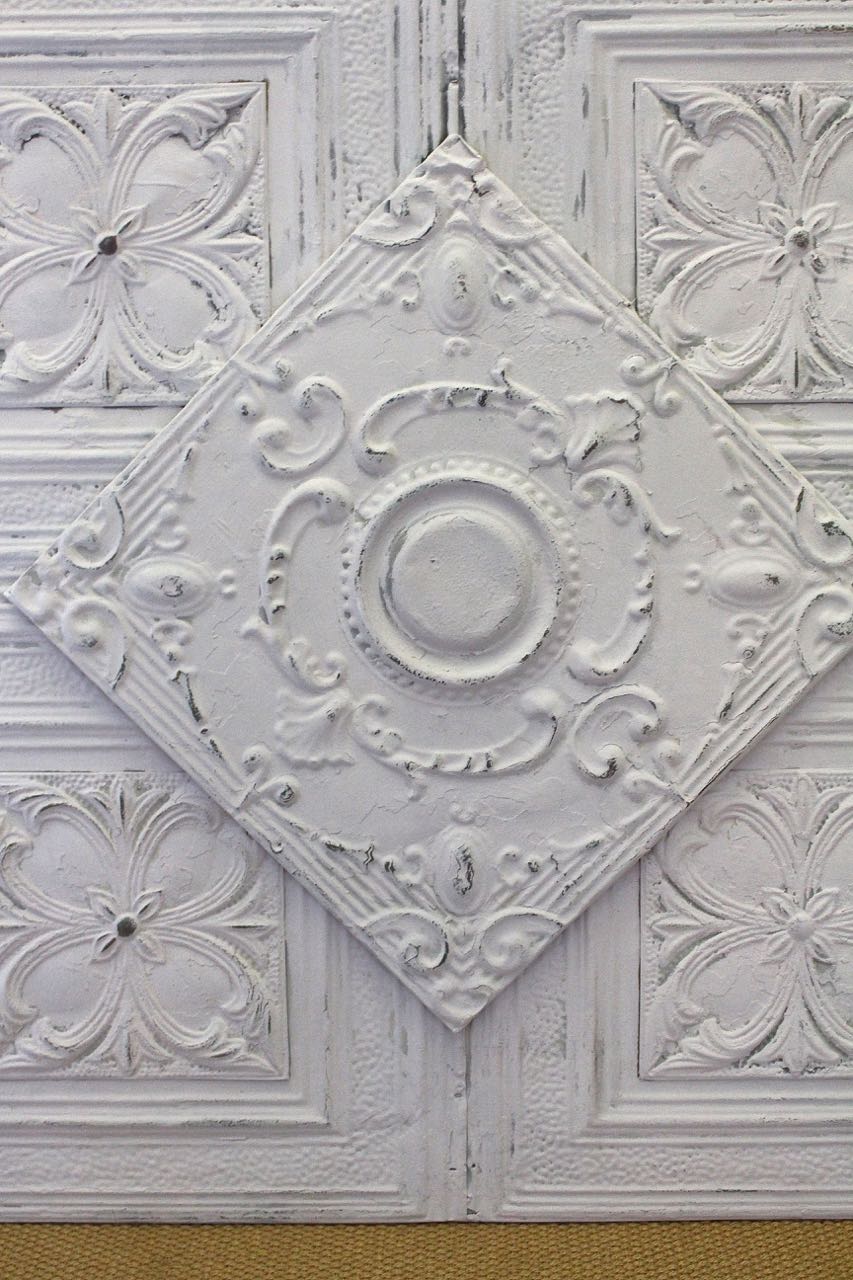
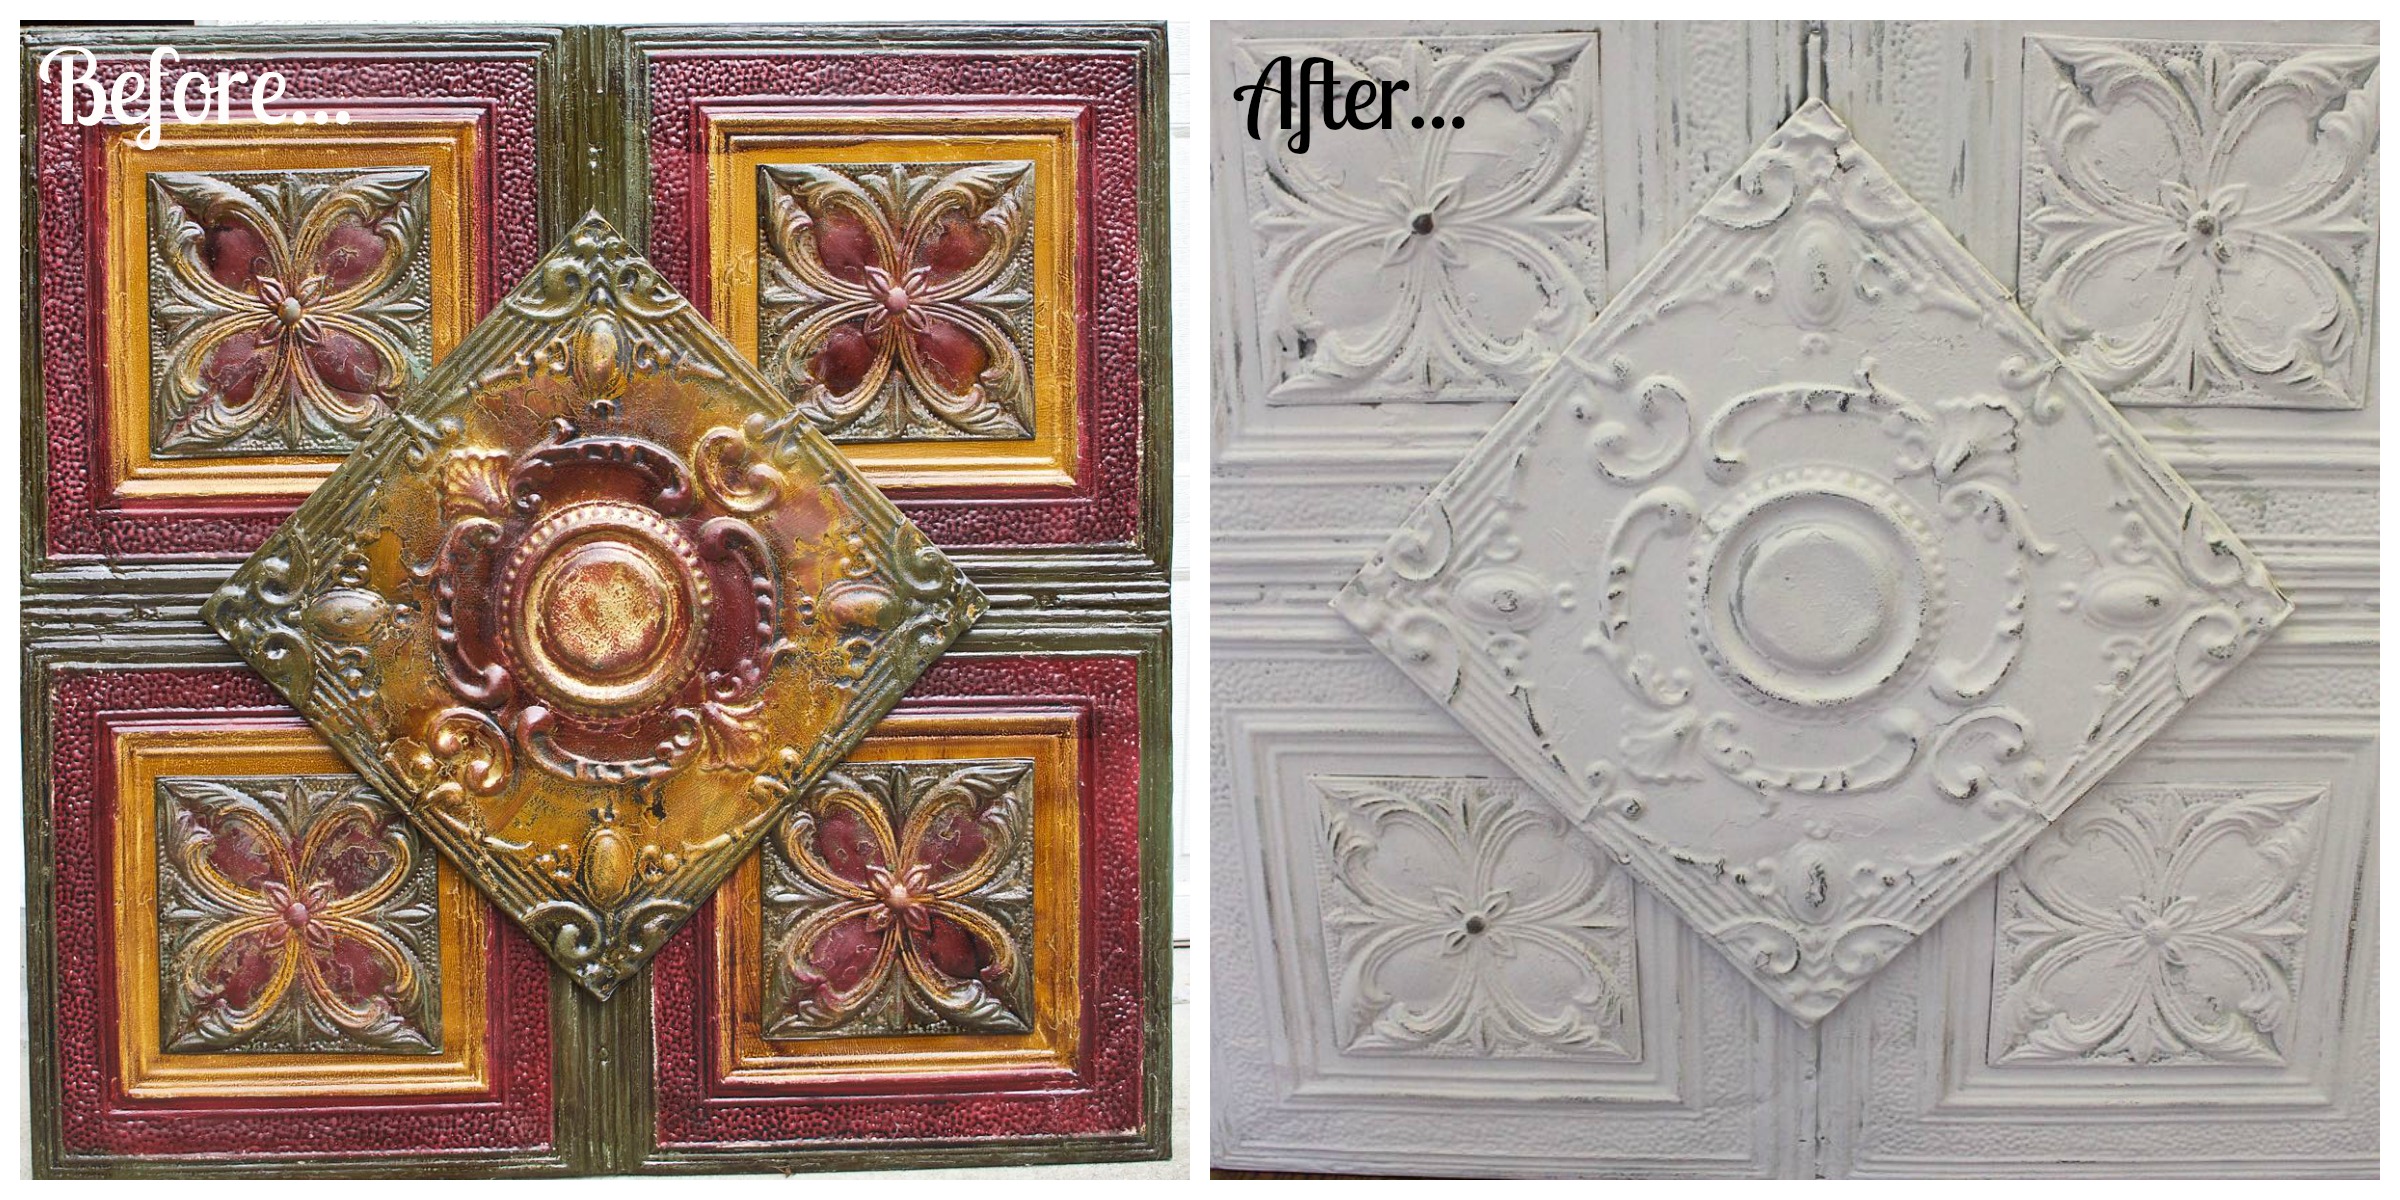
To me, this is like a night and day transformation. Now, the details in the tin really pop.
I’ve also been kicking myself…why on earth didn’t I do this sooner?
It has a completely different look – it feels lighter and brighter and looks fantastic above the mantel. I can’t wait for you to see it decorated for Fall in tomorrow’s post!
You can really see the transformation here…
I’m so glad that I never got rid of the vintage ceiling tin art. I have fallen in love all over again!
Until tomorrow,

Vicki, wow what a great piece!!! It looks amazing in your new and up to date white and I love the distressed edges. Just beautiful. Have a great day, Lisa
Wow! What a difference! I love the new look. I can’t wait to see tomorrow’s post.
Hugs!
Wow, this looks so good! What a transformation! No playing it doesn’t even look like the same piece. Great job lady this looks so good. Hugs, CoCo
I love ceiling tins and also giving old pieces new life, a perfect pairing! This came out beautiful and you will get so much use out of it now!