Vanity Bench Makeover…
Please note that this post contains affiliate links. As an Amazon Associate, Rewards Style influencer and Jane Influencer, we earn from qualifying purchases and any sales made through such links will reward us a small commission – at no extra cost for you.
Hey there – We hope you’re doing well. Today we are so excited to show you our vanity bench makeover.
Jennifer rescued this vanity bench from a curbside trash can last year. We wanted a project that we could work on together and this is it! Miss Vanity Bench has sat patiently waiting to get her makeover – and today was the day. The weather cooperated and showed us a beautiful Spring day. Most of this past week, our temperatures dipped again and then the rain came. Not ideal painting conditions…
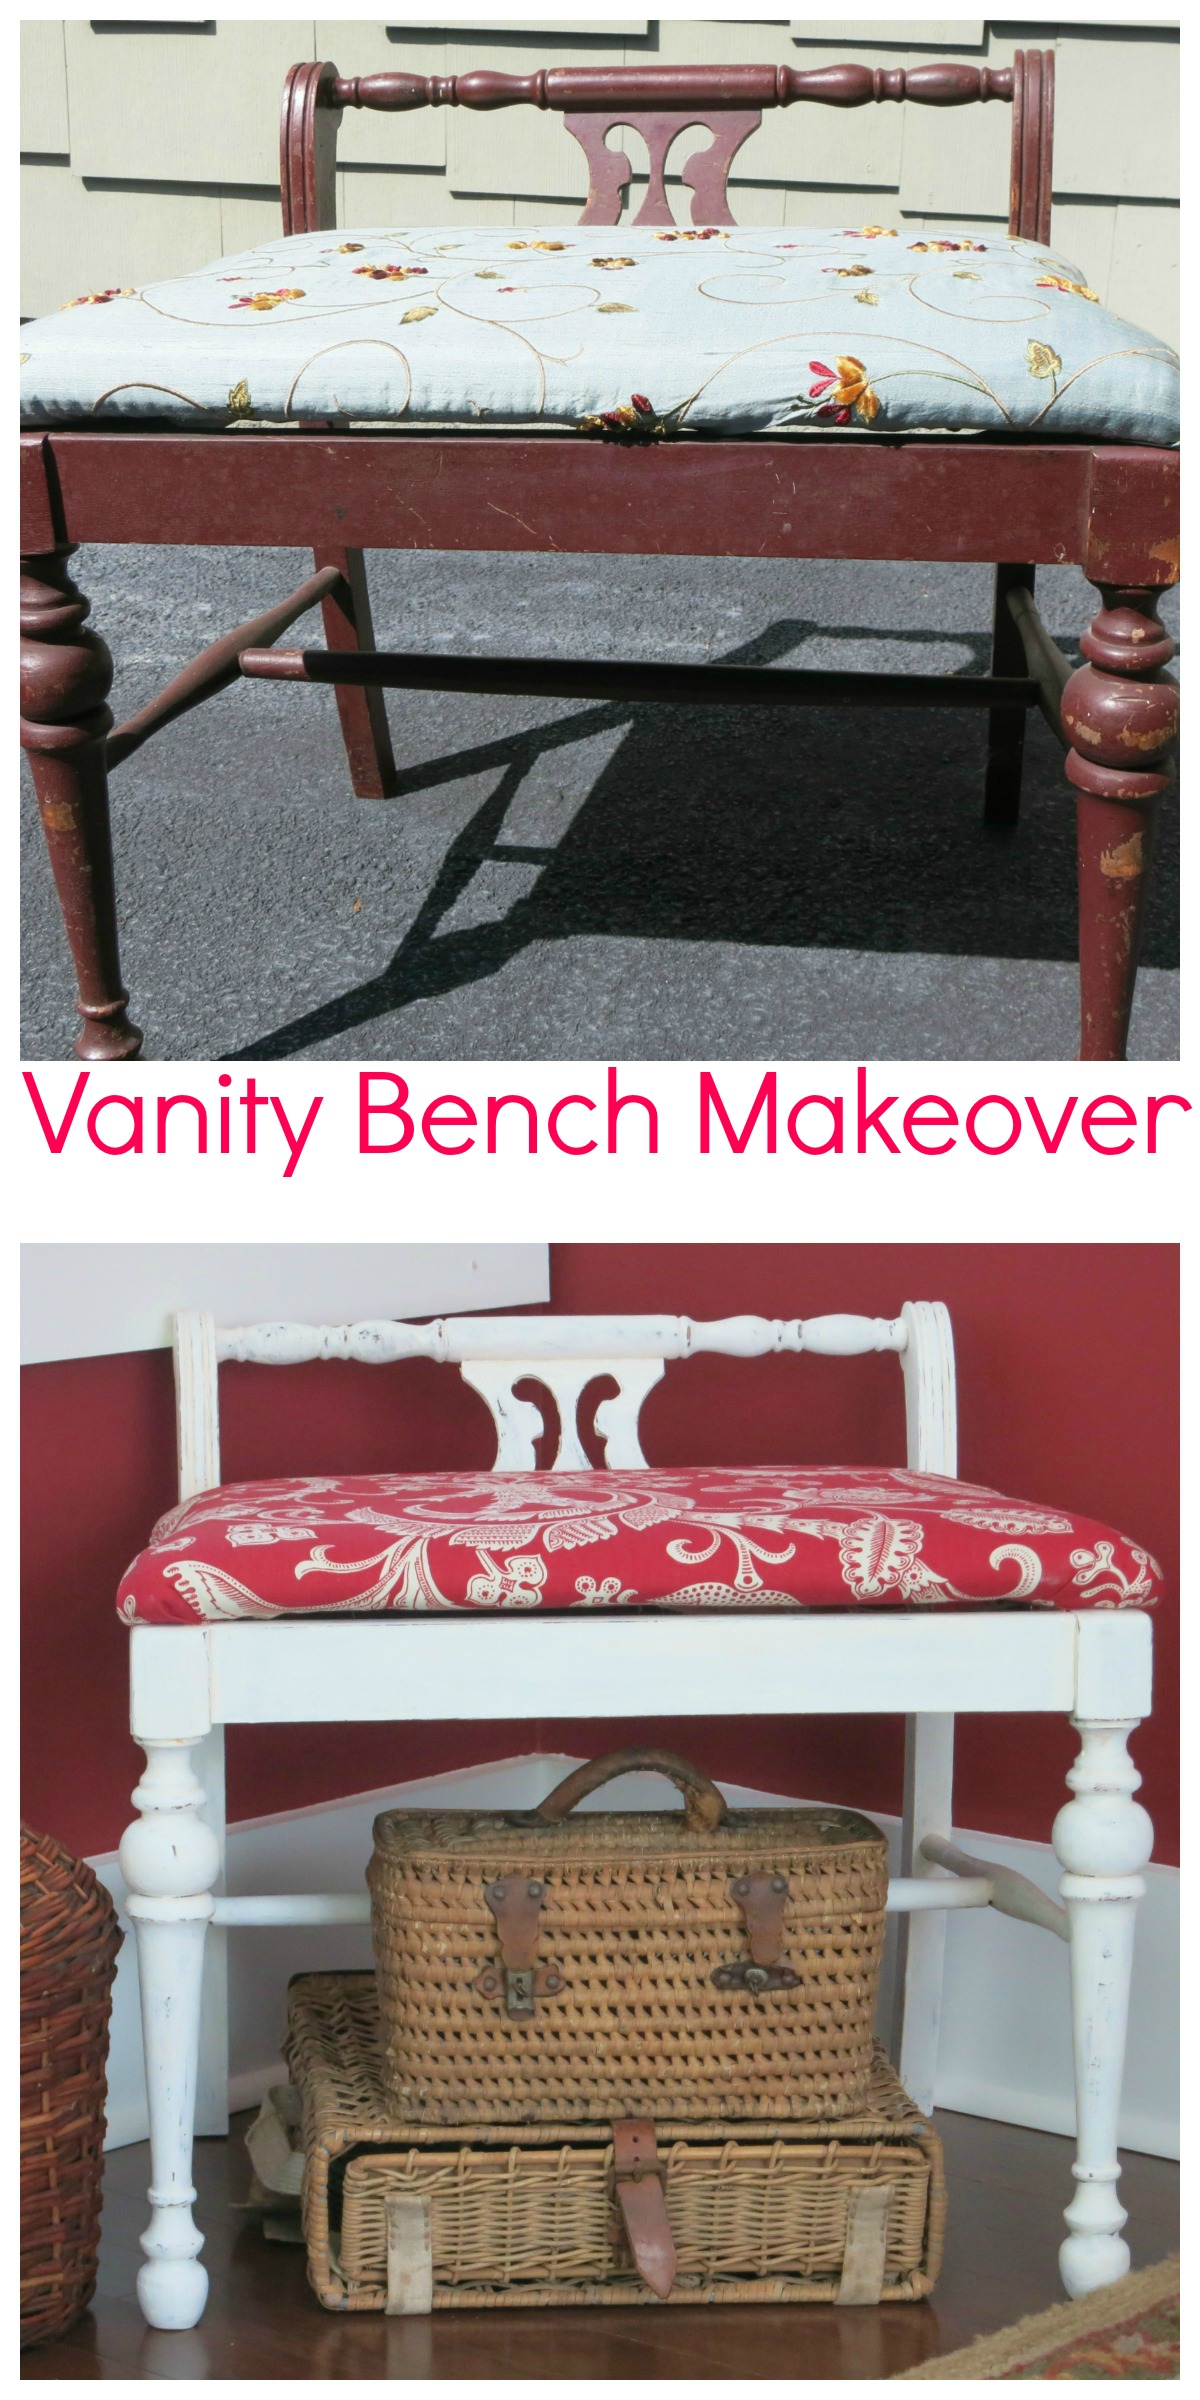
This is what she looked like before her makeover…
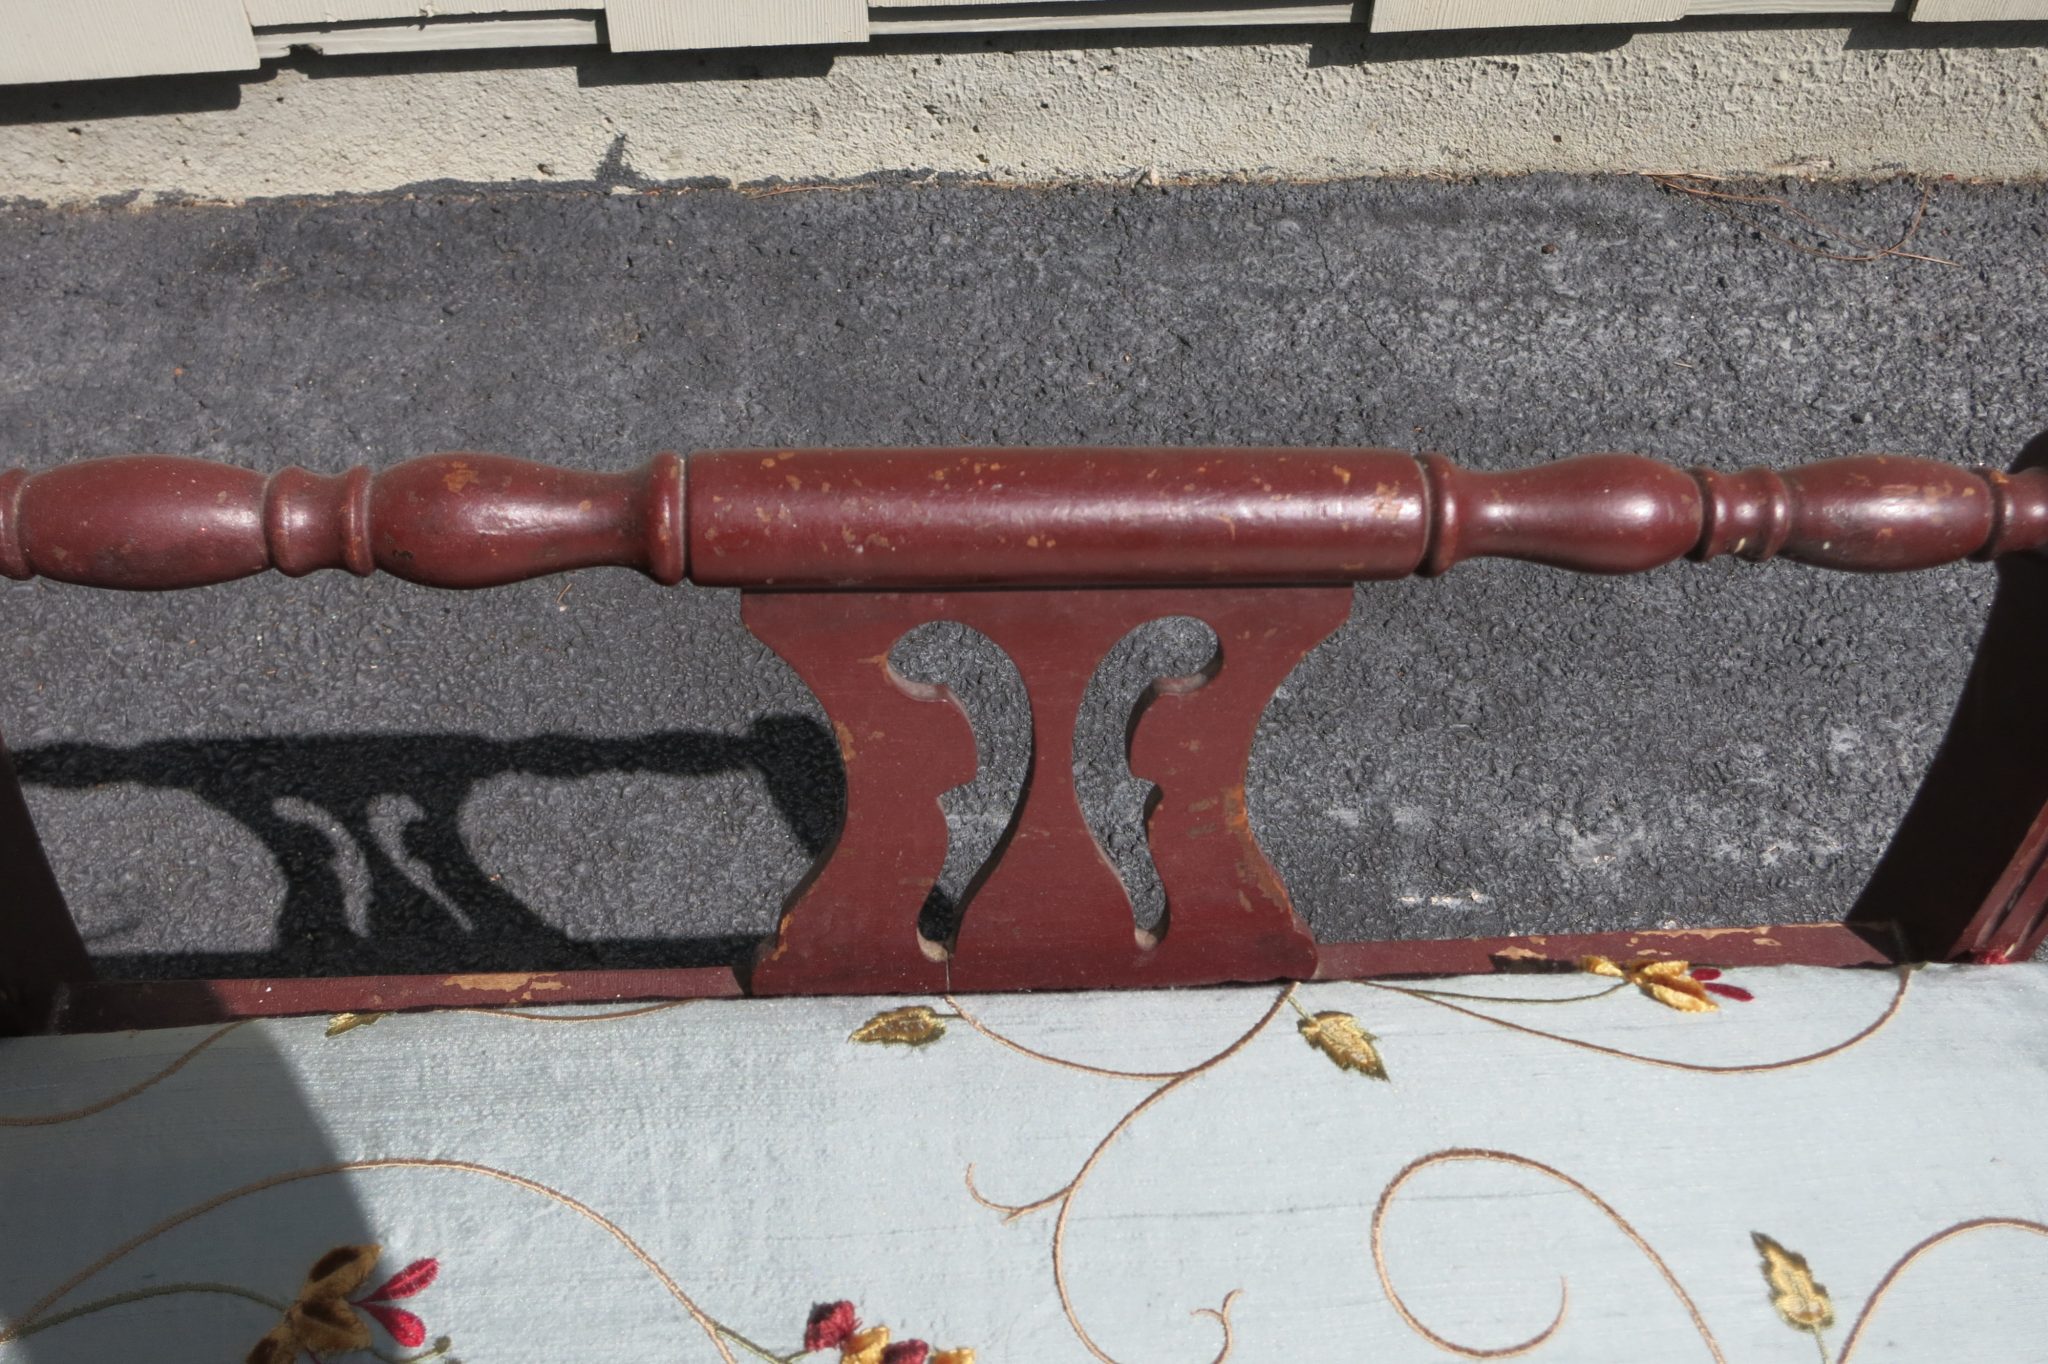
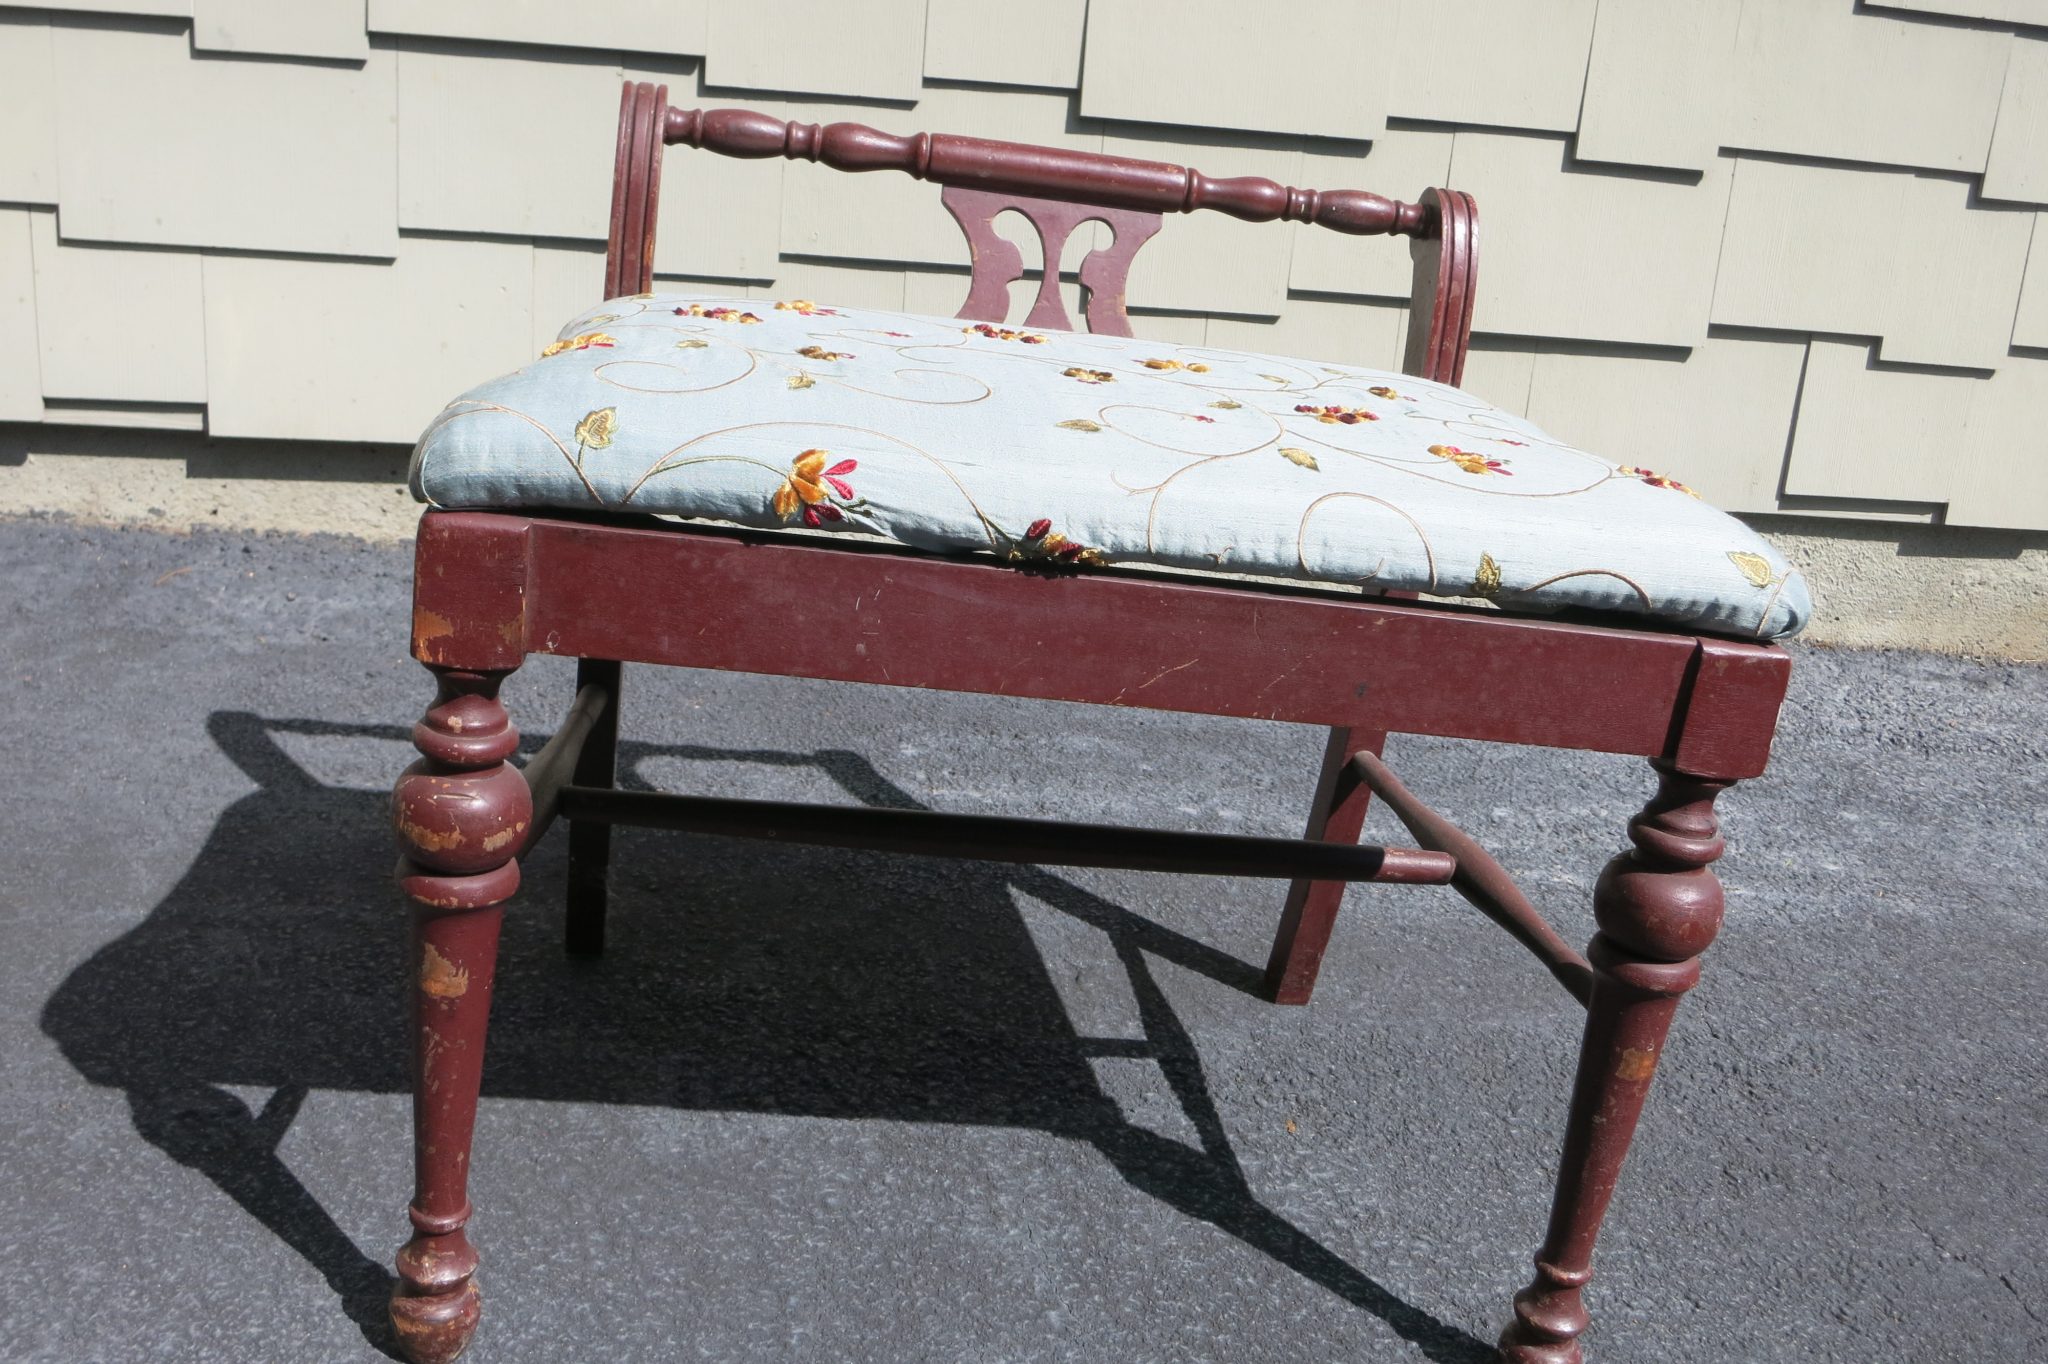 Beautiful lines – but the bench is coated with this pinky/red color that rubs off in your hand – Yuck! There are also lots of dried paint drips too – but we’re okay with that.
 The current silk bench cover has a lot of pull marks and the embroidered flowers are very thick and nubby. Pretty fabric, but not our style.
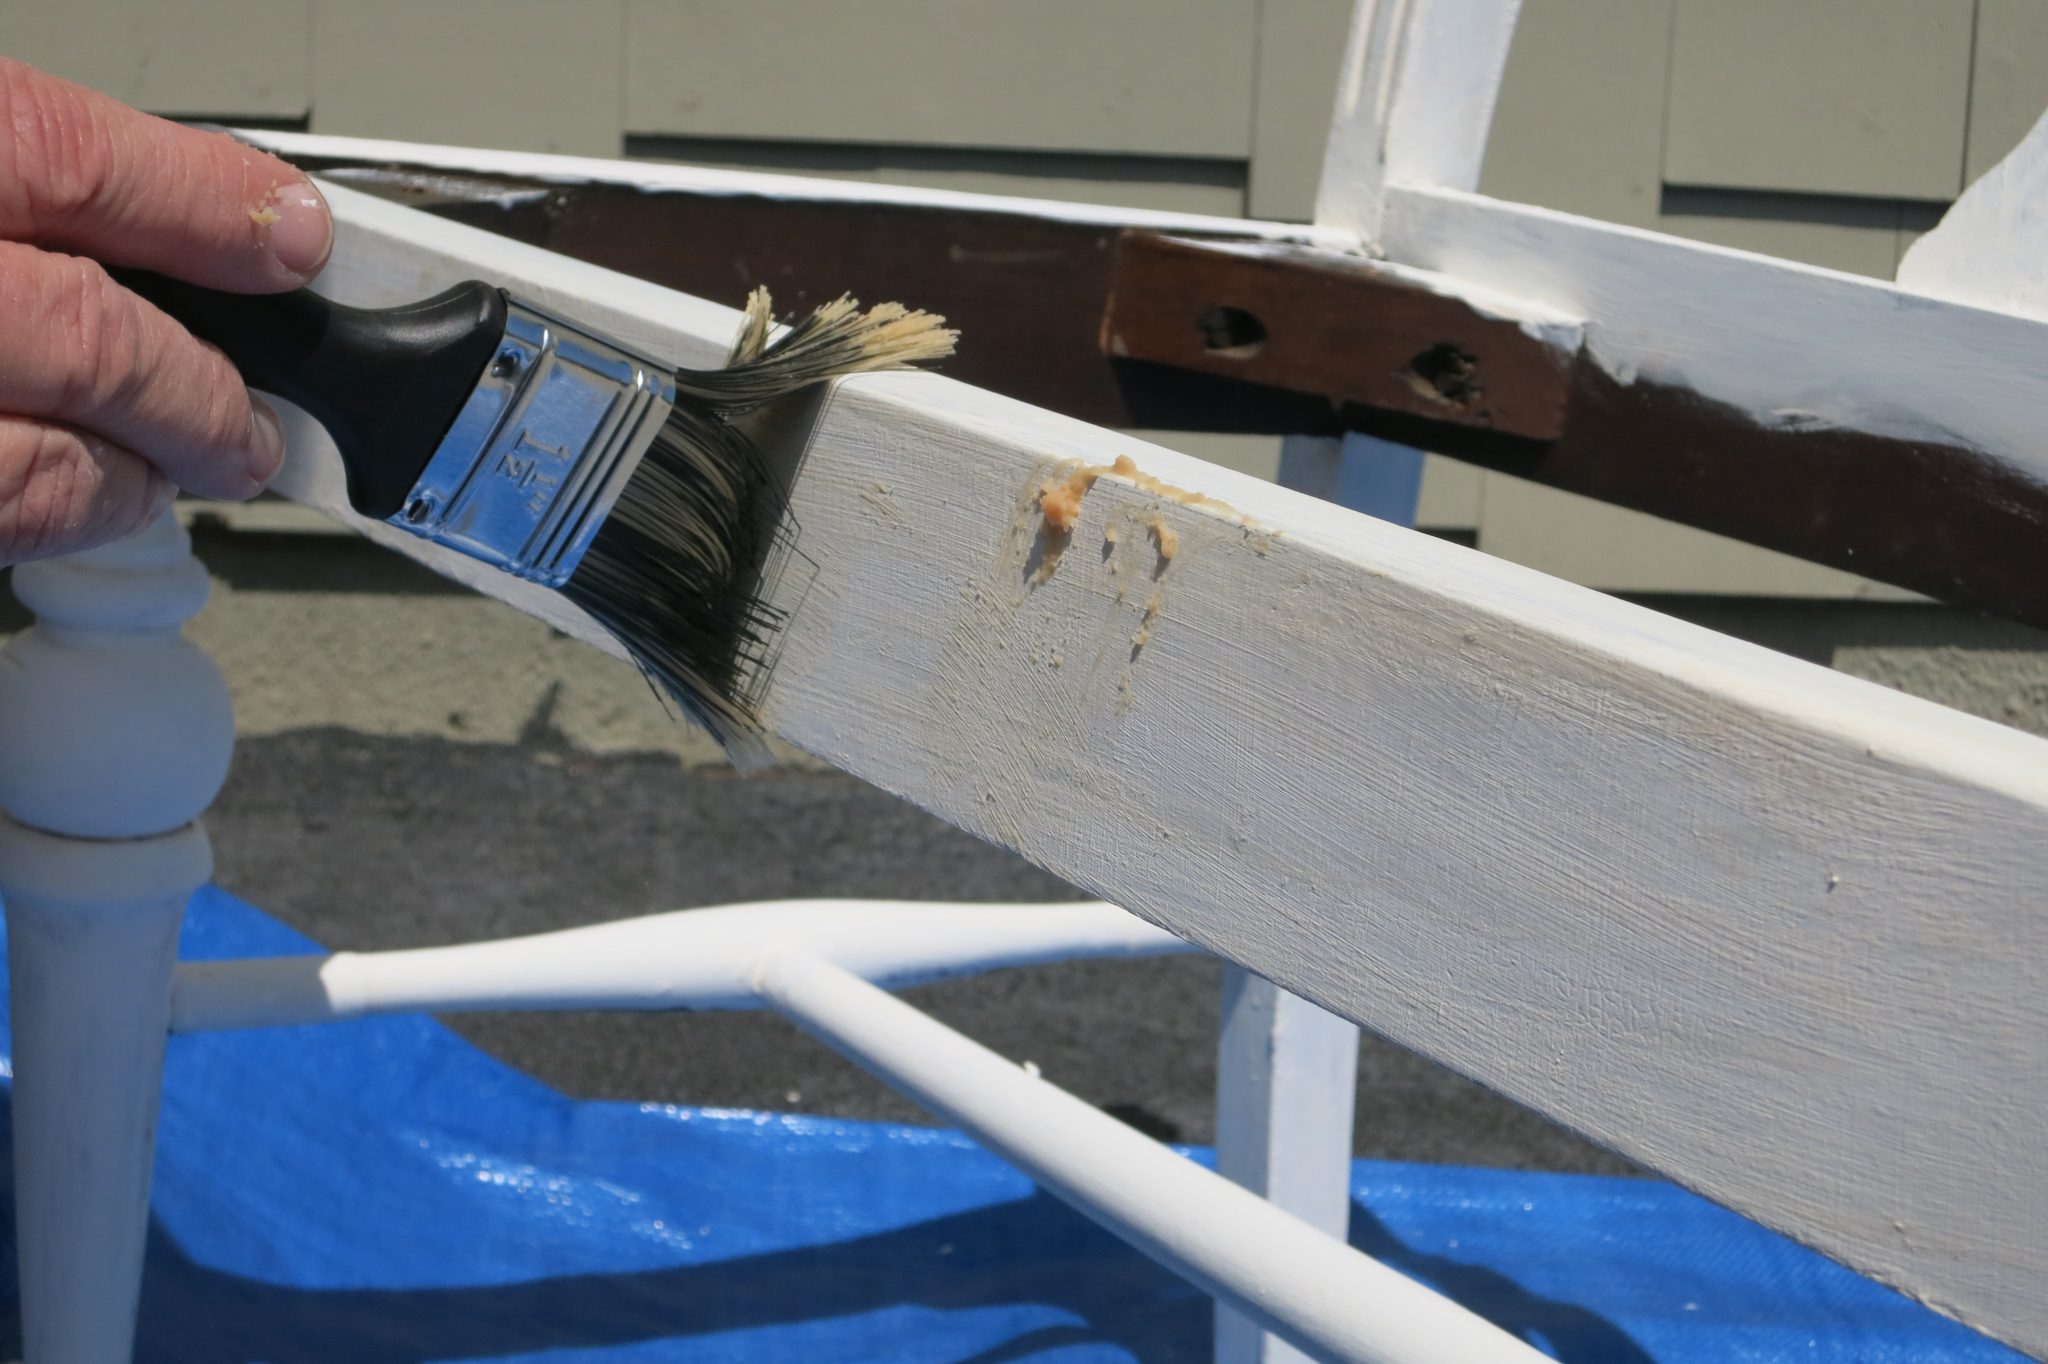
 We made up some homemade white chalk paint and got started… our paint recipe can be found here.
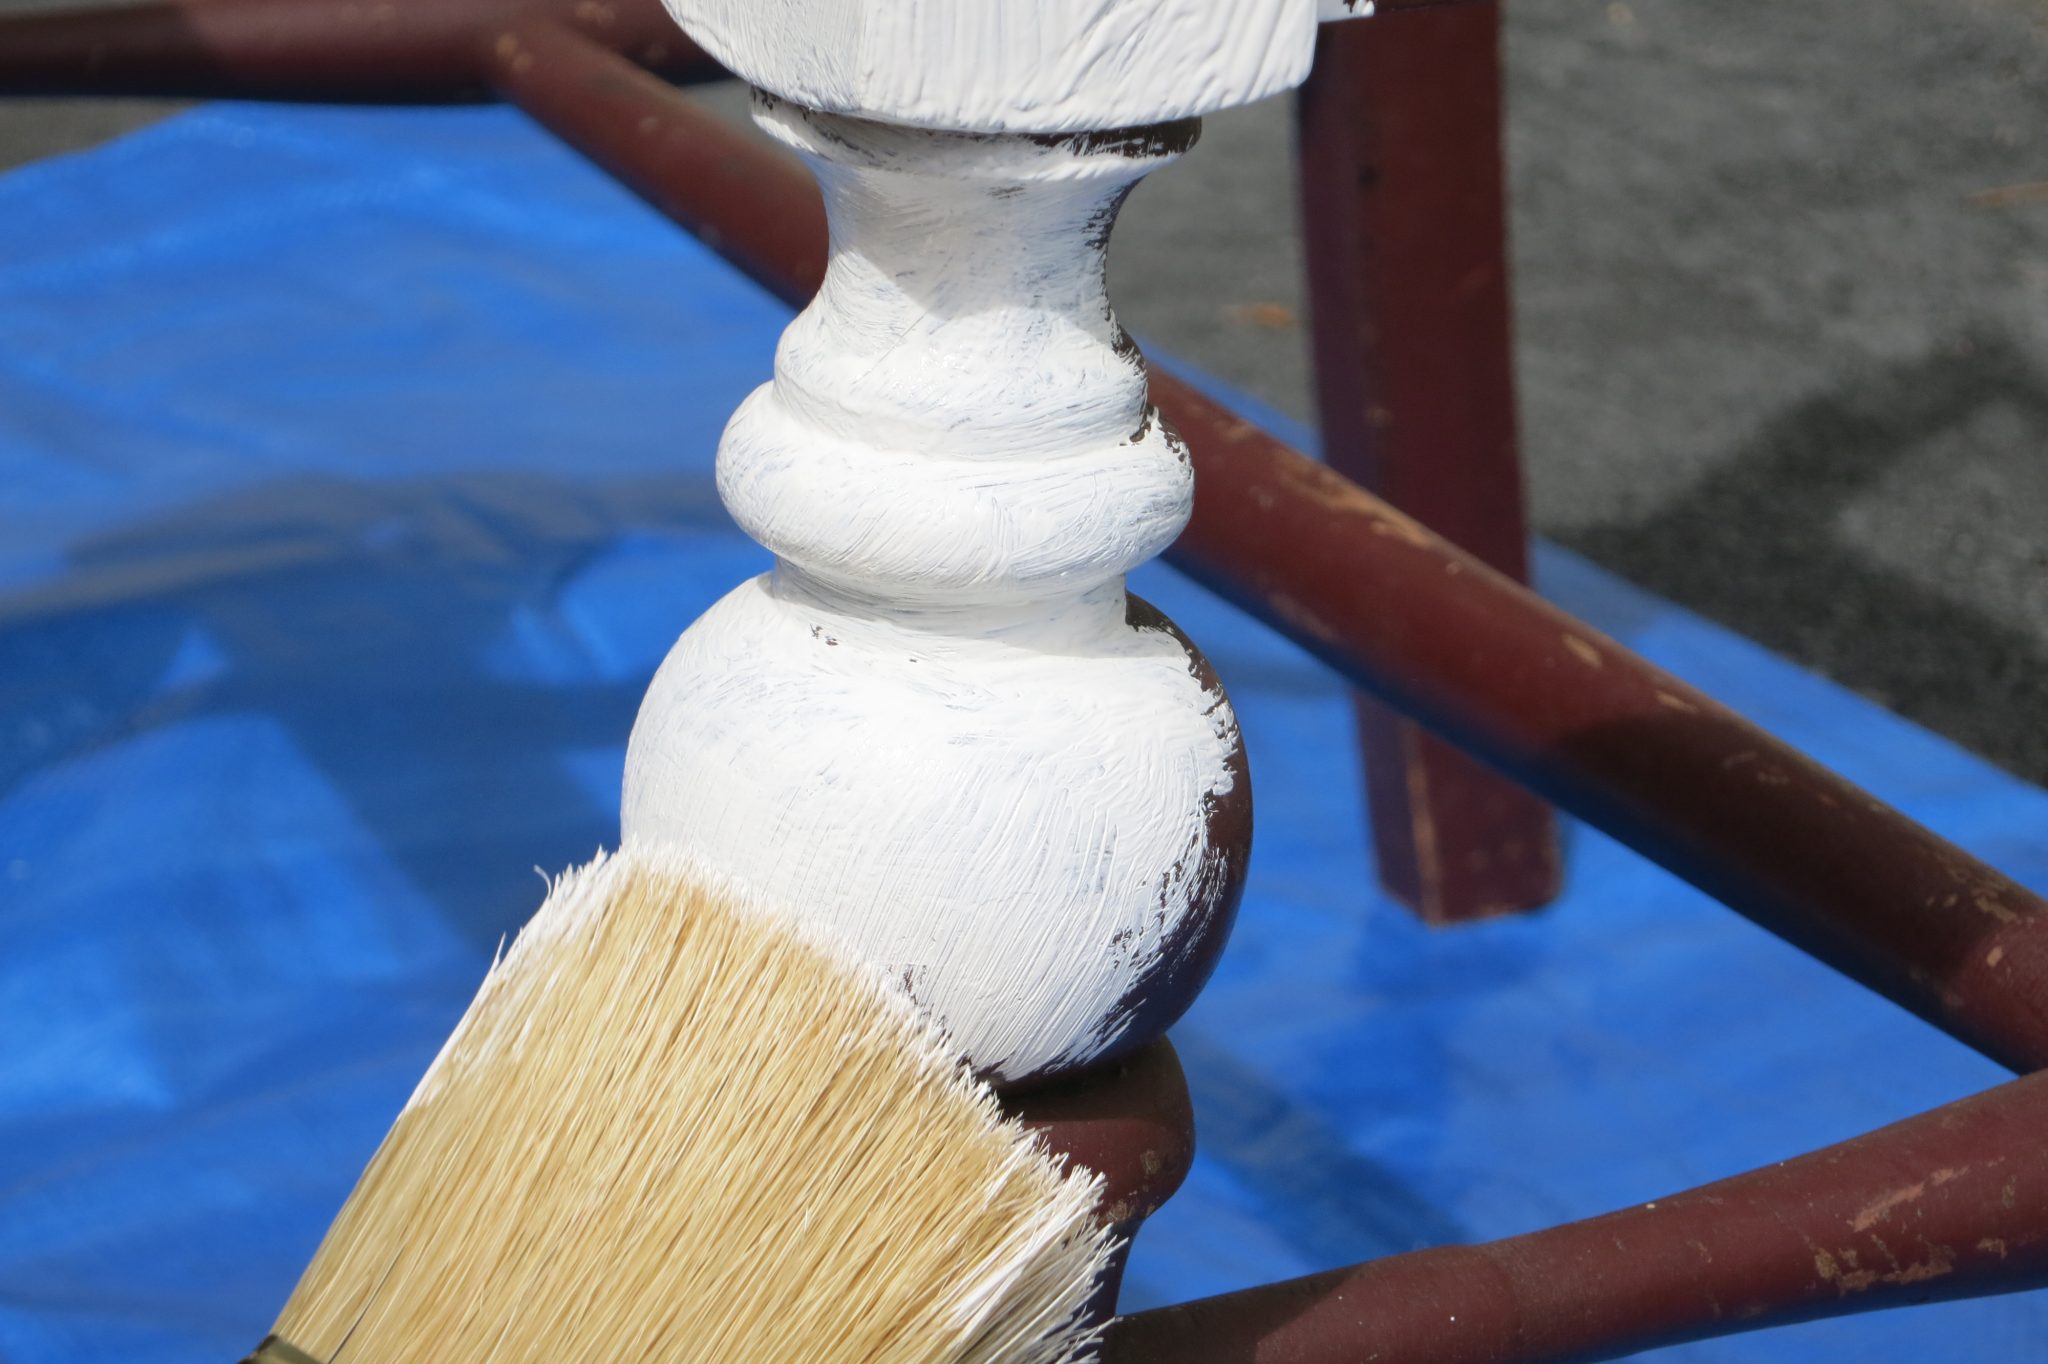 The bench required two coats of paint. We were super nervous about bleed through, but we didn’t have any problem at all 🙂 Typically when a piece of furnish is of a cherry finish – or in this case the mystery paint was coming off in our hands – your would need to add a blocking primer coat before painting.
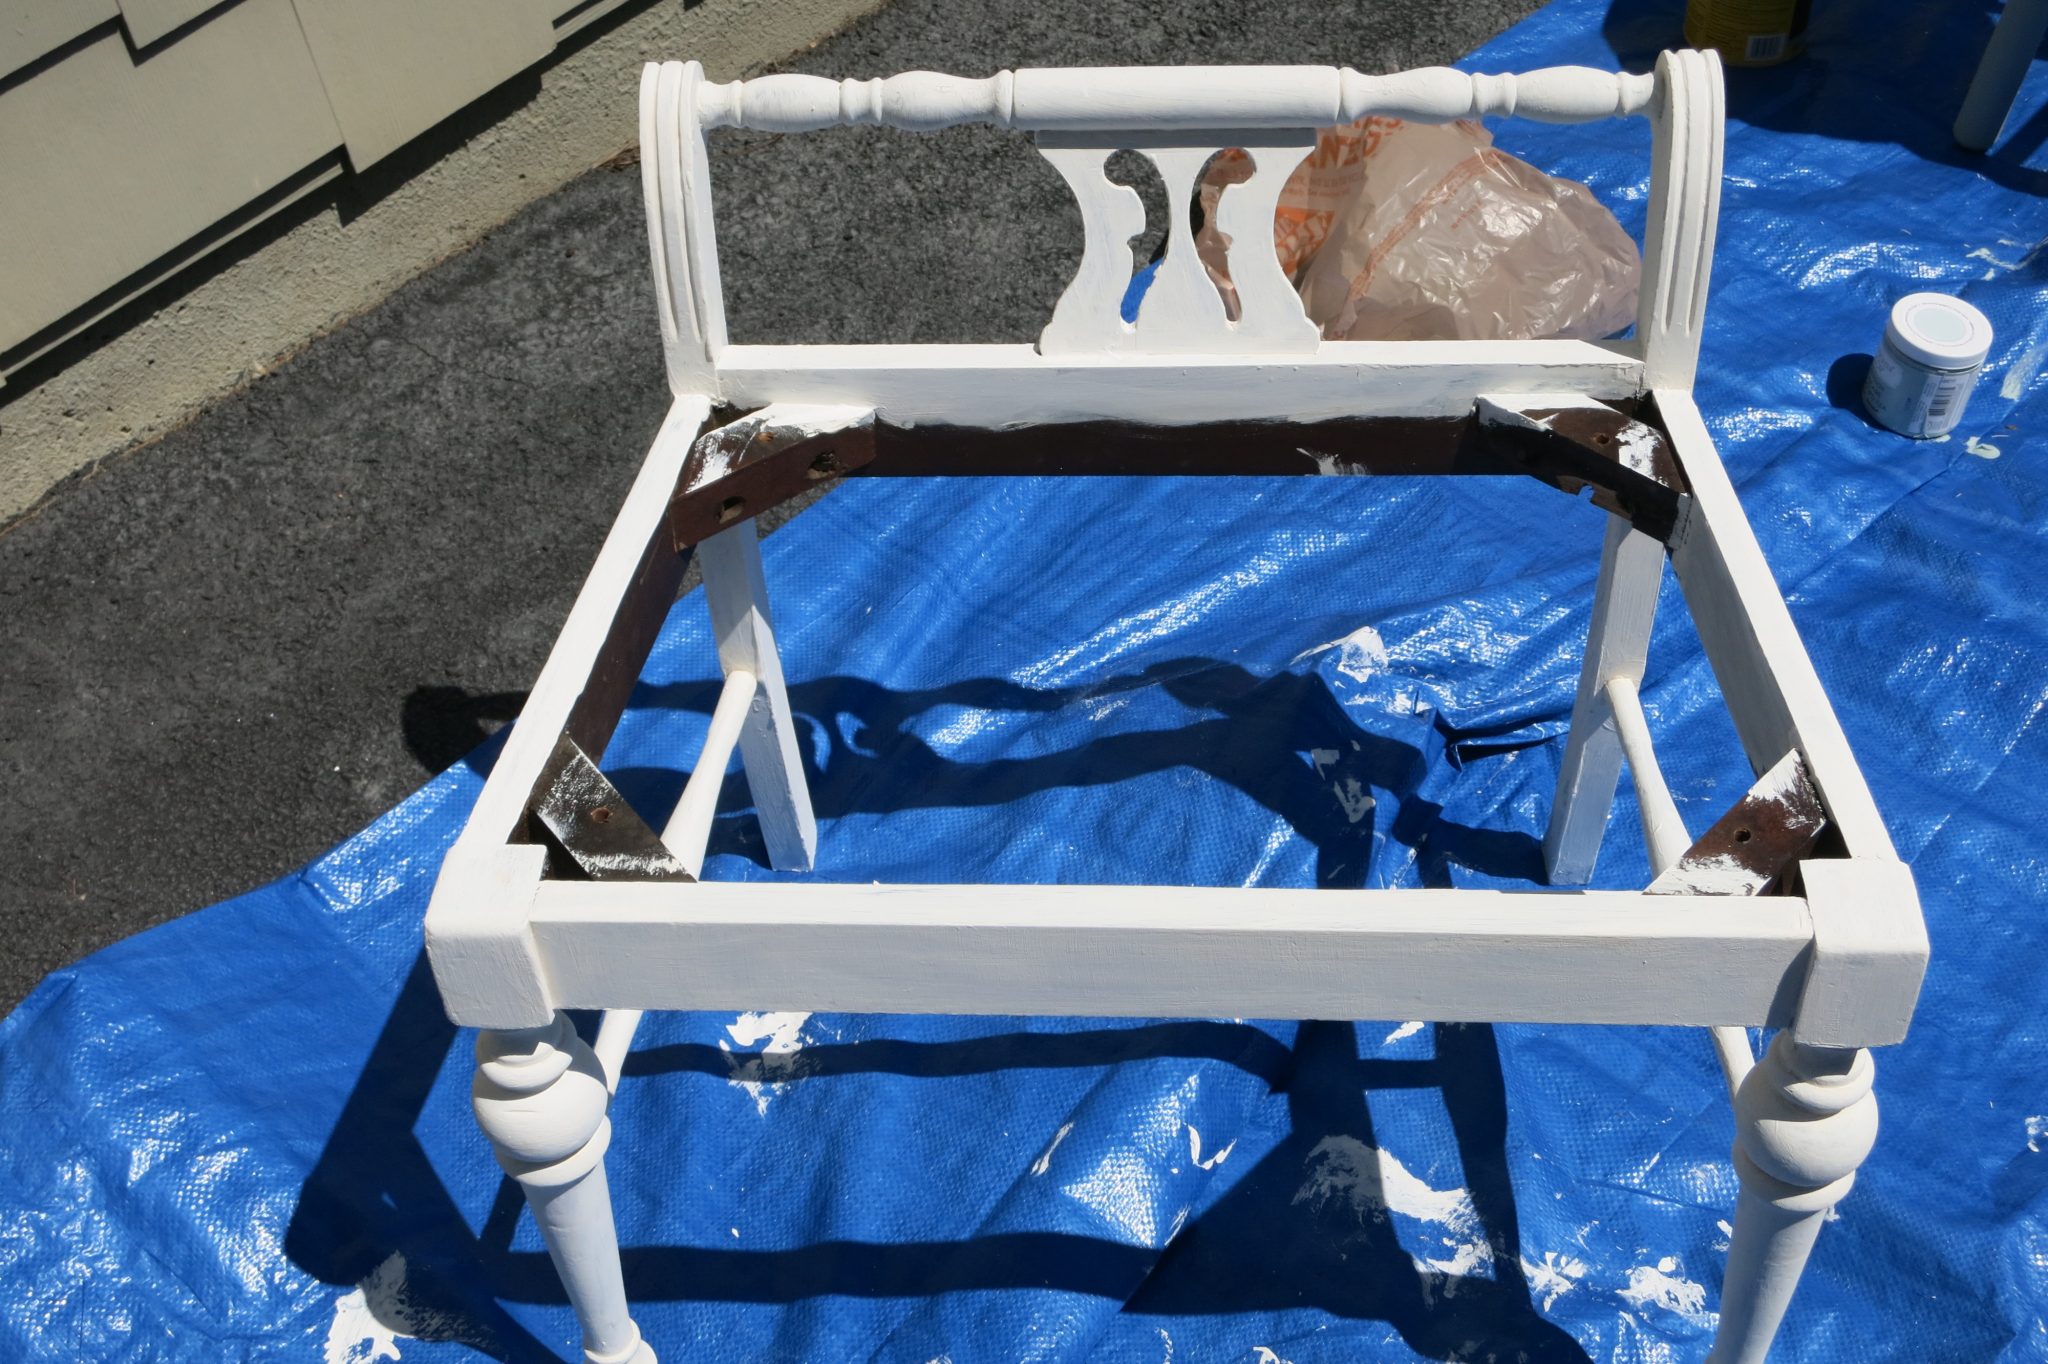 We slightly distressed the bench with sandpaper…
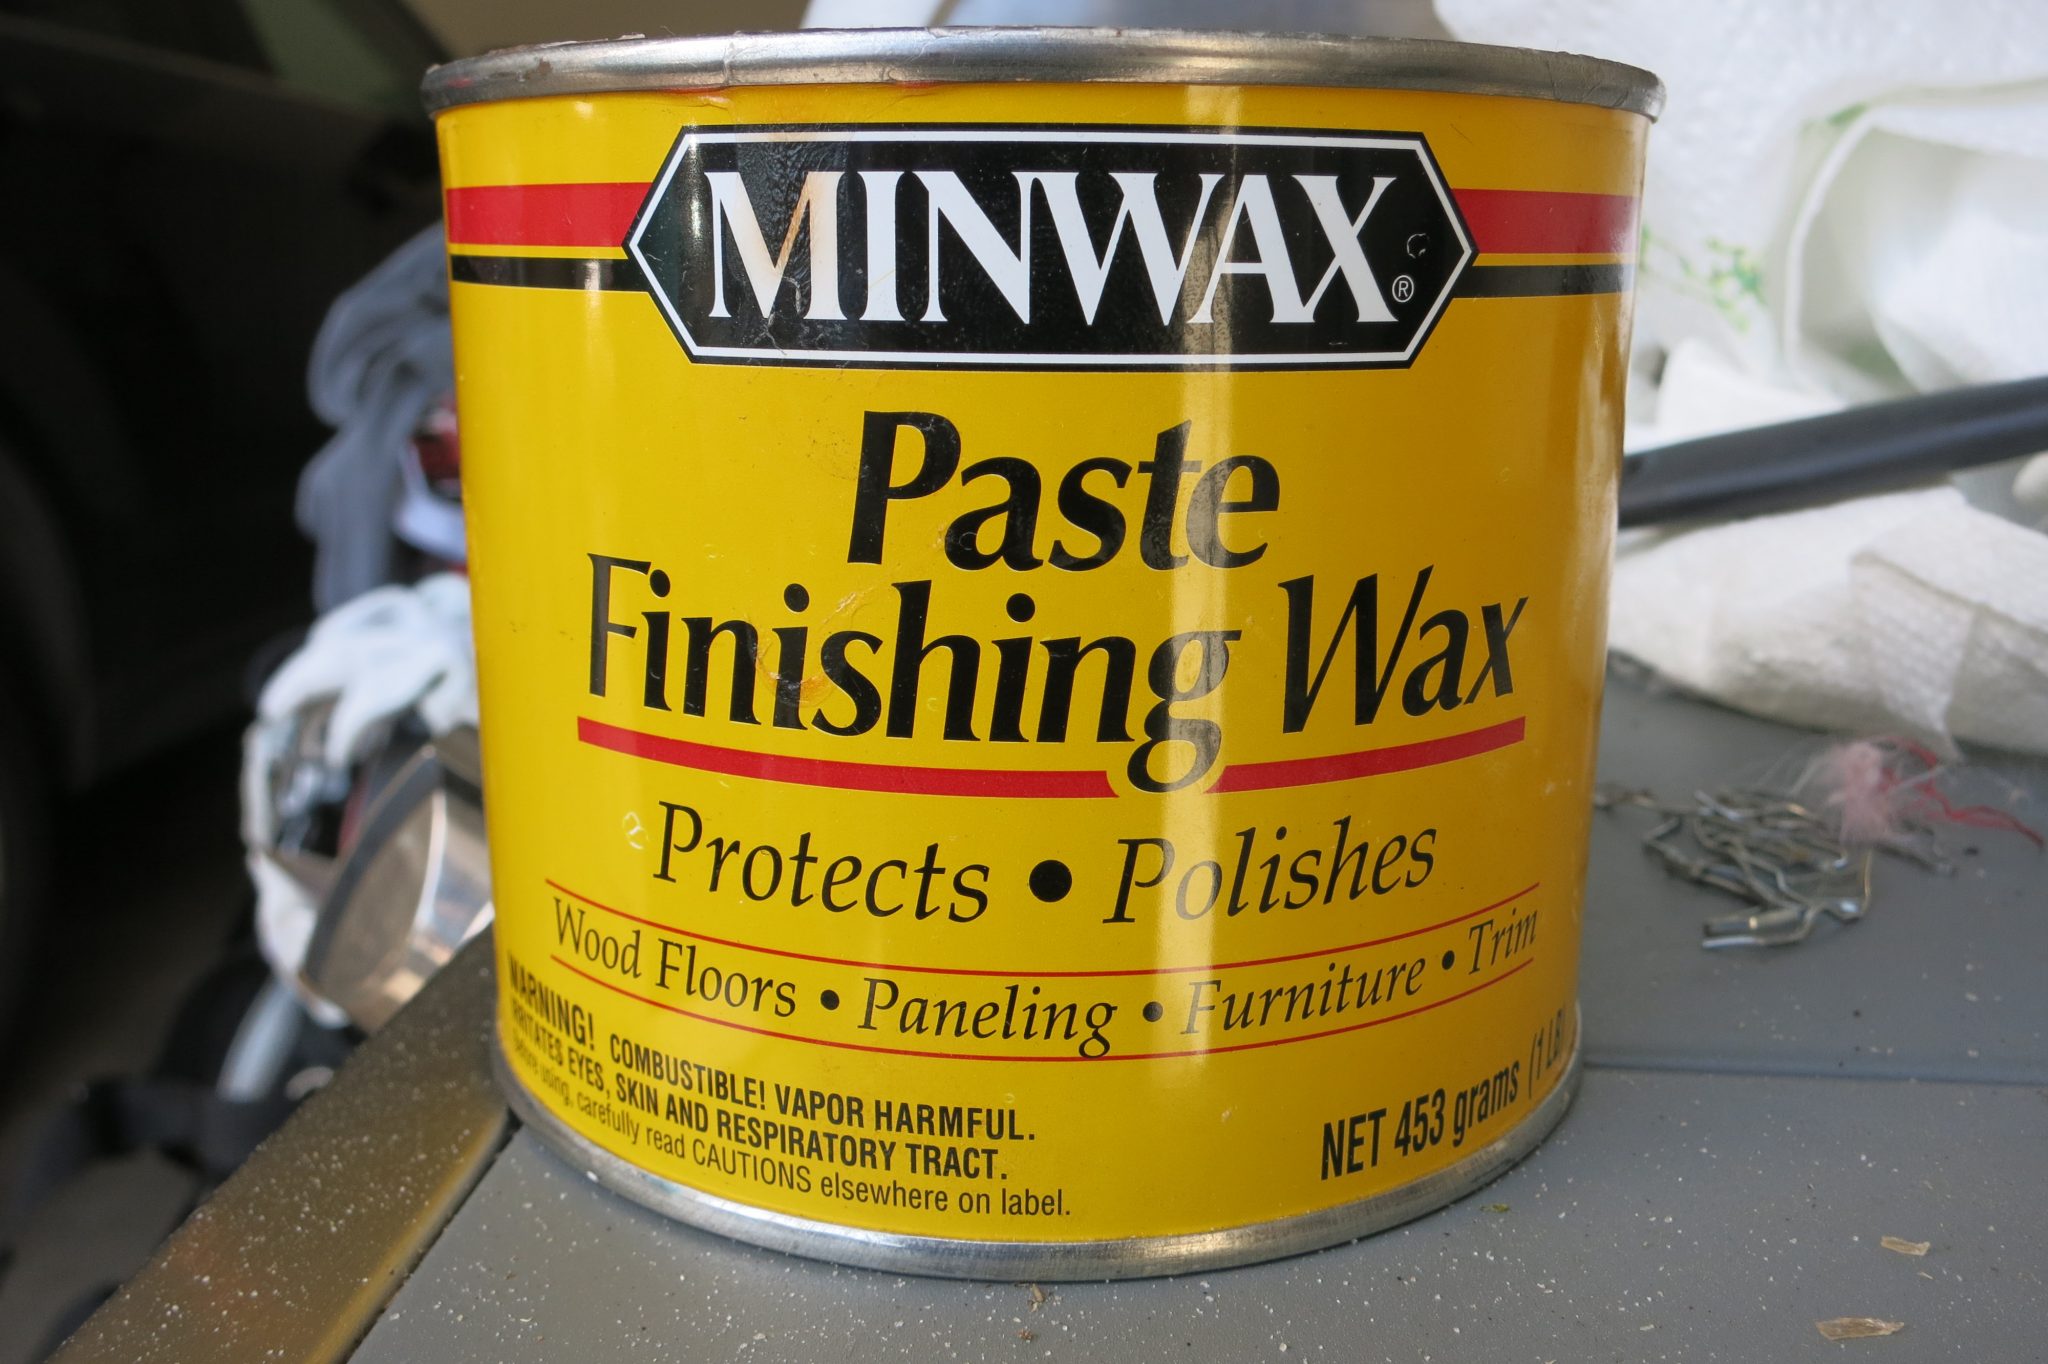
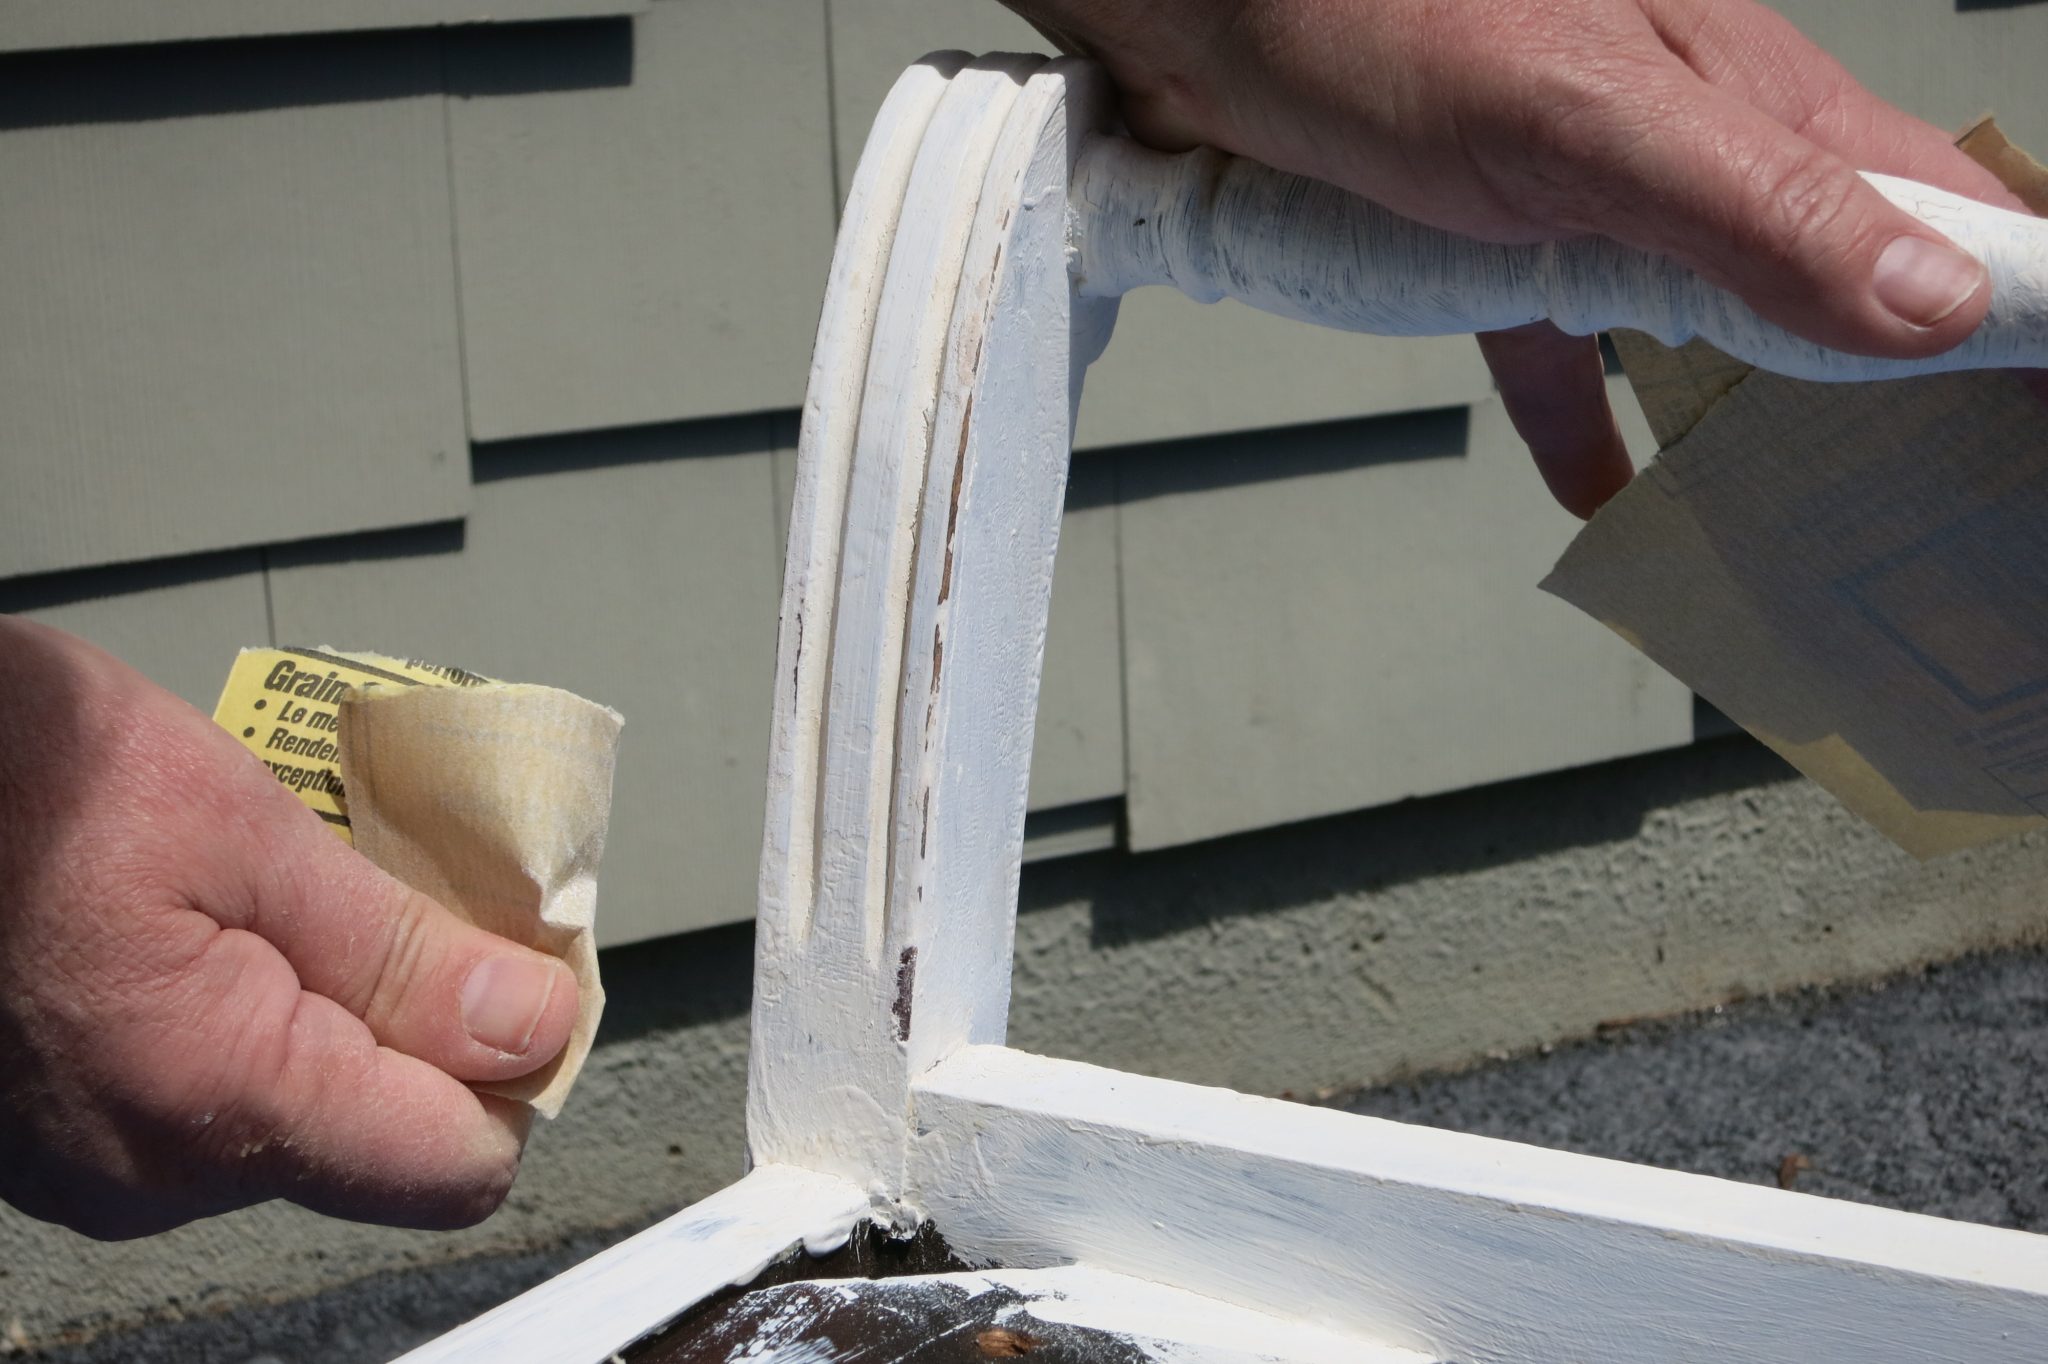 …and used clear paste wax as a finishing coat.
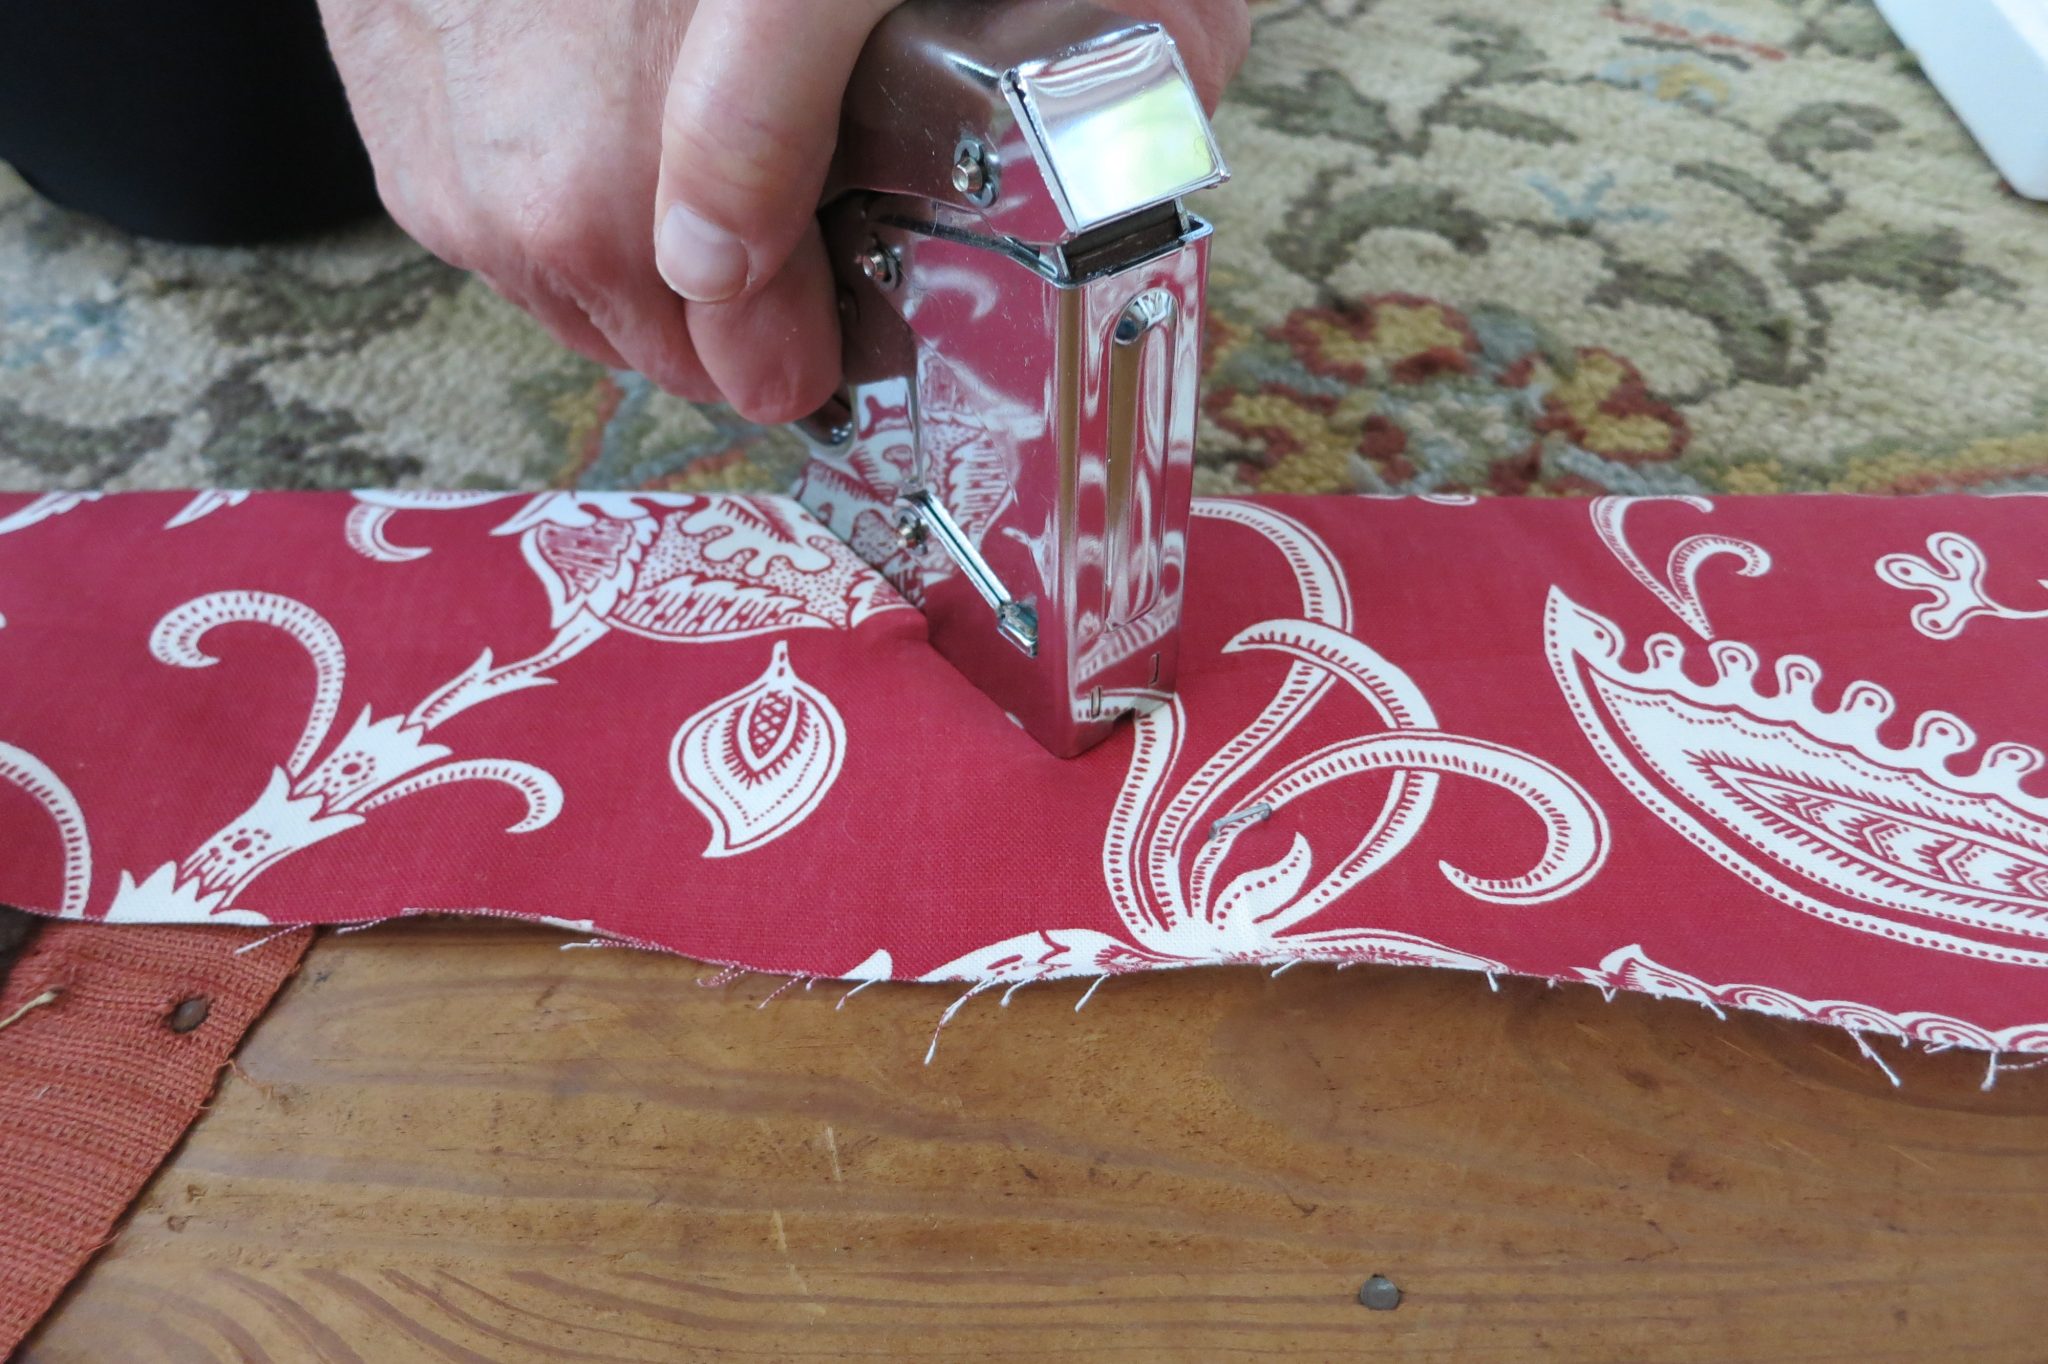
 We love this wonderful, vibrant red and white fabric. We were super fortunate to buy this as an end remnant for just $5.00. After we got it home we realized there were four yards of fabric. We only needed 1/2 of a yard for the seat cover – plenty leftover for other projects!
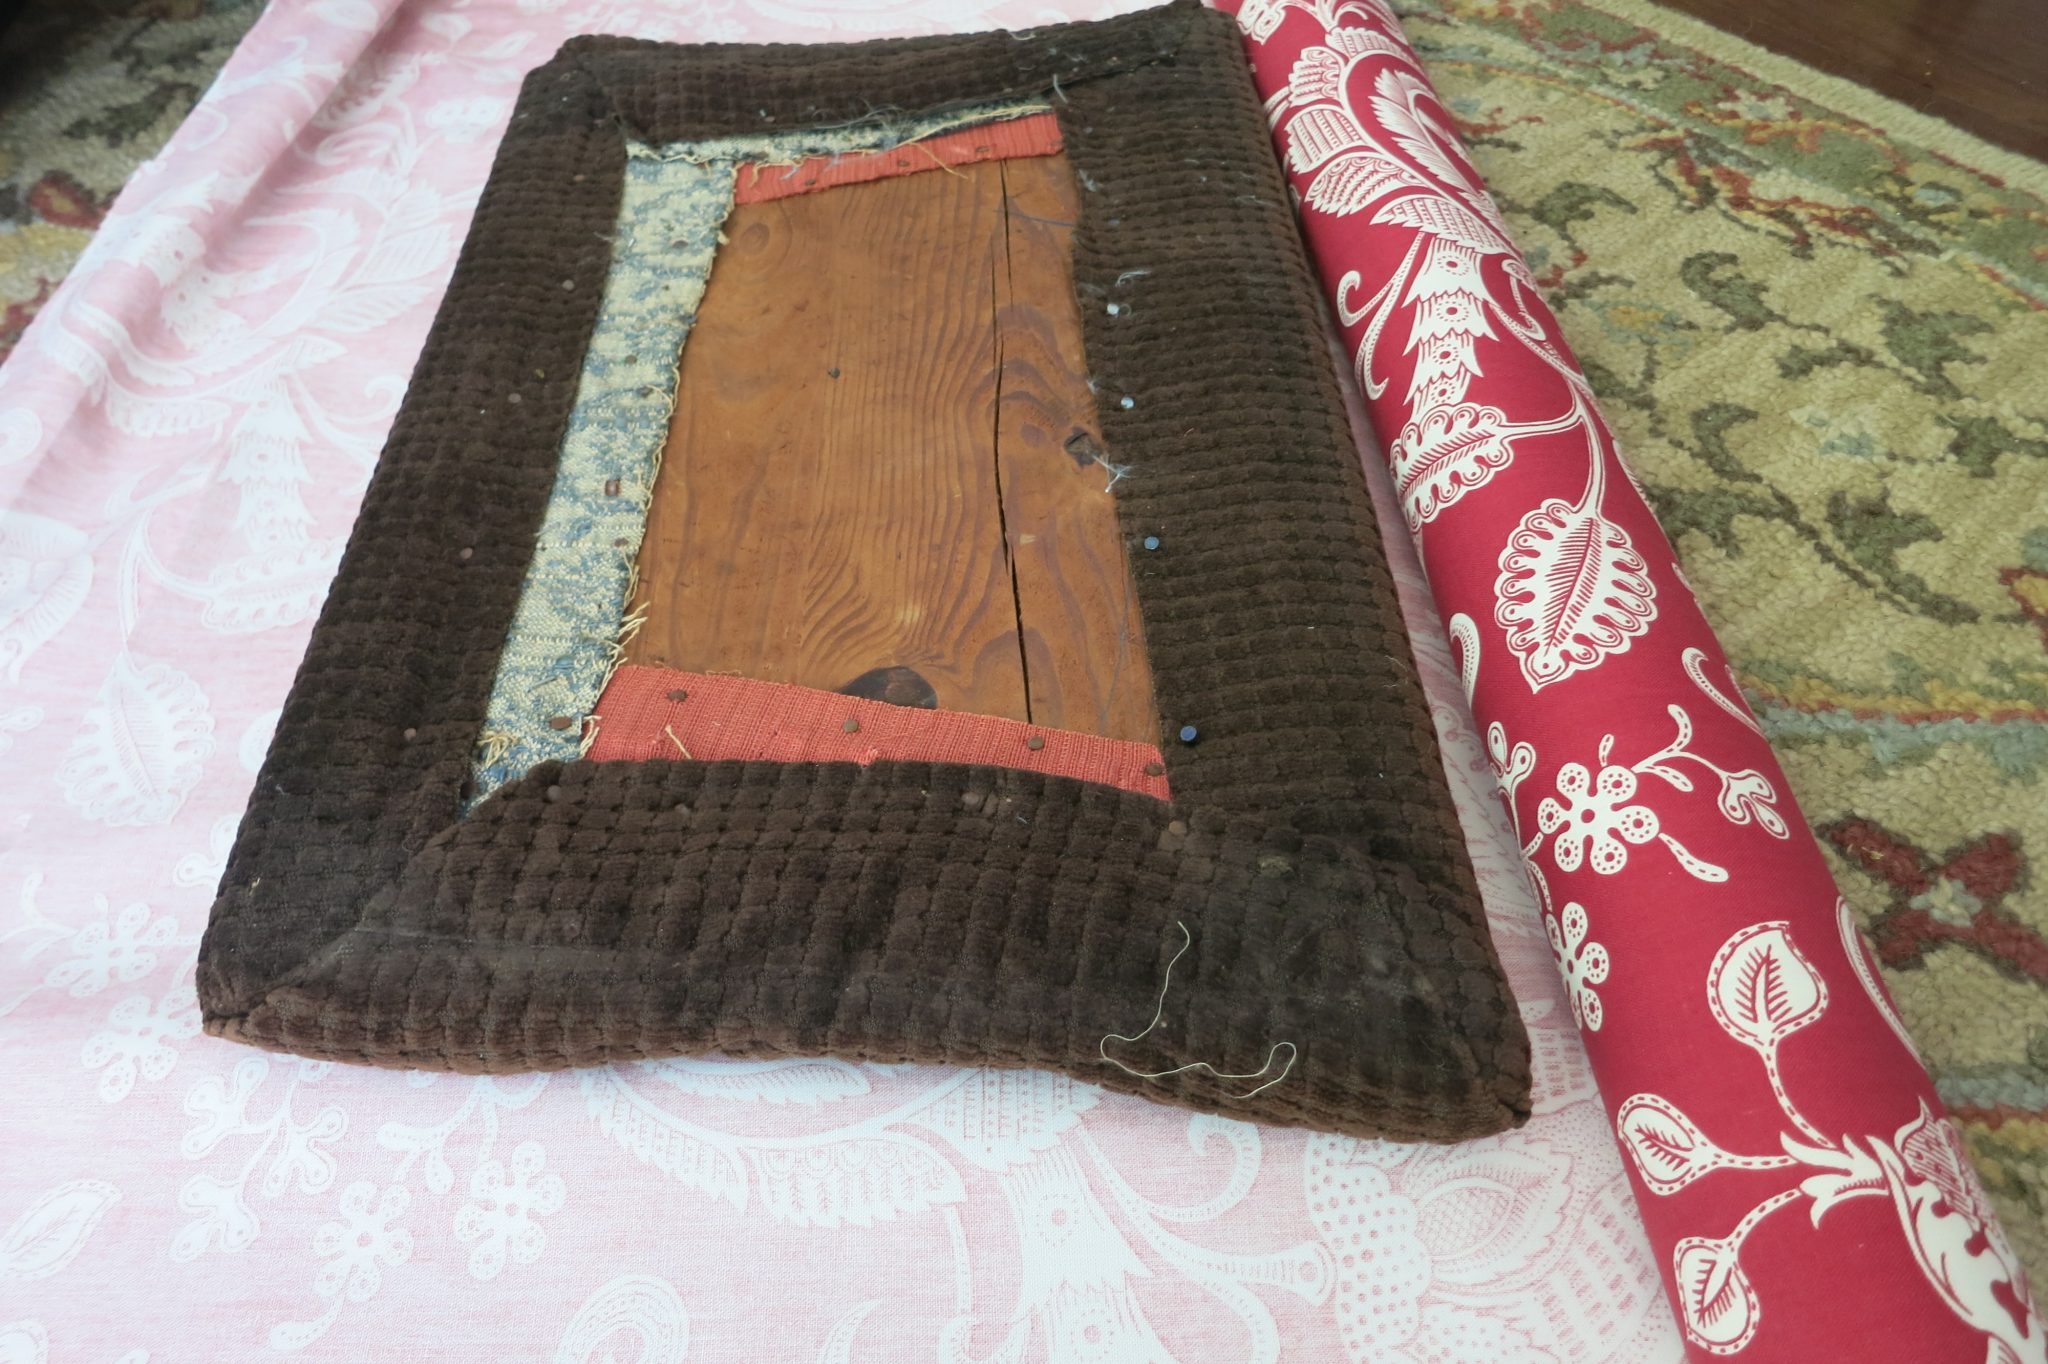
We removed the outer silk fabric , as the embroidered fabric was too think and would show through this new fabric cover. The previous cover layers were left in place – as they appear to have been added a very long time ago.
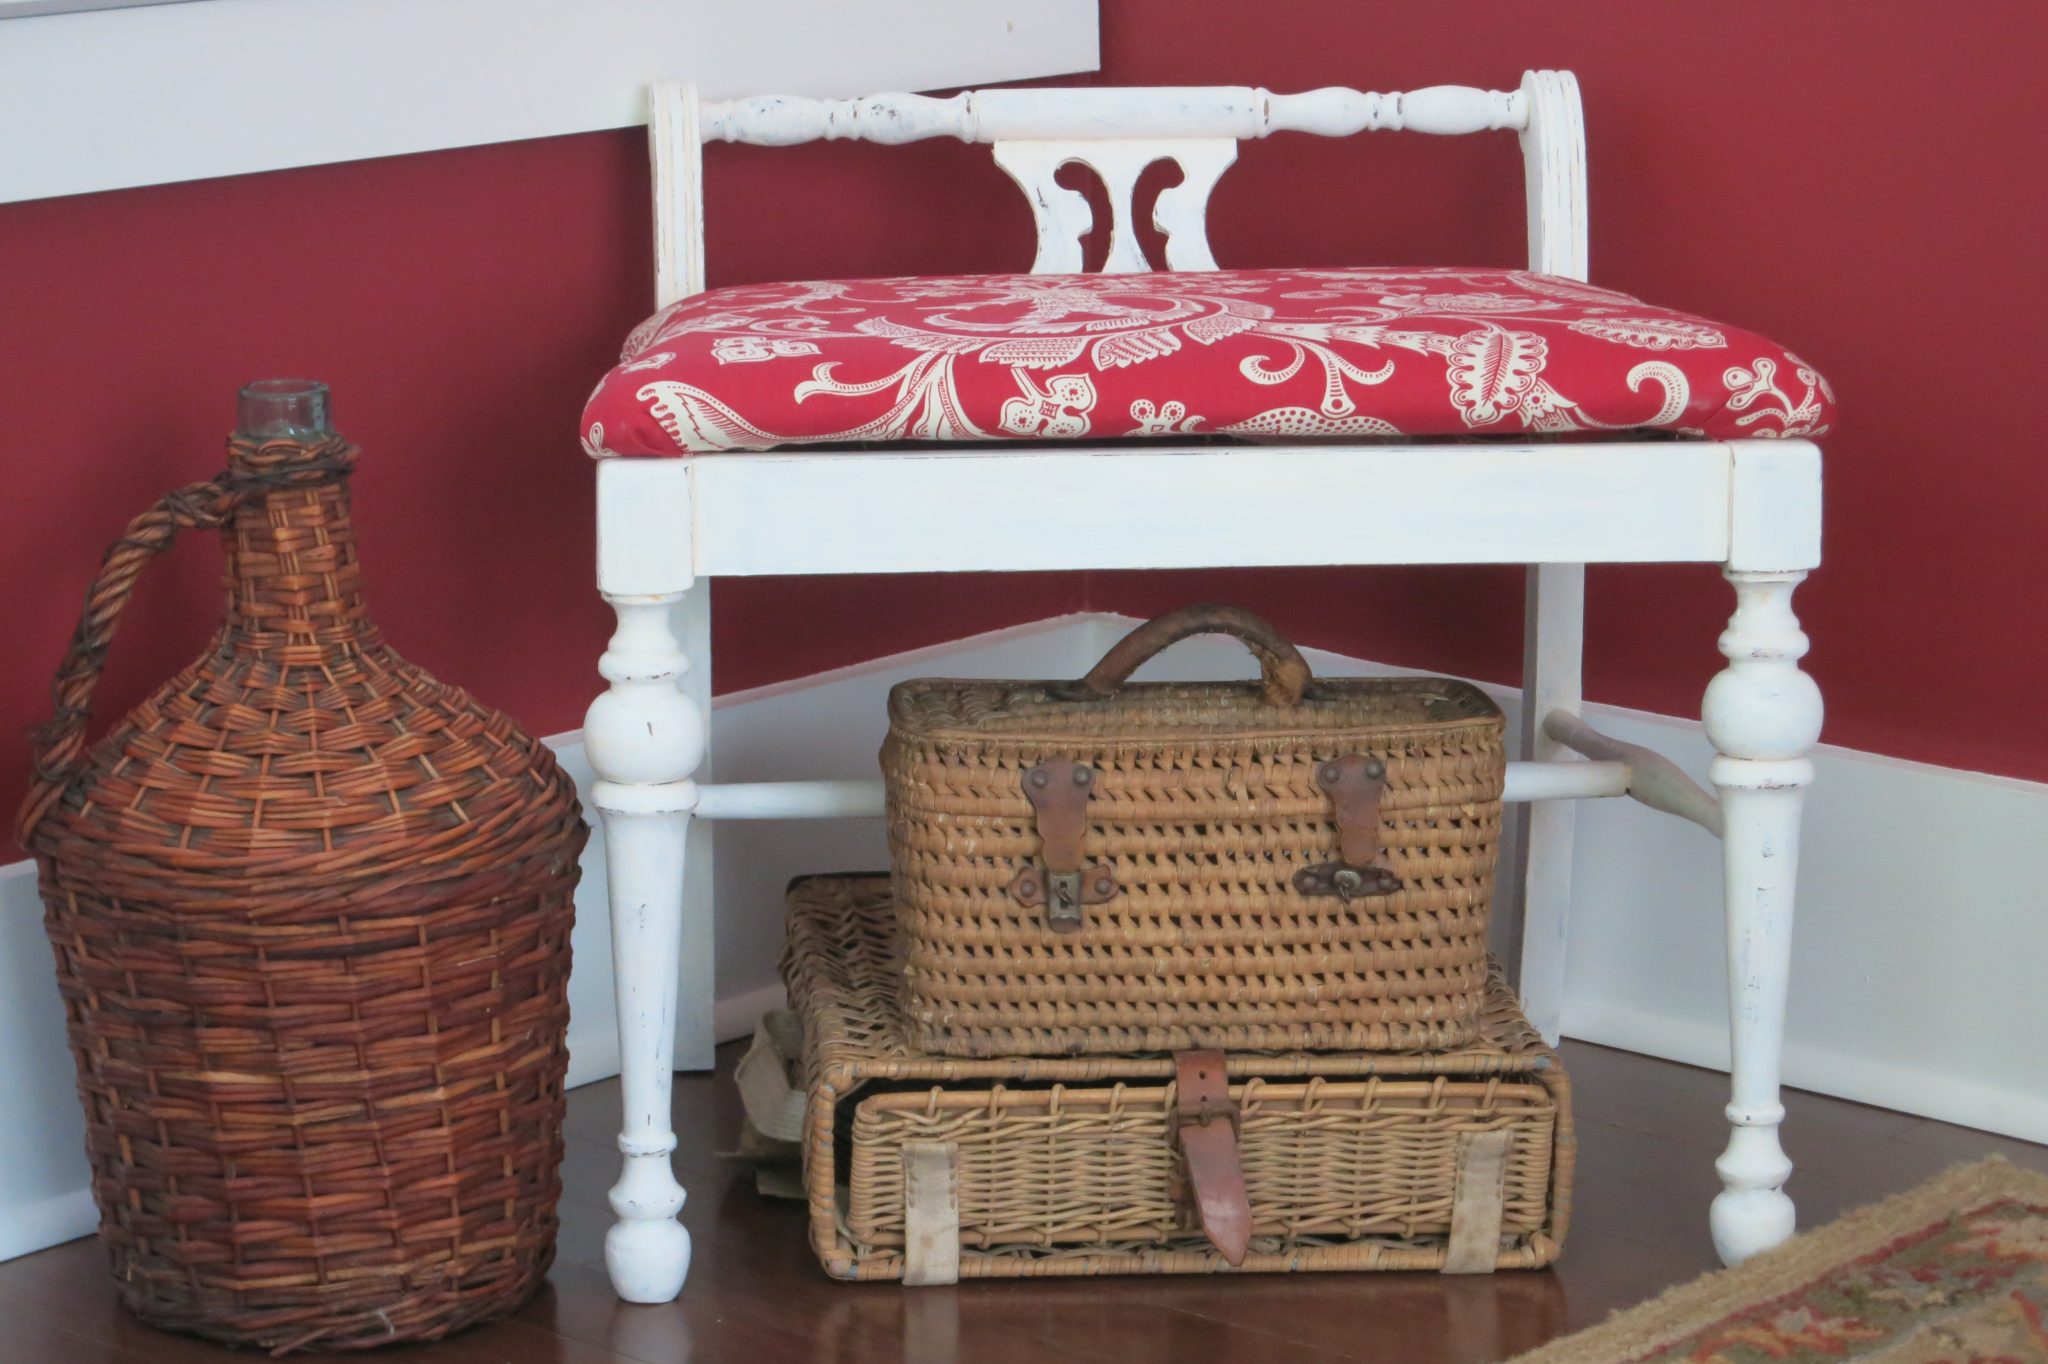
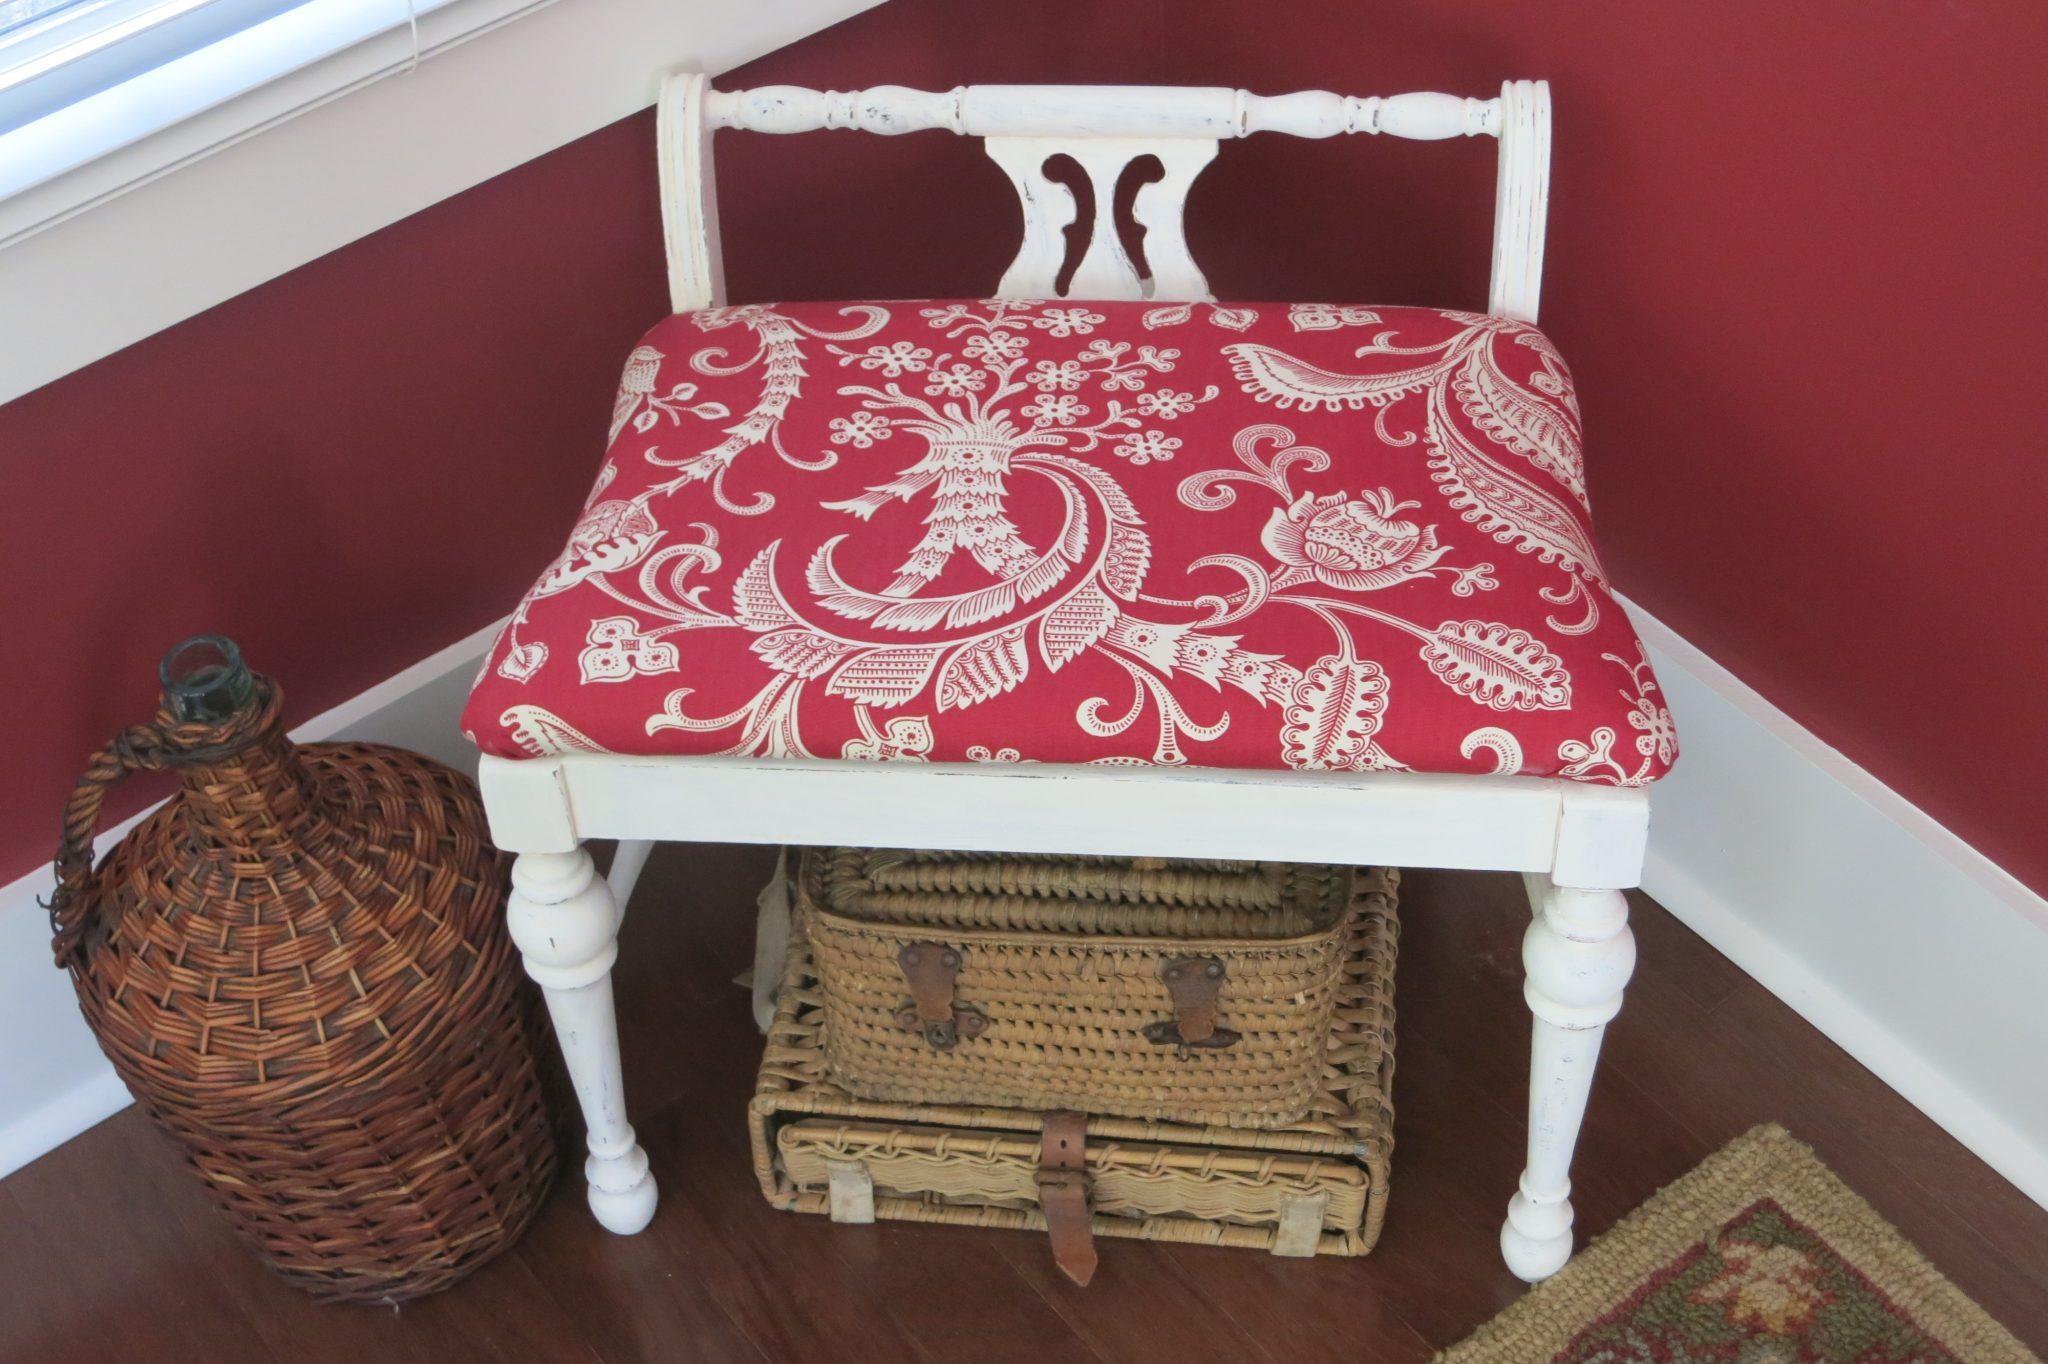
We truly love how the vanity bench looks now. This is the perfect piece of furniture – tucked away in a corner and can be used as extra seating at any time.
The bench really brightens and enhances this previously unused corner.
This total project took just 45 minutes from beginning to end. The chalk paint dries so quickly that it is easy to apply the second coat of paint just 20 minutes after the first. The transformation is amazing and we are now using a previously unused piece of furniture – win/win 🙂
Before and After:
What have you painted lately? Tell us all about it 🙂





Loving this transformation ladies! This bench is so cute and I can see how versatile for seating this bench be. I see red painted walls so I’m thinking this must be at the lake house and if anyone needs extra seating for their parties it’s you two 🙂 Hugs for a happy day, Coco
CoCo…you’re so very observant. Yes, this is at the lake 🙂 We love to entertain so this rescued bench has come in very handy!
Looks perfect tucked in that corner and LOVE the red fabric! Nifty transformation as always ladies 🙂 Bwg ~~~
Hi Bobbi – thanks so much! That fabric is from Forsyth Fabric here in Atlanta. Have you been there?
Lovely transformation! I see all these wonderful painted projects and I keep telling myself I need to get over my reluctance try it. I’ve got several pieces that could use a makeover!
Beverly – just go for it! If you make a mistake – you can just paint over it! We really hope you give it a try!!
Vicki and Jen, WOW I can’t believe you found that on the curb! Score for sure. what a great find and what a beautiful makeover and I LOVE the red!! You girls are whiz’s with the paint brushes for sure. have a great day, Lisa
Hi Lisa…Jenn is the Princess of roadside rescue 🙂 I think we love this bench so much because it is free and we love how it turned out!
Nice! I LOVE benches and stools….my hubby justs shakes his head when I bring another home;) But I don’t have one with the back on it. I love that! And the fabric is just perfect. Great job!
Hi Heather…we are so glad that you love benches too. We also have way too many in our homes…but they are perfect to fit into a little nook or cranny! We would love to see some of your benches 🙂
Stunning!! Even in the rough shape it was in, who in their right mind would throw that away?! So glad you saved it from the trash and gave it new life. It’s beautiful now!
Amy…I know it! We are always shocked at what people throw out! Luckily for us Jenn snagged it from the trash and then we could work some magic 🙂
Hi Vicki and Jennifer, I just wanted to let you know that you are one of my nominees for the Very Inspiring Blogger Award that was recently passed on to me! https://fromevijawithlove.wordpress.com/2015/04/12/very-inspiring-blogger-award/ I love your work !!
Hi Evija – we are so honored! What do we need to do? Thank you so very much for thinking of us!
What a great save and makeover! I love the choice of colors and wow… it’s stunning! Very well done girls!!!
Hi Robin…thanks so much! We love to transform furniture pieces…especially ones that were thrown to the curb!