This little piggy…
Please note that this post contains affiliate links. As an Amazon Associate, Rewards Style influencer and Jane Influencer, we earn from qualifying purchases and any sales made through such links will reward us a small commission – at no extra cost for you.
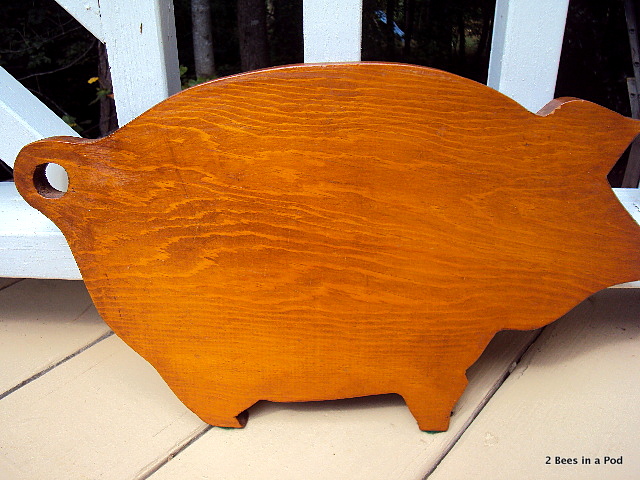
Had to come home with me! I found this amazing deal on a recent trip to St. Augustine in a great little antique shop. The minute I saw it, I knew exactly what I was going to do.
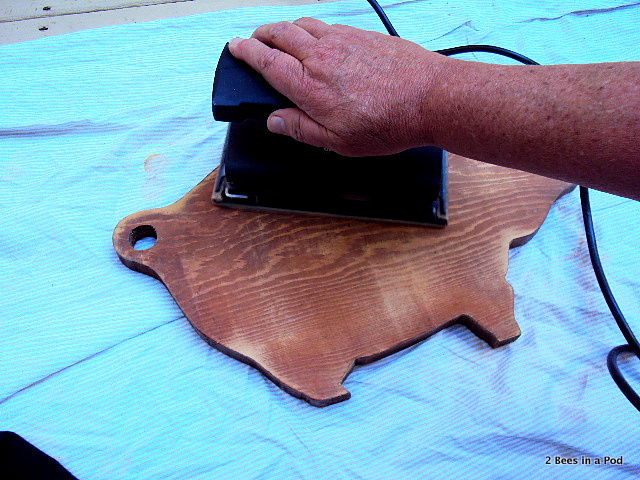
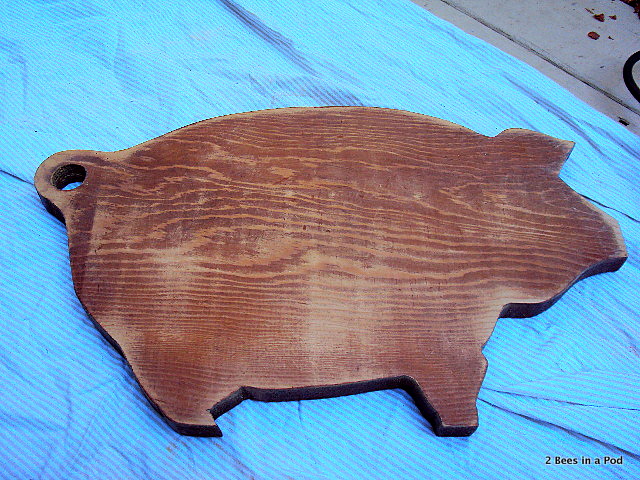
It had been used as a cutting board, but I thought it would be even better as a chalkboard to go in my kitchen. The first thing I had to do was sand it down to get the coat of polyurethane off.
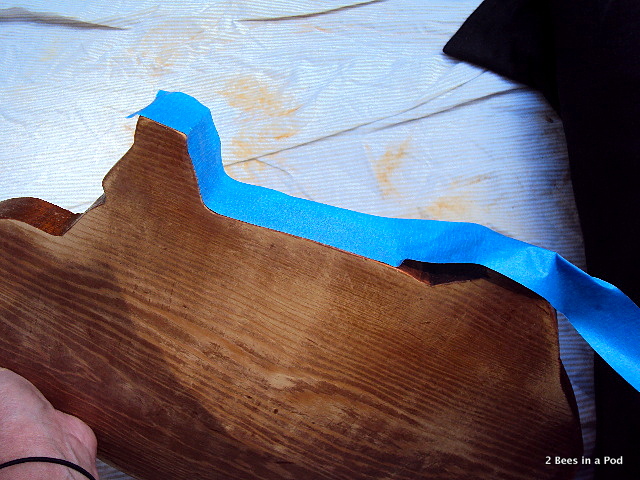
Then I had to tape the sides to make sure that the chalkboard paint was only on one side of the pig.
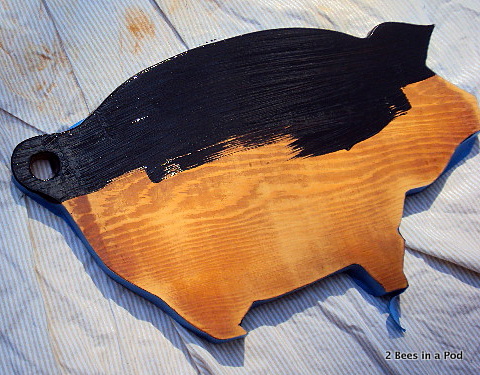
After this we got to the fun part of painting it. We like to use Valspar Chalkboard paint since it goes on really well and always gives us a great end product.
Now the hard part though is painting in long strokes and making sure you have enough paint on the brush. If you try to go over the wet paint, it will make it more streaky. If you feel like your project needs a second coat, wait for the first coat to completely dry.
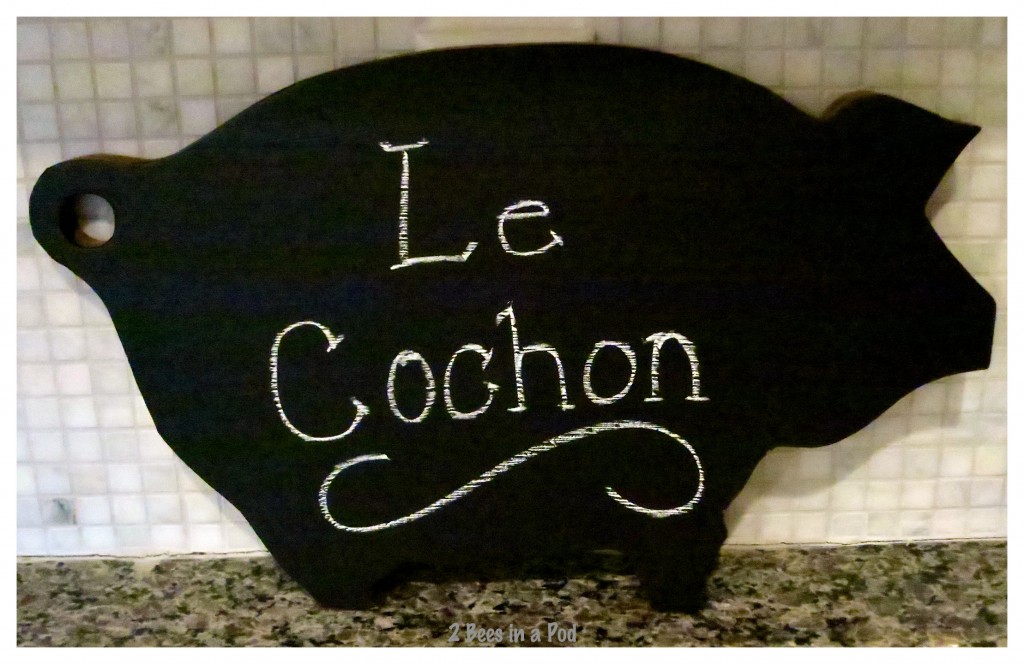
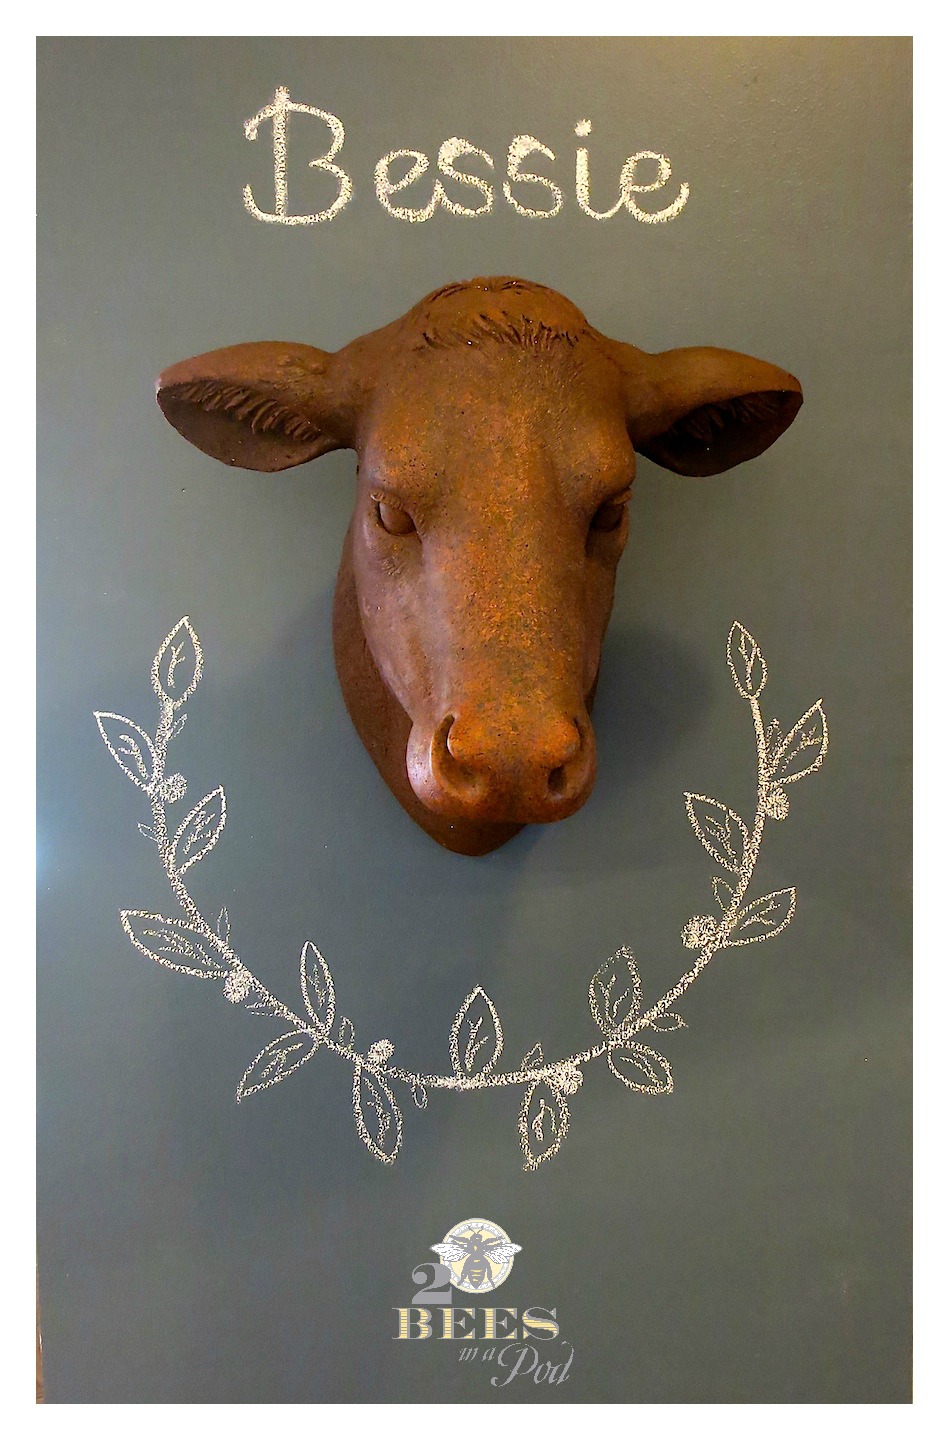
Now look how cute she is in my kitchen!
This was such an easy project and the best part was that it only cost me a total of $10.00. You can’t beat that!
