Reviving a Worn Cedar Chest…
Please note that this post contains affiliate links. As an Amazon Associate, Rewards Style influencer and Jane Influencer, we earn from qualifying purchases and any sales made through such links will reward us a small commission – at no extra cost for you.
I purchased this cedar hope chest/blanket chest for $25 at an estate sale a couple of years ago. Even better, the seller also pitched-in a cardboard box full of items that I liked and found to be valuable. Remember the carved box project? For very little money the seller also gave me a screen door, a 100 year old door with the door knobs still attached, porch railings, windows – oh the list goes on and on. Probably the best estate sale I have ever attended 🙂
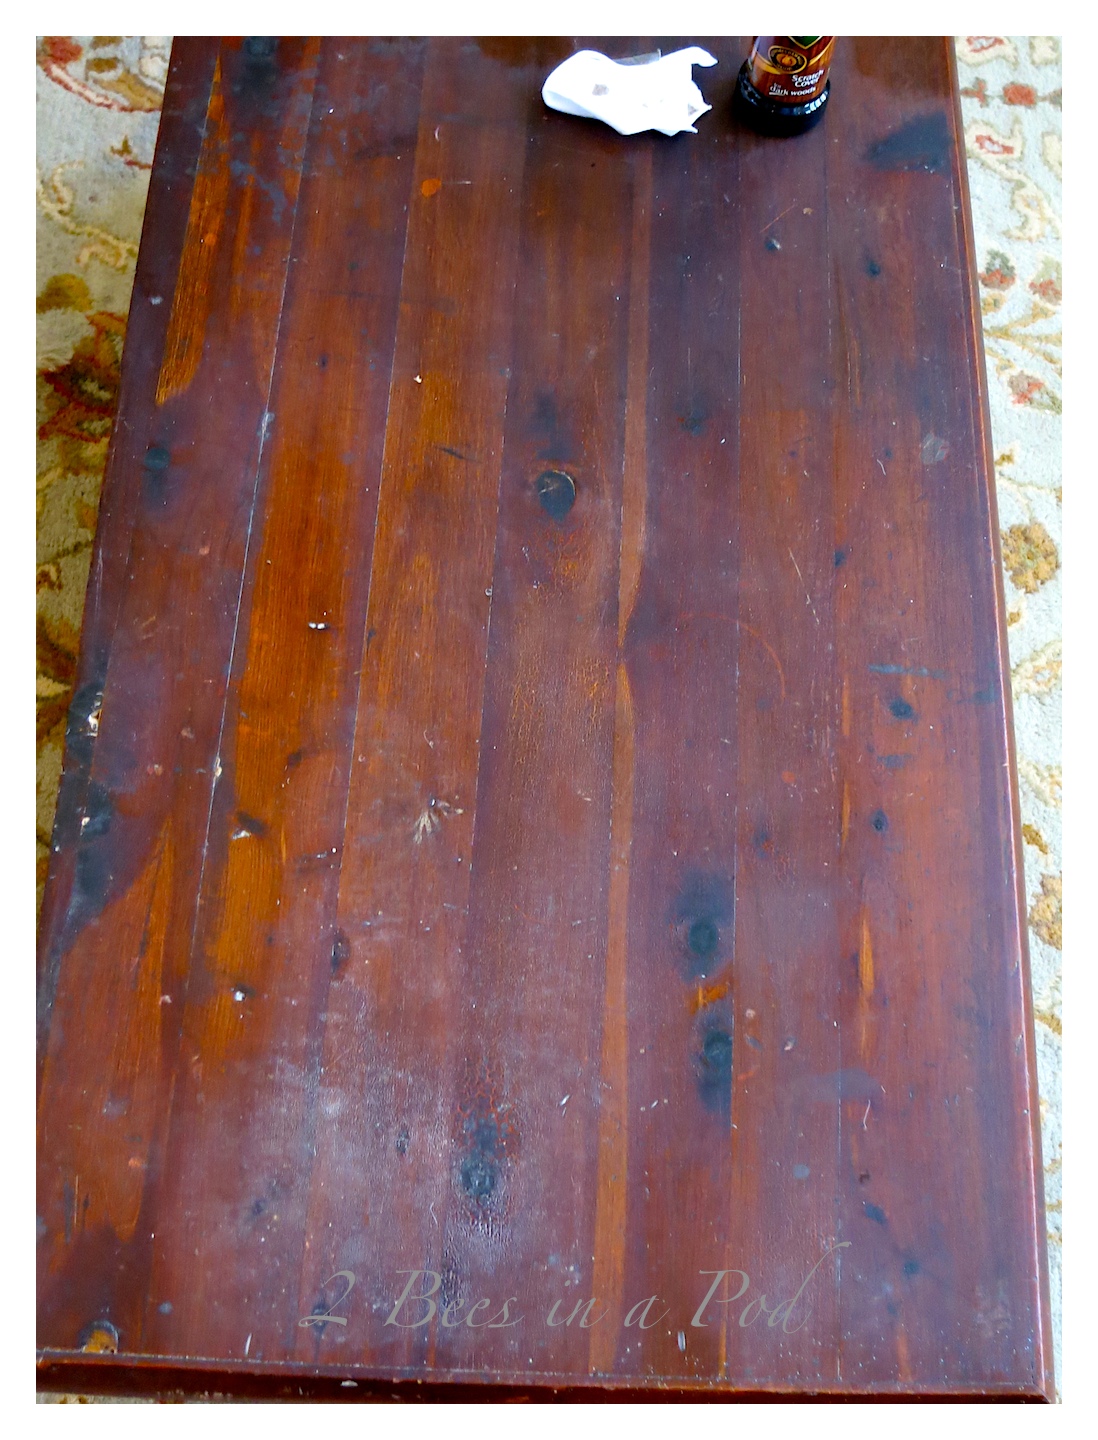
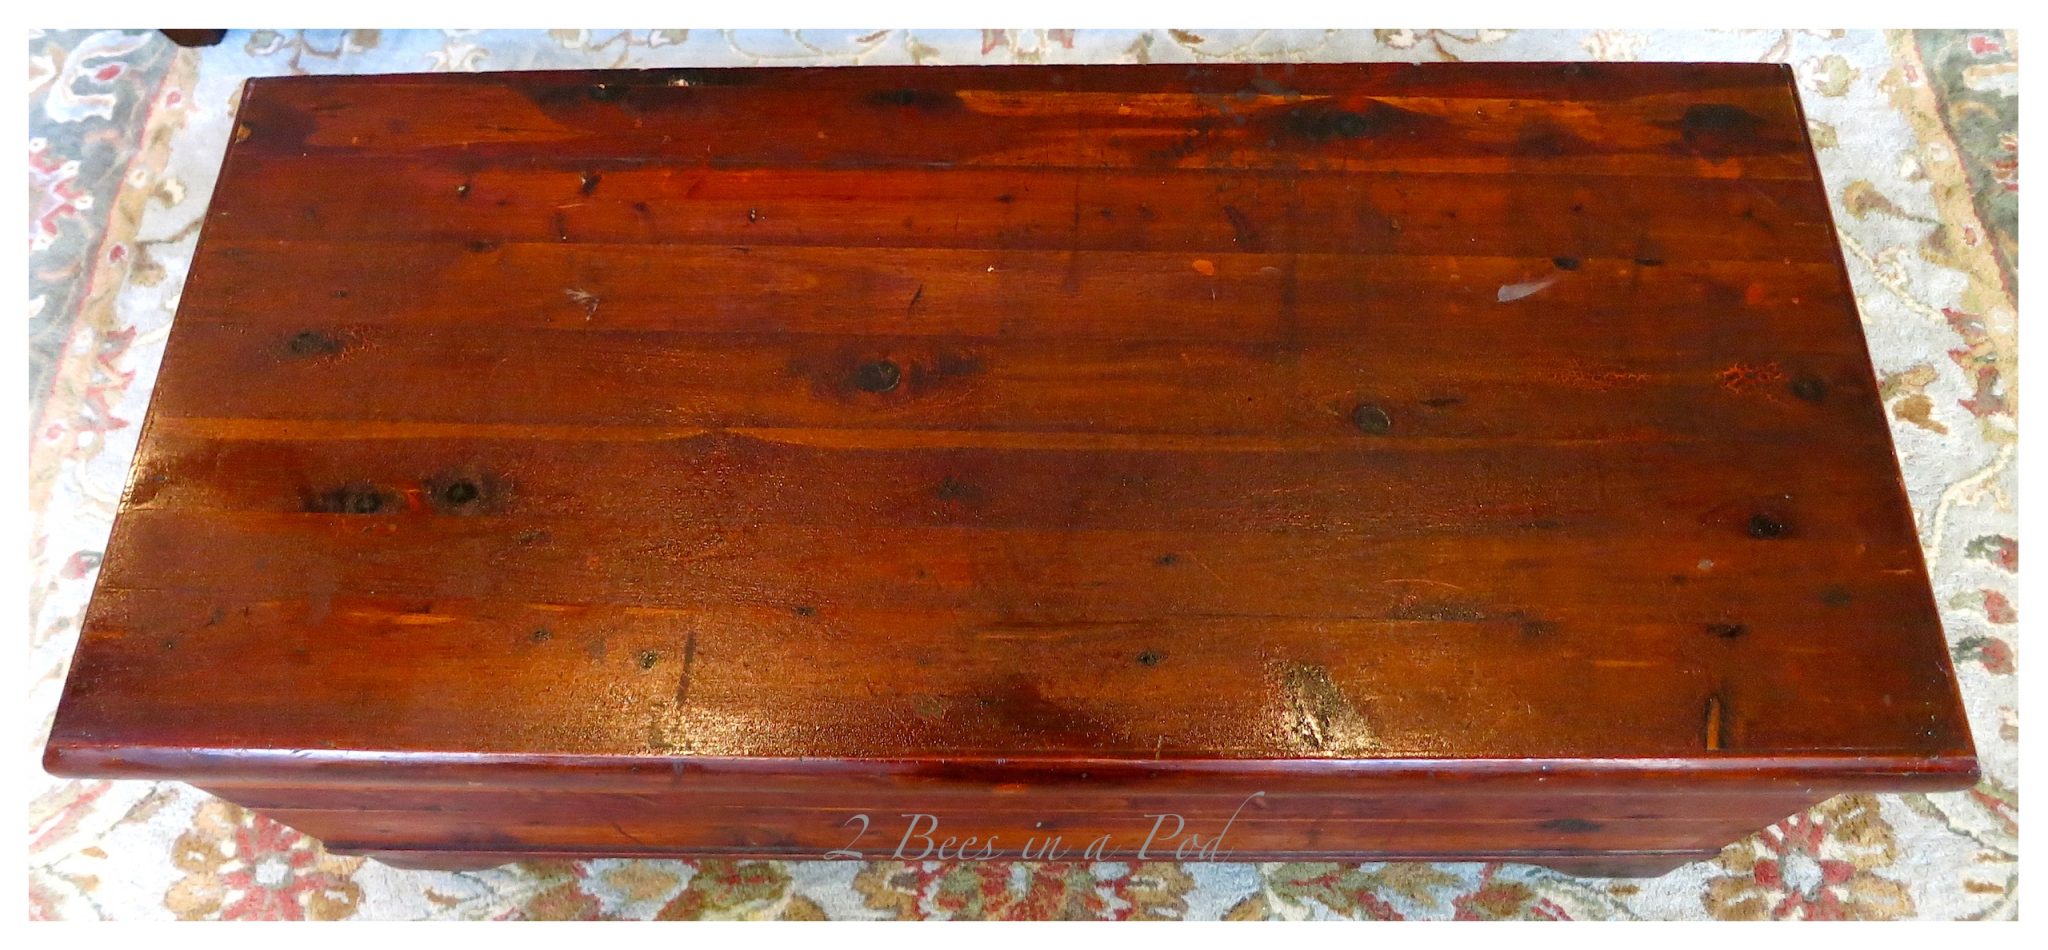
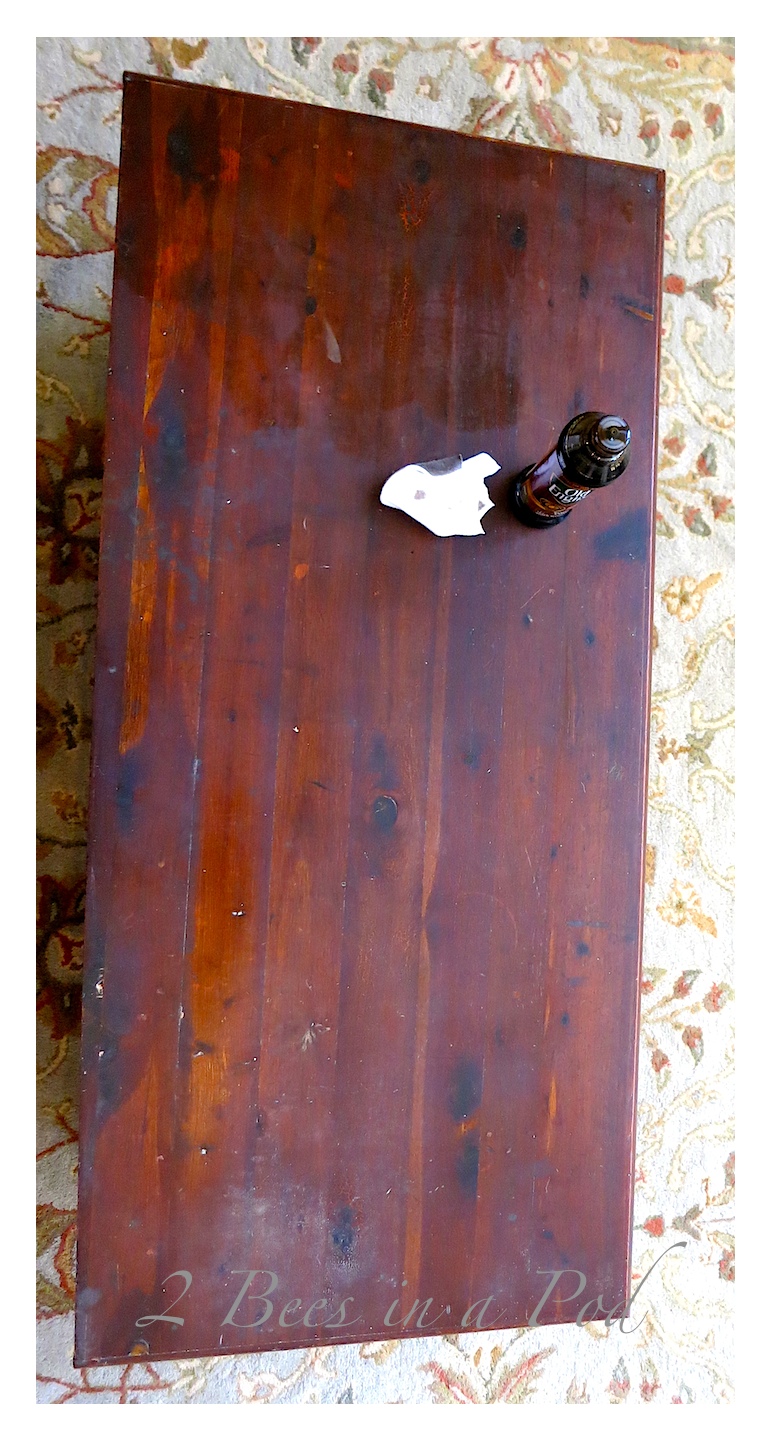
I never did anything with this cedar chest. It is in excellent condition except for some cloudy spotting on the top – seen here… …and here.
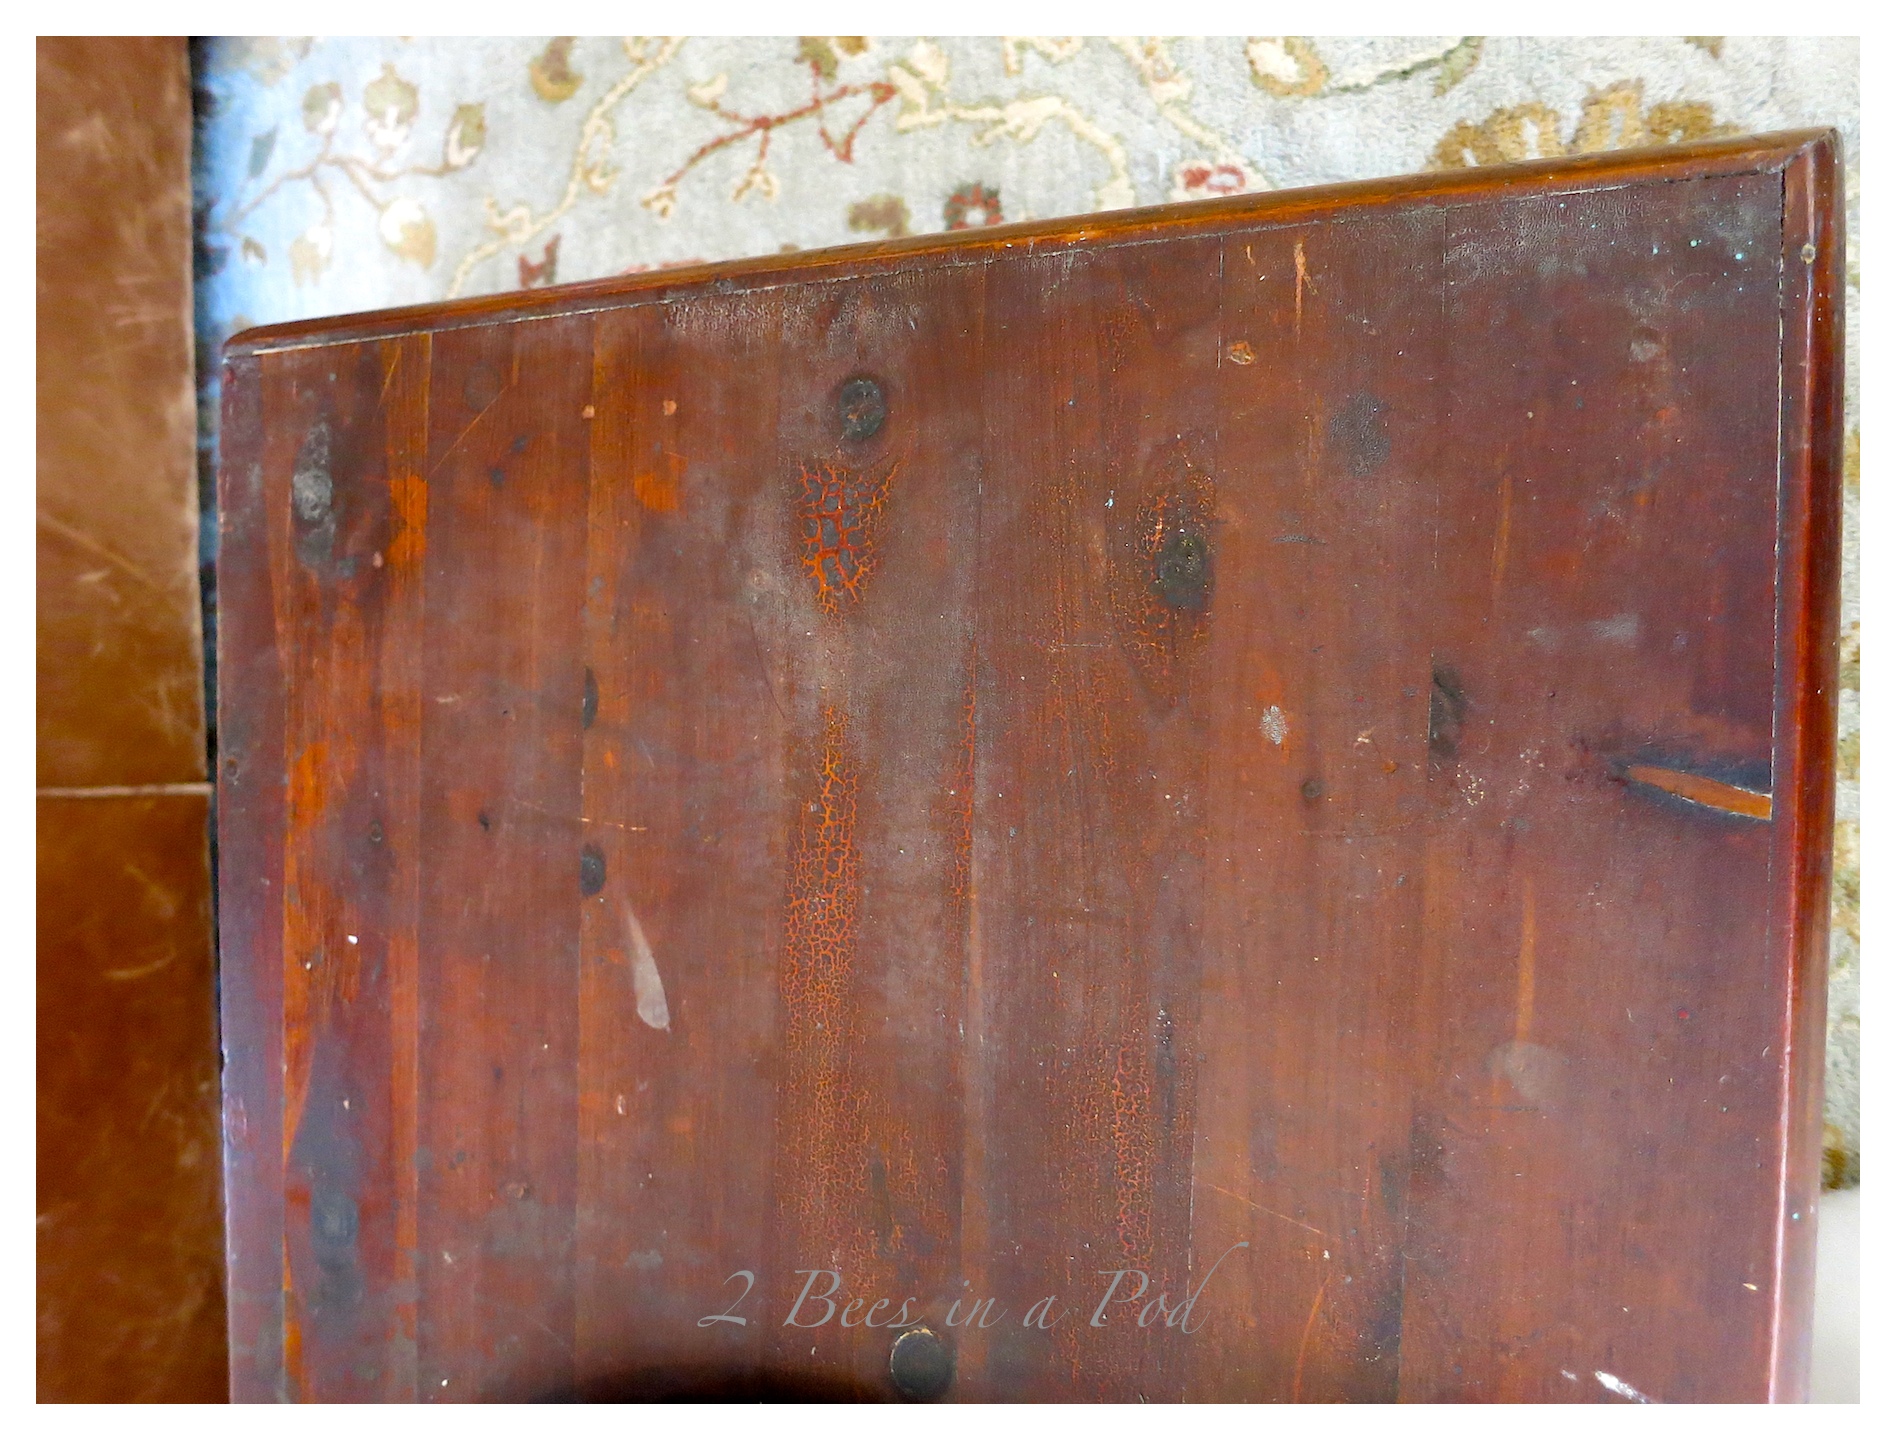 In January I brought the chest into my family room with the intention of changing out a larger chest and using this as our “new” coffee table. I rubbed the top with furniture oil to no avail – the cloudy patches were still there. I even asked our readers via Facebook what their thoughts were. Some suggested painting it (which, honestly was my preference) but mostly everyone was against this method – especially my Honey Bee. He really wanted me to save the integrity of the furniture.
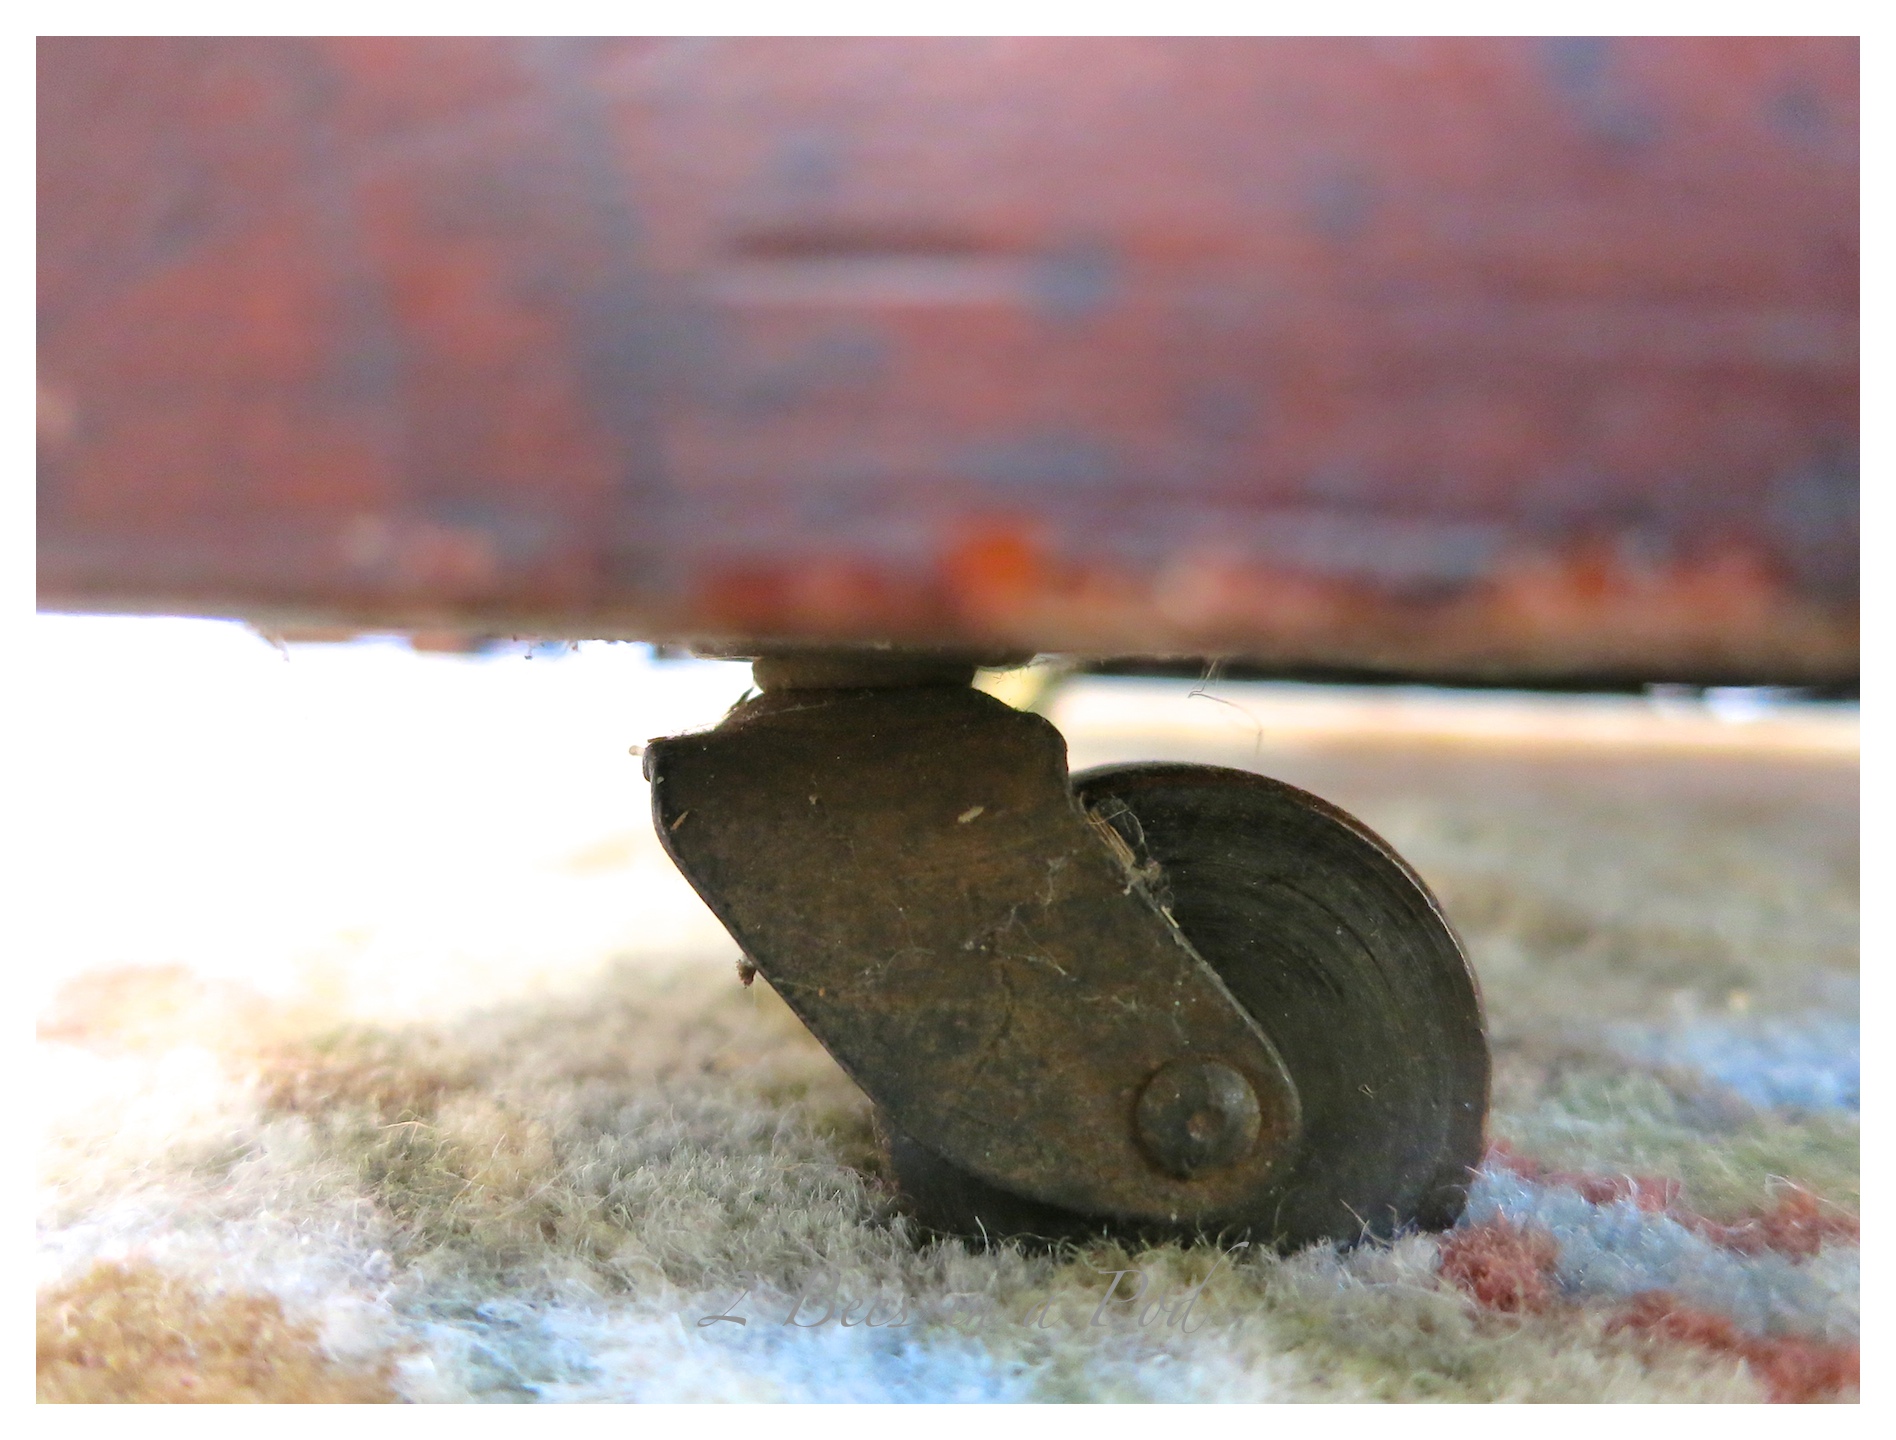
The chest retains all of its original casters…
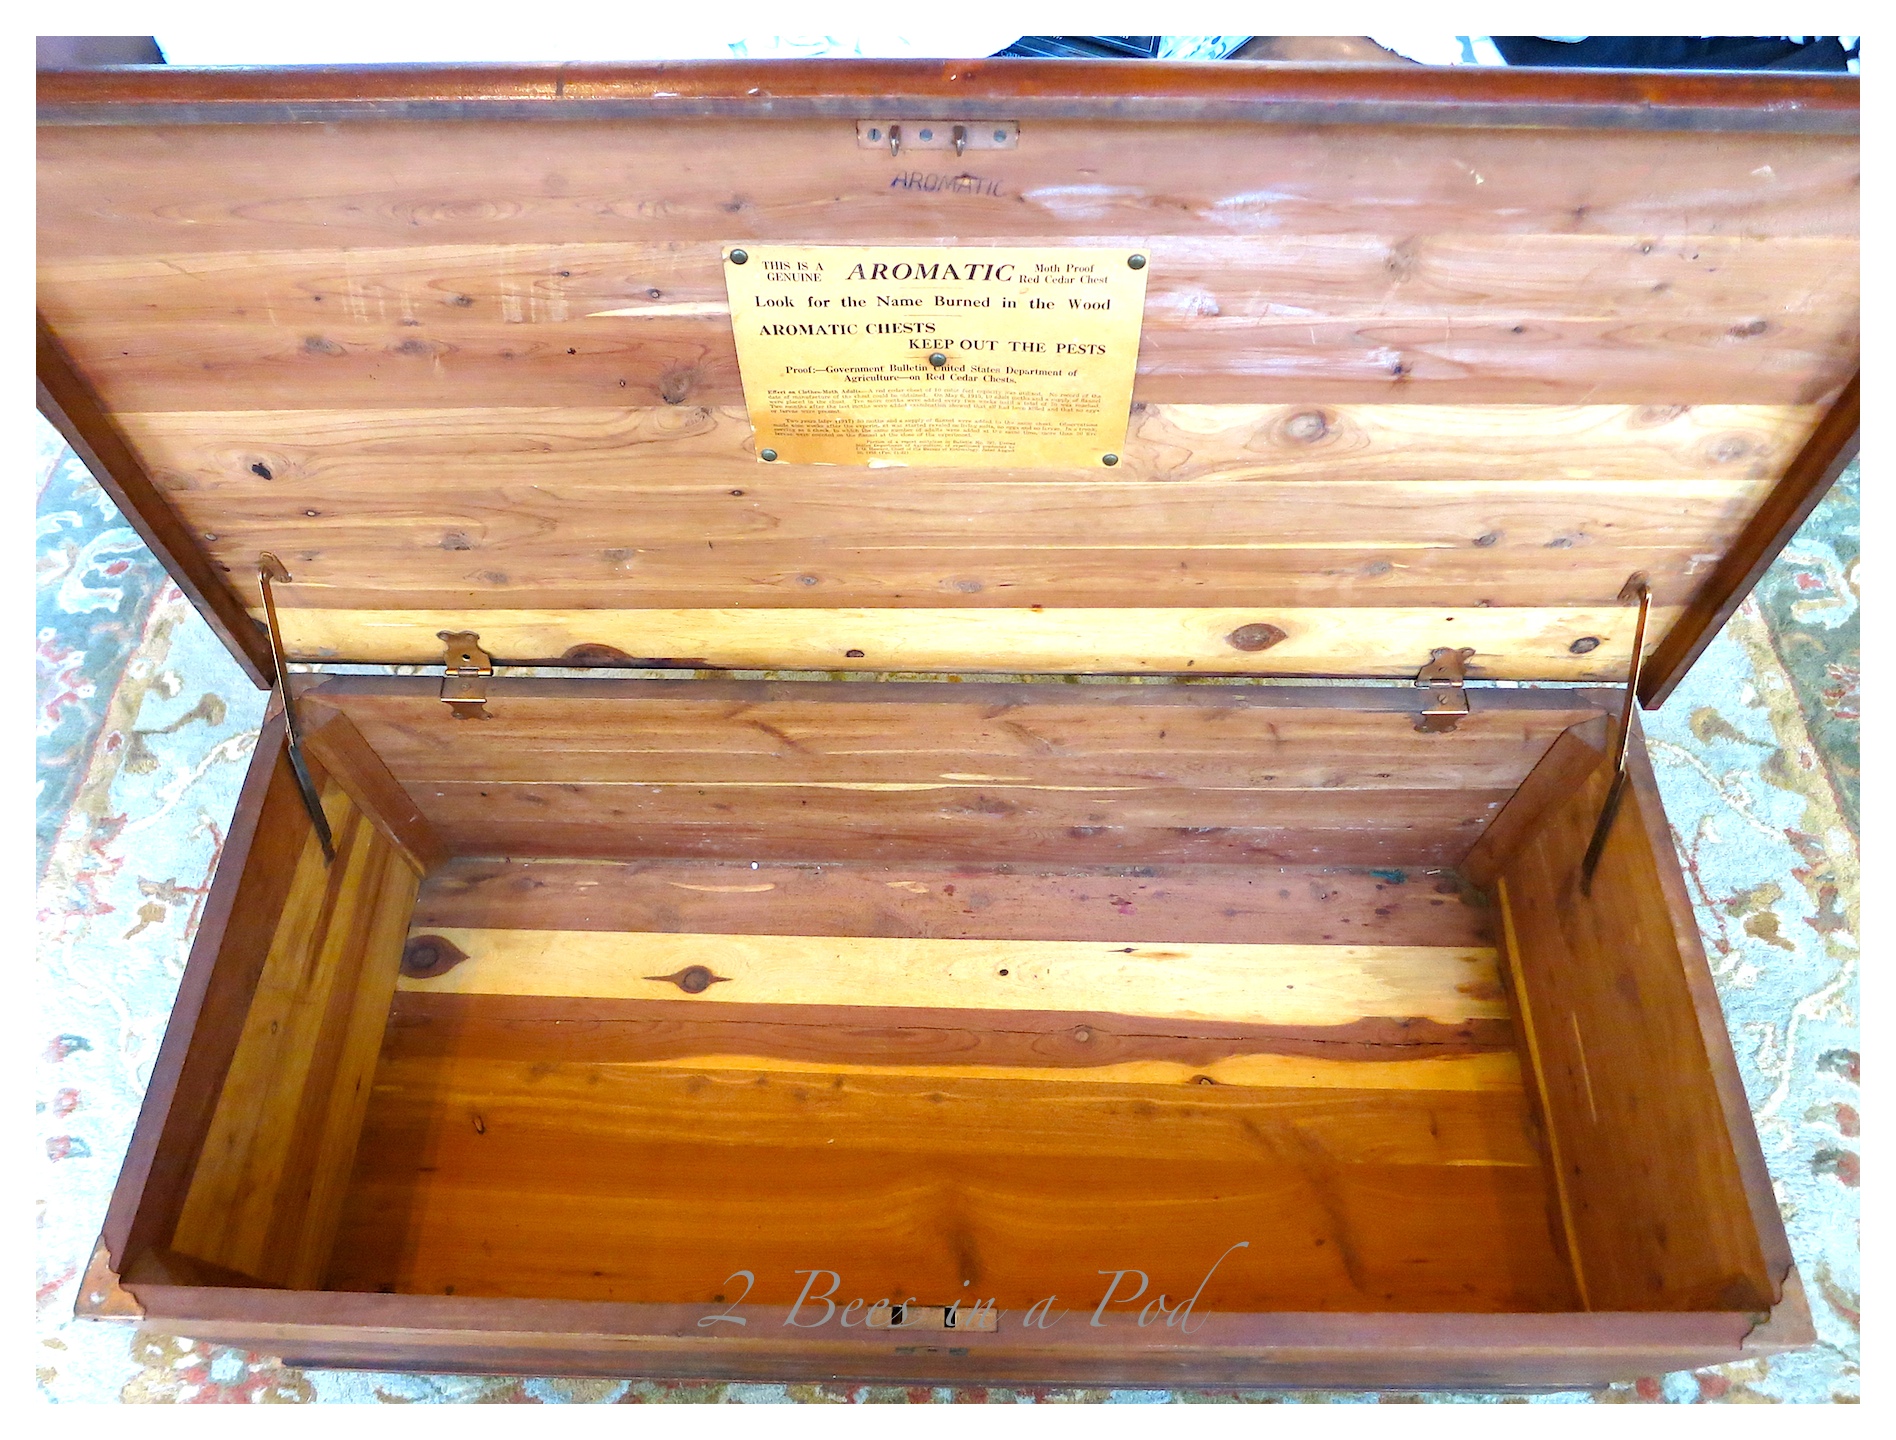 The original signage is still attached.
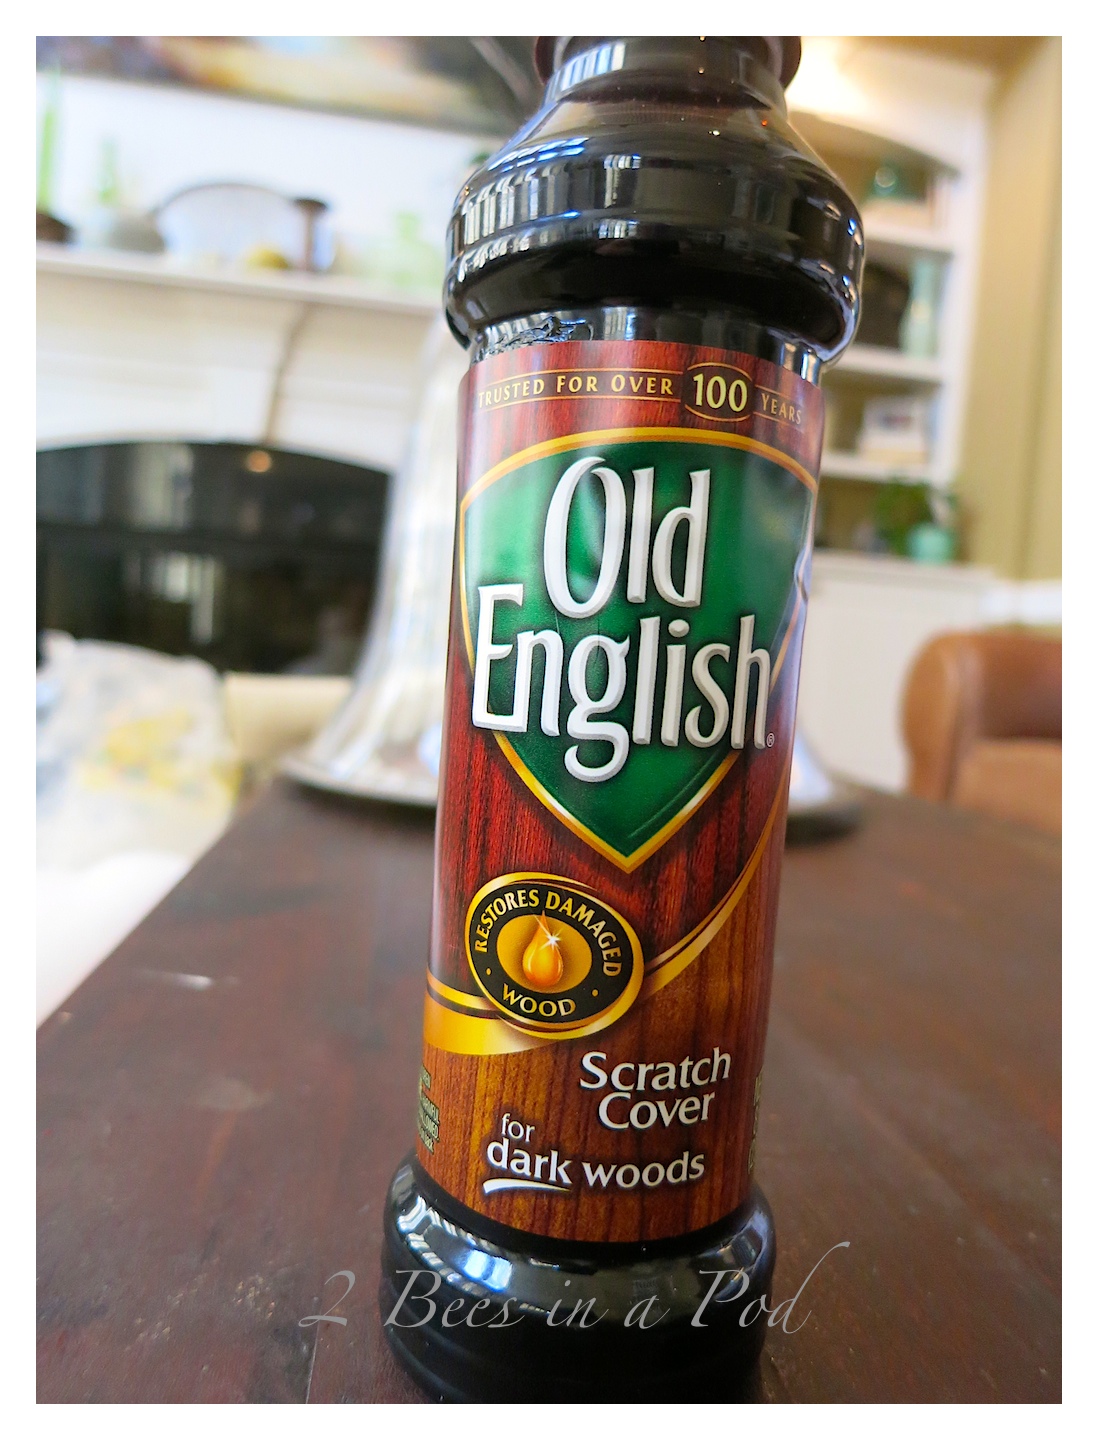
 I remembered a product that my mother always used at home – Old English Scratch Cover. It is sold in the furniture wax area of stores. There is a light finish and the dark finish that I used. It is not furniture polish – it is strictly meant to be used every several weeks or so to cover scratches and blemishes on furniture. A furniture restorer in a bottle 🙂
 I figured I didn’t have anything to lose – except the $4.50 price tag of the Old English. So, I bought it…
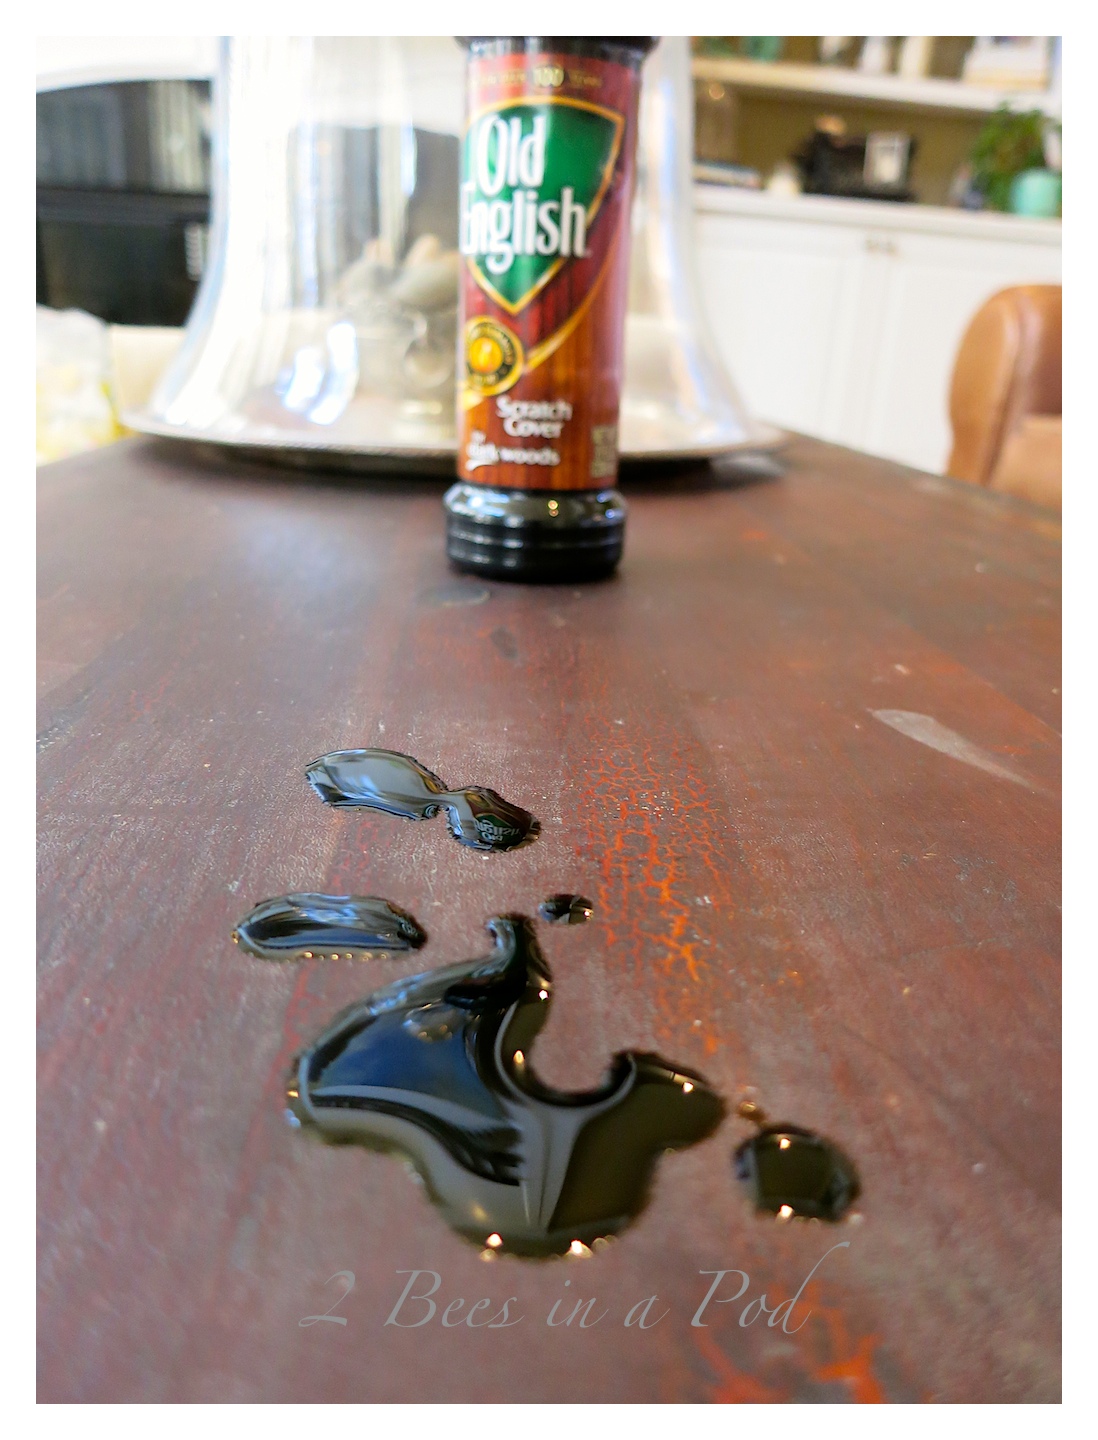
 …and got to work. I drizzled a little bit on the top and I found out that a little goes a long way.
 I worked it into the wood with a cotton cloth rag.
 I chose to let the scratch cover set a bit before I buffed the furniture. My side kick kept me company, as always 🙂
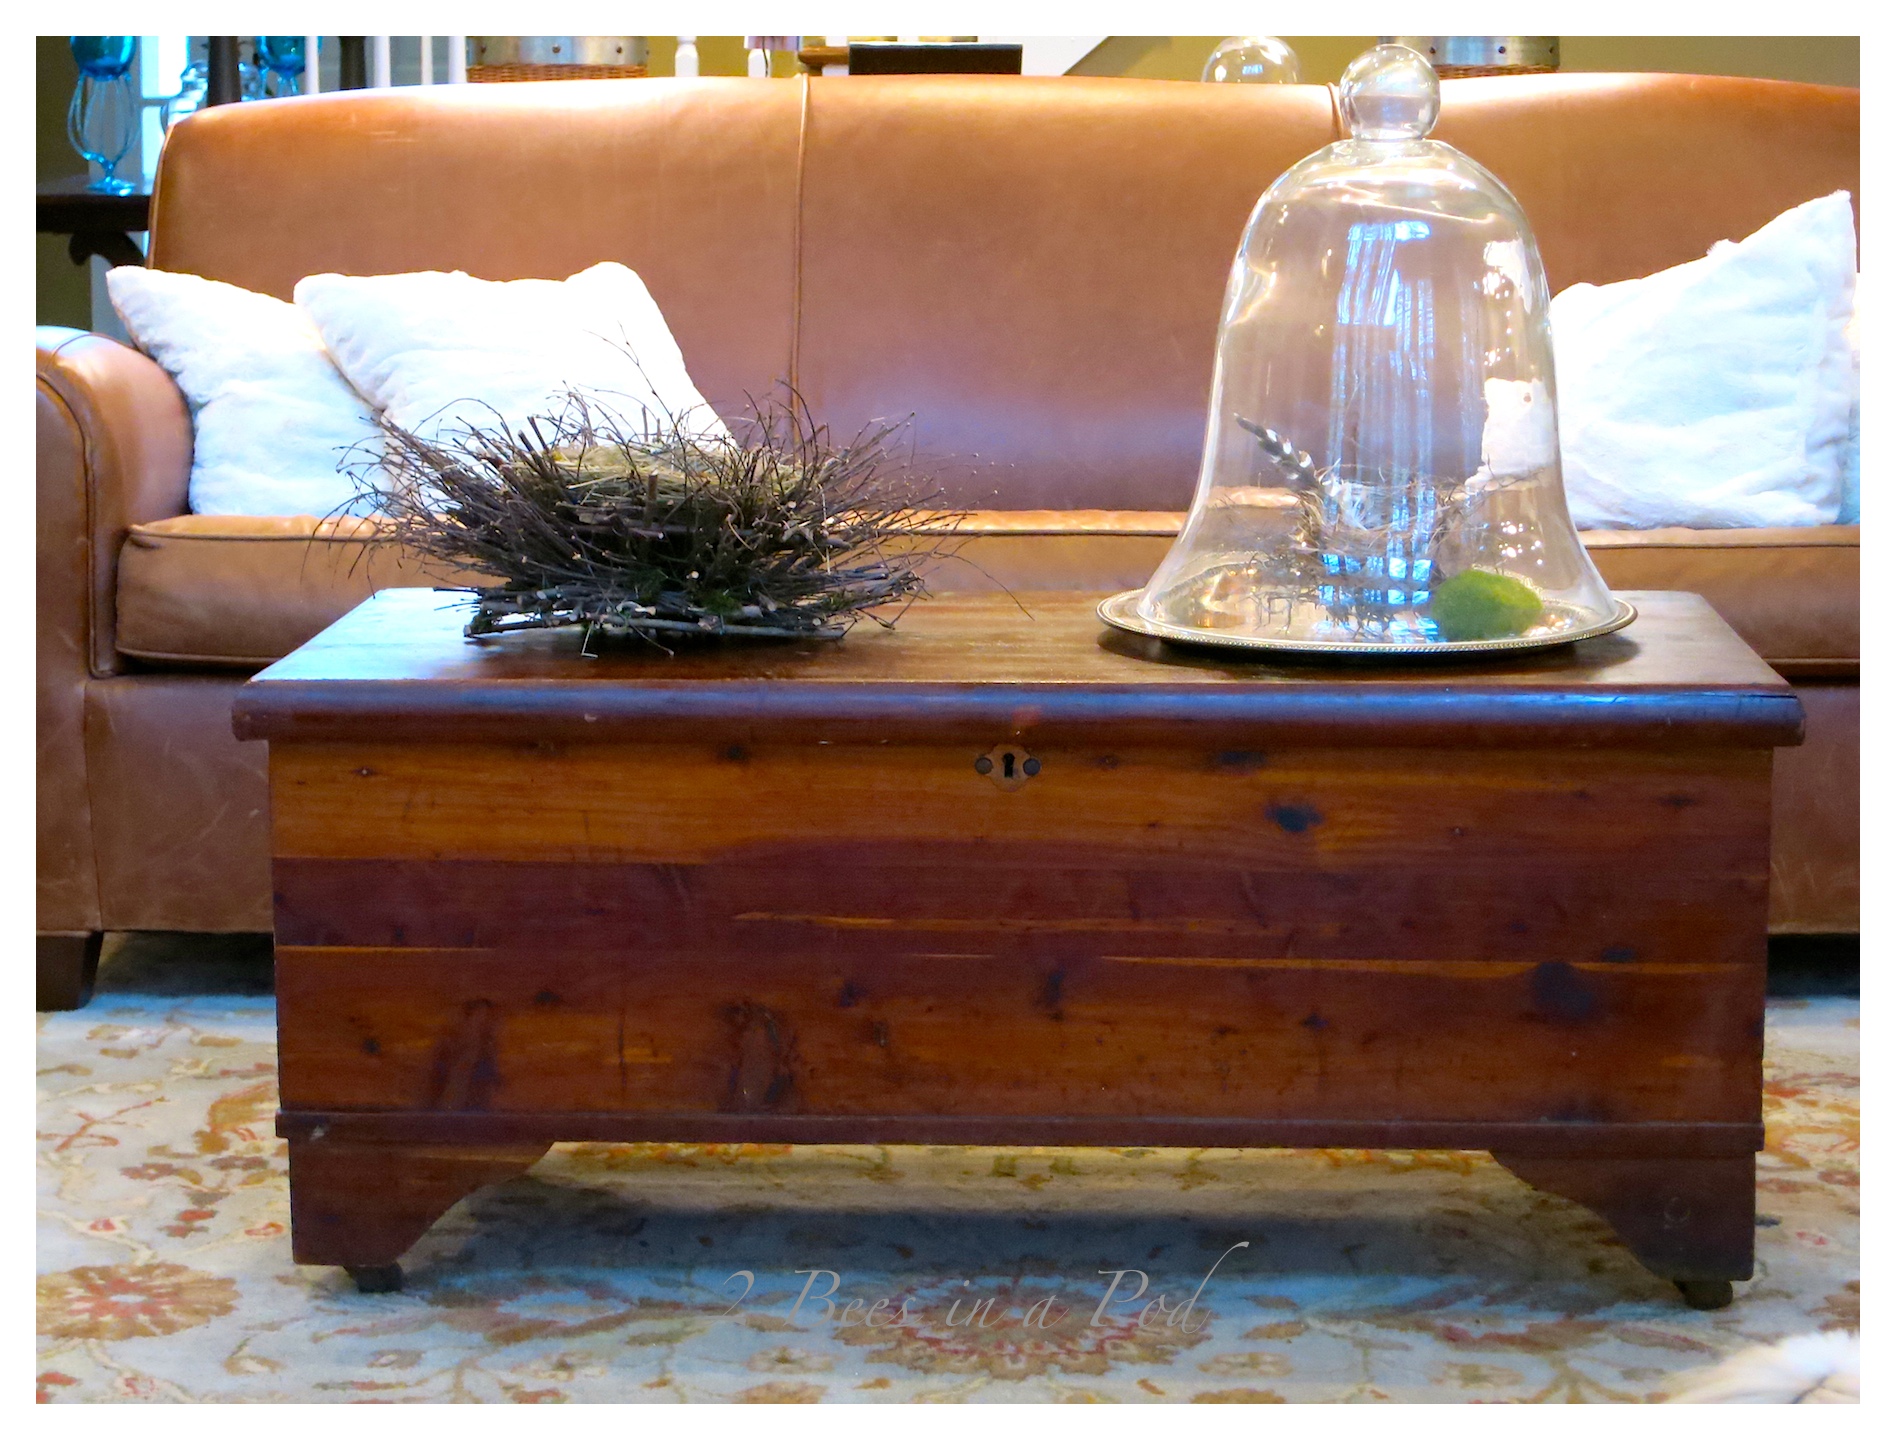
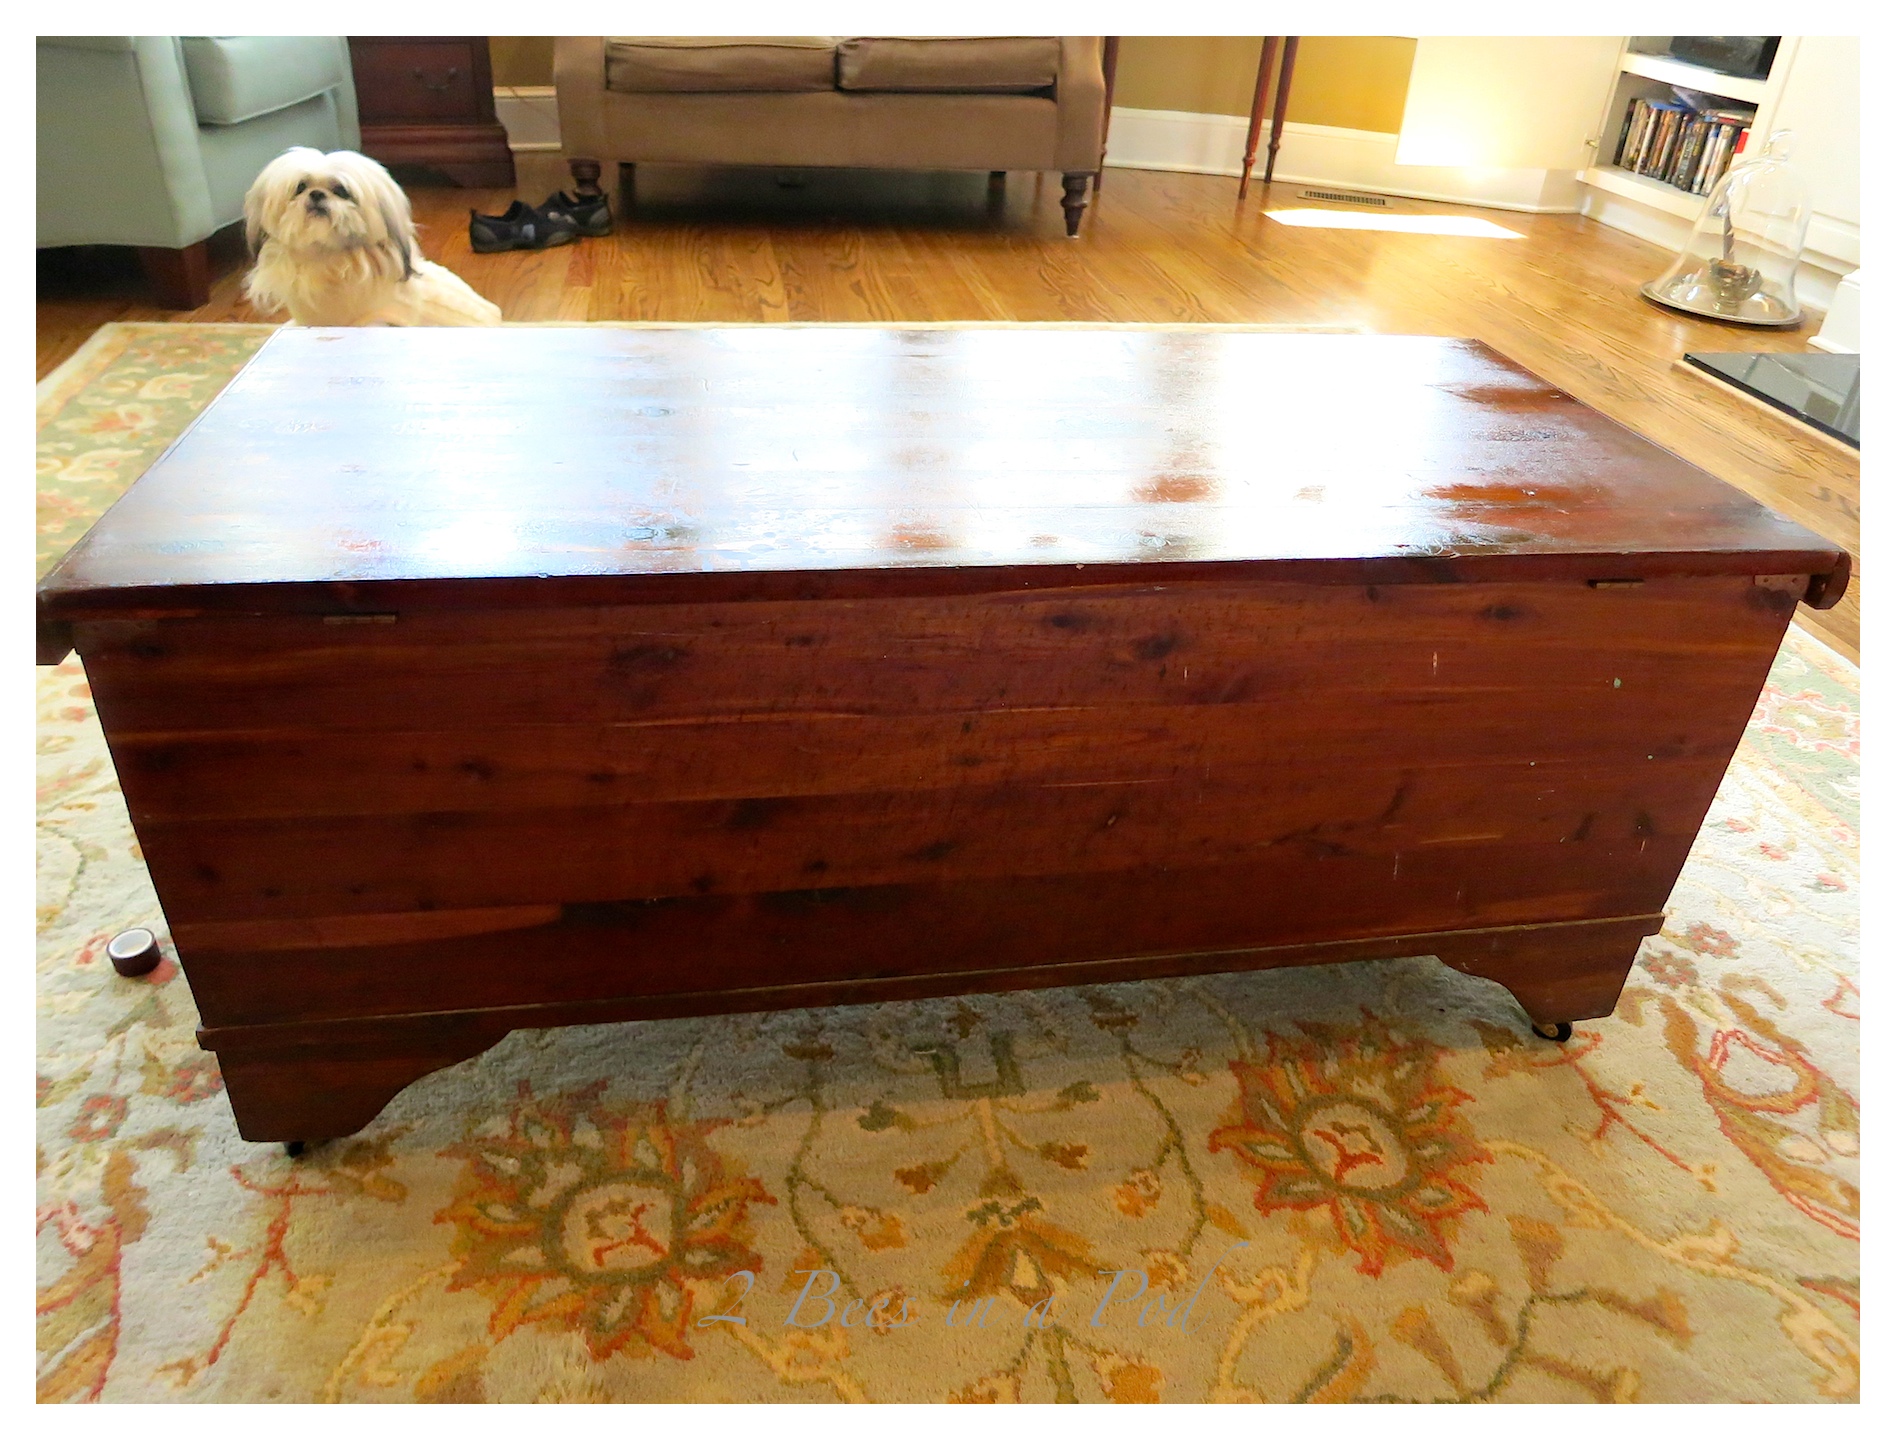 After buffing…I think it looks fantastic and I am very pleased with the final result! The wood looks very rich again and it took minimal effort to get it to look this way – YAY!
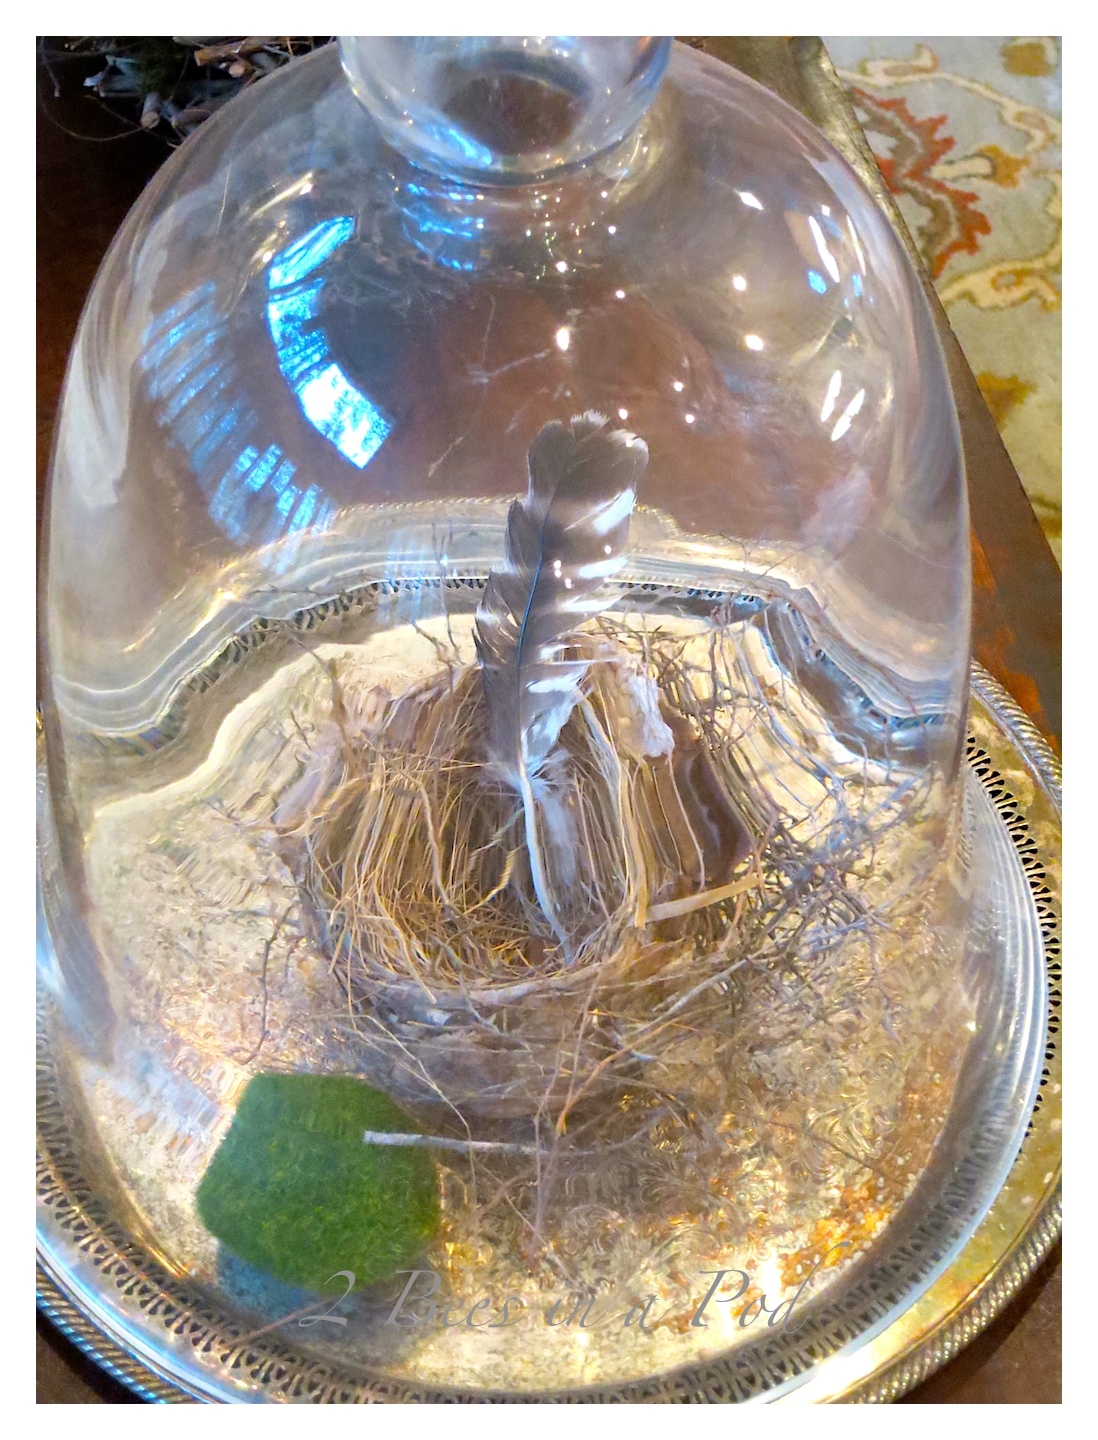
 I found a bird nest and a feather on a walk last year at the lake.
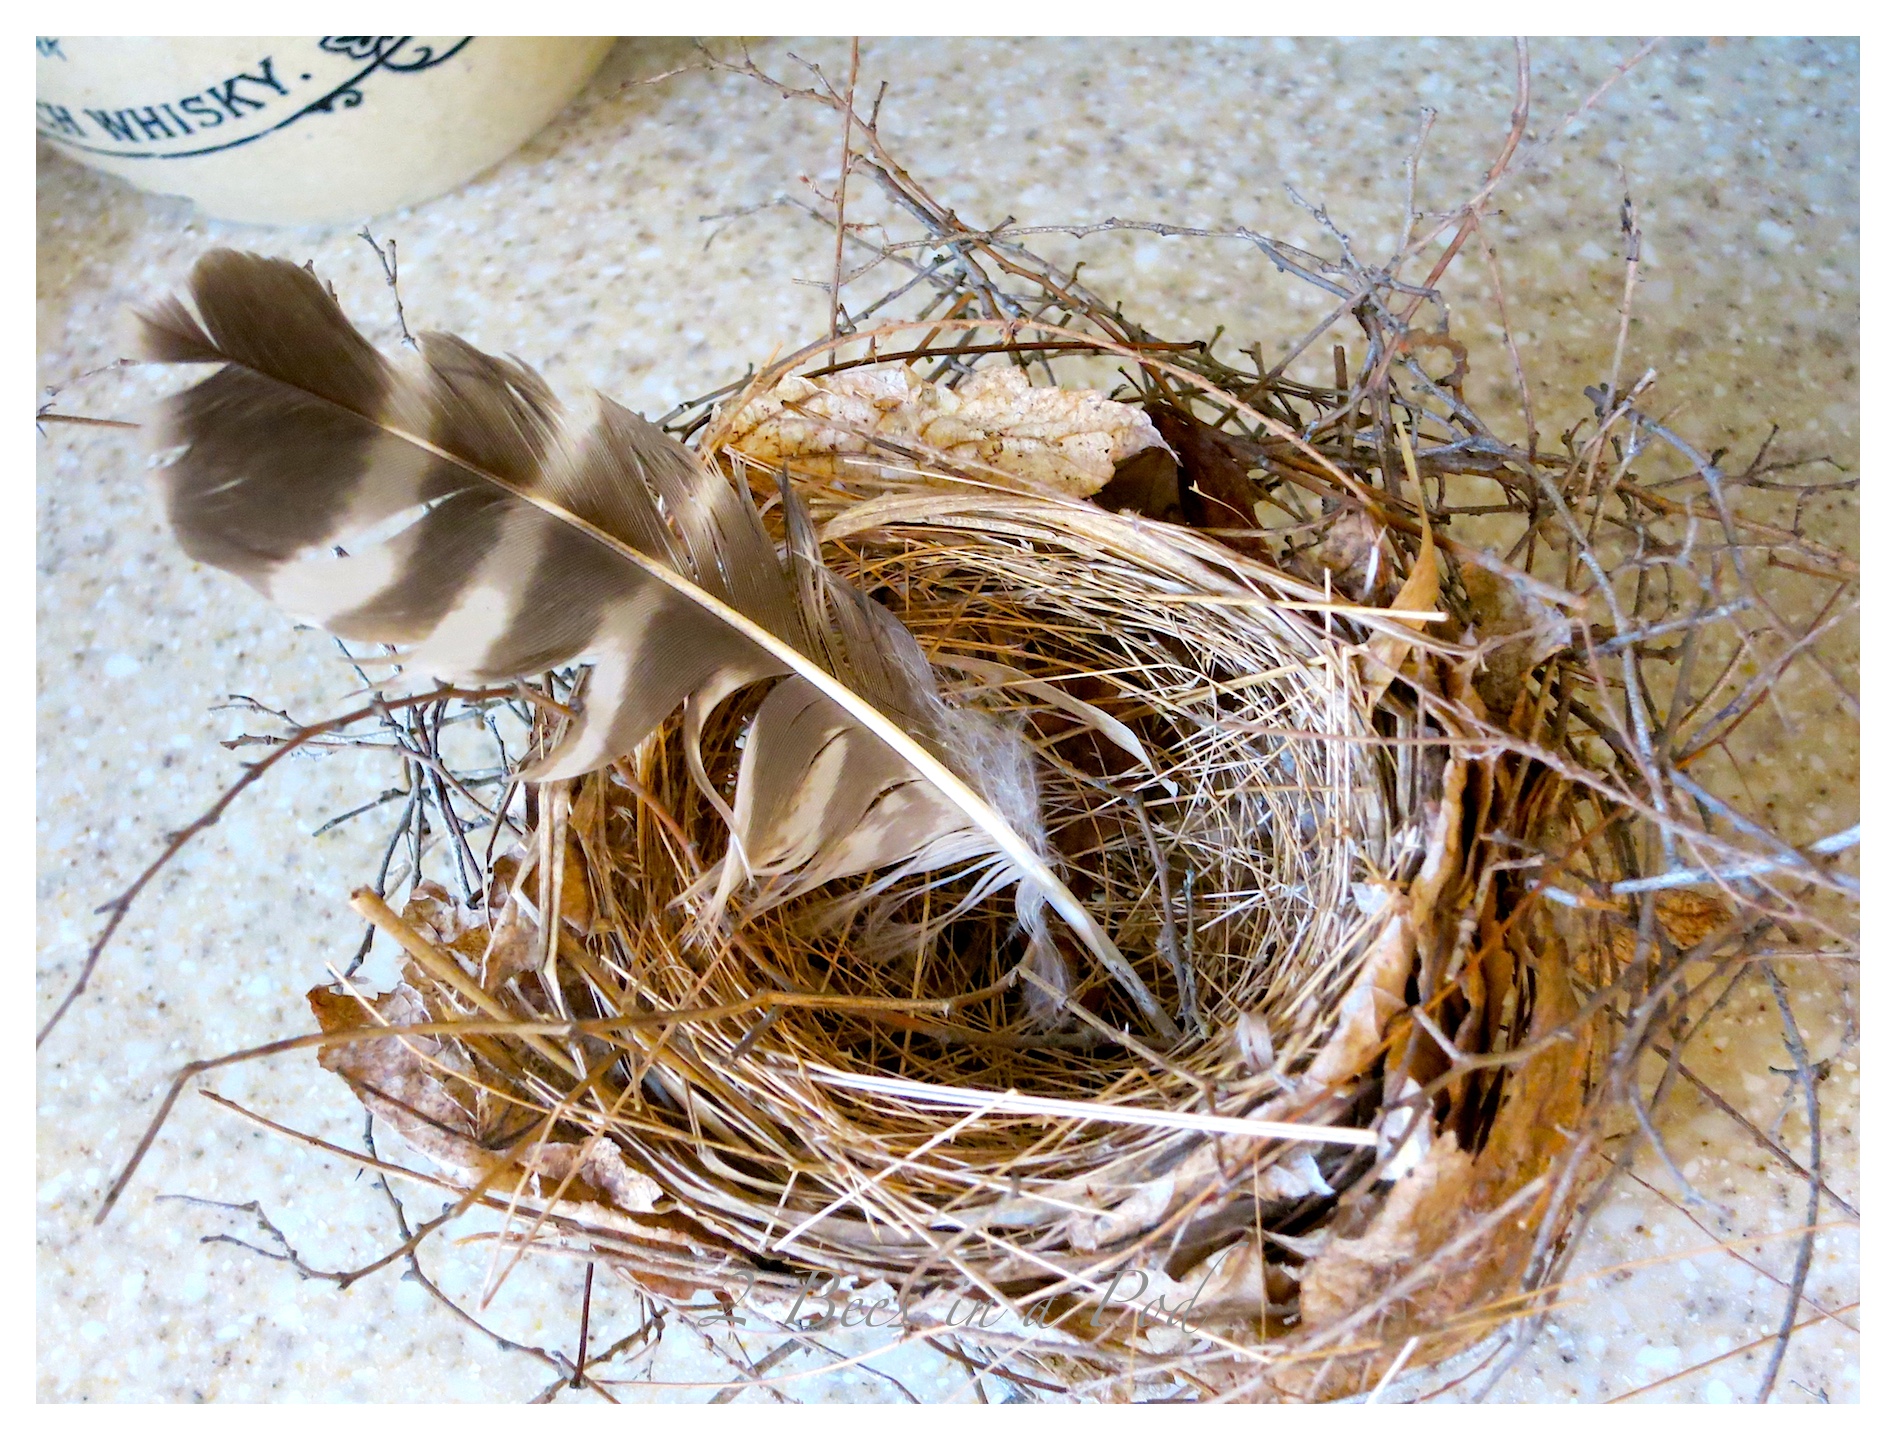 I placed them on a silver platter under a glass cloche.
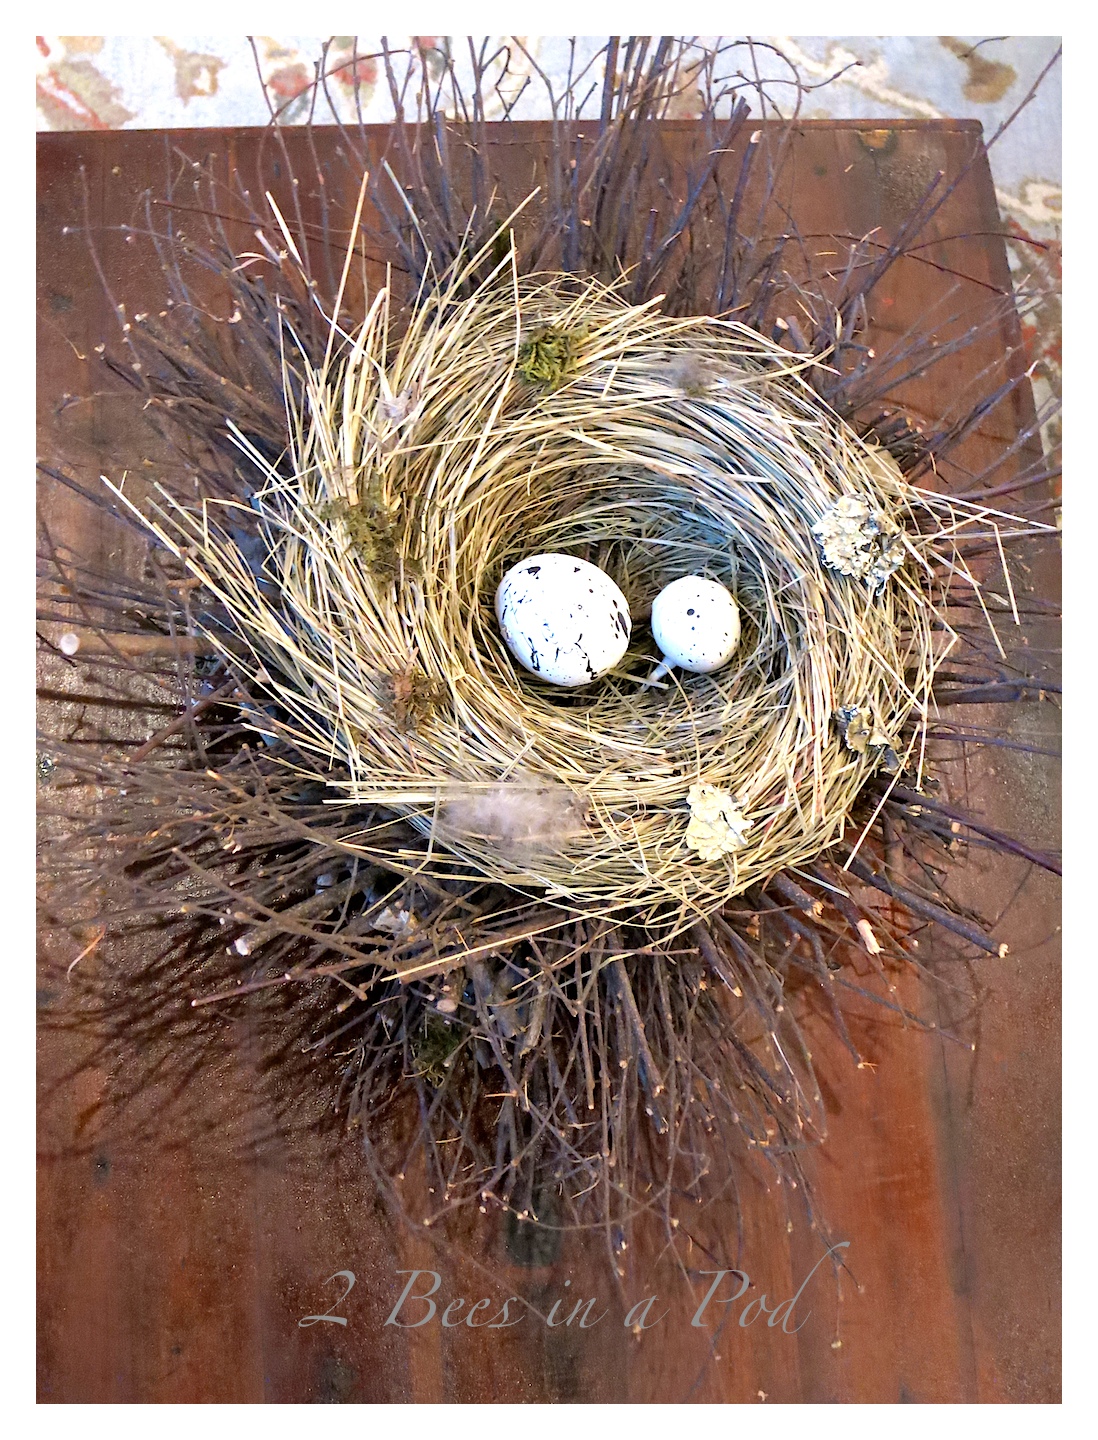
 This is a large decorative nest with paper mache’ eggs.
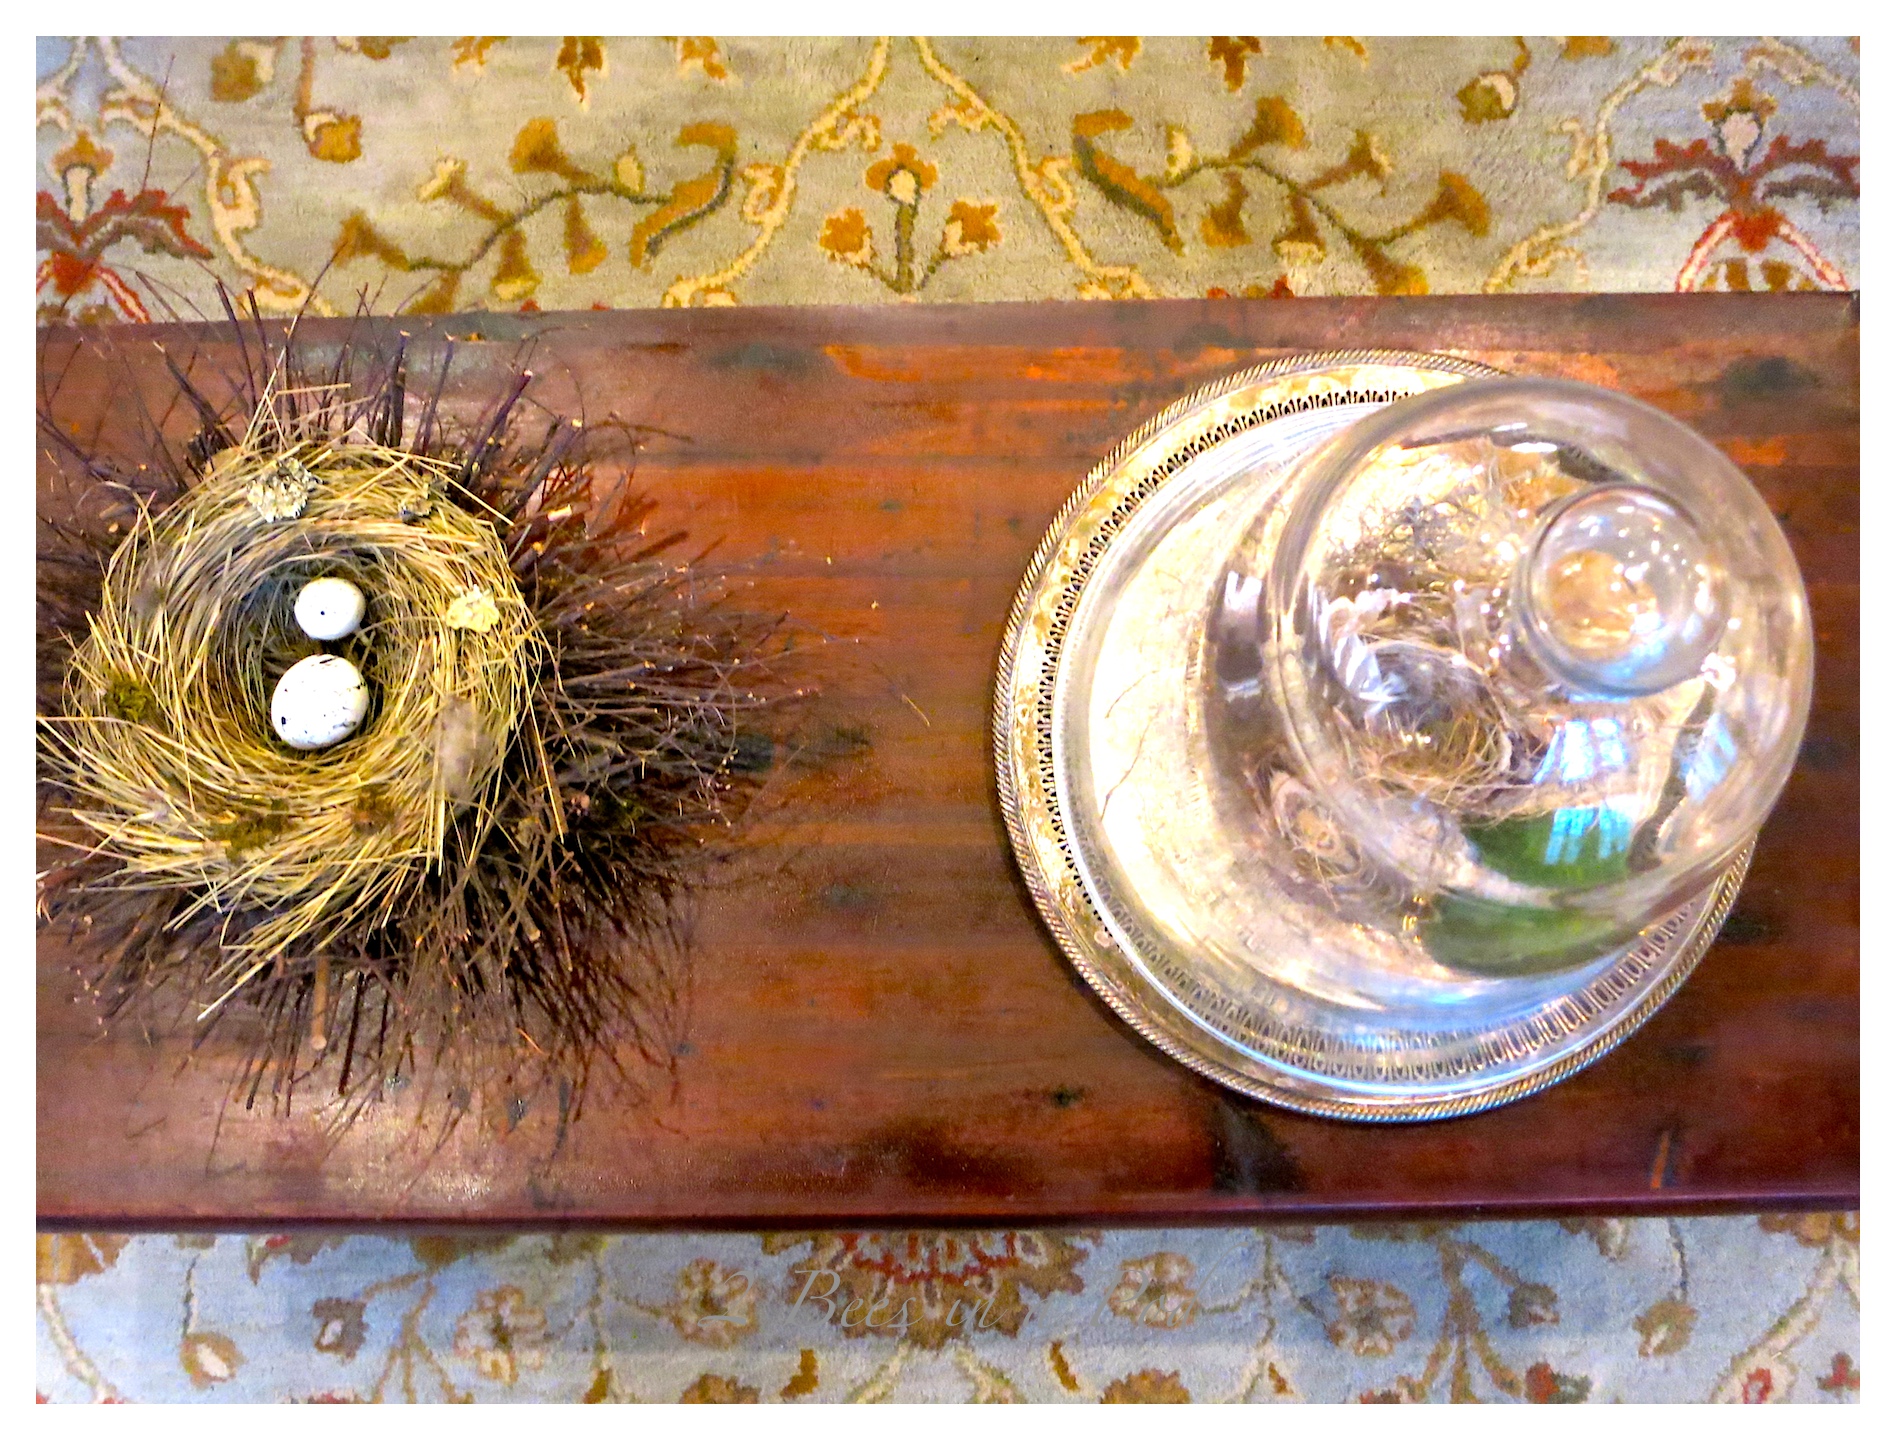
 You can see how great the wood on the chest looks now.
 It has been several weeks now – the furniture has been dusted at least once per week, every week and the Old English is still doing a great job.
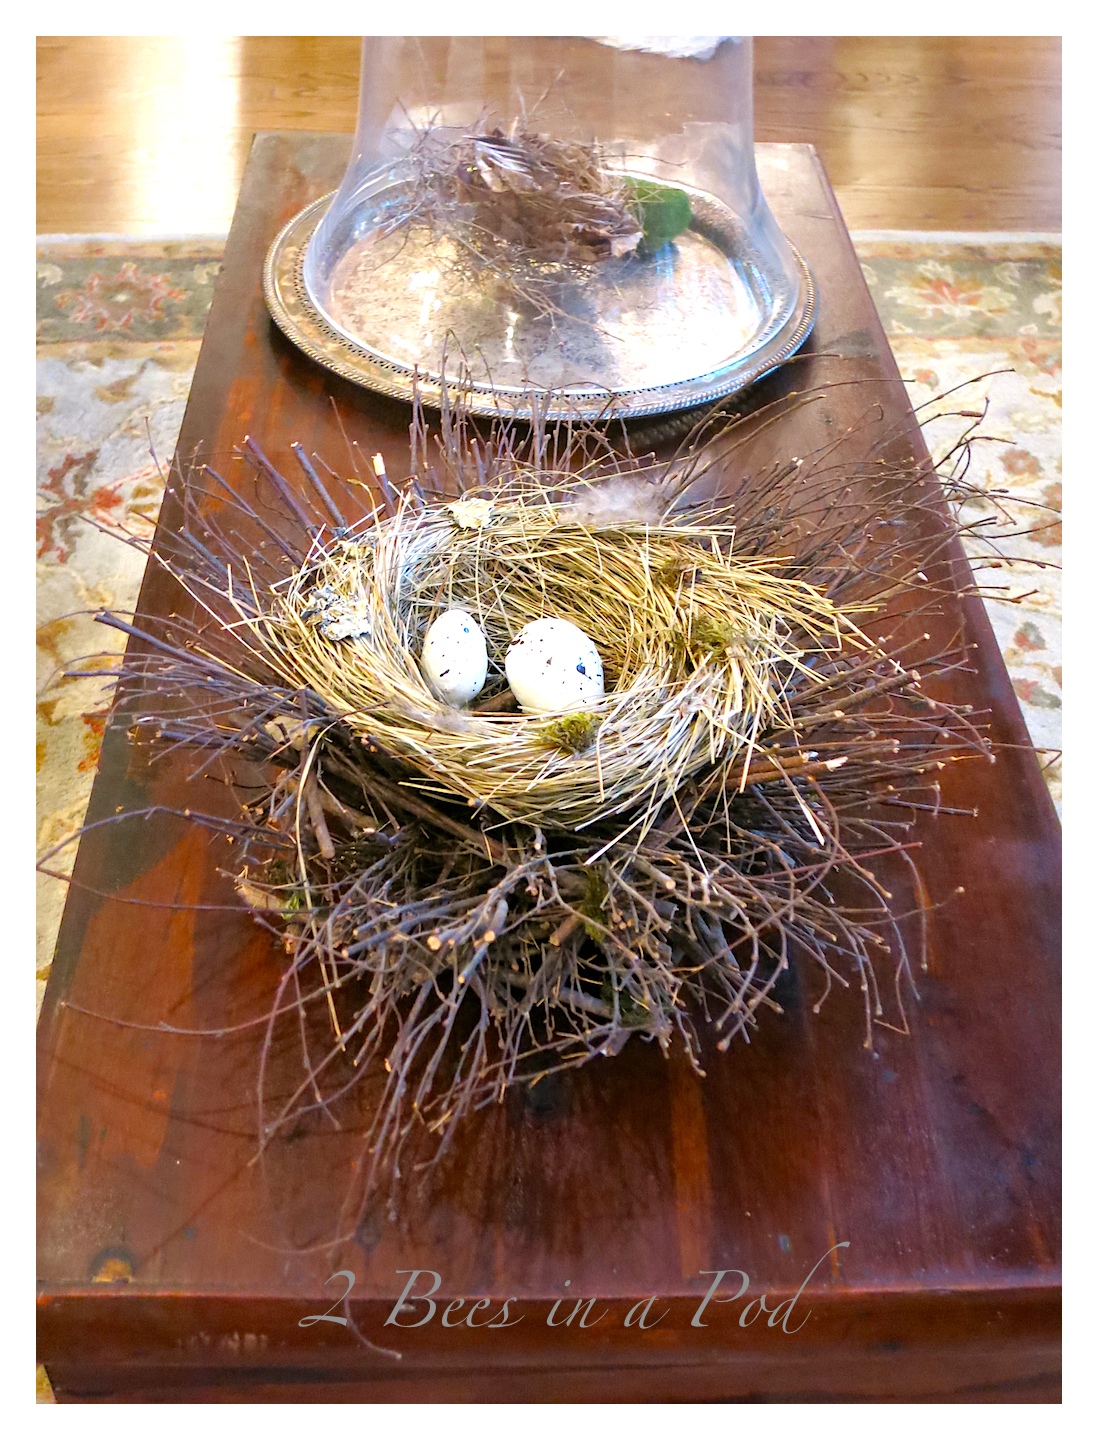 I highly recommend Old English Scratch Cover. This product saved me a lot of work and effort and I am super pleased with the end result!
 Have you ever used Old English?



I also found the most amazing old cedar chest at my friend’s grandma’s estate sale. That was about 10 years ago and I am just now cleaning it up to put in my living room. Looks like the same color as yours. Is that cedar on the outside as well as the inside? Also, mine is bumpy. Would that be the old stain that bubbled up? This one is handcarved with inlaid mother of pearl (I think) hearts. I can’t believe it took me 10 yrs to get this going!! Thank you for the tip above. I am going to do it!