Painted Carved Box Makeover – Just Like Whitewashing But With Color
Please note that this post contains affiliate links. As an Amazon Associate, Rewards Style influencer and Jane Influencer, we earn from qualifying purchases and any sales made through such links will reward us a small commission – at no extra cost for you.
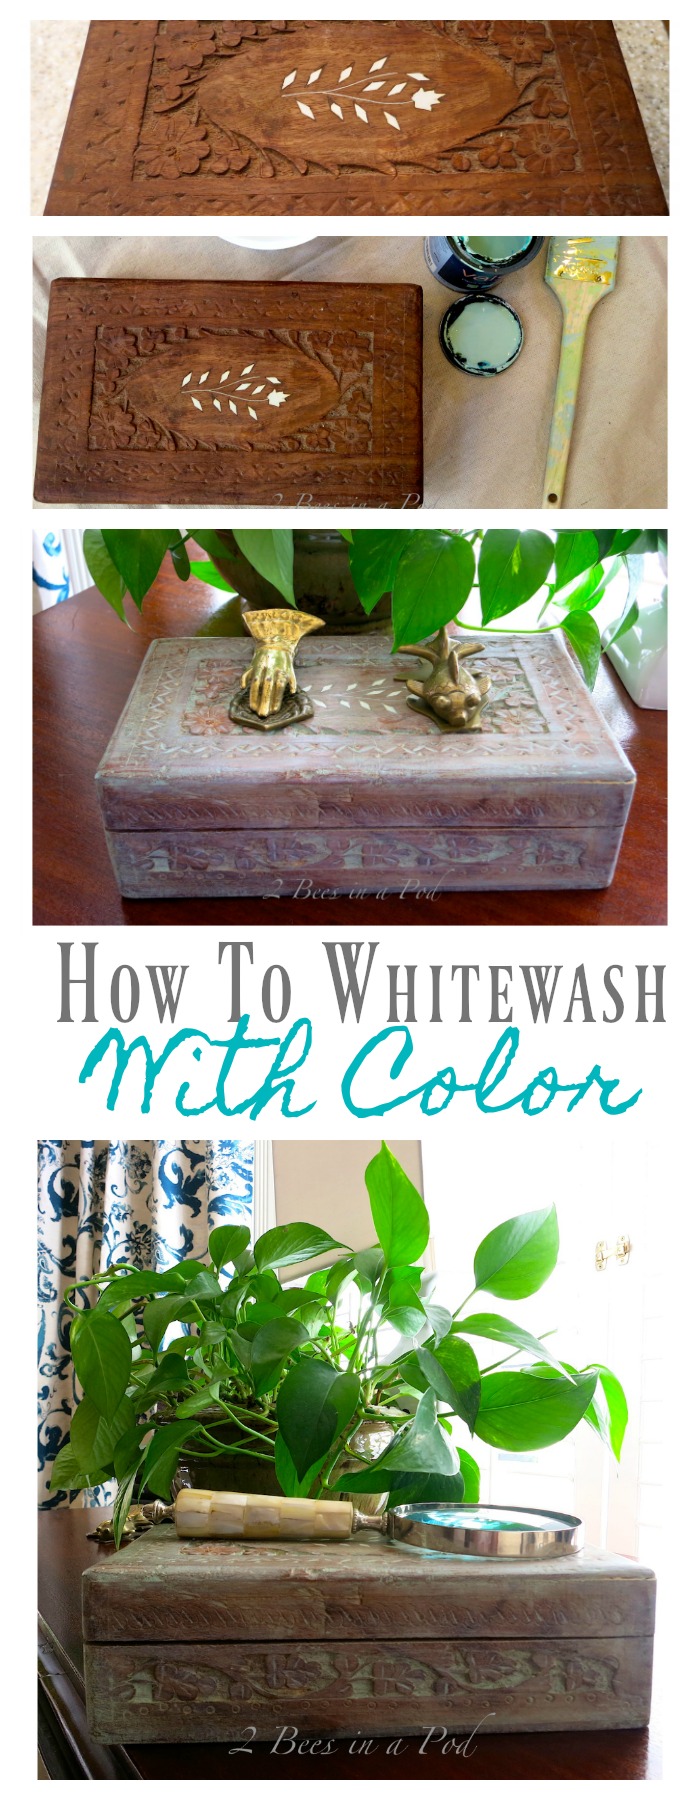
After much debate and self-talk, I forged ahead with this painted carved box makeover.
Here’s the tale of how the painted carved box makeover began. Don’t you just love surprises? I do too- especially when it’s free and it’s vintage. A few years ago I purchased an antique hope chest for $25. As if that weren’t a great score by itself, there was more.Inside the chest was a cardboard box – which I pointed out to the seller- and he informed me that it was included in the price 🙂 What he really said was “Aww…take it”.Inside this cardboard box were many treasures, including this wooden box.
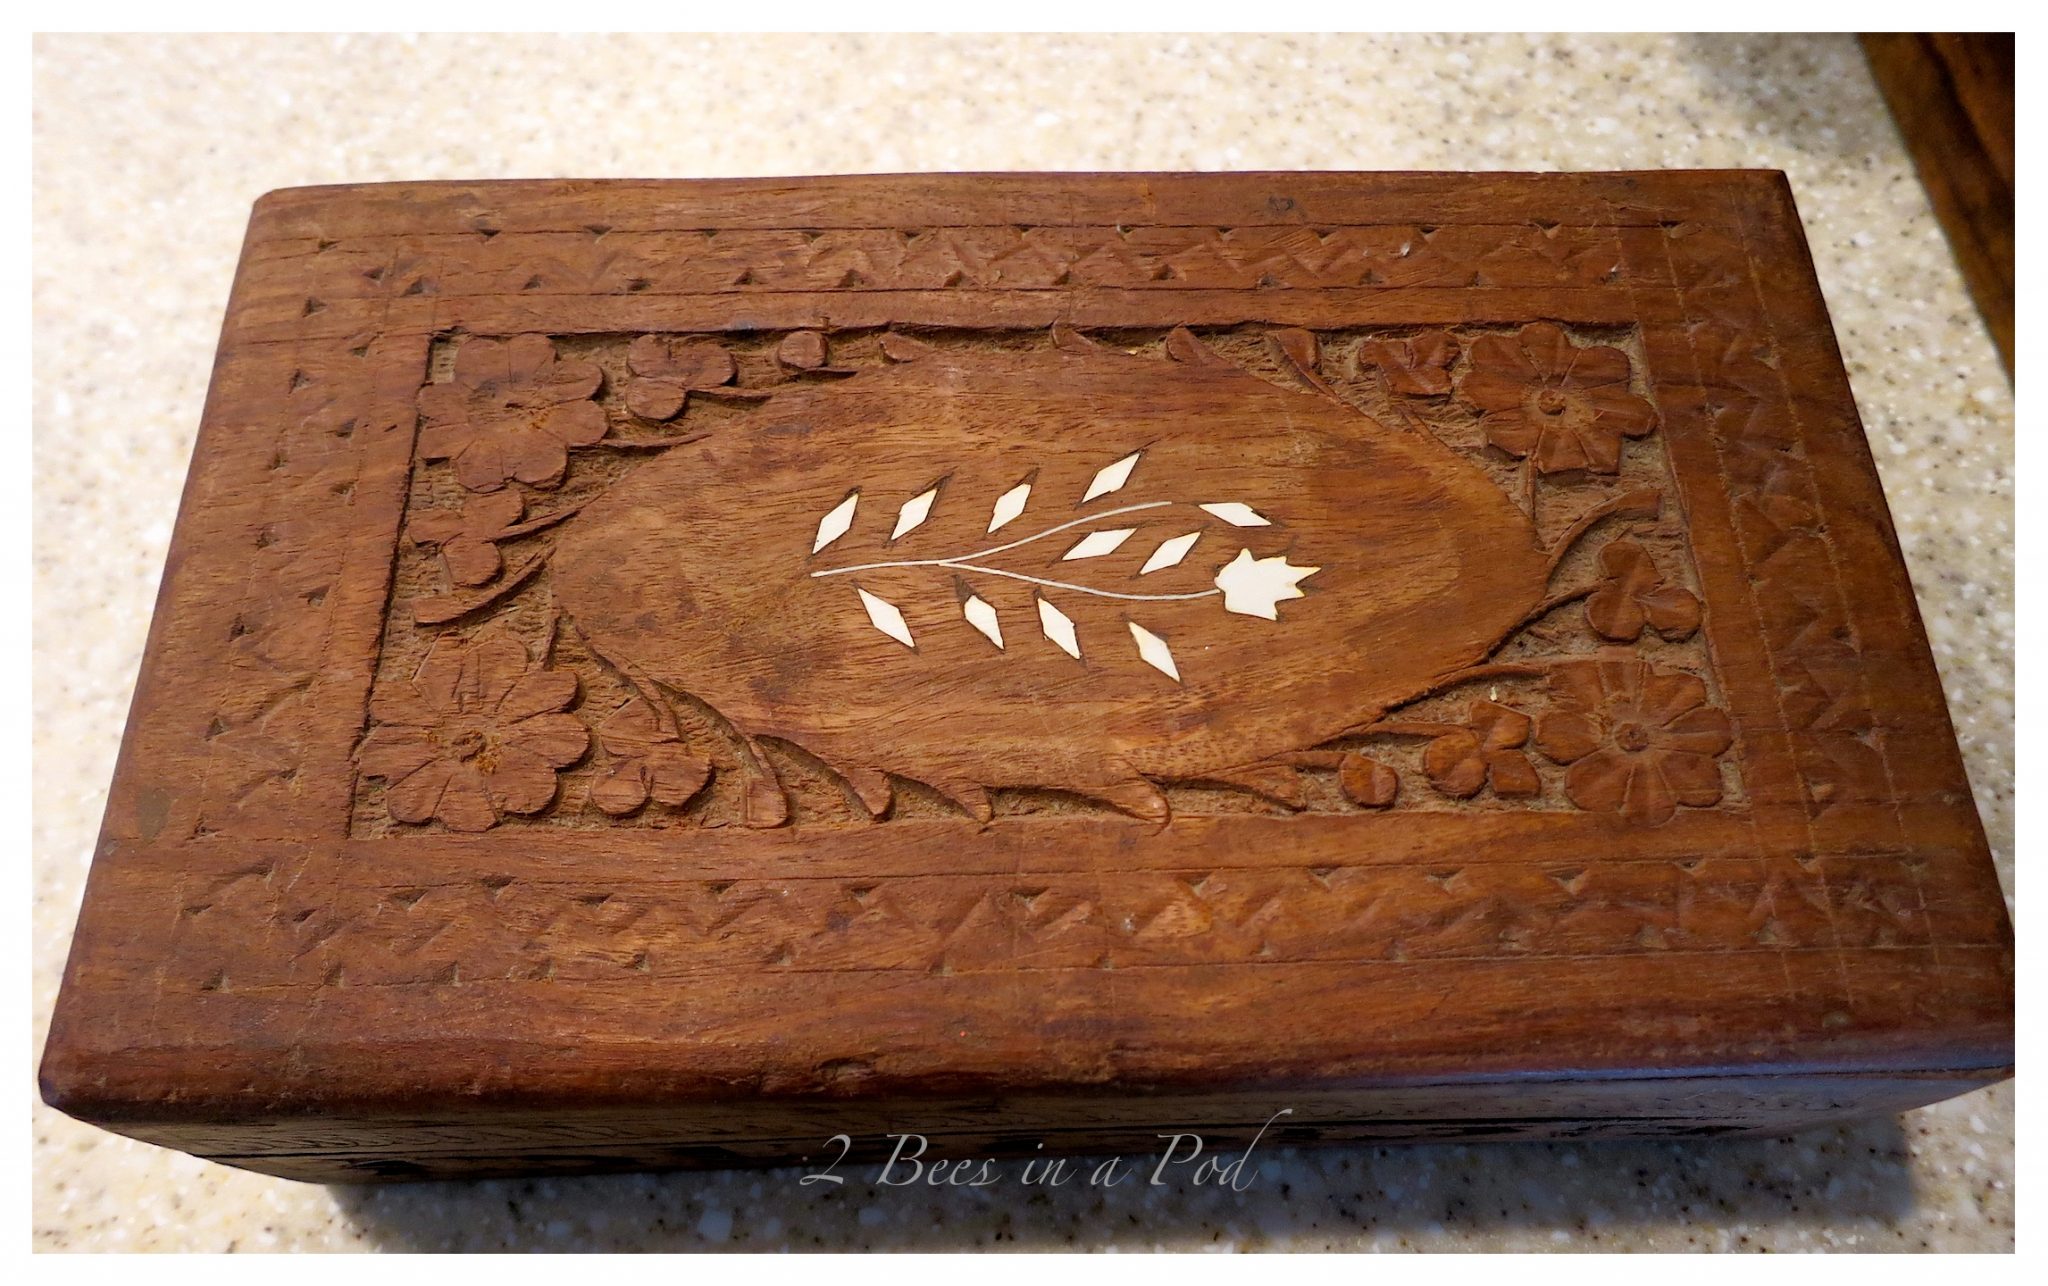
 The box is very pretty and carved – and in these close up photos it looks really good. I assure you that I never noticed the carving until I was close up to the box. This pretty box was displayed in different spots around the house but it just kind of blended into the scenery and felt flat.
I decided to do a paint wash treatment to it. My dad hates it when I paint wood and I did debate doing this but I determined:
- I wasn’t happy with its current look
- I won’t use it or display it
- It was free
- It’s not antique
- I want it to pop
This project took literally 10 minutes start to finish – my favorite kind of project 🙂
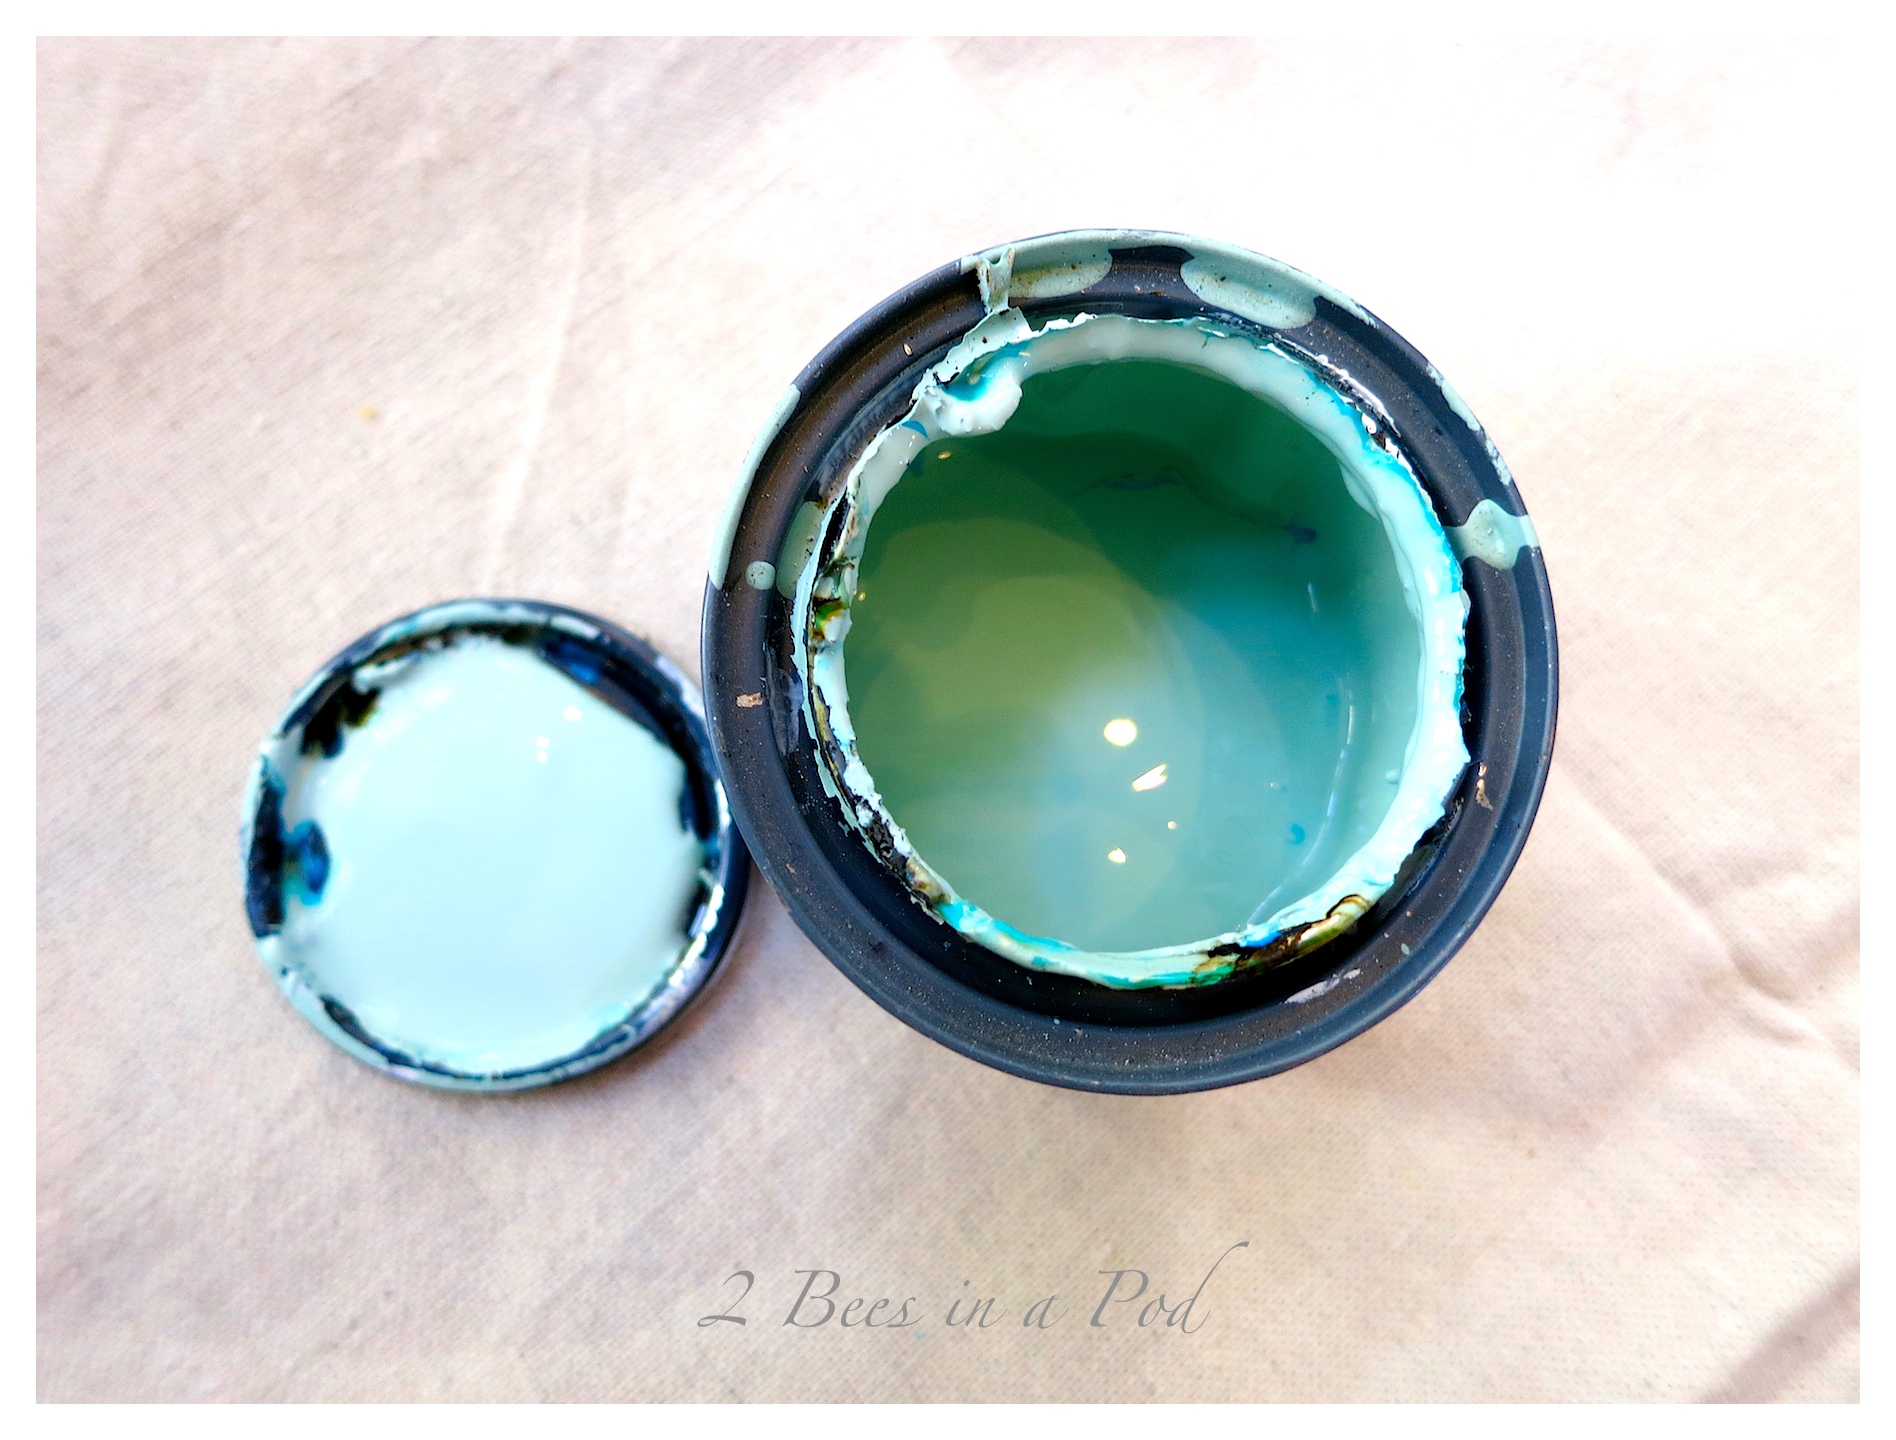
The blue-gray paint I used was leftover from another painting project.
Supplies Needed:
- Paint color of your choice. Typically any type of paint will work as long as you can use it on wood. Chalkpaint works best in my opinion.
- Water
- Paintbrush or sponge brush
- Container to hold water and paint mixture
- Paper towels
- Drop cloth to protect from paint drips
- Paste wax – optional
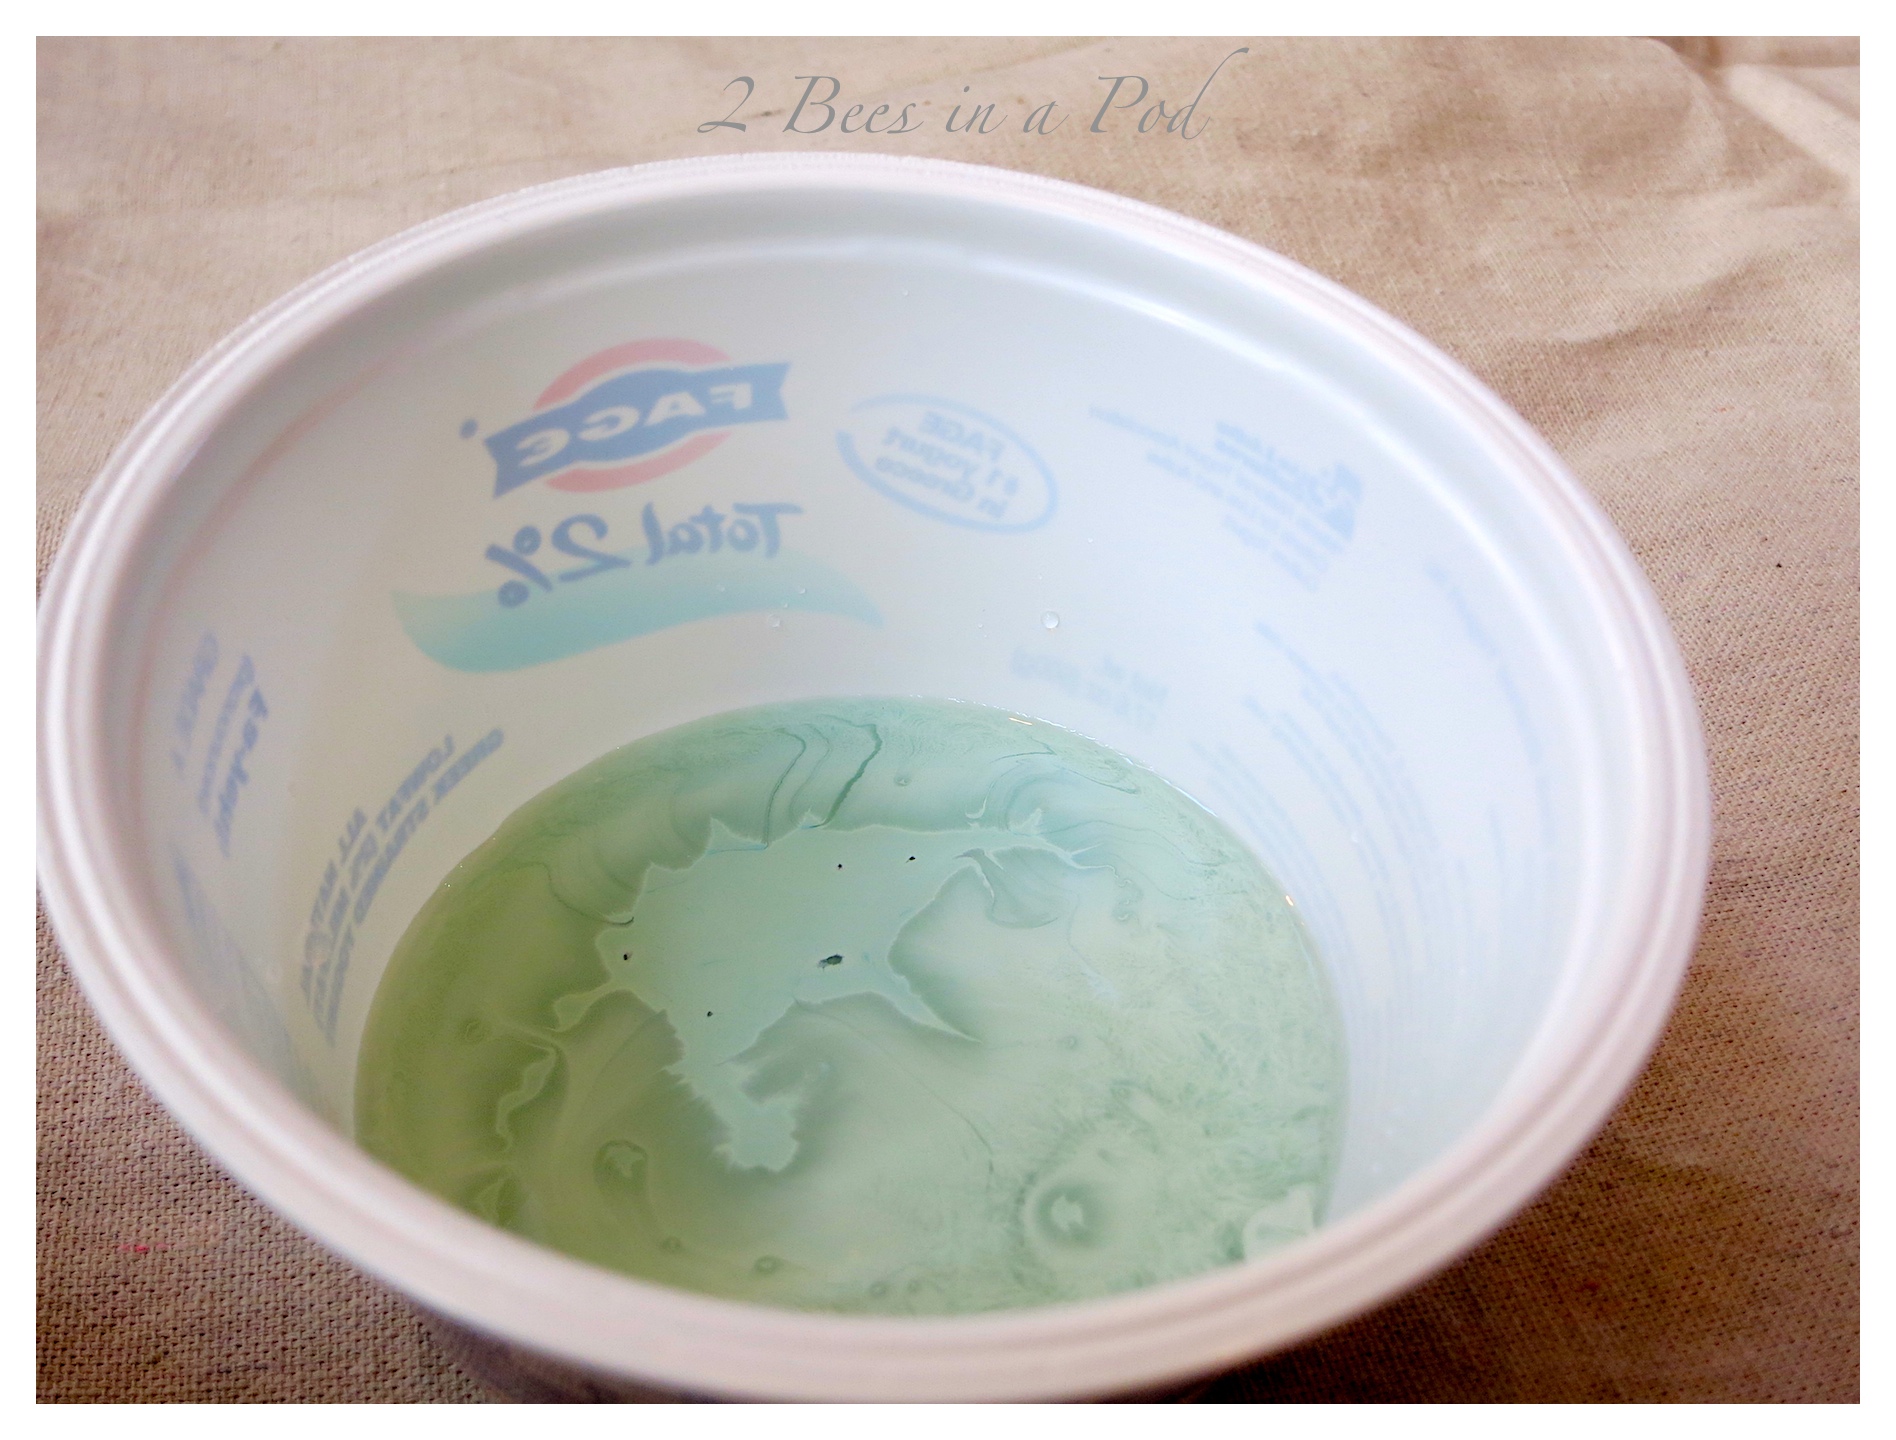
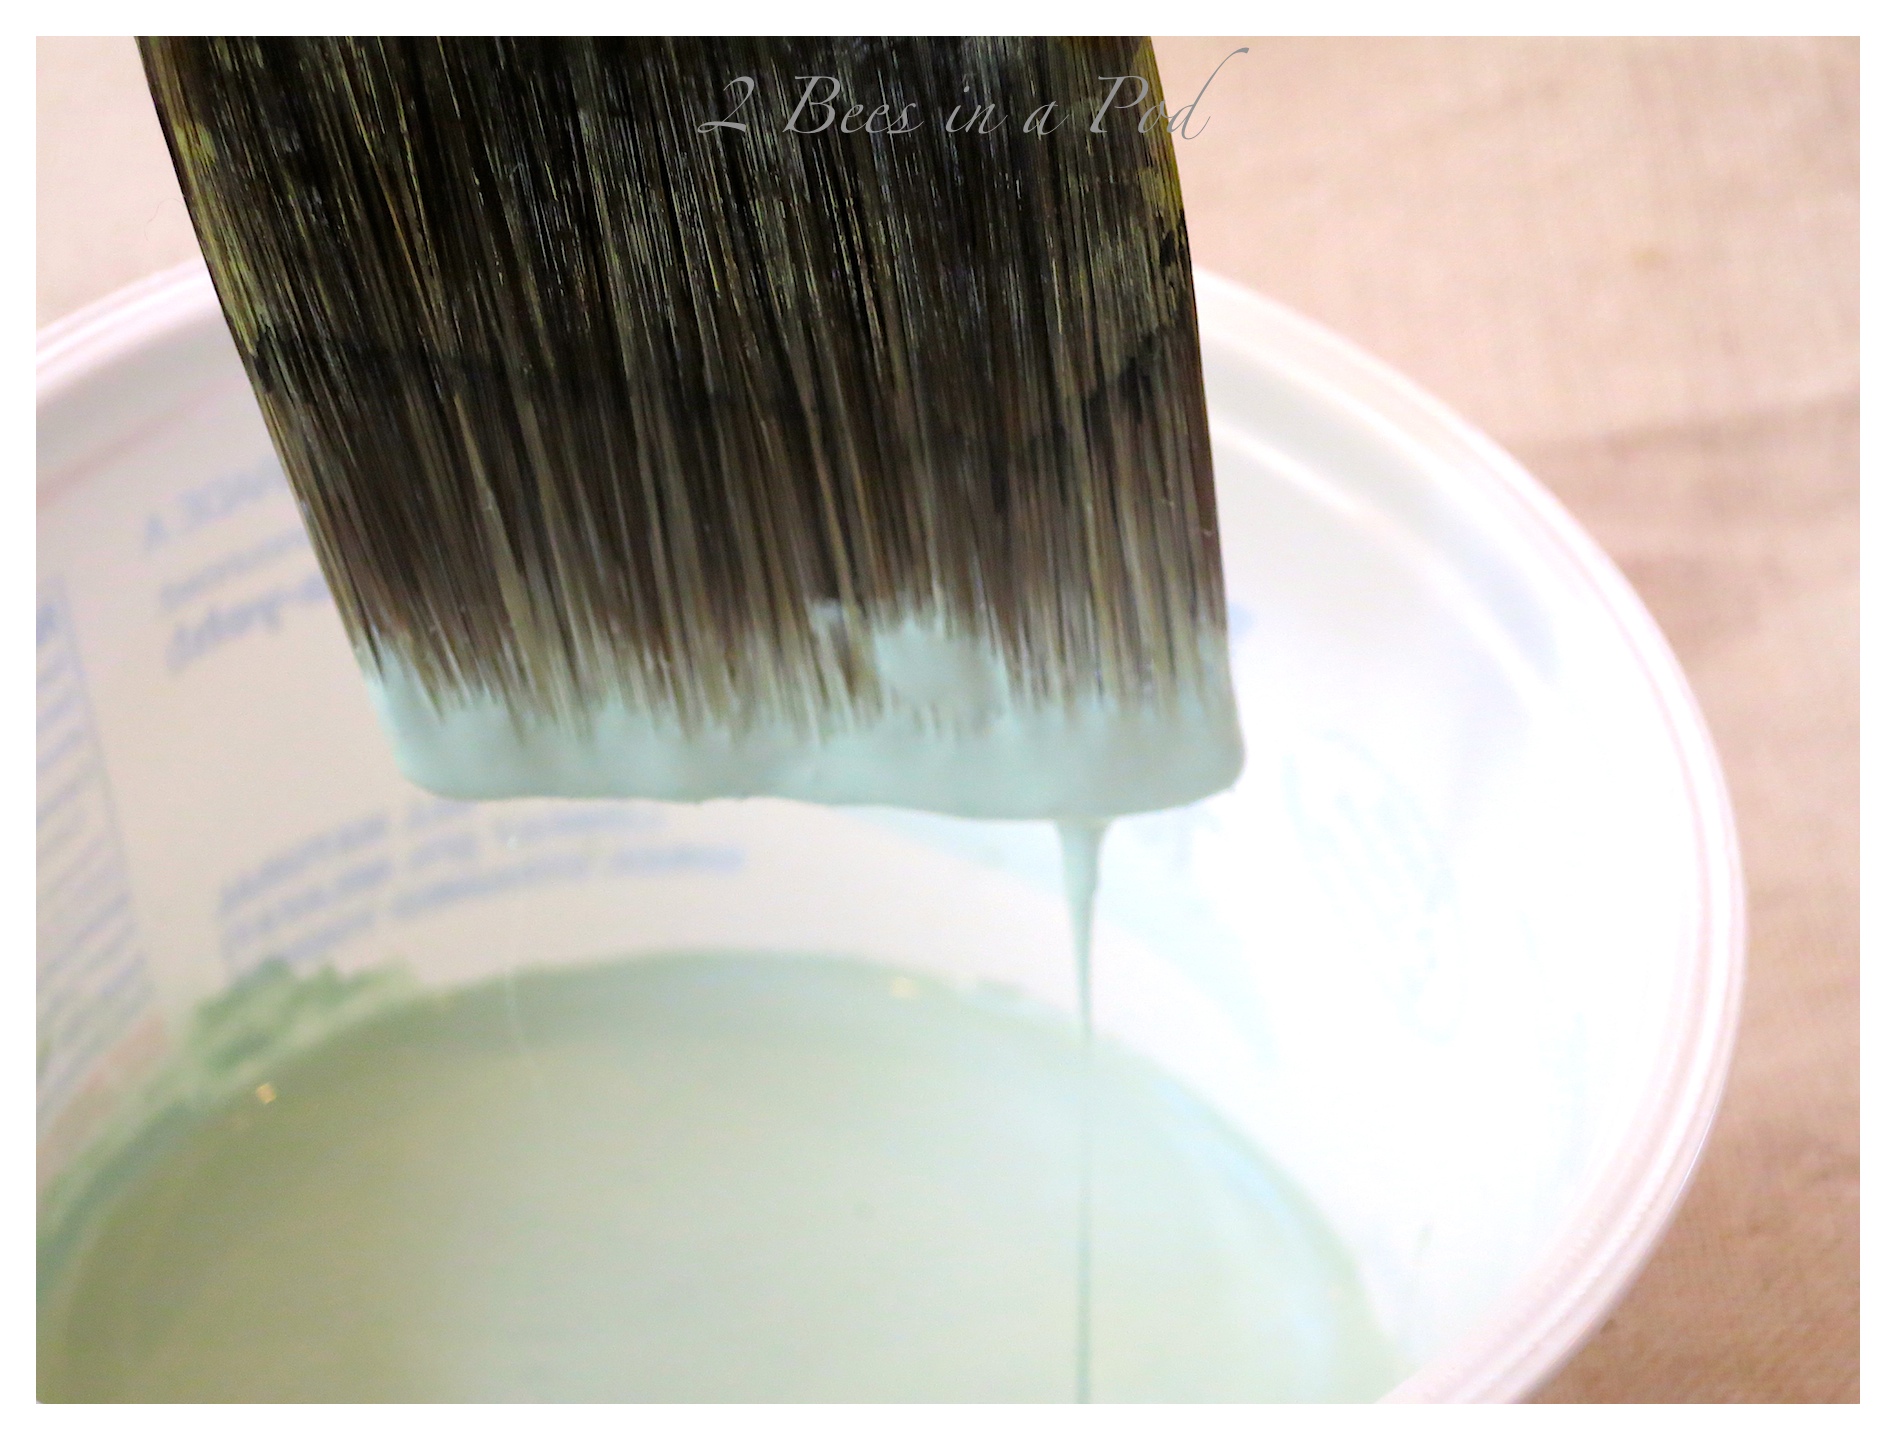
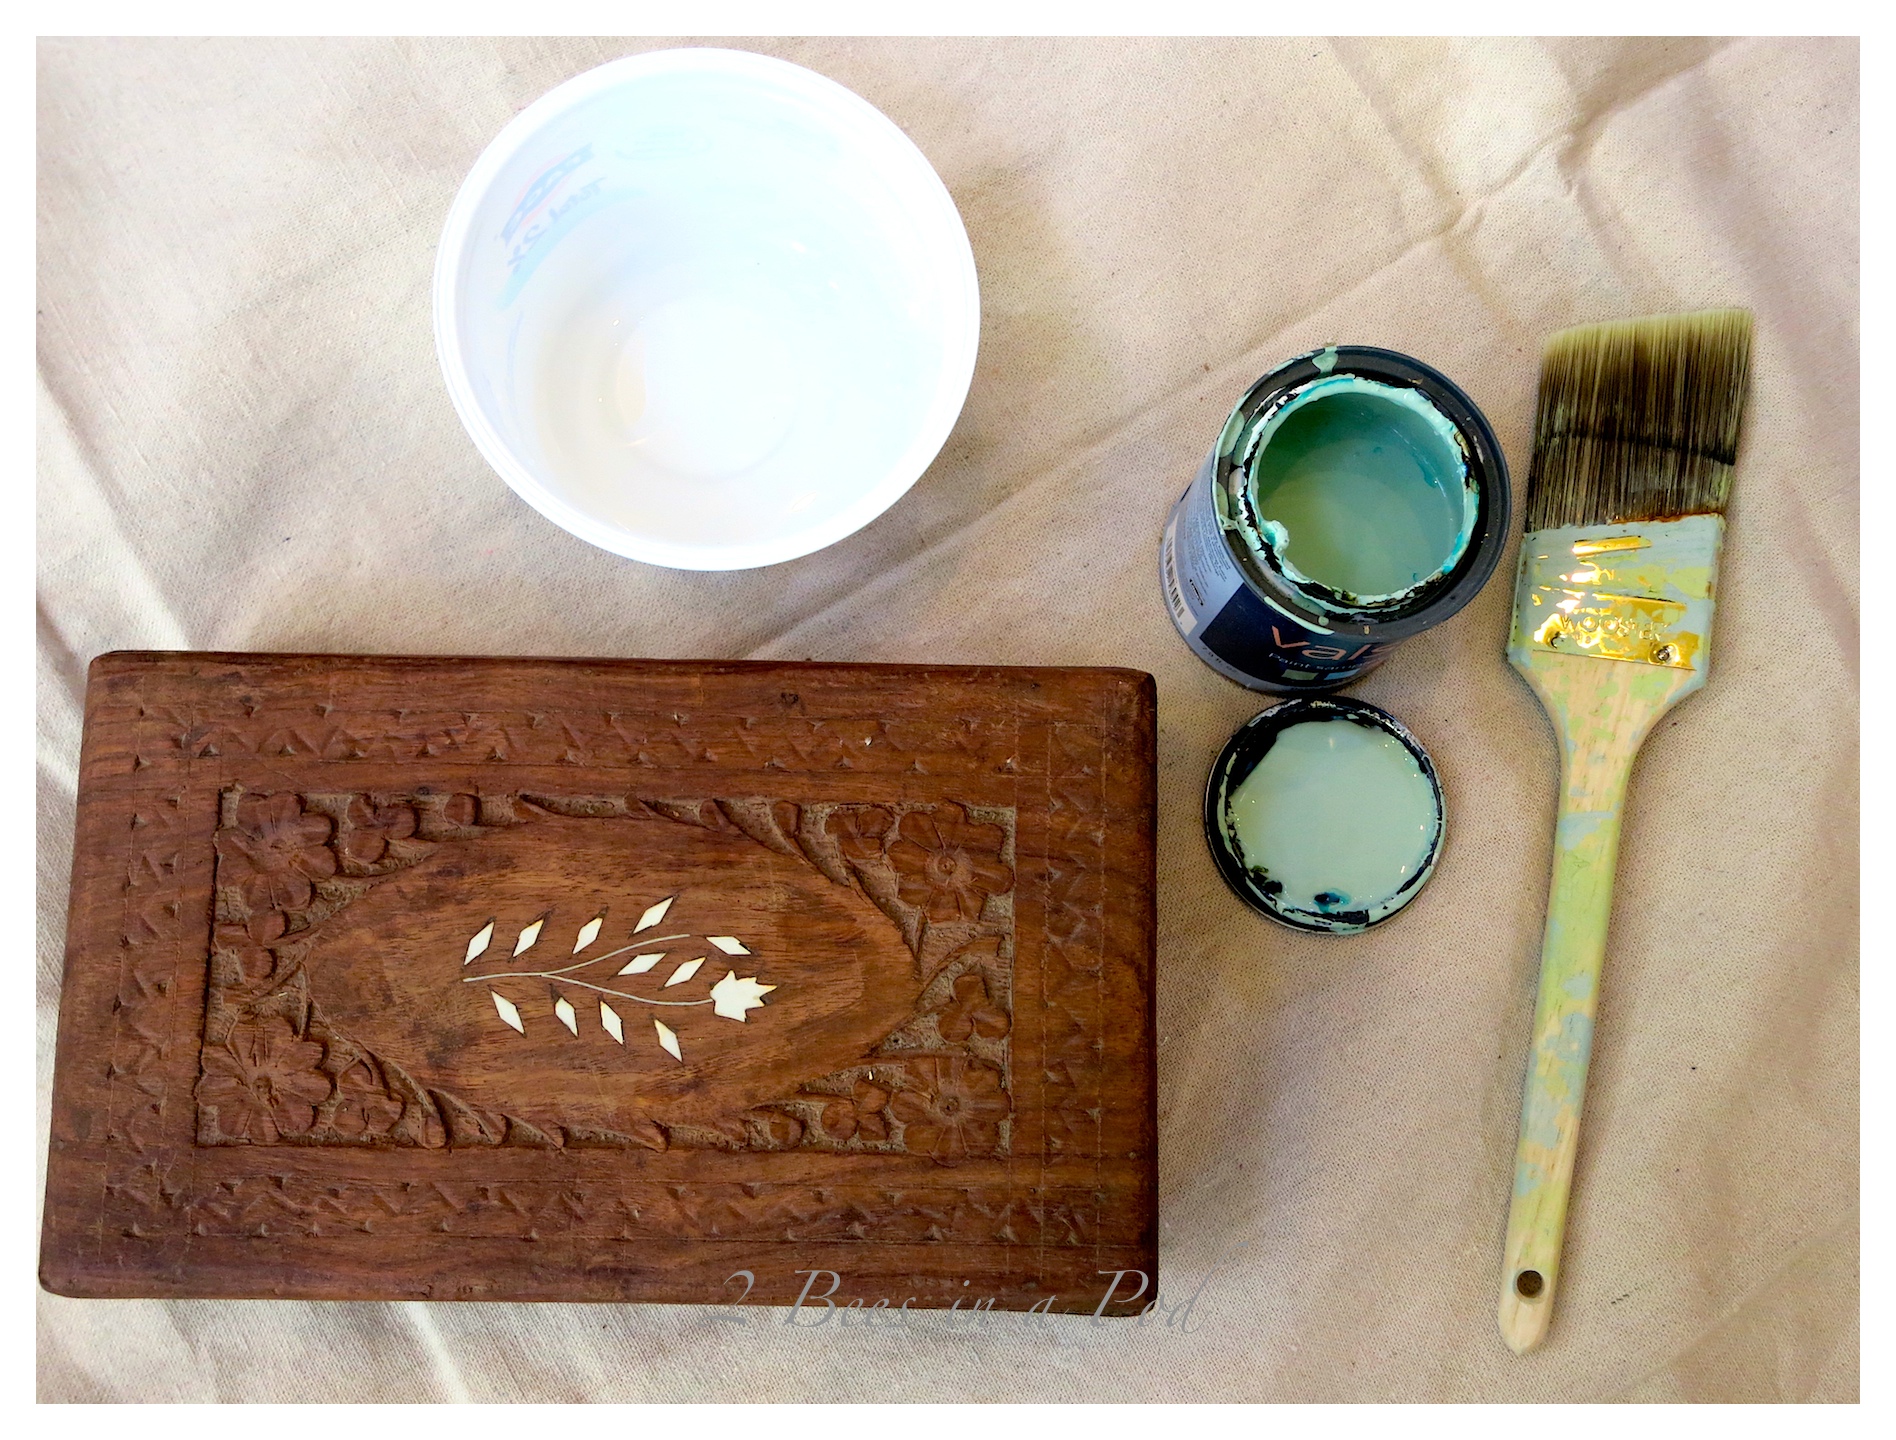 My paint mixture was considerably watered down – approximately 2½ parts water to one part paint.
How to Whitewash wood with color
- Mix 1 part paint to 2 parts water. Mix very well.
- Test your paint in a small inconspicuous area. Paint will obviously be very runny due to the watery consistency. This is the time to adjust your paint-to-water ratio. Add more water if necessary.
- Paint a large portion of your wood piece. Blot with paper towels. Pay special attention to drips, as these will dry as they are. Blot any paint that has runs or drips.
- Keep adding paint until you are happy with the finish.
- Let dry completely.
- You can now add another coat of whitewash if you want more color. If you are happy with the look, proceed to the next step.
- Add paste wax – optional. Adding was is NOT necessary, but I prefer the smooth finish and the protection that it provides.
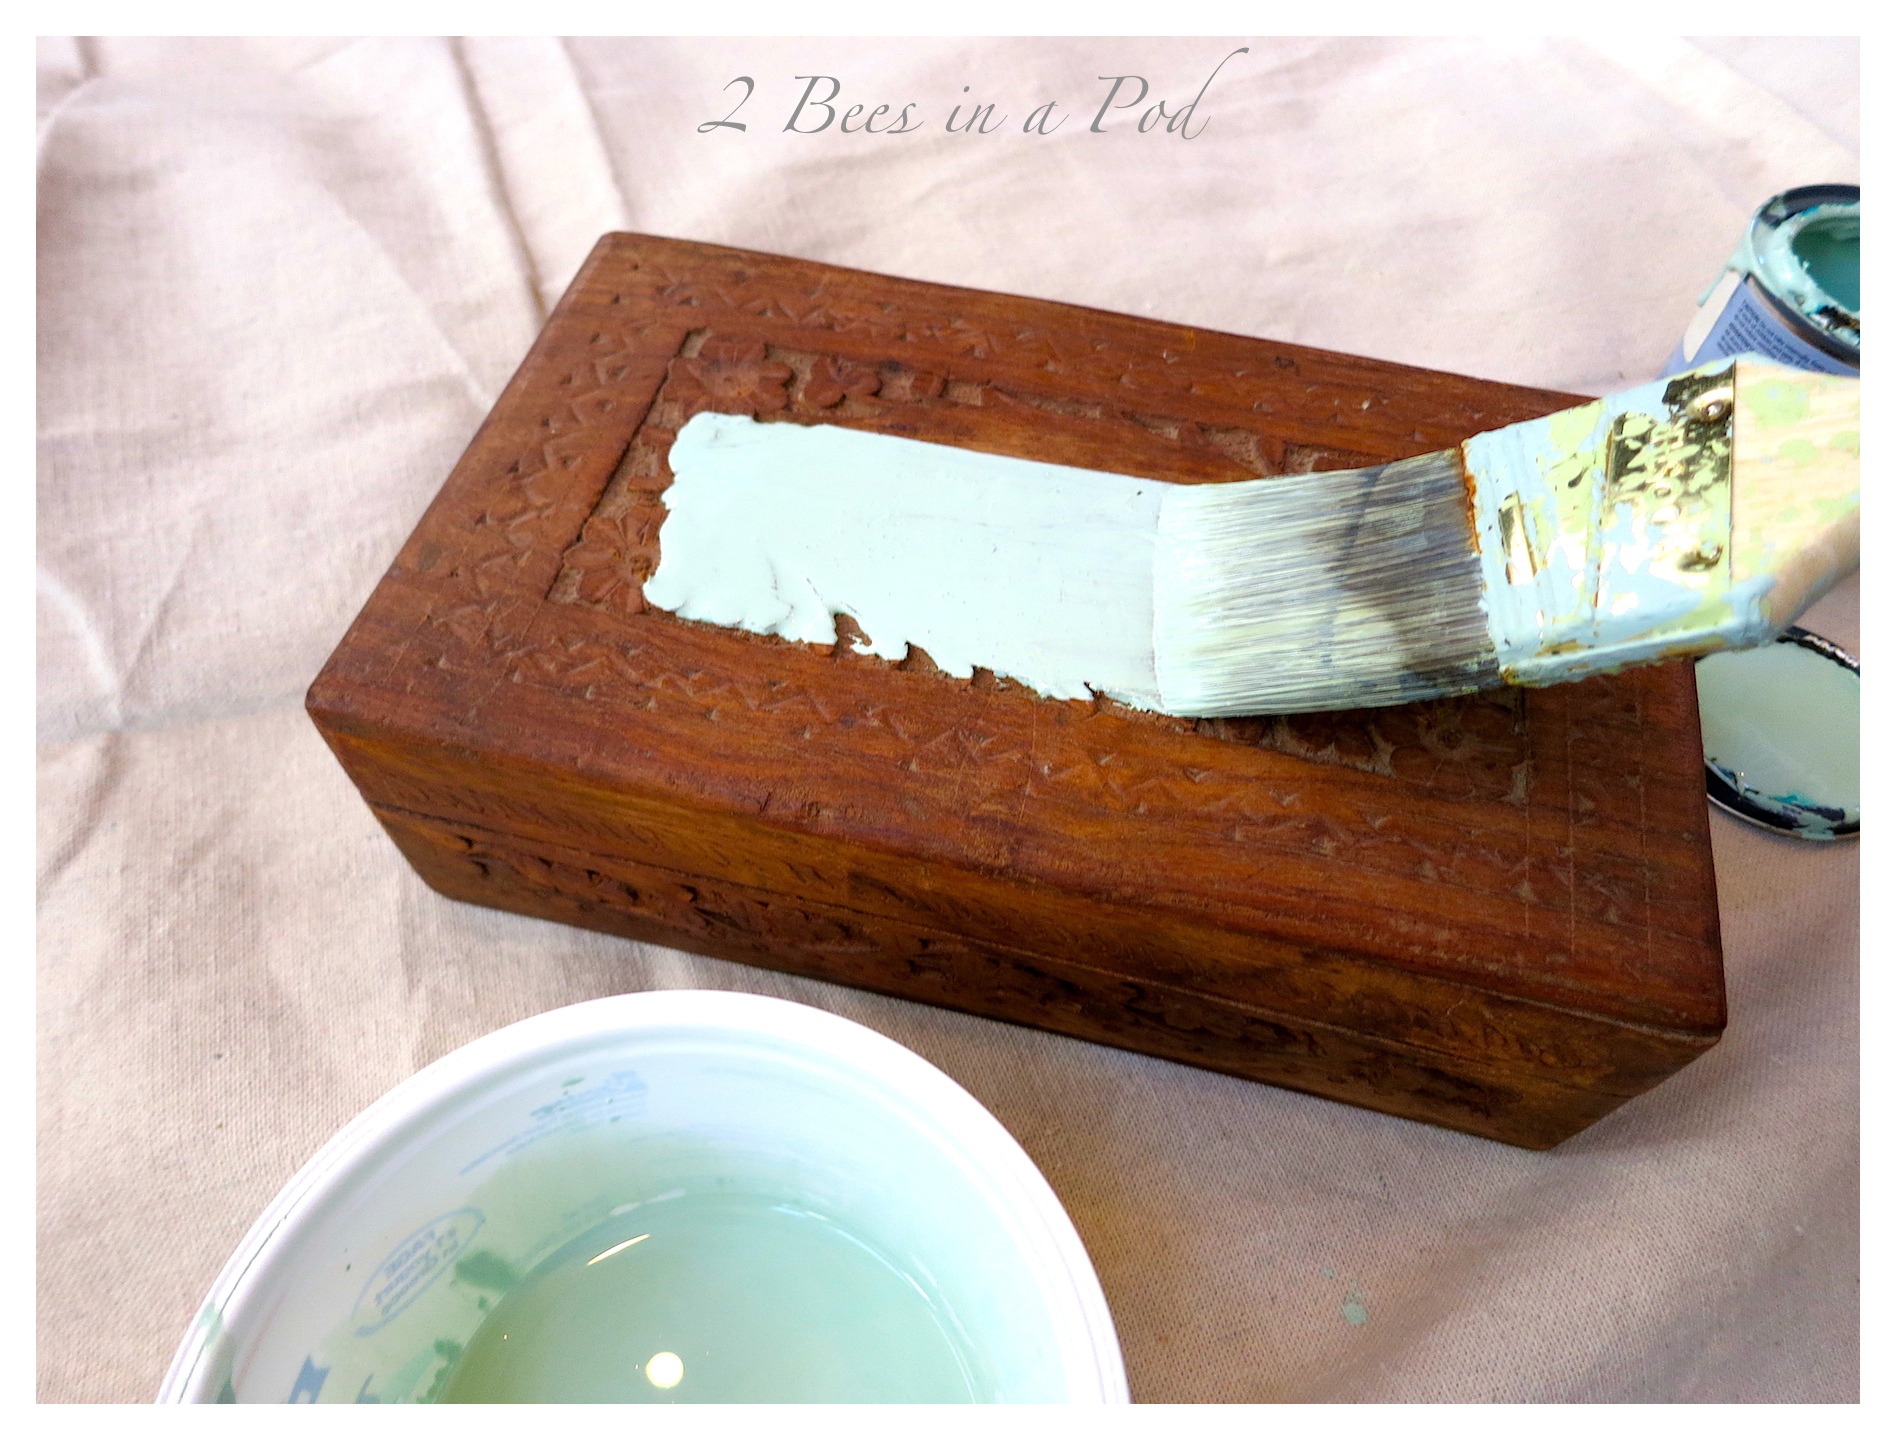
Painting the entire box top with the paint-wash combination.
Just keep adding the paint-wash, then blot excess paint.
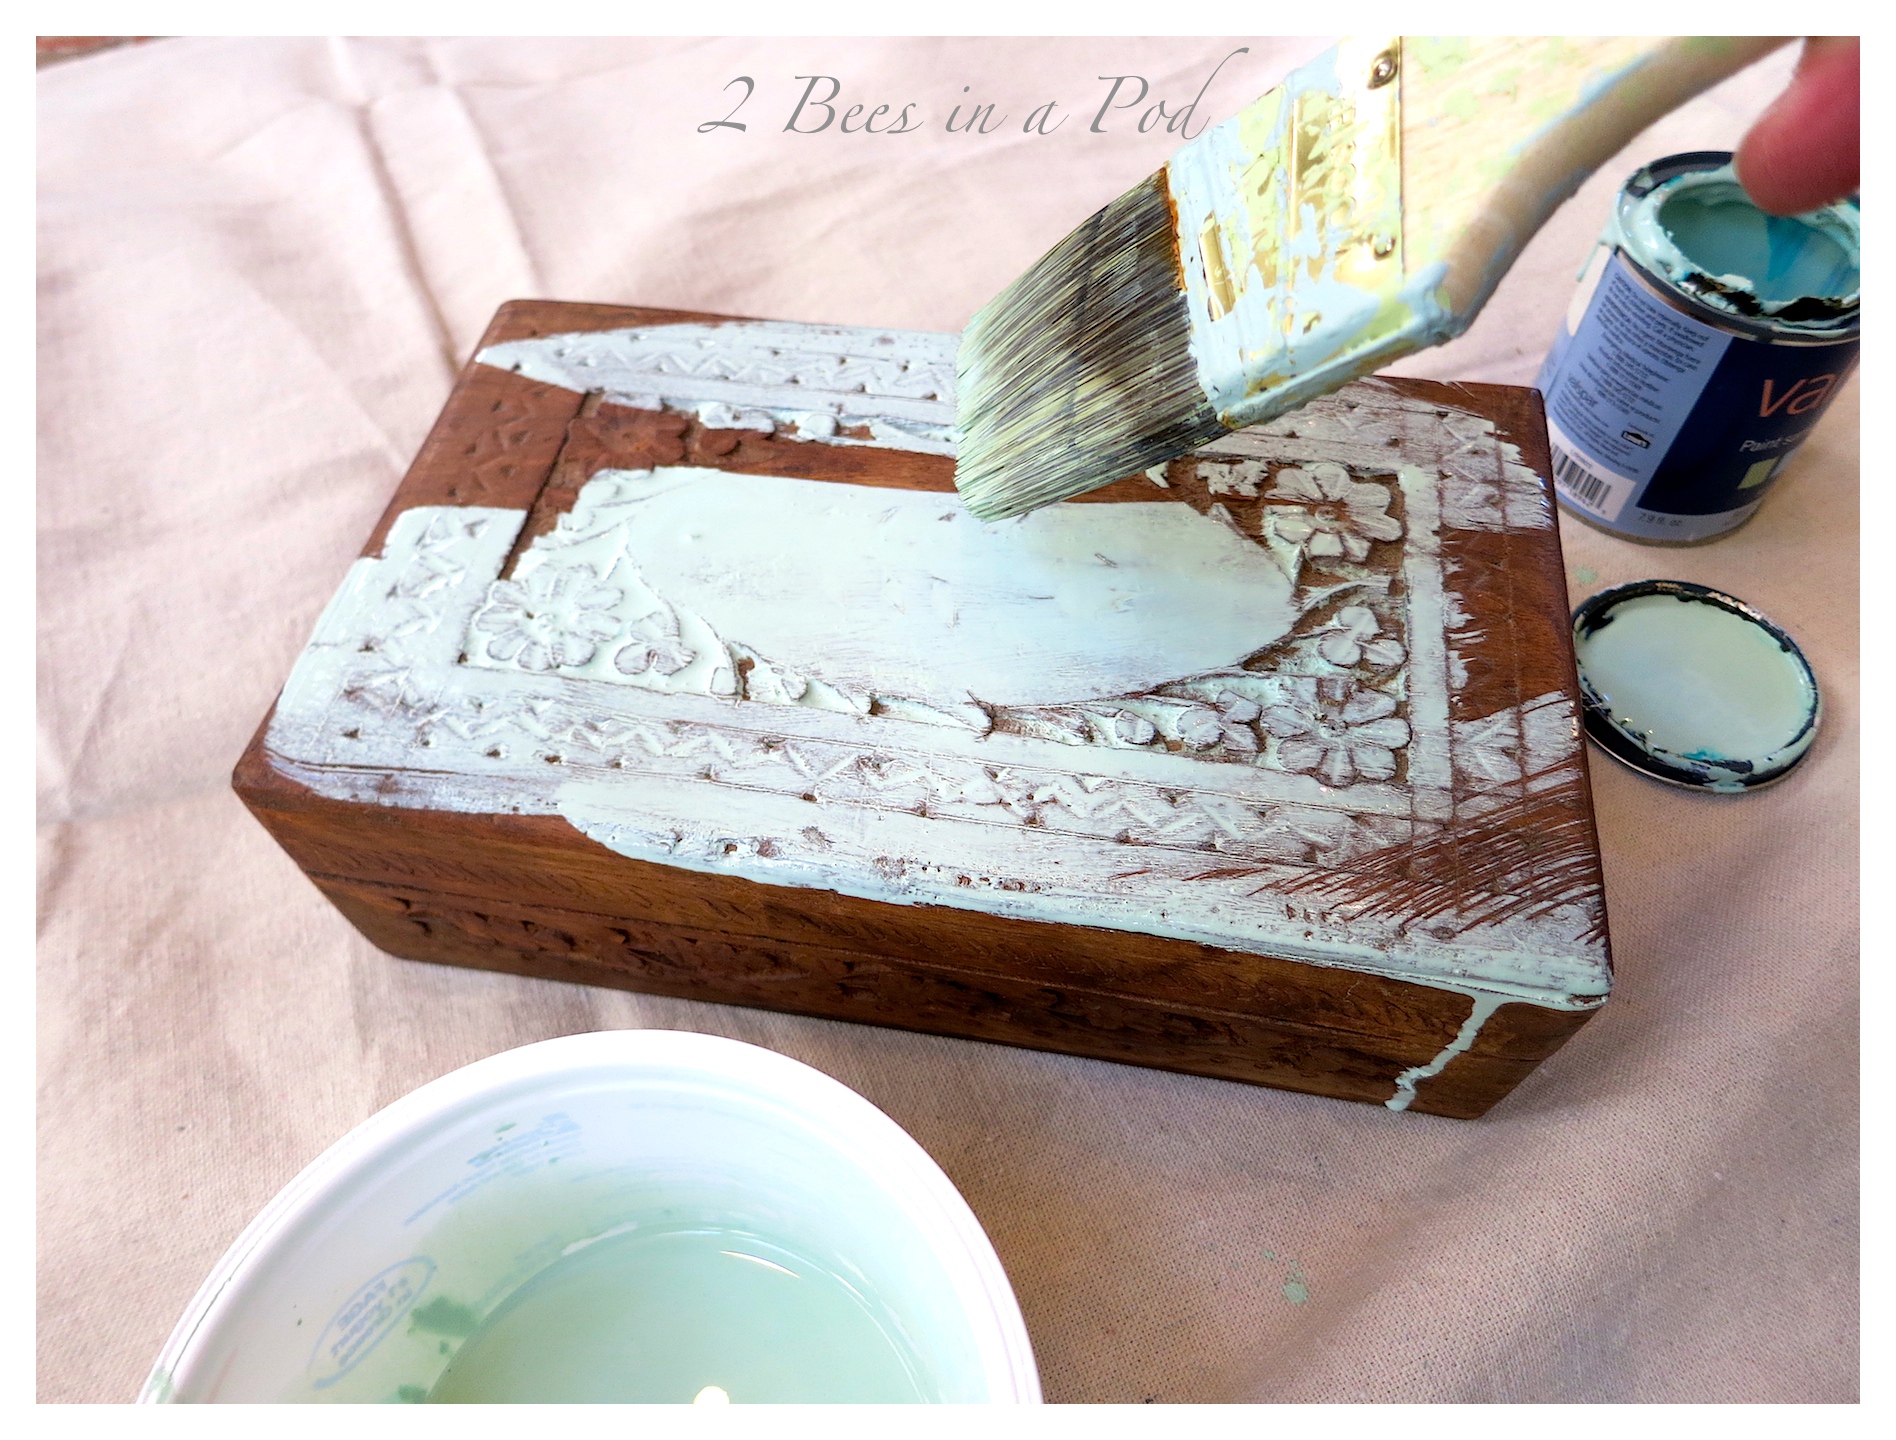
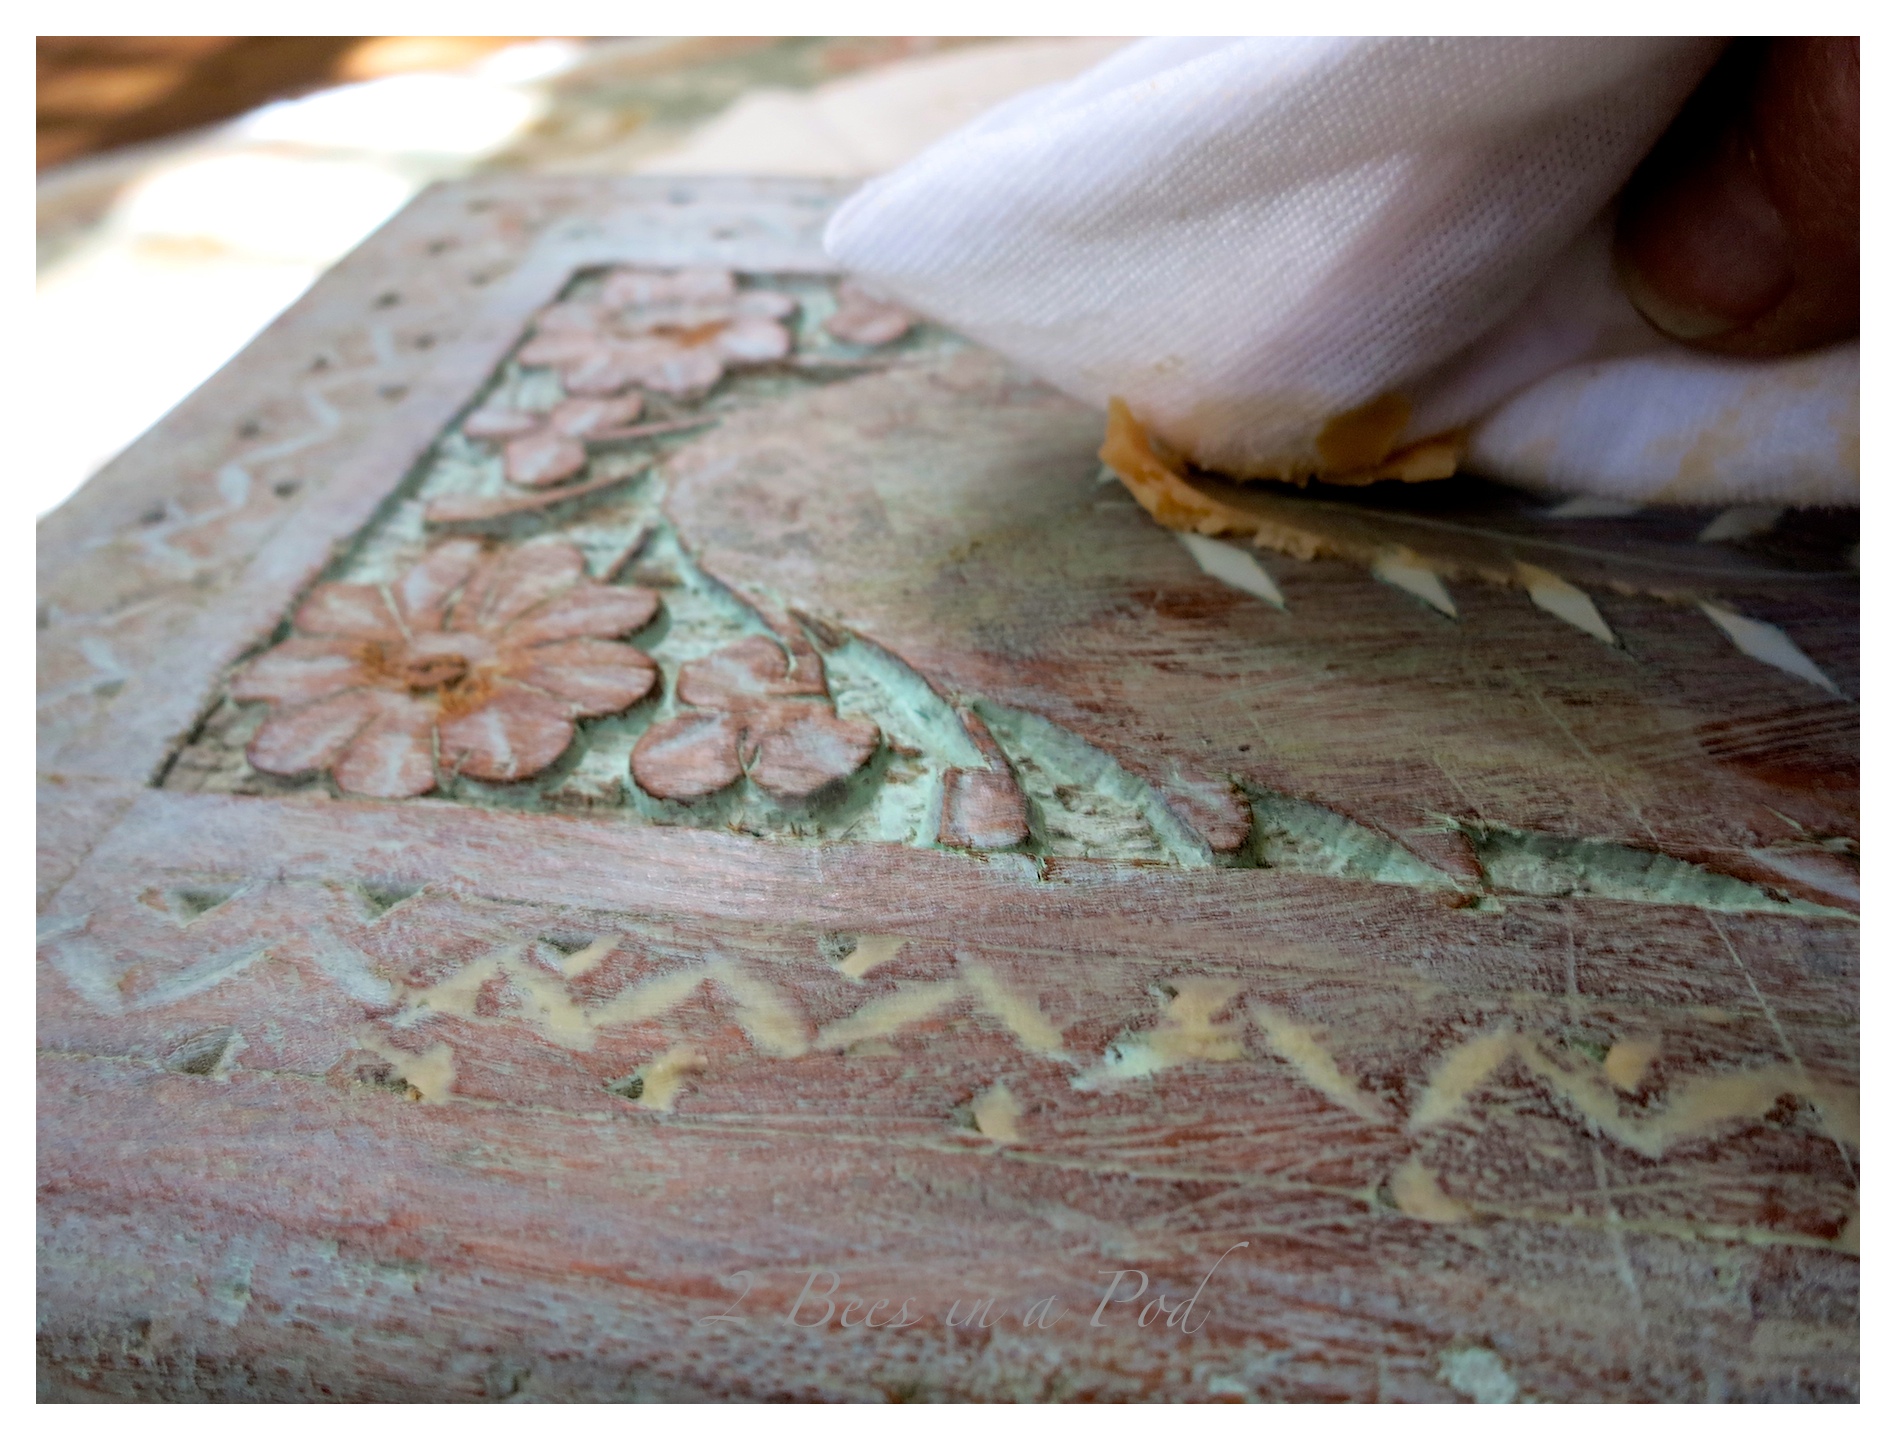
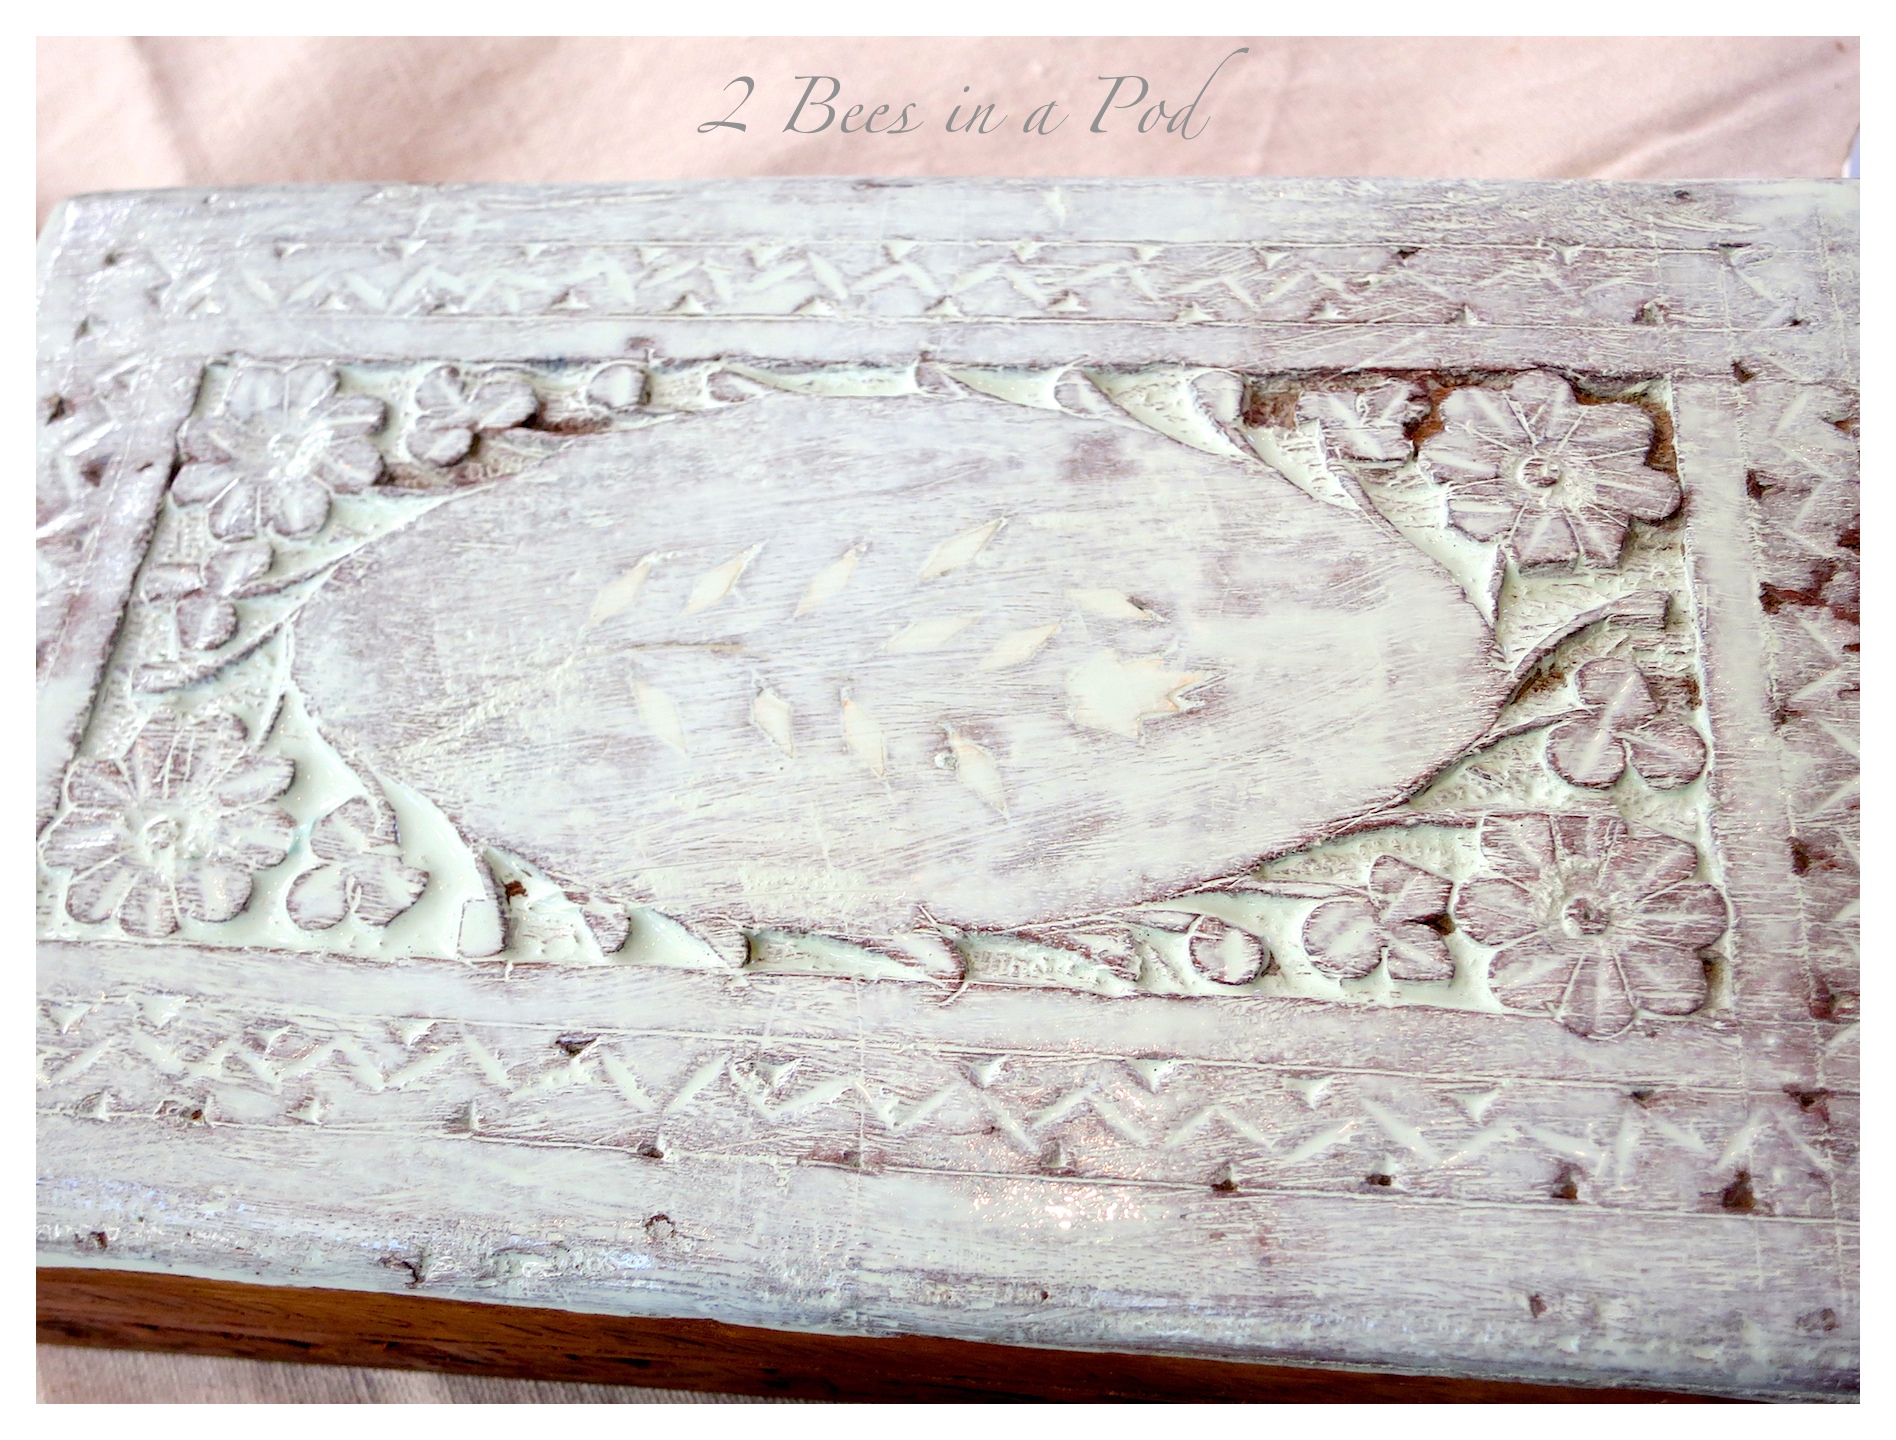 I didn’t let the wet paint surface sit for very long. Using a paper towel I began removing the wet paint-wash being sure to leave wet paint in the carved areas. I kept blotting until I had the desired finish that I wanted.
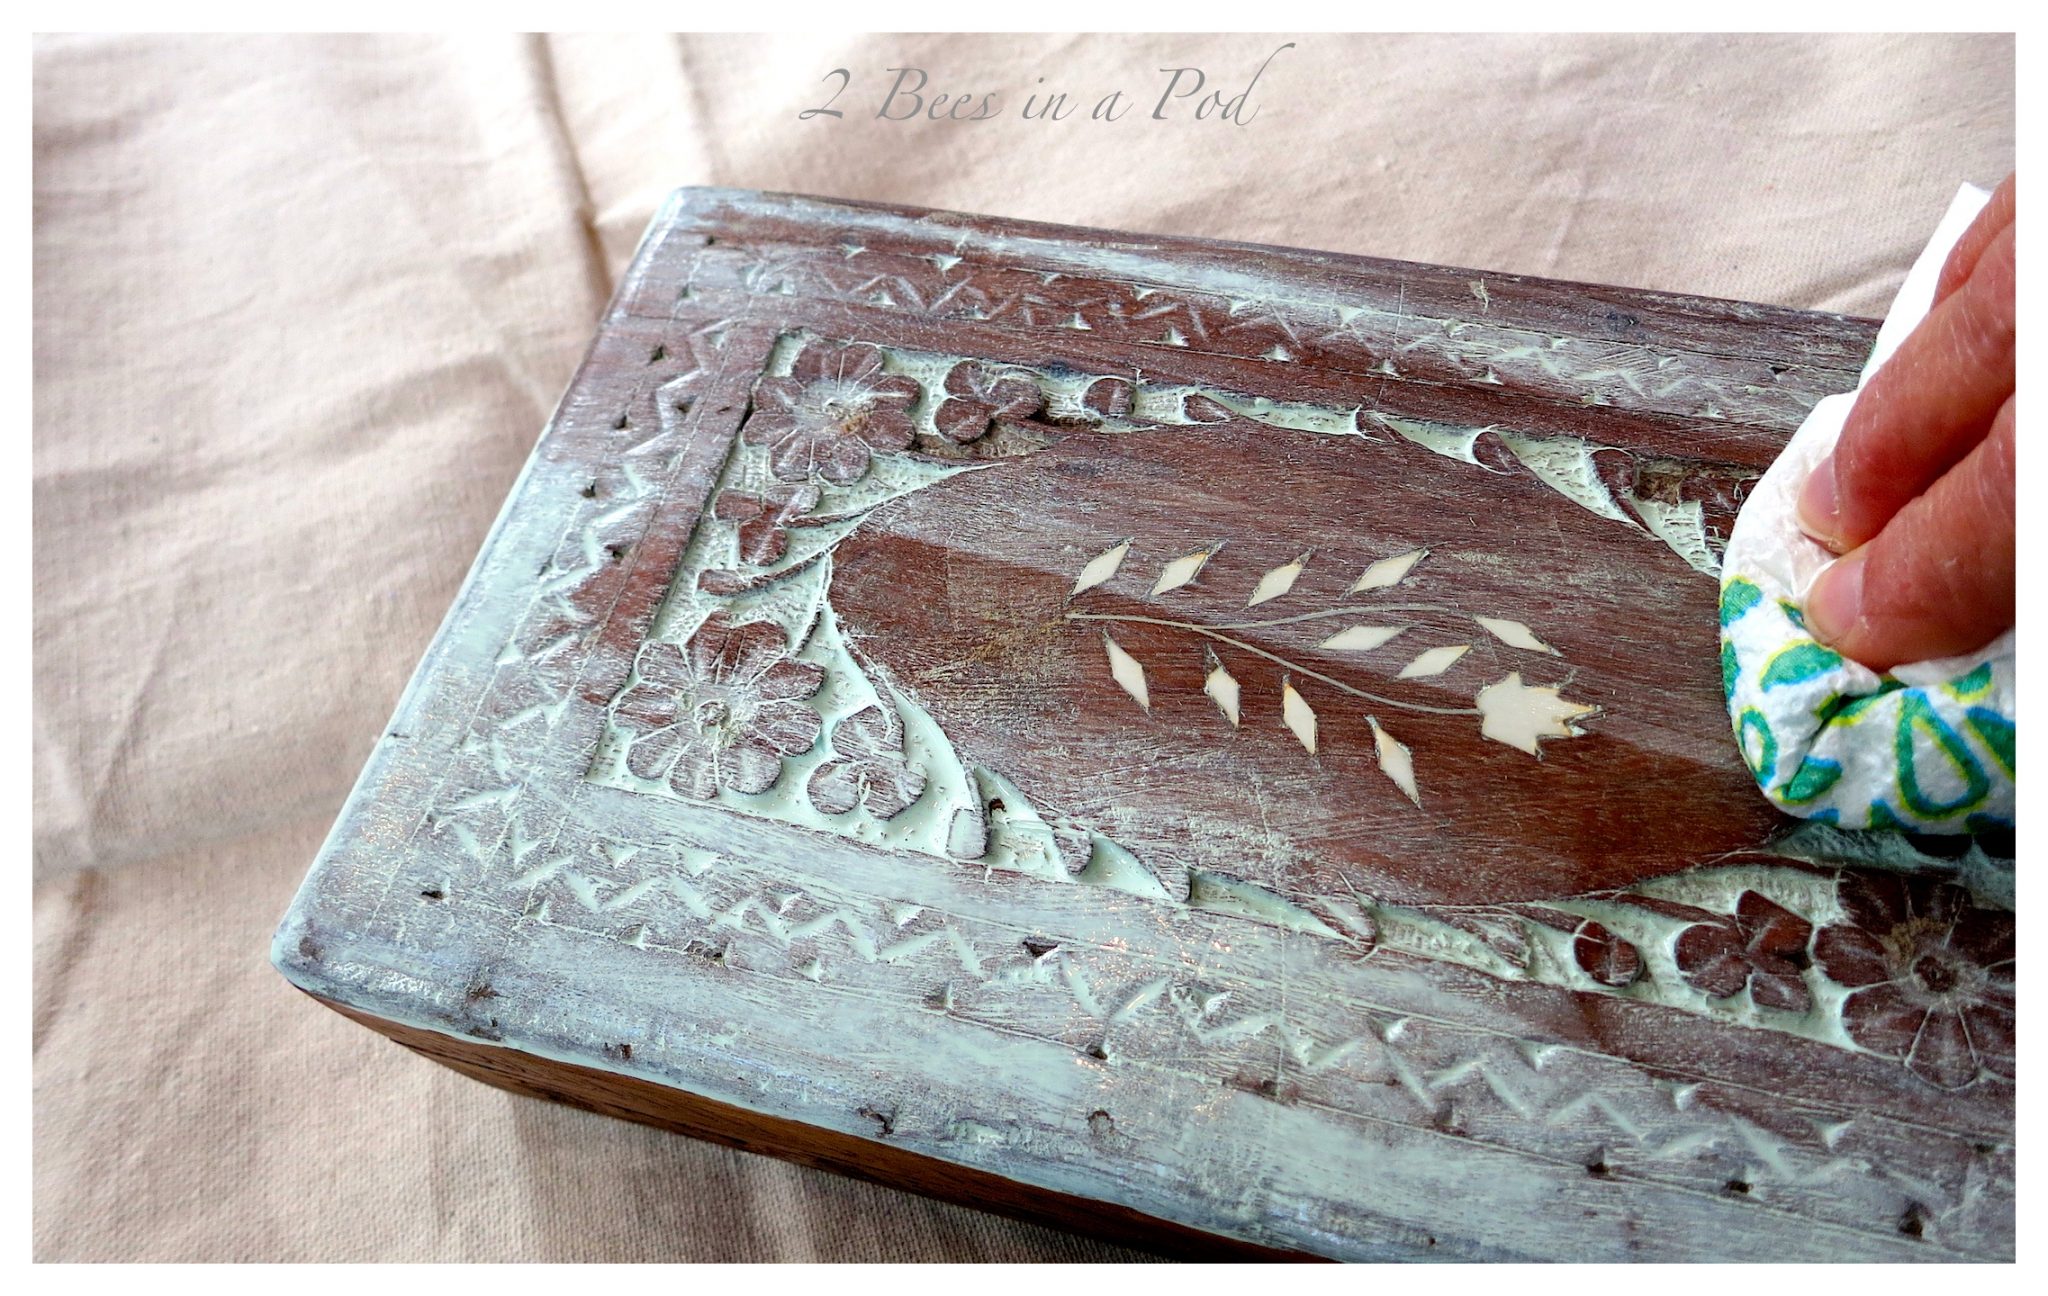 This process was repeated on the entire box.
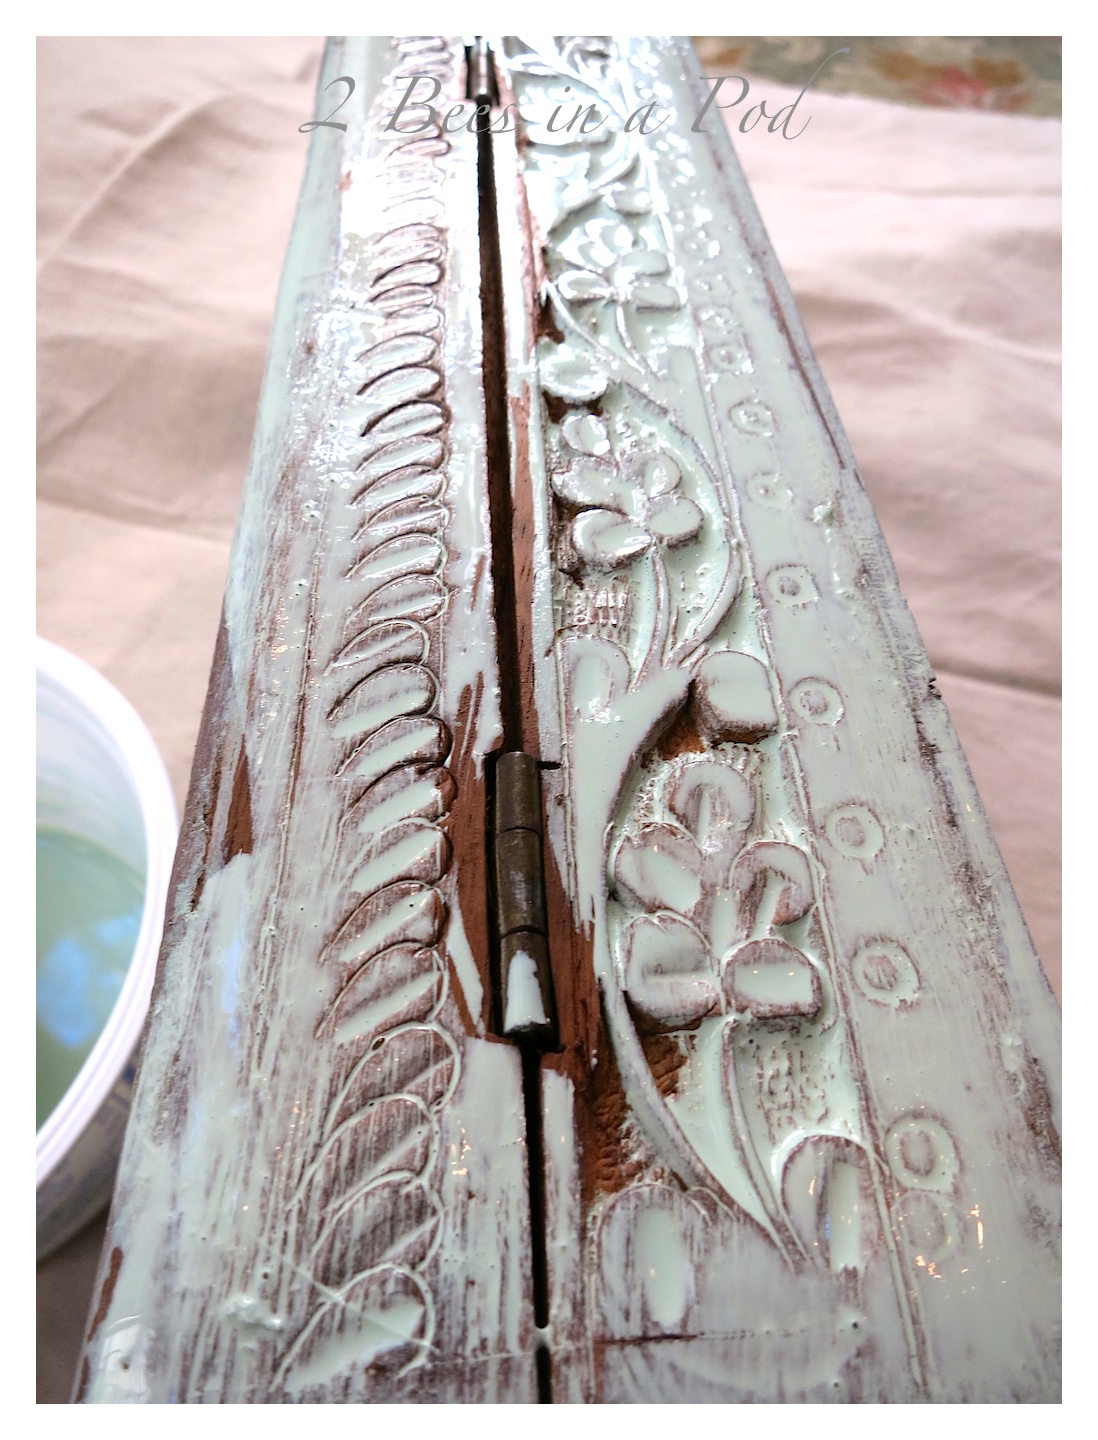
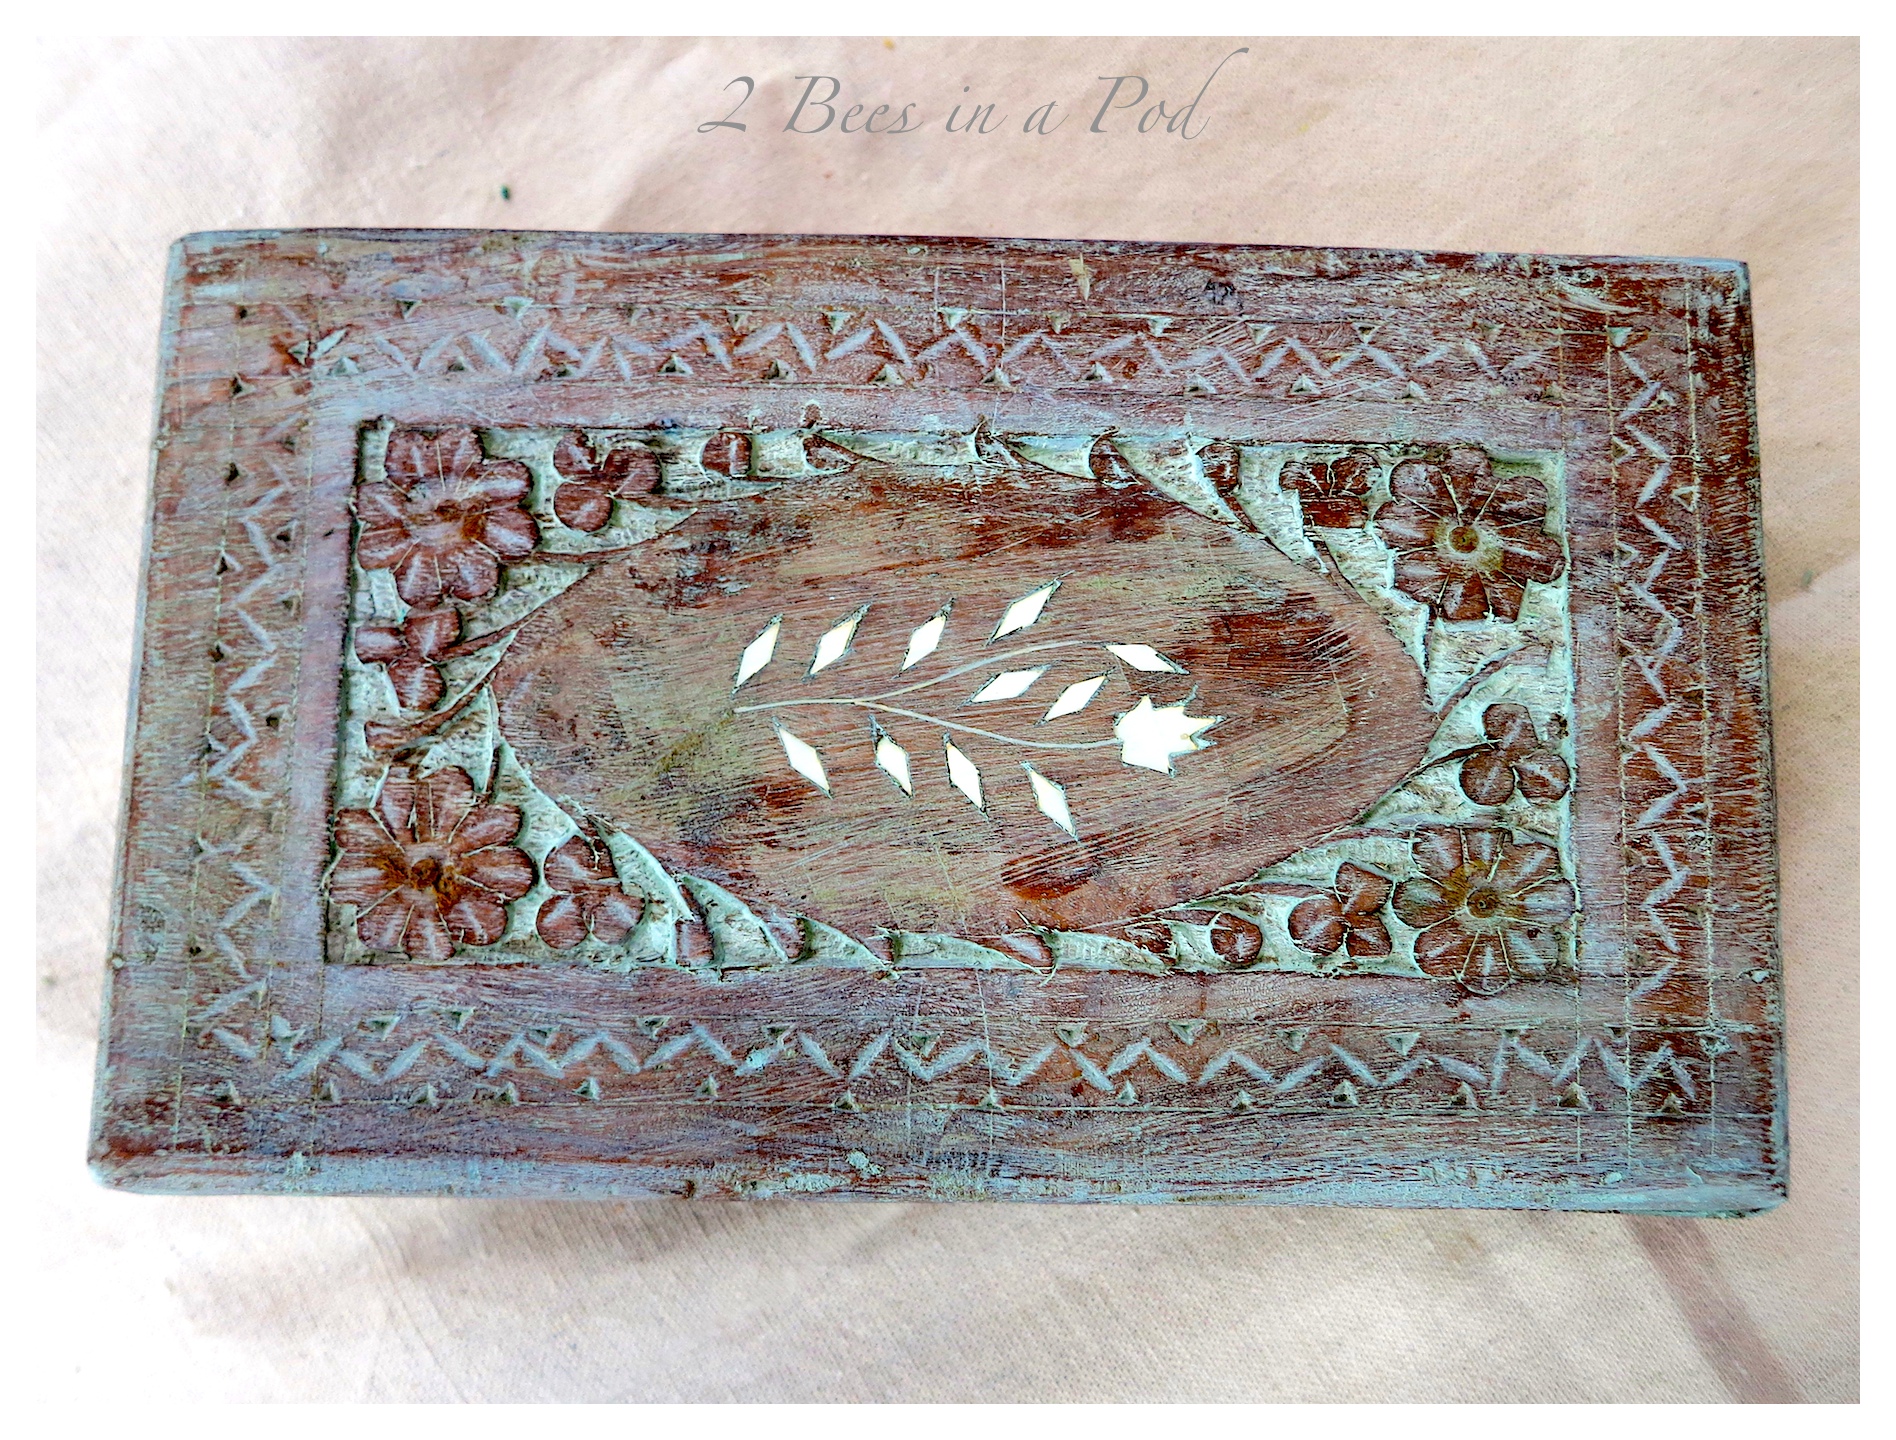 The wooden box was virtually dry when I finished painting and wiping off the excess. I then applied a thin coat of paste was for a bit of protection and sheen.
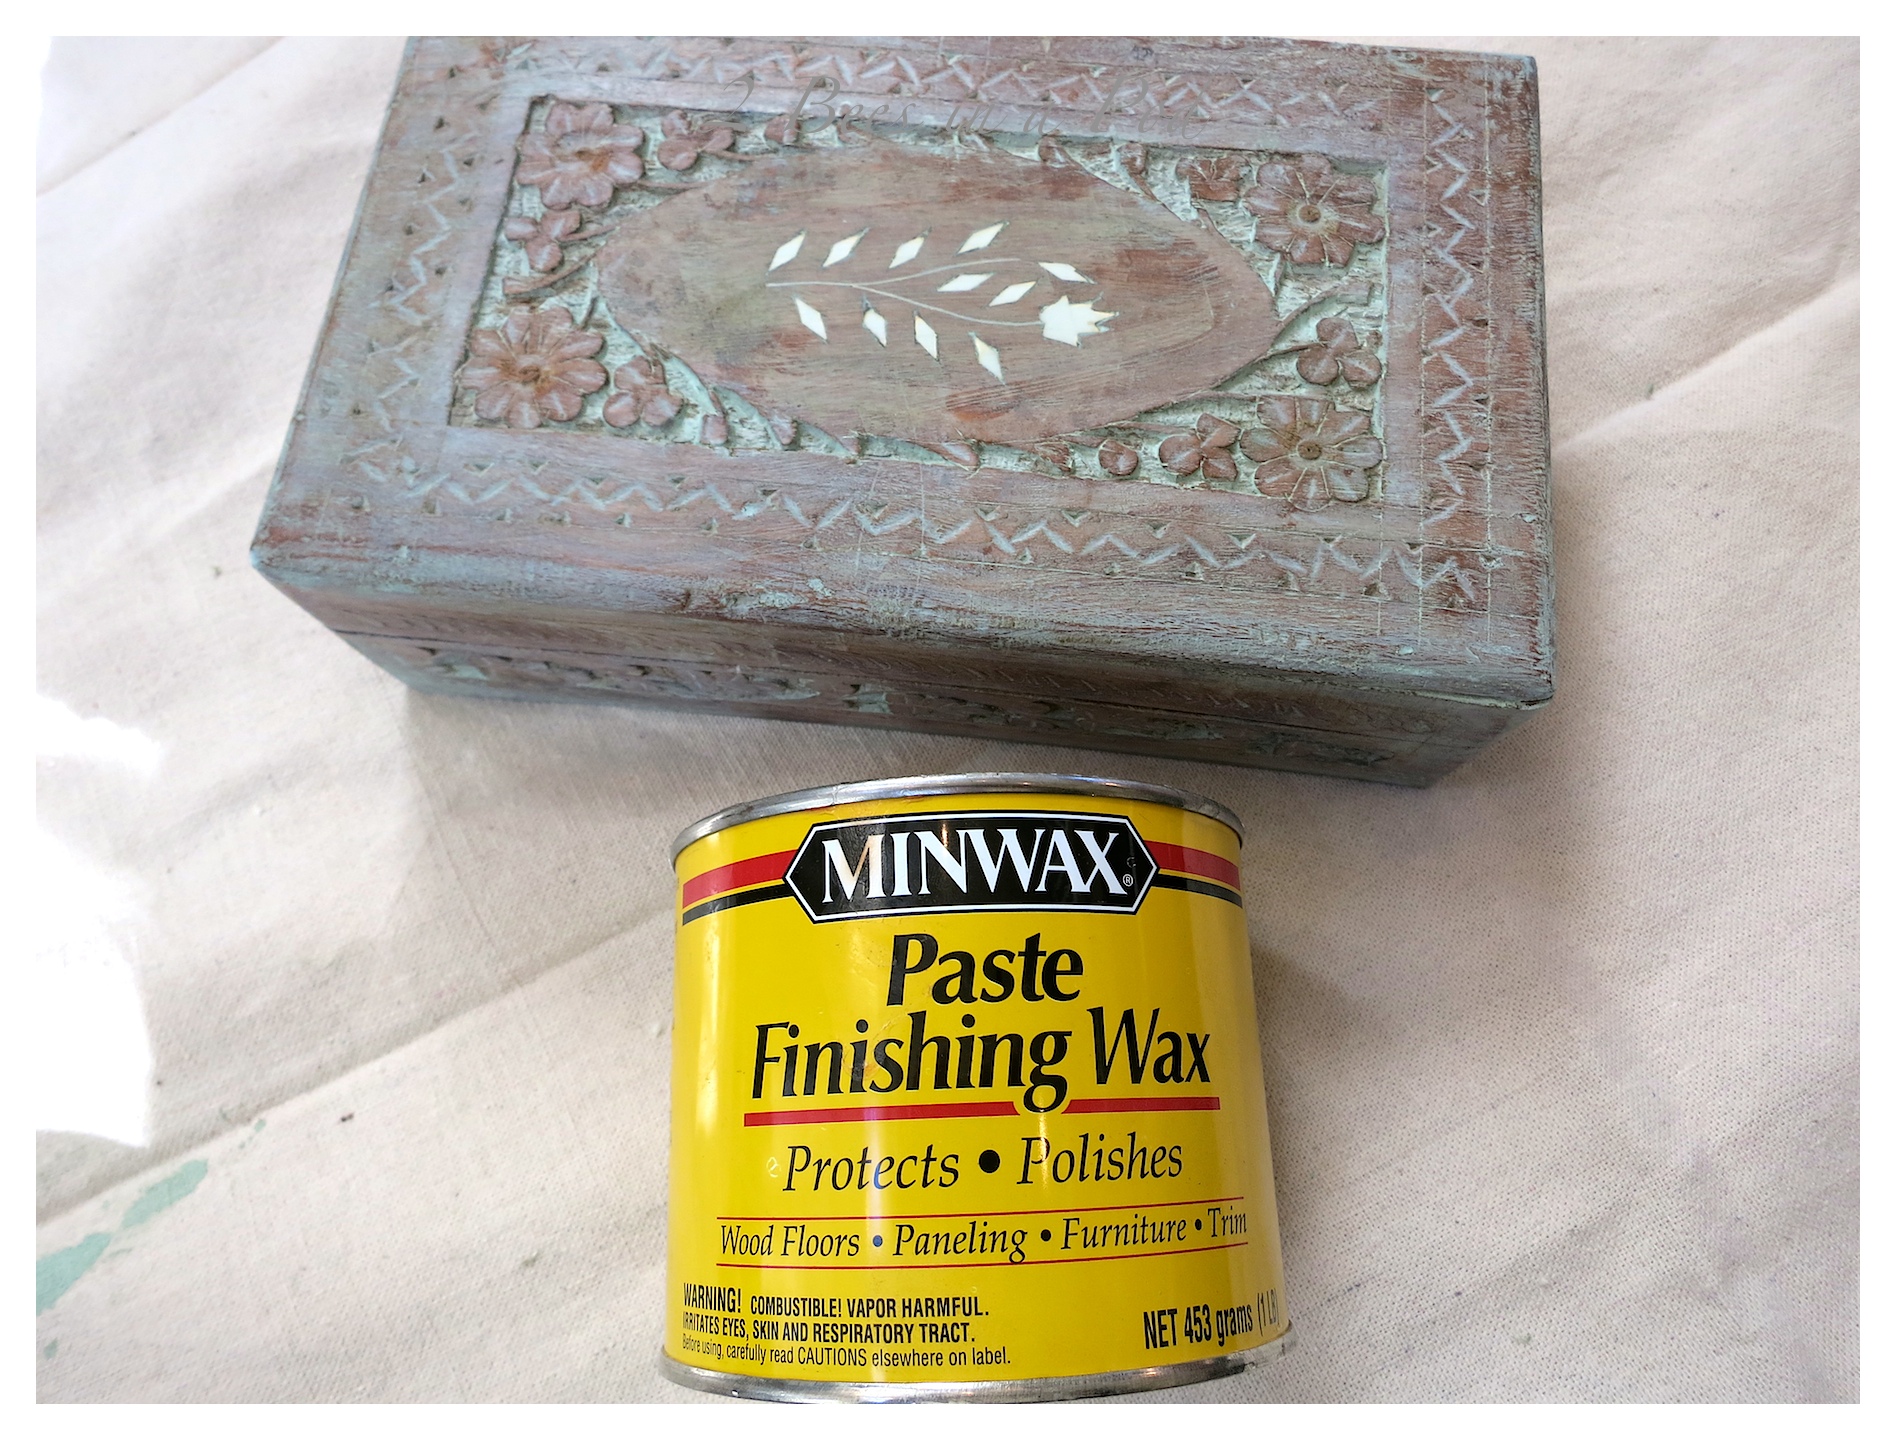
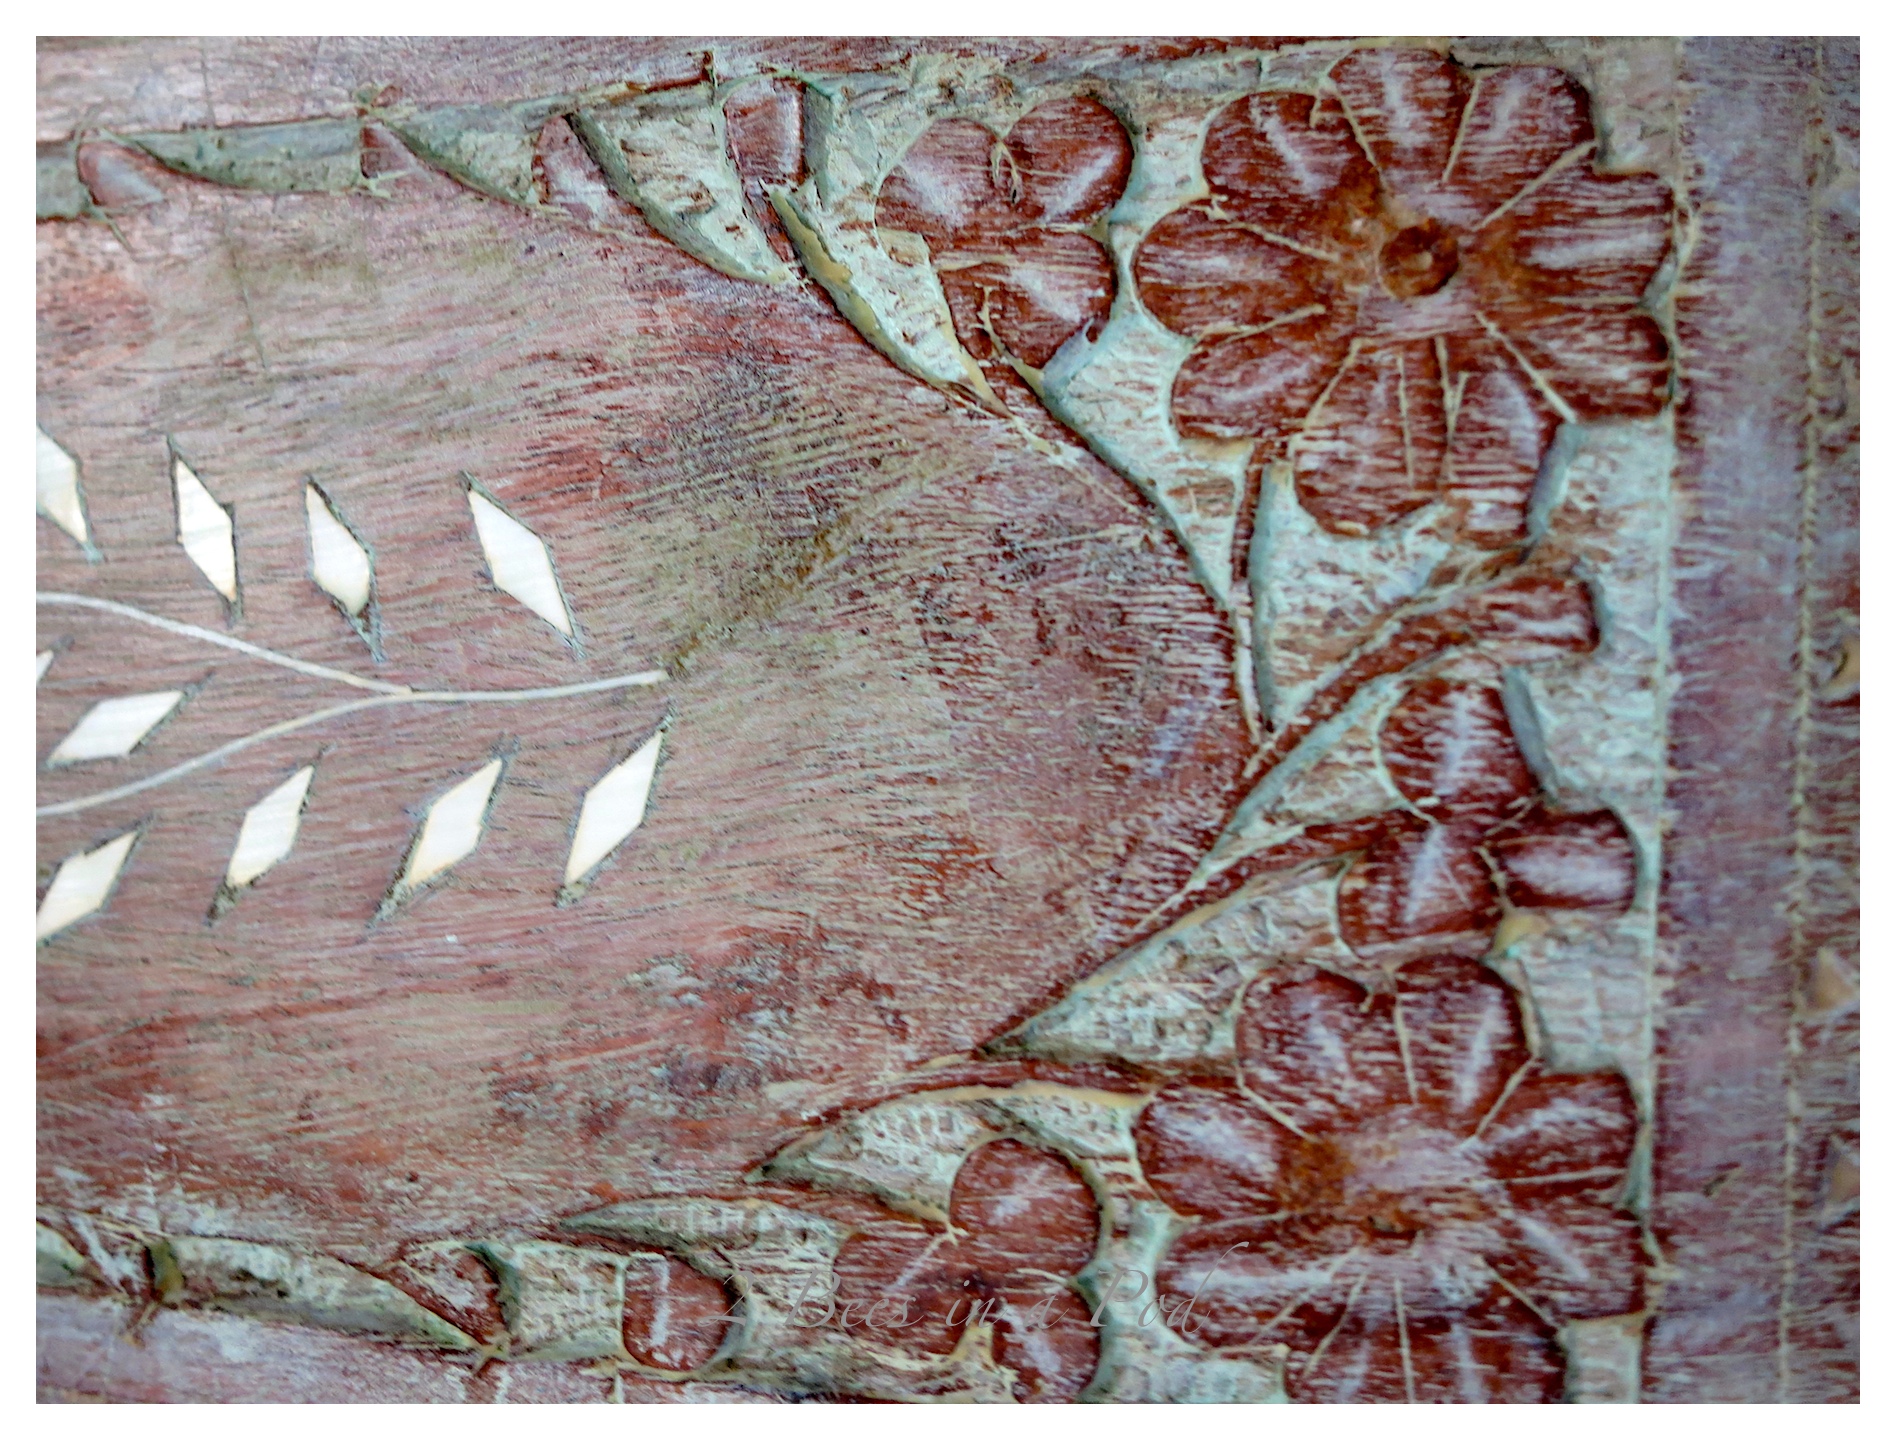 Now, I happily display this pretty painted carved box all over the house!
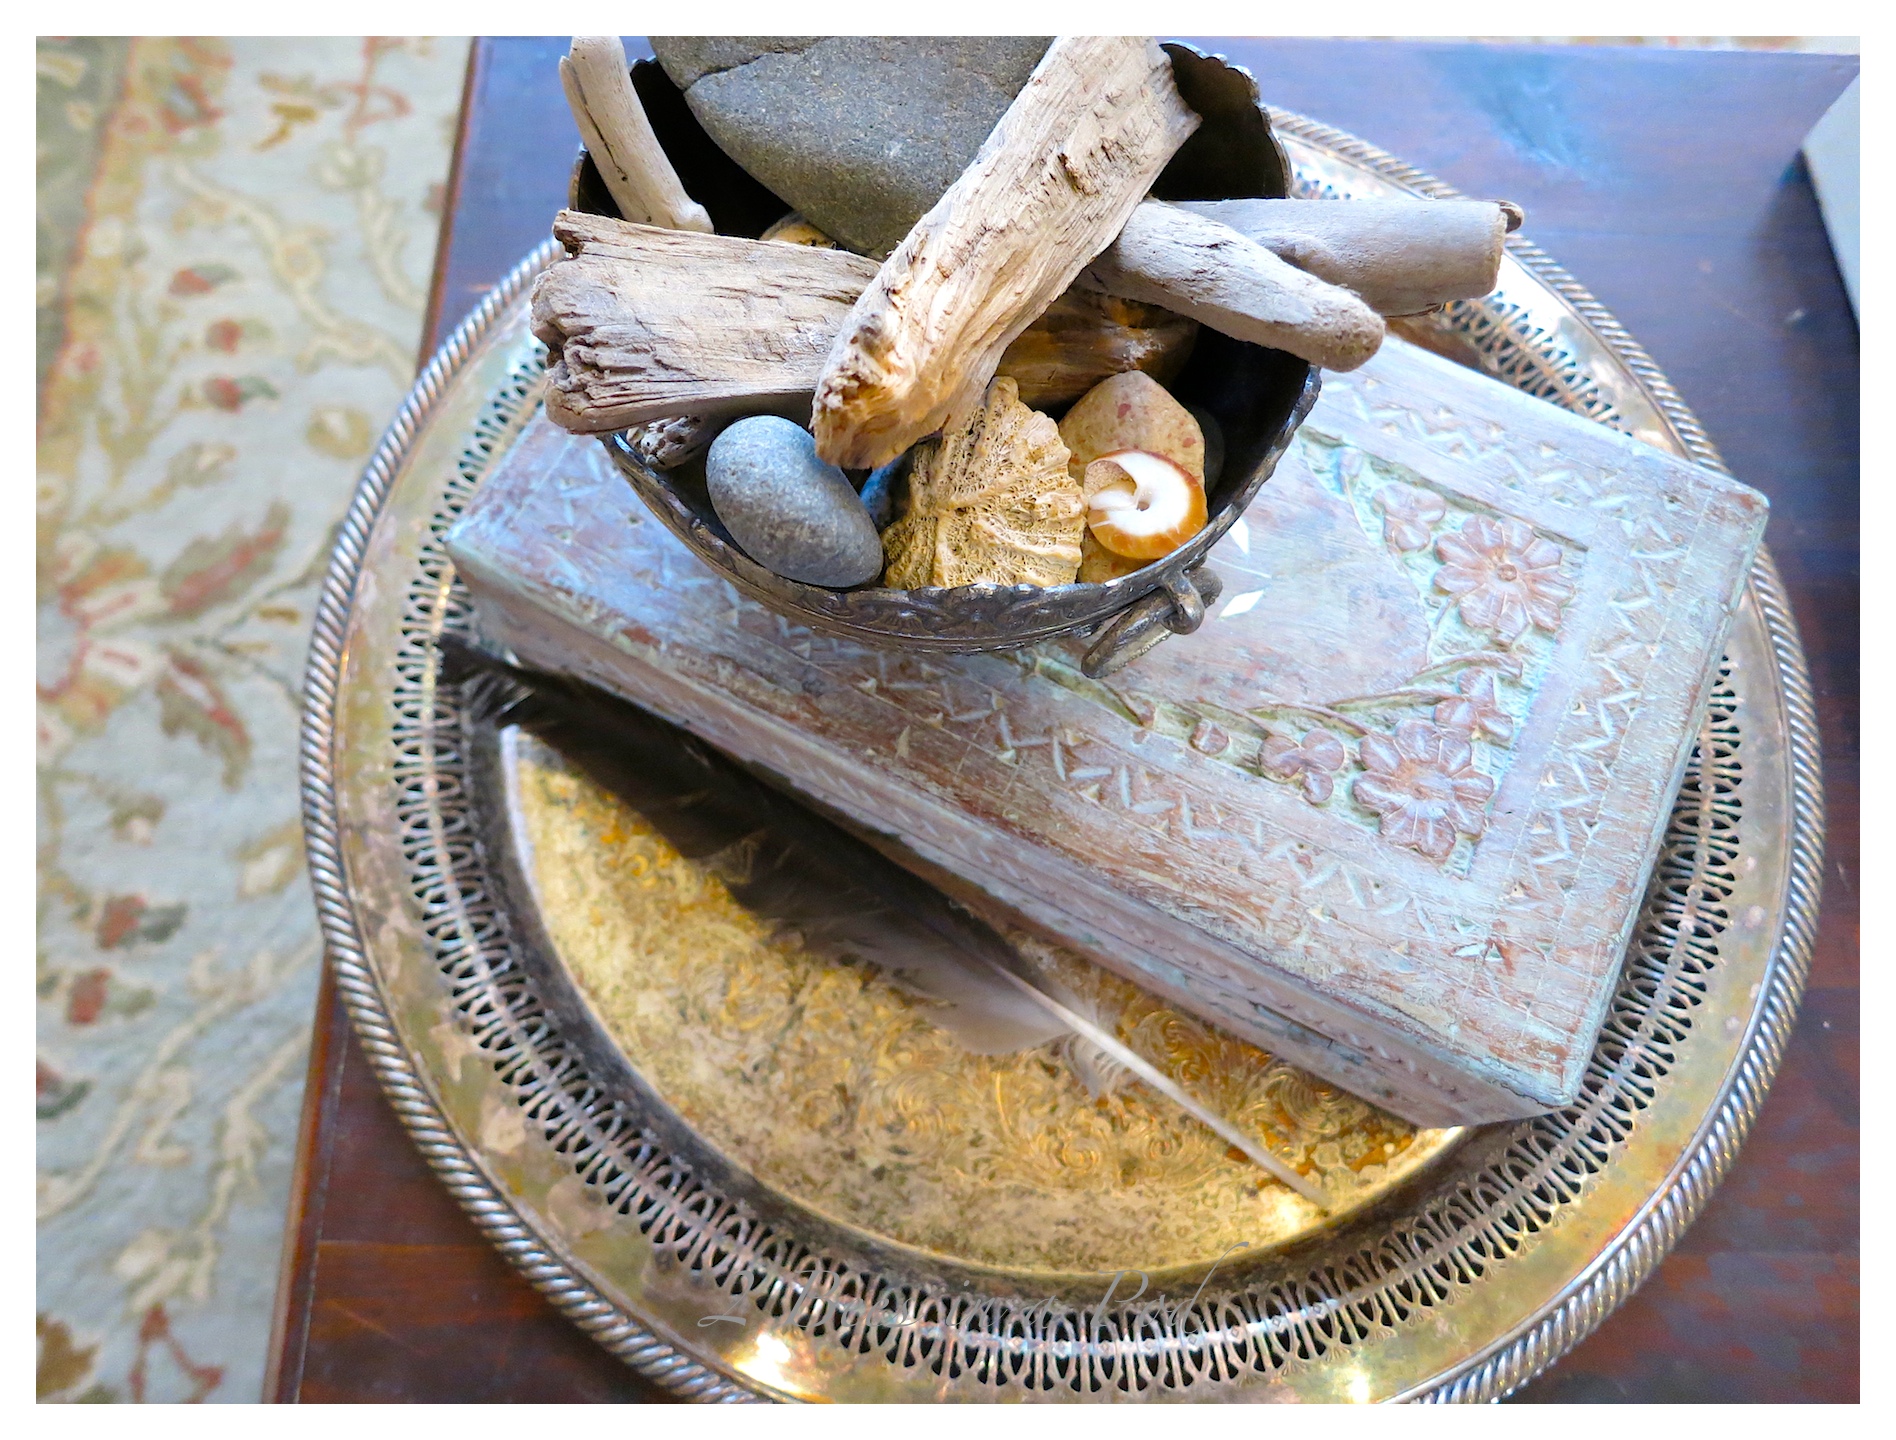
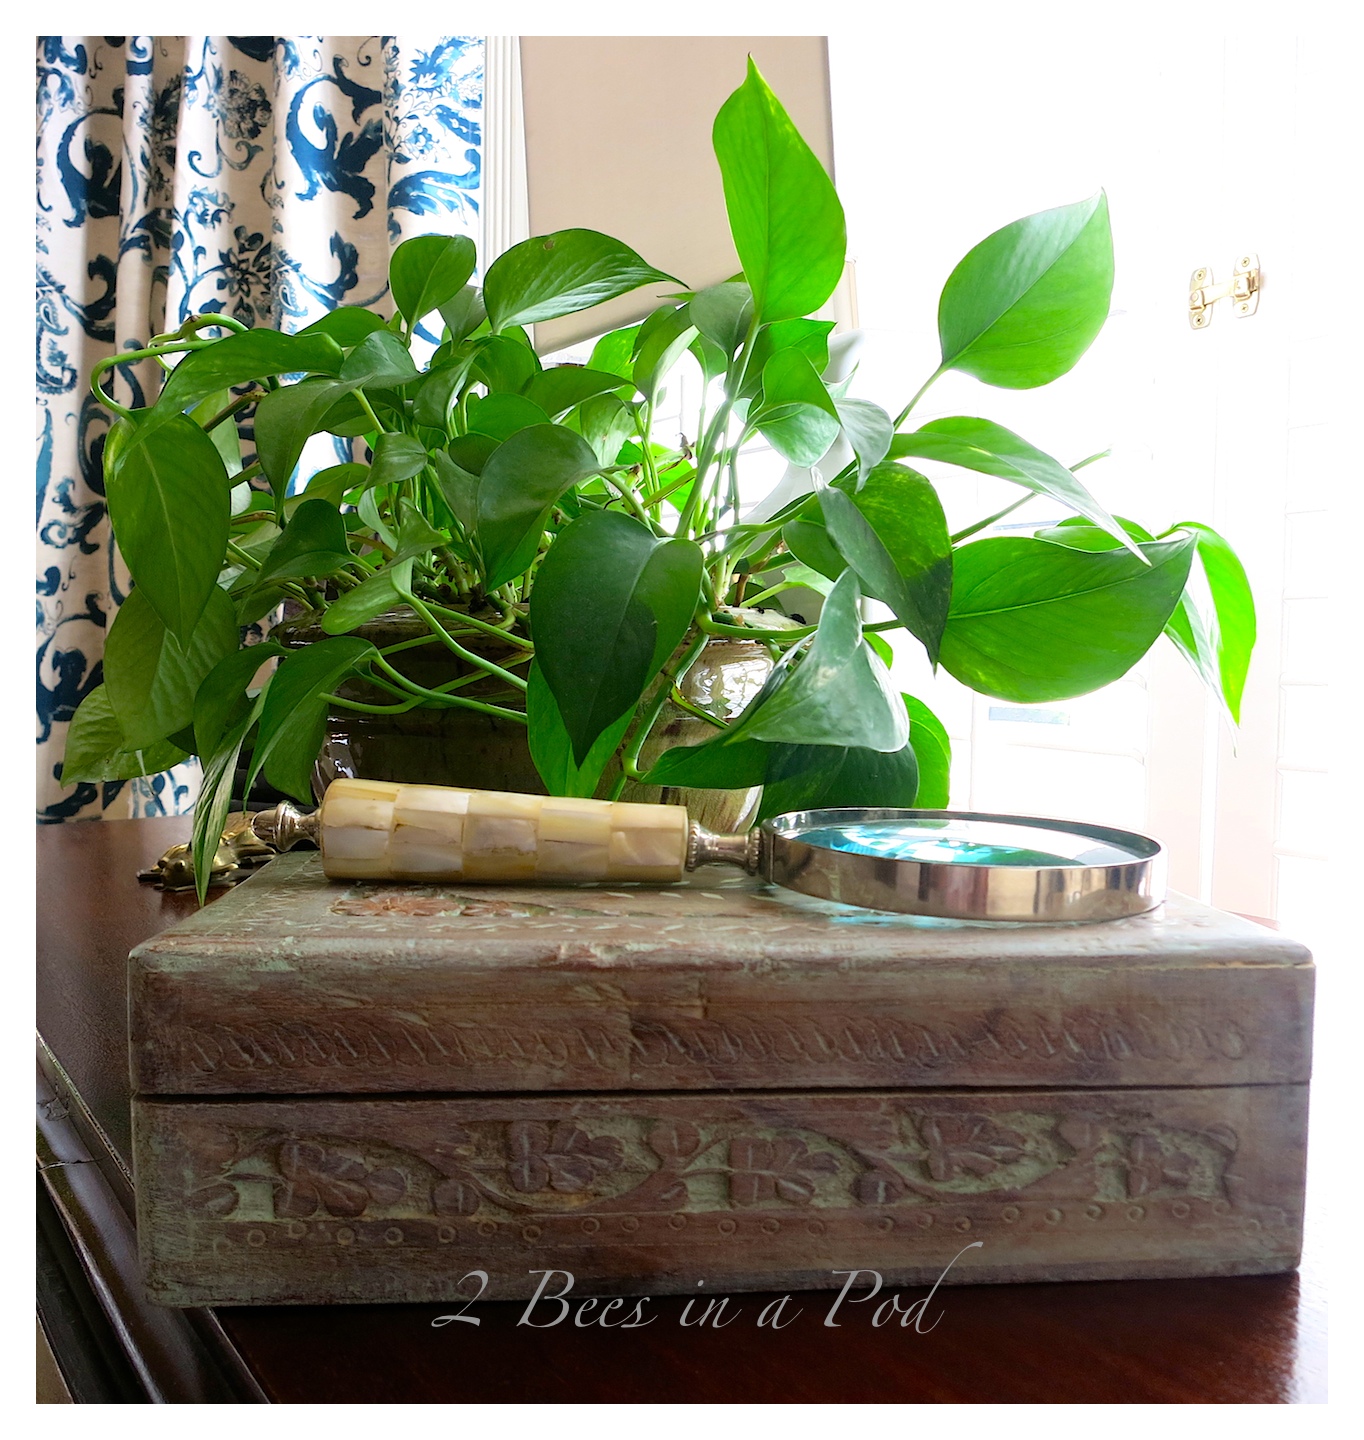
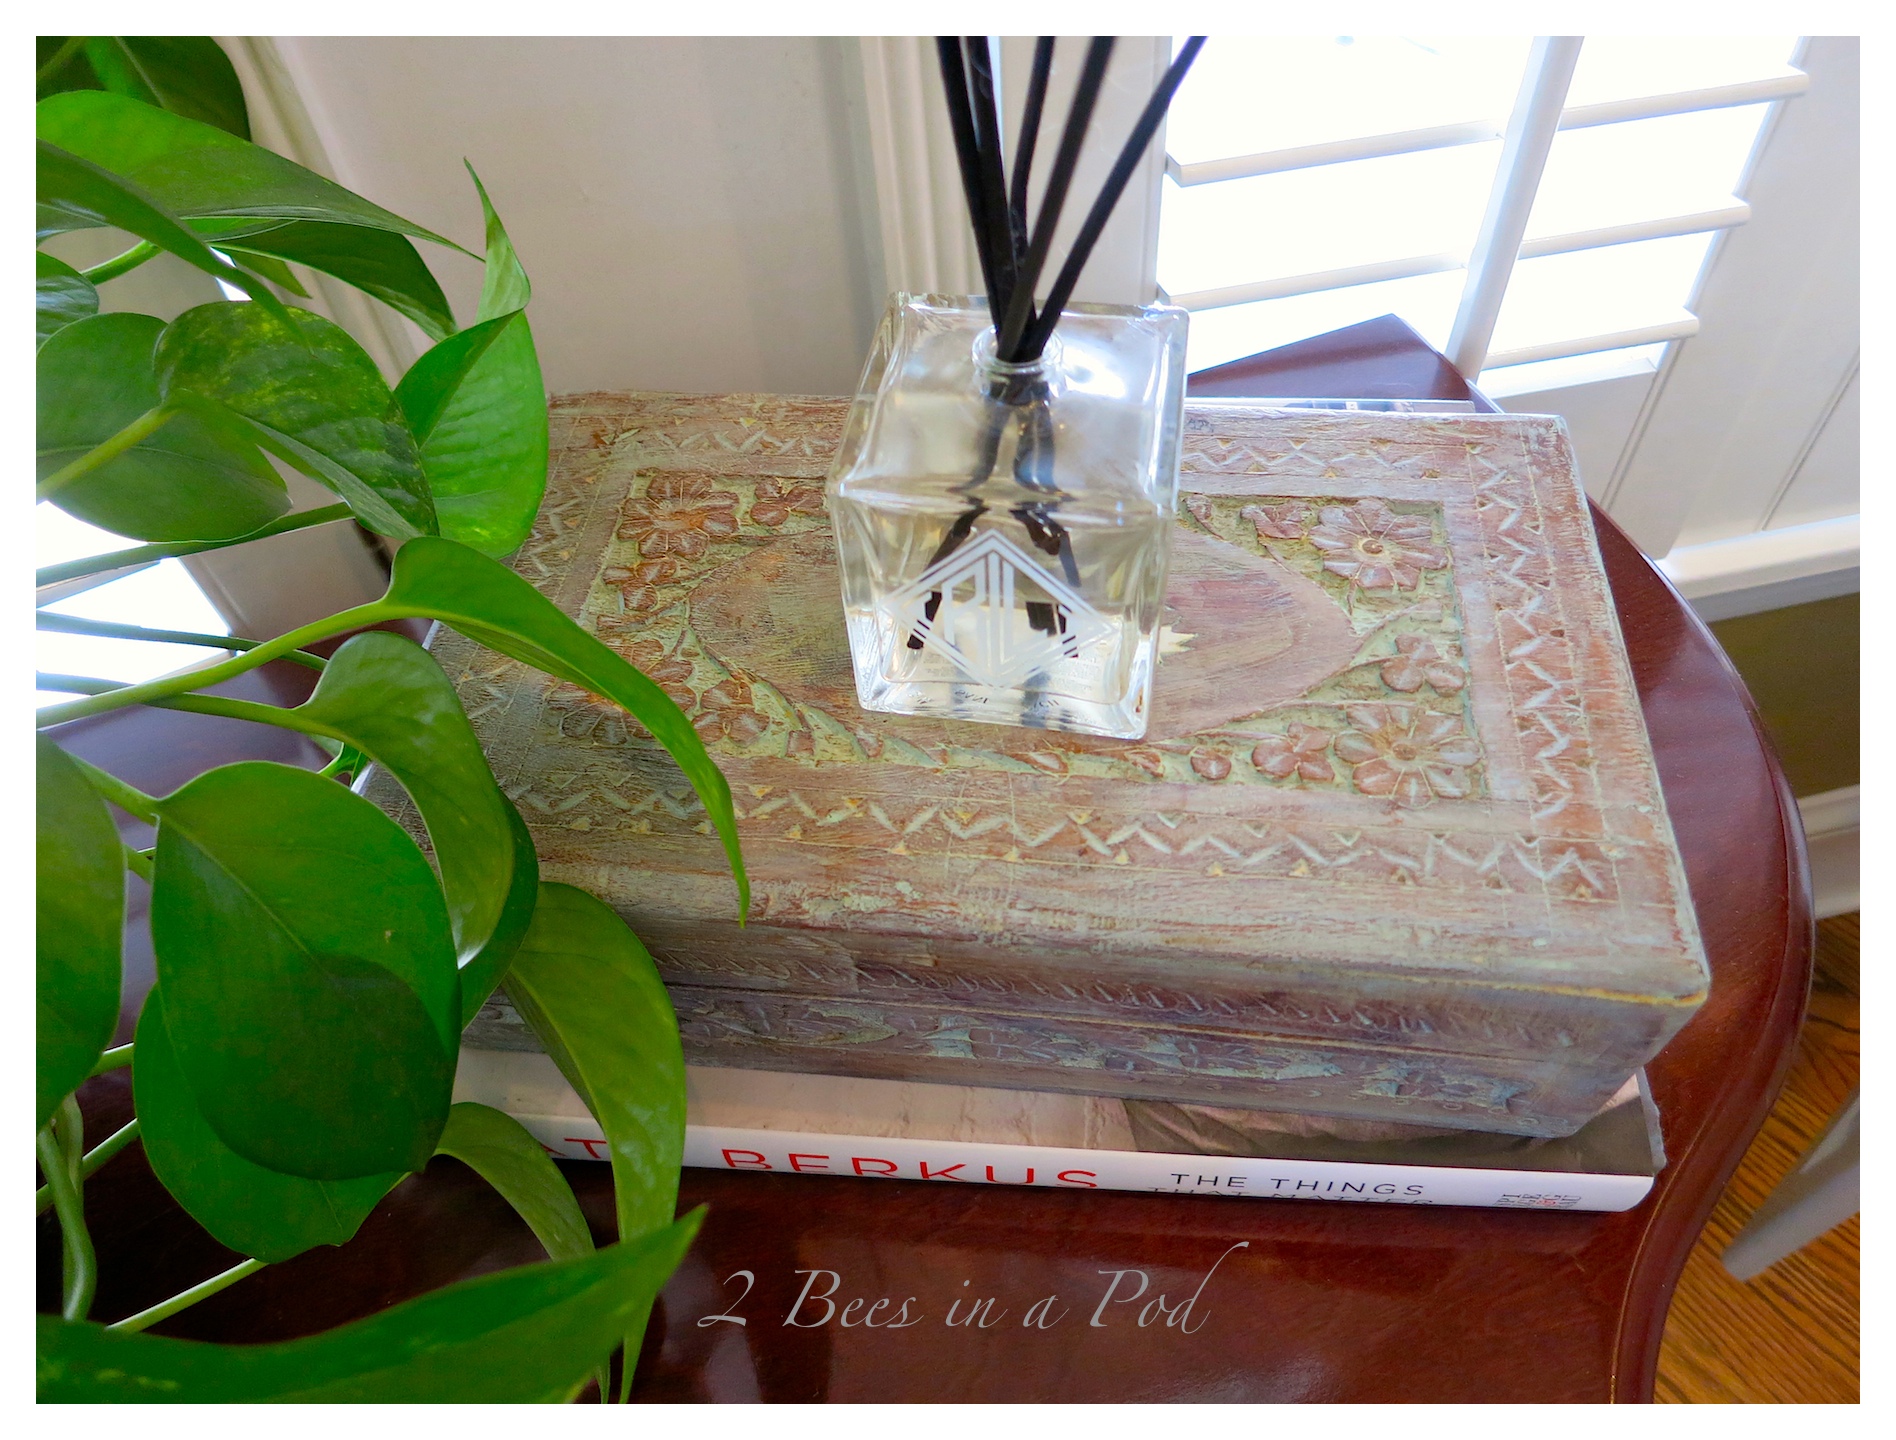
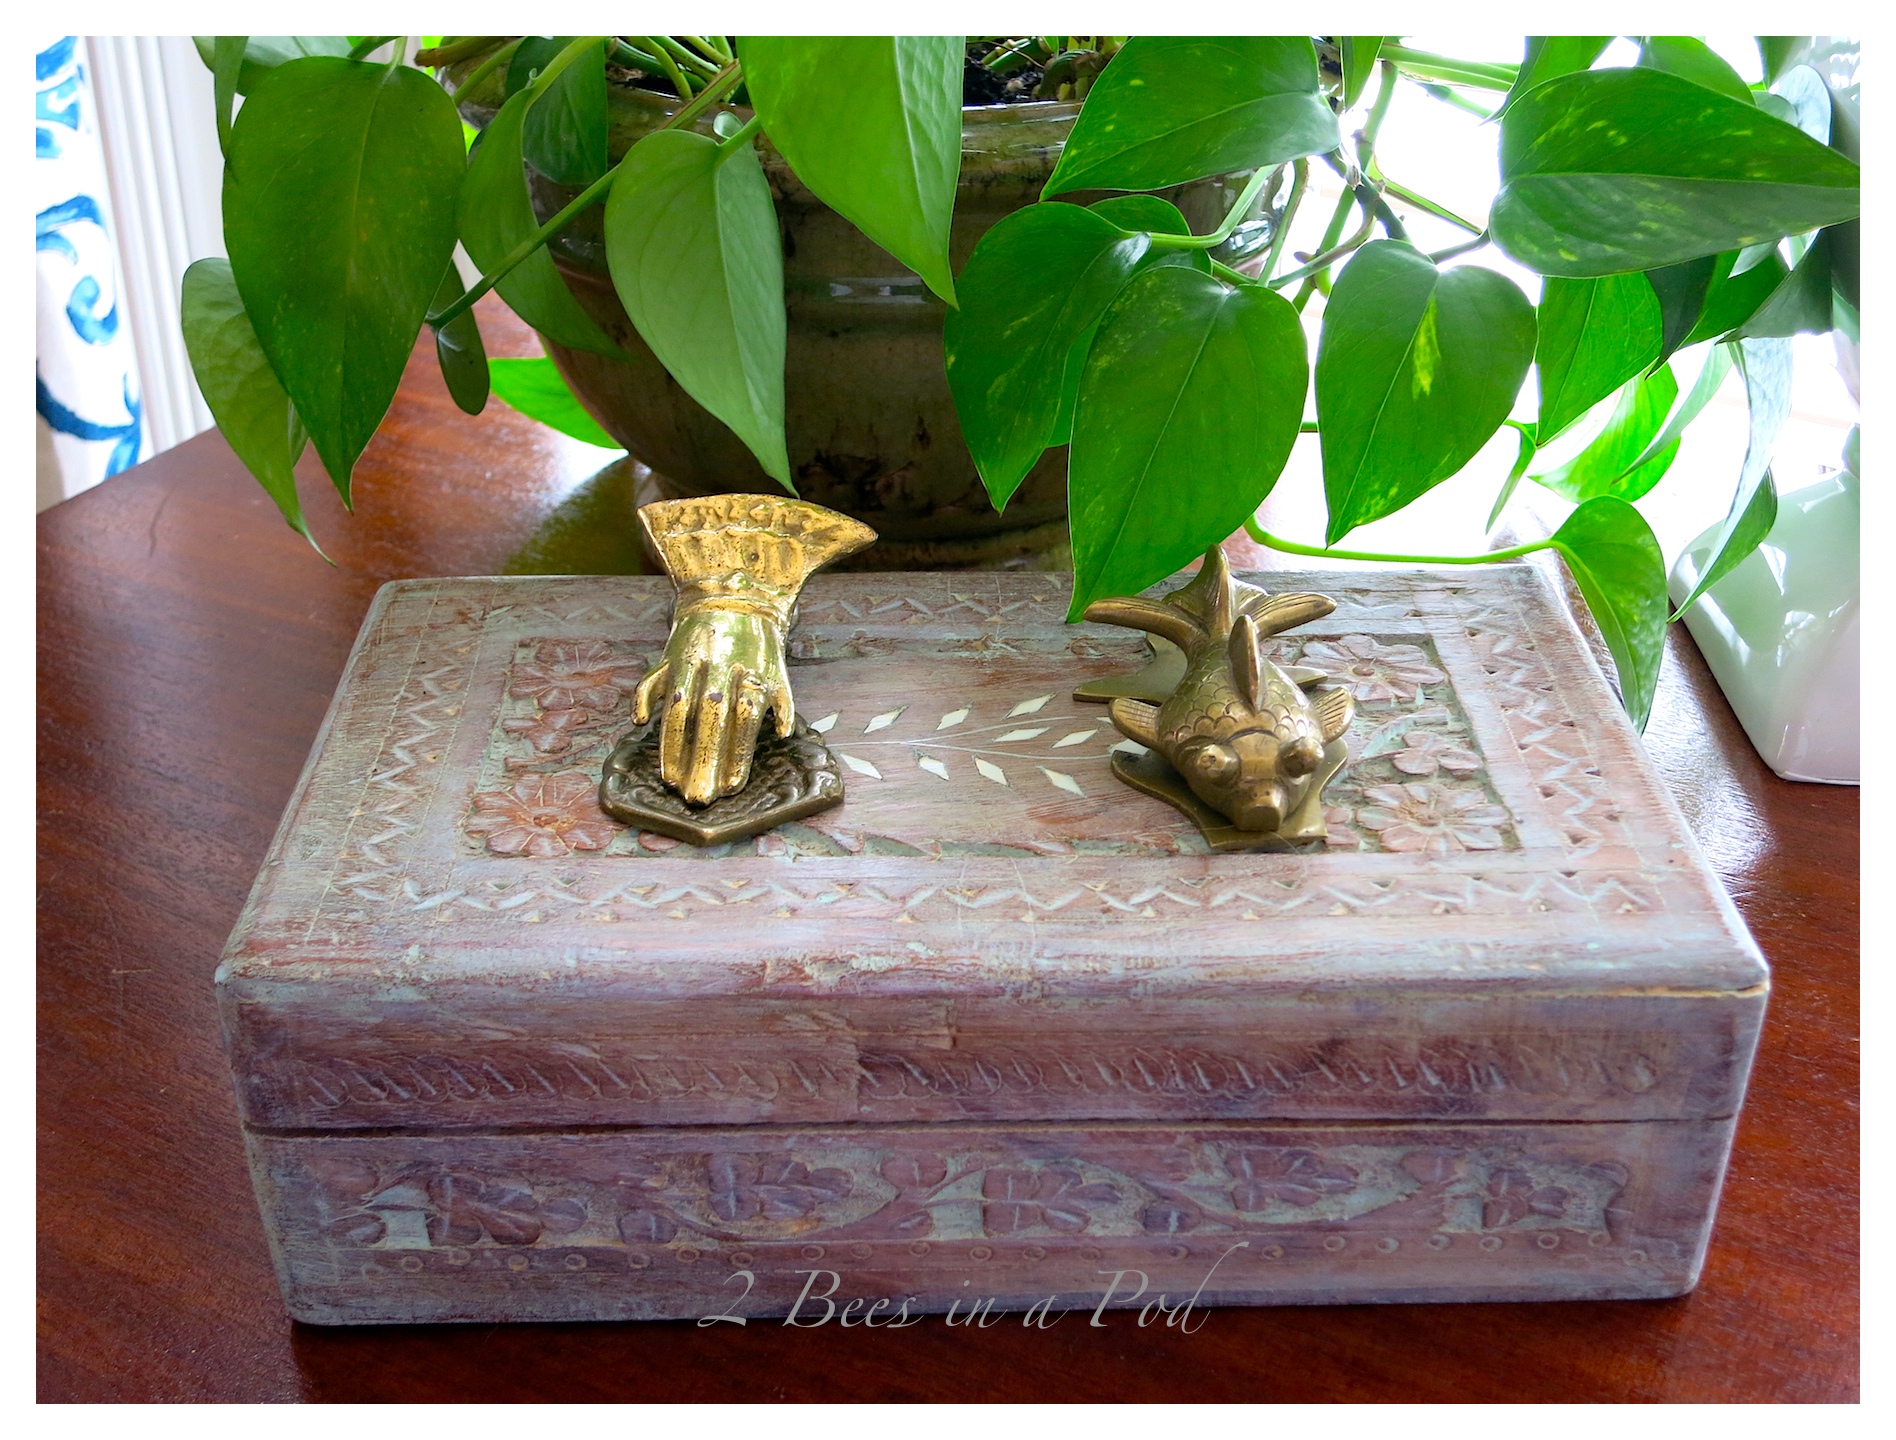 I am super-pleased with this quick transformation. I truly like the finished box so much better than before. What do y’all think?
Don’t forget to Pin this to your favorite Pinterest Board!
You Might Like these Posts too!
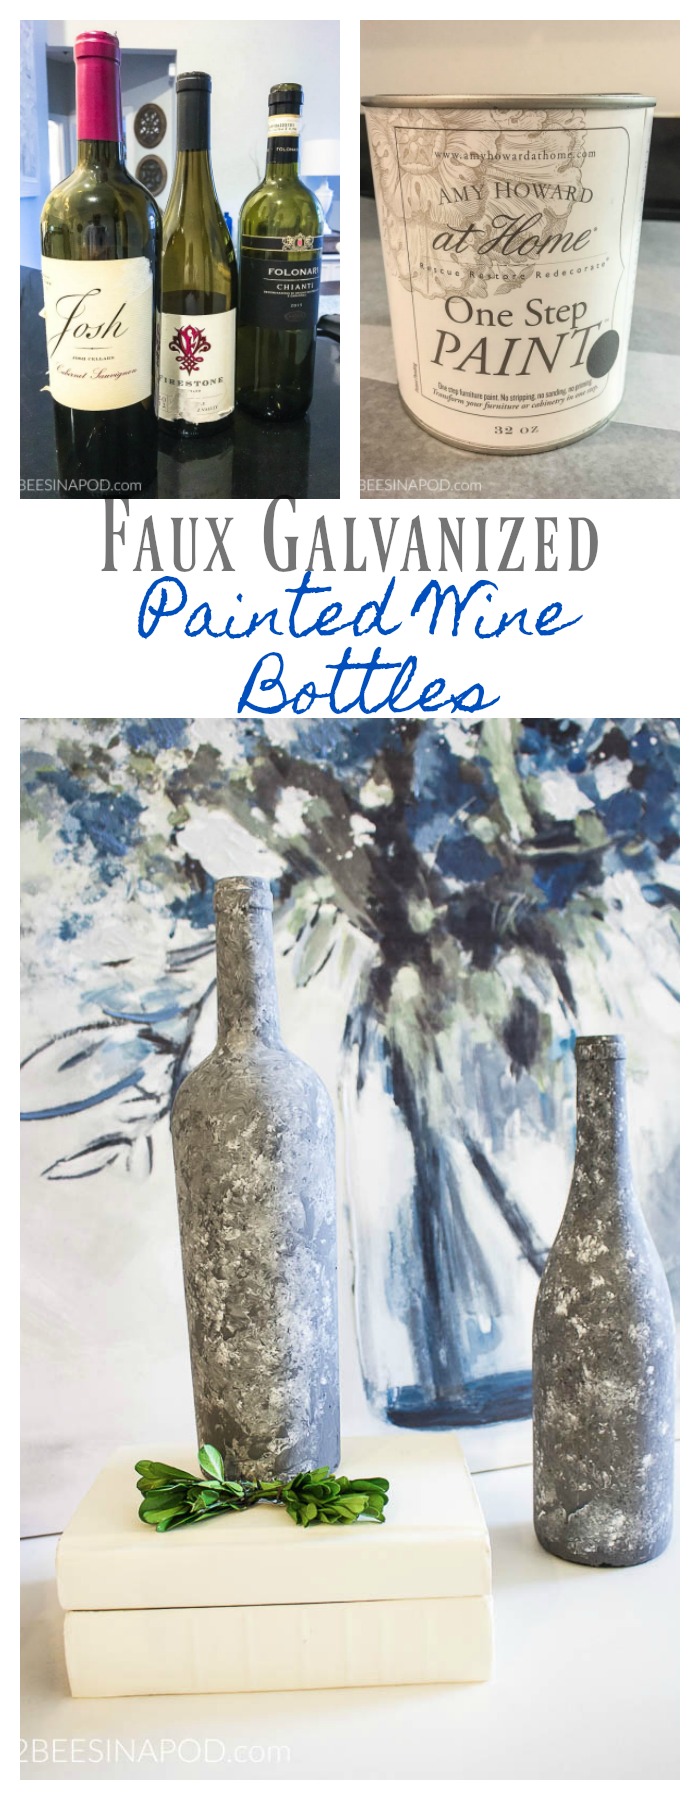
Galvanized Painted Wine Bottles

This color wash and wax combo really brings out the carving details on this box, ladies. It still has a vintage patina look but feels fresh now. I like it! Plus it looks really pretty with all your layers of blue and white. Good call! Hugs, CoCo
Thanks so much CoCo! With these pieces, we are never sure exactly how they will turn out. Being that it wasn’t a precious piece, we took a chance and created something that we would proudly use and display in our homes.
Much love,
Vicki and Jenn
Wow!