How to Make an Embroidery Hoop Wreath
Please note that this post contains affiliate links. As an Amazon Associate, Rewards Style influencer and Jane Influencer, we earn from qualifying purchases and any sales made through such links will reward us a small commission – at no extra cost for you.
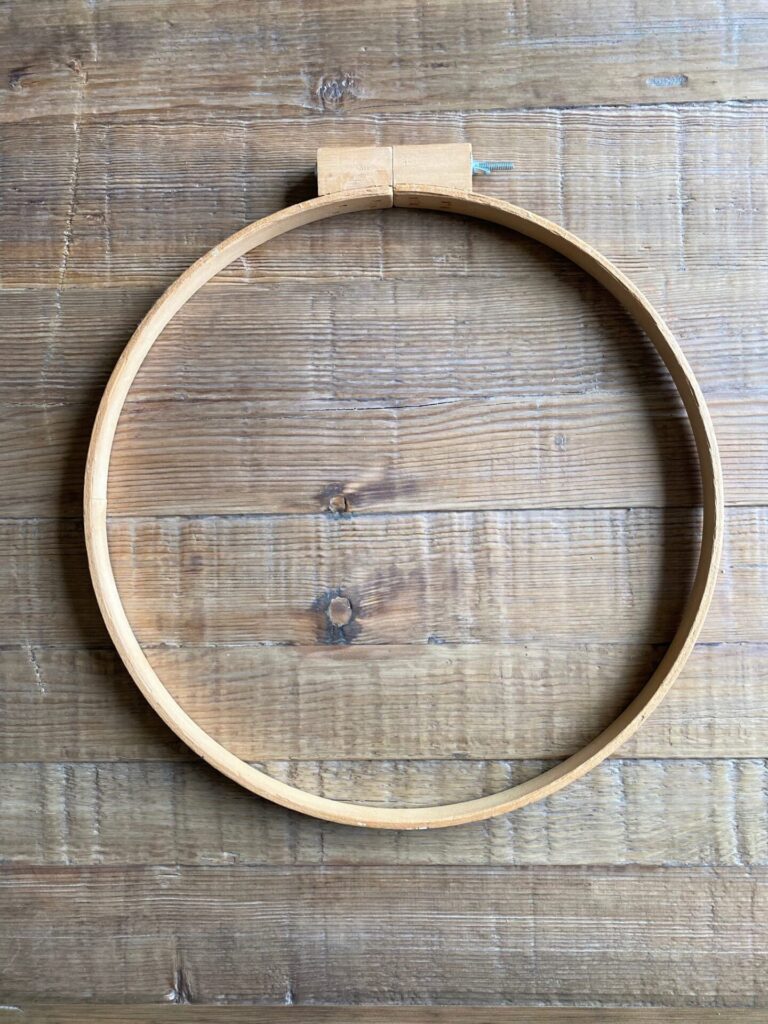
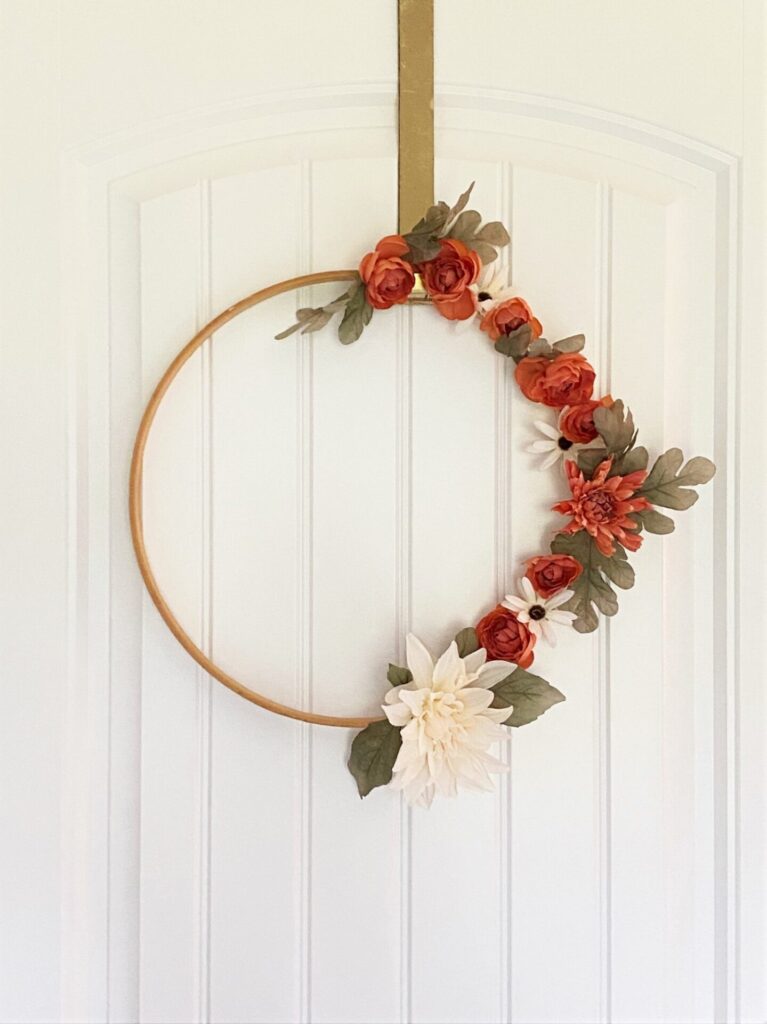
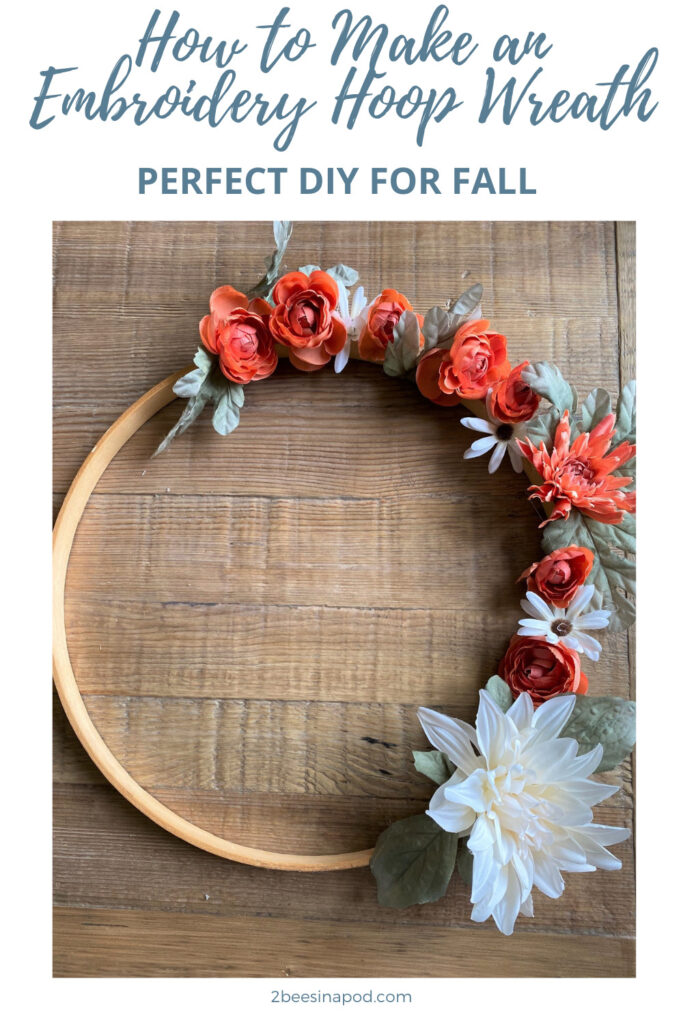
A few years ago I made an embroidery hoop wreath for our front door and I have loved using it in my decor each year. At my new house we actually have two doors, which lets in so much light, but I had a dilemma about my wreath situation. Each door really does need a wreath. When I was pulling out all of the fall decor I found my bag of embroidery hoop wreaths and leftover faux flowers. I couldn’t believe it! Today I am sharing with you how to make an embroidery hoop wreath.
It’s so easy to do and only took me about 15 minutes. Here are the items you will needs.
Supplies:
Step One
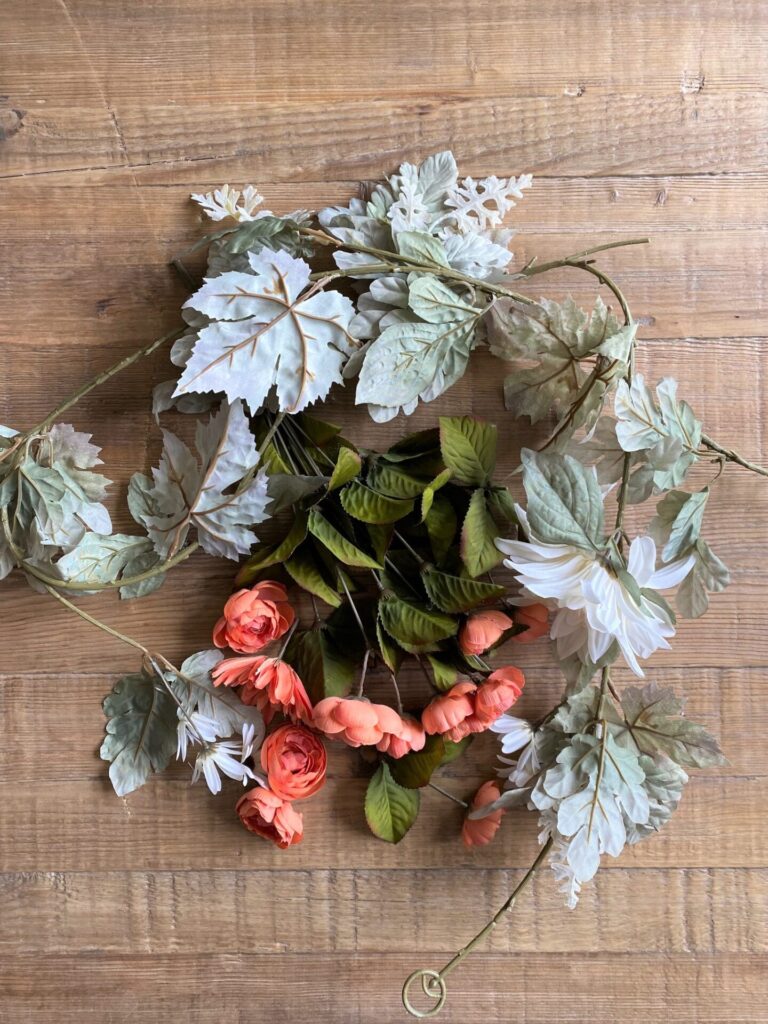
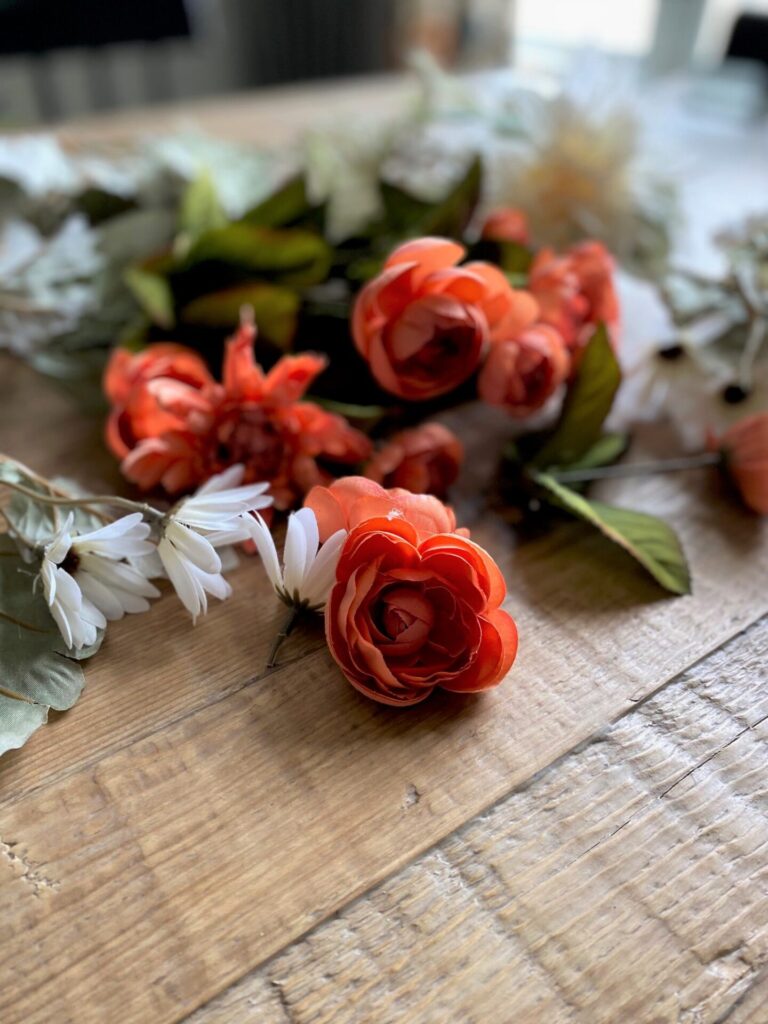
First you will want to plug your glue gun in and get it heating up. While that is getting hot, go ahead and start cutting your faux flowers and greenery. I find it easier to have a pile of flowers ready to go, rather than cutting the flowers as you go.
Step Two
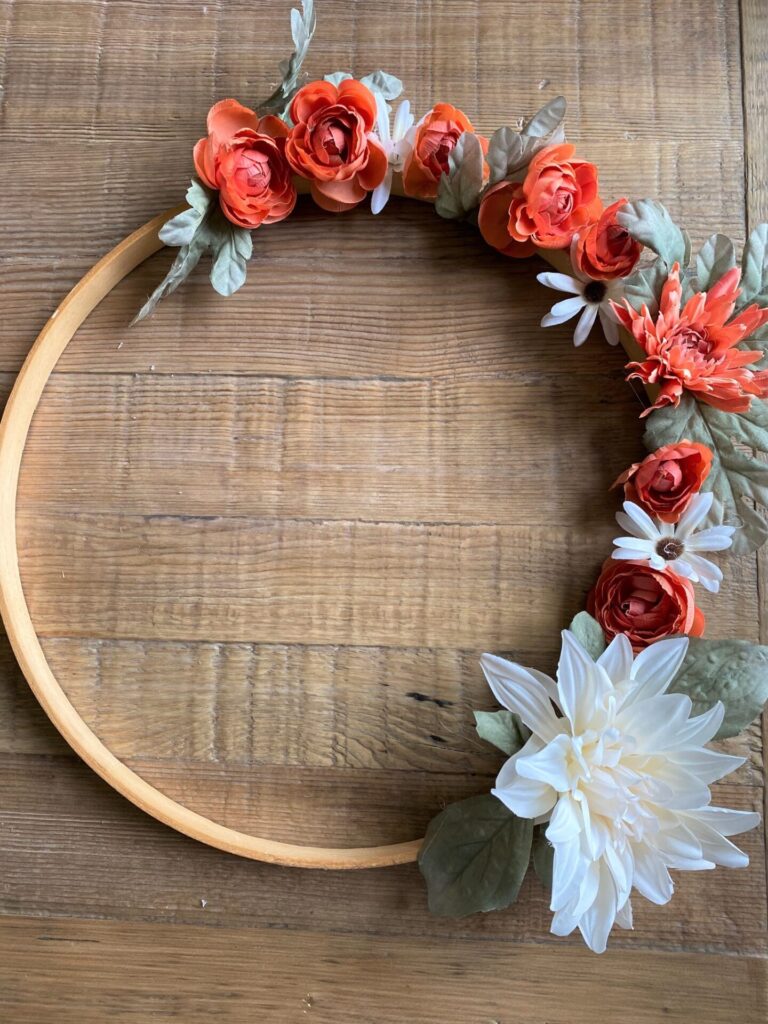
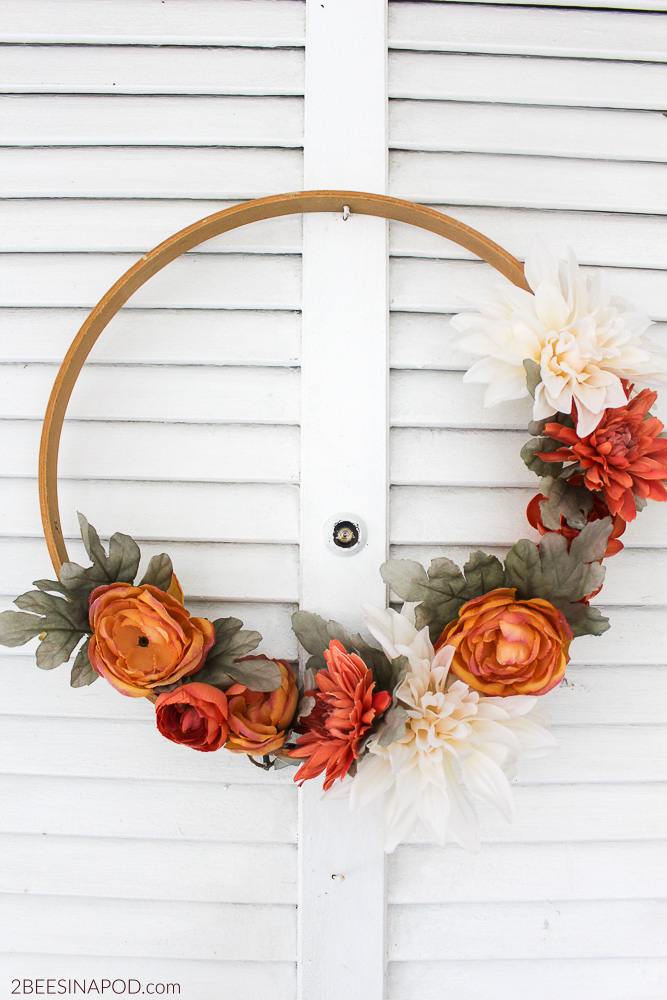
I like to take the 3 largest flowers and glue them onto the wreath first. One at the top, one at the bottom, and one to the side. After these anchors are in place, you will fill in the bare spots with the additional flowers and greenery.
Step Three
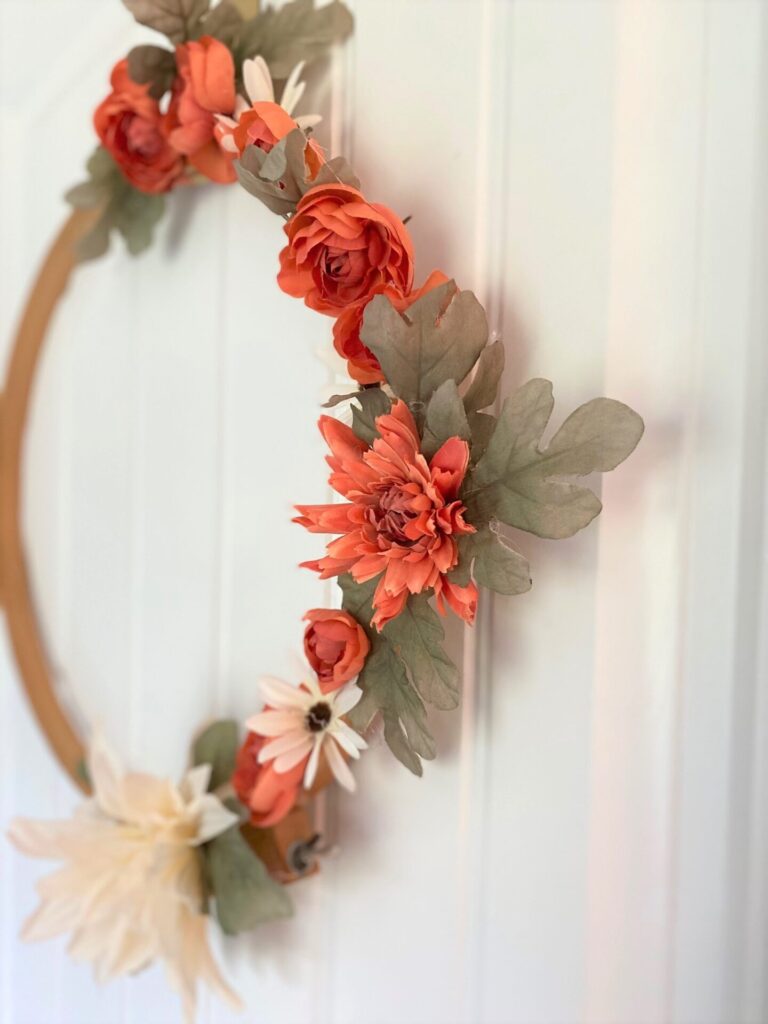
That’s it! Sit back and admire your work before hanging the embroidery hoop wreath on your door or in your decor. It’s honestly that easy!
You can see more of the process and how to make an embroidery hoop wreath below:
How to make an embroidery hope wreath is one of my favorite DIY projects because it is so easy to make. Plus it always turns out so cute! Be sure to check back next week (if the weather cooperates) for my fall front porch where you can see the wreaths together.
