Easy DIY Metal Fish Art
Please note that this post contains affiliate links. As an Amazon Associate, Rewards Style influencer and Jane Influencer, we earn from qualifying purchases and any sales made through such links will reward us a small commission – at no extra cost for you.
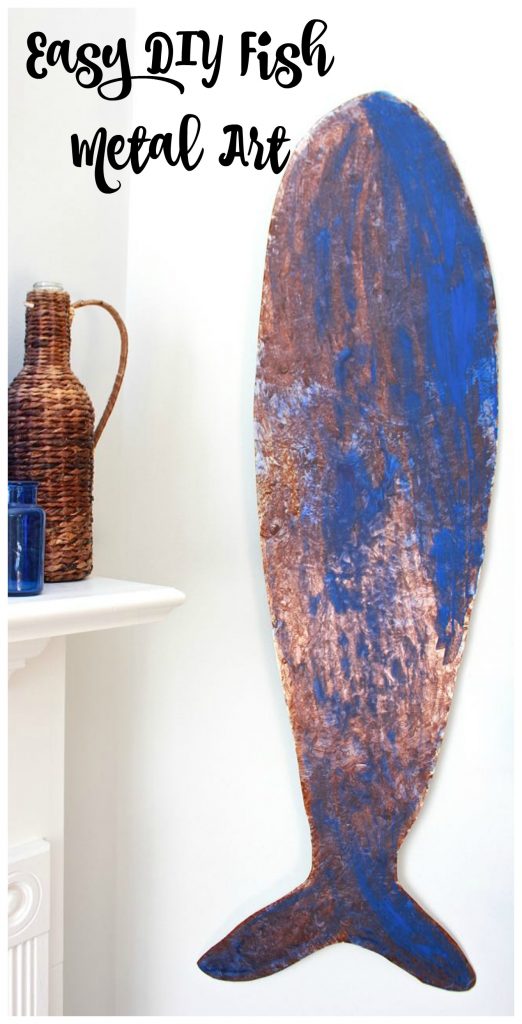
Hey y’all – I think you know how much I love to create. Whether it’s my home decor, crafts or new recipes…I love being creative. Sometimes it’s hard to turn my mind off because I’m inspired all day long! Recently I needed to come up with a solution for wall decor in my living room. I decided that I wanted a large metal fish to hang next to our television. I’m creating a gallery wall and this fish would be the perfect finishing touch. Imagine my surprise when I started to look for the perfect fish to grace my wall. For the size that I needed, the fish were very expensive – even online. I was a little heartbroken…but then I put my creative thinking cap on and came up with a solution. Here’s how I made an easy DIY metal fish art piece.
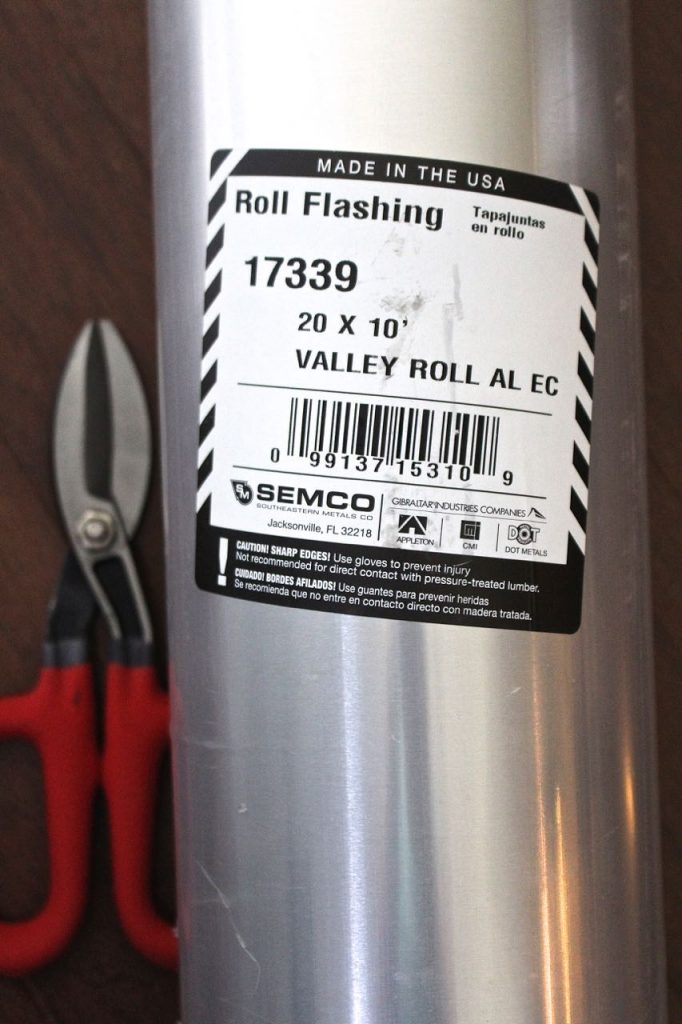
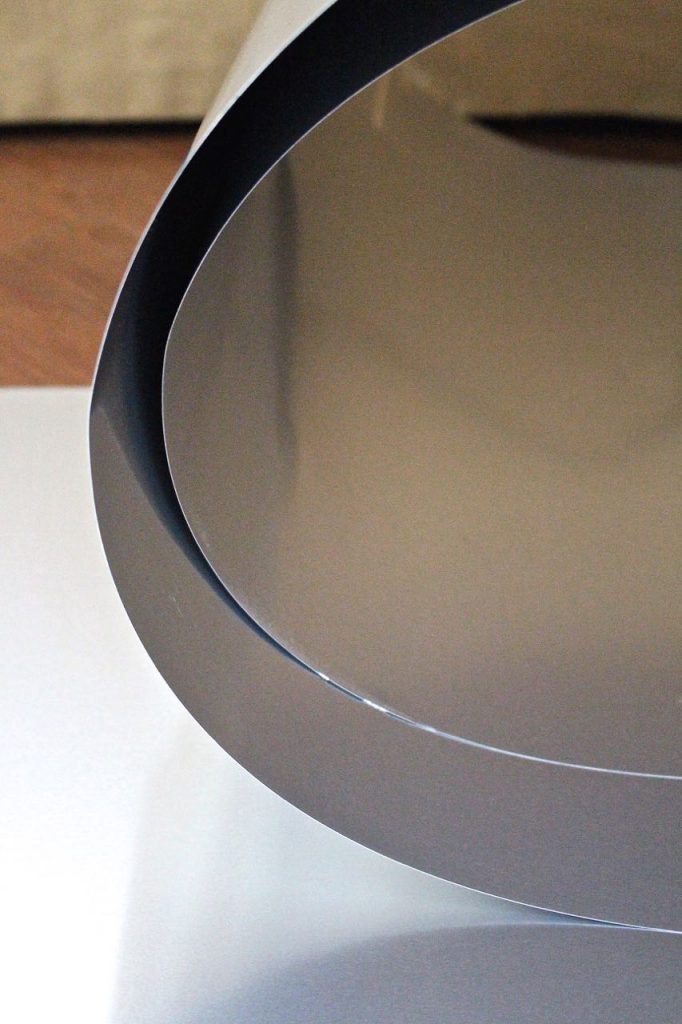
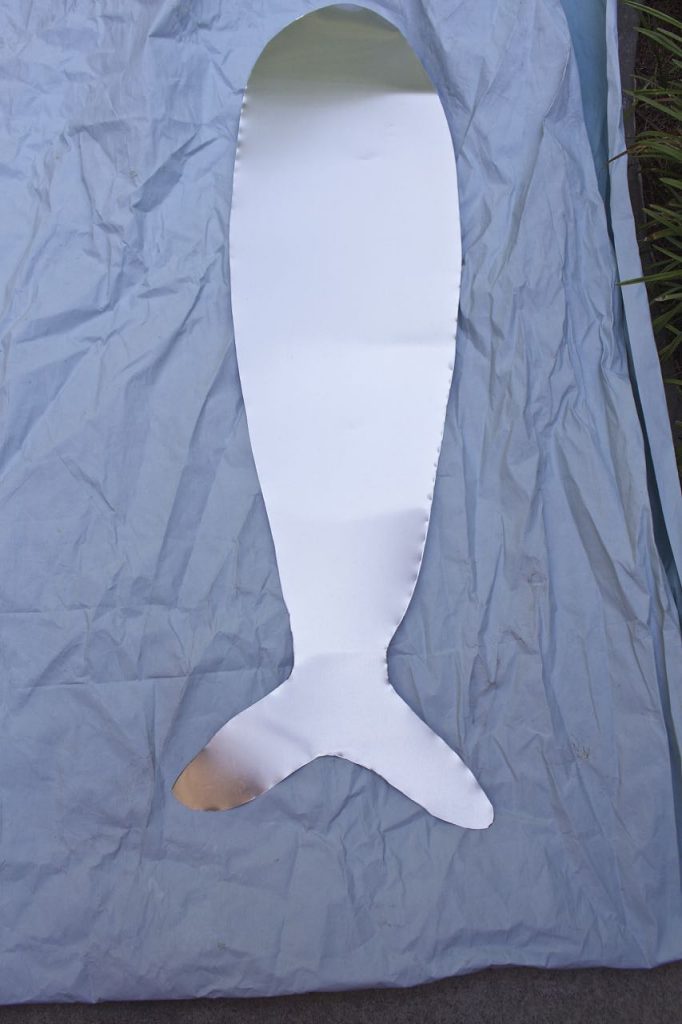
At first I was going to make this fish from aluminum. The problem is that the aluminum sheets were heavy and not really large enough for my purposes. Plus, the aluminum was expensive. I had to keep searching…and then I found this roll of metal roof flashing. This entire roll was only $4.00! There is enough leftover for another project. It is lightweight and easy to cut with tin snips.
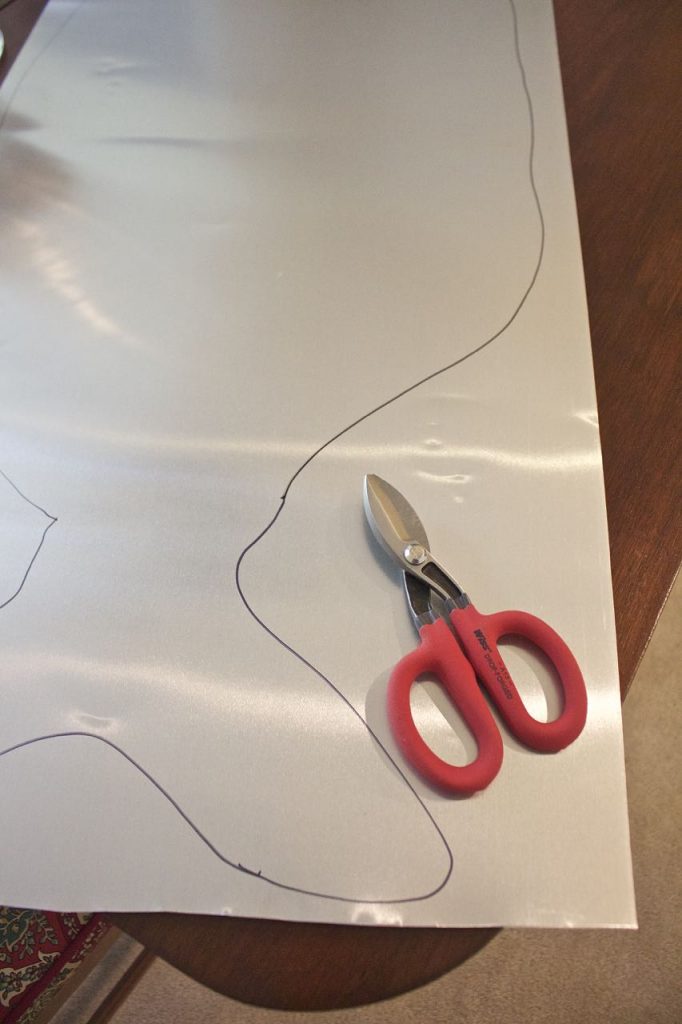
I cut off a piece about 4 feet long and laid it out flat on the table. Using a sharpie marker I drew a rough outline of a fish design. The tin snips make cutting out the shape very easy. If you use this product be very careful as the flashing has sharp edges.
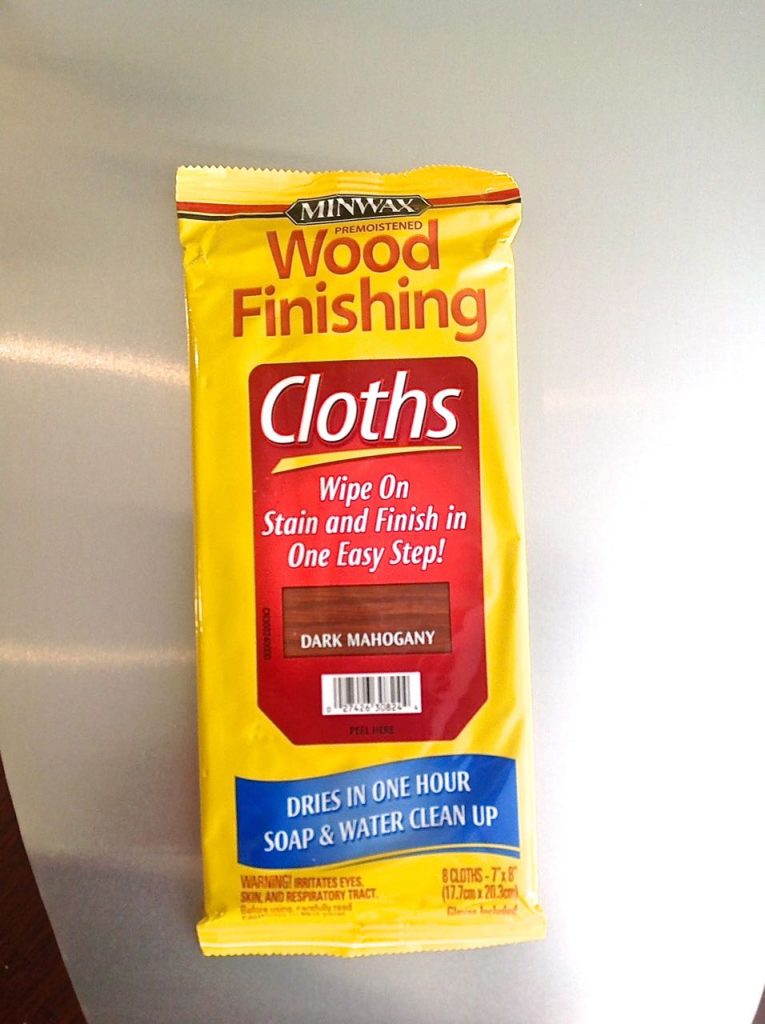
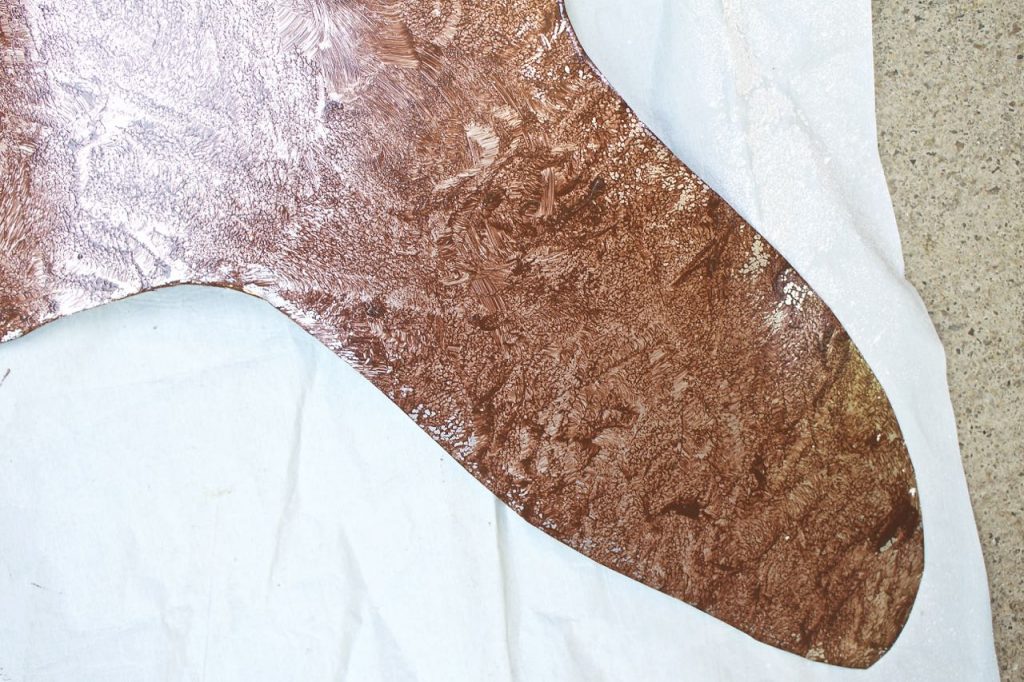
My original vision was of a weathered rusted fish art piece. Well, here’s the thing. Roof flashing is rust proof. Like…that’s its job – no rust allowed. So once again I needed to get creative. I had received these wood finishing stain cloths at a conference and never used them. I did a small test to be sure that the stain would hold on the flashing. It did…so I added the stain in a pouncing motion to the entire fish.
I tried to replicate the rust effect with the stain and I thought at this point it was looking really good!
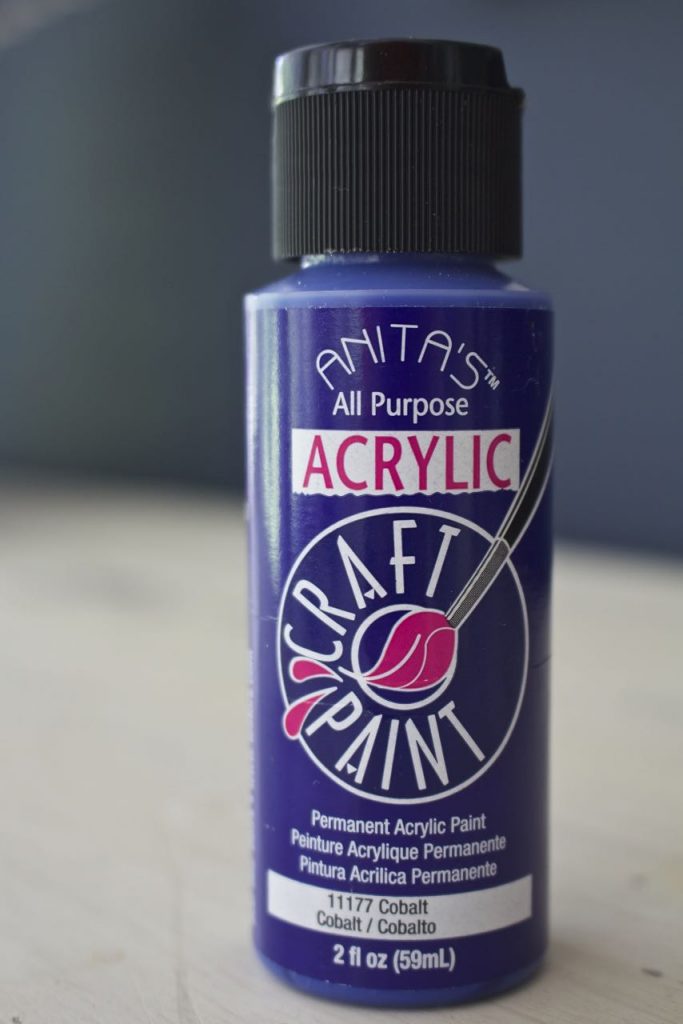
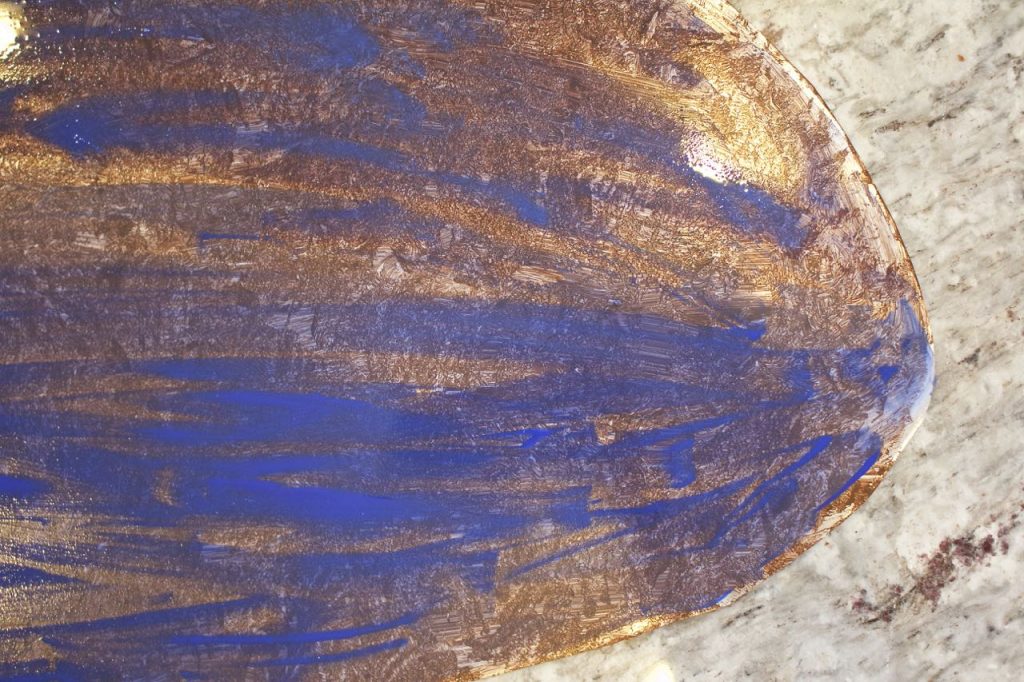
I pulled my fave cobalt blue craft paint out of my kit and added the next layer to the fish.
I wanted the effect to be like a sign worn by years of sunshine and water.
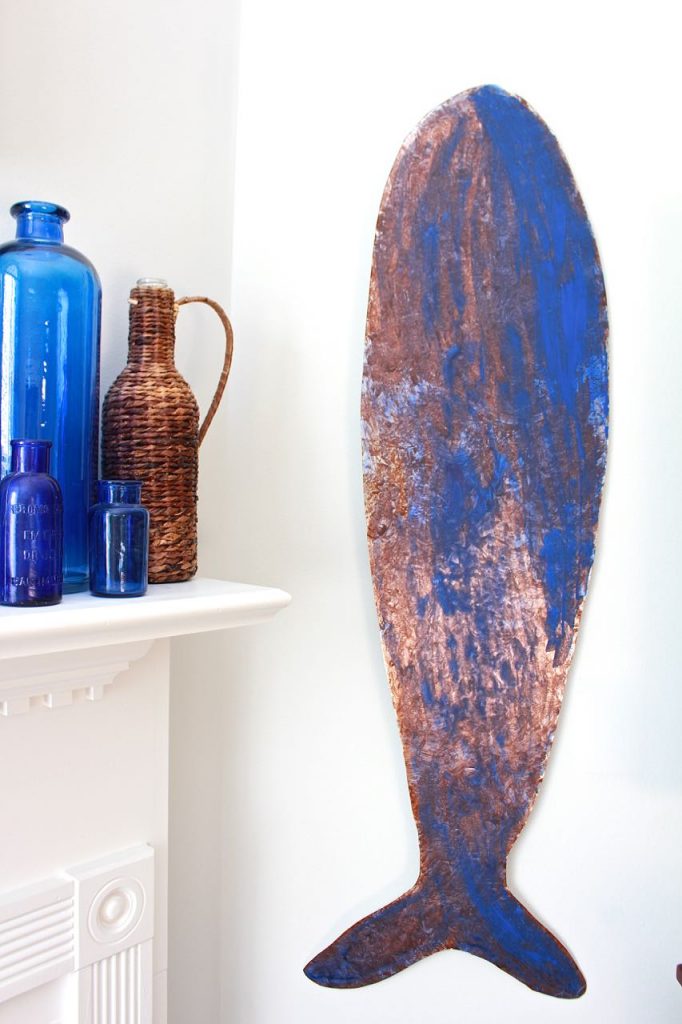
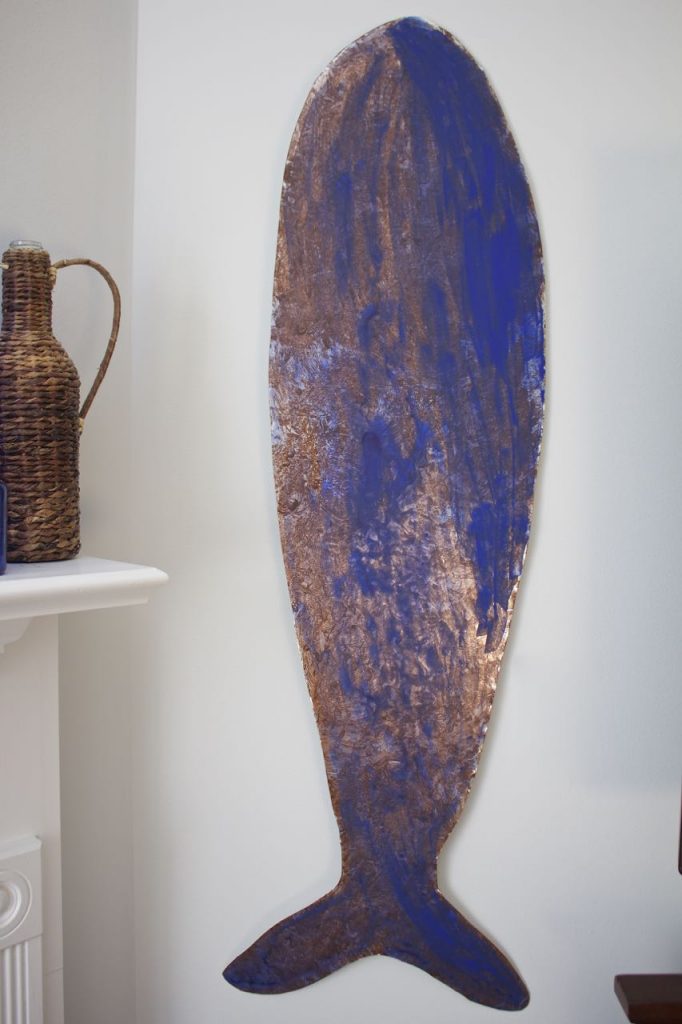
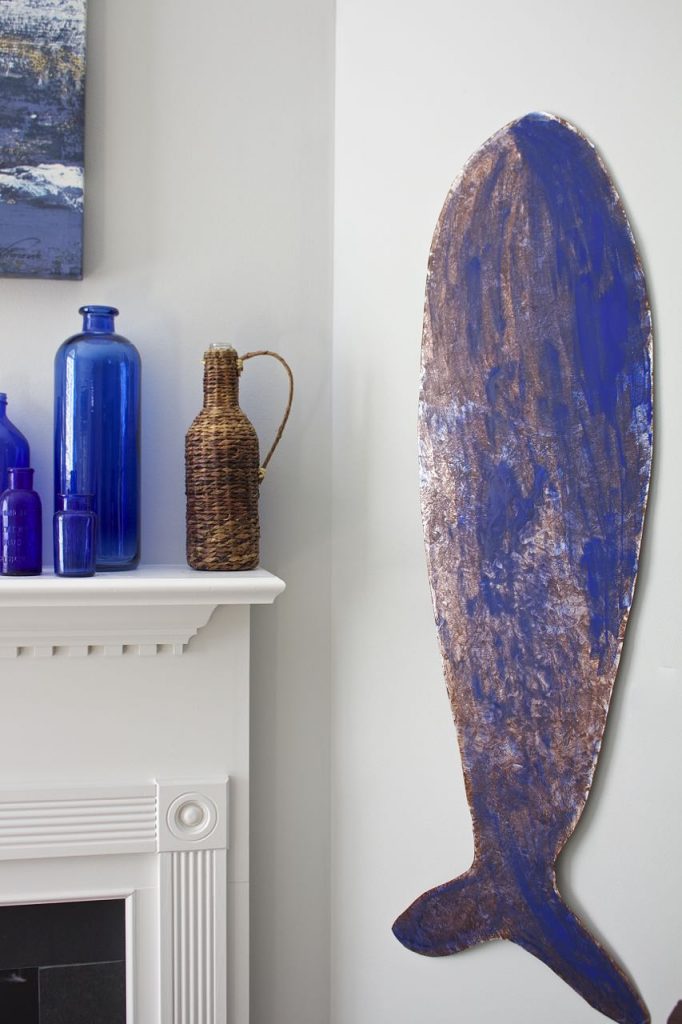
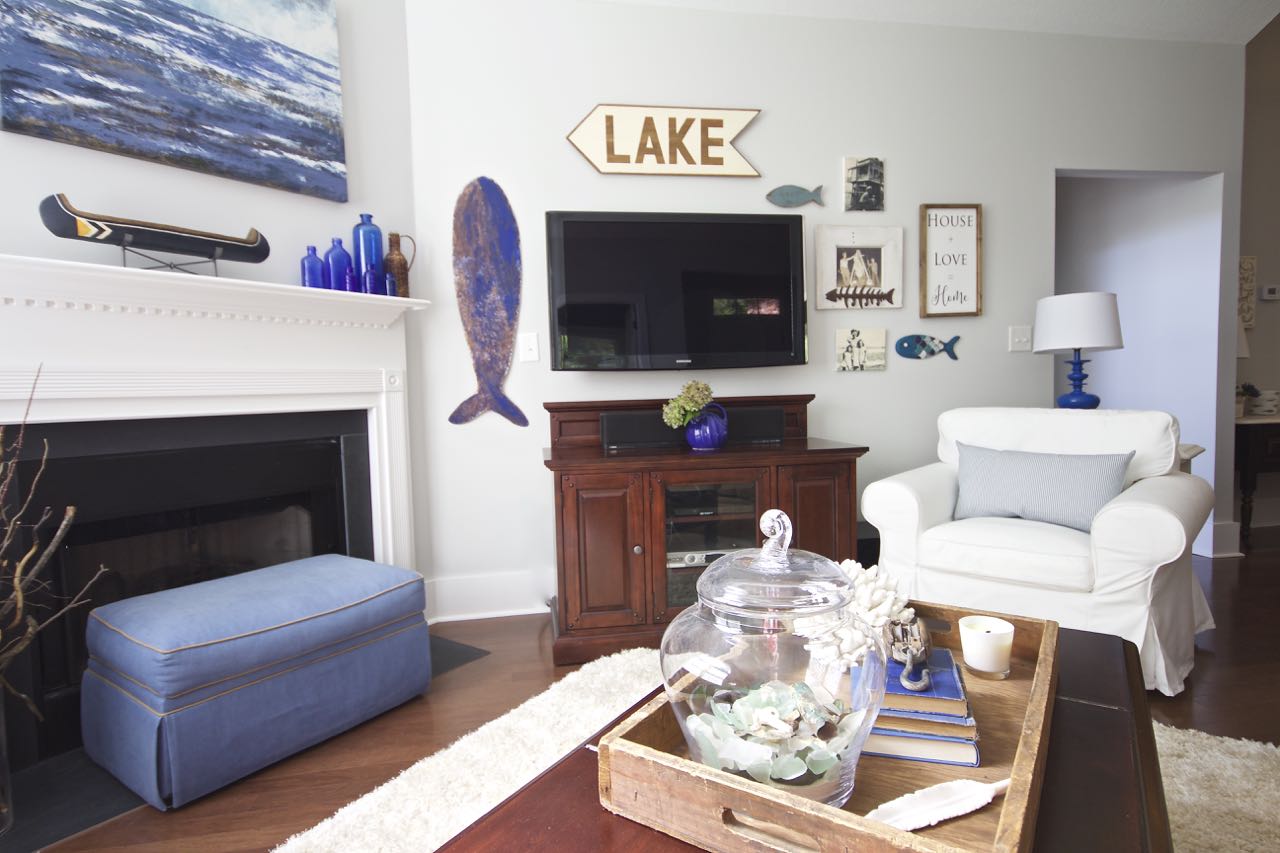
I love how it turned out! The best part is that it cost me less than $4.00 to create!!
It makes quite a statement on the wall and I think it looks beautiful. It pairs perfectly with the fireplace and mantel decor.
It is also the final crowning touch for the lake themed gallery wall. I will be featuring that in tomorrow’s post so be sure to come back and see it!
I can honestly say that I am really loving my living room right now. After moving in just a few short weeks ago, I feel so happy and comfortable in this room. I can’t wait for you to see the gallery wall tomorrow!
Until then…I will be outside creating and dreaming up a new project!

Looks so easy to do.
I’m curious, how did you attach the fish to the wall? Looks great! Thanks
This turned out great and looks so easy to do!
Awesome and beautiful!!!! Great idea!