DIY Faux Galvanized Feather
Please note that this post contains affiliate links. As an Amazon Associate, Rewards Style influencer and Jane Influencer, we earn from qualifying purchases and any sales made through such links will reward us a small commission – at no extra cost for you.
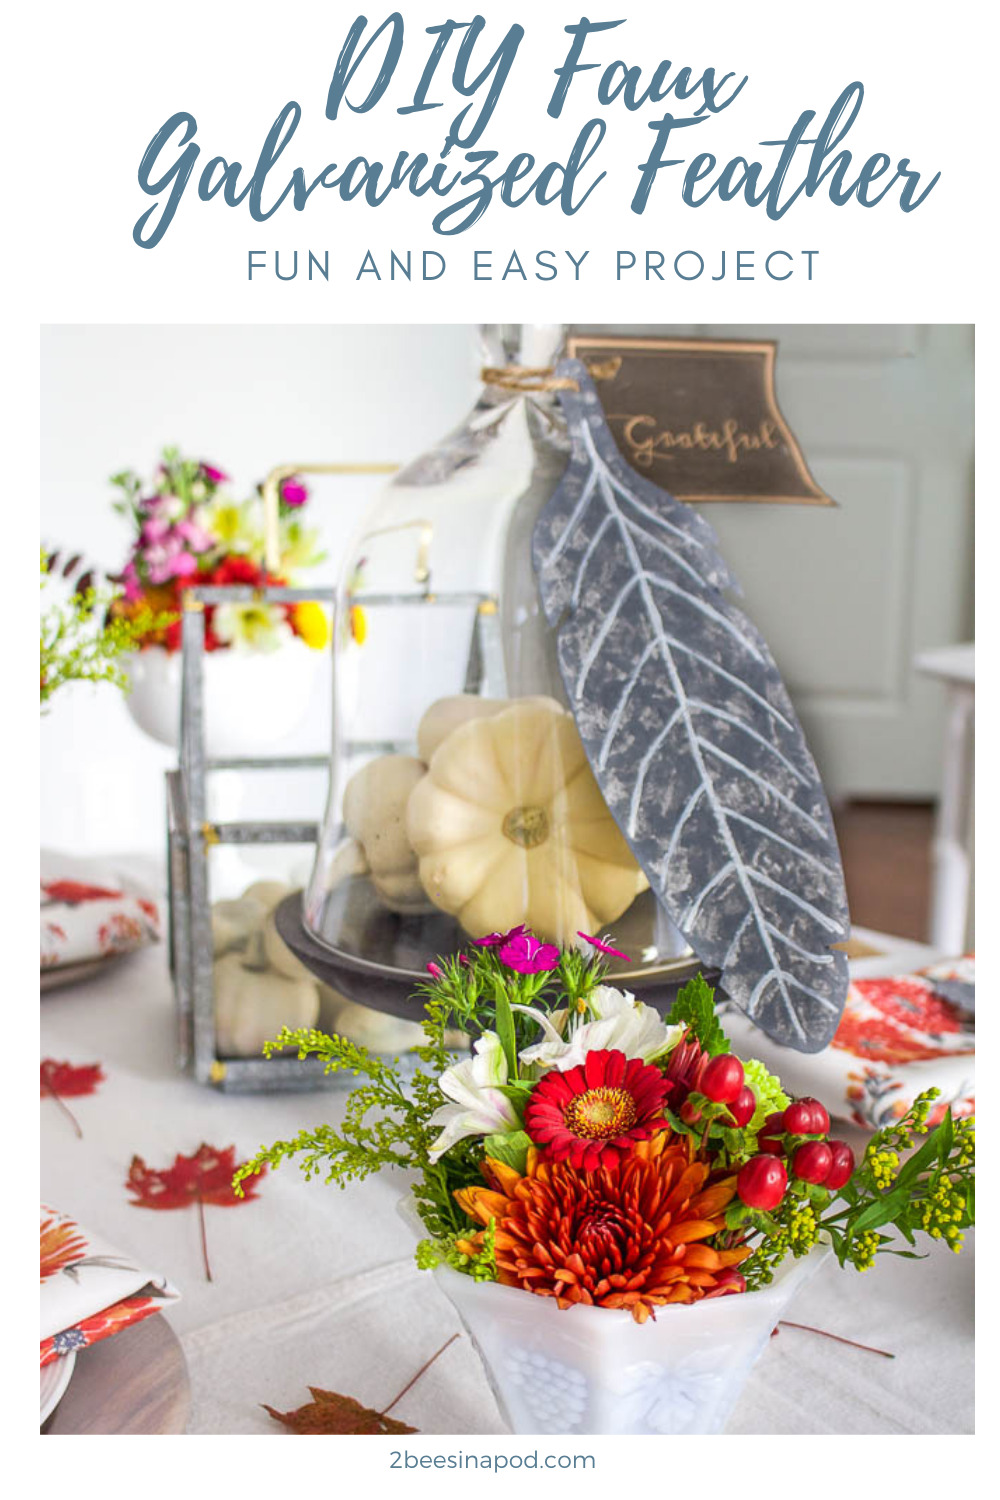
Today is a project that marries two of my favorite things. DIY faux galvanized feather.
By now it is no secret that I love all things for home decor that are feathers and that are galvanized. Did you see my cornhusk and feather votives? So how did I come about creating a DIY faux galvanized feather? You know I love to share!
If you have one, I want it too

My bestie Bambi and her husband Kenny came to visit. I absolutely love when they come to town because we have so much fun together. Bambi is usually up for doing any and everything, which for us typically involves shopping, thrifting, antiquing and eating great food. Now, I don’t know about y’all but you know how it is with your BFF, daughter, sister or mom. If they bought something that you just love, you want to have one just like it for yourself. On this particular visit when Bambi showed up at my house she had been on vacation for a week and had already purchased some goodies. This was one of them:
This gorgeous 12″ galvanized feather made me suck in my breath. Like I said – two things I love. Immediately my mind was swirling with an idea of how I could replicate the look for myself. I was fairly confident that I could do it.
How to make a DIY faux galvanized feather
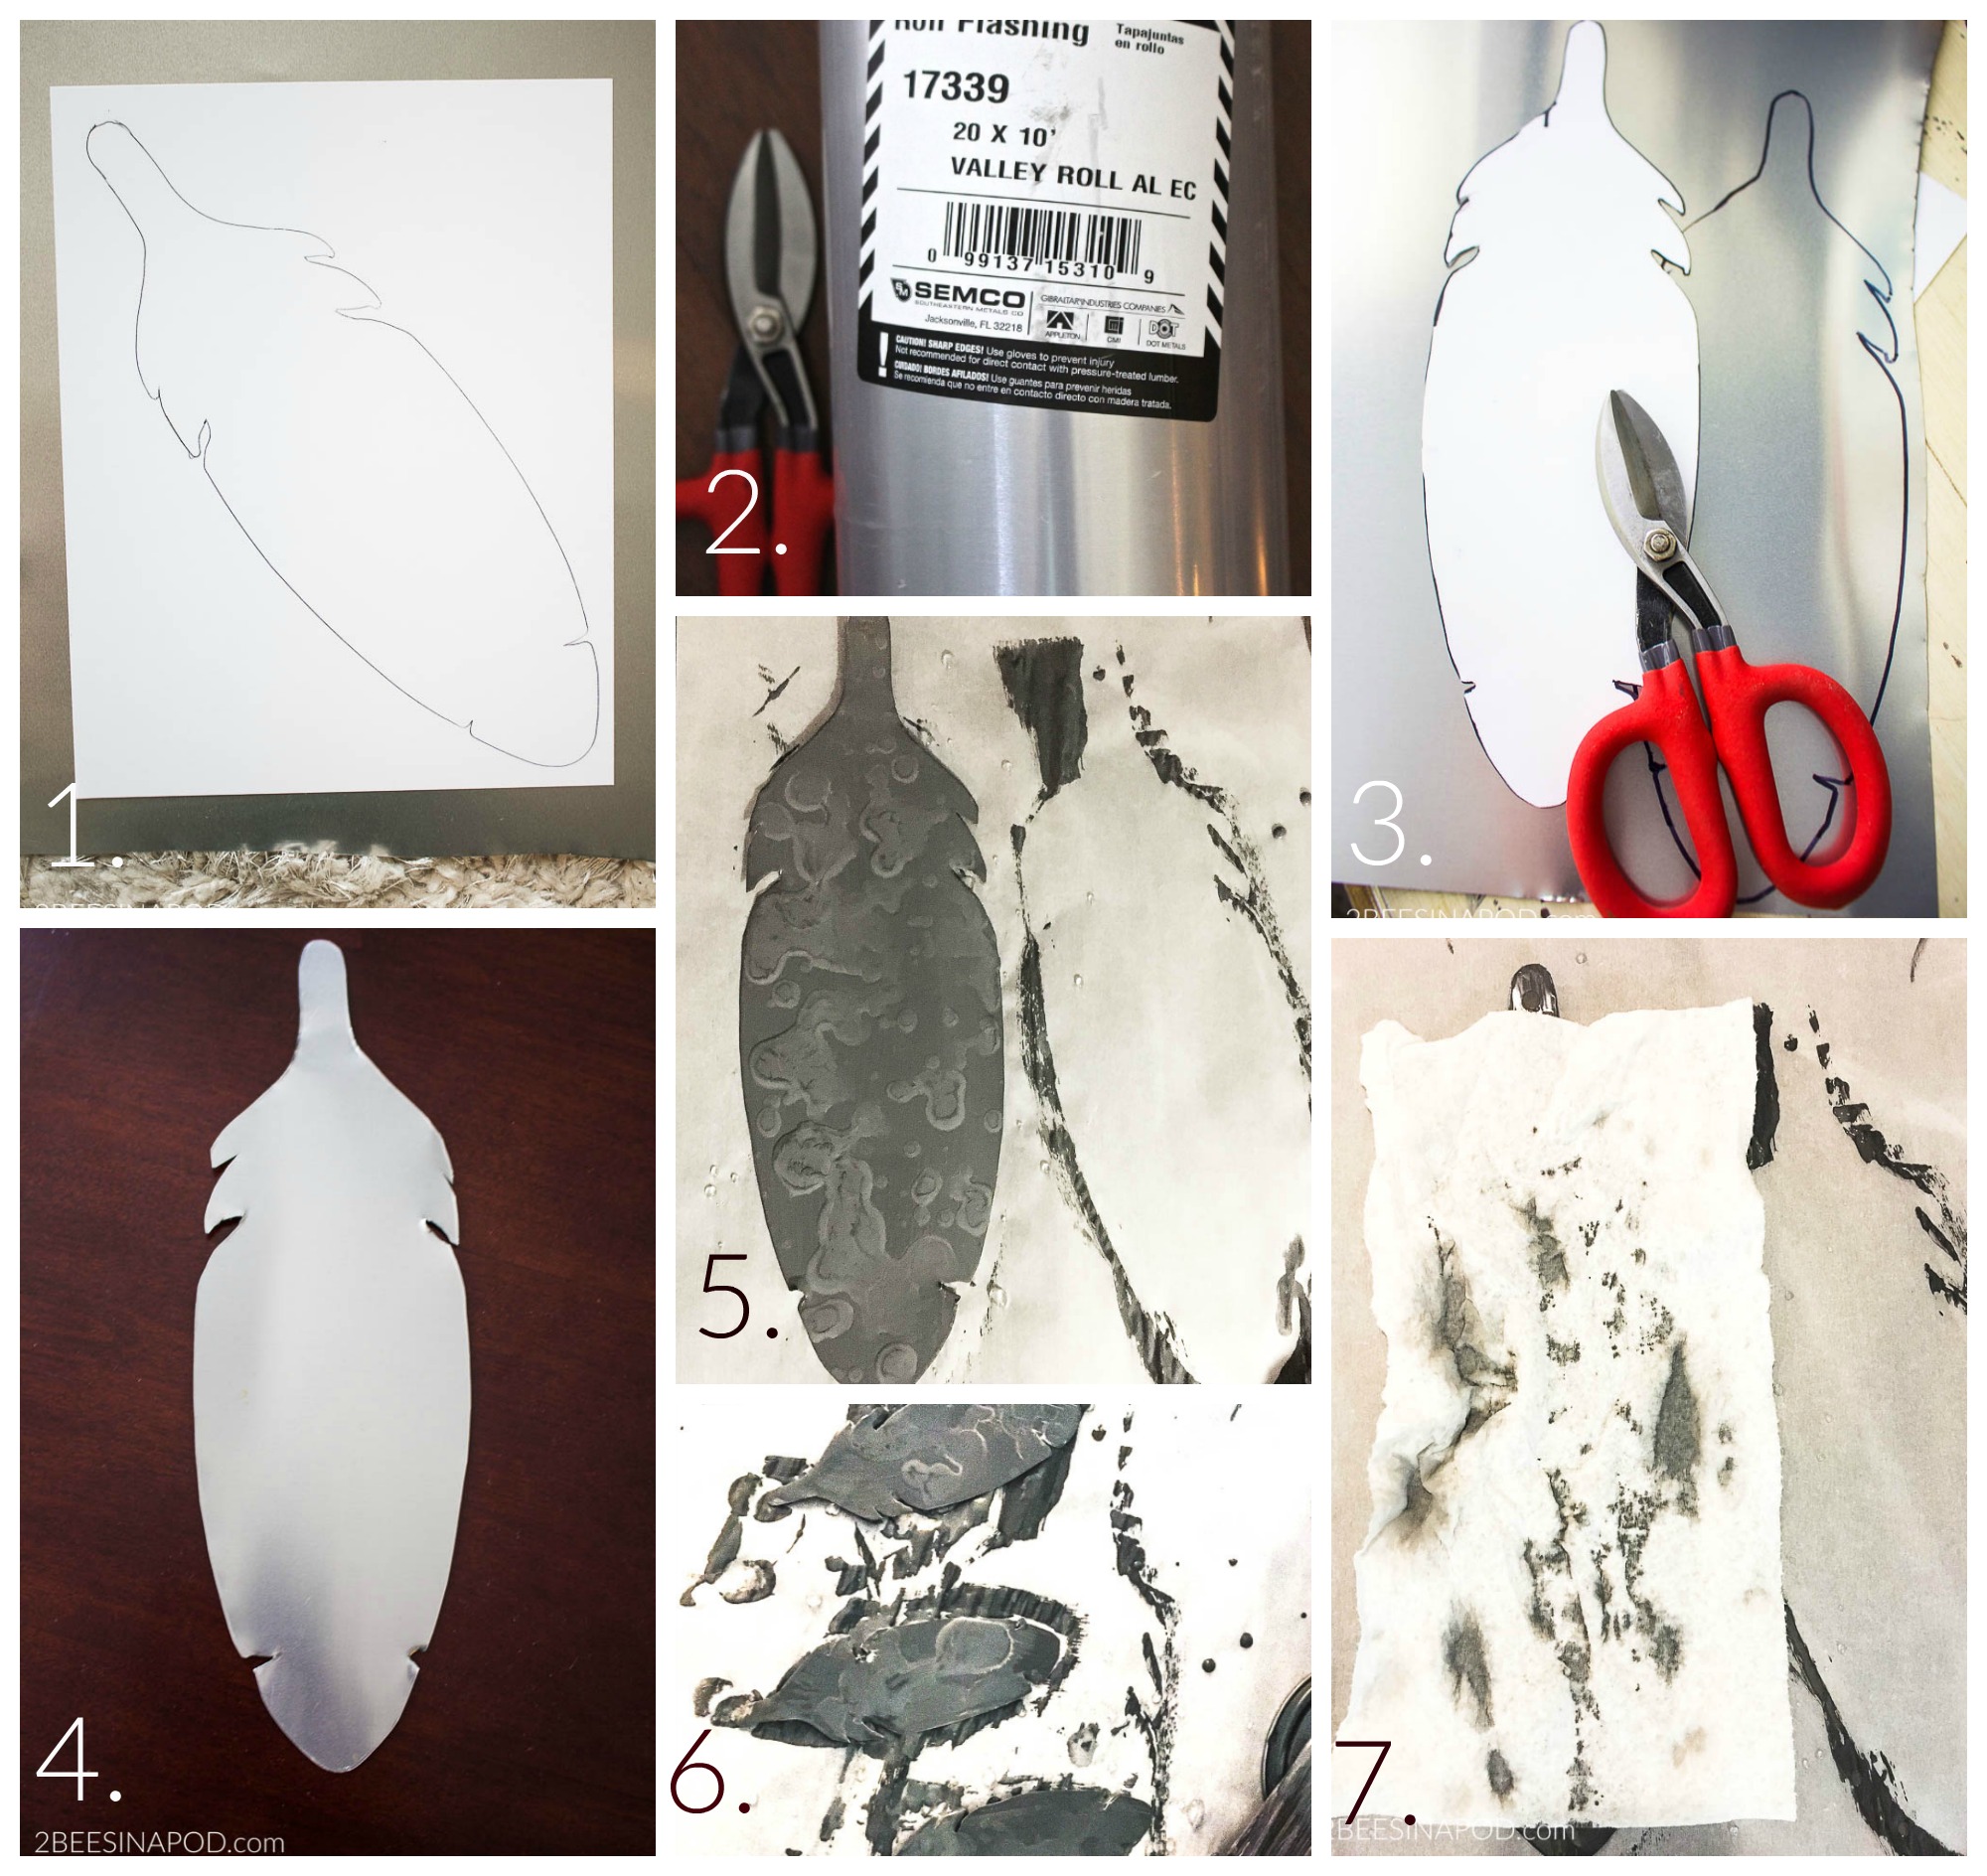
- Trace feather outline onto paper and cutout.
- Use inexpensive lightweight flashing.
- Trace feather pattern onto flashing and cutout using snips or dull scissors. Use caution.
- This is what cutout looks like.
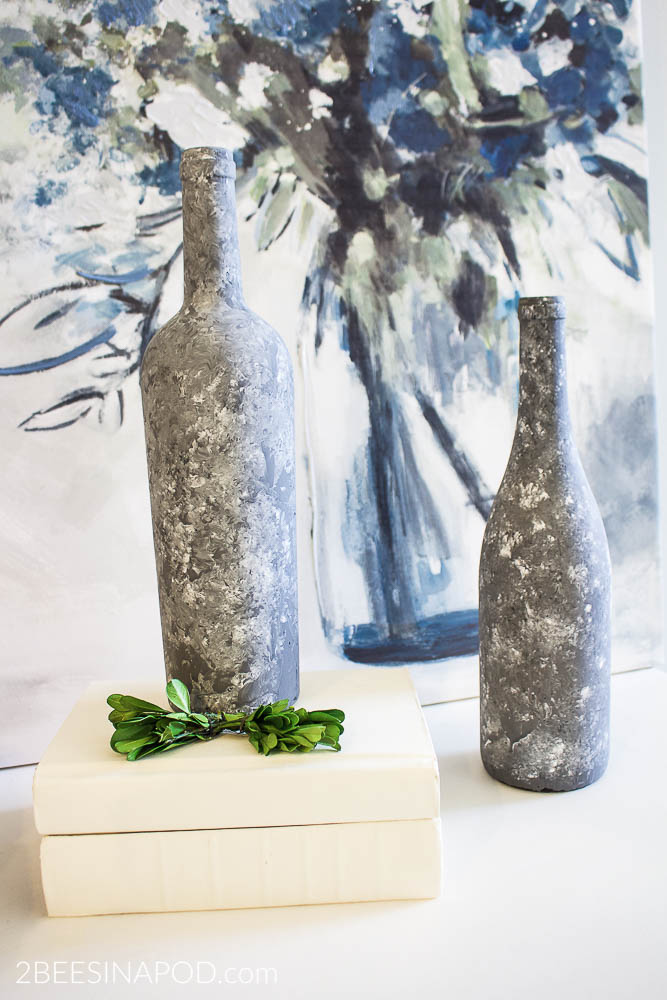
- Paint with one coat of Amy Howard A Good Man is Hard to Find. Drip water from your fingertips on top of wet paint.
- The same treatment was used for the mini feathers as place cards.
- Lay a damp paper towel lightly on top of wet paint. Carefully lift off.
- Let dry
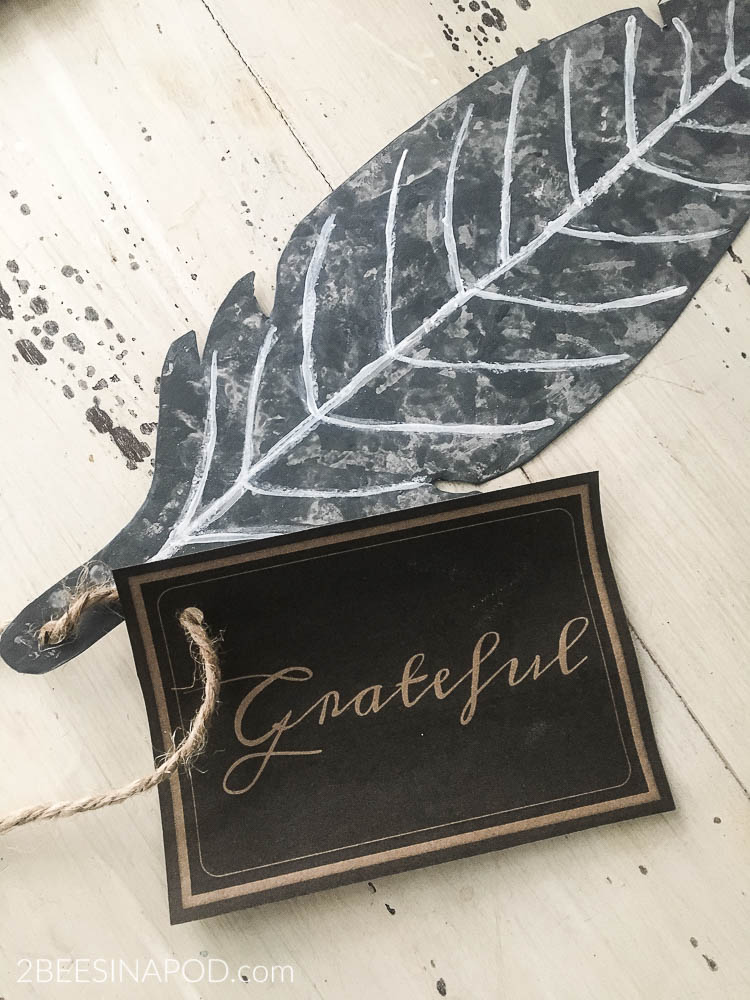
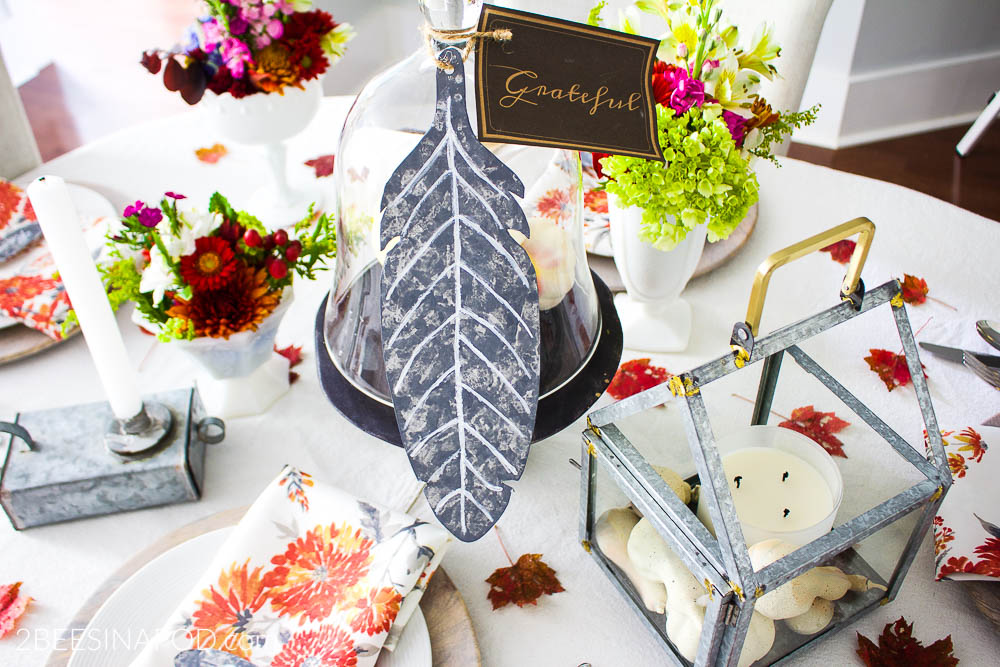
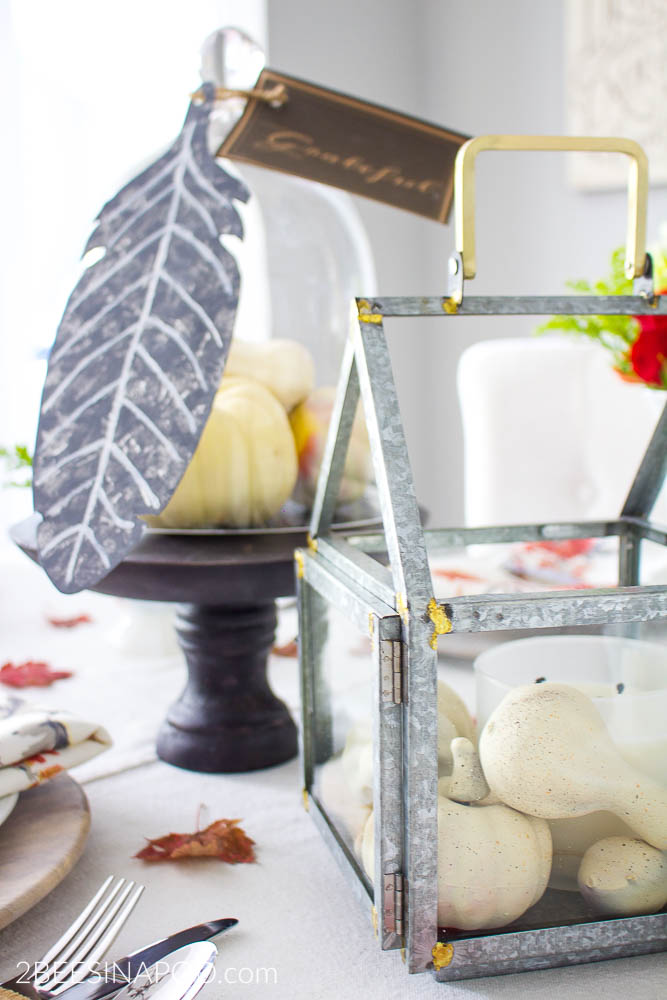
Doesn’t this finish look great? To me this looks just like a real galvanized finish. I used white chalk paint to create the feather veining.
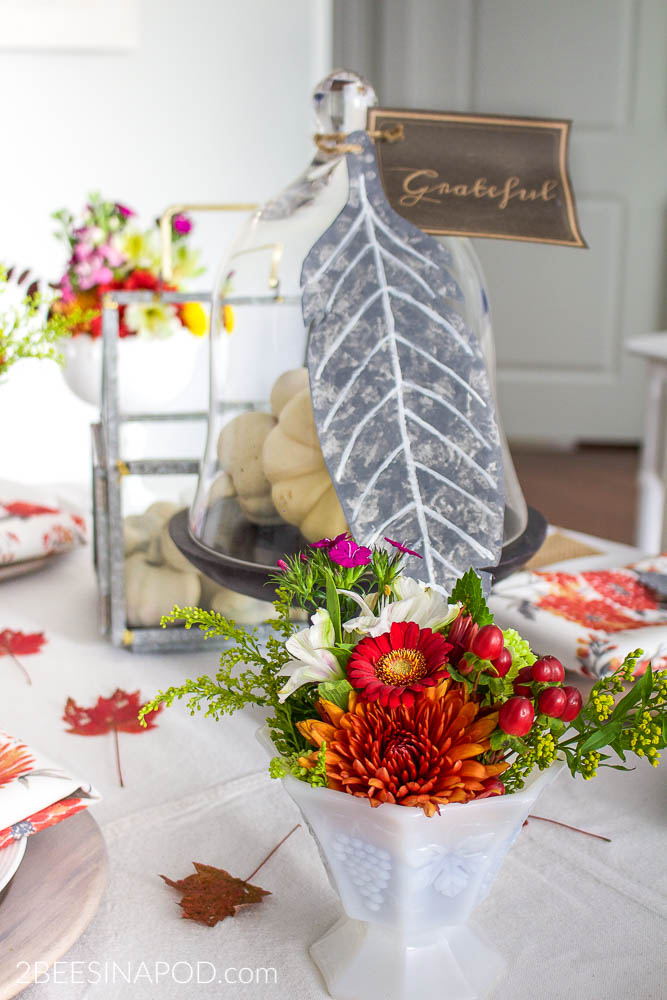
I was able to use a hole punch and a lot of force to create a hole to add twine. All-in-all I think my feather looks very close to Bambi’s original version.

What do you think?
You can access this Grateful tag and others HERE.
I hope that you have been inspired in some small way today. And thanks Bambi for the inspiration for this DIY faux galvanized feather?
Don’t forget to Pin this to your favorite Pinterest board!