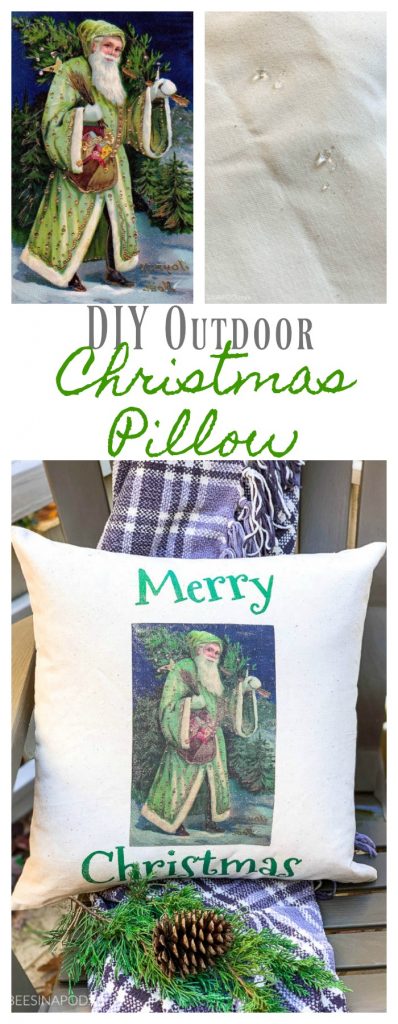
DIY Outdoor Christmas Pillow
Please note that this post contains affiliate links. As an Amazon Associate, Rewards Style influencer and Jane Influencer, we earn from qualifying purchases and any sales made through such links will reward us a small commission – at no extra cost for you.
Enjoy Deck the Home and our DIY Outdoor Christmas Pillow.
Thank you so much for following the Deck the Home Christmas series. Last week we shared our DIY Christmas Sign the Easy Wayj. This week is all about our DIY Outdoor Christmas Pillow.
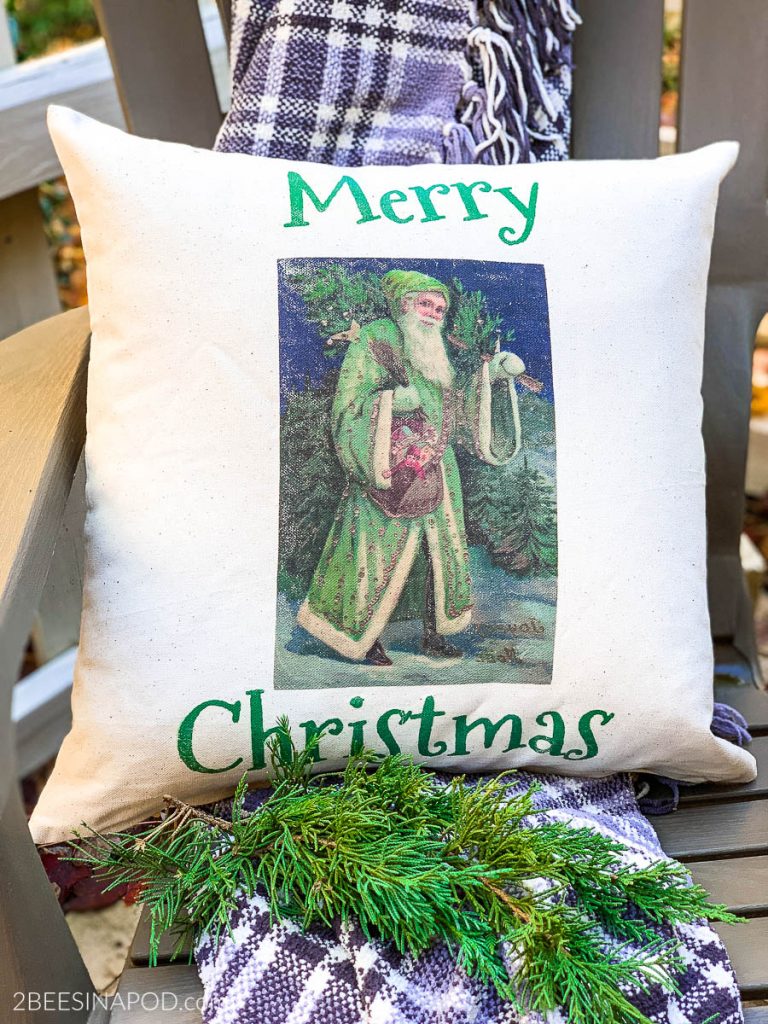
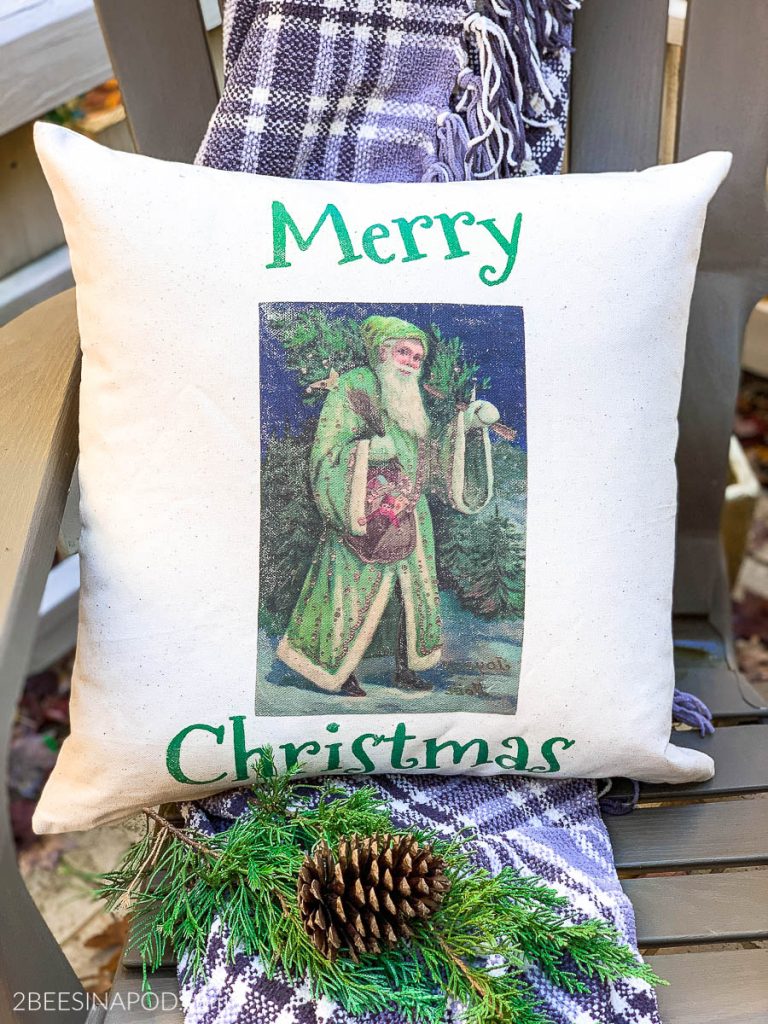
When I say that “Santa’s my Boyfriend”, I am not kidding LOL. I have had a lifelong fascination with him. Personally, I love the vintage Santa’s the most. I have collected vintage postcards and decor depicting his sweet image.
Wanting to bring a bit of Christmas cheer to the outdoor patio, I decided to create a waterproof pillow. First, I had to find the perfect image.
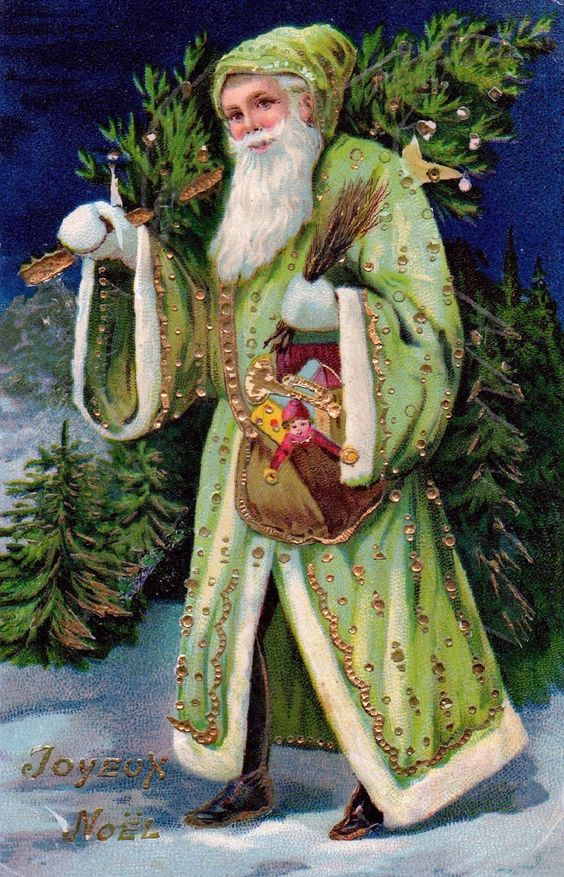
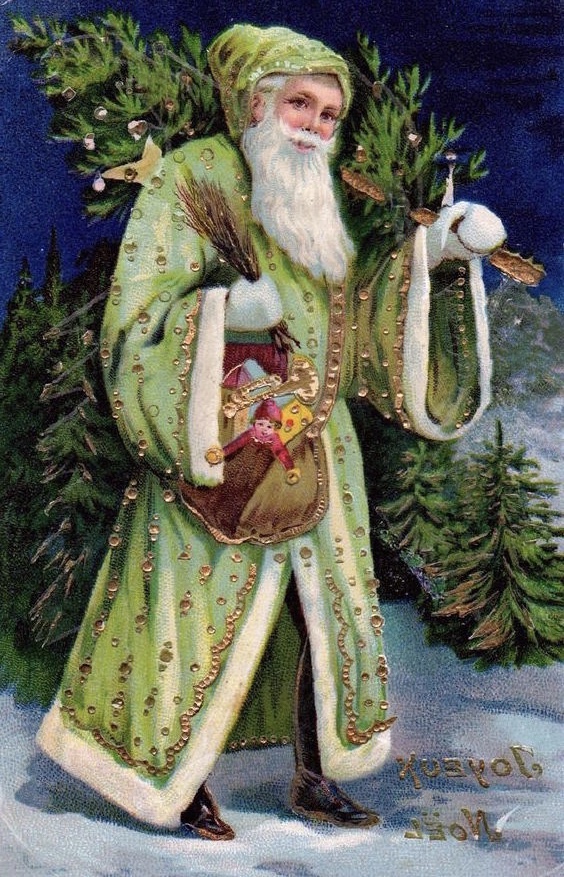
Graphics Fairy is the best site when searching for vintage images. Isn’t this 1800’s Santa gorgeous? I have included his image in the reverse print as well.
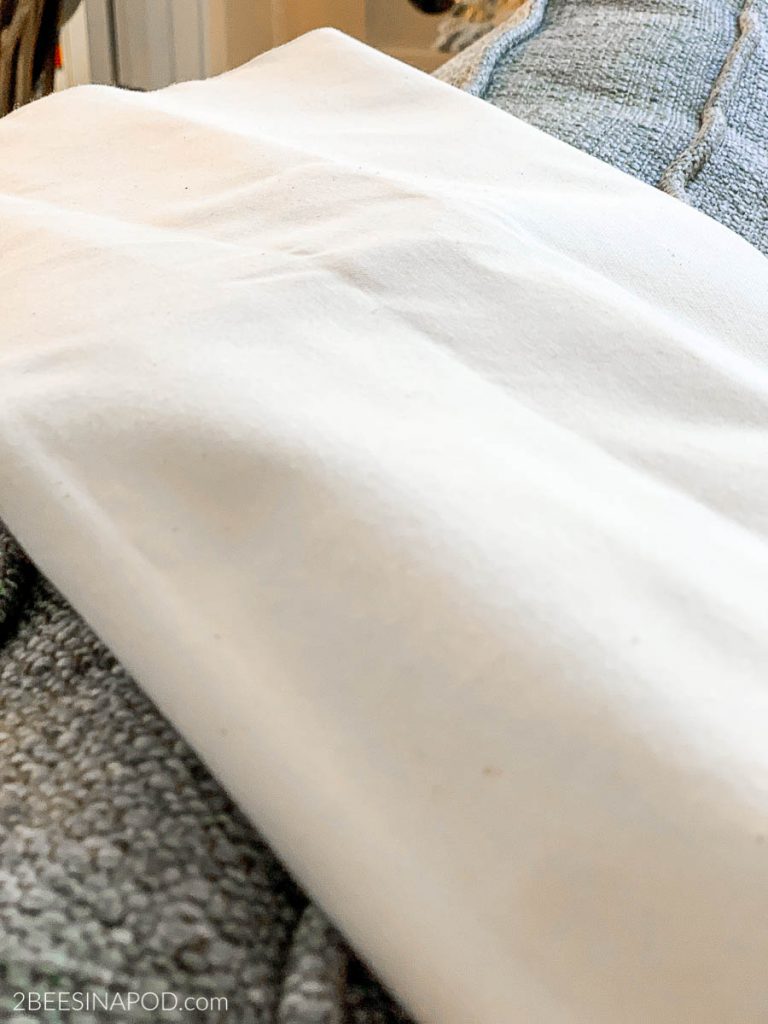
This waterproof canvas fabric was included with other fabric that I purchased from the thrift store.
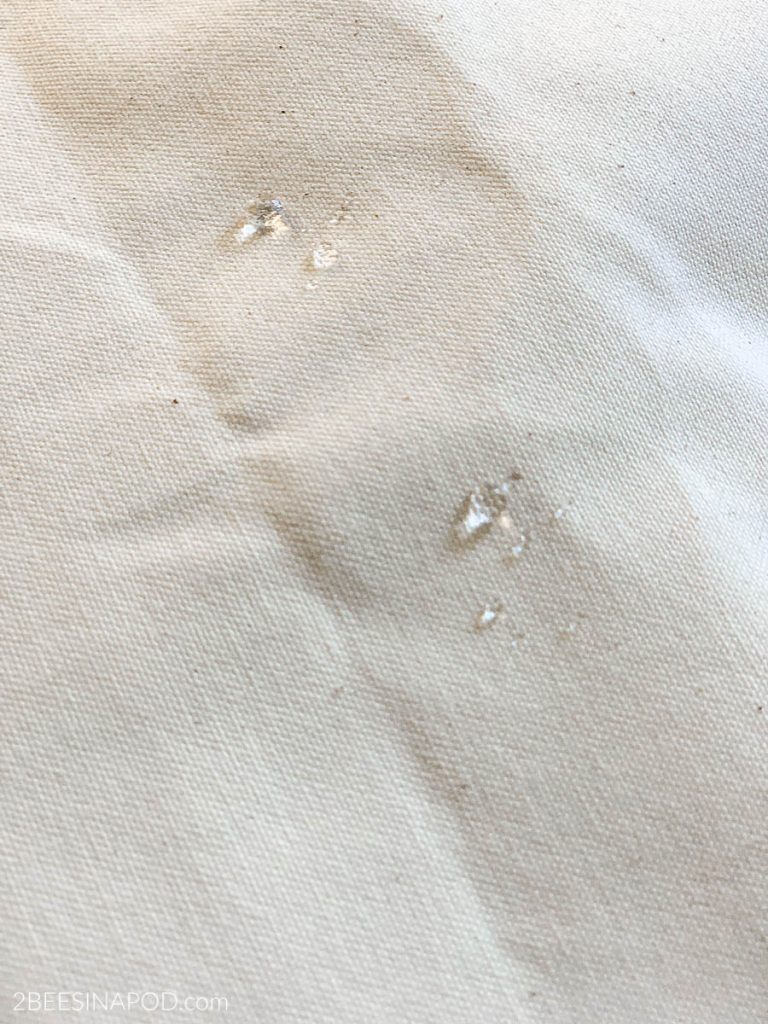
See how water just beads up and doesn’t soak through the fabric? Perfect for outdoors.
Thankfully, I do know how to sew. Before I did any machine sewing, I added my Christmas image to the fabric.
I sewed 2-20 inch squares together on three sides. I added a waterproof pillow insert and then sewed the 4th side closed. Heat-n-Bond works very well when creating pillows. FULL disclosure…I have never used it for outdoor use.
Iron-on transfer paper is a must for your craft stash. I still had several sheets leftover from THIS project.
![]()
Directions for printing image:
- BEFORE printing, make sure that you have reversed the image. In other words, print in mirror image – or backwards. Otherwise, when you use the iron-on transfer, your wording will be backwards.
- Simply print your design with choice wording onto transfer paper. Follow the directions included with the transfer paper.
- Cut away excess paper from image and wording.
- Using a hot iron (with no water or steam) iron image into place. Do NOT iron back-and-forth as this will blur your design. Use an up-and-down ironing motion.
- Let cool before you remove paper.
Porch Decor
My new pillow looks so cute on the front porch!

Our weather has a bit chilly as of late. This is the perfect spot for my morning coffee – snuggling up with my fave throw and this pillow.
Don’t forget to Pin this to your favorite Pinterest Board!
I hope that you are inspired to create holiday decor for your outdoor space! Click the link below ↓ for more inspiration!


Love the pillow. What a classic touch
Love this idea so much ladies! The image you found is perfect for your beautiful vintage style and I love how easy this pillow was to make too. I can’t get over the canvas being waterproof – that is so cool! Hugs, CoCo
Such a beautiful outdoor Christmas pillow!! I’d proudly both outdoors and indoors too! Beautiful!
This pillow is just beautiful!
The graphic of santa and images are eye catching.