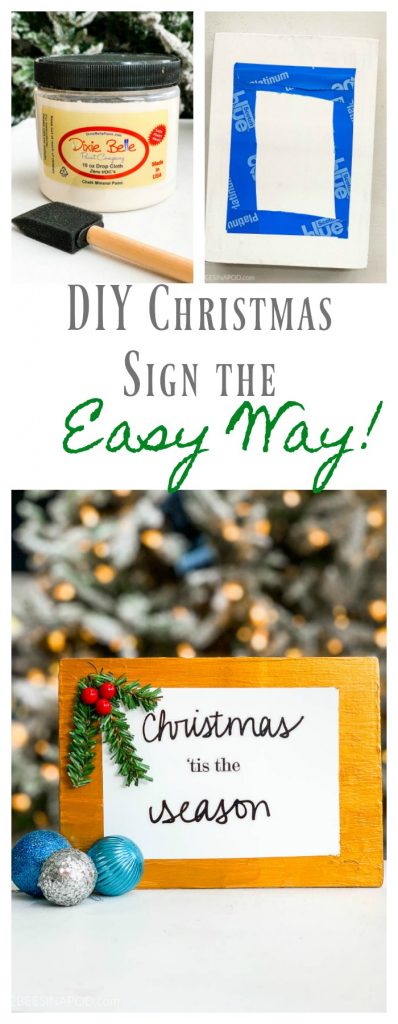
DIY Christmas Sign the Easy Way
Please note that this post contains affiliate links. As an Amazon Associate, Rewards Style influencer and Jane Influencer, we earn from qualifying purchases and any sales made through such links will reward us a small commission – at no extra cost for you.
During the holidays, time is precious. I’m sharing how to create a DIY Christmas Sign the easy way!
Christmas is fast upon us and time becomes scarce as the holiday approaches. If you are anything like me, you like to craft and create decor for your own home. As much as I would like to create a wood sign from scratch, there are a couple of issues.
- Above my skill level
- Too time consuming
- Can be costly
Most of the work has been done for you
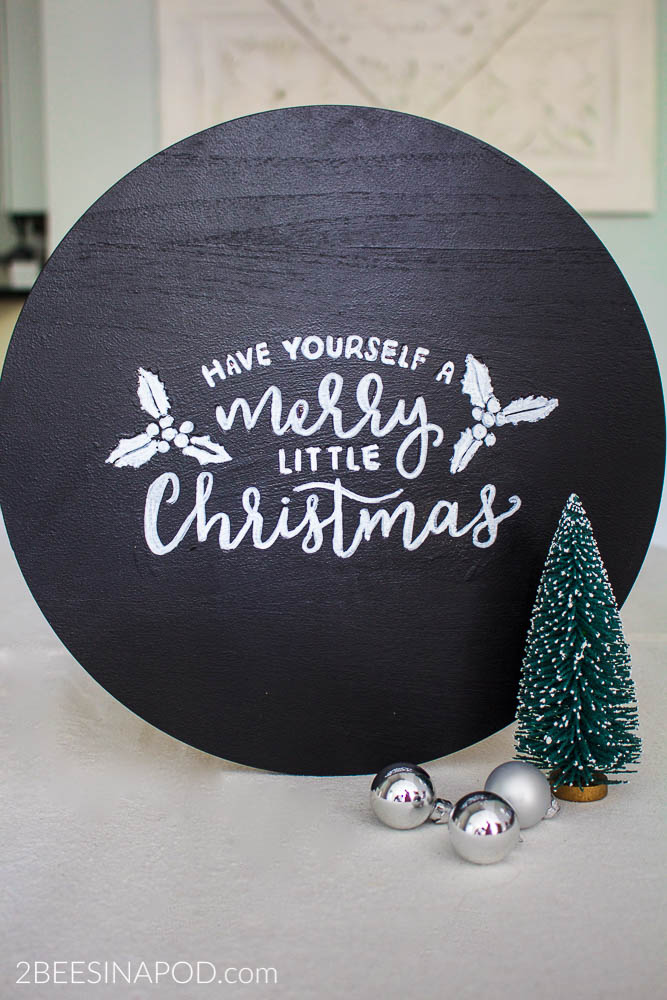
I am here today to share how to make a DIY Christmas sign the easy way. It doesn’t get any easier than starting with a ready-made sign.

This lake sign was a $1.00 thrift store purchase. It has been in my garage collecting dust. I decided to paint over the graphic and make a Christmas sign. Actually, the graphic is a faux chalkboard paper overlay.
Supplies:
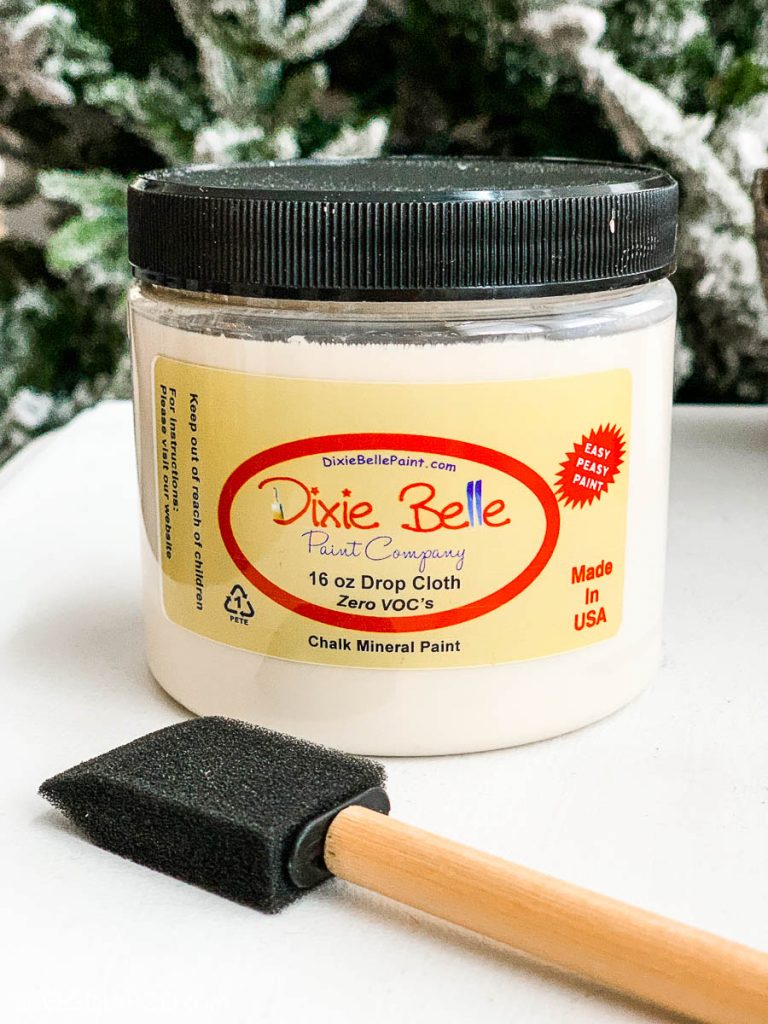
- White paint
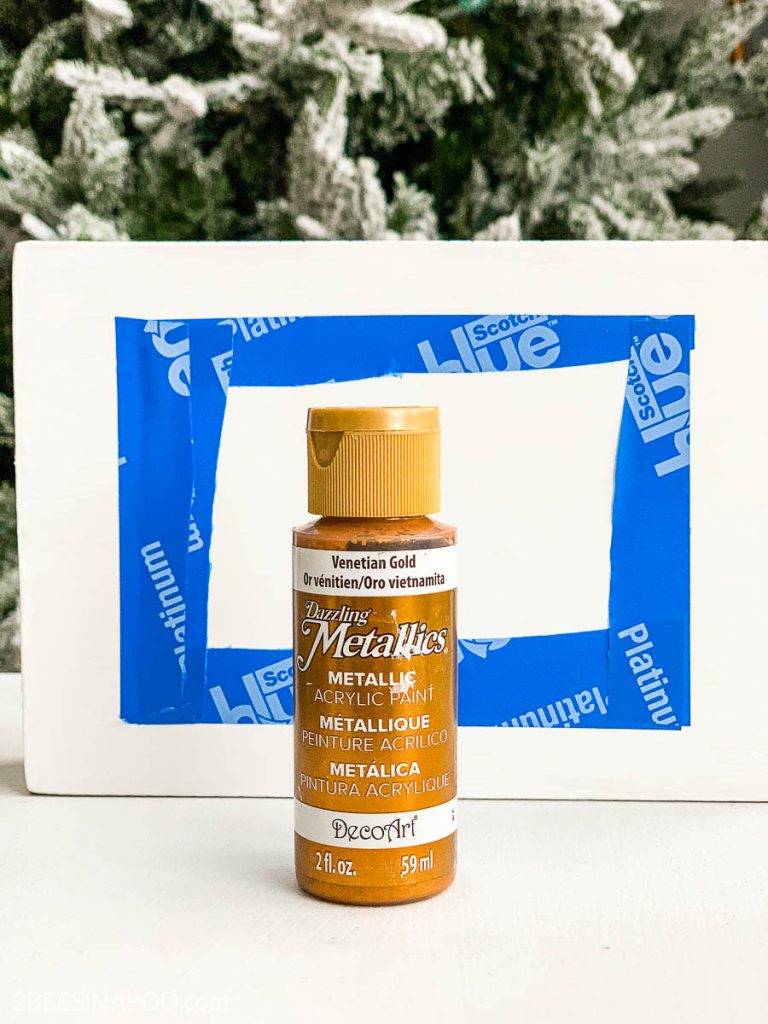
- Gold paint
- Paintbrush
- Painters tape – optional
- Christmas stickers – with clear backing
- Greenery
- Red berries
- Hot glue
For this project, I already had these supplies in my craft stash. Feel free to use paint colors of your choice.
Step by Step
First, I used the white paint and painted two coats over the existing graphics.
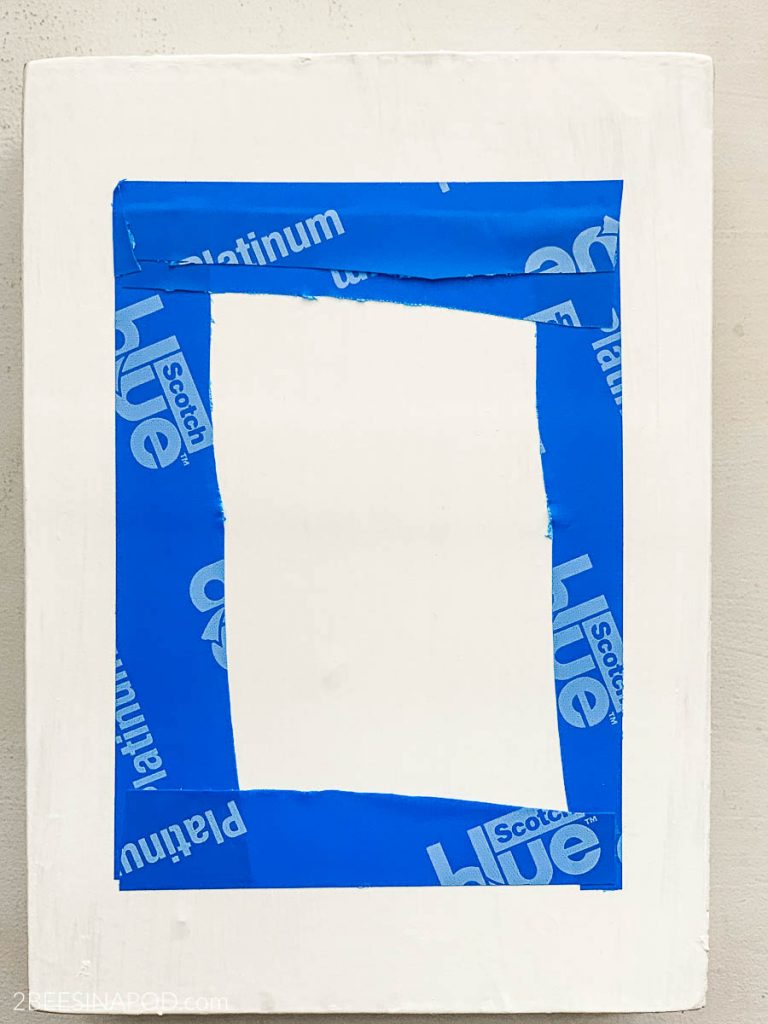
After this paint dried completely, I used painters tape to mark off a border. If you have a steady painting hand, you can skip this step. I definitely needed the tape LOL
Gold metallic craft paint was applied to the outer border of the sign.
Remember these stickers from my DIY Personalized Christmas Ornaments? Leftover stickers were used for the sign. It’s important that the stickers have a clear backing.

Stickers were applied to the center of the sign.

Using a hot glue gun, I embellished one corner with greenery and holly berries.

Excluding drying time, this was approximately a 20 minute project! My kind of project!

I hope that you are inspired in some small way by this DIY Christmas Sign the Easy Way!
Don’t forget to Pin this to your favorite Pinterest Board!
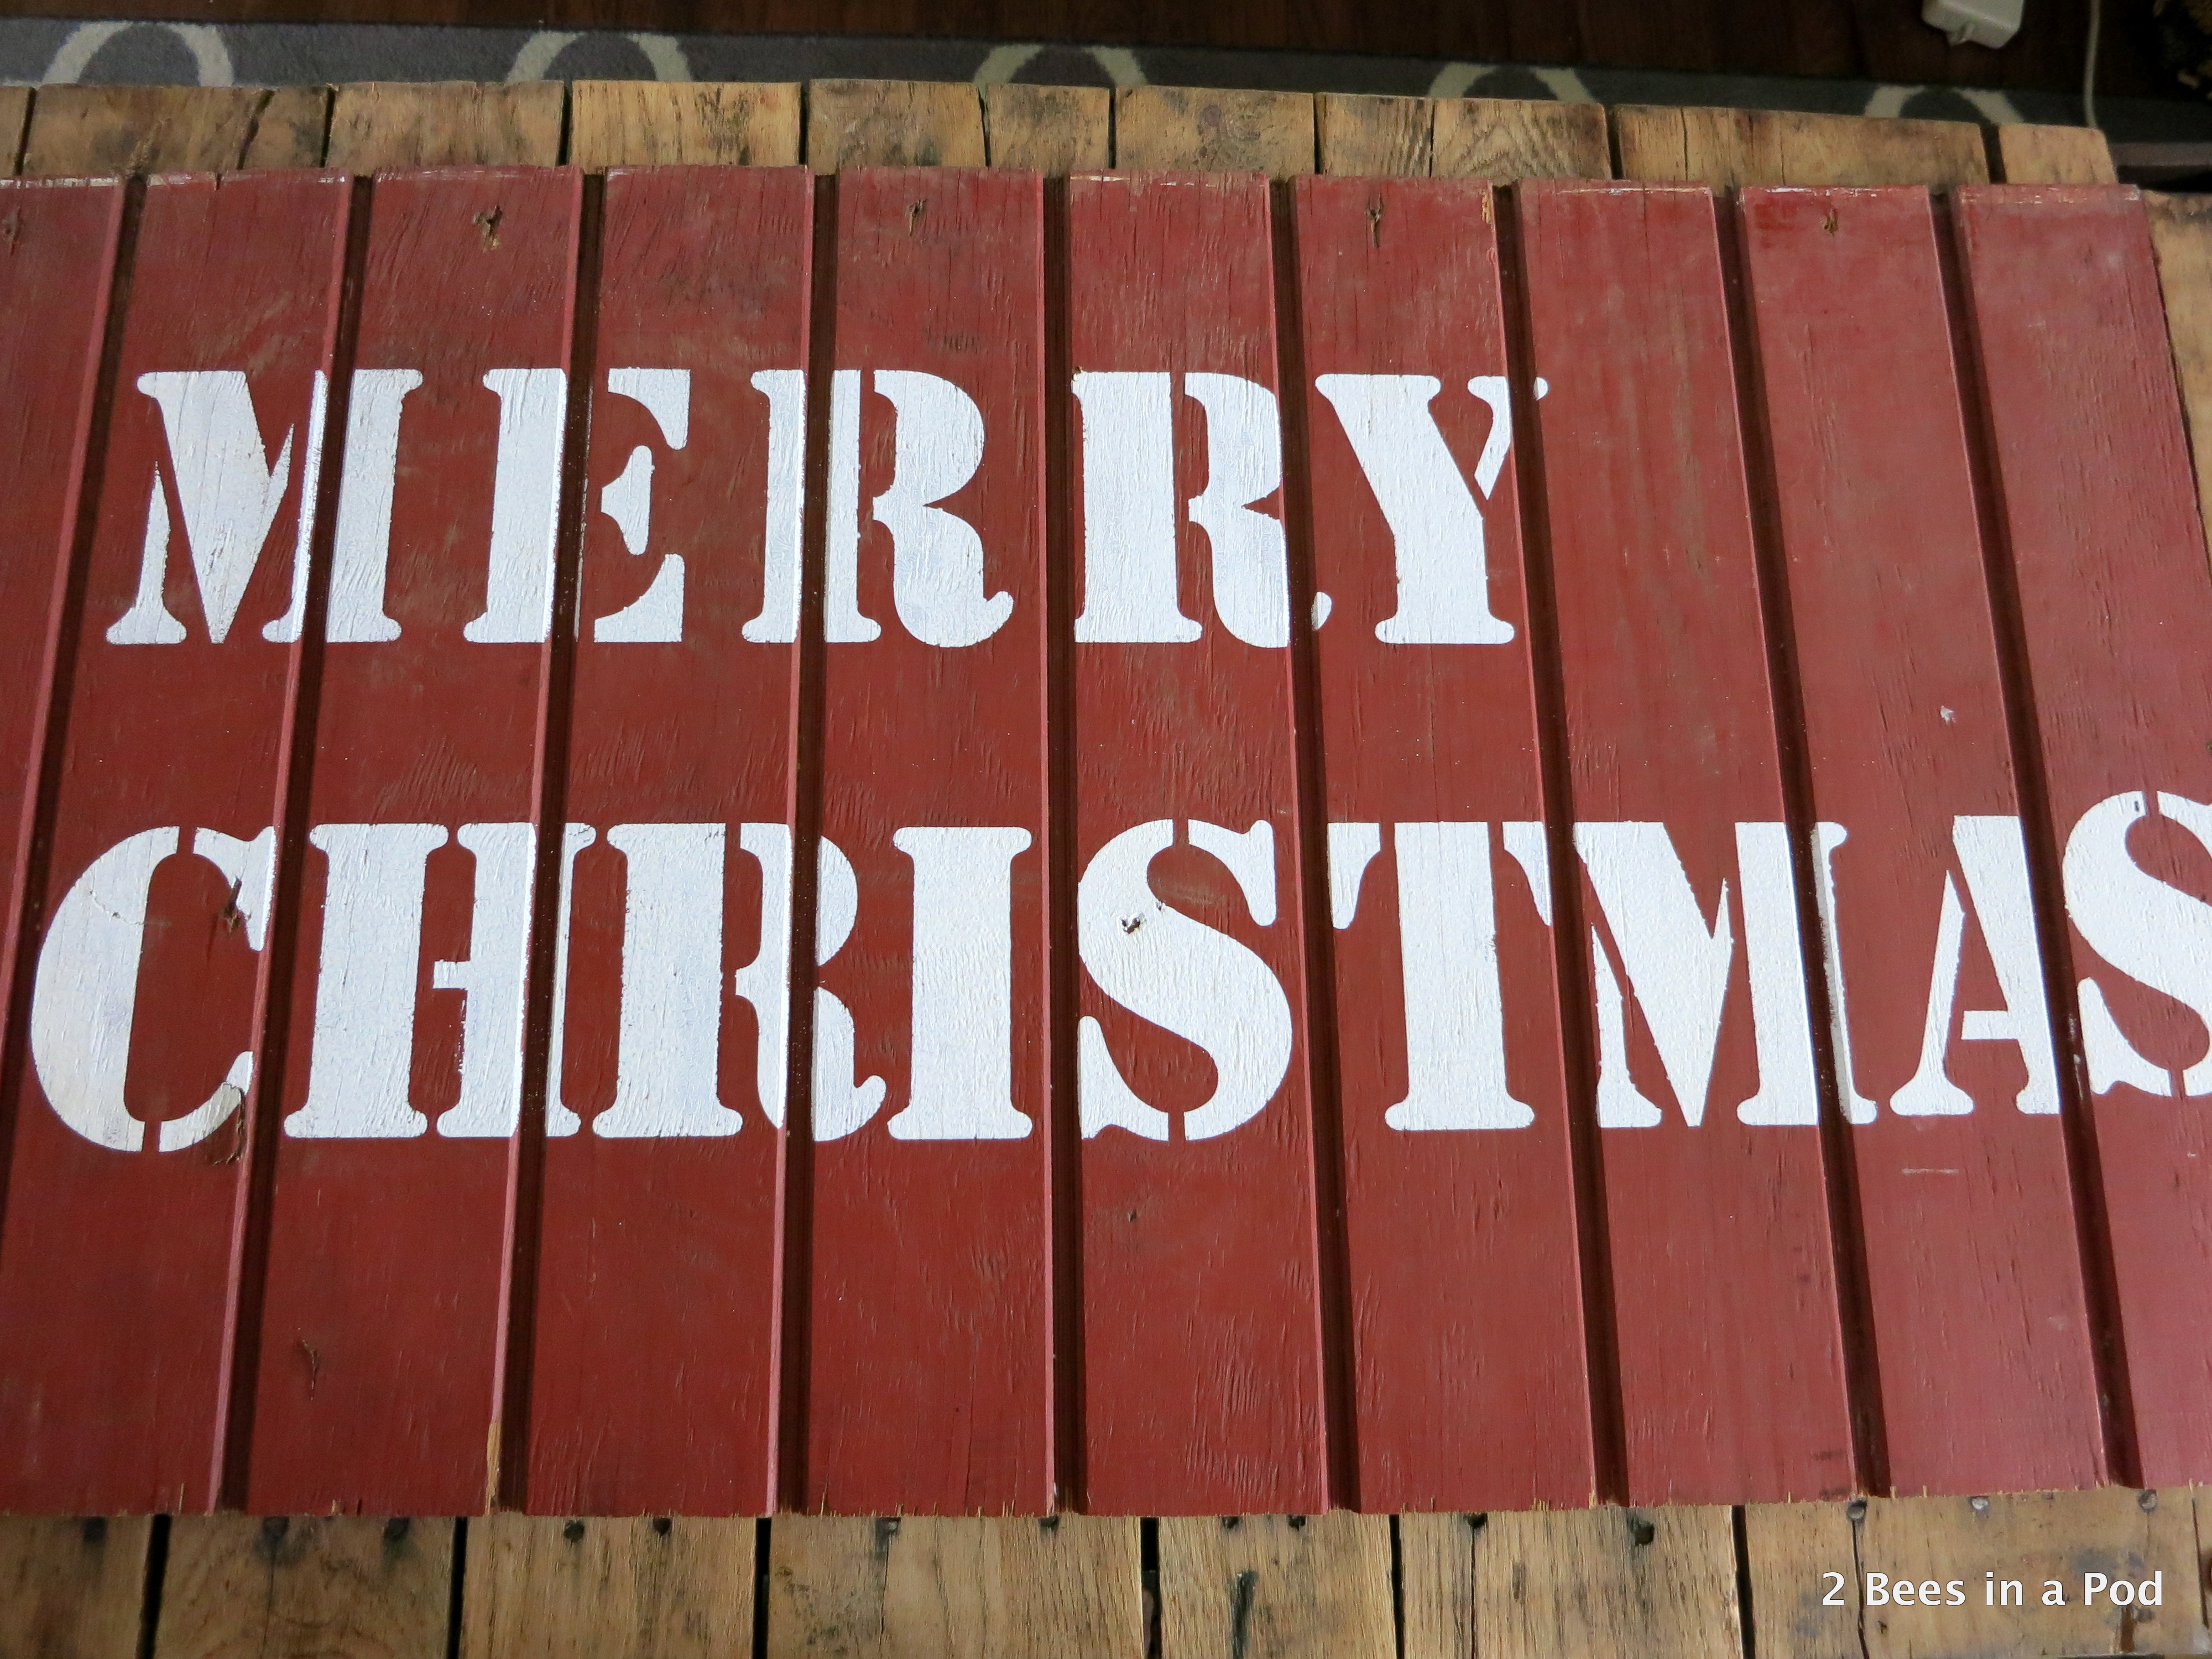
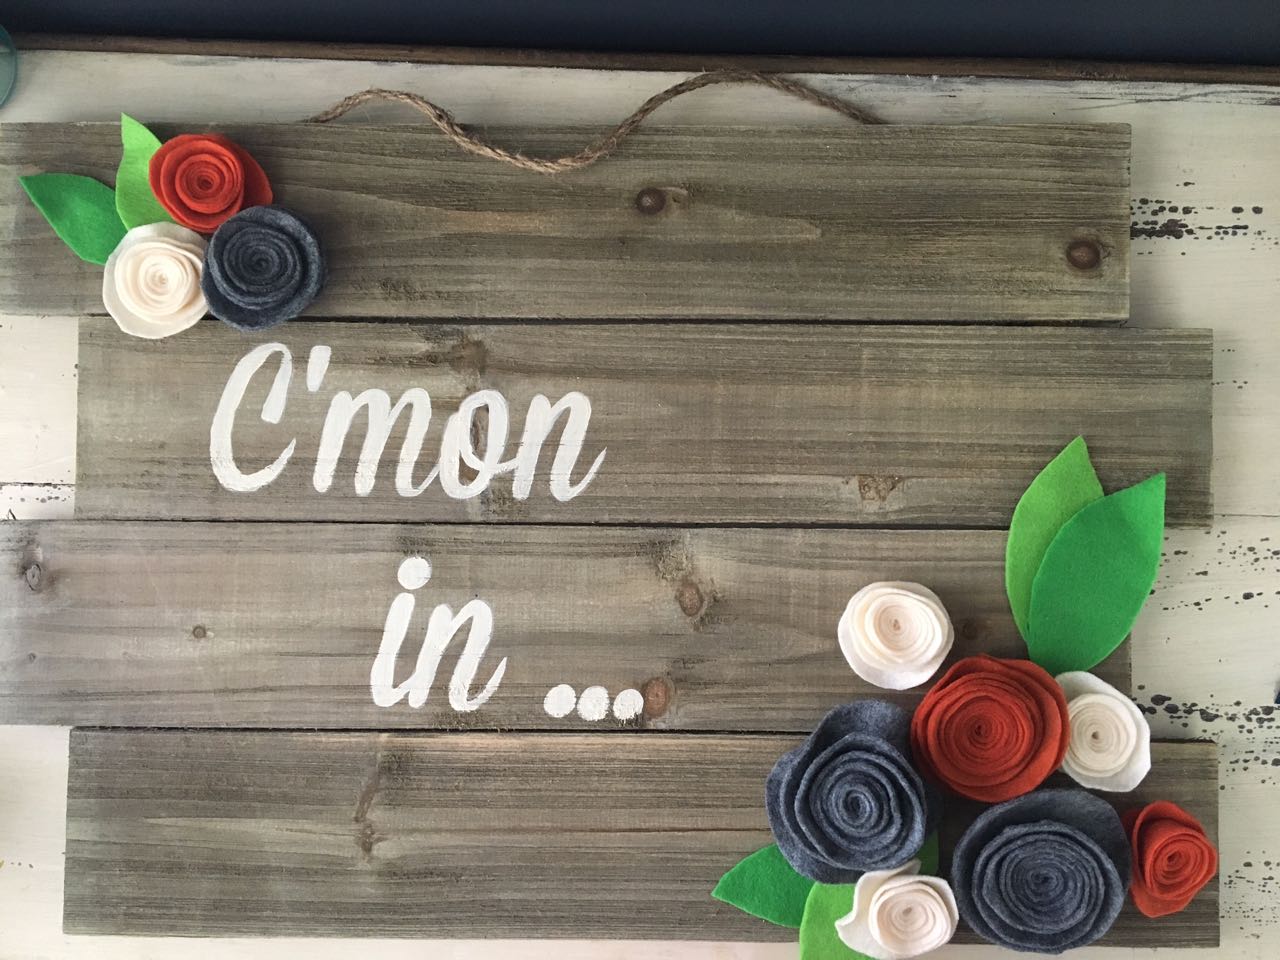
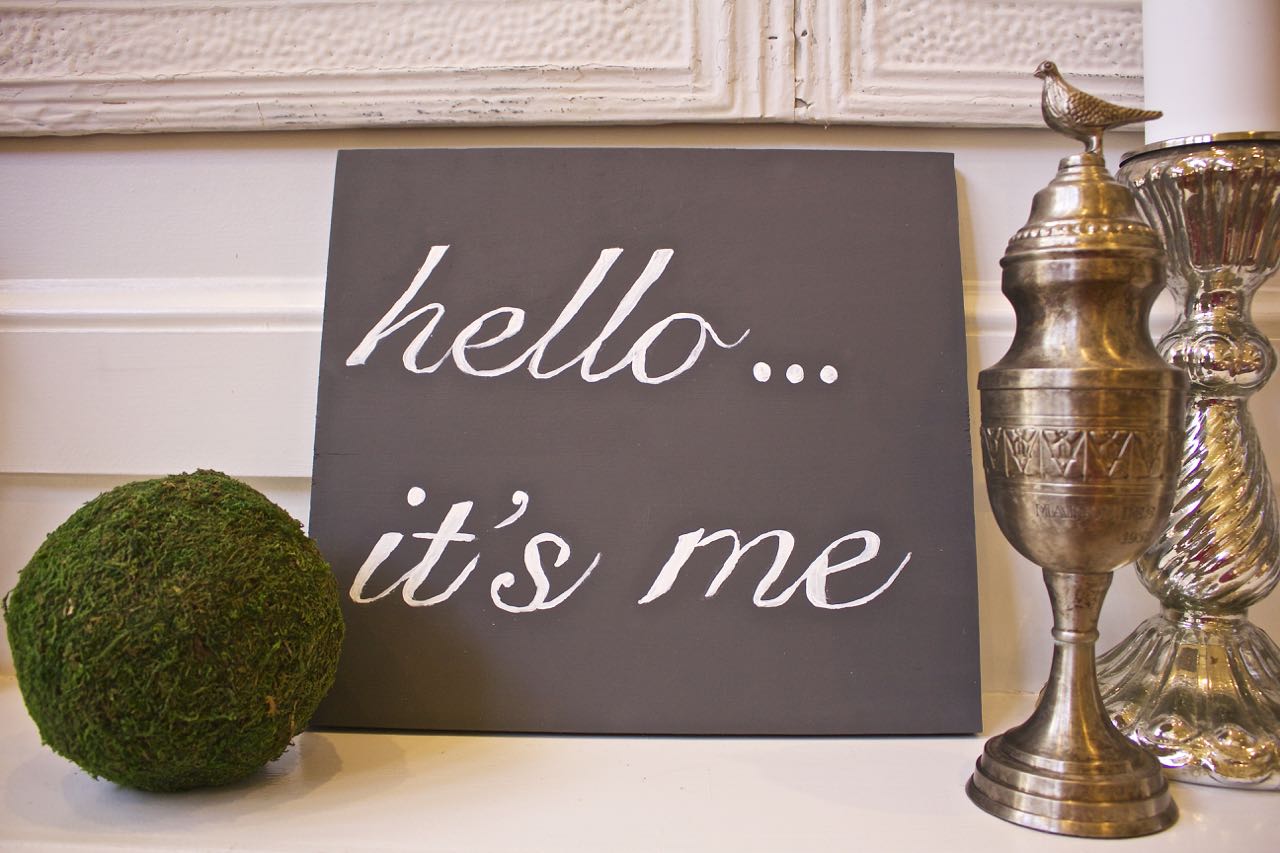
ALSO – take a look at all of these other Holiday Wood Sign Projects! Just click the link


Can you give a source for the clear stickers? Thanks
What a great idea for a sign- thrift store signs make great new signs. Using stickers was a perfect way to add the saying and the berries and holly are the perfect touch. You are so right about the holidays getting so busy, it’s tough to make new decor.
Thanks for sharing this simple and easy to do project!
I love quick and easy signs, especially when they turn out that beautiful! So pretty!
You make this look so easy! Perfect addition for any Christmas decorating. You two gals are so talented.
Merry Christmas!
Ok, now ya’ll just need a quick and easy decorating book already – this is fabulous! I love how you can easily customize a sign like this but also how you make make it in minutes, save for waiting for the paint to dry. As always you two are blowing my mind in the best possible way. Lots of hugs, CoCo