How to Make Weathered Wood Stain and a Table Makeover
Please note that this post contains affiliate links. As an Amazon Associate, Rewards Style influencer and Jane Influencer, we earn from qualifying purchases and any sales made through such links will reward us a small commission – at no extra cost for you.
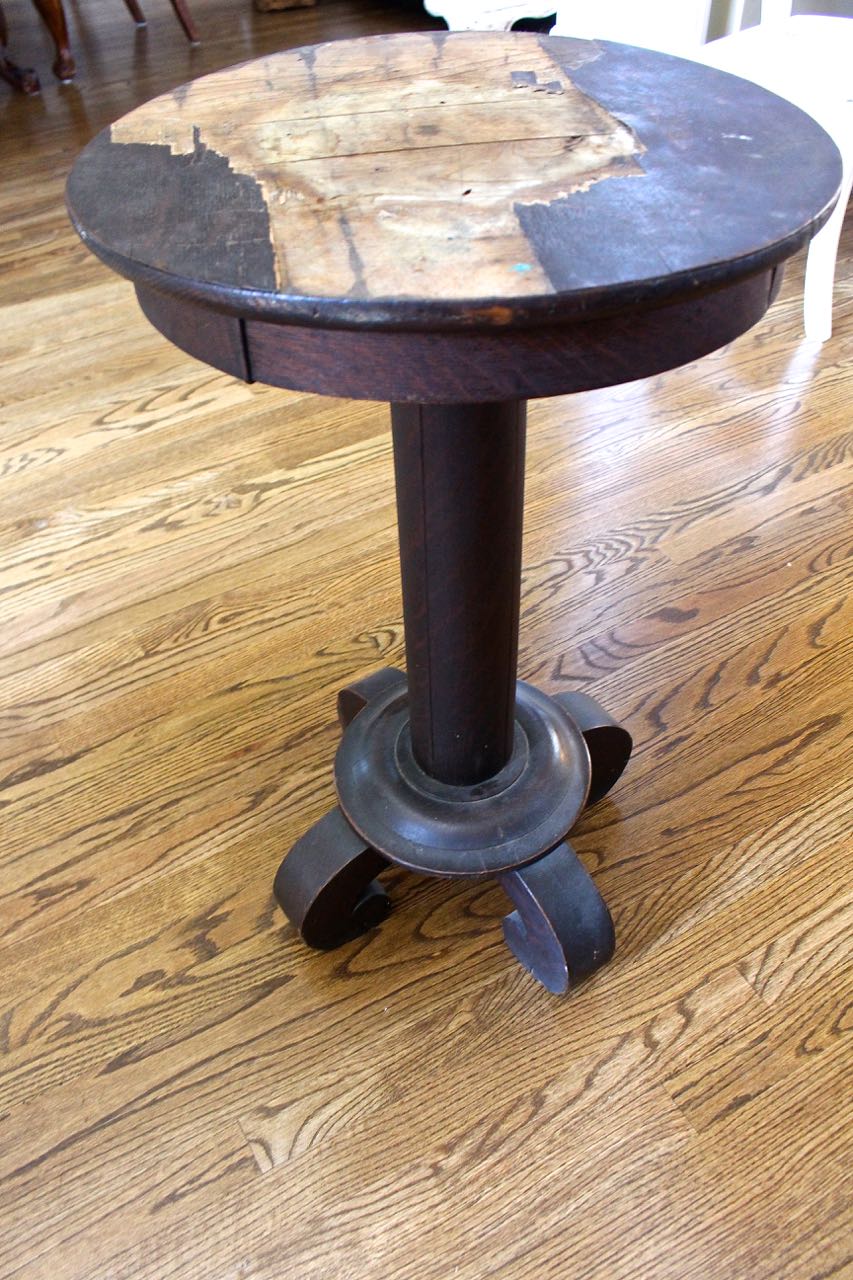
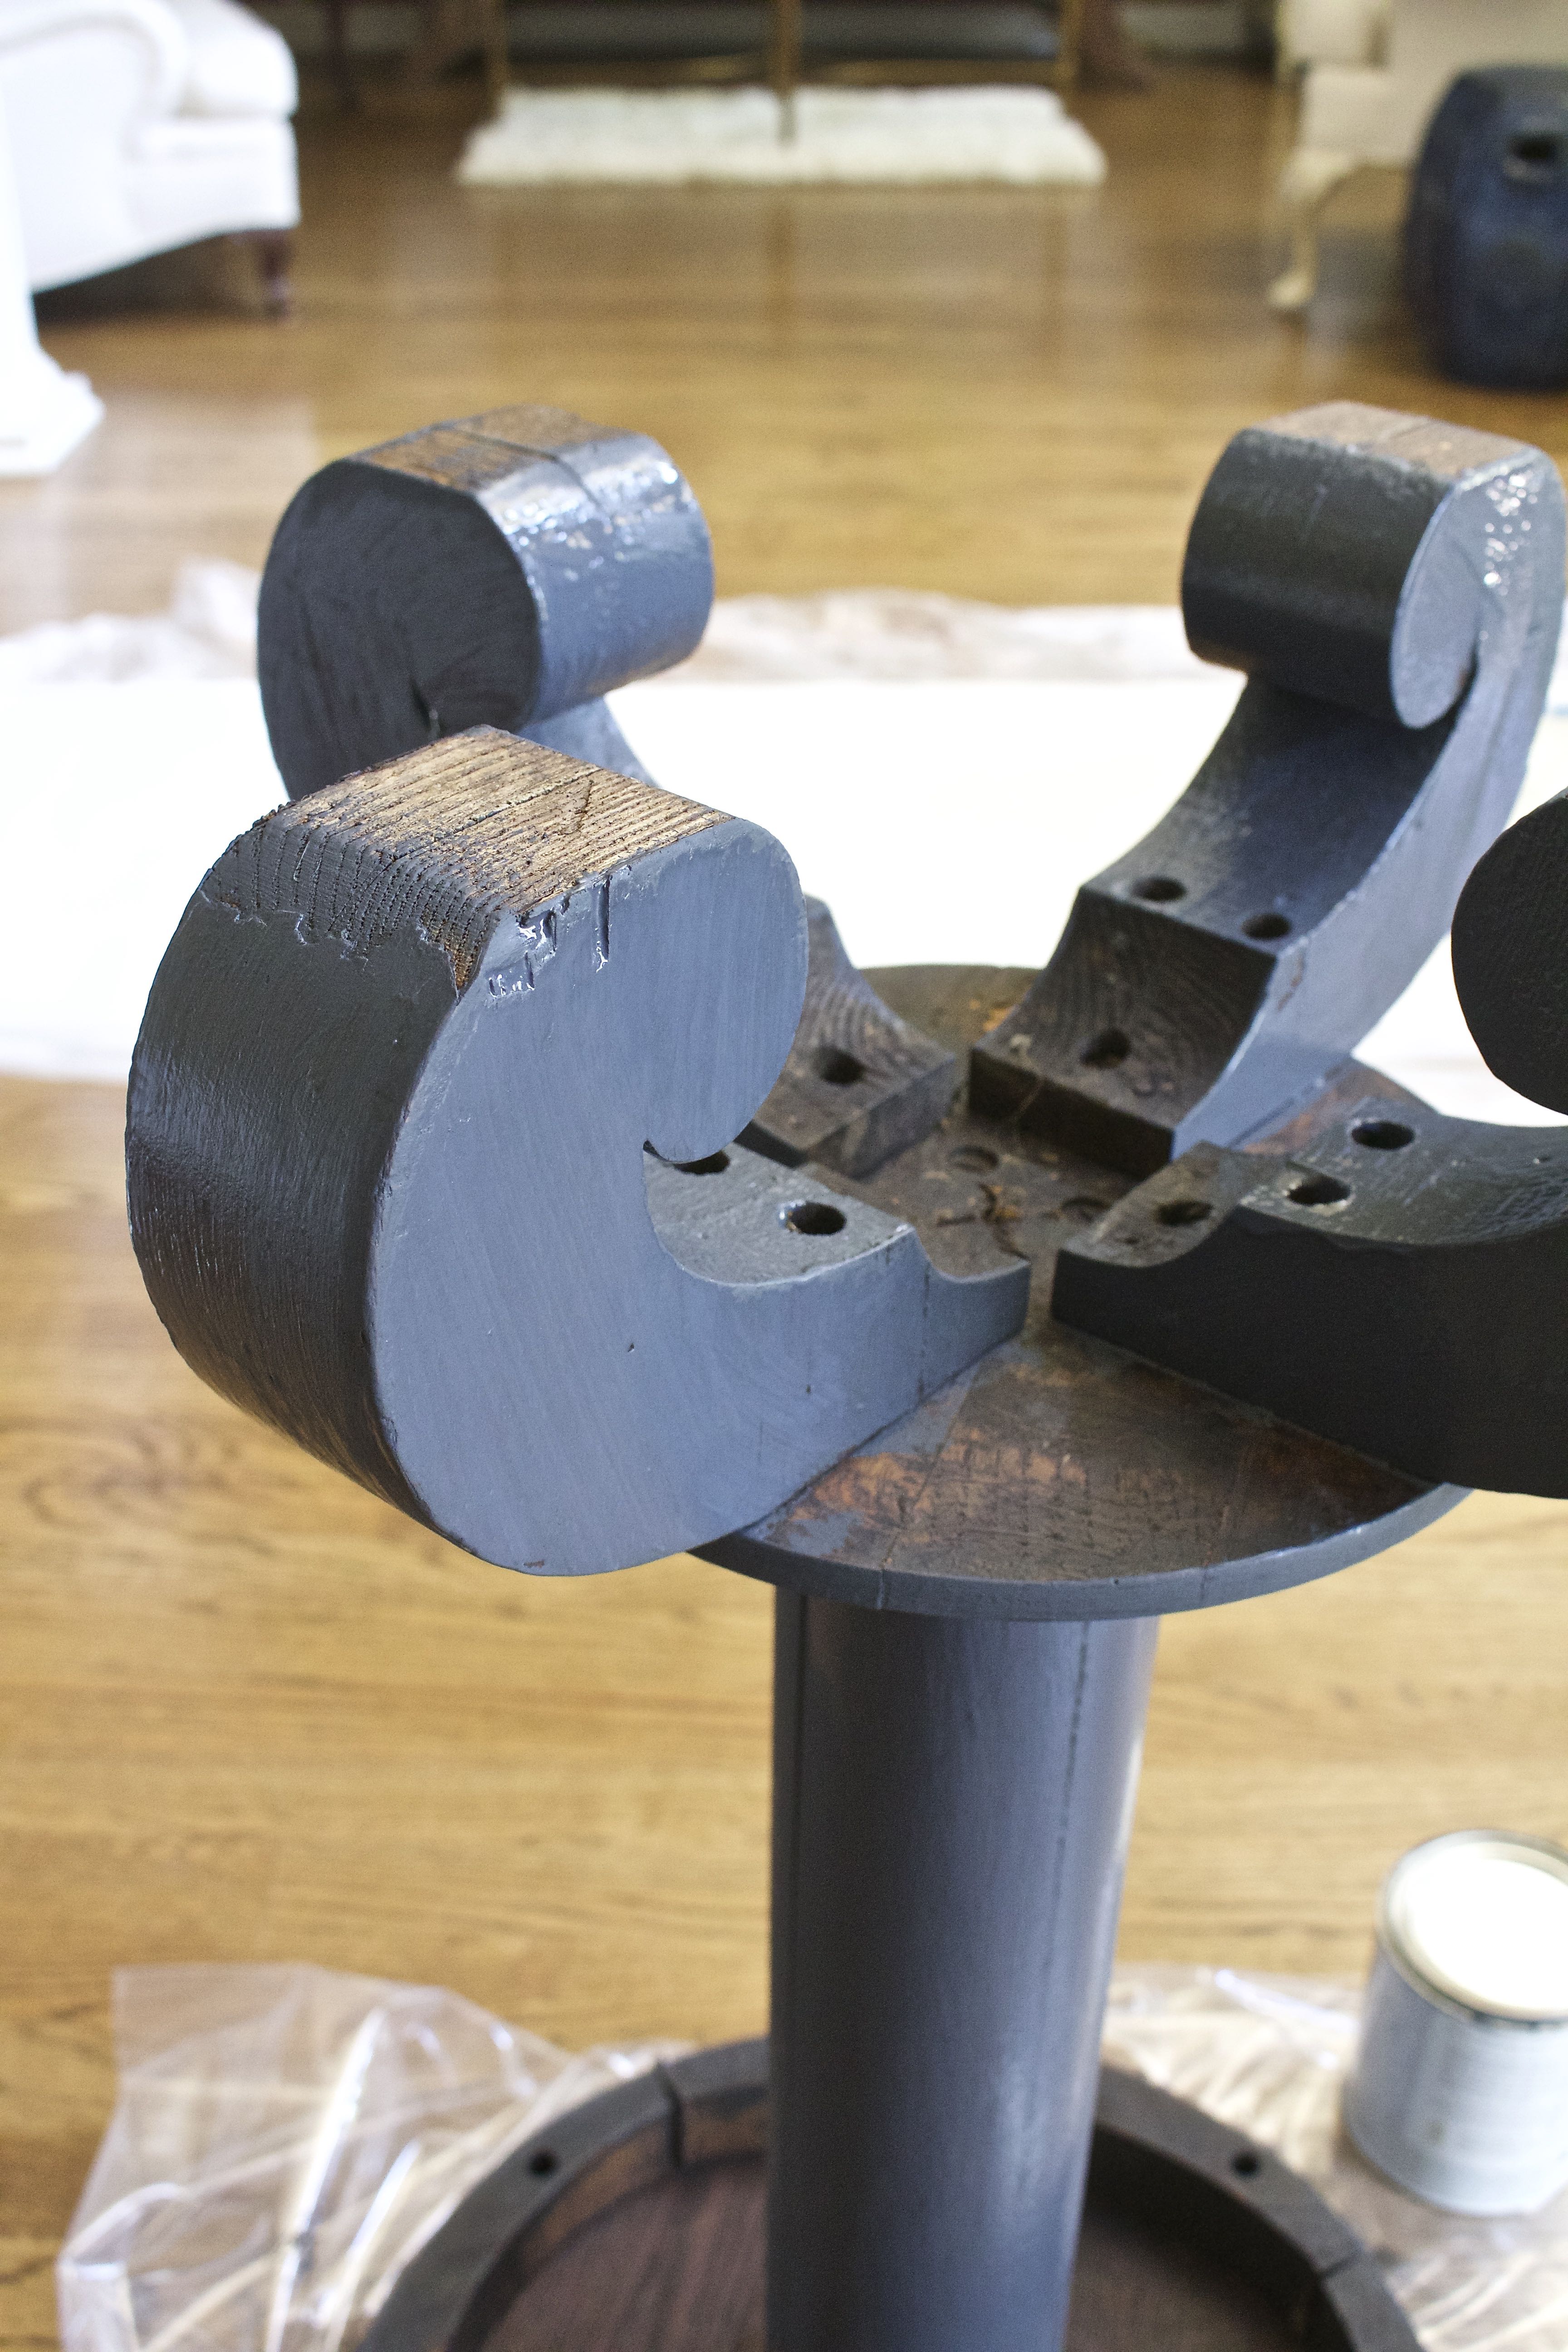
Hey y’all…I can’t wait to share this project with you today! A couple of weeks ago I scored this antique table at an estate sale:
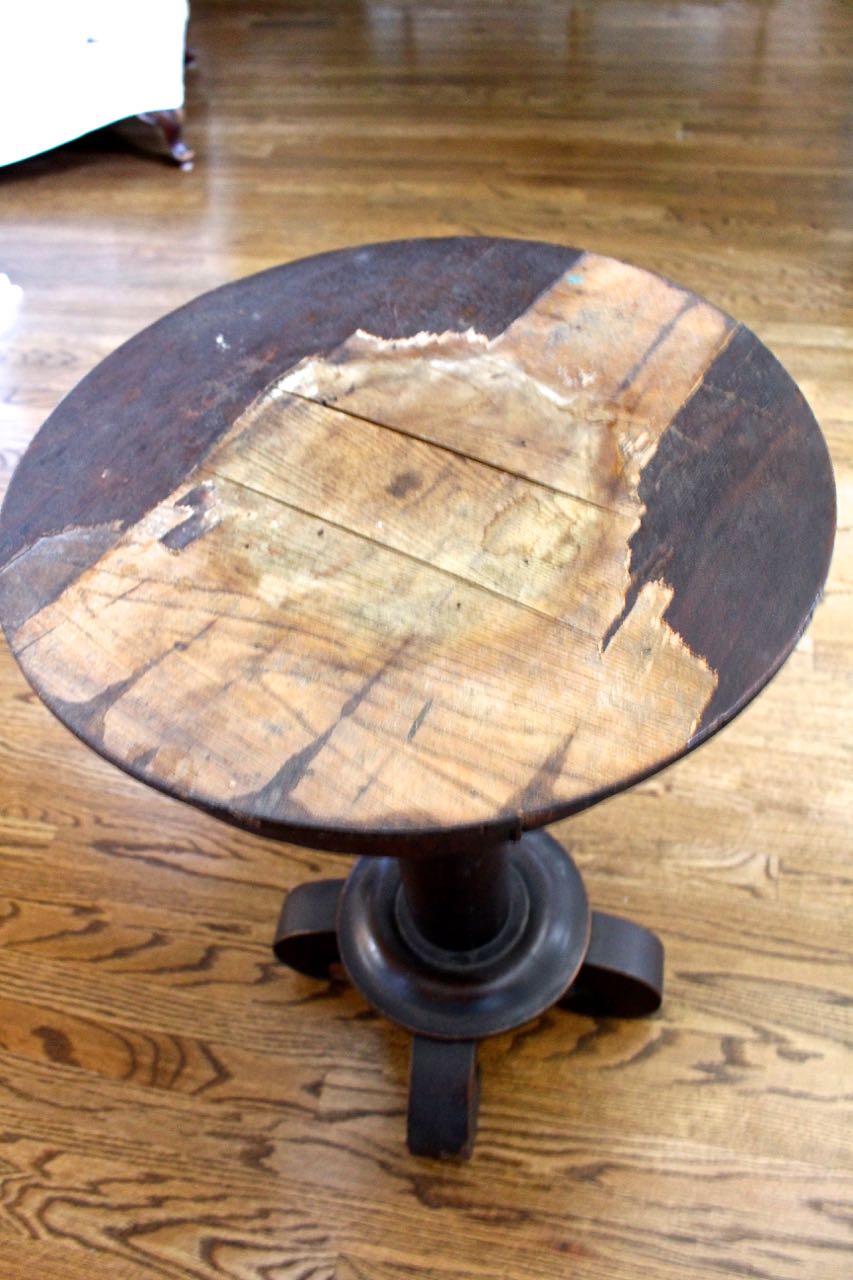
I know she is a diamond in the rough but I saw a lot of possibility. This table is heavy and an antique. The legs on her are beautiful too.
I have a tried-and-true method to remove veneer from pieces like this. As soon as I got home from the estate sale I couldn’t wait to get to work. Typically when the veneer is removed it exposes the sub-base wood. Well…this is the first time my method didn’t work. There appeared to be several gluing repair attempts in the past and it was a gooey mess.
I needed a Plan B – which wasn’t evident yet.
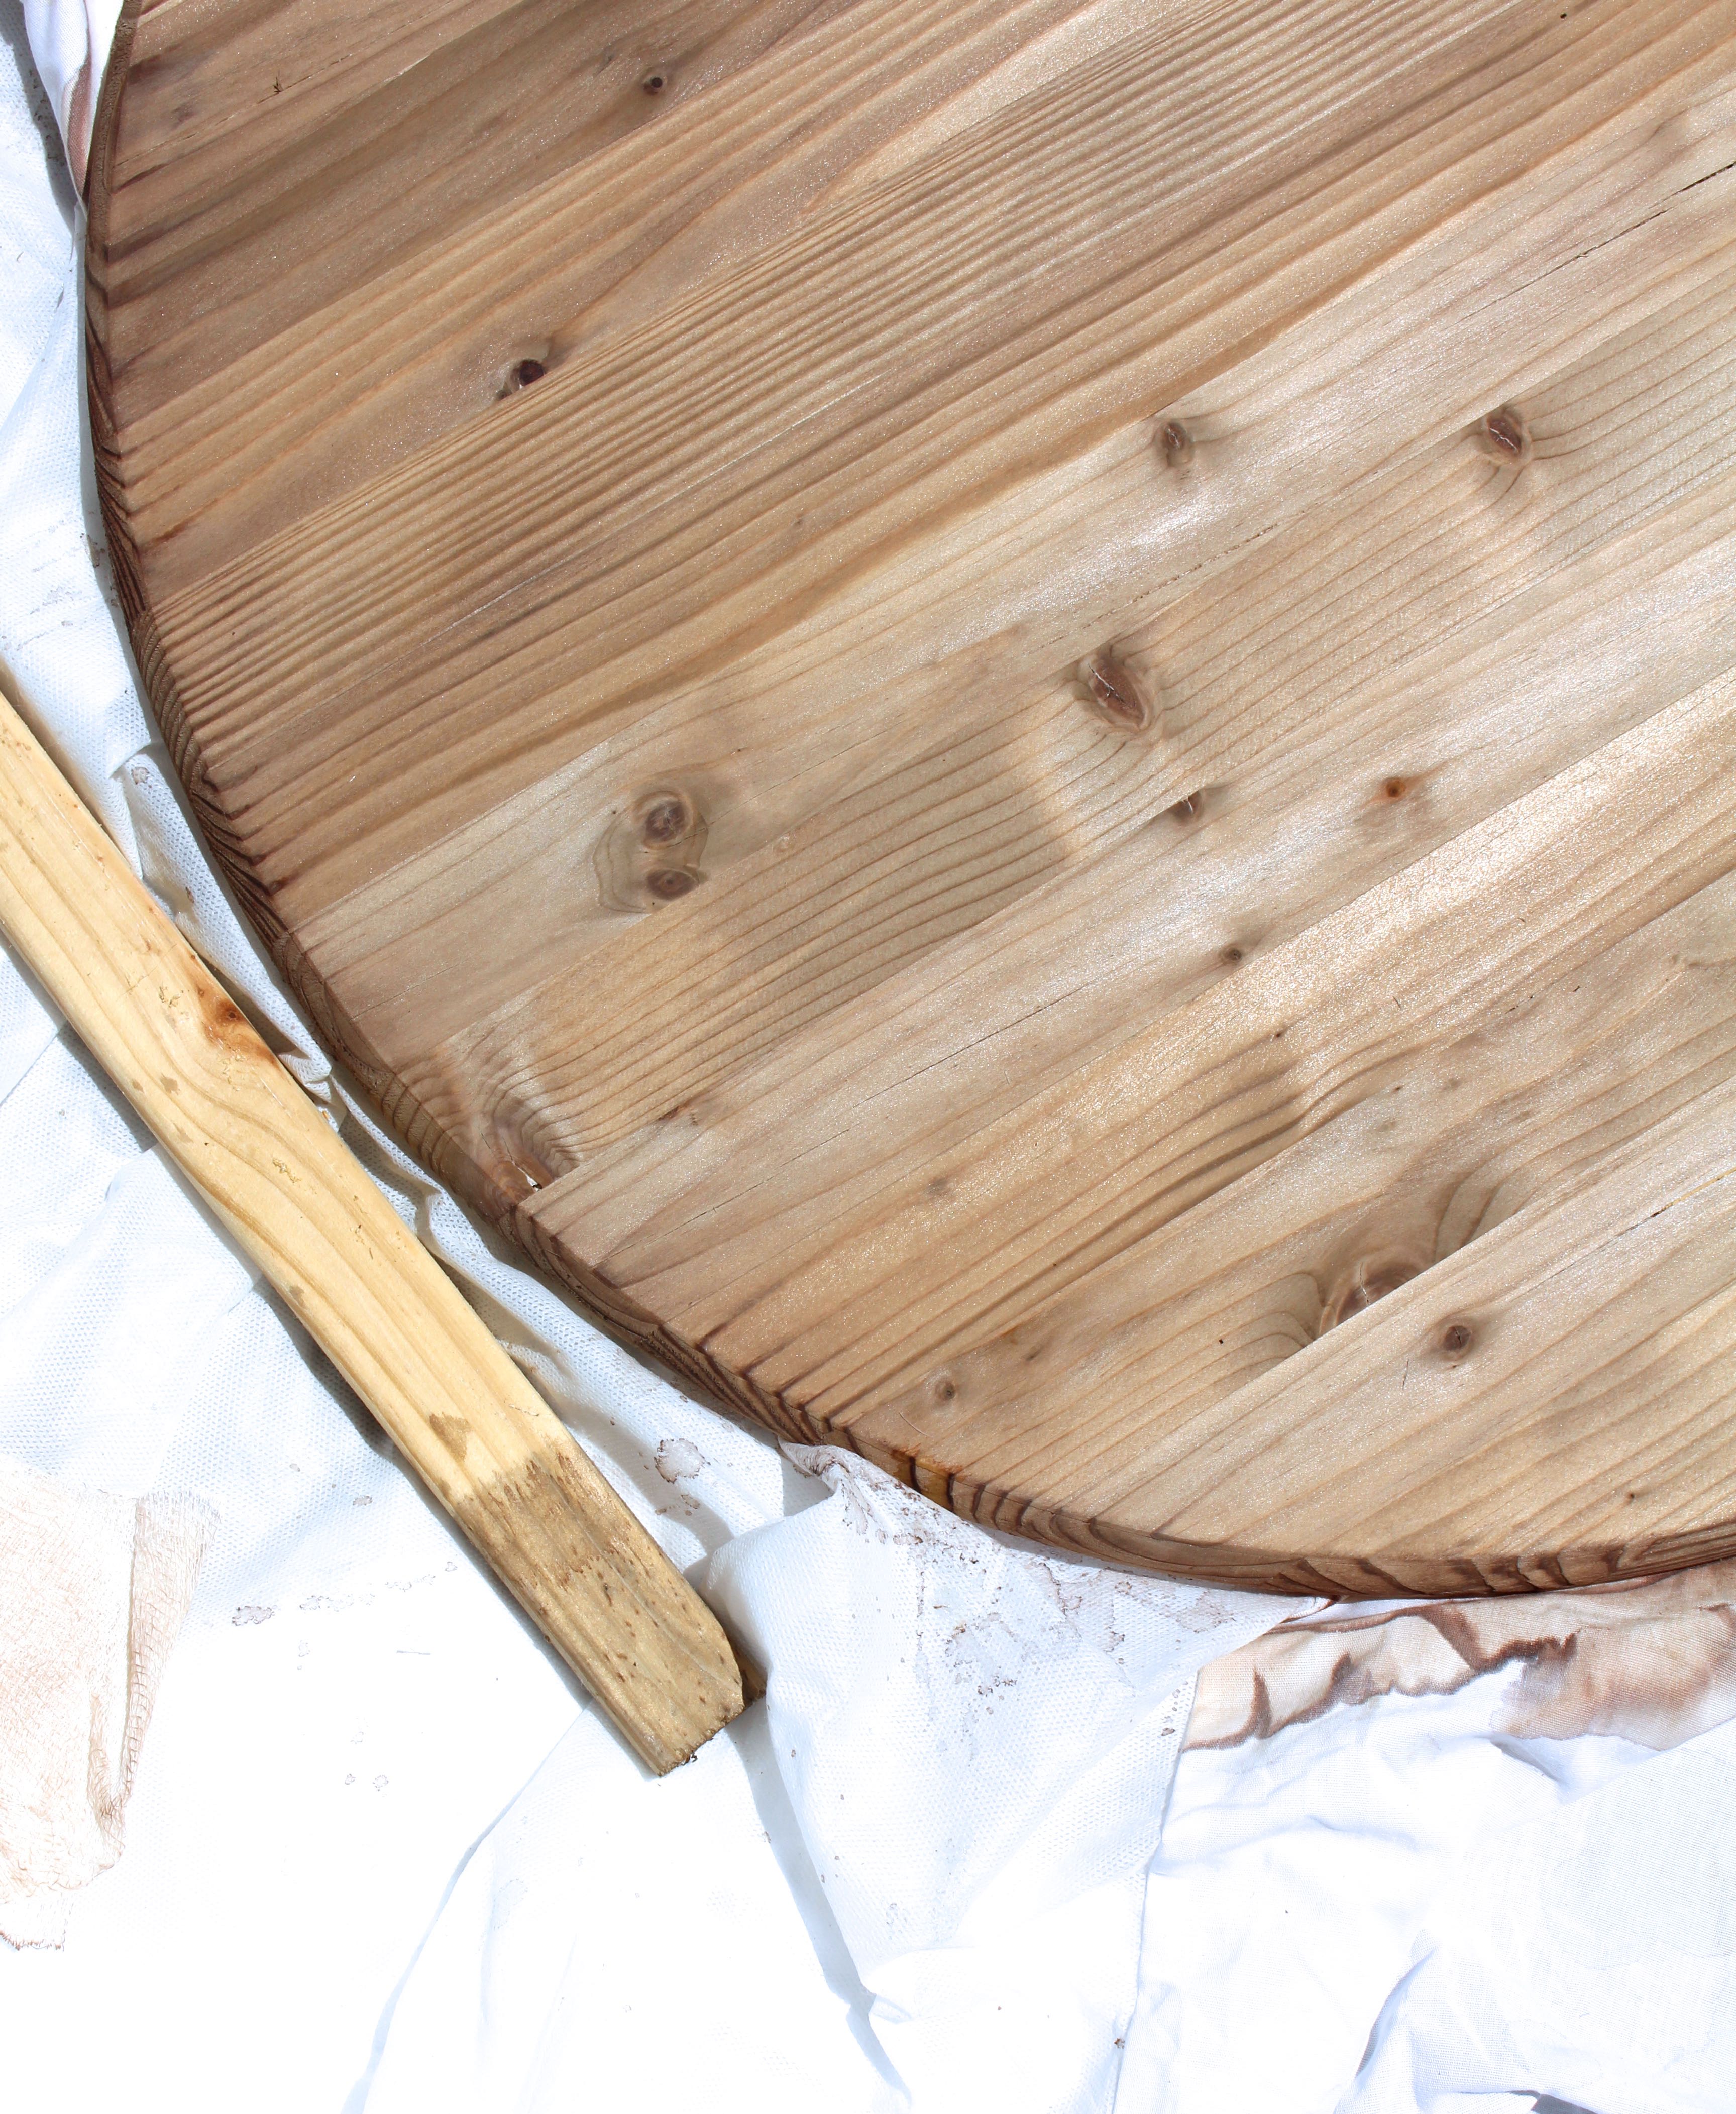
A few days later I made my way to my local thrift store. Imagine my surprise when I spotted this round beauty…
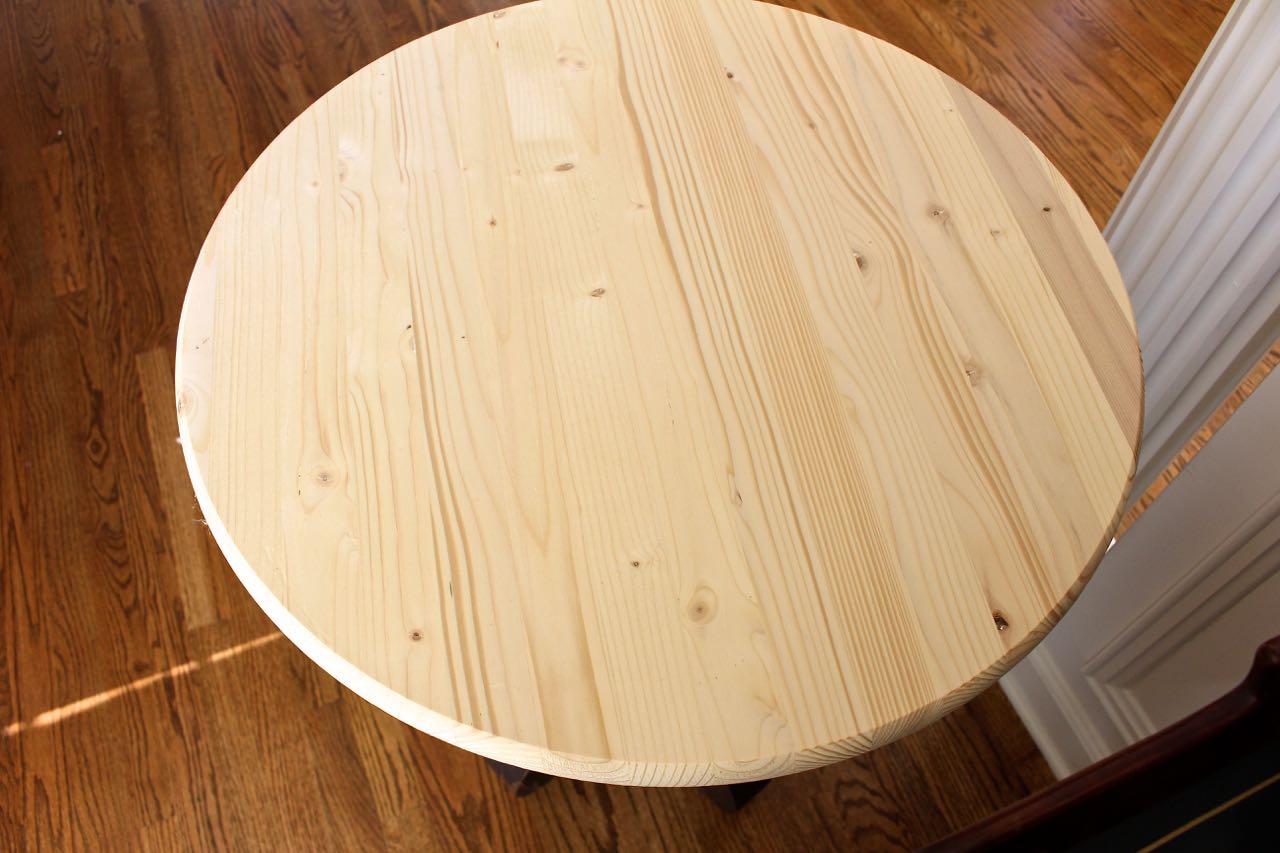
It was labeled as a “cutting board” and was for sale for $3!!!! I knew it would be perfect as my new tabletop.
I didn’t want to paint the raw wood – I wanted to stain it for a weathered wood gray finish. We have made our own natural stain for many years and have used it on lots of projects in the past. This stain can be made in a Mason jar with just two products!
Here’s how you make Weathered Wood Stain:
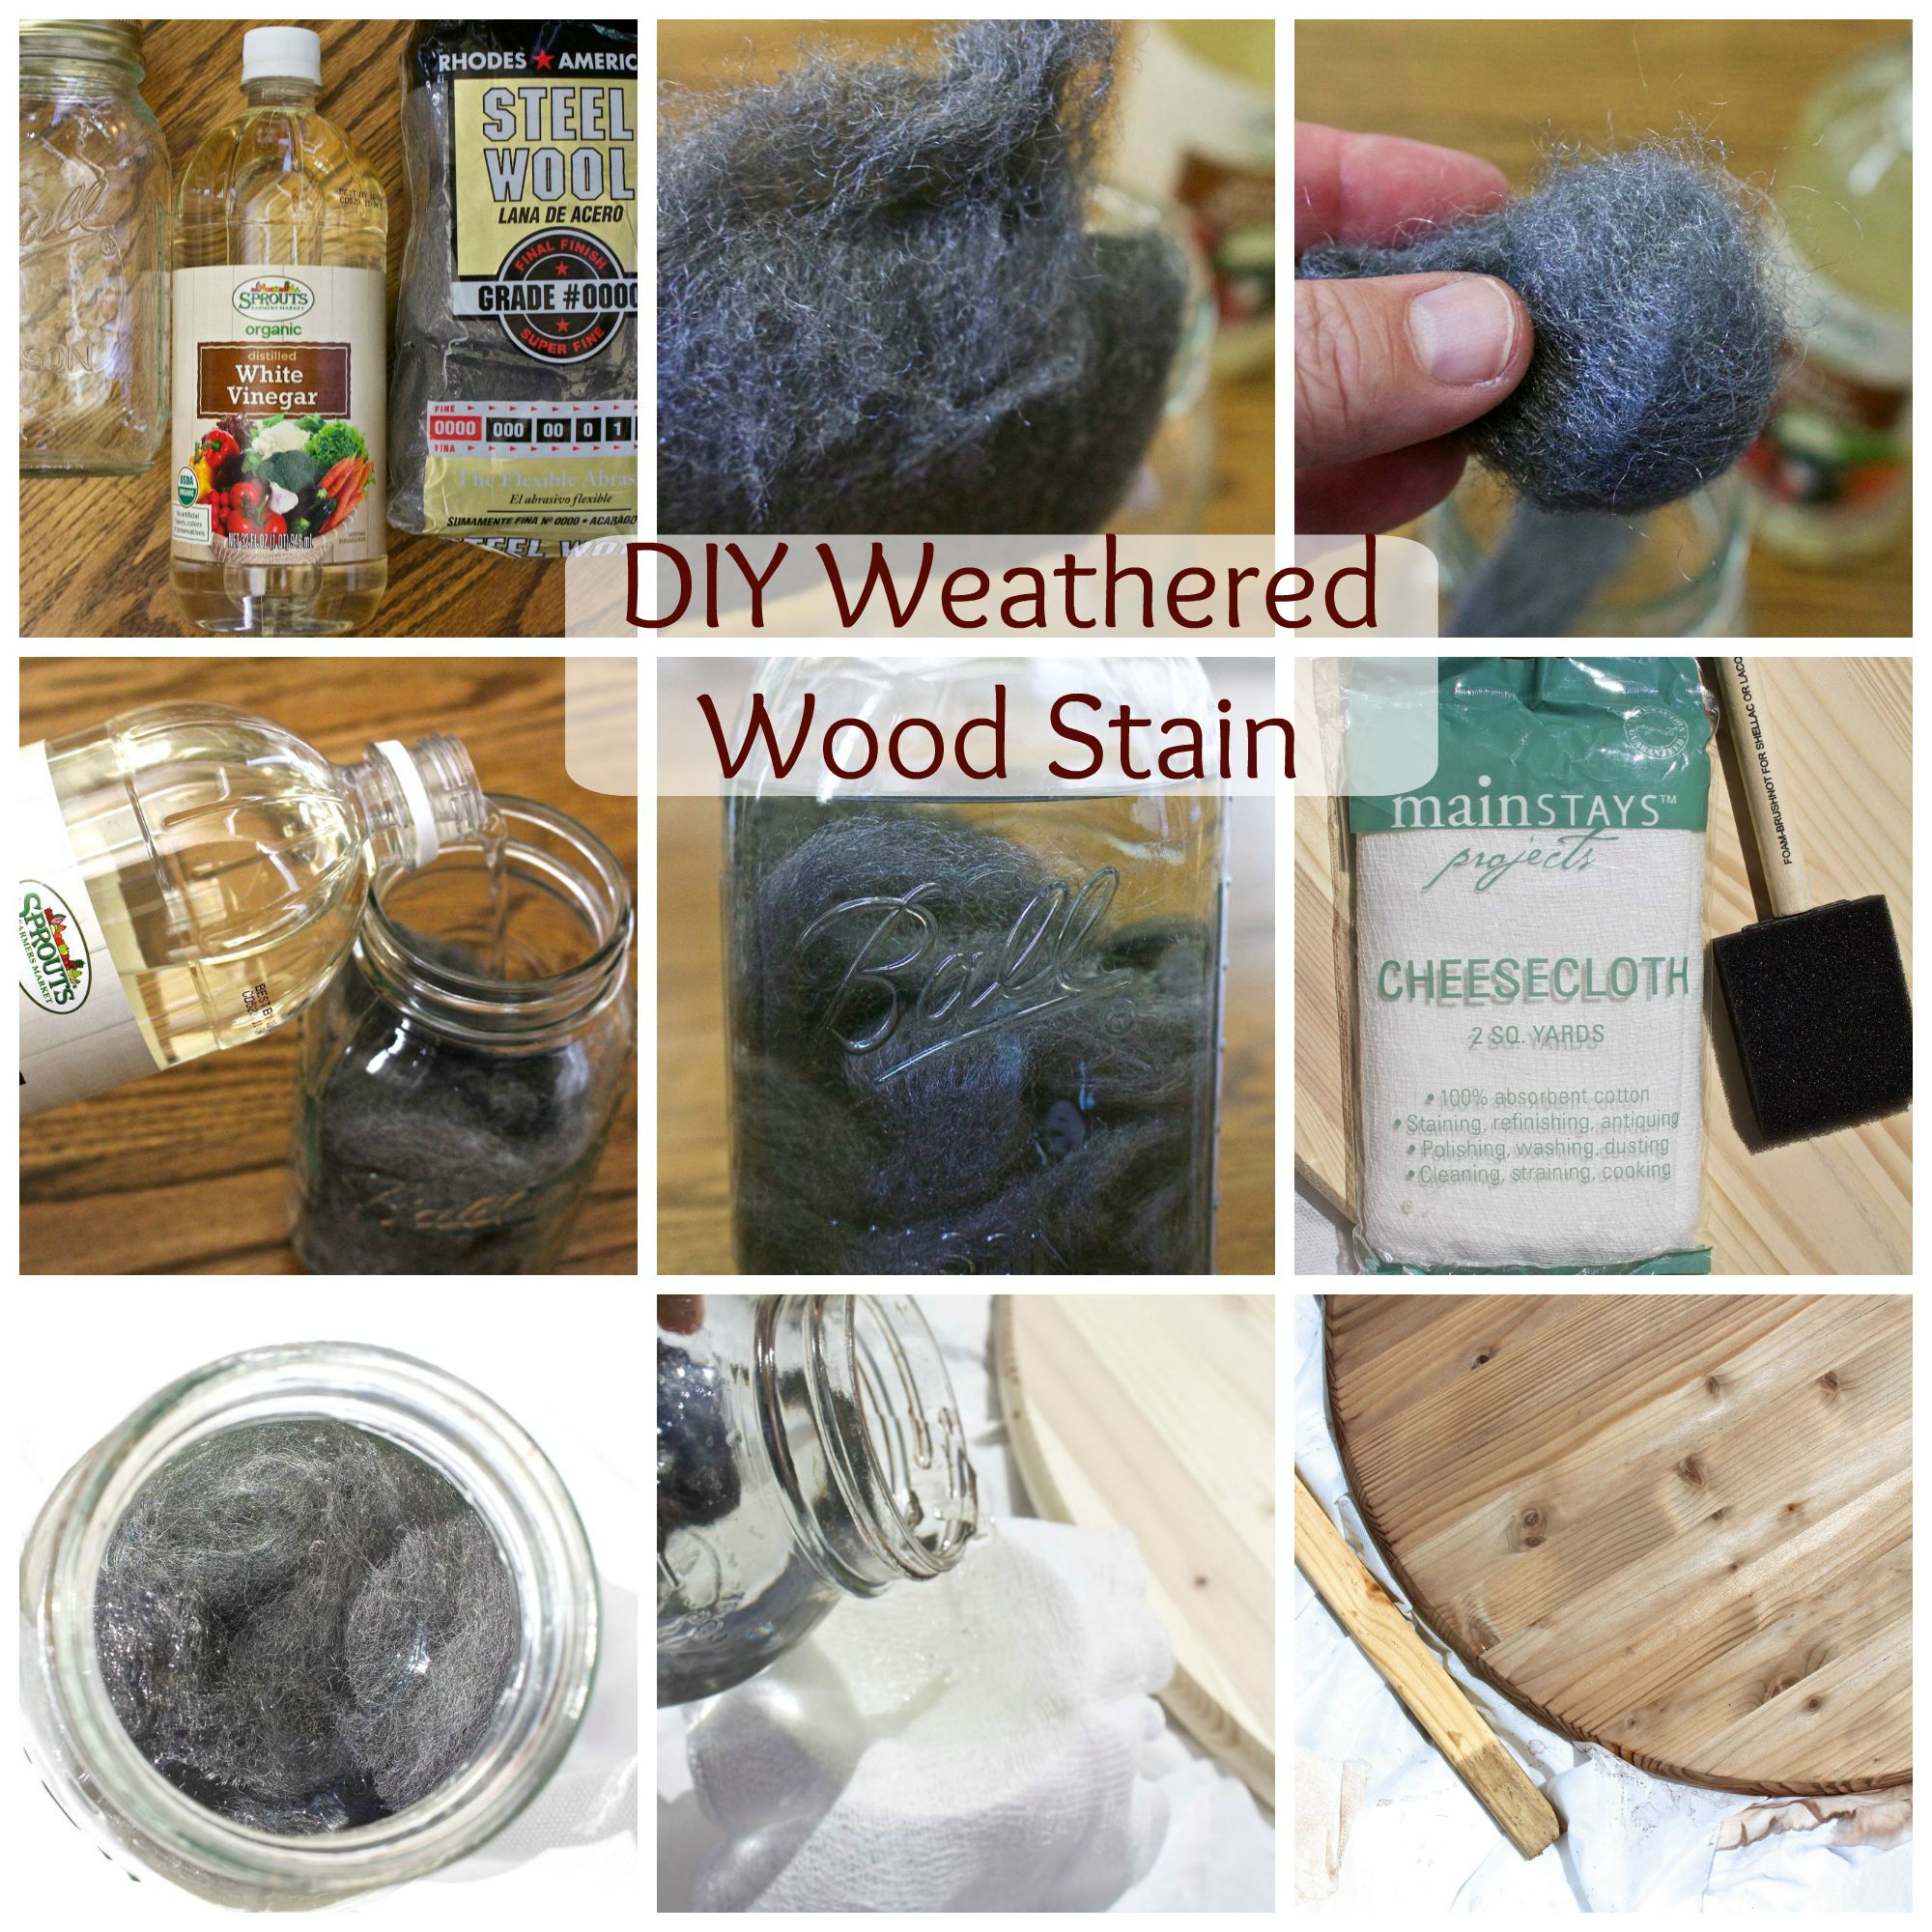
- You need a Mason jar, vinegar and steel wool. I prefer the #0000 grade of steel wool as it makes a cleaner stain with hardly any debris.
- Take one piece of steel wool and pull it apart into smaller pieces and place in the jar.
- Pour vinegar on top of the steel wool until it just covers the wool. Tighten the lid.
- Let this mixture sit for at least 24 hours. My mixture sat for 4 days.
- When you are ready to use the stain, strain some of the mixture in a cup – pouring over a pice of cheesecloth. The cloth will pick up any bits of debris so that the bits don’t ruin your project.
- Using a foam brush, apply to your sanded wood piece. Raw wood works best, but we have had success adding it to light wood.
I did a test on a wooden stake to be sure the vinegar had cured enough to stain the wood.
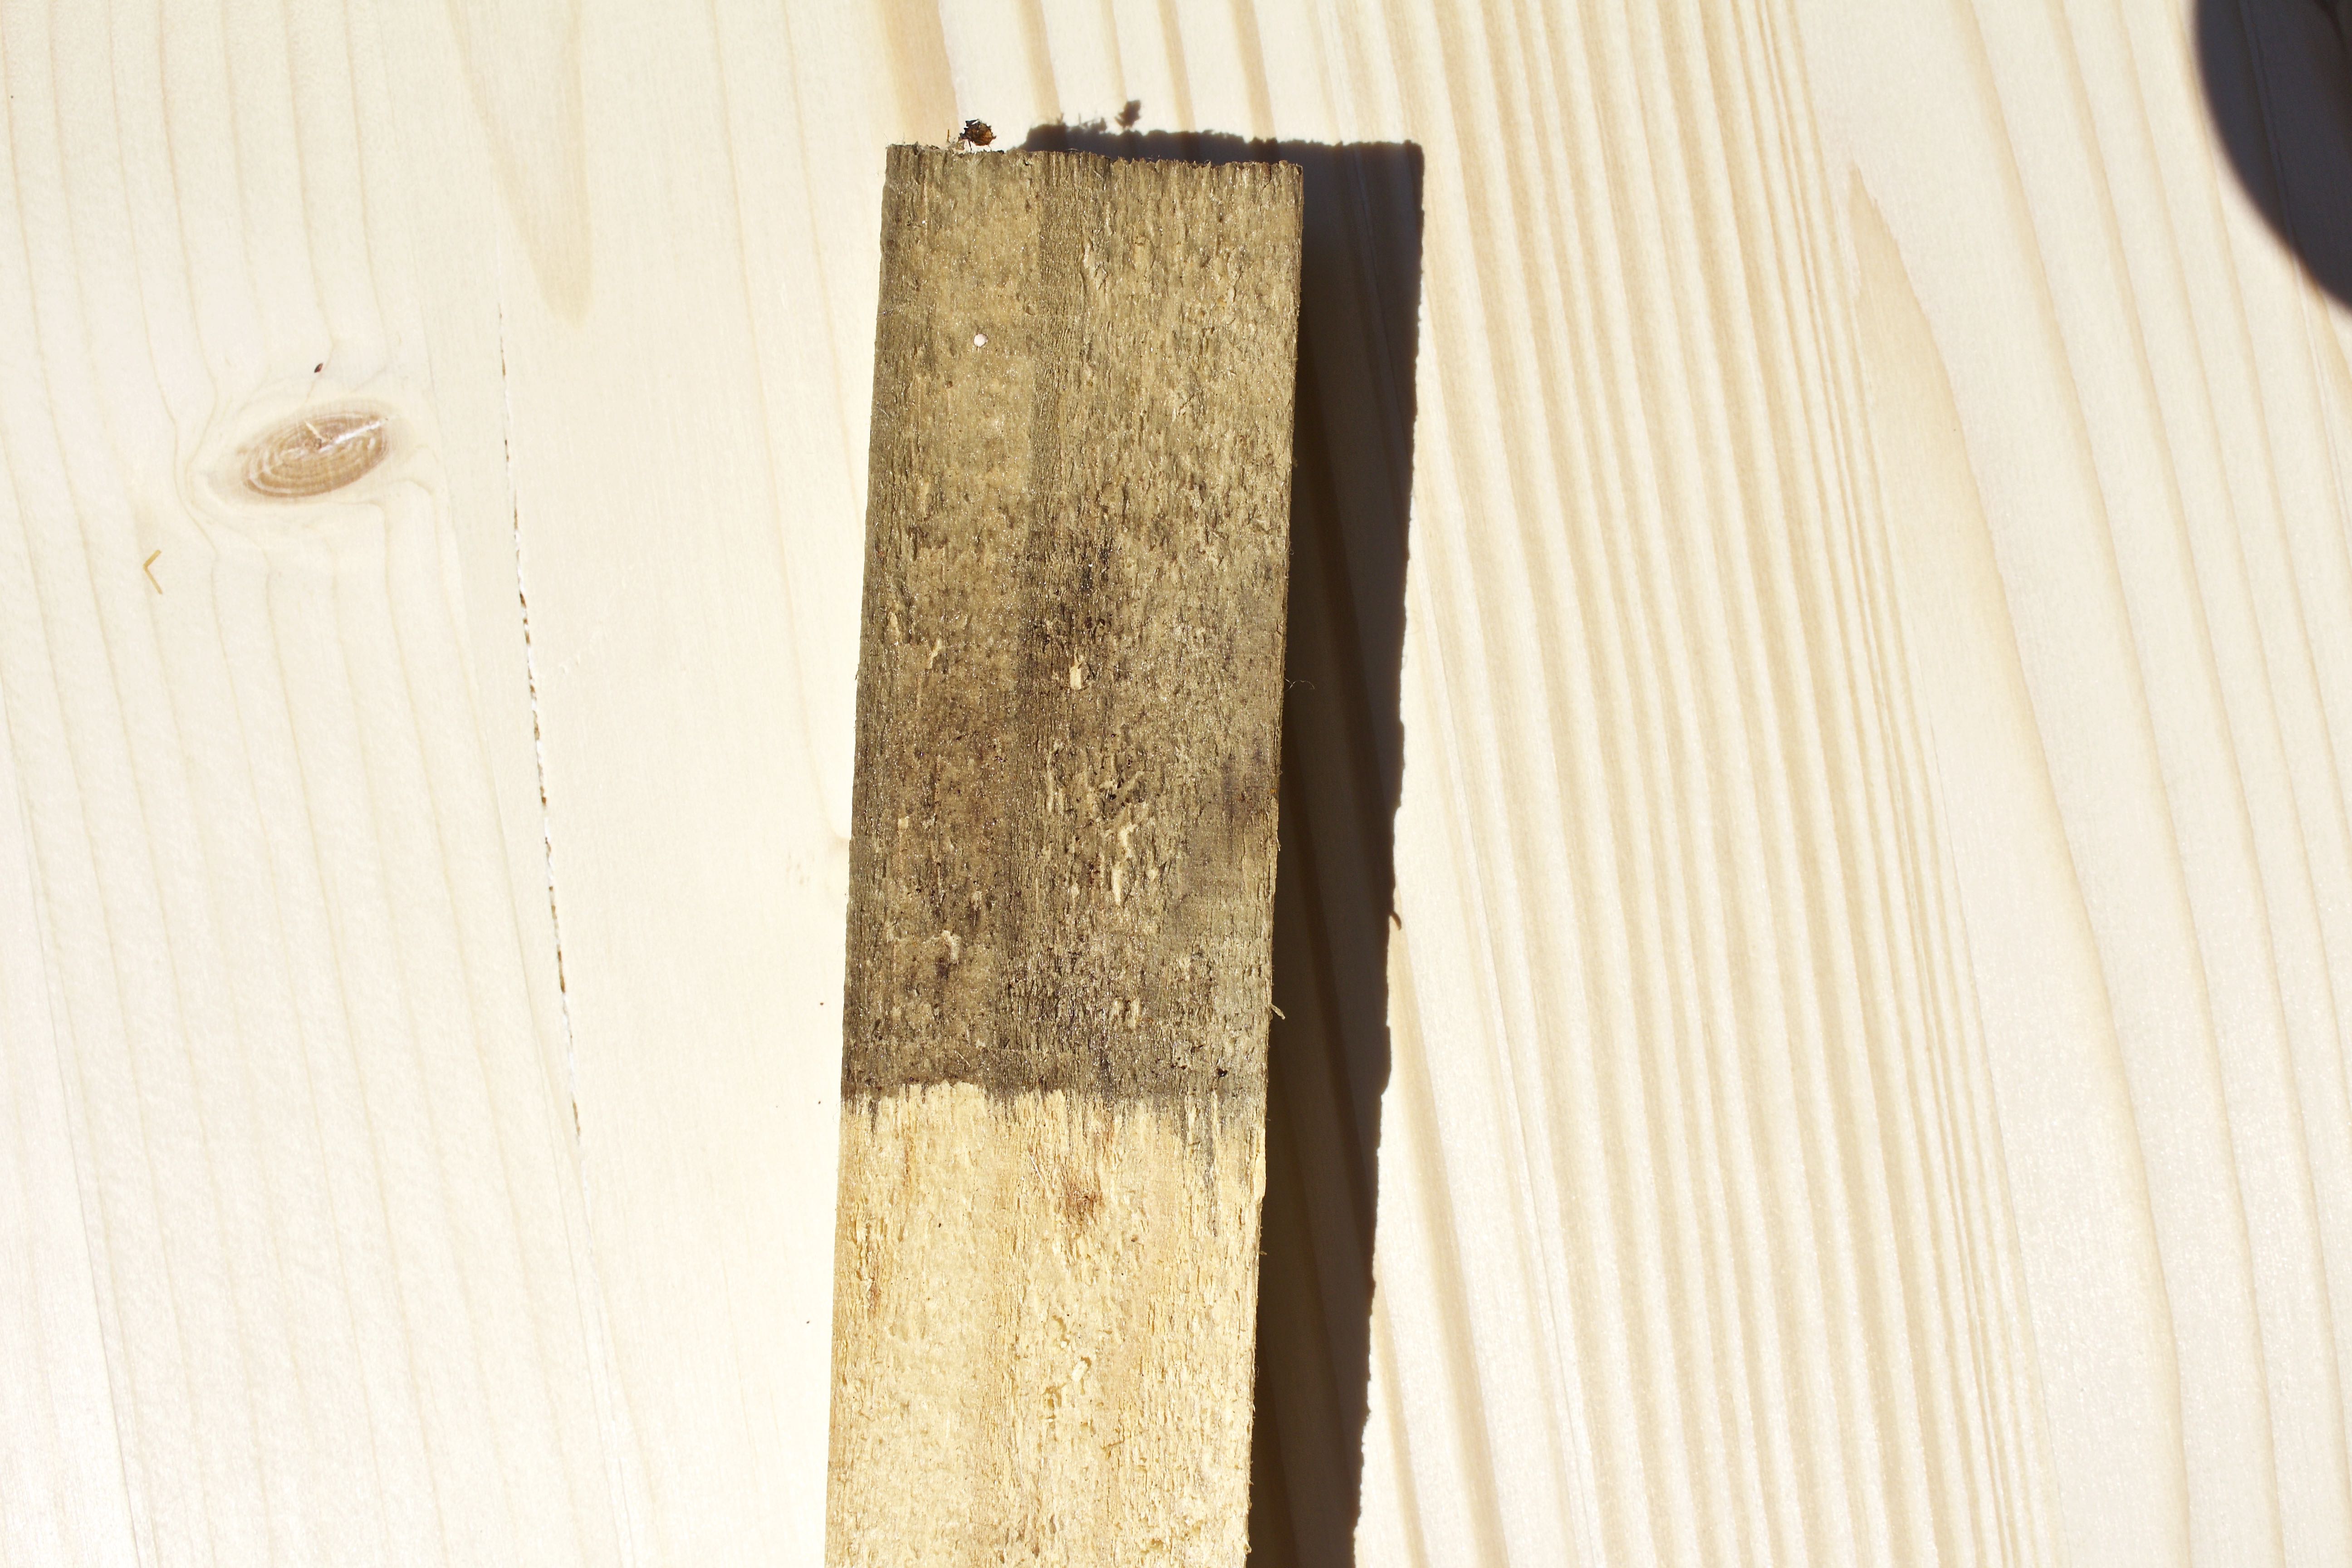
Isn’t the transformation fantastic? It’s like a science fair project…I love it and the results. This is what it looked like after just two coats and drying in the sunshine…
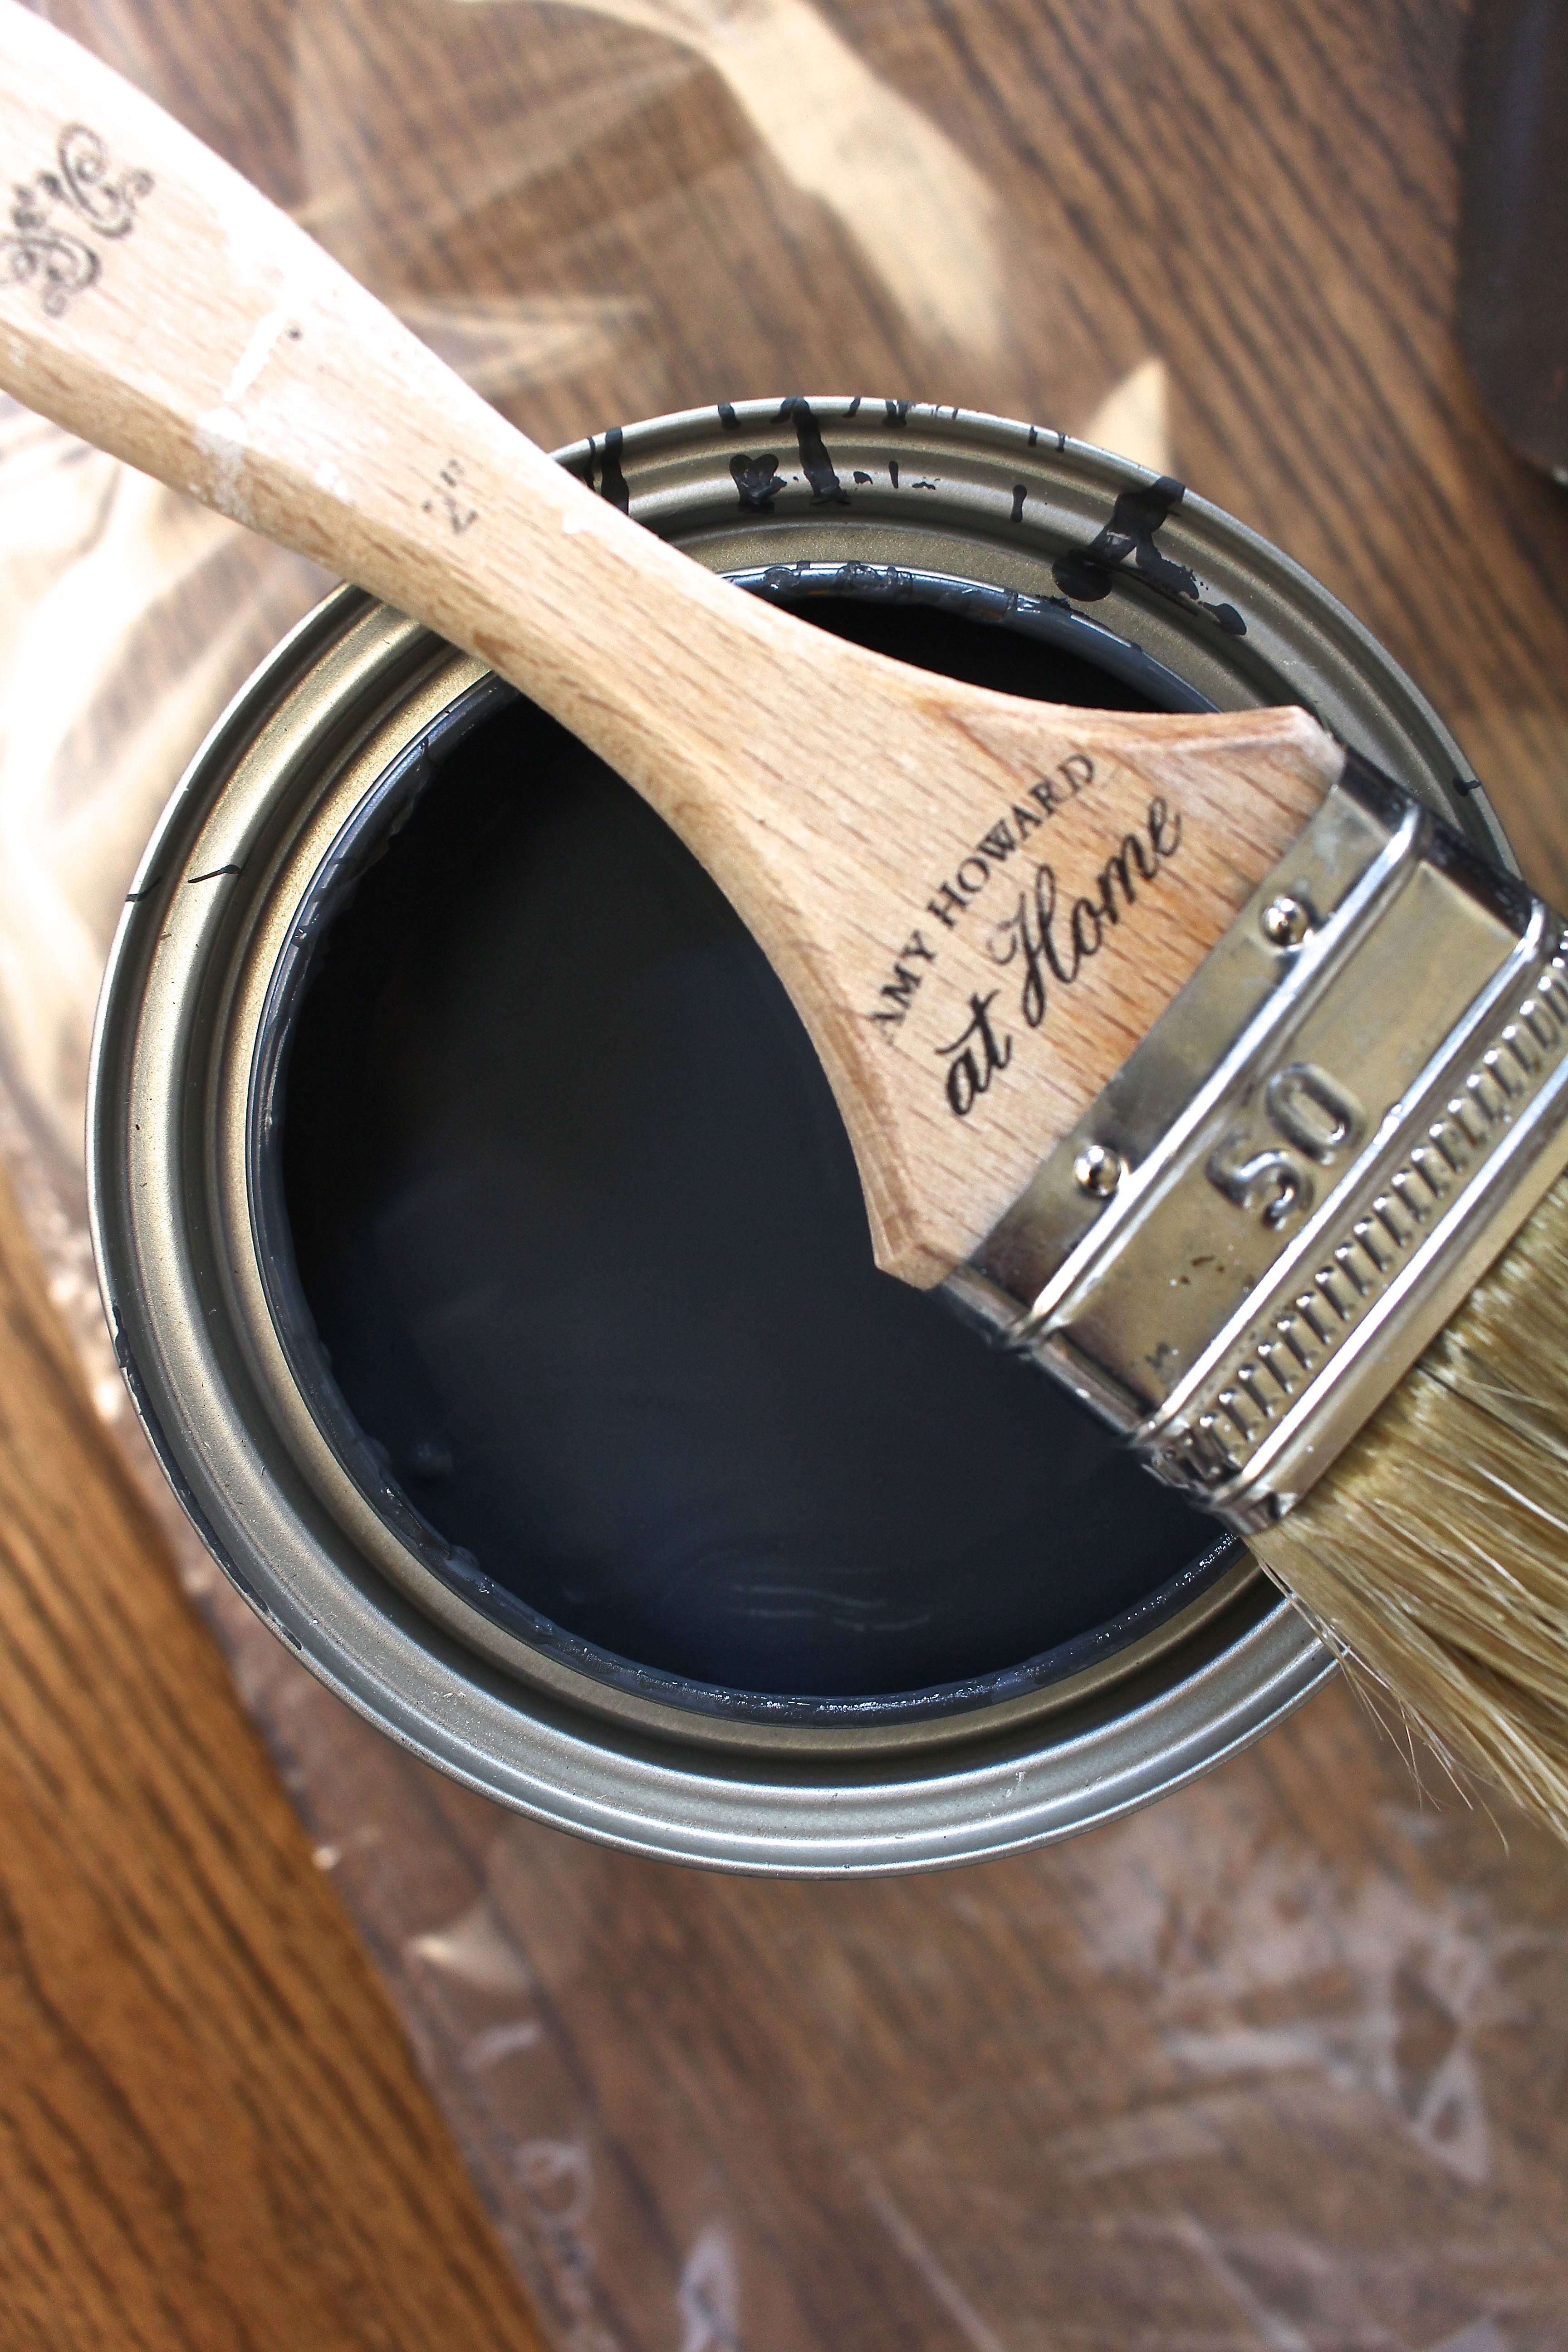
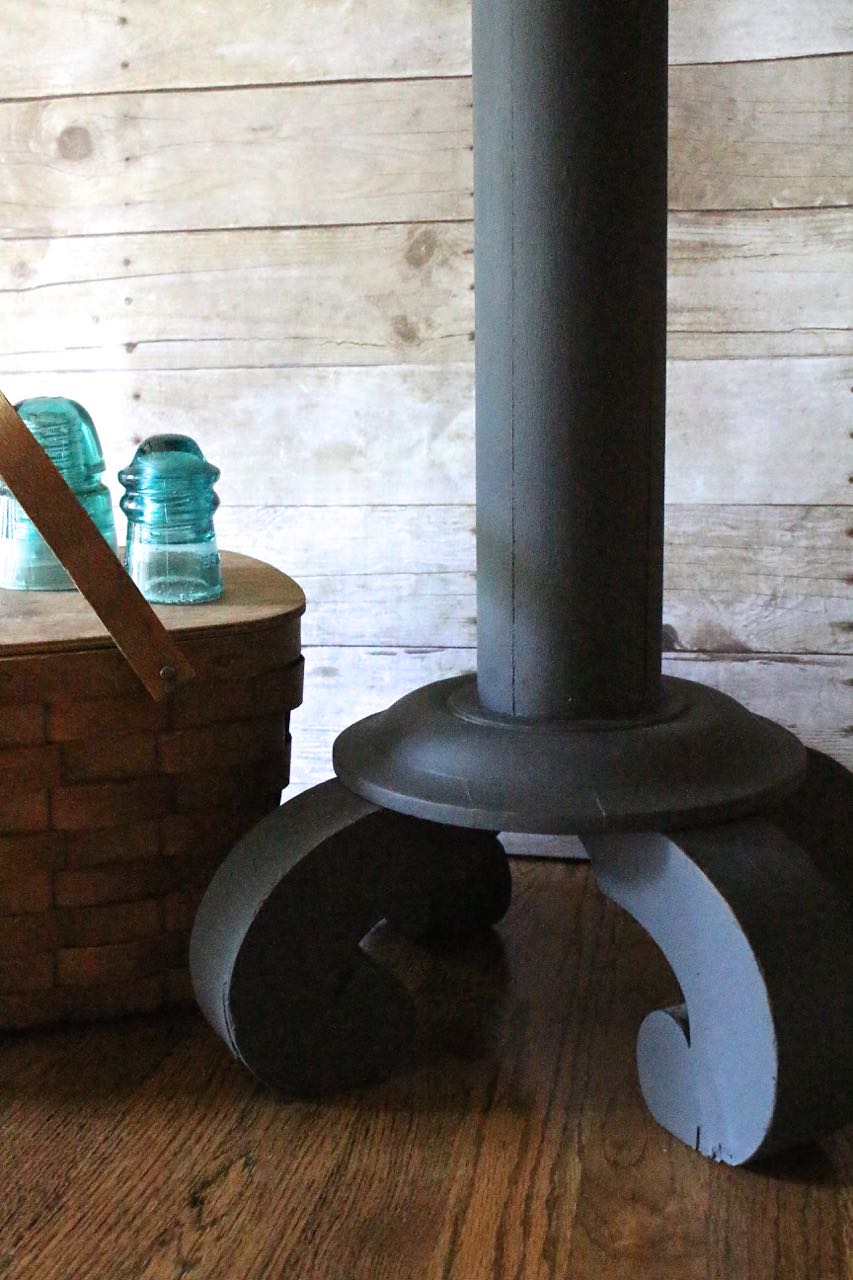
I decided to paint the table base in Graphite, Annie Sloan Chalk Paint. I wanted a bit of the original wood to show through and only needed one coat of paint.

The pretty table legs were missing some veneer too. By applying paint, it covered up the imperfections.
To attach the new top to the old top I used Gorilla Glue. It worked great…when the glue starts to dry it expands and really has a durable hold.
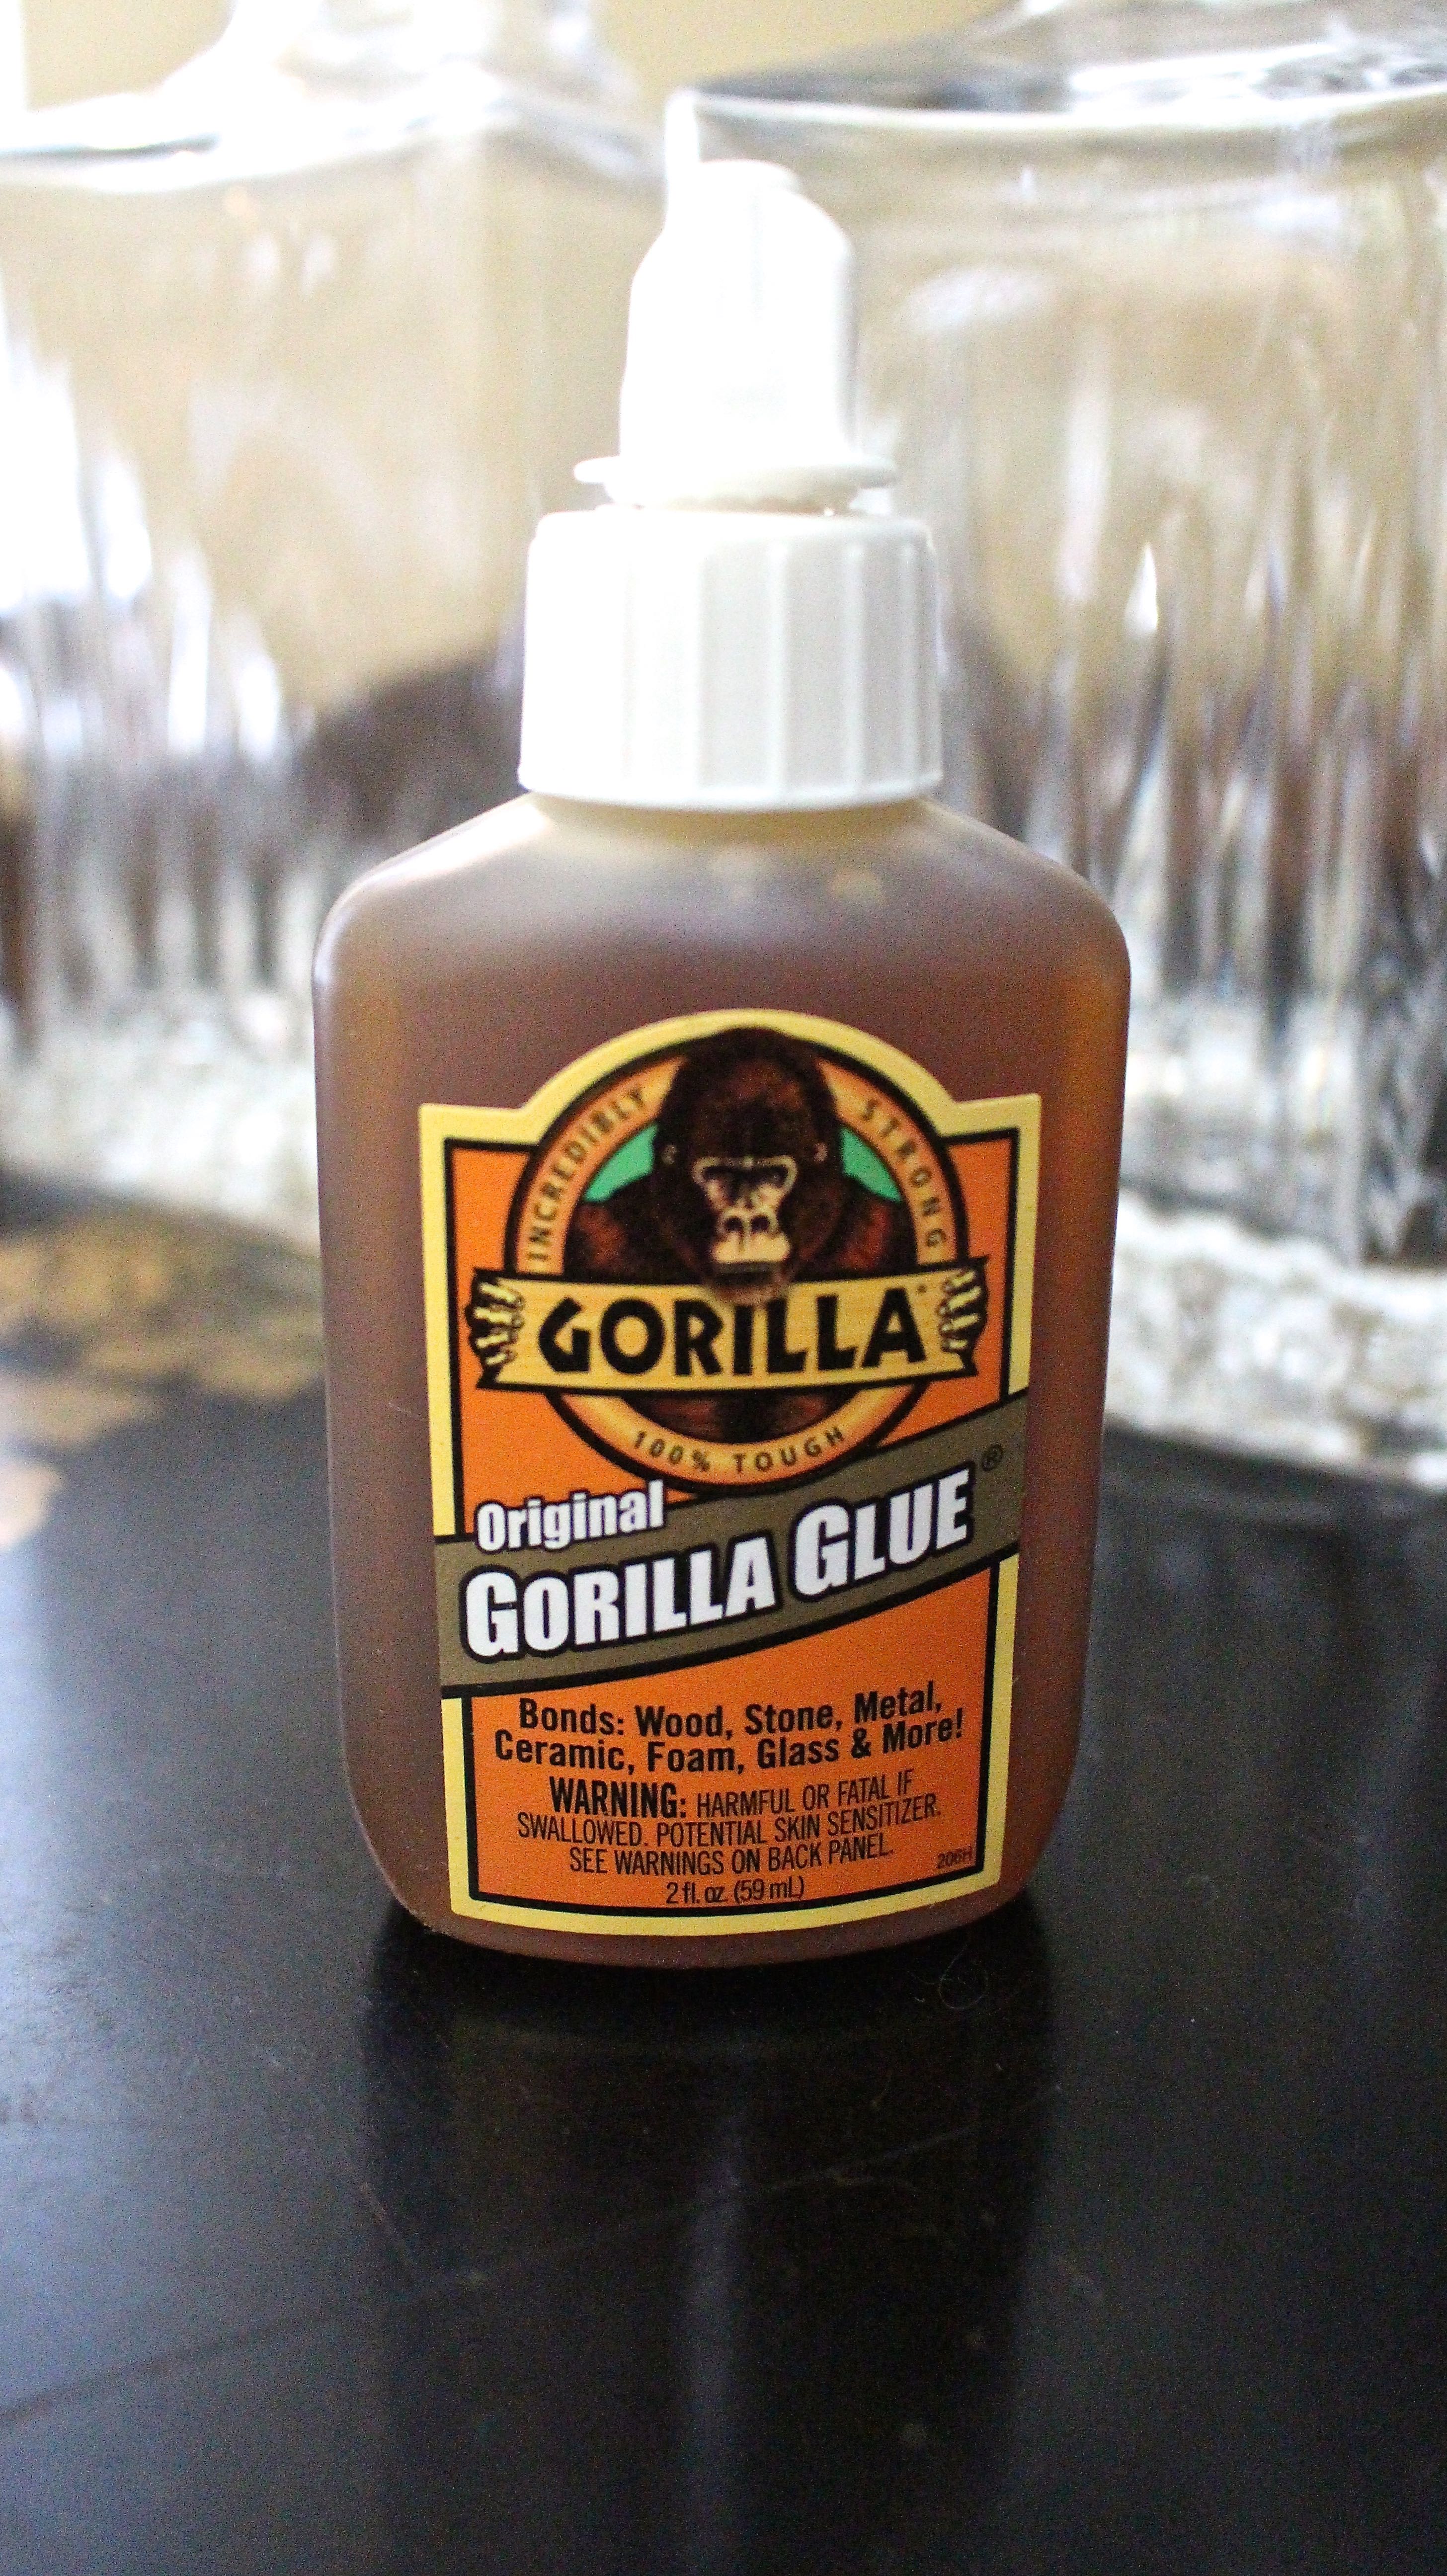
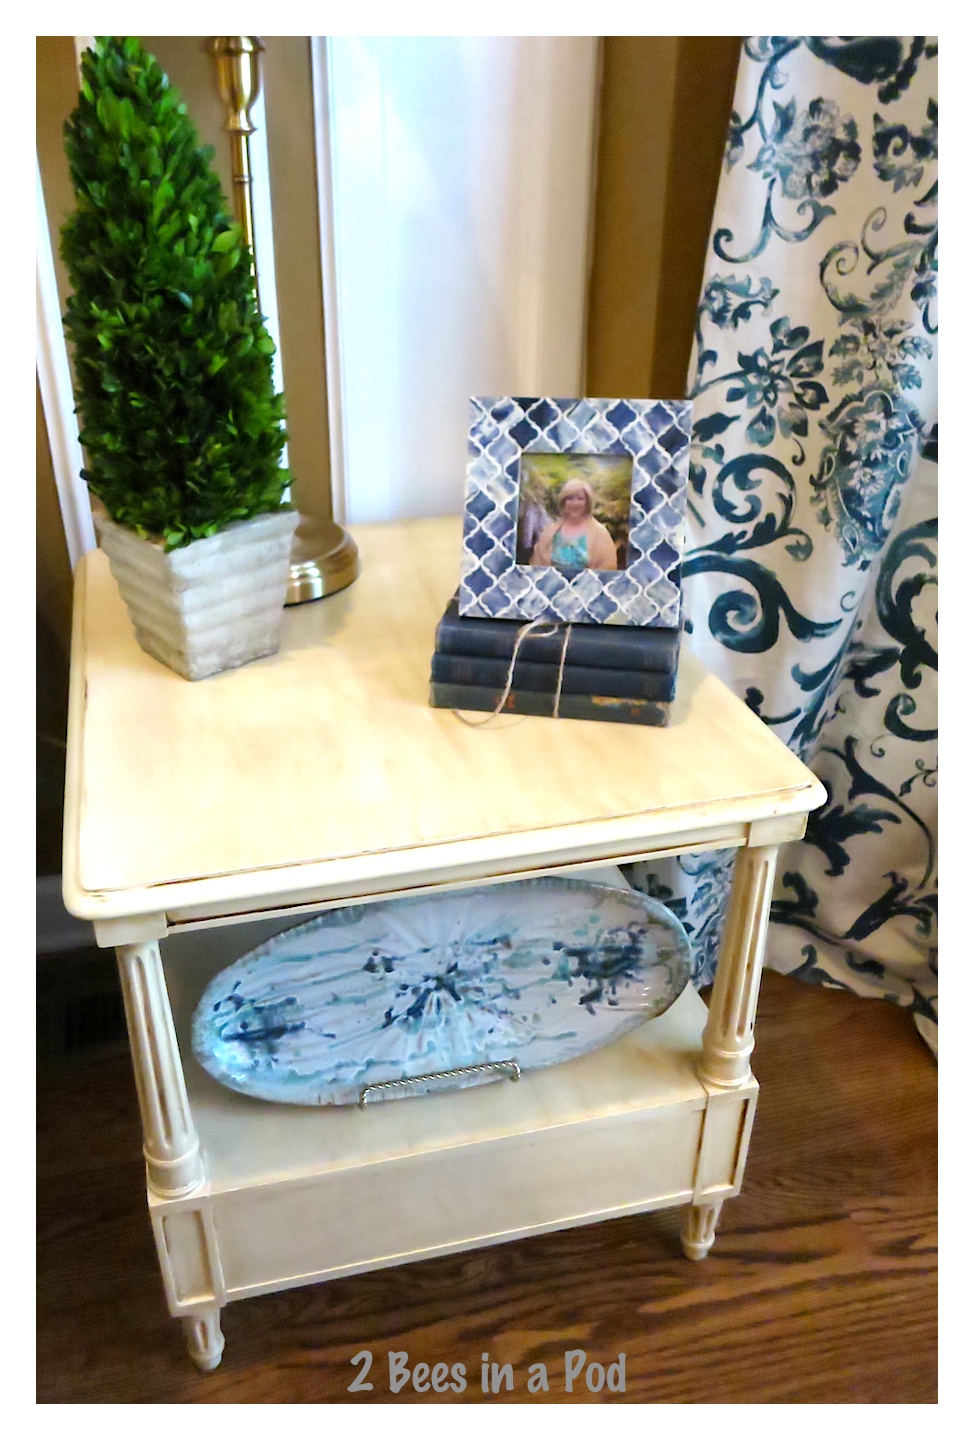
I wanted to be sure I had the top aligned properly. I turned the table upside down and after measuring the edge I marked it with a pencil. I added the glue and used books to weigh it down for great adhesion.

I love how it turned out!
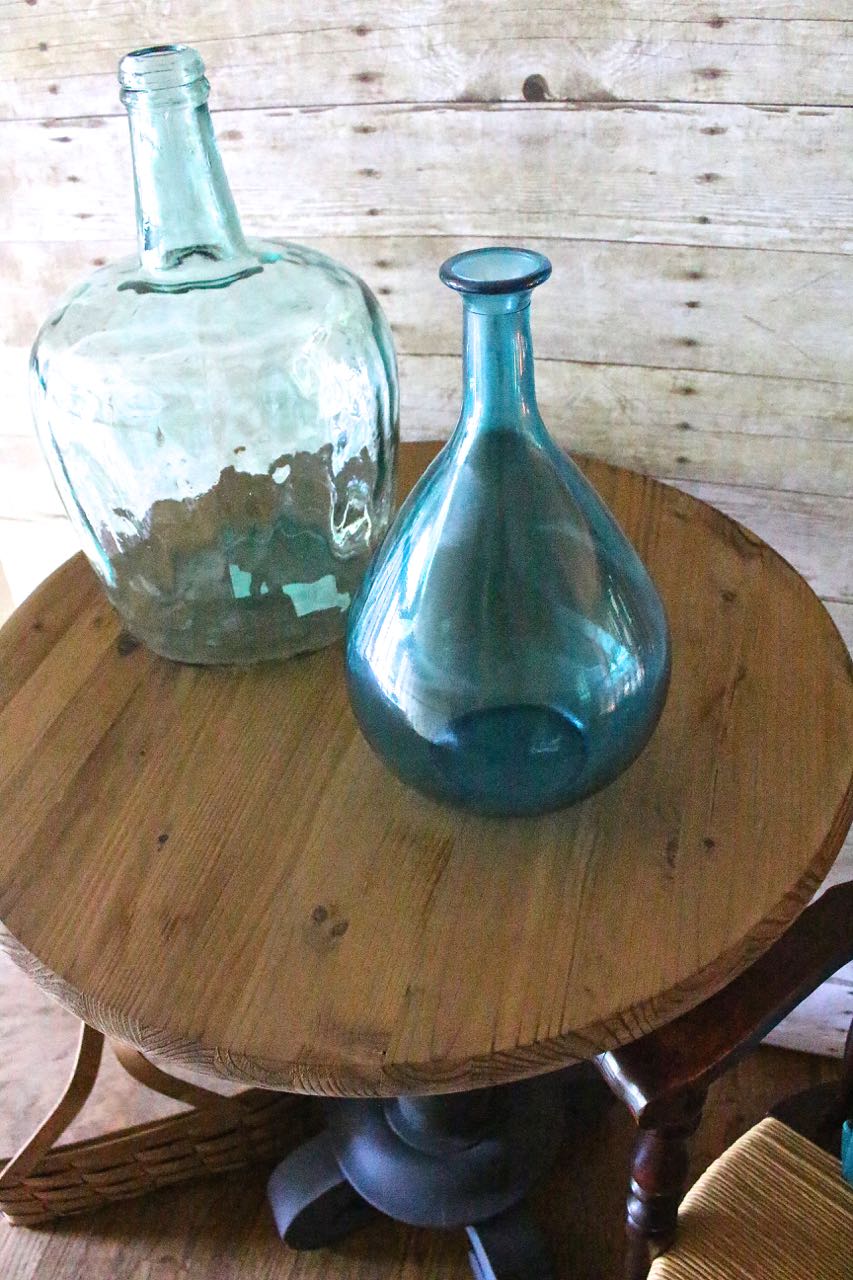
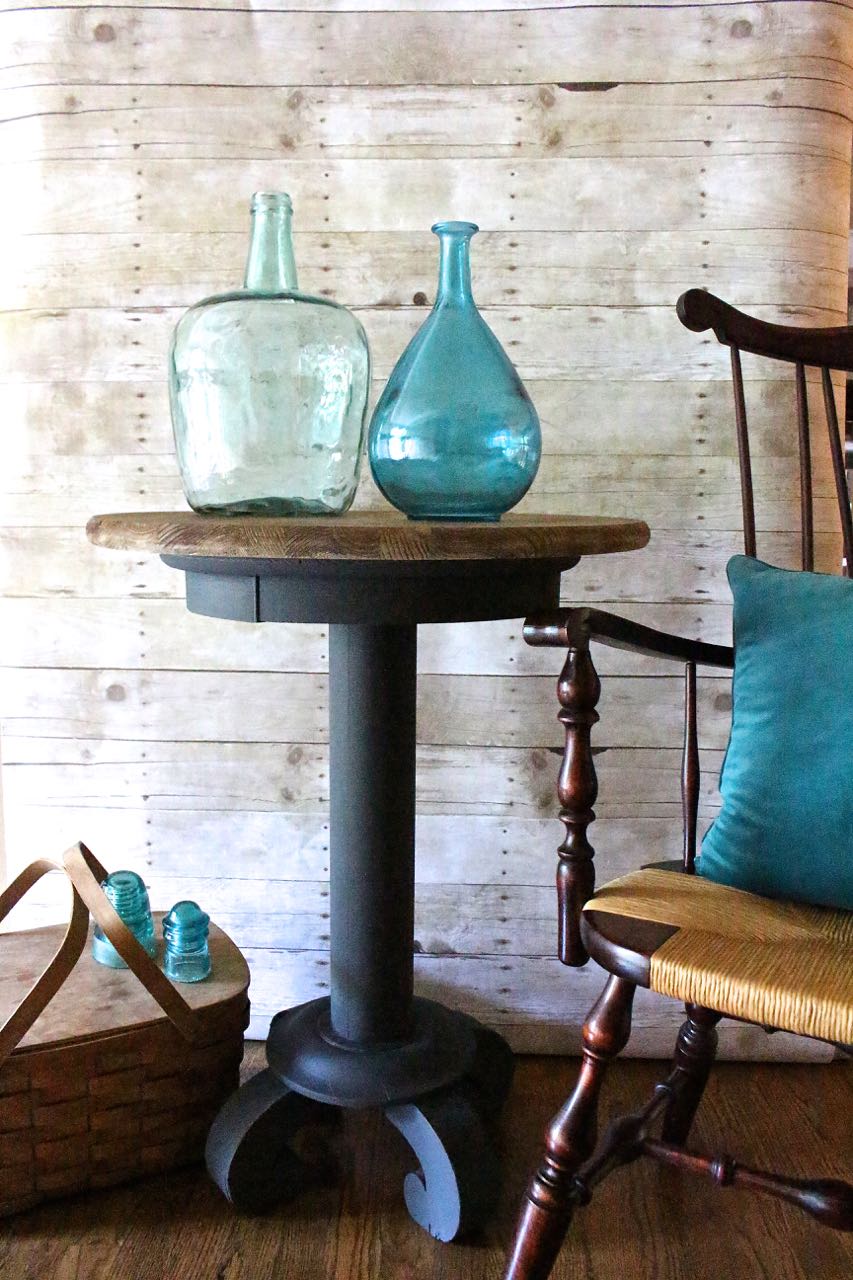
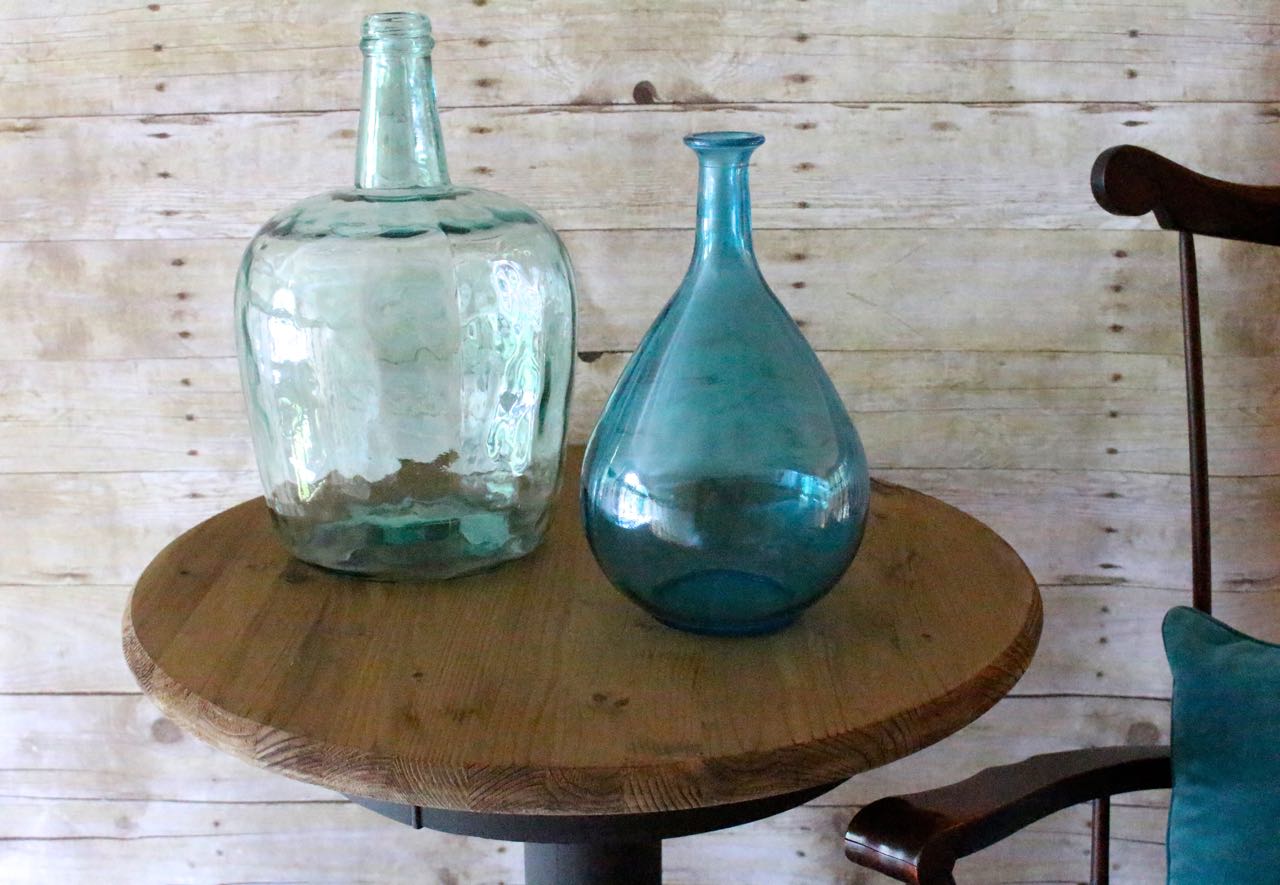
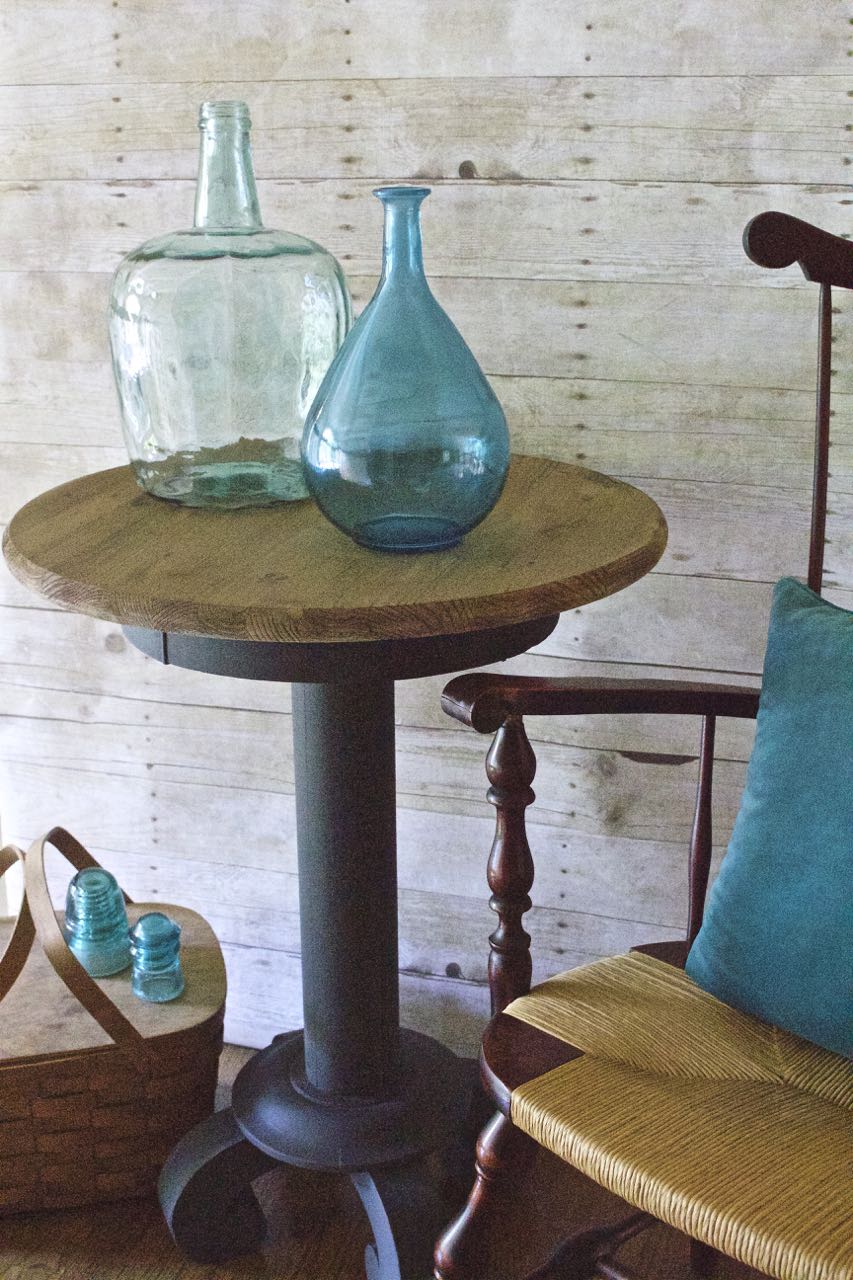

This project cost me a grand total of $13!!!
- Estate sale table $10.00
- Thrifted cutting board $ 3.00
- Vinegar and steel wool – already had on hand
I truly do love this table and dare I say pretty proud of myself with the makeover. I have enough stain leftover for another project. I’m searching the house now to see what I can transform next.
Until tomorrow,


Great makeover ladies! I can’t believe you found that top for $3! It’s totally perfect. Love the graphite stained wood combo. Very industrial chic and right up my alley. Hugs, Coco
Love the finished table!! What a perfect pairing with the new “old” top! You’ve got some mad furniture skillz! Hugs!
Absolutely stunning! Thanks for sharing.
You always amaze me with your creativity and talent!
The table looks fantastic! I can’t believe you found that “cutting board” for $3! It’s huge! Great makeover!😊
Love a good MacGyver project, and this vintage industrial look is a great transformation. Estate sale find meets thrift shop score and it’s a match! Well done Vicki 🙂 Bwg ~~~
Love the table!! Love the stain you made, it looks fantastic with the paint color!
What???!!! A cutting board?!!!!
Y’all are too talanted! This is gorgeous.
Beautiful and what a great find on the table top. Great re love.
Kris
That was a great couple of finds. I’ve never tried the steel wool stain but have always wanted to. I’m not a huge fan of using stain because normally when I do it looks like I stained the wood. That makes no sense, but it just doesn’t look natural. What you did gives your wood such a pretty finish.
LOVE IT! I haven’t paired Graphite with stained wood yet, but I will be because it’s amazing! Have a great weekend, ladies!!
Wow! Fabulous!
Vicki, omg this table turned out so beautiful. I can’t believe you found a cutting board to fit it perfectly and the color is fabulous. What a beautiful transformation. xo Lisa
Love it! Thanks for sharing at #inspirationmonday
Debbie
The table looks great Vicki! I’ve used that vinegar mixture to age wood before but I found that the oxidation kept rubbing off. The wood keeps its color, but rubs off on everything that touches it. Did you have this?
That cute little table was in rough shape! It looks gorgeous now, and I’m definitely pinning your wood stain recipe. I love it when you walk into a thrift store and they have just the thing you need for a project. The new top couldn’t have fit any more perfectly.
What a darling table! The pairing of the stain with the black is such a lovely combination. Thank you for linking up with Friday’s Furniture Fix last week! I hope you’ll do it again soon!- Carrie
http://www.thirtyeighthstreet.blogspot.com/2015/09/week-6-fridays-furniture-fix.html
I love this cute table, ladies! And I love that stain, I’ve made something similar and I love how it looks!! I’m featuring this cutie Sunday night at The Creative Corner! 🙂
This is stunning!! Love it.
Love this finished project! Amazing transformation! Thanks for sharing!