Painted Picture Frame Wreath – Thrift Store Upcycle
Please note that this post contains affiliate links. As an Amazon Associate, Rewards Style influencer and Jane Influencer, we earn from qualifying purchases and any sales made through such links will reward us a small commission – at no extra cost for you.
We are so excited to be back with our monthly installment for the Thrift Store Upcycle Challenge series! Even more exciting is that we created this painted picture frame wreath for the front door. But wait…we are getting ahead of ourselves.
If you are a regular follower…thank you! If you are a new visitor, we are so glad that you are here. This series is where we take a thrift store item and upcycle it into a new decor item. Here’s how it works…

The Rules:
- Upcycle an item(s) from a thrift store, resale store, or garage sale into a new piece of decor.
- There’s no monthly theme.
- There’s no budget to stick to.
Meet the Hosts
Amanda | The Kolb Corner Maureen | Red Cottage Chronicles Kim | Made in a Day
Dru | Polka Dot Poplars Erlene | My Pinterventures Colleen | Life on Kaydeross Creek Pili | Sweet Things
Shirley | Intelligent Domestications Debra | Shoppe No. 5 Marie | DIY Adulation
Chelsea | The Johnsons Plus Dog Jes | My DIY Envy Lindsay | Crazy Organized
Molly | Just a Little Creativity Ashley | 3 Little Greenwoods Kimm | Reinvented Michelle | Our Crafty Mom
Jeannee | Shepherds and Chardonnay Sue | A Purdy Little House Sara | Twelve on Main
Claire | Pillar Box Blue Chelc | Inside the Fox Den Kim | Farmhouse Made Victoria | Dazzle While Frazzled
Sherry | Savvy Apron Jennifer and Vicki | 2 Bees in a Pod Lora | Craftivity Designs
Denise | My Thrifty House Toni | Small Home Soul
Make sure you follow our board on Pinterest for more upcycled decor inspiration!
Lets get started!
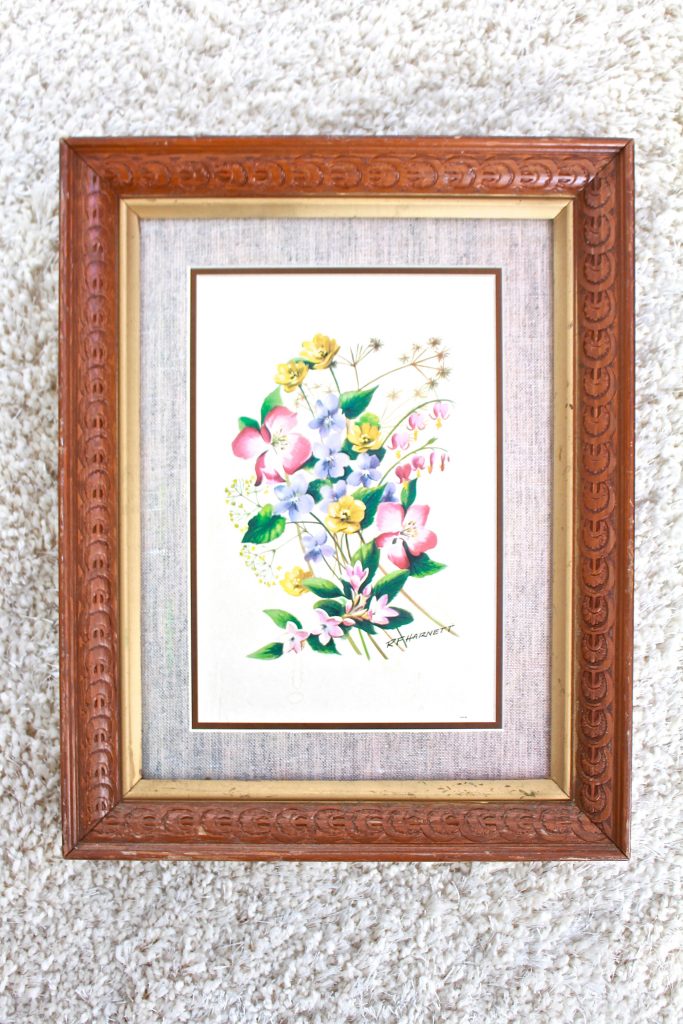
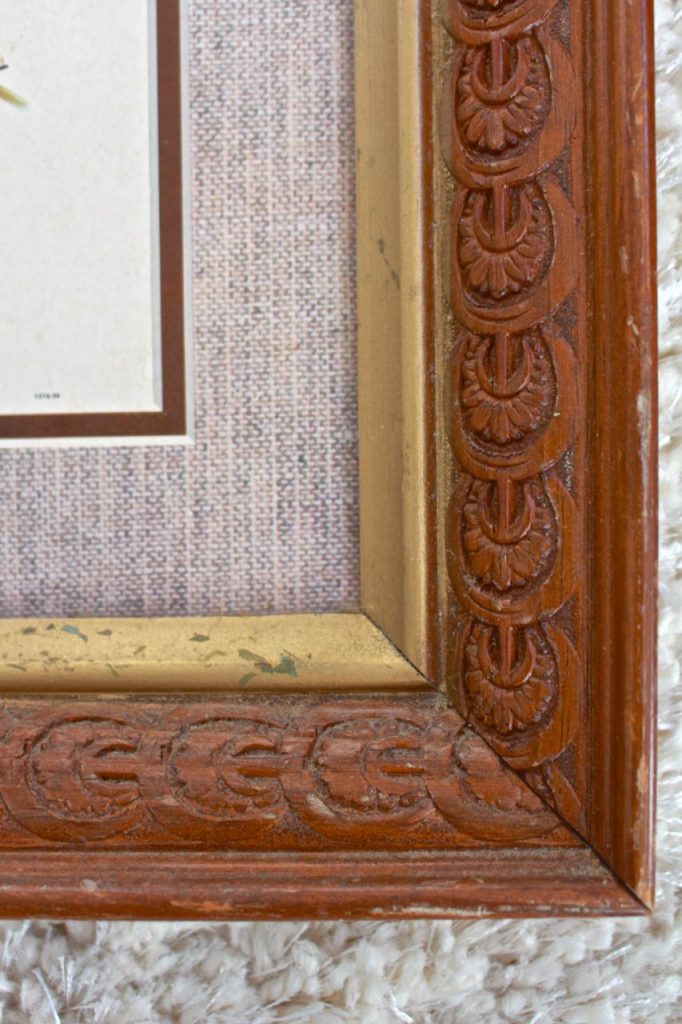
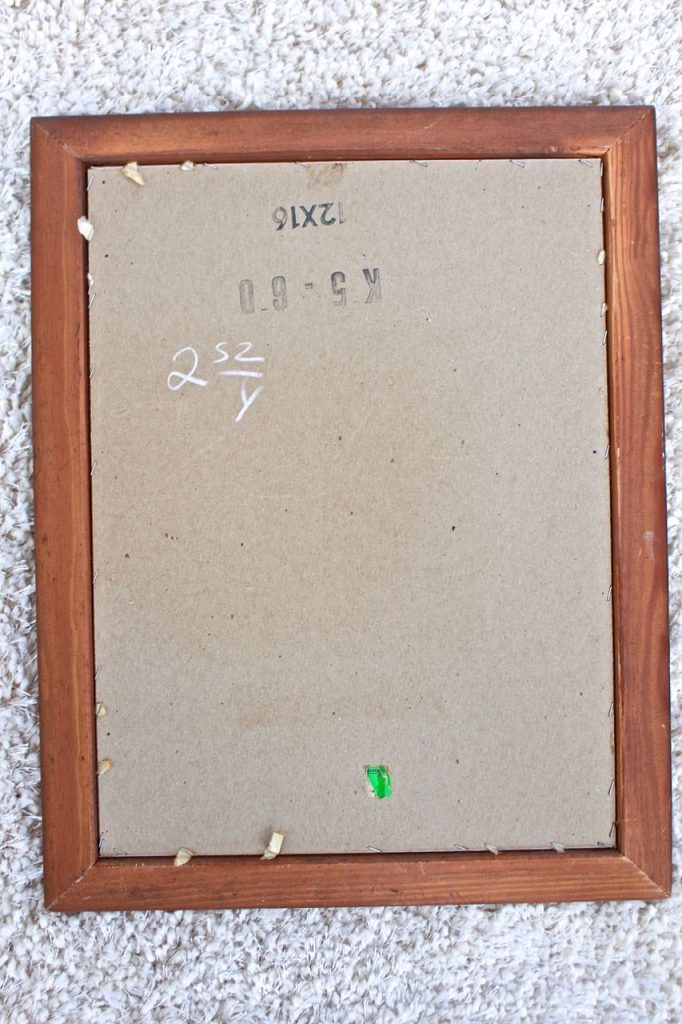
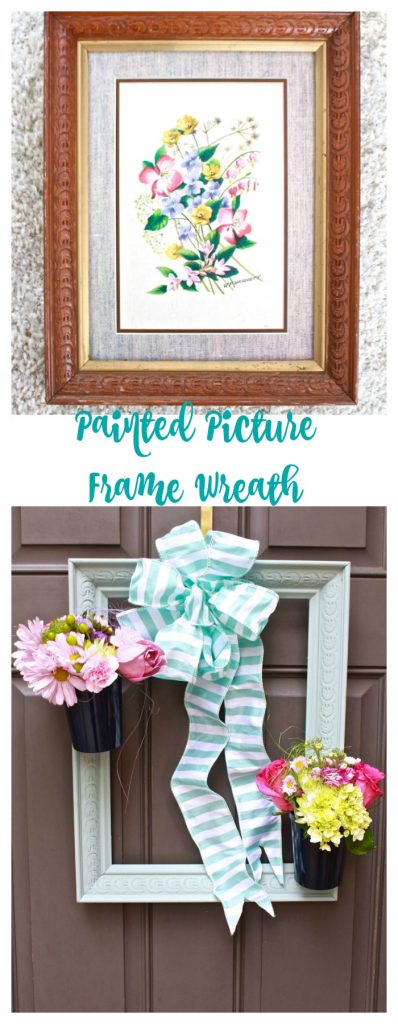
On one of our thrift store visits we spotted this beauty. The frame was a great size – 12×16 but it was definitely a dated style.
Also, the frame was in desperate need of a good cleaning.
The best part? Take a look at the $2.52 price tag. If you remember our thrift store shopping tips always check for the daily color coded 50% discount. On this particular day, yellow or items marked with “y” were the discounted items. Therefore, our frame was only $1.26!! As with most of our thrift store purchases, in the moment we weren’t sure of what this was going to be reimagined as 🙂
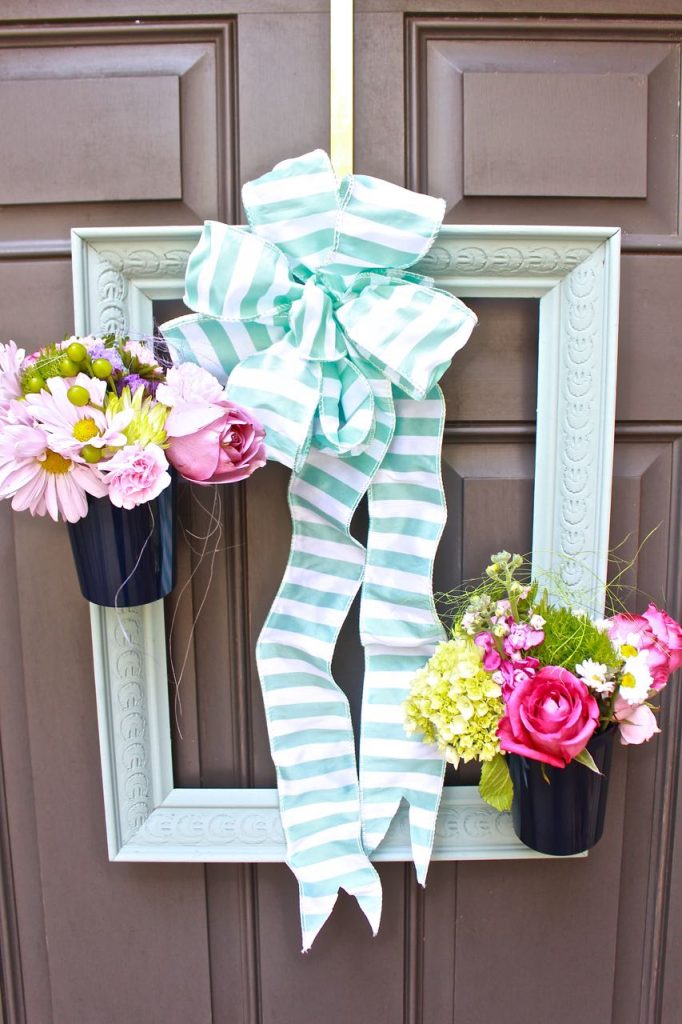
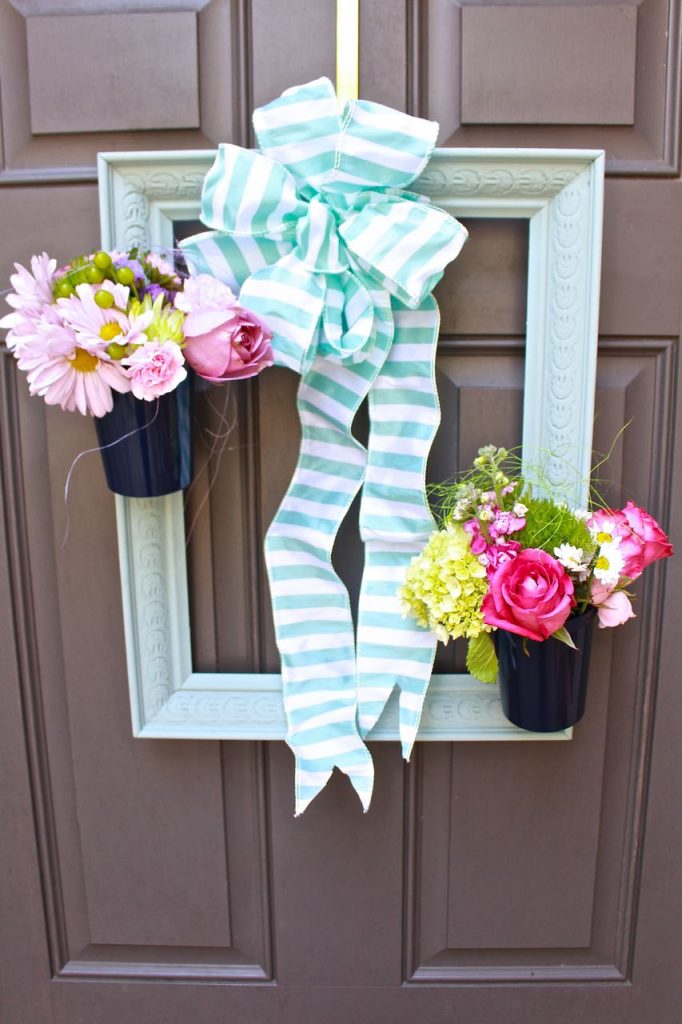
Luckily inspiration struck soon after this was purchased. We decided to create a painted picture frame wreath for the front door.
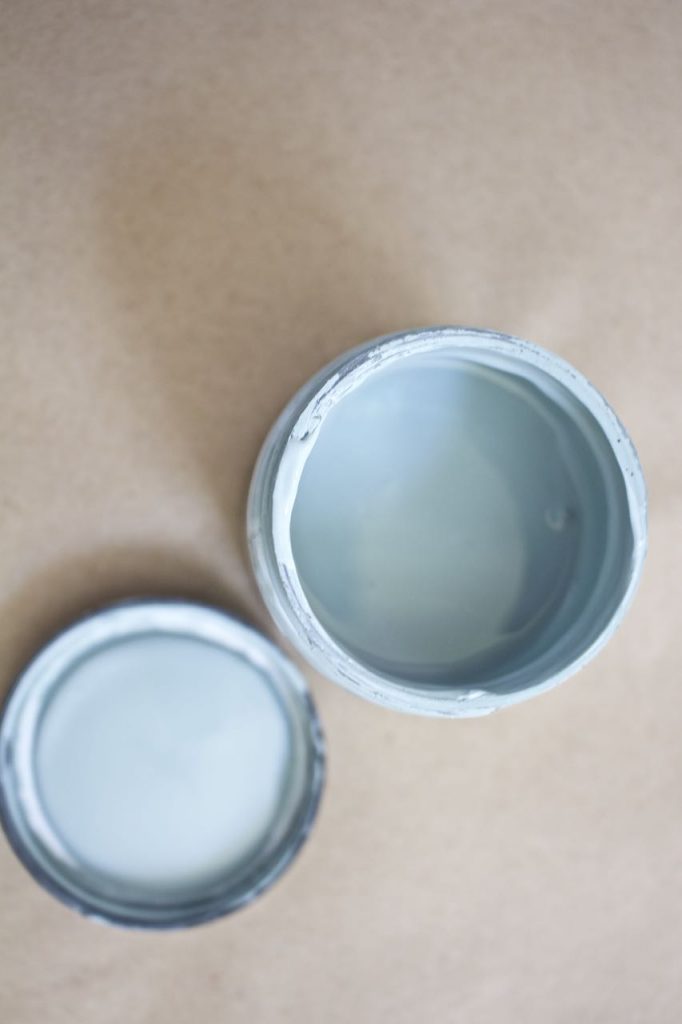
We only wanted to use the frame for our makeover project. The artwork was easily removed. Next, we thoroughly cleaned the frame to free it of any grime or dust. Next, we painted one thick coat of Duck Egg Chalk Paint directly out of the can onto the picture frame.
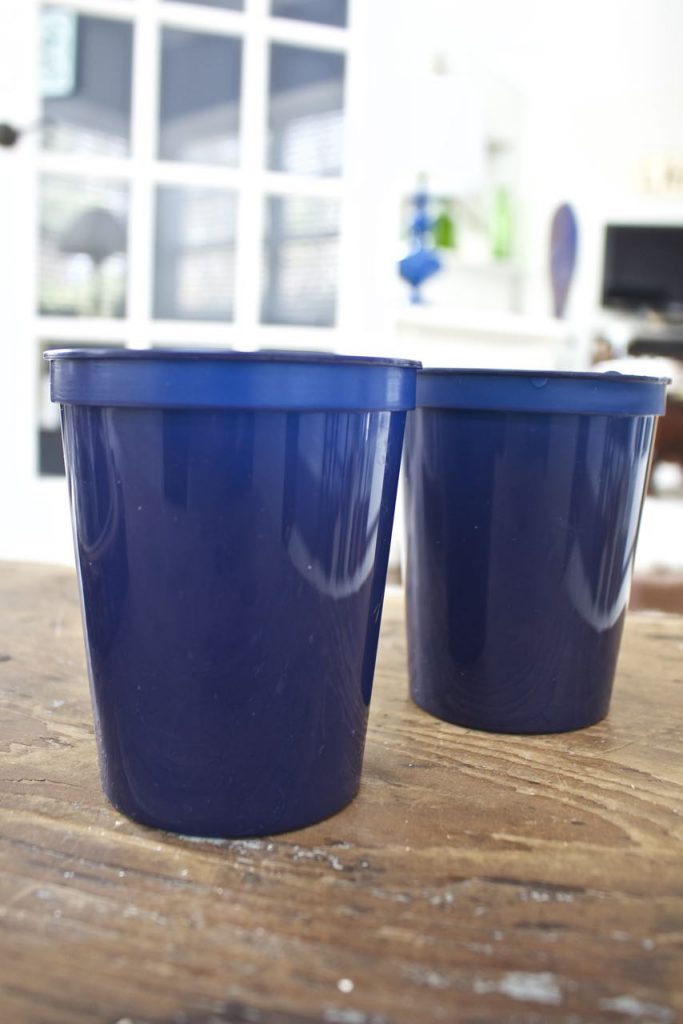
Here’s where we really had to put our thinking caps on. Because we wanted to use fresh floral bouquets on the frame, we knew that the vase or containers needed to be lightweight. Also, we determined that we needed two vases to evenly distribute the weight. Otherwise, the frame would become lopsided on the door.
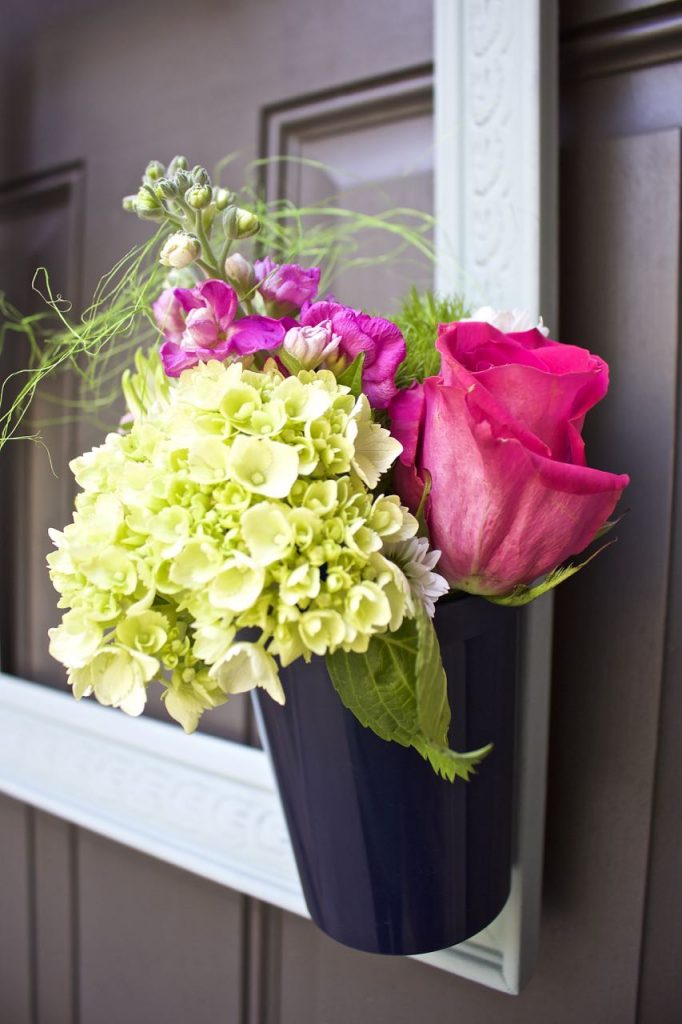
These plastic drinking glasses were just .05 cents each at the thrift store. This was another aha moments. The glasses are very lightweight yet sturdy. They would be the perfect vessel to hold water and flowers.
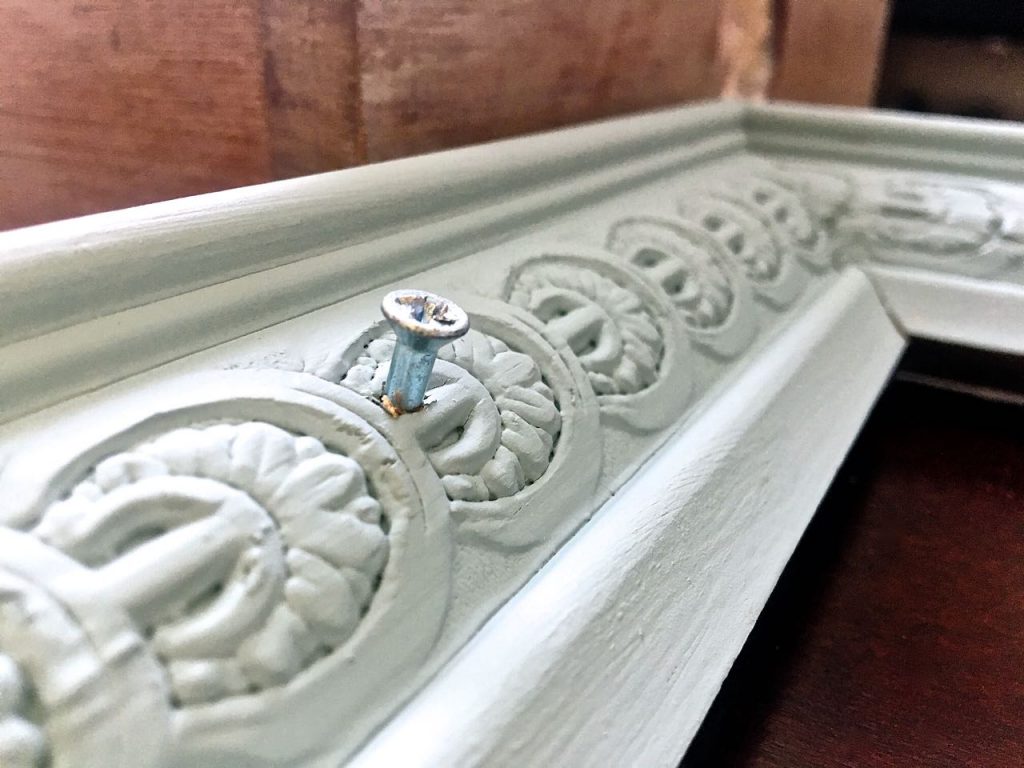
On each of the long sides of the frame we drilled in a screw even measured onto the frame. One was drilled on the left top and the other on the right bottom.
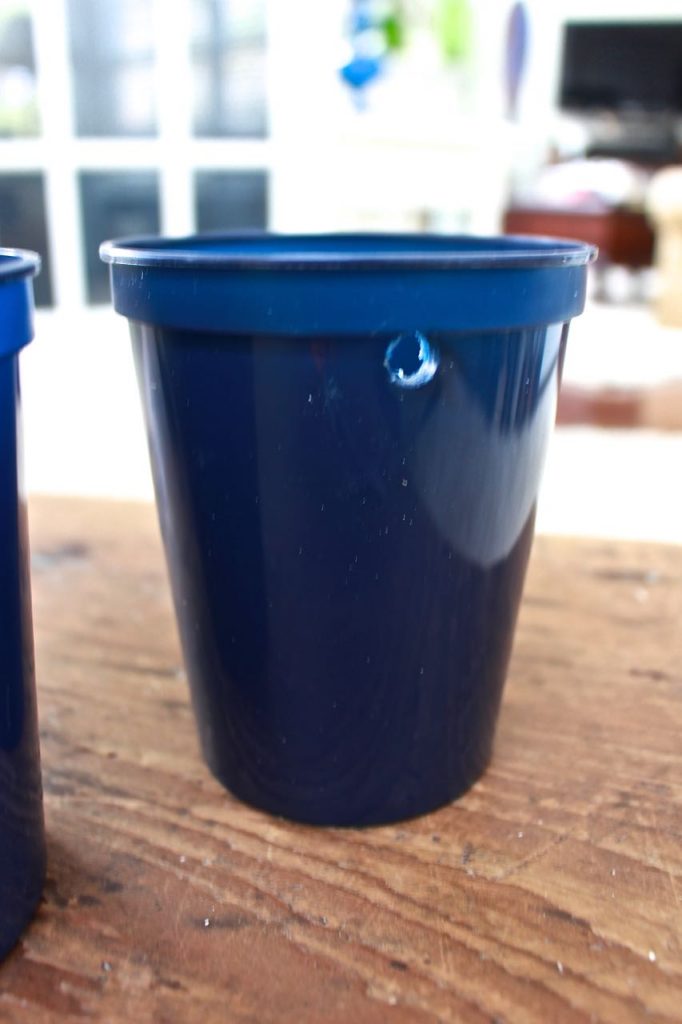
Then we drilled holes into each plastic cup with the hole being just slightly larger than our screw head. Each cup was placed over the screw and then the water and flowers were added.
A large bow was created from ribbon in our craft stash.
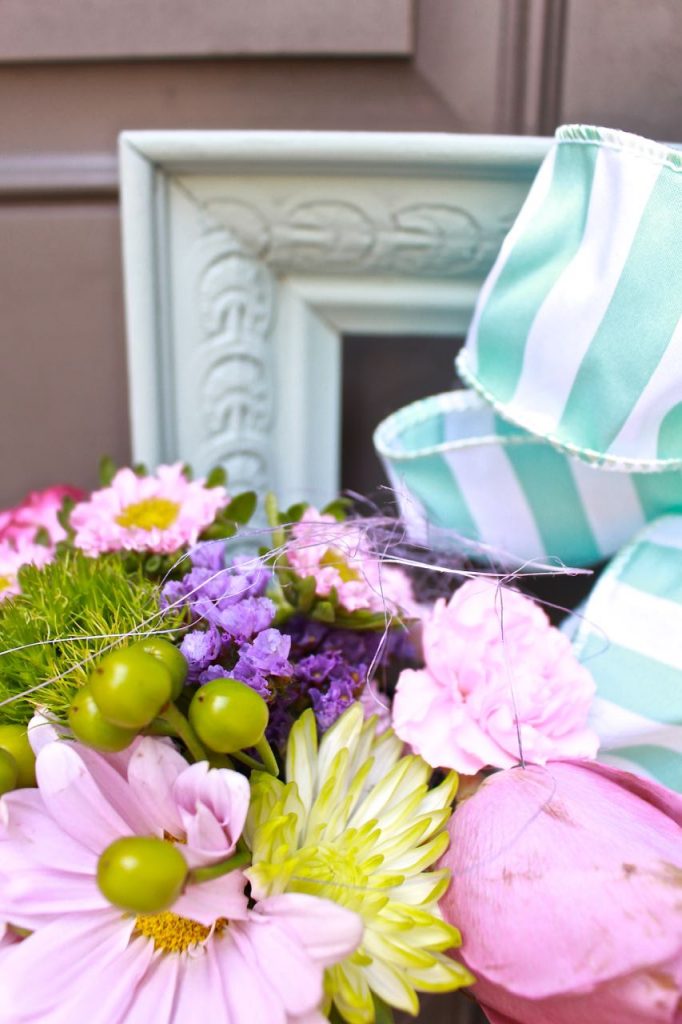
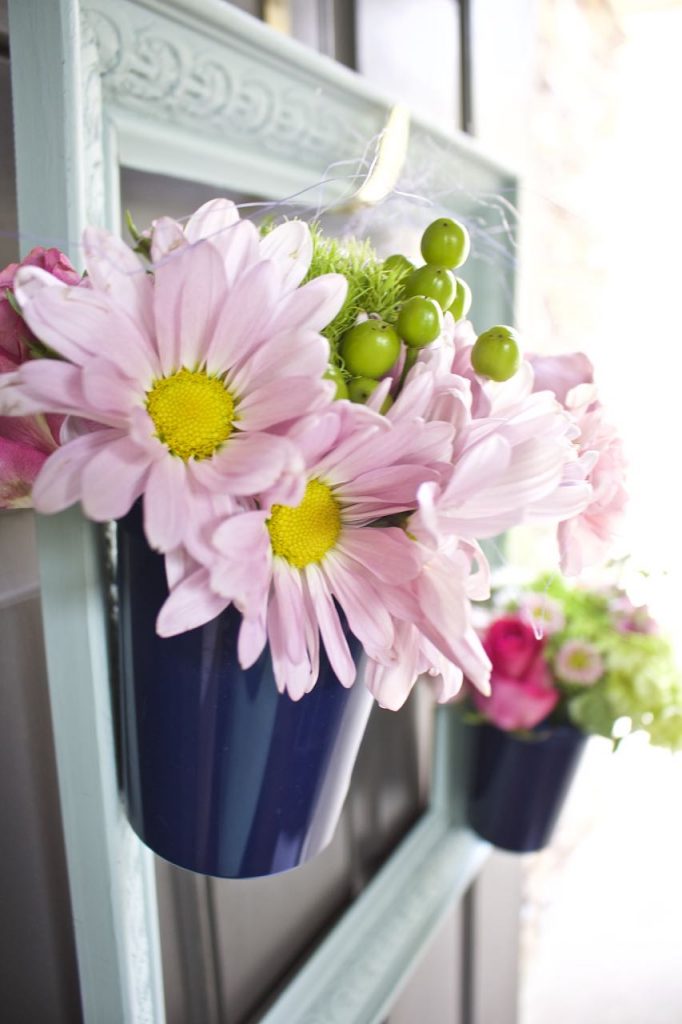
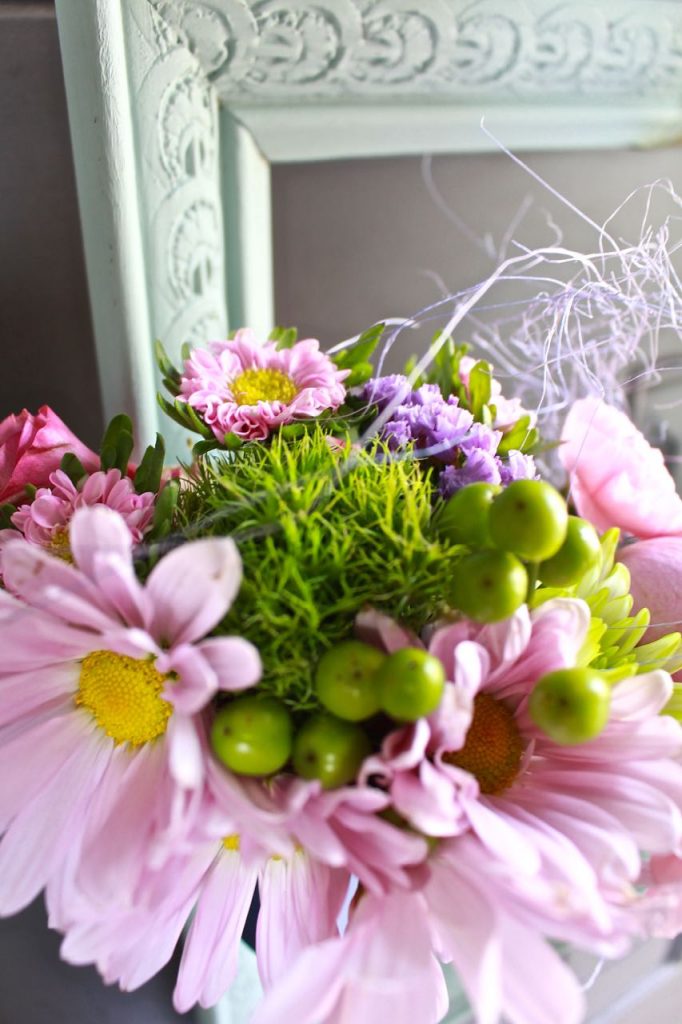
Aren’t these bouquets pretty?
Springtime is definitely in the air.
We love how the detailing in the frame is highlighted now.
What do you think? We are feeling pretty proud of this one 🙂 Don’t forget to visit all of our friends creativity below. There is inspiration for days!

And now for more thrifty goodness!
Check out what my fellow upcyclers created below!



This is so pretty ladies! Love the color you chose for the frame and the way you displayed those beautiful flowers too. I’m so ready for spring too. Hugs, CoCo
Love the colour you chose for the frame.
So pretty! Always love a good twist on the traditional front door wreath. Visiting from Thrift Store Challenge.
This spring wreath idea is SUPER cute! I love the blue paint on the frame and the fresh flowers.
Thanks so much for the DIY inspiration!
{BIG hugs}
~ Ashley
I am such a fan of that color! It certainly is a welcoming door!!
Wow! You framed it up nicely!
Can’t wait to try my hand at it.
This is so fun and colorful! I am so ready for Spring
Cute idea! What a perfect “wreath” for spring!
Those were great finds! I love how you used to the cups and attached them to the frame to display fresh flowers. This is perfect for the spring season to display all the pretty flowers.
So cute!
This is honestly SO SO pretty! I love the fresh Spring vibe. And your photography skills are AMAZING ladies. Great project.
Very cute wreath I like that you used real flowers they are gorgeous colors together.
Kim
Love that you used a frame as a wreath and having the option of fresh flowers is brilliant.
That is so pretty! I love square wreaths and it is so spring ready! Love it!
Jeannee
What a cute wreath for Spring! Love it!
I will definitely be “borrowing” this idea come springtime! What better way to greet guests, than with fresh floors on the front door! Great finds indeed.
What a crazy good improvement! The updated color of the frame and pretty spring flowers and bow are so beautiful!
This is so pretty! I love how unique it is and an unexpected change from a grapevine wreath!
This is sooooo adorable! I love the use of the frame and the color you chose! Perfect as we all dream about the days of Spring.
This is so pretty and easy. I like how you can add fresh flowers or silk to change out the look.
Love the fresh flowers on the wreath. Beautiful!
This is so pretty! I have several old frames laying around, I think I may get to work and make one of my own. Thank you for the tip on how to attach the cups- it’s brilliant! Pinning and sharing!
PS I found you via the Merry Monday link-up. I recently started a link party of my own, I’d be thrilled if you stopped by and shared with us! http://www.mybusybeehives.com/2017/03/rainbows-and-shamrocks-at-bee-party-4.html