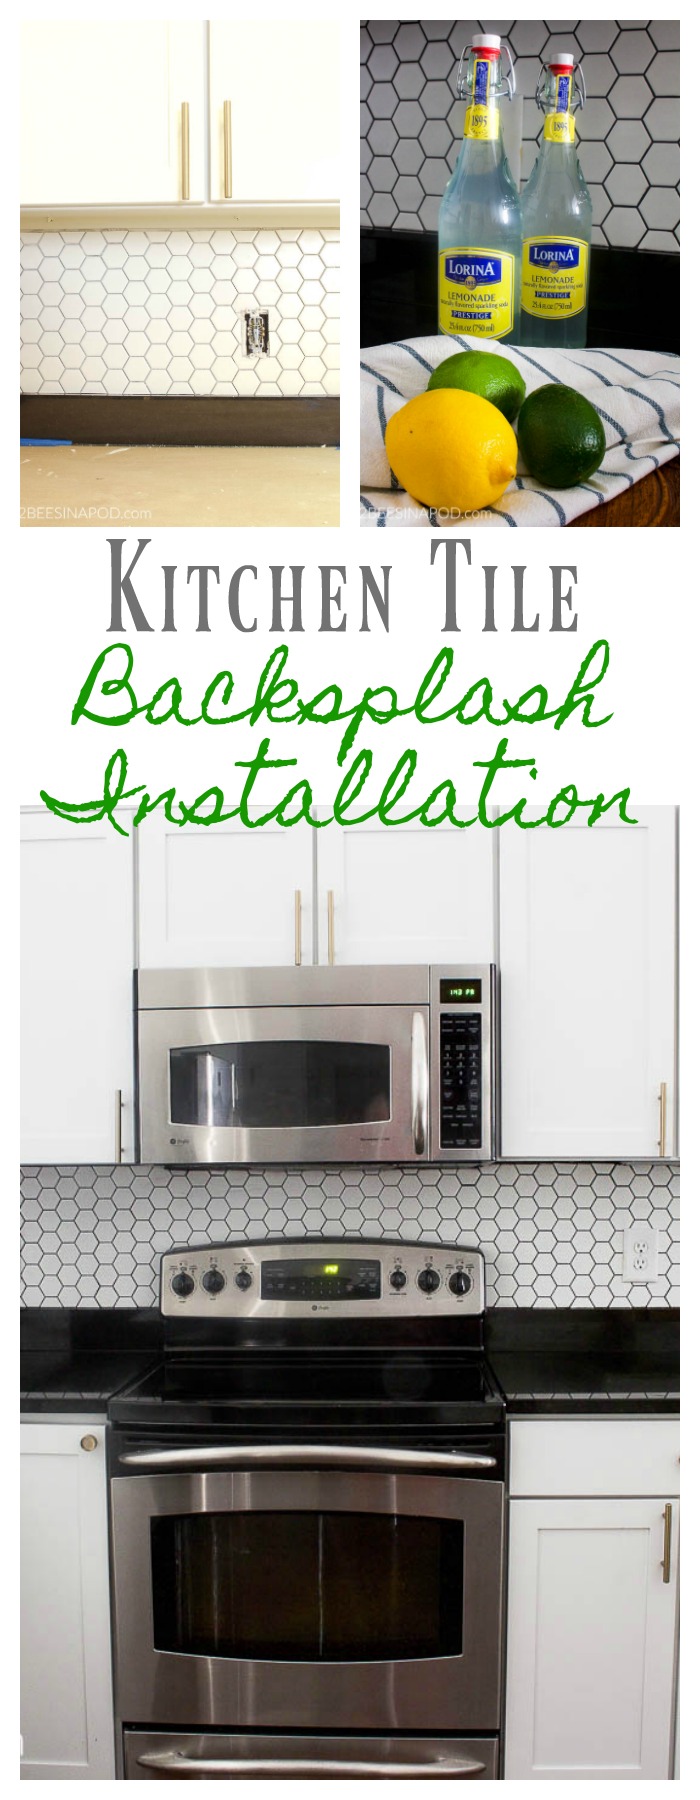
Kitchen Backsplash Installation – Kitchen Makeover Part 5
Please note that this post contains affiliate links. As an Amazon Associate, Rewards Style influencer and Jane Influencer, we earn from qualifying purchases and any sales made through such links will reward us a small commission – at no extra cost for you.
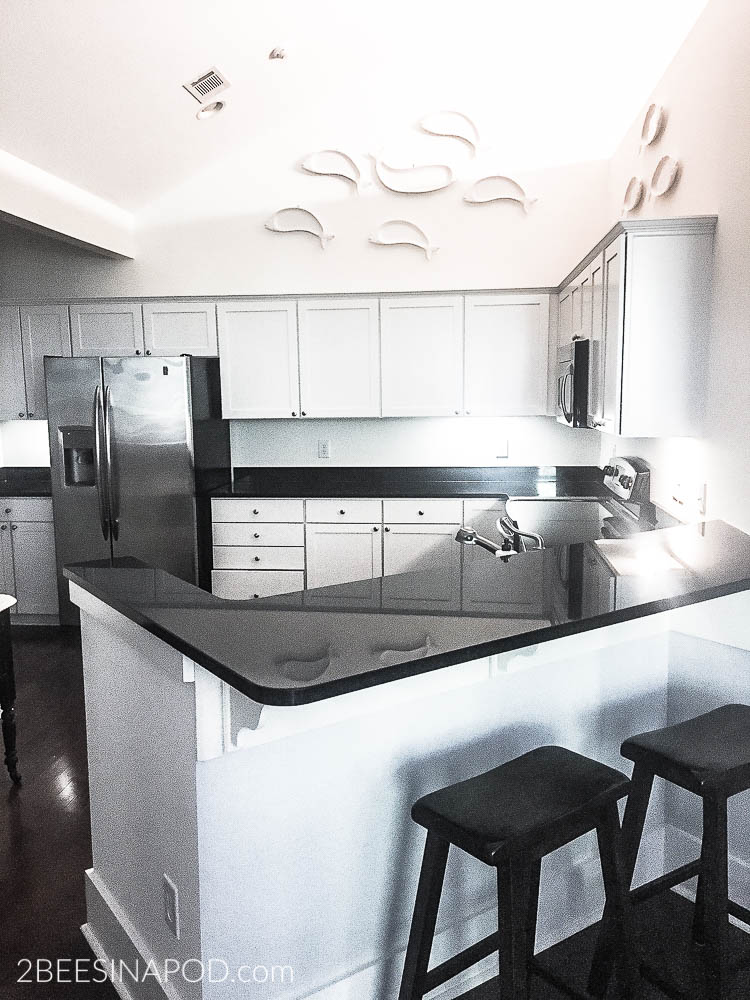
The kitchen makeover continues. With this kitchen backsplash installation the journey is almost complete.
Have you ever had to choose any type of tile before? Oh my goodness – there are endless possibilities. Marble, concrete, porcelain, travertine, slate and so many other material choices. Then you have to choose color, finish, size, etc. I swear it is way easier to purchase a brand new car. For my kitchen makeover I had been dreaming for quite some time. I even created a secret Pinterest board where I pinned “dream kitchens” and “love that hardware” and “kitchen backsplash” ideas. When it came time to actually go tile shopping I was certain that I wanted hexagon shaped 2″ Carerra marble.

First Stop
Locally near my home is a masonry shop that has all types of tiles and countertops. This was literally the first location for pricing out tile for the backsplash installation. Their showroom was lovely but there were no prices listed on anything. I explained to the salesman that I was on a budget and gave him the parameters of what I wanted with the measurements in square footage for tile. He assured me that everything he showed me was budget-friendly and that he would have a quote to me by the end of the day. True to his word, I received the quote – and just about choked. Included below is a copy of the quote with the company name blurred out: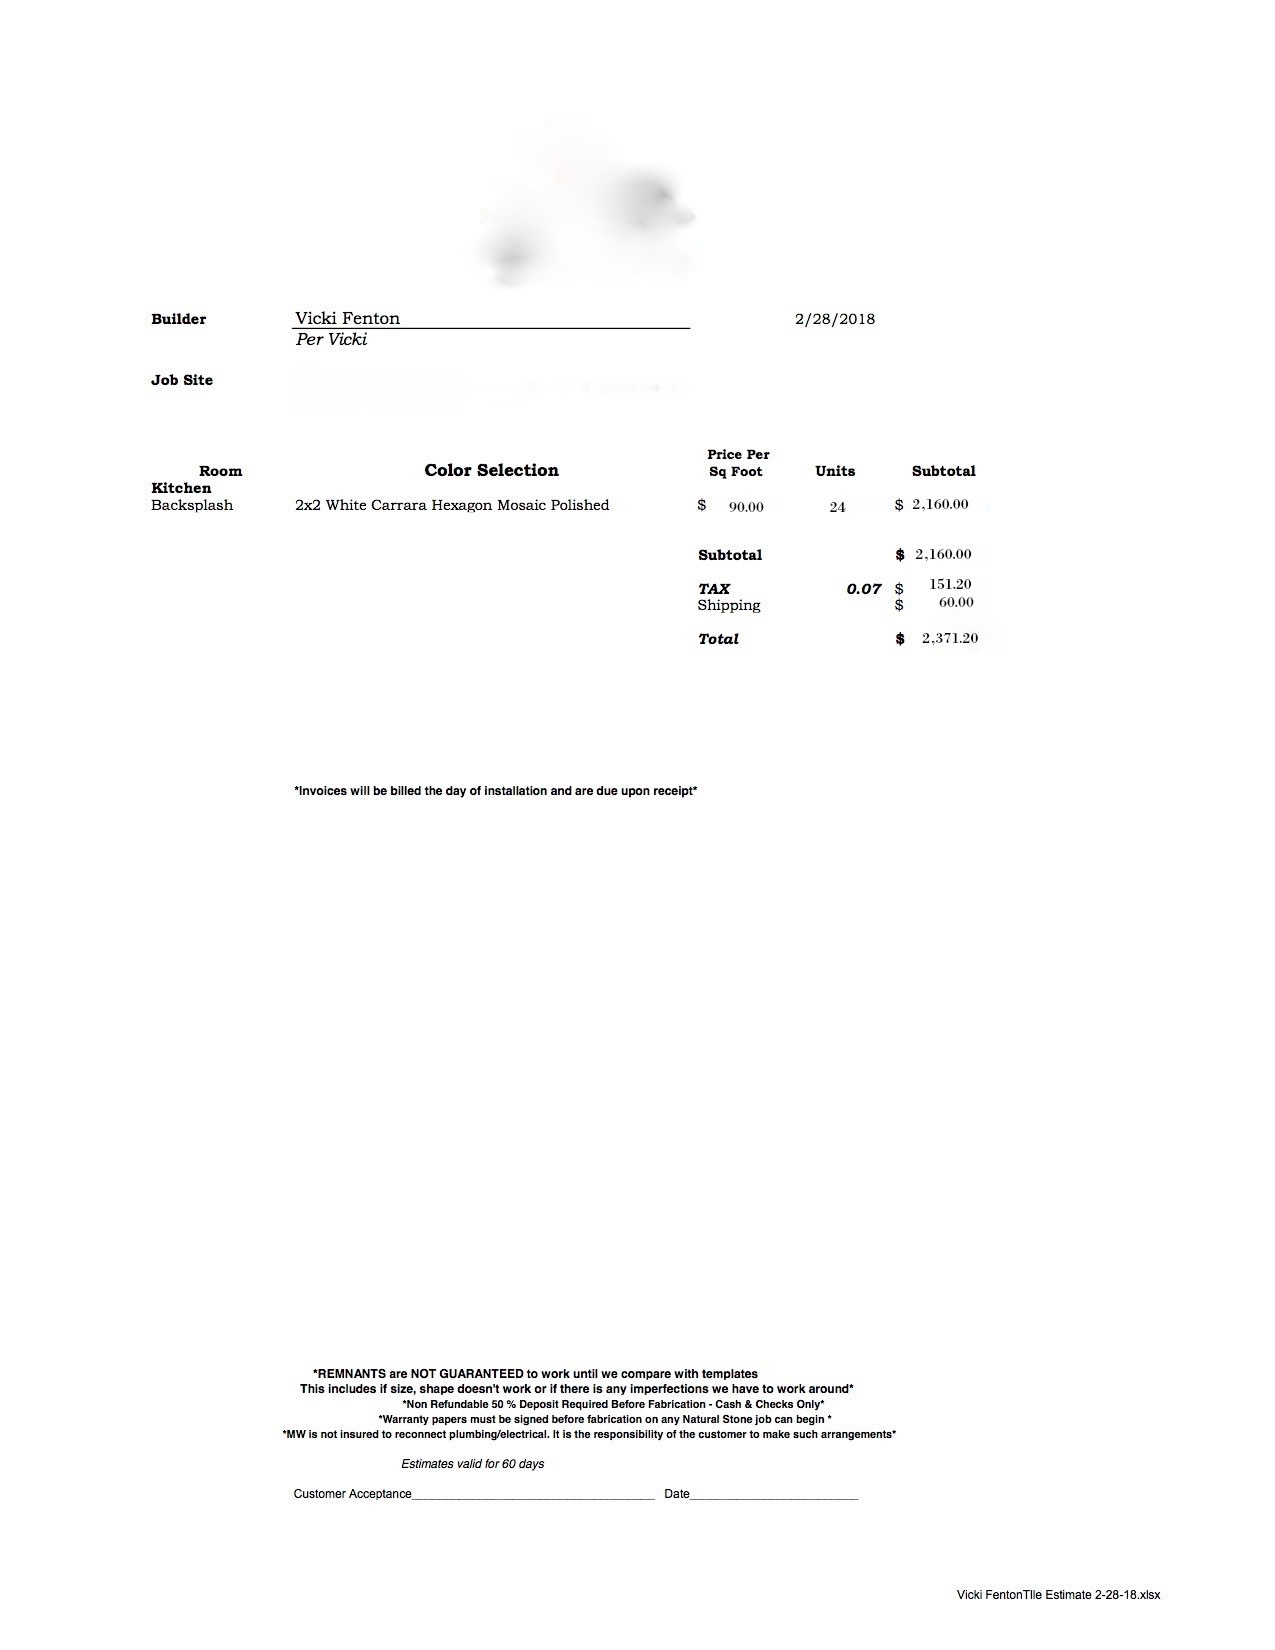
Yes, you are reading the final total correctly – $2,371.20! Now, this is basically a small kitchen backsplash. It is only a little over 23 square feet of tile needed but I know to order extra for any breakage or unexpected issues. Let’s be realistic, the entire kitchen makeover including the professionally painted cabinets wasn’t budgeted for this amount!
Time to Start Shopping
Needless to say, I am a good shopper. It’s not that I am cheap…far from it. Honey Bee and I work very hard for everything that we have. We didn’t grow up with money. I have just never gotten past the way of life of spending too much money on things like this. Even Honey Bee said “if it’s what you want, just get it”. But, I still couldn’t pull the trigger.

My shopping expertise took me to Floor and Decor in Atlanta. It’s a good thing I already knew what I wanted because their showroom is full of very pretty options to change your mind. Oh, and I found the exact same tile that was quoted above for just $600.00. And even less expensive 2″ Hexagon Carrara marble on Amazon HERE. Can you believe it?
Cold Feet
After seeing all of this marble up-close and personal, I started to have doubts. Some of the marble looked yellow, some brown and others looked blue. Even tile boxed together looked different from one sheet to the next. I really wanted more white in my marble. After much debate and self-talk, this is what I ended up purchasing:
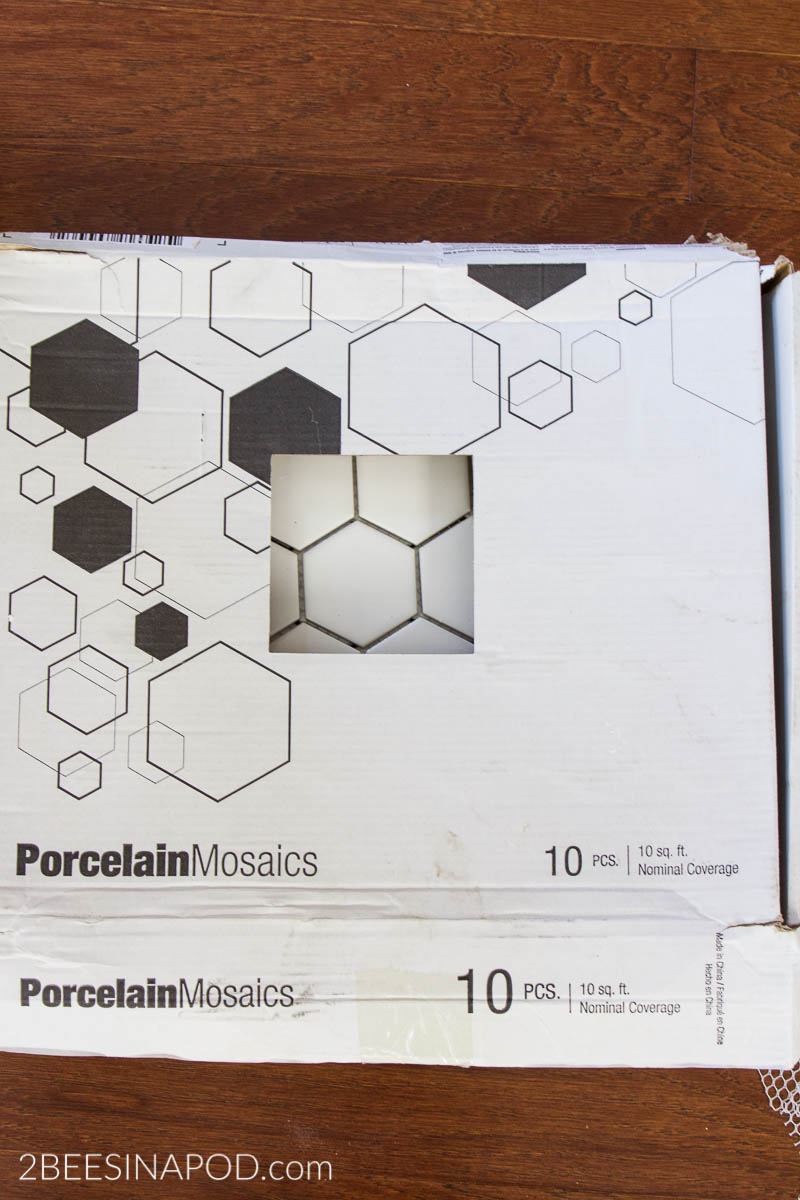
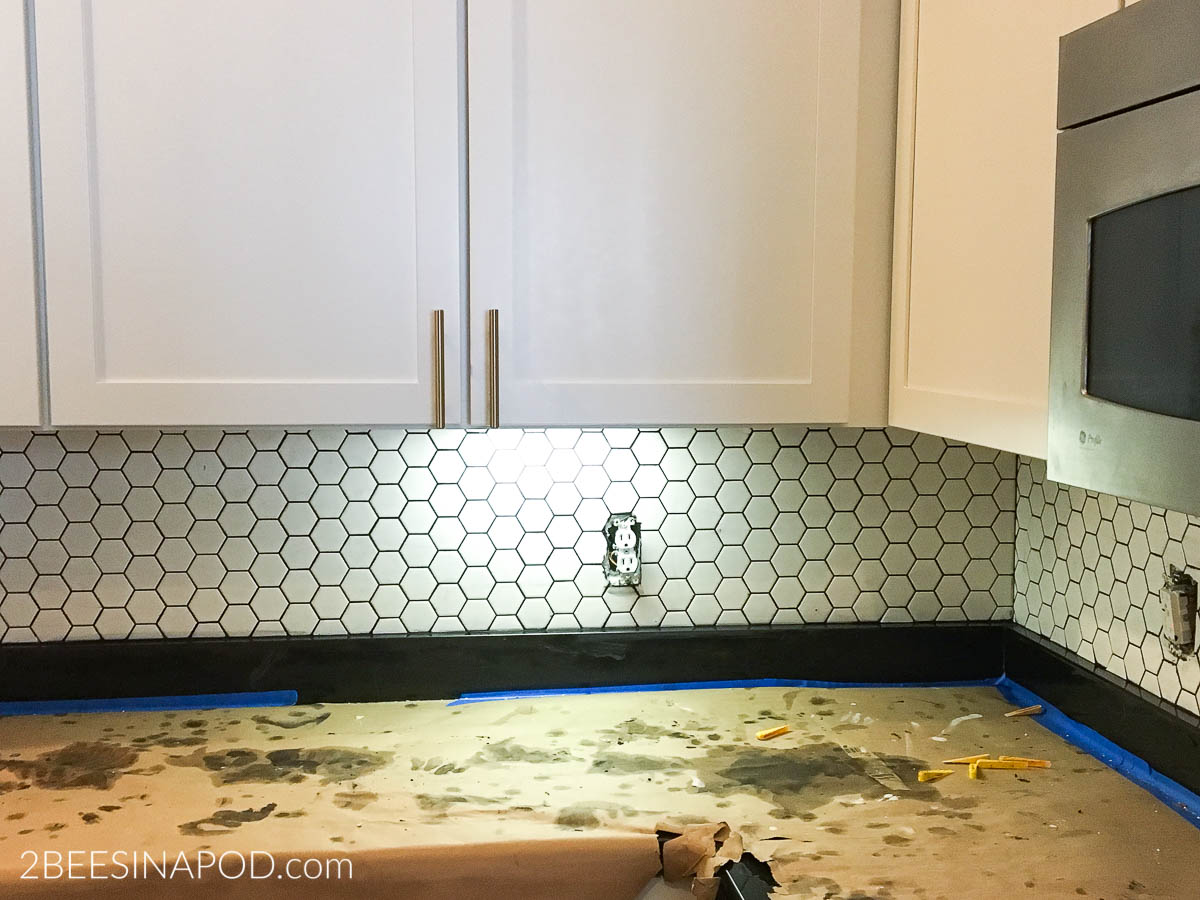
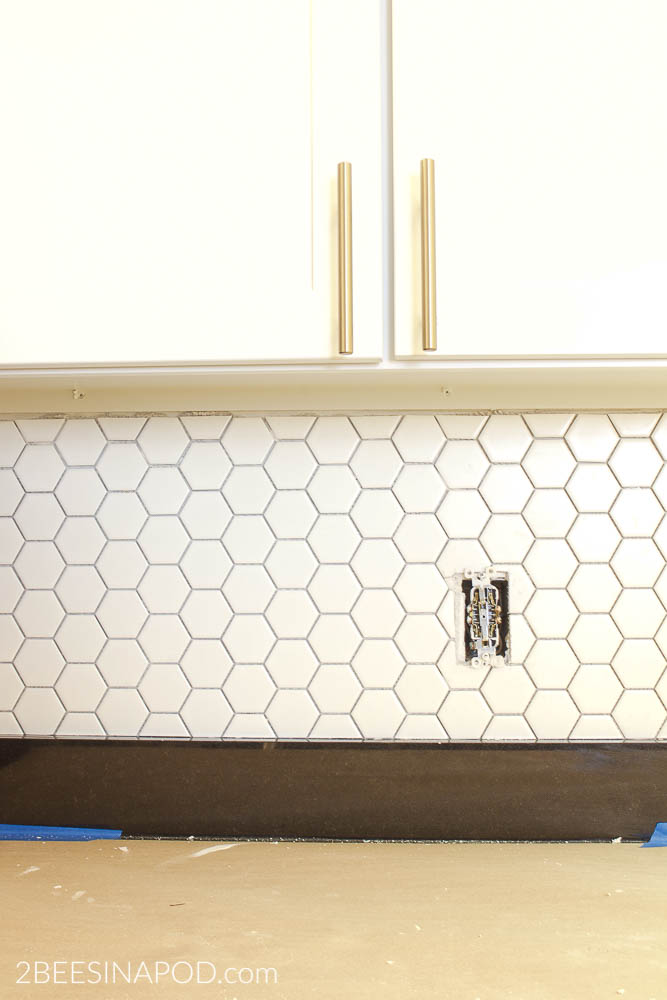
Here is why I switched gears a little bit. These porcelain tiles are white – just like I wanted. Porcelain is also very durable. The very best part – 24 square feet of this tile was only $60.00! A very significant savings while still getting the look that I want. Initially I only purchased two sheets to take home as a test. After taping them up to the backsplash wall I couldn’t believe how great they looked – closely resembling the marble tile that I originally wanted.
Know When to Use a Professional
Way back when I dreamed up the plans for my kitchen makeover, I truly wanted to install the kitchen backsplash all by myself. After watching lots of how-to videos I learned that hexagon tiles are some of the hardest to install. So I decided to get installation quotes from tile professionals. These quotes ranged from $300 to $650. I chose the $300 quote because they were a tiling company recommended by my friend Linda. Also, I was given a price-break because they had a gap in their schedule and they could start my job the very next morning. It’s a good thing I went the professional route because every single sheet of tiles had to be cut!
They made it look so easy LOL.
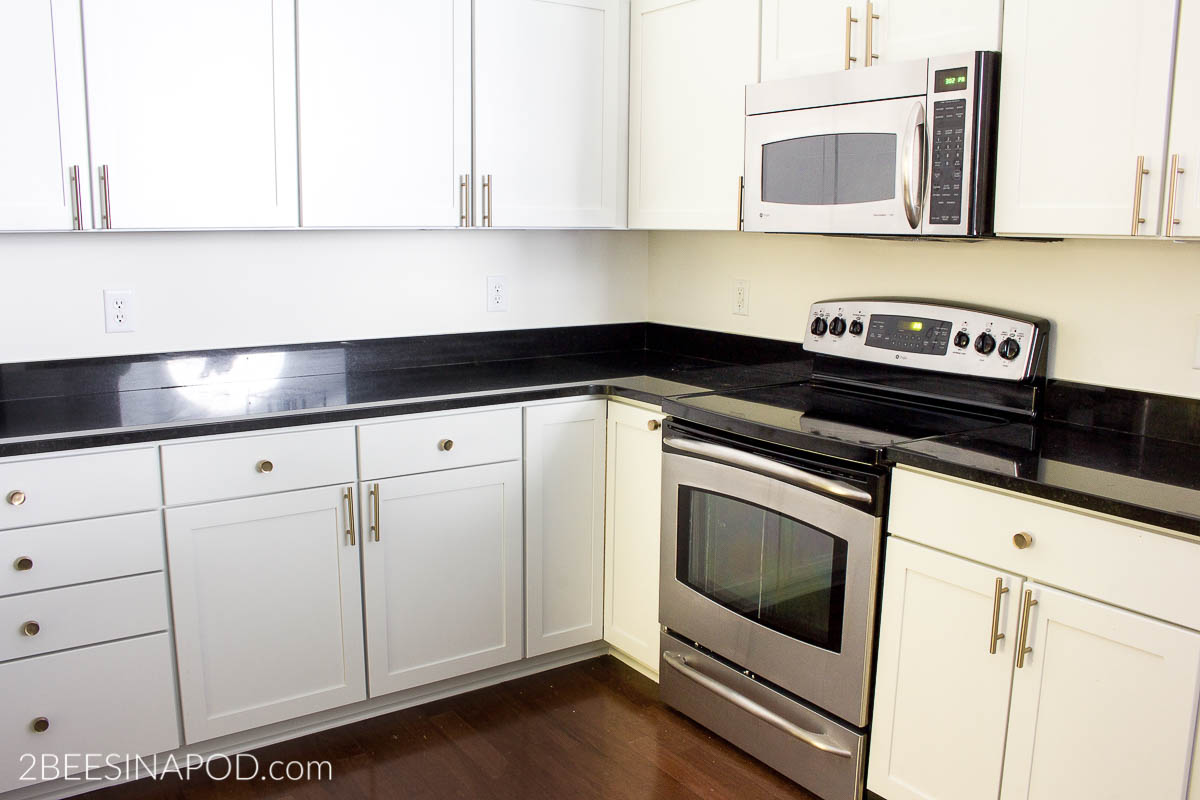
It Gets Messy
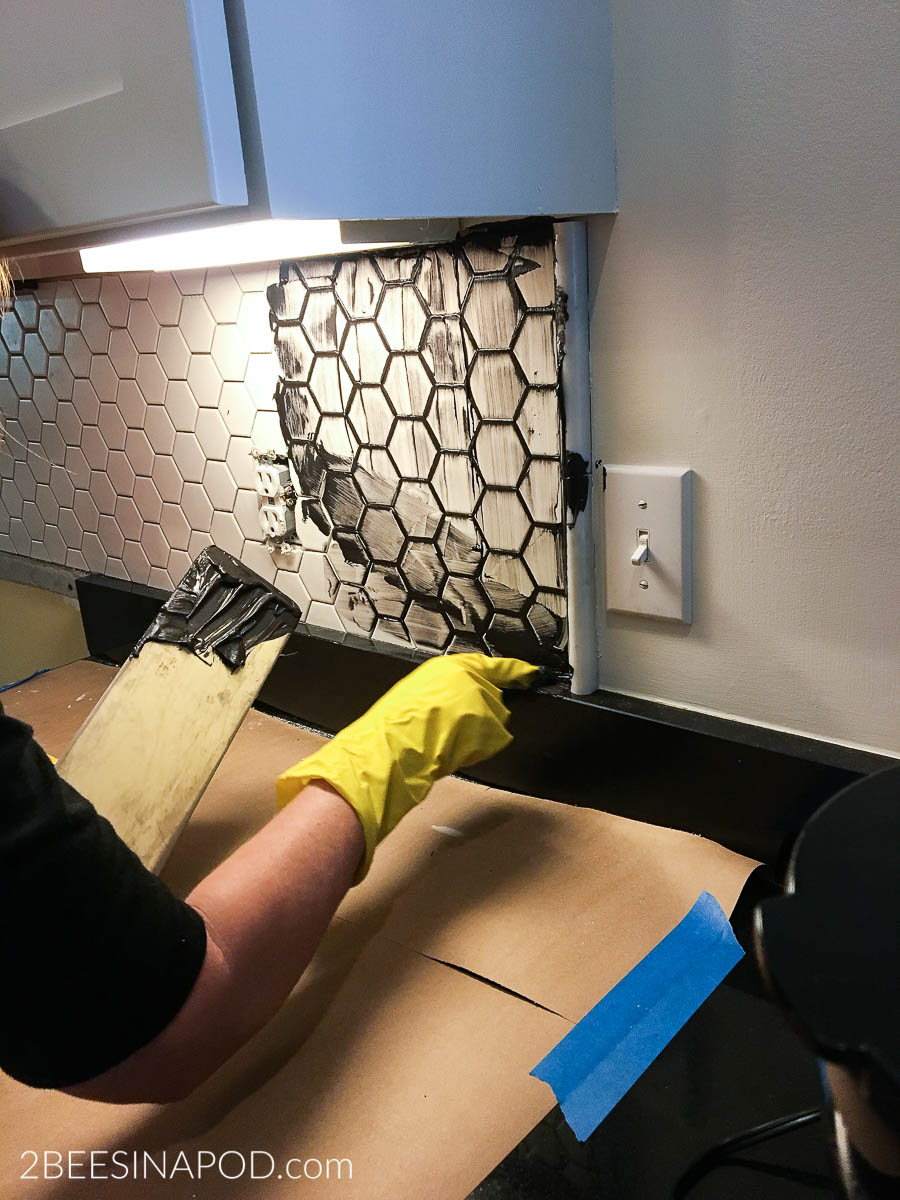
They are called professionals for a reason. This kitchen backsplash installation was completed in just 3 hours time.

Grout colors are like paint – endless options. I went with a grout that is a dark gray called “Raven”. It has a built-in sealer that makes kitchen cleaning easy.

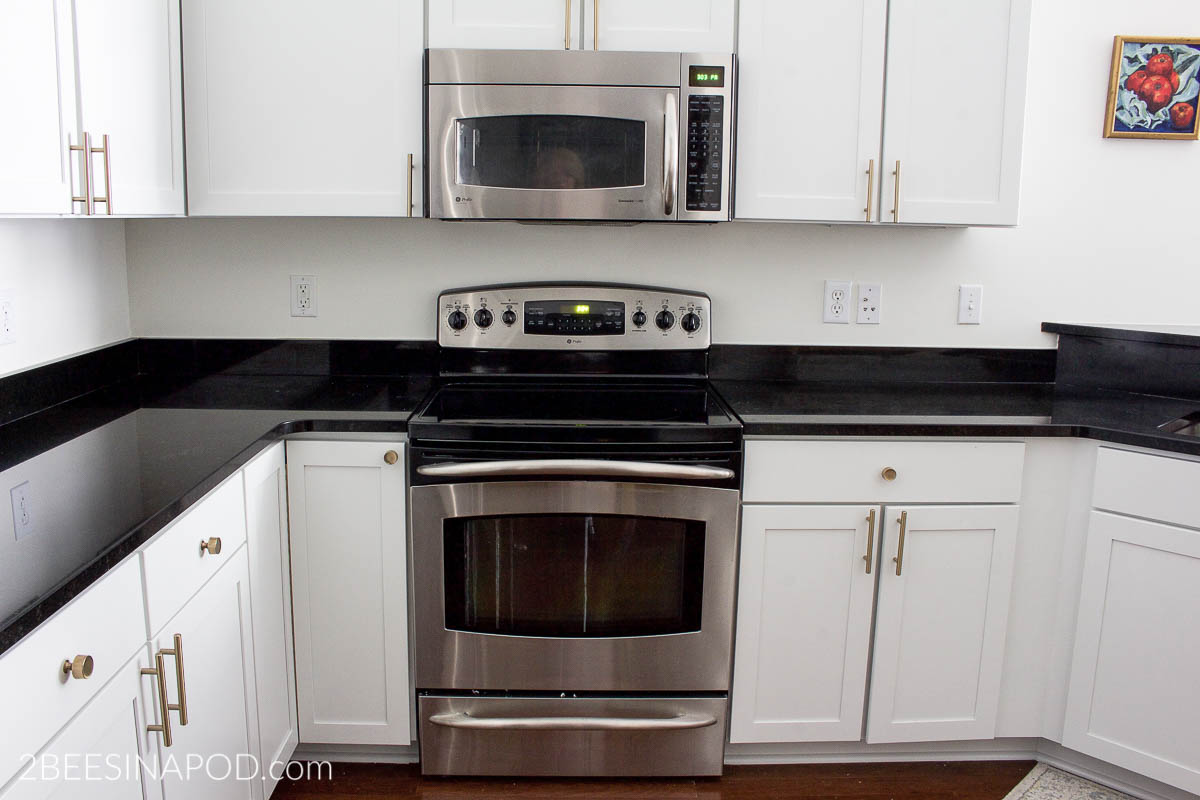
Isn’t it beautiful?
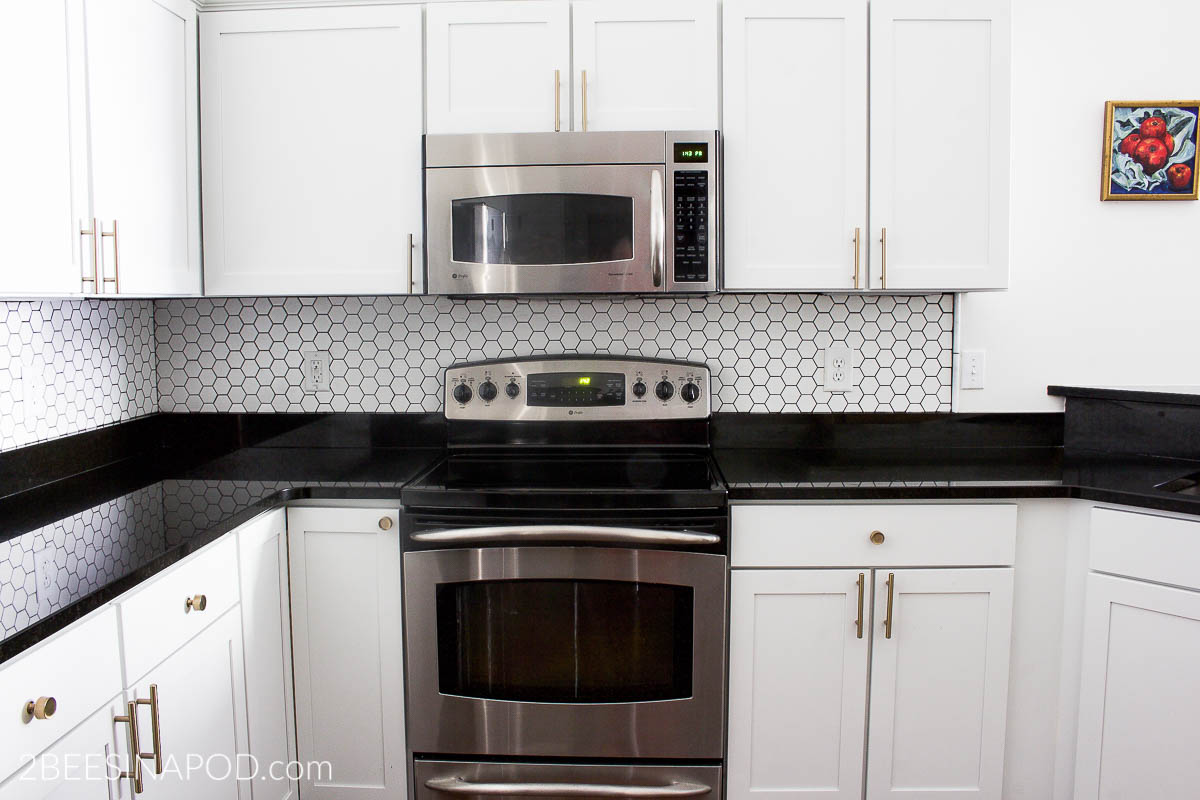
We are almost ready to entertain again!
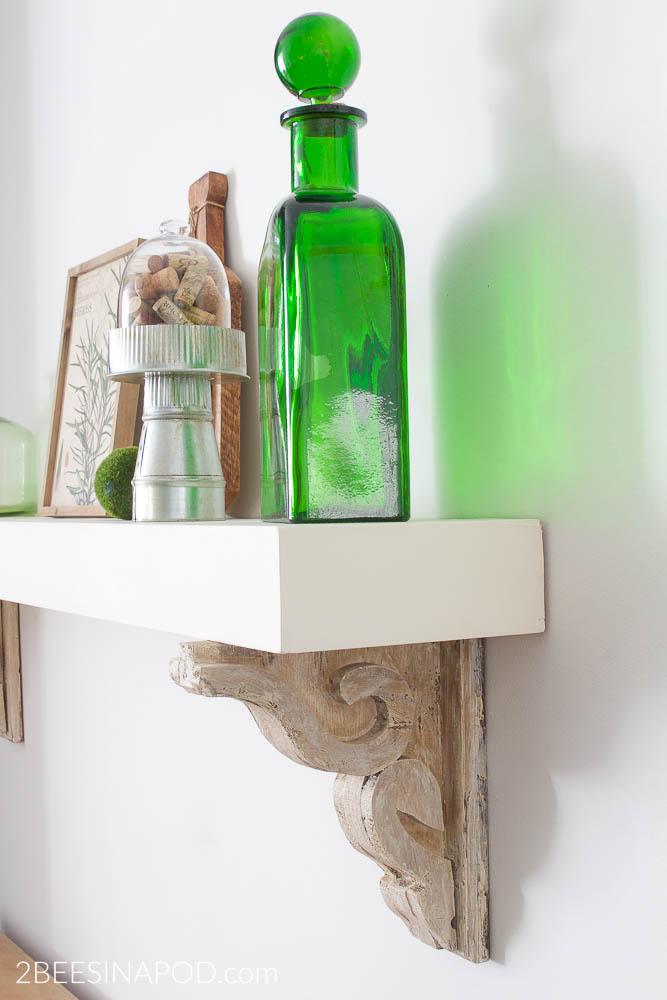
Just a few more things to hang on the wall above the kitchen cabinets and I’m styling the kitchen shelf that used to be a mantel. Next week will be the complete reveal!

Wishing you a wonderful weekend. See you back here Monday when our Back to Basics group will share how we each create a Mood Board! You don’t want to miss it!
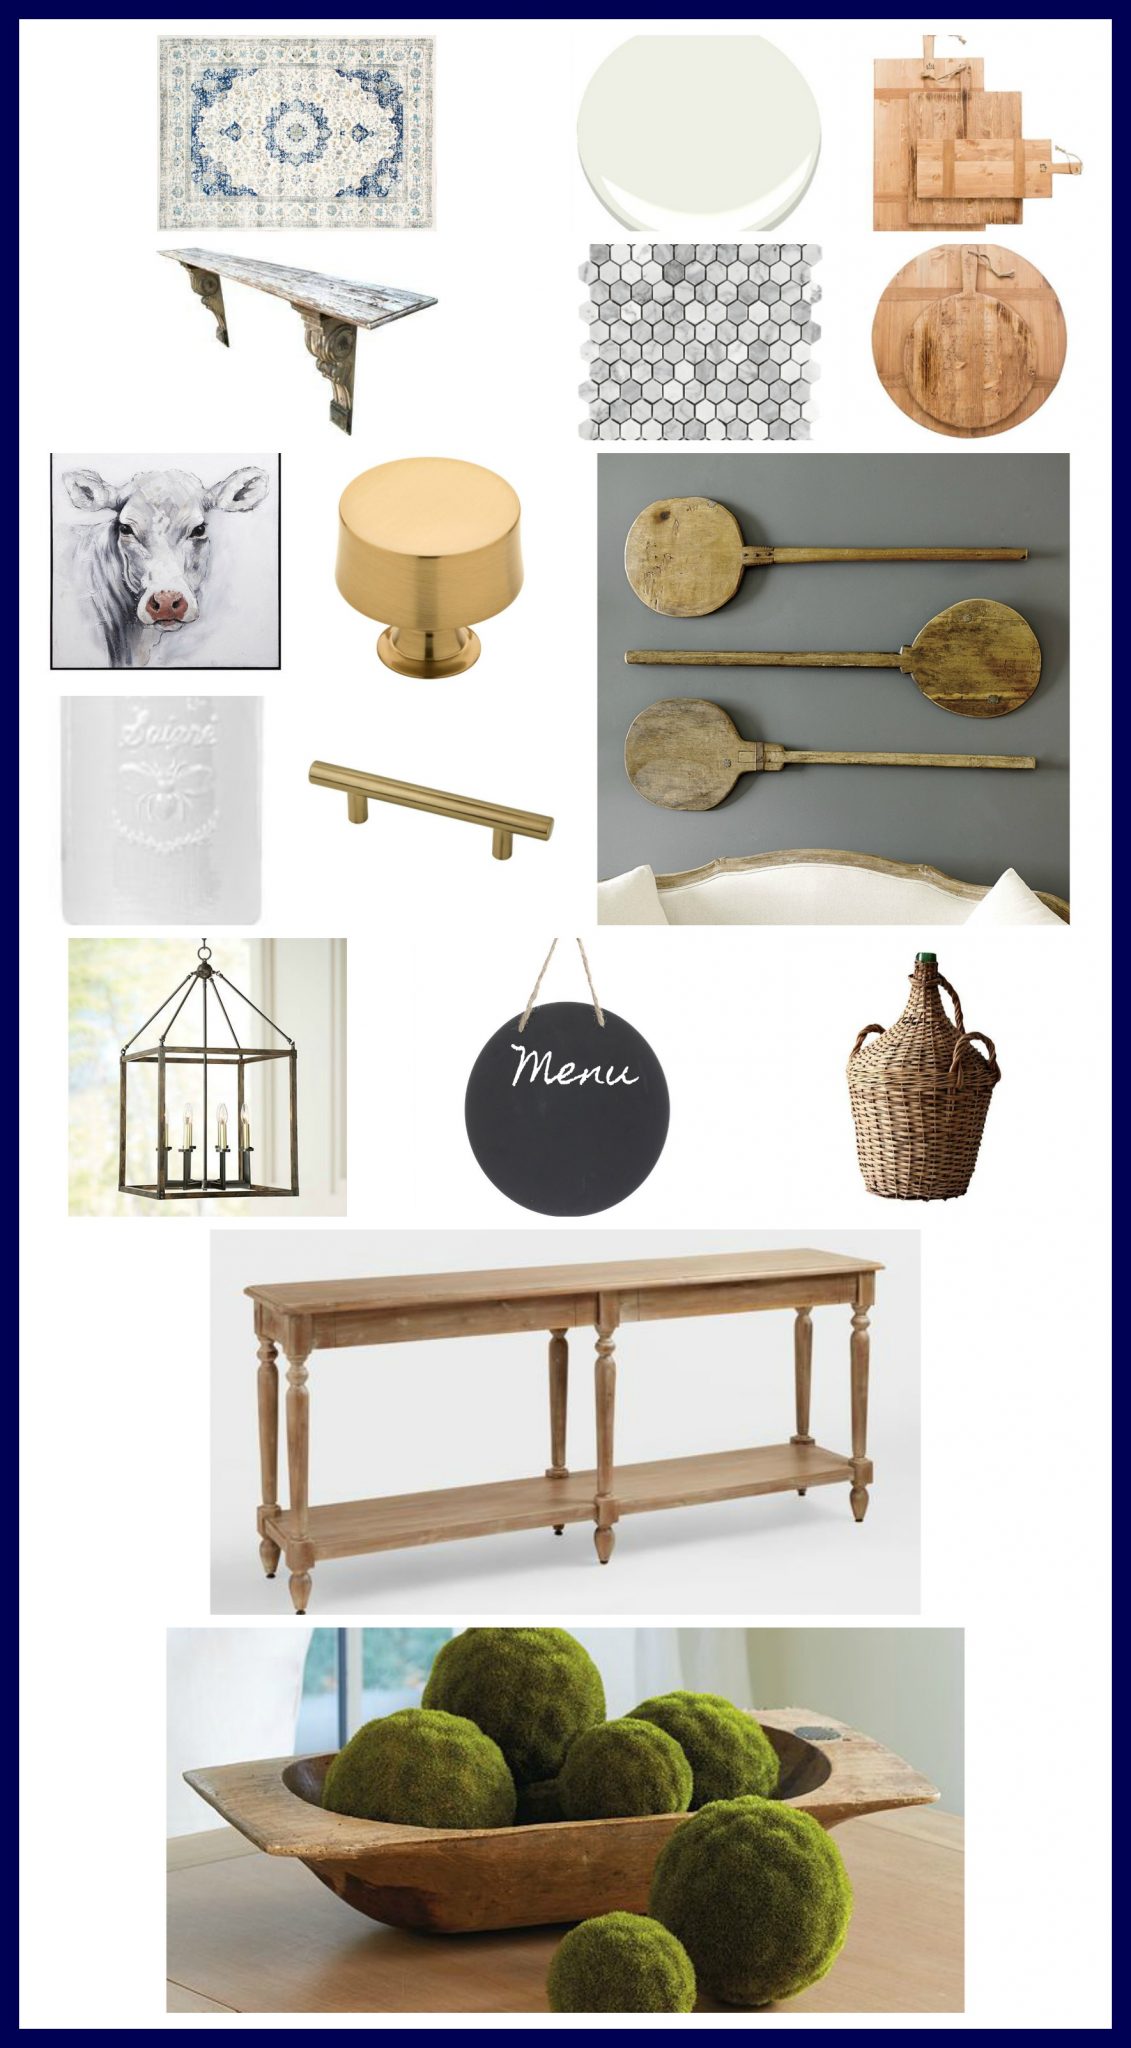
Don’t Forget to Pin this to you favorite Pinterest Board!
Love the transformation of adding a backsplash, Vicki, it looks fantastic! That price tag was crazy bananas but you’re a force to be reckoned with so I am not surprised you found a way – it was SO worth it! Just beautiful, CoCo
WOW! The new backsplash really ties everything together. It looks amazing!
Bambi
Looks nice! Great job!